|
|
|
Porsche, and the Porsche crest are registered trademarks of Dr. Ing. h.c. F. Porsche AG.
This site is not affiliated with Porsche in any way. Its only purpose is to provide an online forum for car enthusiasts. All other trademarks are property of their respective owners. |
|
|

  |

| FRUNKenstein |
 Jan 8 2021, 12:20 PM Jan 8 2021, 12:20 PM
Post
#1
|
|
Member  Group: Members Posts: 111 Joined: 25-May 20 From: Overland Park, KS Member No.: 24,308 Region Association: Upper MidWest |
The old aftermarket steering wheel that came with my car when I bought it last summer was not dished at all. So, every time I made a significant turn, my fingers would hit the turn signals or wiper switch. Also, it was getting a bit long in the tooth and had some minor surface rust. For Christmas, my son got me a new Viilante steering wheel. It has a 39 mm dish, so hopefully that will solve the problem with hitting the turn signals and wipers during a turn. It is also a little more of a classic design (I didn't like the more modern style of the old one), and has perforated leather. But, I wanted to add a bit of bling. On 996outpost.com, there was a discussion of adding deviated stitching to your interior, and a link to a 6-speed online thread with details. Here's a link to the 6-speed online thread (hopefully this isn't breaking any rules to post that link):
https://www.6speedonline.com/forums/cayenne...-red-beige.html So, I thought I'd try it with my new steering wheel. It's really inexpensive: $4 set of upholstery needles and ~$4 for a spool of bead cord (think thick thread). Full disclosure, I ordered 3 different colors of bead cord because I wasn't sure exactly how they would look, so I actually spent about $14 on bead cord, including shipping. Also, I wanted to add a color-matched center stripe at the top of the wheel. After research, it appears that the actual racers use "stage tape" or "gaffer's tape" for this task. That stuff comes in tons of colors, and I ordered a 1" wide fluorescent blue roll of tape for $7.99 (including shipping). There is a link in the 6-speed online thread about where to buy the bead cord (your local JoAnn's Fabrics and the like don't carry it). I just ordered the gaffer's tape off Amazon. I haven't installed the steering wheel yet (this weekend's project), but here are some pictures of before, during and after the DIY stitching install. First, a picture of the car so that you can see the exterior color I was trying to match (Laguna Blue): 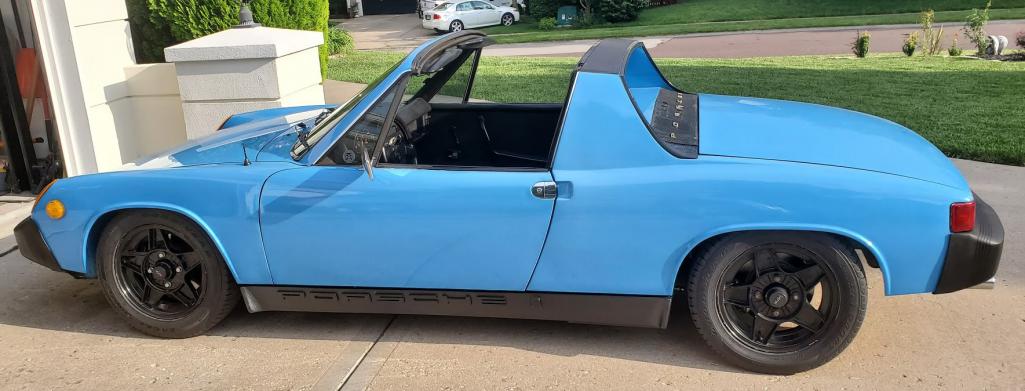 Then, here's the steering wheel fresh out of the box, along with the bead cord and gaffer's tape. 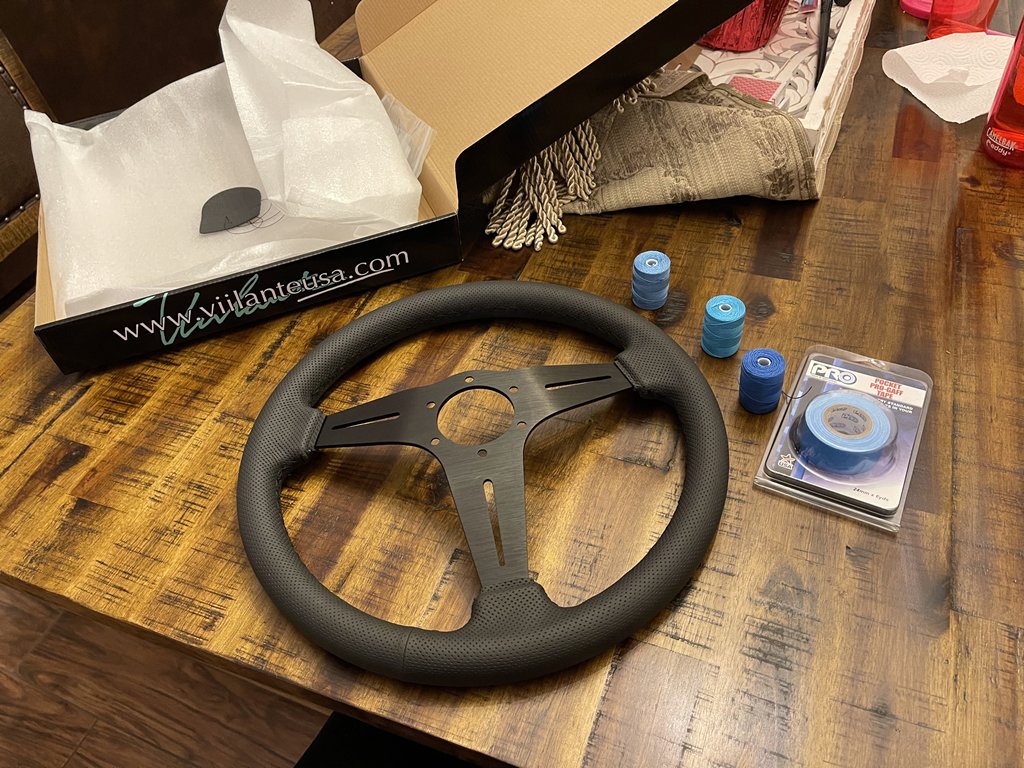 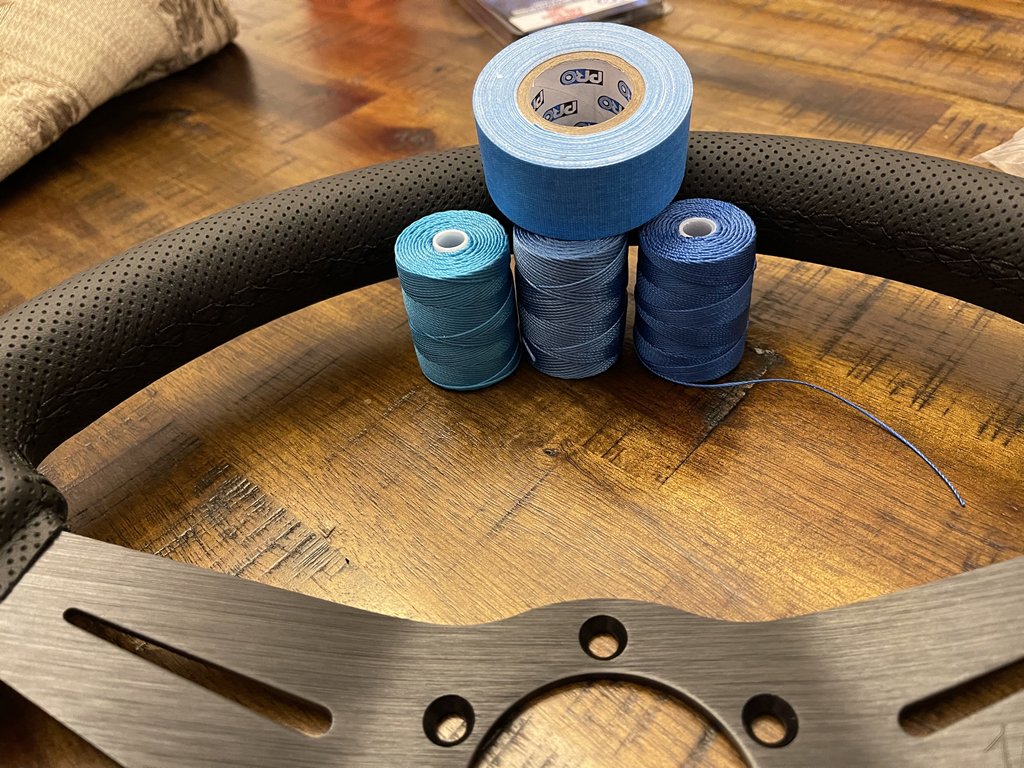 Next pic shows one section of deviated stitching installed next to a section without it. I should have turned off the LED light I was using as it kind of makes everything blue. My eyes aren't too bad, but you definitely need a bright light to see the stitching you are going to run your needle under. One note in the 6-speed online thread mentioned grinding down the tip of the curved upholstery needle to keep from poking through or snagging the leather (you are just going under the existing threads, not through the leather). But, I found that it really wasn't a problem with the sharp tip, plus I think it would have been tough to get the needle under the threads on the steering wheel with a dull tip. Maybe grinding the tip down works better on seats or consoles. 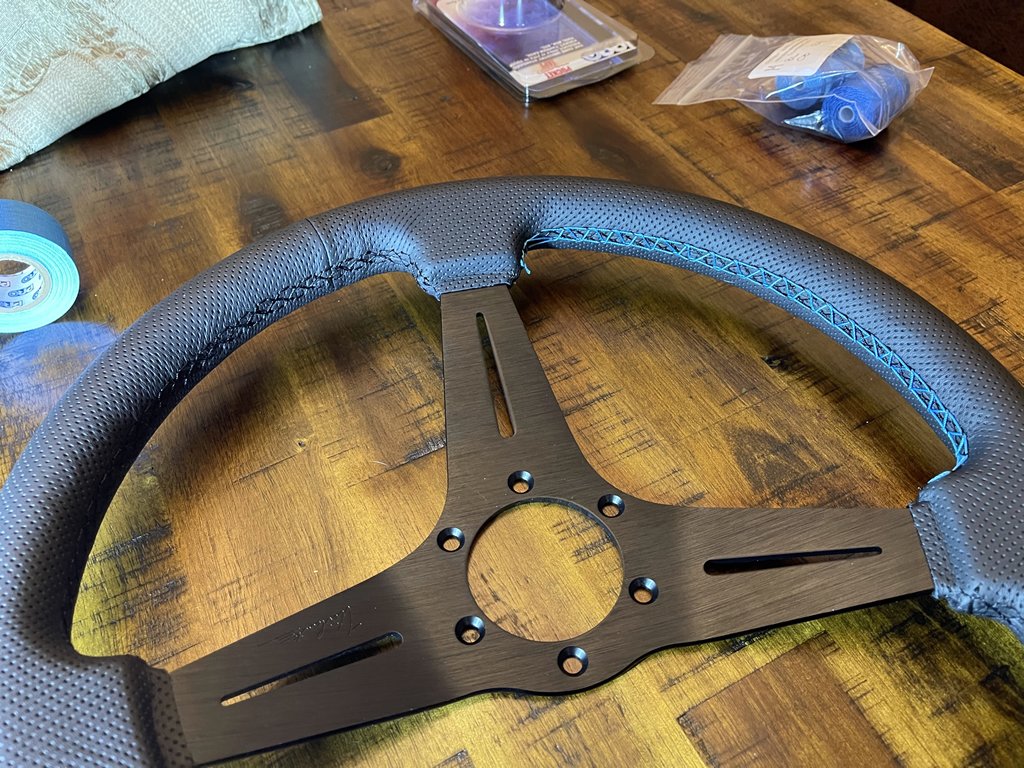 This next pic shows the deviated stitching installed without the center stripe. 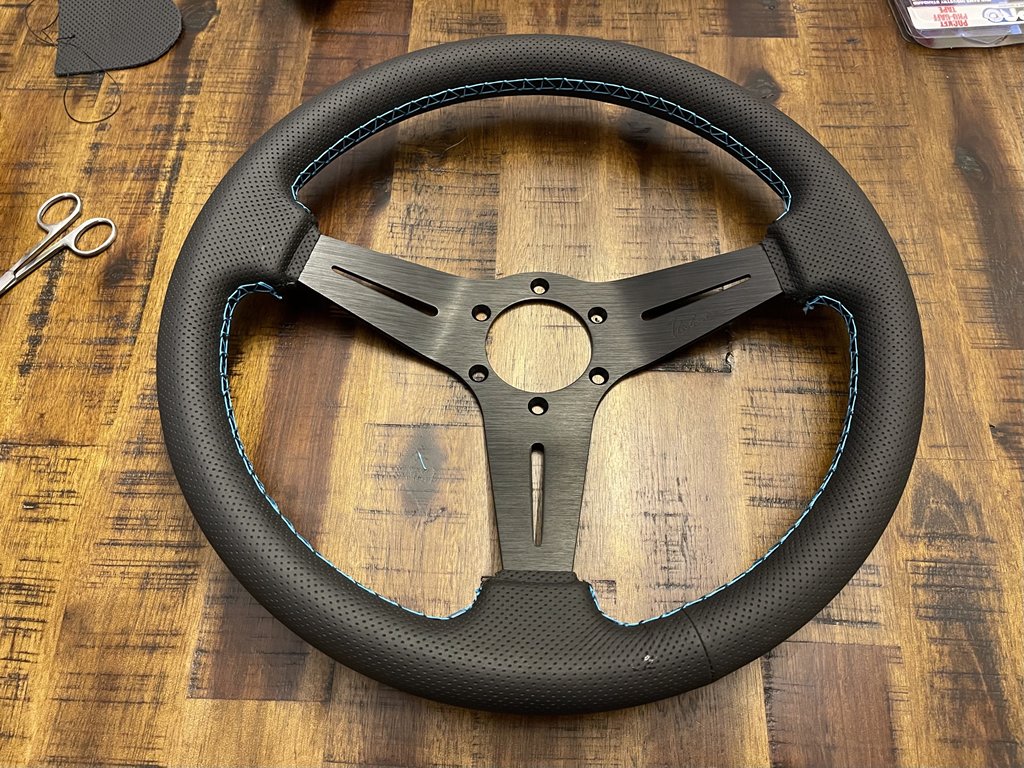 Then, this one adds the center stripe in 1" width. 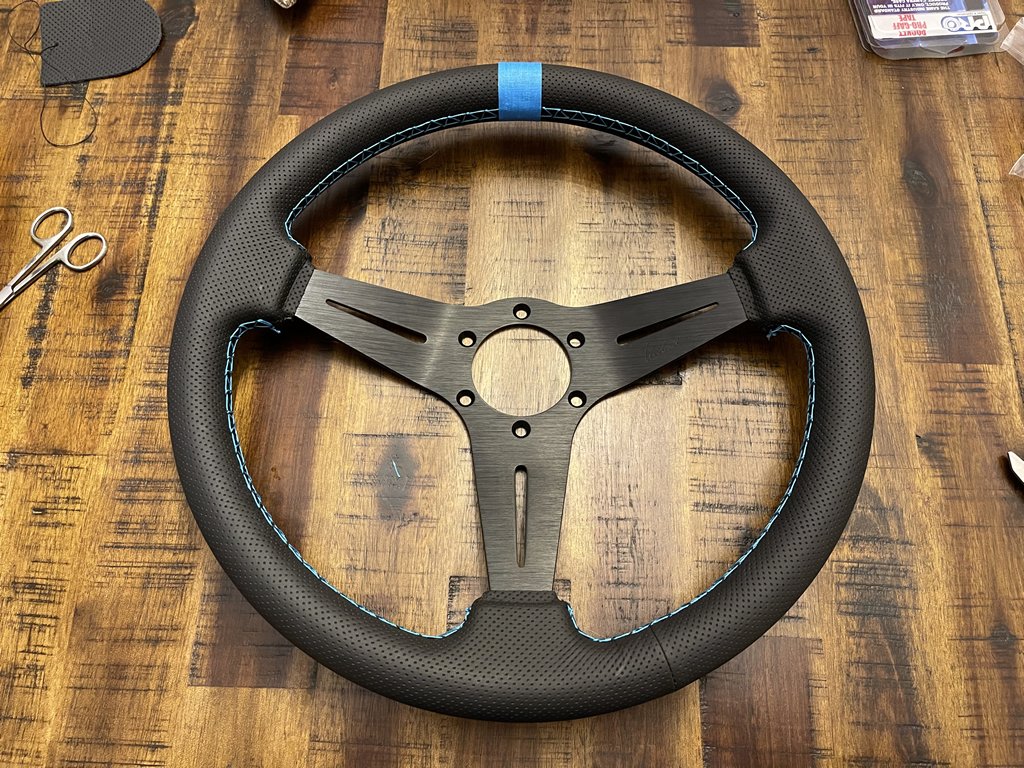 I felt the 1" width was too wide, so I cut the width down to 1/2".  Frankly, I may just remove the center stripe. It's easy enough to do - takes about 2 seconds. And, if I want it again later (like for an autocross), then I can just reinstall. I have enough tape to do that about 100 times! |
   |

 
|
| dt4 |
Jan 8 2021, 12:25 PM
Post
#2
|
|
Senior Member Group: Members Posts: 503 Joined: 26-May 19 From: England Member No.: 23,161 Region Association: England |
the stitching looks very good, well done
the tape doesnt look great though, in my opinion but its yours to do what you like so 10/10 for giving it a go |
|
|
|
| FRUNKenstein |
Jan 8 2021, 12:28 PM
Post
#3
|
|
Member Group: Members Posts: 111 Joined: 25-May 20 From: Overland Park, KS Member No.: 24,308 Region Association: Upper MidWest |
QUOTE(dt4 @ Jan 8 2021, 12:25 PM)  the stitching looks very good, well done the tape doesnt look great though, in my opinion but its yours to do what you like so 10/10 for giving it a go I'm with you on the tape. I will probably just remove it. |
|
|
|
| Cairo94507 |
Jan 8 2021, 12:45 PM
Post
#4
|
|
Michael Group: Members Posts: 10,606 Joined: 1-November 08 From: Auburn, CA Member No.: 9,712 Region Association: Northern California |
Great job on the wheel. Not a fan of the little strip of blue on the top center. Regardless, nice job. (IMG:style_emoticons/default/beerchug.gif)
|
|
|
|
| raynekat |
Jan 8 2021, 10:42 PM
Post
#5
|
|
Advanced Member Group: Members Posts: 2,171 Joined: 30-December 14 From: Coeur d'Alene, Idaho Member No.: 18,263 Region Association: Pacific Northwest |
Yes, the wheel looks great with your stitching.
I could maybe live with the smaller tape (1/2") at the top. |
|
|
|
| PlaysWithCars |
Jan 11 2021, 12:44 AM
Post
#6
|
|
Senior Member Group: Members Posts: 541 Joined: 9-November 03 From: Southeast of Seattle Member No.: 1,323 Region Association: Pacific Northwest |
Love the stitching! That looks great. Adds some pop and ties it in with the car; great idea.
The center stripe w/ tape is definitely a "race" look, but I can't get past that particular blue looking like the low tack painters tape that wouldn't be at all durable in this application. Maybe its just the pictures that make it look that way. I envision tape with a high gloss, like a colored electrical tape maybe? |
|
|
|
| VaccaRabite |
Jan 11 2021, 08:25 AM
Post
#7
|
|
En Garde! Group: Admin Posts: 13,845 Joined: 15-December 03 From: Dallastown, PA Member No.: 1,435 Region Association: MidAtlantic Region |
Yeah, the painters tape looks like its just unfinished and you are going to do something else to it.
Zach |
|
|
|
| BillJ |
Jan 11 2021, 08:39 AM
Post
#8
|
|
Senior Member Group: Members Posts: 1,355 Joined: 4-March 13 From: charlotte, NC Member No.: 15,610 Region Association: None |
Like the deviated stitching look you did there! Well done for sure. The collective has spoken on the tape and you will not be permitted to use it LOL
|
|
|
|
| PanelBilly |
Jan 11 2021, 11:59 AM
Post
#9
|
|
914 Guru Group: Members Posts: 5,950 Joined: 23-July 06 From: Kent, Wa Member No.: 6,488 Region Association: Pacific Northwest |
I like it a lot. Is there any other spots in the interior where you can add the stitching to bring in the color?
|
|
|
|
| double-a |
Jan 11 2021, 12:20 PM
Post
#10
|
|
Senior Member Group: Members Posts: 989 Joined: 15-September 03 From: vancouver, wa, usa Member No.: 1,162 Region Association: Pacific Northwest |
this is lovely, nice work!
|
|
|
|
| FRUNKenstein |
Jan 11 2021, 01:41 PM
Post
#11
|
|
Member Group: Members Posts: 111 Joined: 25-May 20 From: Overland Park, KS Member No.: 24,308 Region Association: Upper MidWest |
Thanks for all of the feedback. Point taken on the tape! I may play around with the colored electrical tape idea, but probably will just leave it off except for an autocross day.
As for other spots in the interior, I'm currently having the seats done with the blue plaid seat covers from 914rubber.com, so I think the seats have enough color. I'll have to look around the console and door cards to see. I don't think there's a spot for it on the dash anywhere. I was installing the steering wheel over the weekend and realized the old wheel and adapter were the 6x74 mm pattern, and this new wheel is the 6x70 mm (like Momo). It should be out of the trim shop later this week. I'll post some pics when I get it back and have the new wheel and seats in place. On a somewhat related note, I picked up my X1/9 from the same trim shop today when I dropped the 914 off. I had them re-cover the X1/9's seats, and added some bling to them with an embroidered logo and deviated stitching. Before & after pics below. I did a color change on the car from the matte black done by the previous owner to a mid-70s Fiat factory color, Verde Chiaro last summer. I had tried to dye the old seat inserts to a dark gray, but it didn't come out well on the seats. The door cards came out fine, but not the seats, which is why I had them redone. For the record, it is WAY cheaper to buy a set of pre-fabricated seats covers (like the plaid ones from 914world.com that they are installing now) and have them professionally installed compared to custom fabricated. 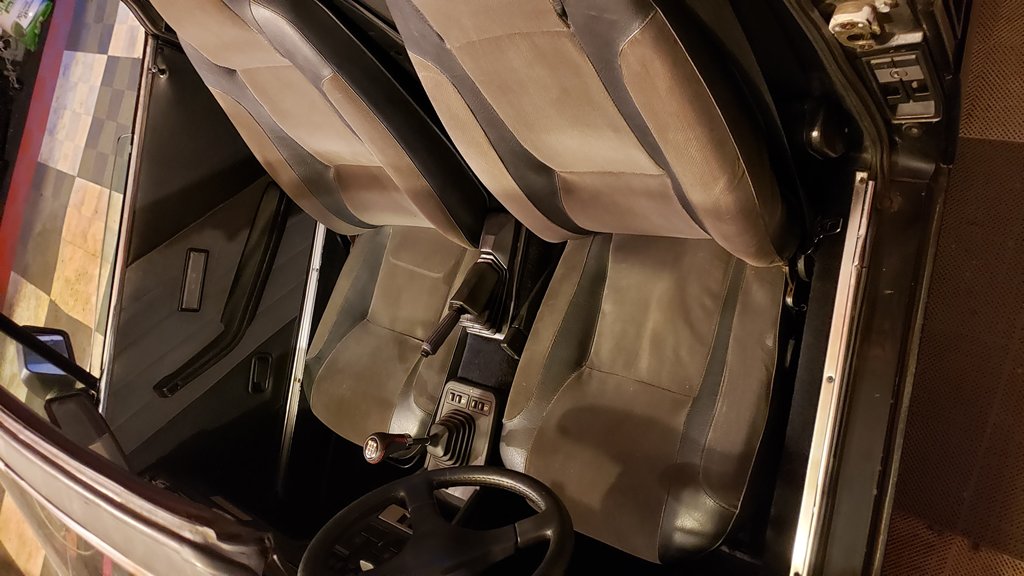 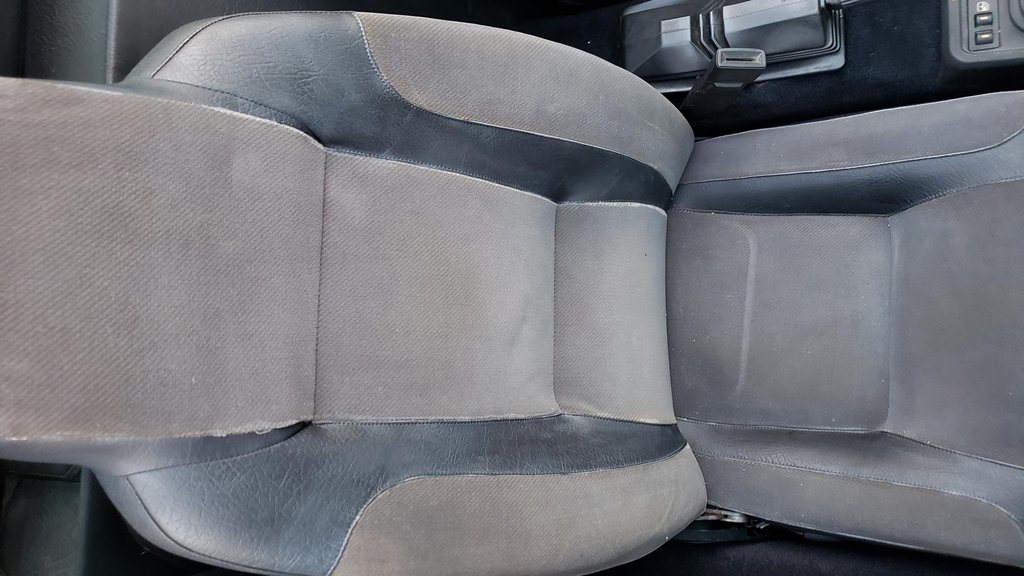 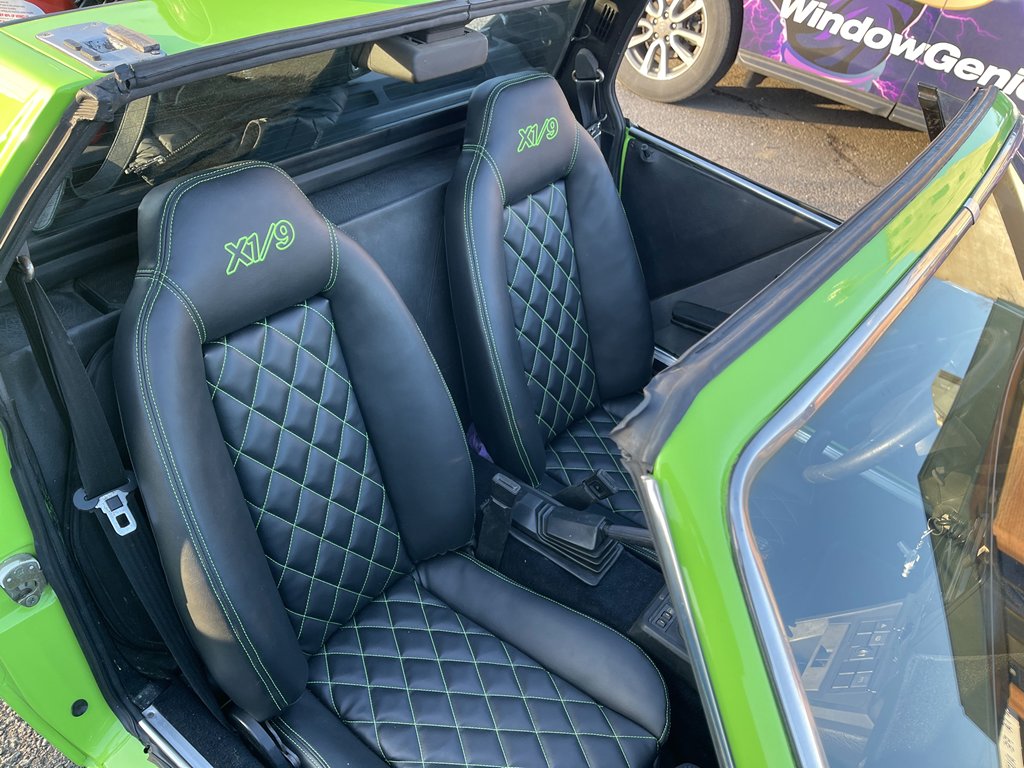 |
|
|
|
|
1 User(s) are reading this topic (1 Guests and 0 Anonymous Users)
0 Members:

|
Lo-Fi Version | Time is now: 28th March 2026 - 11:26 PM |
Invision Power Board
v9.1.4 © 2026 IPS, Inc.