|
|
|
Porsche, and the Porsche crest are registered trademarks of Dr. Ing. h.c. F. Porsche AG.
This site is not affiliated with Porsche in any way. Its only purpose is to provide an online forum for car enthusiasts. All other trademarks are property of their respective owners. |
|
|

  |

| rfinegan |
 Feb 13 2021, 05:59 PM Feb 13 2021, 05:59 PM
Post
#41
|
|
Senior Member  Group: Members Posts: 1,204 Joined: 8-February 13 From: NC Member No.: 15,499 Region Association: MidAtlantic Region |
Started trimming my 1.7 rockers for Elephant Foot rocker adjusters for 911. More on that to come....
|
   |

 
|
| rfinegan |
Feb 13 2021, 06:00 PM
Post
#42
|
|
Senior Member Group: Members Posts: 1,204 Joined: 8-February 13 From: NC Member No.: 15,499 Region Association: MidAtlantic Region |
Waiting on pressure plate before I can balance the rotating assembly
|
|
|
|
| BeatNavy |
Feb 13 2021, 06:54 PM
Post
#43
|
|
Certified Professional Scapegoat Group: Members Posts: 2,963 Joined: 26-February 14 From: Easton, MD Member No.: 17,042 Region Association: MidAtlantic Region |
I hope you're enjoying the process. I enjoyed it and it was really gratifying when it fired up and ran like a real champ (after I fixed the broken rings).
I'm following your progress, and here's hoping you are stoked with the outcome (IMG:style_emoticons/default/beer.gif) |
|
|
|
| rfinegan |
Feb 13 2021, 07:45 PM
Post
#44
|
|
Senior Member Group: Members Posts: 1,204 Joined: 8-February 13 From: NC Member No.: 15,499 Region Association: MidAtlantic Region |
Thanks my friend, It has been as much fun sharing the process with the "World" as leaning how to do it your self.
I am still on track for Spring start up, and still on track for my expected Hp of 130hp (+- ) Was the top ring gaped too tight? What did you gap your rings at to resolve your issues? KB pistons? and about 002 -003 piston to cylinder clearances? My heads are on the way to Jorge at EMW and looking forward to getting them back soon..(lots of good stuff to share) Best -Robert QUOTE(BeatNavy @ Feb 13 2021, 04:54 PM)  I hope you're enjoying the process. I enjoyed it and it was really gratifying when it fired up and ran like a real champ (after I fixed the broken rings). I'm following your progress, and here's hoping you are stoked with the outcome (IMG:style_emoticons/default/beer.gif) |
|
|
|
| rfinegan |
Feb 13 2021, 08:08 PM
Post
#45
|
|
Senior Member Group: Members Posts: 1,204 Joined: 8-February 13 From: NC Member No.: 15,499 Region Association: MidAtlantic Region |
Great advice. I have an aluminum 1/2 starter ring from a VW that I plan on supporting the bottom 1/2 (BOLT ON) with at least 2 more supports. Should not be too hard to fab up. I will post pics one I get it set up. SHOULD be inexpensive solution. Free to me
-Robert QUOTE(VaccaRabite @ Jan 26 2021, 06:00 AM) Though I have built an engine on that type of yolk, its made for T1 engines and for a T4 engine it puts a LOT of stress on the engine case especially when the engine is more dressed. The better kind had a ring to let the case bear against. There is a very expensive one ($300) and a cheaper on like I have that has three spokes and a 1/2 ring. And for the life of me I can't remember who made mine. :/ Either way, I would not use that yolk for your engine build. Its rolling dice. You may be fine, or you may have a broken case. At the very least, weld a 1/2 ring around it for the case to bear against. Zach |
|
|
|
| rfinegan |
Feb 14 2021, 01:05 PM
Post
#46
|
|
Senior Member Group: Members Posts: 1,204 Joined: 8-February 13 From: NC Member No.: 15,499 Region Association: MidAtlantic Region |
Decided to change things up a little today. I decided to modify my oil baffle/widage tray. A few guesses where to places oil returns to keep the push rod tubes and valve covers full of oil during sustained high revs and let the oil drain back a little more freely. Opened the center louvers for the same reasons. I guess there is not wrong way to do this. But some mods are better then others depending on what you are trying to improve.
Stock tray keeps the oil from sloshing pretty good , but drain back suffers with "Hi revs" . Early engine 1.7 did not have this? Step bit Cordless drill Sceatch owl (to her find the locations ) Cut off wheel in die grinder Debur tool Polish /Buffer on angle die grinder I may have done this different on my second Mod ..but learning here as I go... 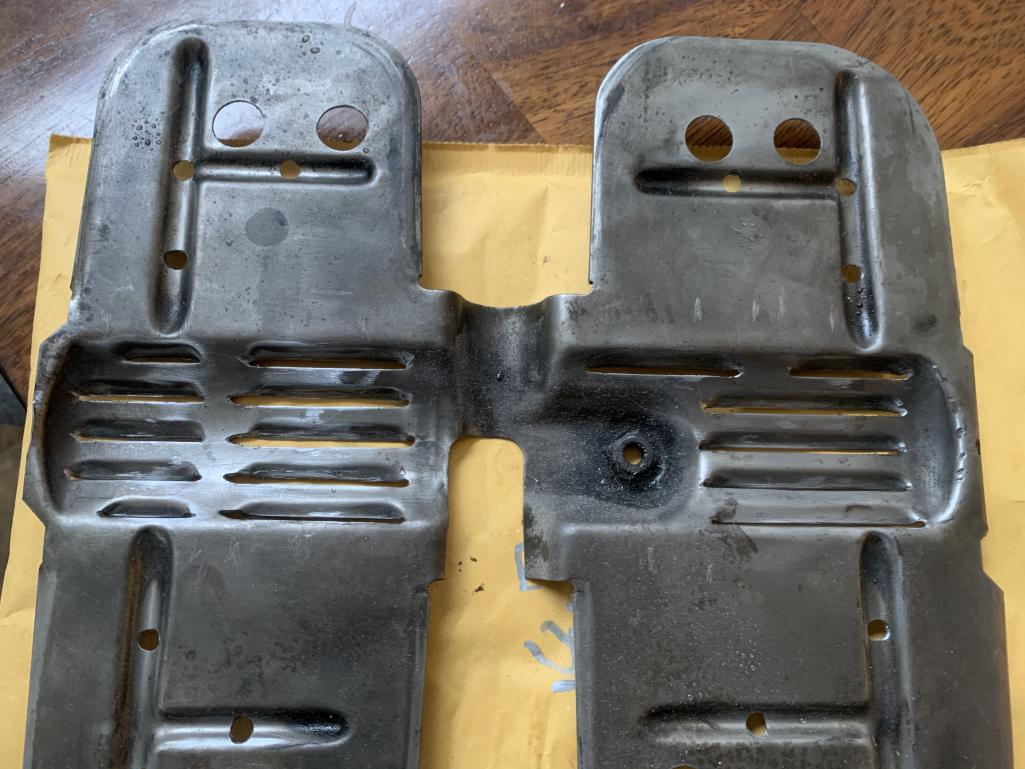 |
|
|
|
| rfinegan |
Feb 24 2021, 03:41 PM
Post
#47
|
|
Senior Member Group: Members Posts: 1,204 Joined: 8-February 13 From: NC Member No.: 15,499 Region Association: MidAtlantic Region |
Trimming the 1.7 rockers for 911 elephant feet swivel tips. THESE ROCKER ARE HARD.
I had a 5/8 carbide ends mill to take 0.060 off the bottom of the rocker tip. Then used a 90 degree carbide chamfer bit ( carbide too) to cut another 0.060 bevel to allow the tip to rock when close to the rocker tip. Here is the final result: 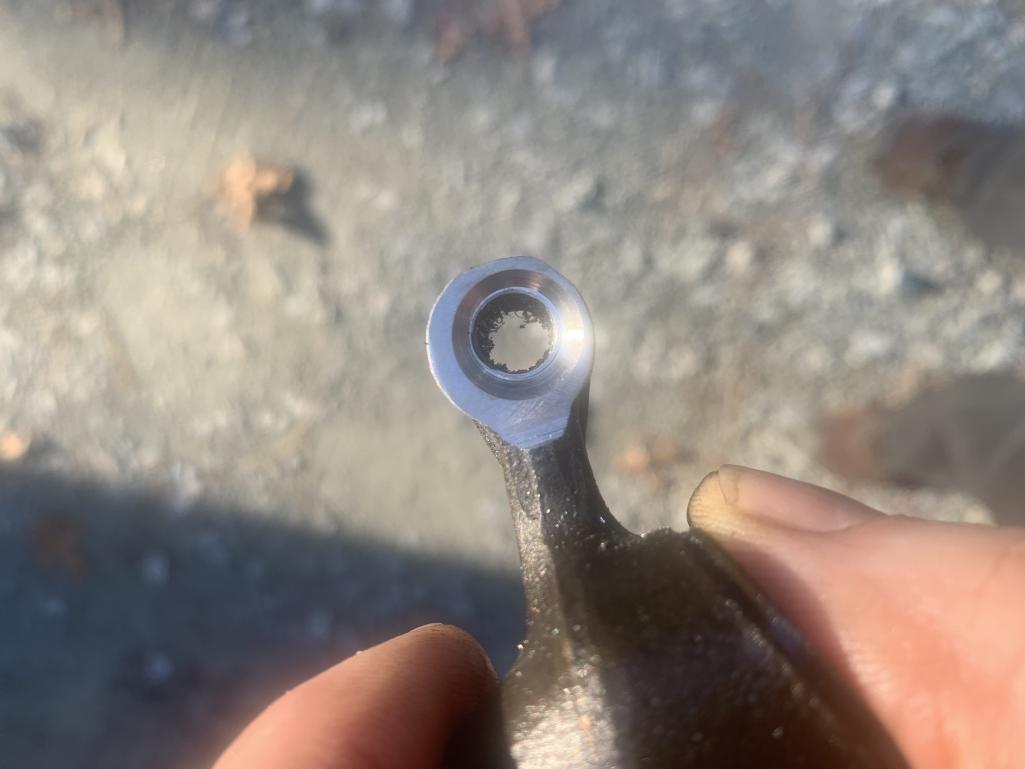 |
|
|
|
| VaccaRabite |
Feb 25 2021, 09:58 AM
Post
#48
|
|
En Garde! Group: Admin Posts: 13,882 Joined: 15-December 03 From: Dallastown, PA Member No.: 1,435 Region Association: MidAtlantic Region |
I did my rockers using a bench grinder to take down the bulk and a die grinder to form the inner bevel.
Lots of ways to skin that cat. Zach |
|
|
|
| jd74914 |
Feb 25 2021, 10:53 AM
Post
#49
|
|
Its alive Group: Members Posts: 4,880 Joined: 16-February 04 From: CT Member No.: 1,659 Region Association: North East States |
Have to say I'm enjoying watching your progress! (IMG:style_emoticons/default/biggrin.gif)
You've got a pretty decent size lathe-makes that flywheel look small. Wish mine had that much swing! (IMG:style_emoticons/default/laugh.gif) |
|
|
|
| rfinegan |
Feb 25 2021, 12:21 PM
Post
#50
|
|
Senior Member Group: Members Posts: 1,204 Joined: 8-February 13 From: NC Member No.: 15,499 Region Association: MidAtlantic Region |
QUOTE(VaccaRabite @ Feb 25 2021, 07:58 AM) I did my rockers using a bench grinder to take down the bulk and a die grinder to form the inner bevel. Lots of ways to skin that cat. Zach yeah, carbide bits are getting my budget whacked ... (IMG:style_emoticons/default/beerchug.gif) |
|
|
|
| rfinegan |
Mar 4 2021, 06:29 PM
Post
#51
|
|
Senior Member Group: Members Posts: 1,204 Joined: 8-February 13 From: NC Member No.: 15,499 Region Association: MidAtlantic Region |
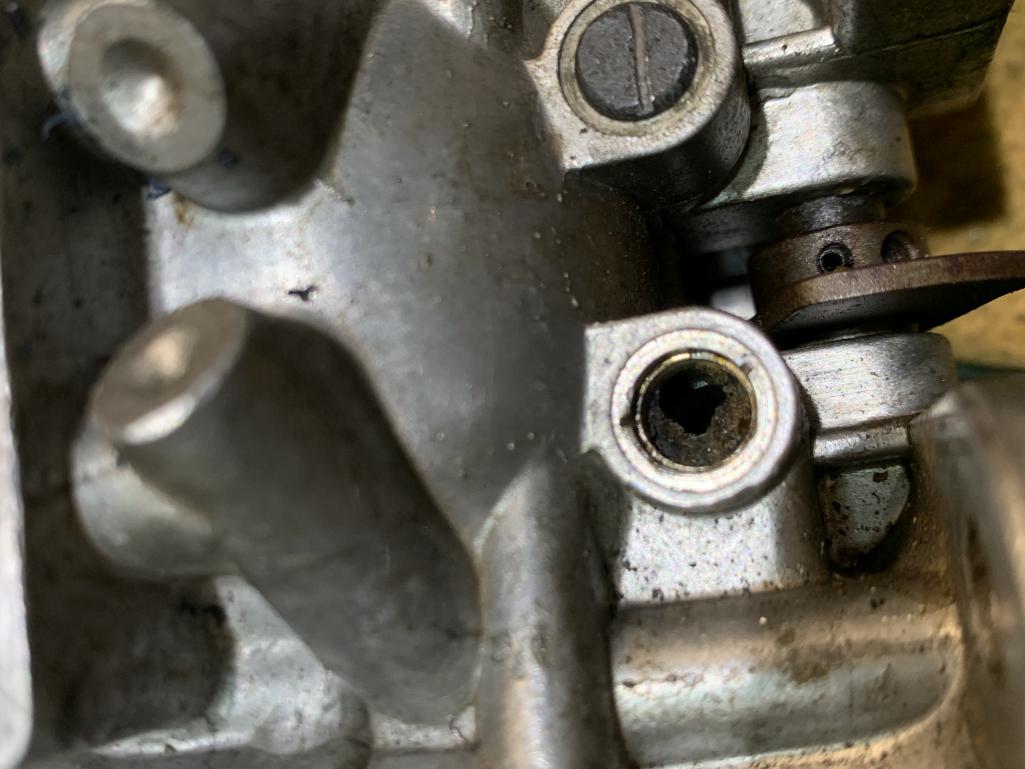
Tonight i decided to pull down the Old Weber 44 IDFs and get them cleaned up (rebuilt) before they are needed. Pretty standard results and dried gas. I decided to pull the lead Gallery plugs, which are prone to leaking and drill tap and seal the plug holes with 8mmx1.0x5mm fine set screws. (smaller metric plugs require less material removal before tapping)
@VaccaRabite did a fine write up on this here: http://www.914world.com/bbs2/lofiversion/i...hp?t133490.html I am very happy I decided upon this course of action as I found all kinds of solids in one in the wells/galleys Here: 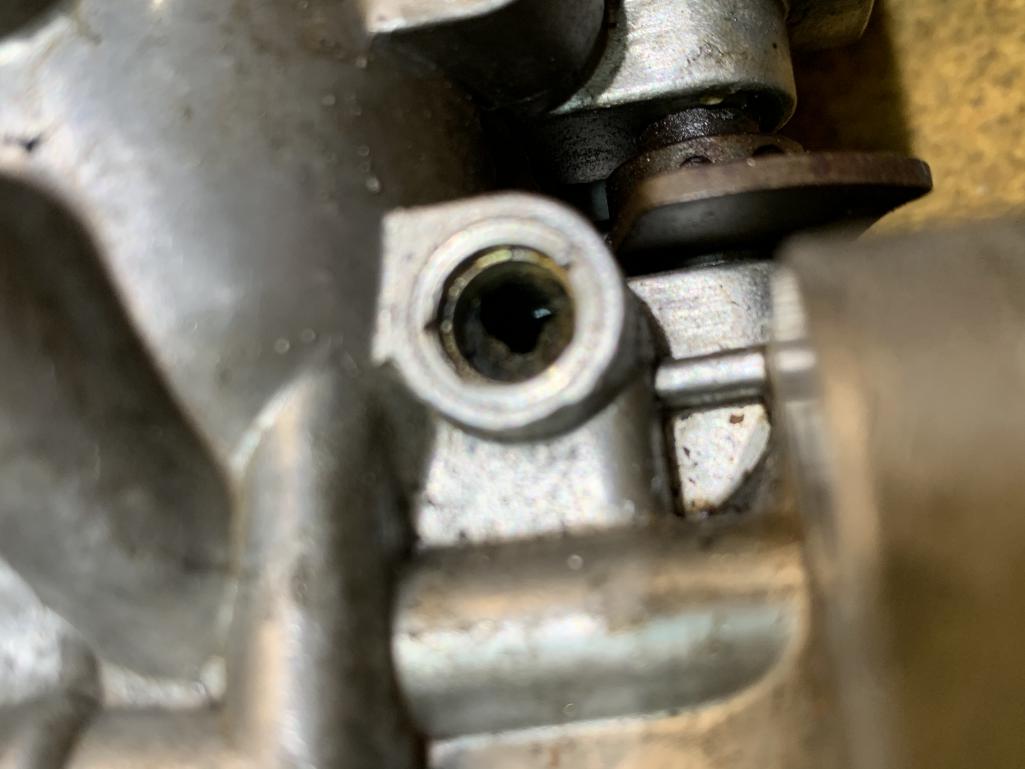 |
|
|
|
| rfinegan |
Mar 4 2021, 06:31 PM
Post
#52
|
|
Senior Member Group: Members Posts: 1,204 Joined: 8-February 13 From: NC Member No.: 15,499 Region Association: MidAtlantic Region |
other carb
Solids are seen in both holes here too. 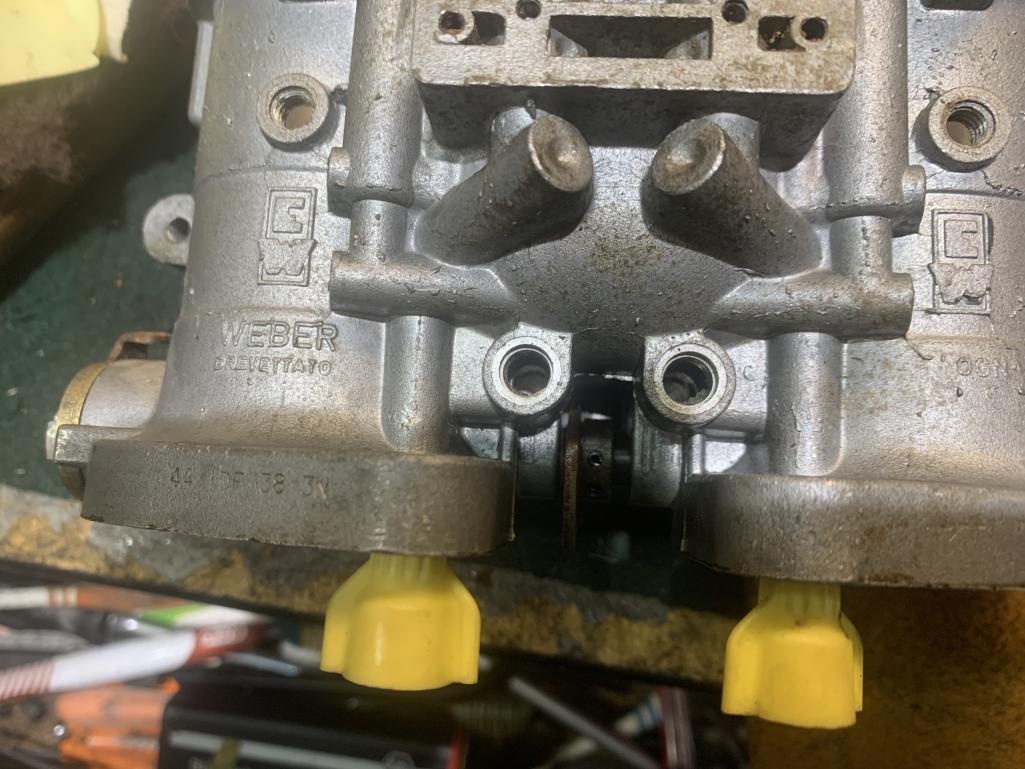 |
|
|
|
| rfinegan |
Mar 4 2021, 06:42 PM
Post
#53
|
|
Senior Member Group: Members Posts: 1,204 Joined: 8-February 13 From: NC Member No.: 15,499 Region Association: MidAtlantic Region |
a better shot of the plugs hole
 |
|
|
|
| rfinegan |
Mar 11 2021, 06:03 PM
Post
#54
|
|
Senior Member Group: Members Posts: 1,204 Joined: 8-February 13 From: NC Member No.: 15,499 Region Association: MidAtlantic Region |
Tonight my set screw (cup points) come in M8-10x5mm and uses a 7mm drill and m8-1 tap
Here is the video of the installation for those with leaky wells. First, i drilled a small home in the lead plugs and a slide hammer to remove... then to the mill... https://www.youtube.com/watch?v=ub0cDqze9wE |
|
|
|
| rfinegan |
Mar 18 2021, 03:55 PM
Post
#55
|
|
Senior Member Group: Members Posts: 1,204 Joined: 8-February 13 From: NC Member No.: 15,499 Region Association: MidAtlantic Region |
This week was fabrication work: 2 1/8 exhaust pipe
I recently picked up a Pete weber 4-2-1 quiet Horsepower Header( looks a lot like an early Tangerine super header). I had the Evo II muffler with the Kerry hunter header. But the KH is 1.5 in primary and the 2056 needs to breathe deep. The 4-2-1 is 1 5/8 primary and has stub pipes! The Outlet is 2 1/8. So I had to make the transition pipe to the muffler and add an O2 bung after the last collector. Its tack welded together and will get the TIG torch out over the week end 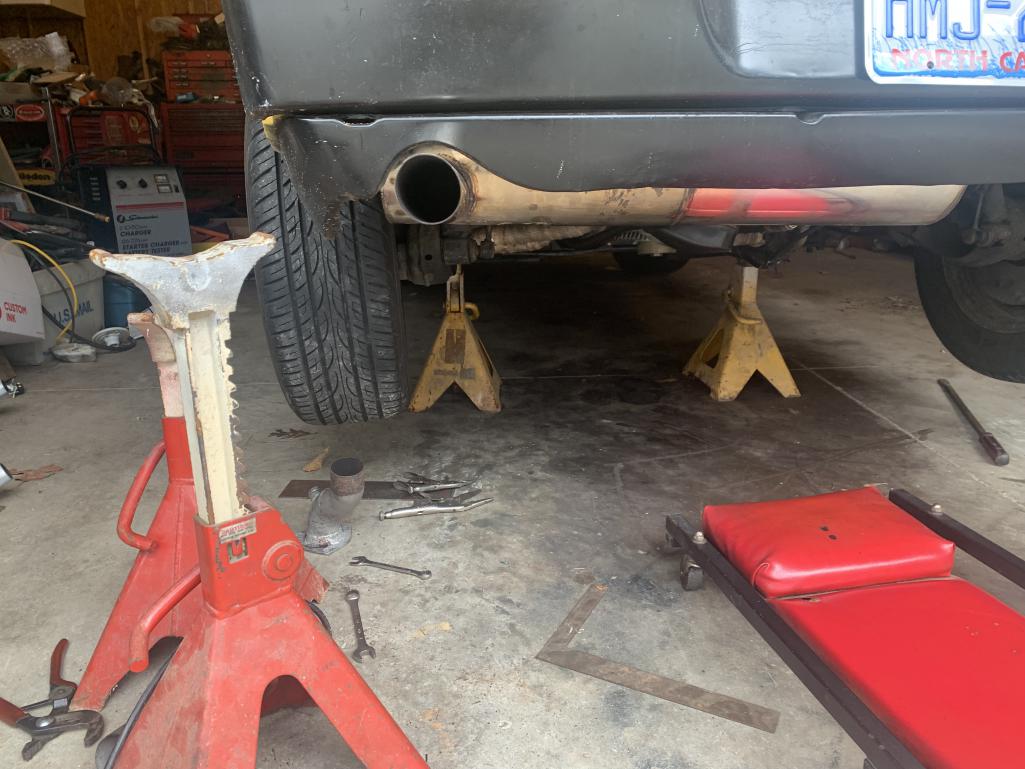 |
|
|
|
| rfinegan |
Mar 18 2021, 03:56 PM
Post
#56
|
|
Senior Member Group: Members Posts: 1,204 Joined: 8-February 13 From: NC Member No.: 15,499 Region Association: MidAtlantic Region |
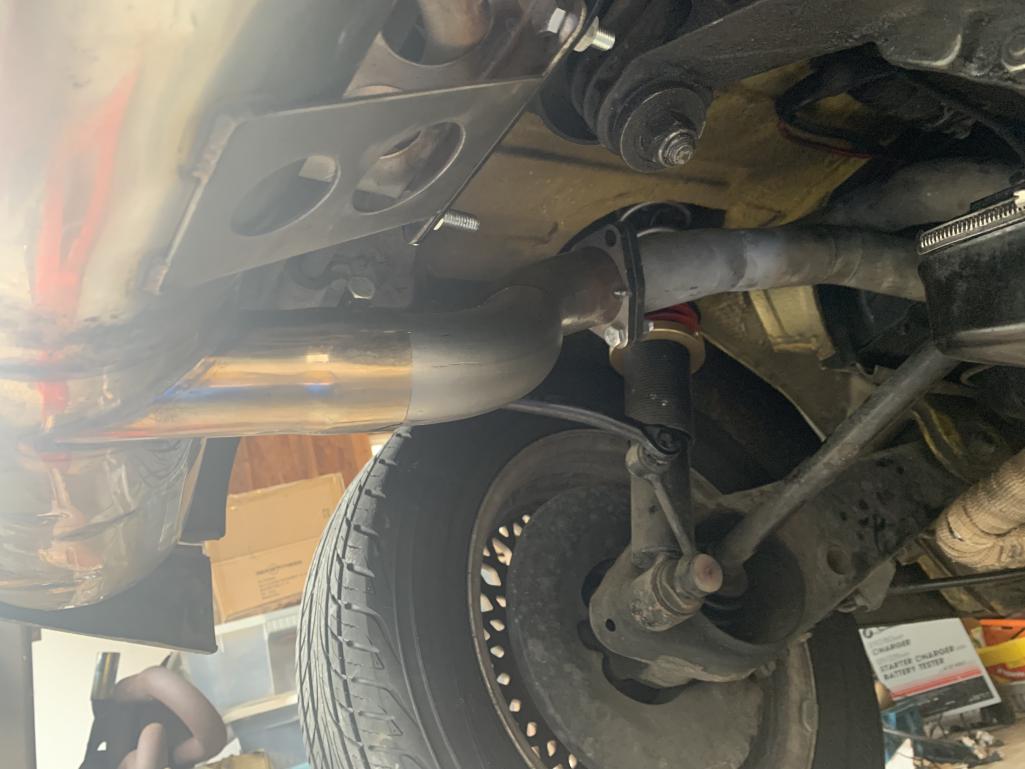
another view
 |
|
|
|
| rfinegan |
Mar 18 2021, 03:57 PM
Post
#57
|
|
Senior Member Group: Members Posts: 1,204 Joined: 8-February 13 From: NC Member No.: 15,499 Region Association: MidAtlantic Region |
|
|
|
|
| rfinegan |
Mar 18 2021, 04:14 PM
Post
#58
|
|
Senior Member Group: Members Posts: 1,204 Joined: 8-February 13 From: NC Member No.: 15,499 Region Association: MidAtlantic Region |
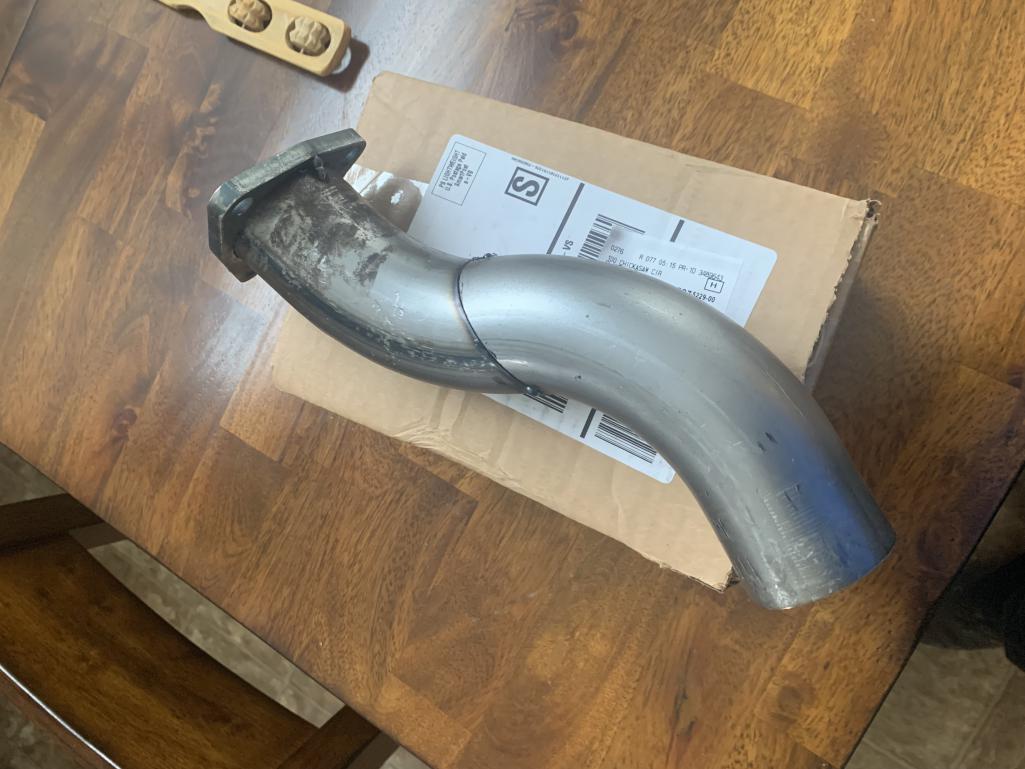
forgot the shot of the pipe
 |
|
|
|
| rfinegan |
Mar 24 2021, 07:20 AM
Post
#59
|
|
Senior Member Group: Members Posts: 1,204 Joined: 8-February 13 From: NC Member No.: 15,499 Region Association: MidAtlantic Region |
Heads: Started life as 1.8 heads
Here is a pic from the machinist of the new chamber with 44 x38 valves and 57 CC cambers More when they arrive 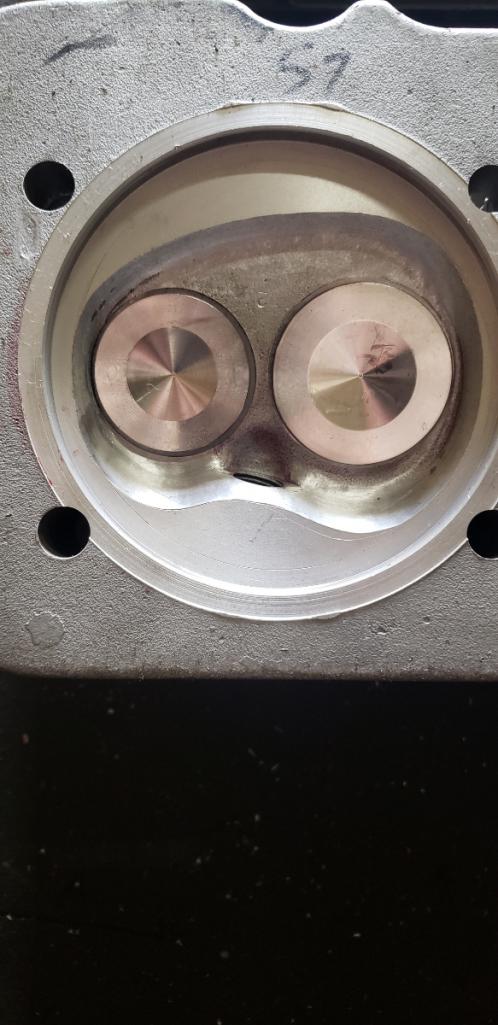 |
|
|
|
| rfinegan |
Mar 24 2021, 07:24 AM
Post
#60
|
|
Senior Member Group: Members Posts: 1,204 Joined: 8-February 13 From: NC Member No.: 15,499 Region Association: MidAtlantic Region |
Trying make some sense out of the balance card
Looks like it was a little out of balance 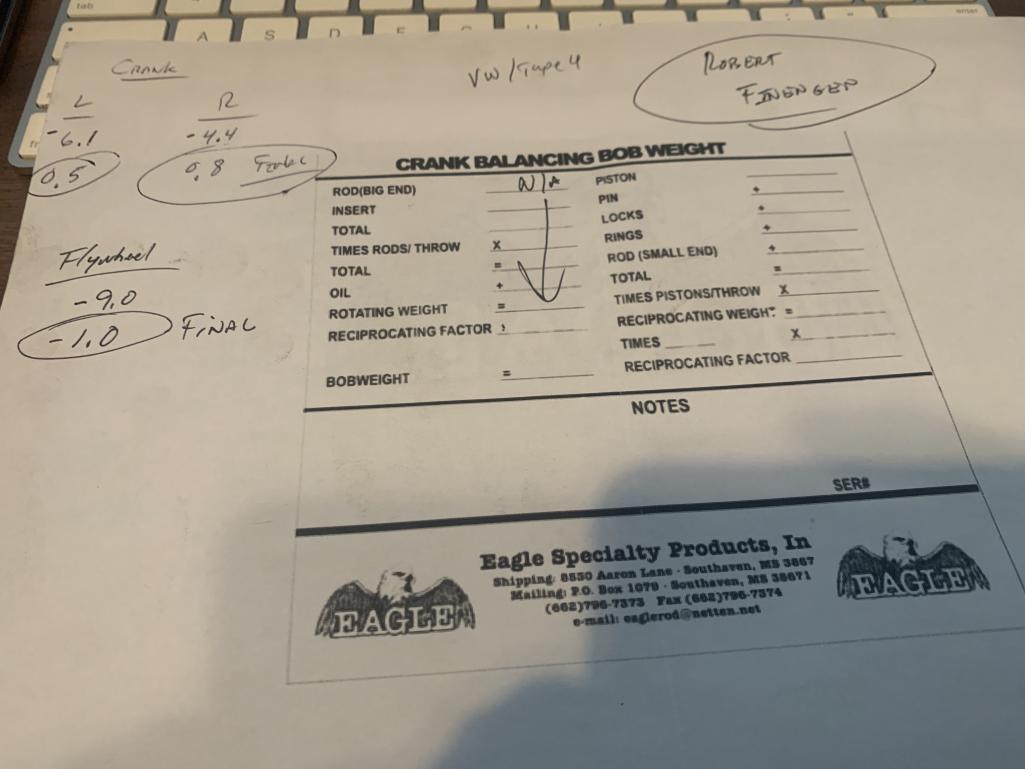 |
|
|
|
|
1 User(s) are reading this topic (1 Guests and 0 Anonymous Users)
0 Members:

|
Lo-Fi Version | Time is now: 15th June 2026 - 03:24 AM |
Invision Power Board
v9.1.4 © 2026 IPS, Inc.