|
|
|
Porsche, and the Porsche crest are registered trademarks of Dr. Ing. h.c. F. Porsche AG.
This site is not affiliated with Porsche in any way. Its only purpose is to provide an online forum for car enthusiasts. All other trademarks are property of their respective owners. |
|
|

  |

| jd74914 |
 Aug 8 2023, 08:25 AM Aug 8 2023, 08:25 AM
Post
#181
|
|
Its alive  Group: Members Posts: 4,864 Joined: 16-February 04 From: CT Member No.: 1,659 Region Association: North East States |
Very cool!
What's the deal with the mill? Is that an automated 4th axis? Unsolicited feedback: You might want to relieve on the back of the splines (cut down the axle and then fillet into the splines). I've done the same cutting you're showing and twisted then sheared at the stress concentration where the splines land in the main axle on two occasions and now always put a neck down like shown in the below image. (IMG:http://www.914world.com/bbs2/uploads_offsite/bloozeown.weebly.com-1659-1691504744.1.jpg) |
   |

 
|
| East coaster |
Aug 8 2023, 01:01 PM
Post
#182
|
|
Senior Member Group: Members Posts: 1,903 Joined: 28-March 03 From: Millville, NJ Member No.: 487 Region Association: None |
Thanks for the feedback Jim. The mill is just an old Bridgeport that I put a DRO on. It’s awesome to have in the shop. I also have a 100 year old LeBlond lathe, and between the two of them you can make almost anything if you have the skills (I’m working on it).
The piece I machined was just a practice piece I was using to test out the process. I plan to mimic the Subaru shaft when I cut and spline the real shaft and I think the Subaru shaft has a relief like you mention. |
|
|
|
| jd74914 |
Aug 8 2023, 08:58 PM
Post
#183
|
|
Its alive Group: Members Posts: 4,864 Joined: 16-February 04 From: CT Member No.: 1,659 Region Association: North East States |
Cool! Sounds like a nice set! I love my Clausing lathe and can't wait to get a new [to me] mill.
You can get a lot of work done with just a DRO. And TBH full manual is probably a better starting point, at least from what I learned from the master machinists who taught me. It's nice to be able to be able to assess a cut by sight/sound/touch all at once while you're working the machine. Sounds good on the half shafts. The car I twisted/spiral sheared almost exactly like the below picture and when we analyzed saw that the cracking actually started at the root of the spline. In my case is was a 25mm diameter shaft on a 120ish hp car formula car which did launch so perhaps more load than you'll see, but still something you don't forget. (IMG:style_emoticons/default/bootyshake.gif) (IMG:http://www.914world.com/bbs2/uploads_offsite/ars.els-cdn.com-1659-1691549938.1.jpg) Can't wait to see the final product! Your whole project is awesome BTW! (IMG:style_emoticons/default/first.gif) |
|
|
|
| East coaster |
Aug 15 2023, 06:37 PM
Post
#184
|
|
Senior Member Group: Members Posts: 1,903 Joined: 28-March 03 From: Millville, NJ Member No.: 487 Region Association: None |
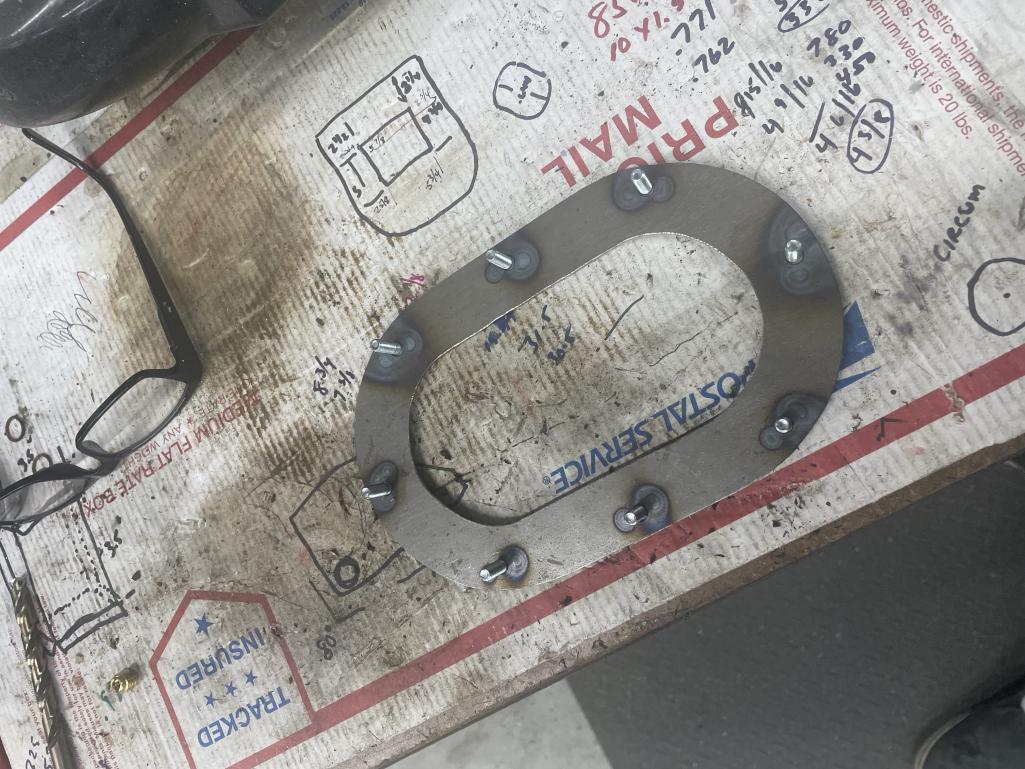
Working on things I can do in the air conditioned portion of my shop. Decided to tackle my fuel tank. I’m using a complete Subaru fuel pump and sender so I fitted that to the tank. The pickup sits in the sump and I made a backing plate with studs to mount the unit. I also cleaned the tank with a vinegar soak for a few days, followed my baking soda and water. All that is left is giving it a coat of paint.
 |
|
|
|
| East coaster |
Aug 15 2023, 06:38 PM
Post
#185
|
|
Senior Member Group: Members Posts: 1,903 Joined: 28-March 03 From: Millville, NJ Member No.: 487 Region Association: None |
Backing plate….
 |
|
|
|
| East coaster |
Aug 15 2023, 06:39 PM
Post
#186
|
|
Senior Member Group: Members Posts: 1,903 Joined: 28-March 03 From: Millville, NJ Member No.: 487 Region Association: None |
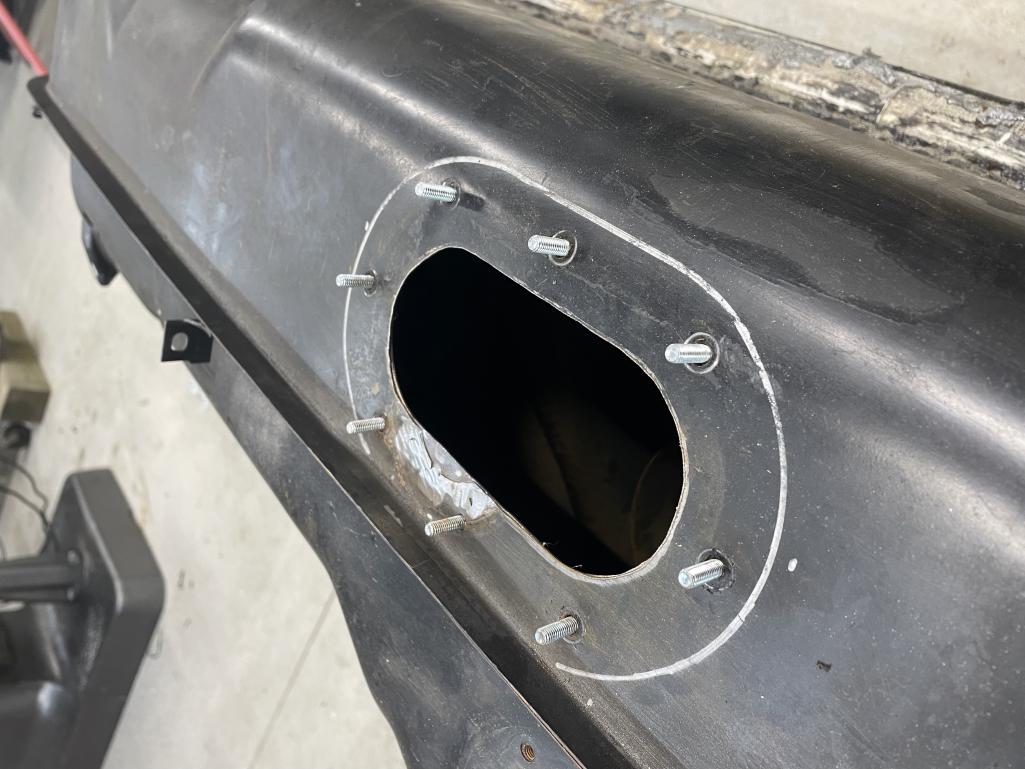
Backing plate welded to tank….
 |
|
|
|
| East coaster |
Aug 15 2023, 06:41 PM
Post
#187
|
|
Senior Member Group: Members Posts: 1,903 Joined: 28-March 03 From: Millville, NJ Member No.: 487 Region Association: None |
Pickup in sump…….I had to turn the sock filter around 180 degrees to have it fit in the sump.
 |
|
|
|
| East coaster |
Aug 24 2023, 07:32 PM
Post
#188
|
|
Senior Member Group: Members Posts: 1,903 Joined: 28-March 03 From: Millville, NJ Member No.: 487 Region Association: None |
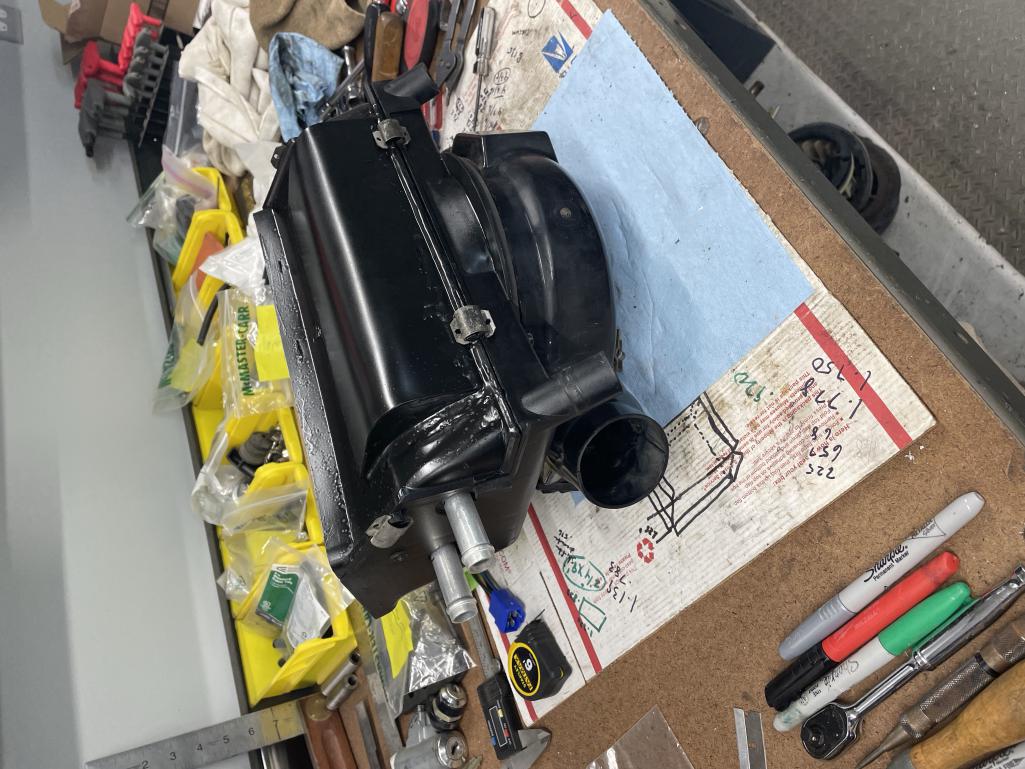
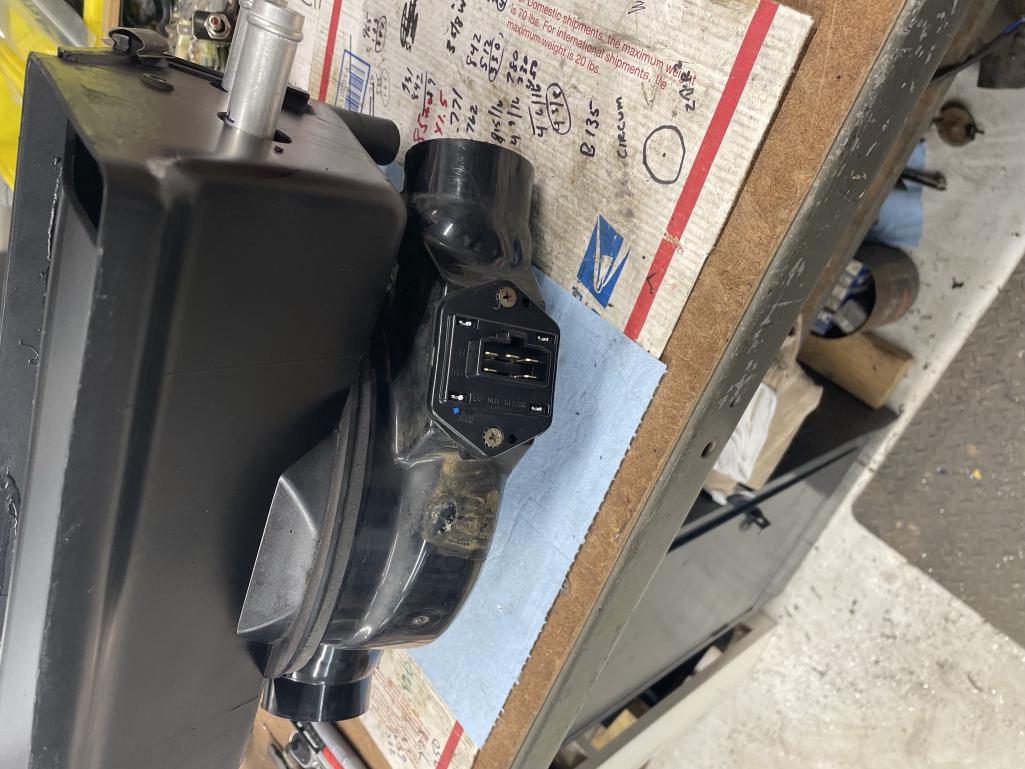
Wrapped up the fresh air box/heater today. All new seals from 914 Rubber, new fan and motor from URO, and mods to house the heater core and the Subaru resistor pack.
 |
|
|
|
| East coaster |
Aug 24 2023, 07:32 PM
Post
#189
|
|
Senior Member Group: Members Posts: 1,903 Joined: 28-March 03 From: Millville, NJ Member No.: 487 Region Association: None |
 |
|
|
|
| East coaster |
Sep 2 2023, 01:58 PM
Post
#190
|
|
Senior Member Group: Members Posts: 1,903 Joined: 28-March 03 From: Millville, NJ Member No.: 487 Region Association: None |
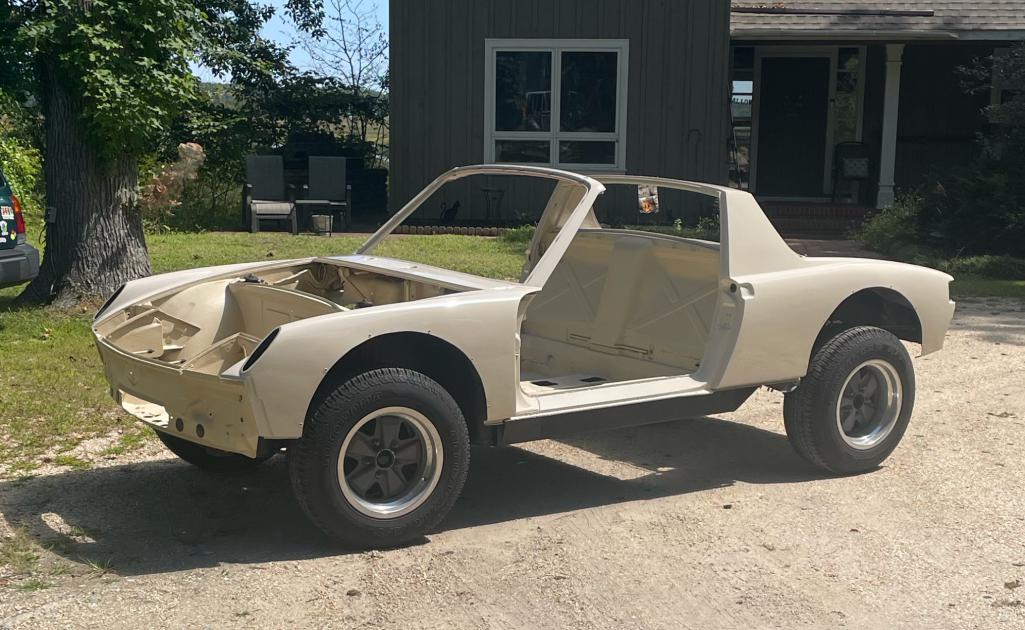
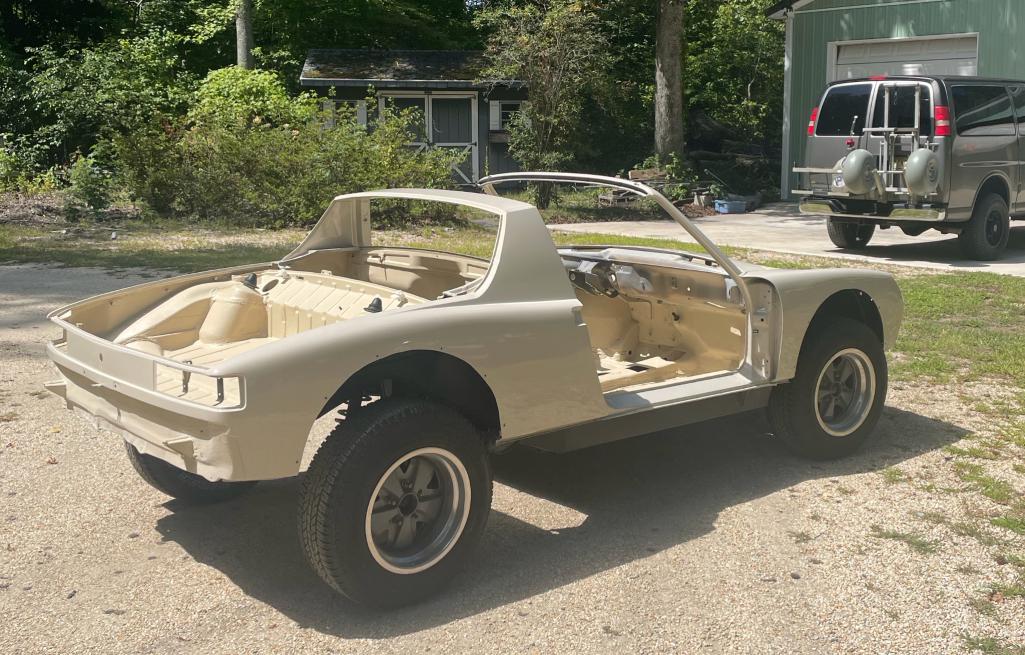
Rolled it out of the paint booth to began sanding off my perfect new paint job and repaint (in the correct color this time!). It’s been a while since I painted it and I was truly just waiting for cooler weather to tackle sanding and respray, but I think I needed this much time to get over the disappointment and frustration of being supplied with the wrong paint. I wished they had given me the wrong color and not just the wrong tone, at least I would’ve noticed before spraying.
 |
|
|
|
| East coaster |
Sep 2 2023, 01:59 PM
Post
#191
|
|
Senior Member Group: Members Posts: 1,903 Joined: 28-March 03 From: Millville, NJ Member No.: 487 Region Association: None |
 |
|
|
|
| East coaster |
Oct 3 2023, 04:35 PM
Post
#192
|
|
Senior Member Group: Members Posts: 1,903 Joined: 28-March 03 From: Millville, NJ Member No.: 487 Region Association: None |
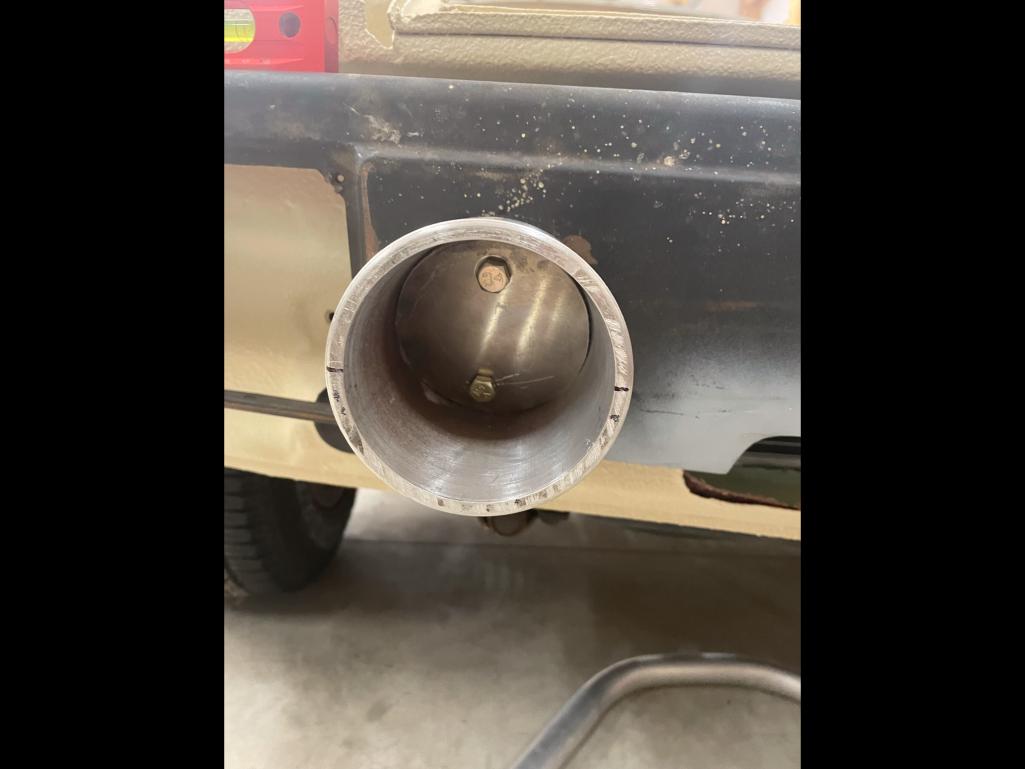
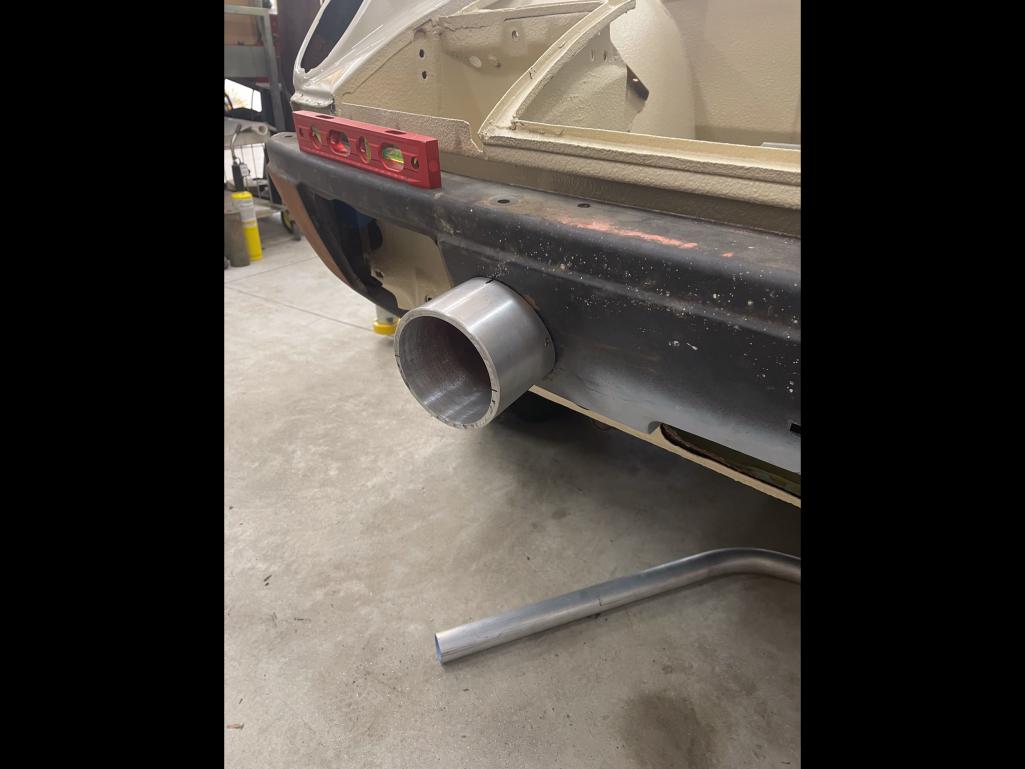
Got back from a two week trip and decided to get a little done on the car while I’m waiting for cooler weather for sanding and paint. I’ve bounced around numerous ideas on a front push bar and here’s what I came up with. It’s all aluminum and pretty darn light so it’s not adding much weight (I think it’s lighter than the bumper tits that it eliminated).
Here are mounts. They’re 4” alum tube shaped to fit the bumper with a 1/4” plate welded at the back for mounting. 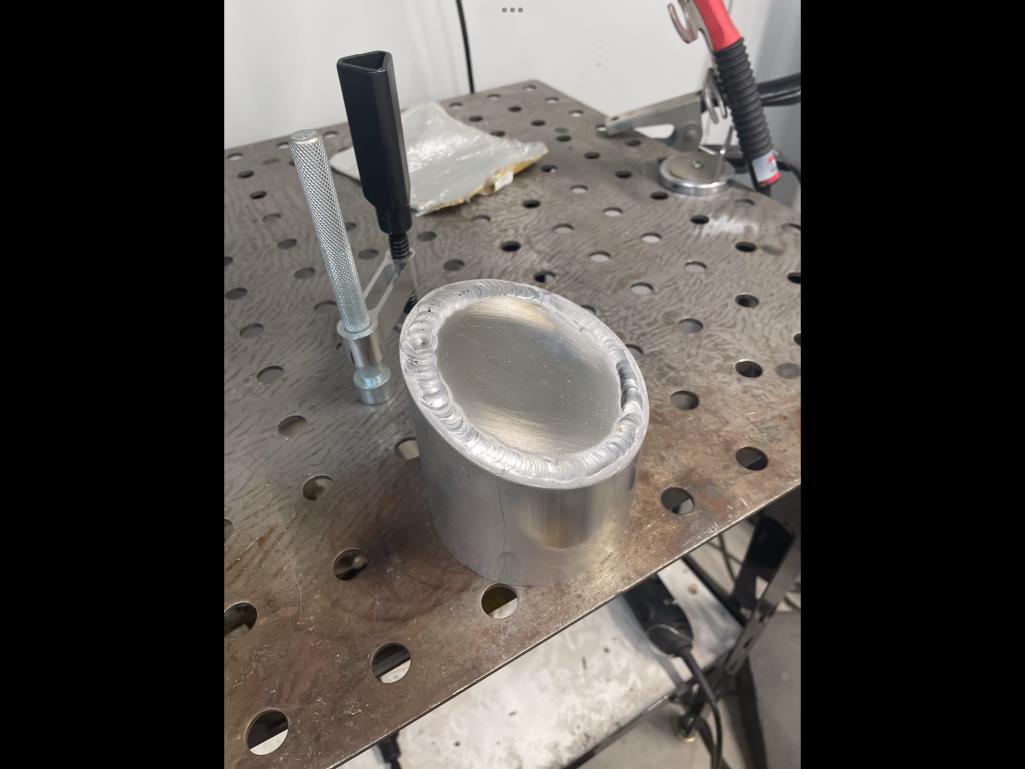 |
|
|
|
| East coaster |
Oct 3 2023, 04:36 PM
Post
#193
|
|
Senior Member Group: Members Posts: 1,903 Joined: 28-March 03 From: Millville, NJ Member No.: 487 Region Association: None |
 |
|
|
|
| East coaster |
Oct 3 2023, 04:36 PM
Post
#194
|
|
Senior Member Group: Members Posts: 1,903 Joined: 28-March 03 From: Millville, NJ Member No.: 487 Region Association: None |
 |
|
|
|
| East coaster |
Oct 3 2023, 04:38 PM
Post
#195
|
|
Senior Member Group: Members Posts: 1,903 Joined: 28-March 03 From: Millville, NJ Member No.: 487 Region Association: None |
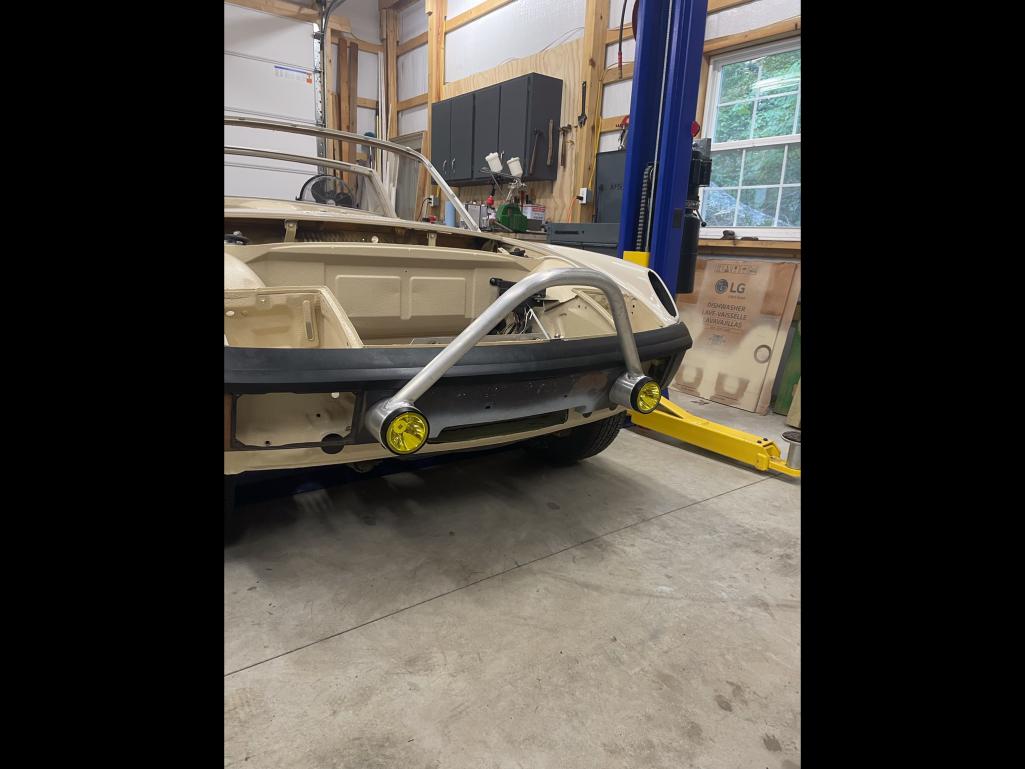
And welded up and mounted with 4” led fog lights
 |
|
|
|
| East coaster |
Oct 3 2023, 04:38 PM
Post
#196
|
|
Senior Member Group: Members Posts: 1,903 Joined: 28-March 03 From: Millville, NJ Member No.: 487 Region Association: None |
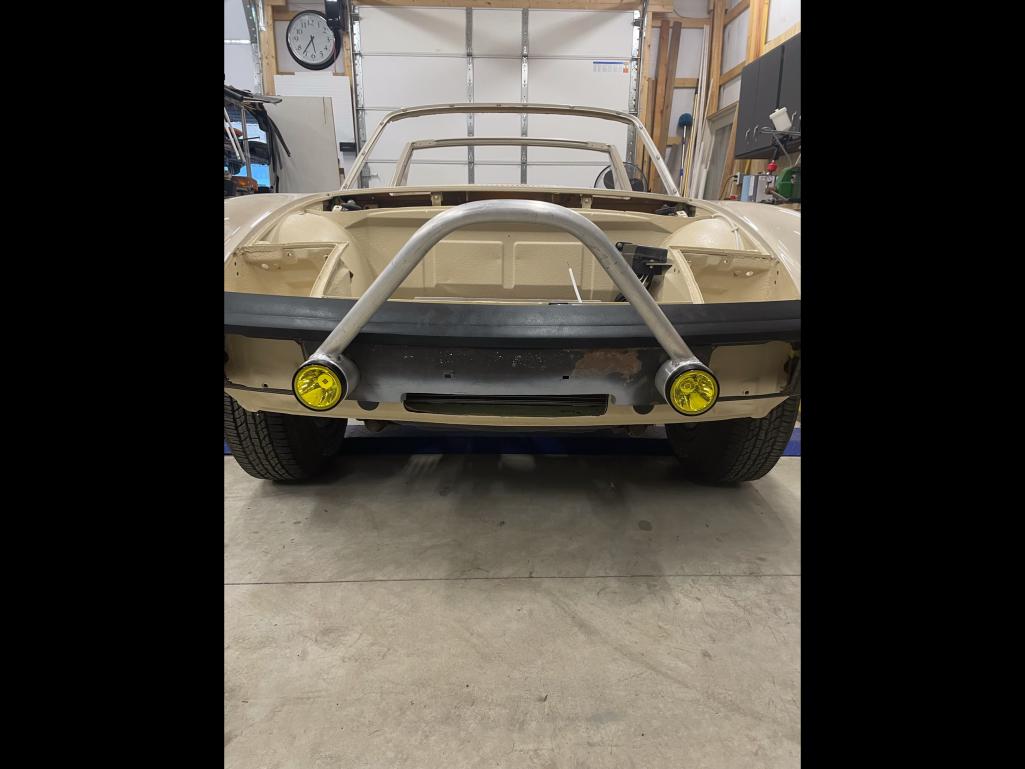
Nuther…..
 |
|
|
|
| East coaster |
Oct 3 2023, 04:42 PM
Post
#197
|
|
Senior Member Group: Members Posts: 1,903 Joined: 28-March 03 From: Millville, NJ Member No.: 487 Region Association: None |
I may still add a cross bar towards the bottom, but that’s for another day.
|
|
|
|
| tygaboy |
Oct 3 2023, 06:02 PM
Post
#198
|
|
914 Guru Group: Members Posts: 5,731 Joined: 6-October 15 From: Petaluma, CA Member No.: 19,241 Region Association: Northern California |
Love it. That looks great! (IMG:style_emoticons/default/aktion035.gif) (IMG:style_emoticons/default/smilie_pokal.gif)
|
|
|
|
| Shivers |
Oct 3 2023, 06:08 PM
Post
#199
|
|
Senior Member Group: Members Posts: 3,214 Joined: 19-October 20 From: La Quinta, CA Member No.: 24,781 Region Association: Southern California |
|
|
|
|

| gereed75 |
Oct 4 2023, 09:01 AM
Post
#200
|
|
Senior Member Group: Members Posts: 1,409 Joined: 19-March 13 From: Pittsburgh PA Member No.: 15,674 Region Association: North East States |
You are doing some incredible work on this car. Mastercraftmens level.
That heater box is just so trick, Wow. |
|
|
|
|
2 User(s) are reading this topic (2 Guests and 0 Anonymous Users)
0 Members:

|
Lo-Fi Version | Time is now: 23rd December 2025 - 09:21 PM |
Invision Power Board
v9.1.4 © 2025 IPS, Inc.