|
|
|
Porsche, and the Porsche crest are registered trademarks of Dr. Ing. h.c. F. Porsche AG.
This site is not affiliated with Porsche in any way. Its only purpose is to provide an online forum for car enthusiasts. All other trademarks are property of their respective owners. |
|
|

  |

| jhynesrockmtn |
 Sep 23 2023, 07:18 AM Sep 23 2023, 07:18 AM
Post
#1
|
|
Member  Group: Members Posts: 418 Joined: 13-June 16 From: spokane wa Member No.: 20,100 Region Association: Pacific Northwest |
I have done a fair bit of searching here and on the web but wanted to do a final check. I've got my Bumblebee back on the road after a winter and now summer of work. I'm finishing up a few final things including replacing the ugly side stripes that were on the car. I bought the set from 914 rubber. Are these any different than other installs I see on the web?
Decide position, tape hinge at the top, wet area, remove backing and start with a squeegee to place and remove bubbles working carefully. Cut at door gaps, let dry and remove top masking? This is one set of instructions I found along with a bunch of videos. Most describe doing the install "wet" but can also be done "dry". Can these decals be done either way? Clean the application area free of all dirt, debris, and waxes... Now select a distance from the bottom edge of the door, (1/4" for example). Now find the center point of the word PORSCHE on the stripe, and mark it with a piece of masking tape across the decal. Now find the center point of your door, and mark with masking tape. These are your locating coordinates. Pretty easy eh? Now comes the fun part. With masking tape, tape only the top edge of the decal stripe (in a hanging style, placing the hanging tape points approx 4" apart). Do this along the length of the car/decal. NOTE* Check your bottom edge dstance along the way as you hang the decal into place. Once you're happy with the positioning; top botom, and center the application begins... Cut the excess stripe from the front and rear, leaving an extra inch after wrapping around the front and rear fender wells. Picking the upper edge, pull the backing from at about a 45° angle, always keeping the backing removal pulling pressure in a downward 45° angle. This maintains consistency in your distance from the bottom. NOTE* Always assure the top edge tape hangers maintain their original positions without being pulled or tweaked out of position during application. With a flexible plastic squeegee and as you're removing the backing, lightly squeegee the decal into position and air bubbles out, using the same 45° downward motion. Do this while staying just behind the backing paper as you remove it for the entire length of the decal. Now go back over the entire decal with the squeegee assuring good adhesion. Dont fret over small air bubbles, as a needle can be used to exhaust the air afterwards. Now you can peel the top off the decal, along the entire length. Almost finished. With a fine sharp pair of scissors, carefully cut the decal in the middle of the front and rear door seams and wrap the decal around those seams. 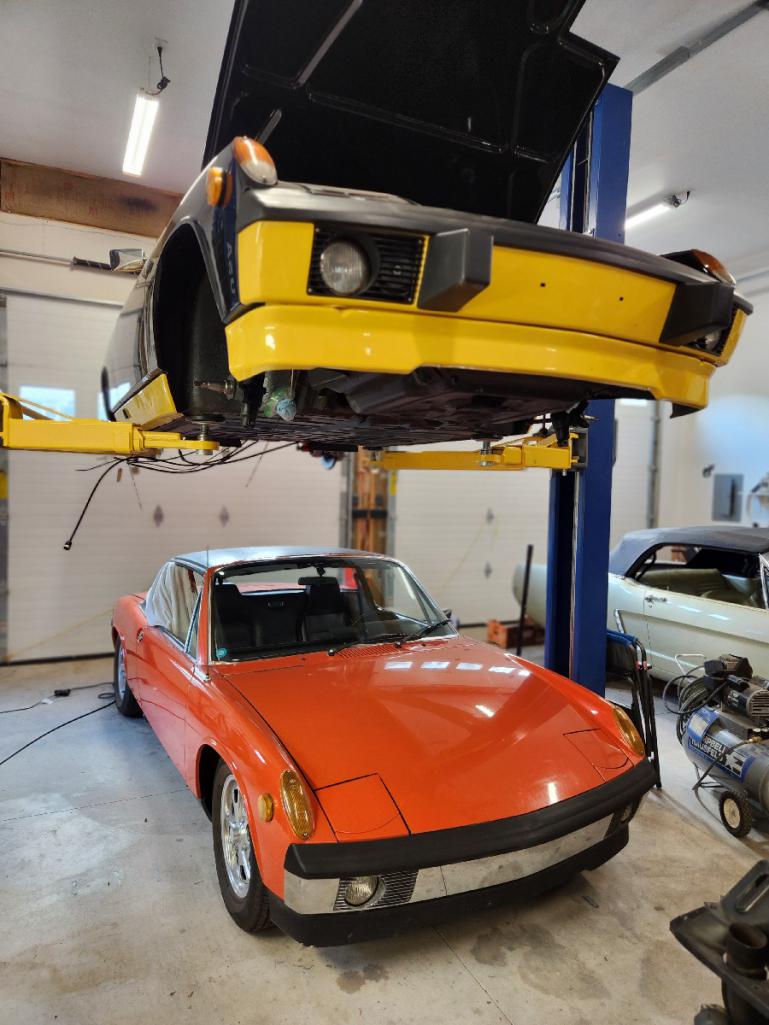 |
   |

 
|
| burton73 |
Sep 23 2023, 08:08 AM
Post
#2
|
|
burton73 Group: Members Posts: 3,524 Joined: 2-January 07 From: Los Angeles Member No.: 7,414 Region Association: Southern California |
I was trying to work out a hot stamping press some 40 years ago. The manufacturer of the machine said to me I’m trying to explain it to you but in the end, its like trying to make love, you just have to try it for yourself.
There are a few ways to do this but, in the end, take the tips in and go for it. I like a wet spray it makes it easier to reposition for me, and it will dry. Pins to pop the bubbles if you can not get them out with a squeegee. Good luck. Bob B https://www.youtube.com/watch?v=zOgaRUar5kg |
|
|
|
| Mikey914 |
Sep 23 2023, 02:21 PM
Post
#3
|
|
The rubber man Group: Members Posts: 12,669 Joined: 27-December 04 From: Hillsboro, OR Member No.: 3,348 Region Association: None |
To lubricate, you can buy a special solution, or take spray bottle, add a few drops of dish soap, and about 1 Oz of denatured alcohol.
You can slide into place with solution, then set by squeegee. The pressure needed is just enough yo make it stick. You can pull the surface paper and further squeegee as necessary to remove bubbles, working to closet edge. Like stated before, you can get a pretty good feel for it, but will take a little practice to be really good at it. |
|
|
|
| scallyk9 |
Sep 24 2023, 12:40 PM
Post
#4
|
|
Member Group: Members Posts: 322 Joined: 16-October 16 From: Port Orchard, WA, USA Member No.: 20,499 Region Association: Pacific Northwest |
Regardng placement on the car, there are published specifications from Porsche as to how far above the rockers and also that the rear door line should bisect the "O" on one side and the "H" on the other. The stripes should wrap around the wheel well fender edges.
The stripes with script were actually shipped with the cars and expected to be installed by dealers since the cars were shipped with protective coating. Not sure where I found the Porsche specs on this but I think it was probably Jeff Bowlsby's LE website. |
 |
|
| jhynesrockmtn |
Sep 26 2023, 07:22 AM
Post
#5
|
|
Member Group: Members Posts: 418 Joined: 13-June 16 From: spokane wa Member No.: 20,100 Region Association: Pacific Northwest |
Thanks for the replies. It is done. Quite the learning curve with these. The driver side was done first. It looks ok if you don't look too close :-) Passenger side went way faster and looks better. I'm not generally a patient person and this requires a fair bit of deep breathing, measuring, not rushing bubbles out, more measuring, more deep breathing. The wetter the better.
Attached image(s) 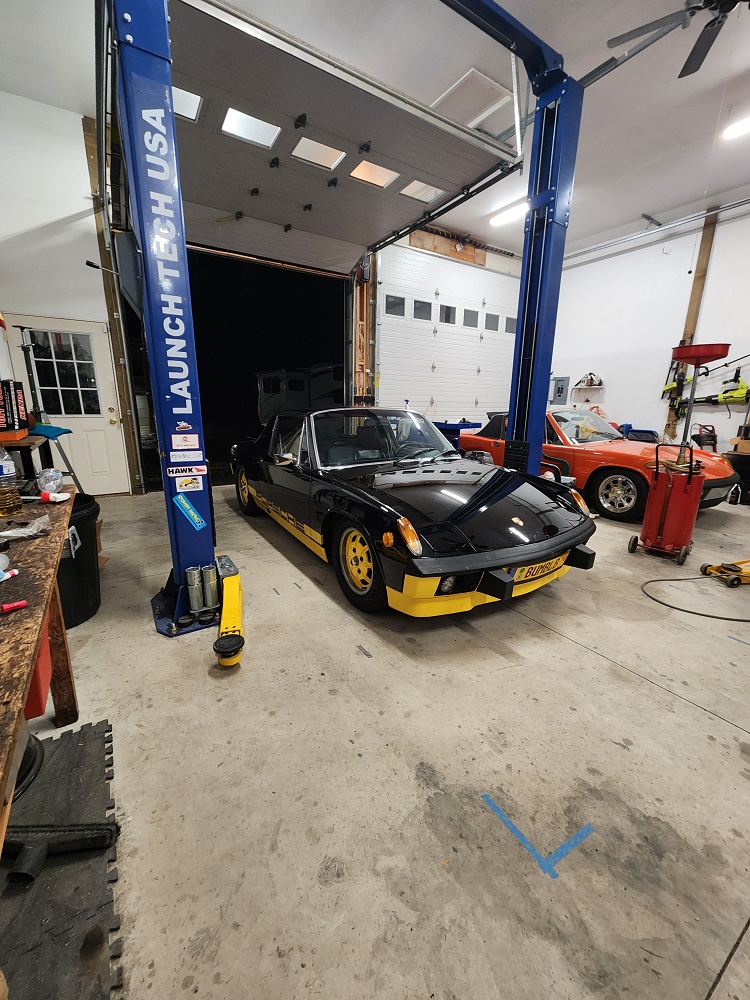
|
|
|
|
|
1 User(s) are reading this topic (1 Guests and 0 Anonymous Users)
0 Members:

|
Lo-Fi Version | Time is now: 17th May 2024 - 06:56 PM |
Invision Power Board
v9.1.4 © 2024 IPS, Inc.