|
|
|
Porsche, and the Porsche crest are registered trademarks of Dr. Ing. h.c. F. Porsche AG.
This site is not affiliated with Porsche in any way. Its only purpose is to provide an online forum for car enthusiasts. All other trademarks are property of their respective owners. |
|
|

  |

| 3d914 |
 May 25 2008, 02:52 PM May 25 2008, 02:52 PM
Post
#21
|
|
Senior Member  Group: Members Posts: 1,275 Joined: 24-September 03 From: Benson, AZ Member No.: 1,191 Region Association: Southwest Region |
Very nice work Craig. What was your choice of primer, and how does it fit into your paint method?
I was under the impression that the type of primer had to match the paint method used (single stage, multi-coat, etc), so I've reached a stopping point. I've narrowed the primer down to either Epoxy or Polyester. Since it looks like you used chemical paint remover I suspect you went with an epoxy primer. Keep up the good work & pics. |
   |

 
|
| craig downs |
May 25 2008, 11:38 PM
Post
#22
|
|
Senior Member Group: Members Posts: 769 Joined: 25-November 05 From: mira loma ca. Member No.: 5,189 Region Association: Southern California |
Thanks Stephen
I used PPG DP40 epoxy primer and had good luck with. I'm planning on using a primer surfacer over it then block sanding it then a sealer before the top coat. You have to make sure that all the primer you use is compatible with each other and your top coat. |
|
|
|
| craig downs |
May 26 2008, 12:02 AM
Post
#23
|
|
Senior Member Group: Members Posts: 769 Joined: 25-November 05 From: mira loma ca. Member No.: 5,189 Region Association: Southern California |
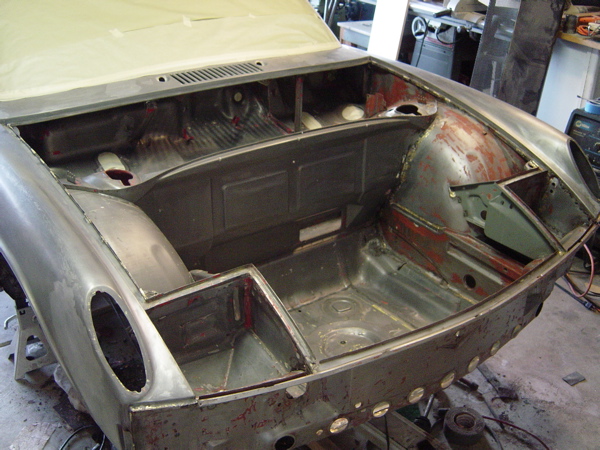
Ok guys here is some more.
On to the front where I install a sway bar with Enmans swaybar supports. I then added some more weld to the front panel and wheel house because I replaced those years ago after a accident. I removed the fenders because the doors gaps were to wide and it made it a little easier to work on. They came off easy because I braised them on before. 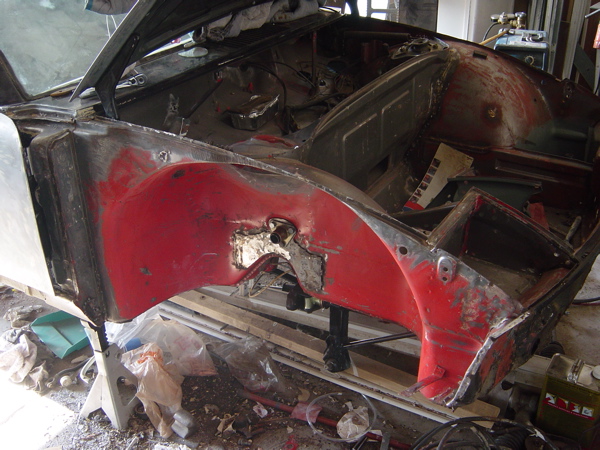 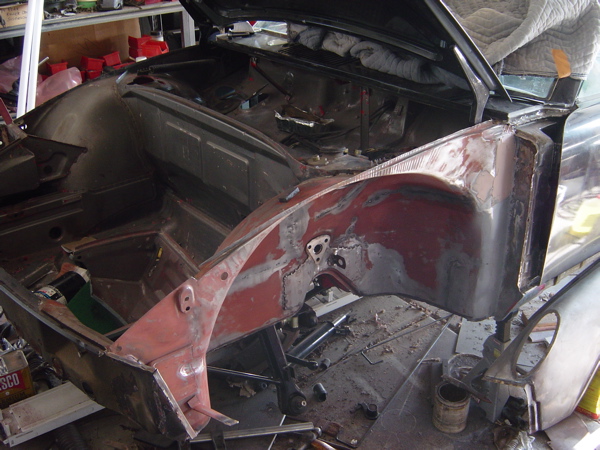 |
|
|
|
| craig downs |
May 26 2008, 12:03 AM
Post
#24
|
|
Senior Member Group: Members Posts: 769 Joined: 25-November 05 From: mira loma ca. Member No.: 5,189 Region Association: Southern California |
I had to remove the head light box because when I put it in before it rubbed with the corner of the hood.
As it turn out it was to wide so I had to shorten it and now its just right 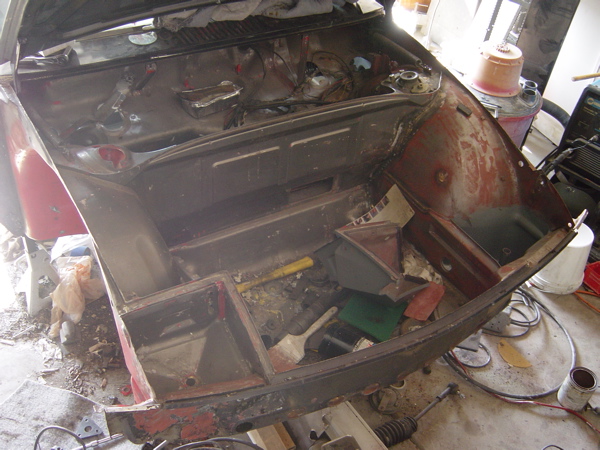 |
|
|
|
| sww914 |
May 26 2008, 12:06 AM
Post
#25
|
|
Advanced Member Group: Members Posts: 2,439 Joined: 4-June 06 Member No.: 6,146 Region Association: None |
QUOTE(computers4kids @ May 25 2008, 12:38 PM)  QUOTE(sww914 @ May 25 2008, 12:19 PM) When you're painting interiors, trunks, or engine compartments a very easy way to mask the odd shaped parts like wire harnesses, steering wheels, or shifters is to wrap them with aluminum foil. It's cheap and easy to apply and remove. With tape at 6-8 bucks a roll a couple dollars of foil goes a long way. Excellent idea...I never thought of that. I never did either. 25 years ago a little tiny old Mexican dude told me- joo white guys don't know how to do nothing. Wrap that sheet in teen foil, ees much faster. (IMG:style_emoticons/default/biggrin.gif) |
|
|
|
| craig downs |
May 26 2008, 12:11 AM
Post
#26
|
|
Senior Member Group: Members Posts: 769 Joined: 25-November 05 From: mira loma ca. Member No.: 5,189 Region Association: Southern California |
With the fenders install
  |
|
|
|
| craig downs |
May 26 2008, 12:24 AM
Post
#27
|
|
Senior Member Group: Members Posts: 769 Joined: 25-November 05 From: mira loma ca. Member No.: 5,189 Region Association: Southern California |
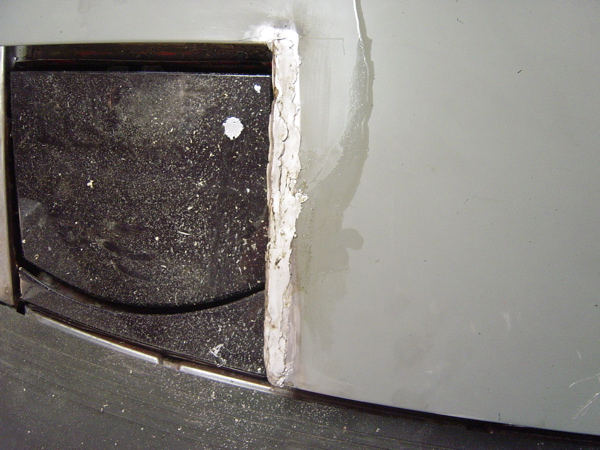
I thought it would be a good idea to check and make sure everything lined up with the hood, headlight doors and ebrows, and the fenders before I finalized everything. As it turned out everything looked good except the hood gap on the passenger side headlight door. So I added to the hood with some lead. Sorry I started taking pics after I had the lead on.
 |
|
|
|
| craig downs |
May 26 2008, 12:27 AM
Post
#28
|
|
Senior Member Group: Members Posts: 769 Joined: 25-November 05 From: mira loma ca. Member No.: 5,189 Region Association: Southern California |
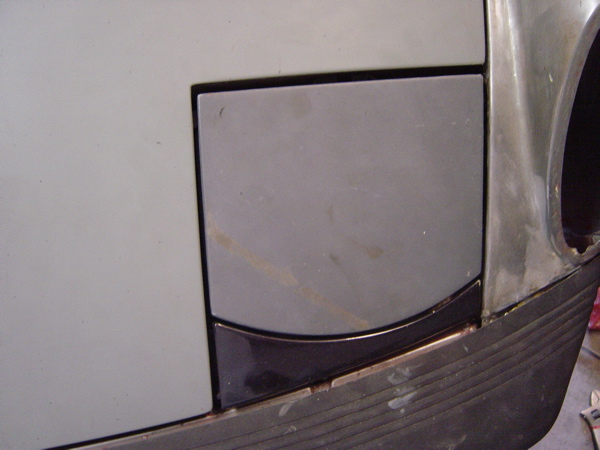
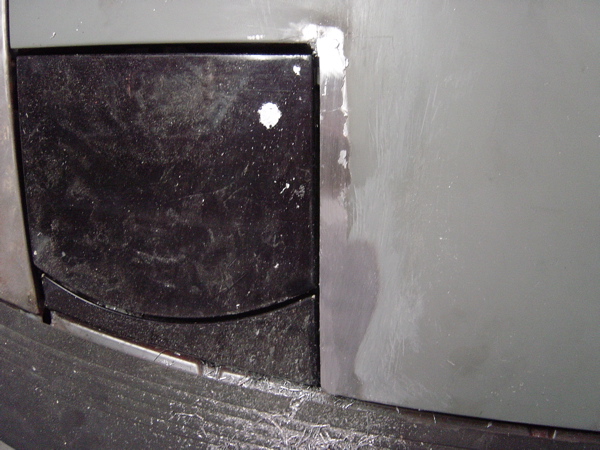
Hear it is done along with the drivers side.
  |
|
|
|
| craig downs |
May 26 2008, 12:30 AM
Post
#29
|
|
Senior Member Group: Members Posts: 769 Joined: 25-November 05 From: mira loma ca. Member No.: 5,189 Region Association: Southern California |
Thanks Steve for the tip about using foil. I never thought about it but that would work pretty good and yes it is cheaper than tape.
|
|
|
|
| MrKona |
May 26 2008, 01:13 AM
Post
#30
|
|
Senior Member Group: Members Posts: 597 Joined: 25-July 05 From: Santa Rosa, CA Member No.: 4,469 Region Association: None |
This is a great thread. Thanks for taking the time to post.
|
|
|
|
| craig downs |
Aug 3 2008, 12:43 AM
Post
#31
|
|
Senior Member Group: Members Posts: 769 Joined: 25-November 05 From: mira loma ca. Member No.: 5,189 Region Association: Southern California |
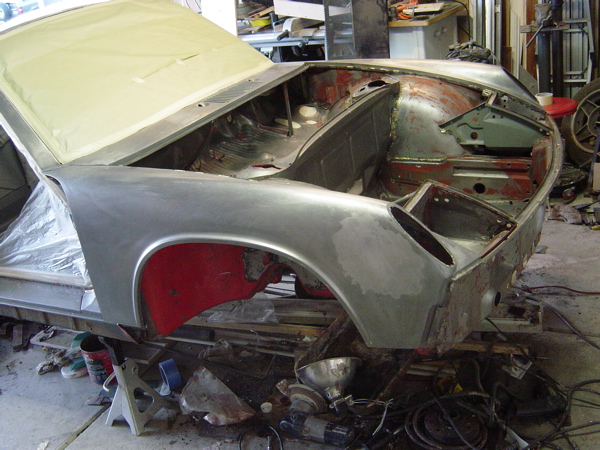
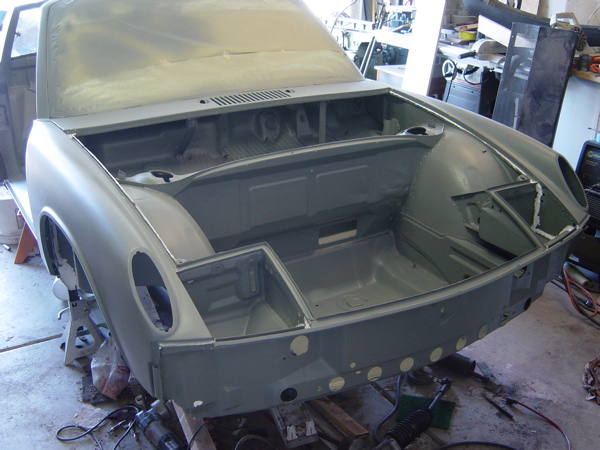
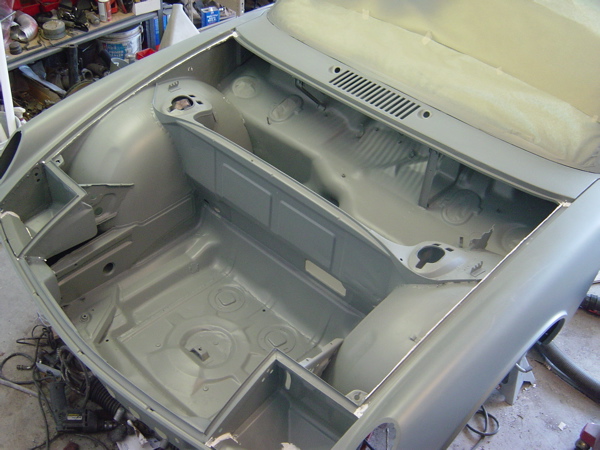
Ok I've been bad about updating my progress its been awhile but its coming along pretty good. So here is the front end primed with PPG DP 40.
  |
|
|
|
| craig downs |
Aug 3 2008, 12:58 AM
Post
#32
|
|
Senior Member Group: Members Posts: 769 Joined: 25-November 05 From: mira loma ca. Member No.: 5,189 Region Association: Southern California |
My wife came out and said I'm board is there anything I can do.
So I said hmm do you want to strip some paint and she said ok. 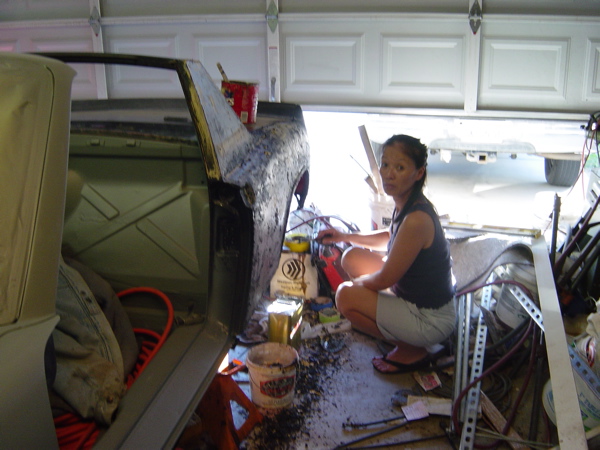  |
|
|
|
| craig downs |
Aug 3 2008, 01:04 AM
Post
#33
|
|
Senior Member Group: Members Posts: 769 Joined: 25-November 05 From: mira loma ca. Member No.: 5,189 Region Association: Southern California |
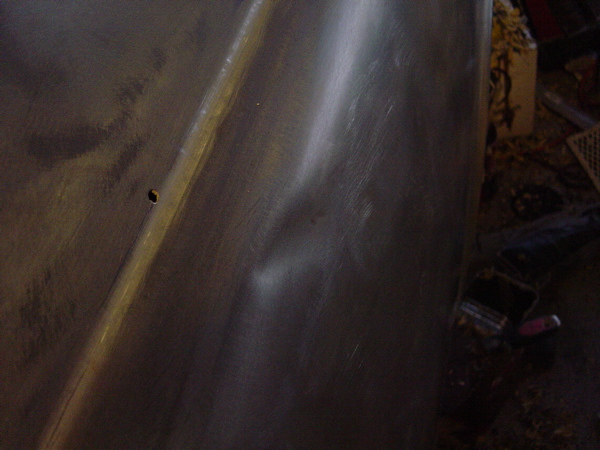
I was painting a wine rack for work and when I closed the garage door it pushed it over and fell on the car and made a dent but I was able to metal finish it without to much trouble.
  |
|
|
|
| craig downs |
Aug 3 2008, 01:16 AM
Post
#34
|
|
Senior Member Group: Members Posts: 769 Joined: 25-November 05 From: mira loma ca. Member No.: 5,189 Region Association: Southern California |
This is how I chose to do the spoiler. I cut off the ends and mounted them on the rear fenders. I mixed up some fiberglass resin and took some mat and shredded it and
mixed it in with the resin used it to blend it into the lid. You have to make sure you get all the air pockets out of the resin or you could have trouble later on. Then I used body filler with fiberglass strands to finish it. Attached image(s) 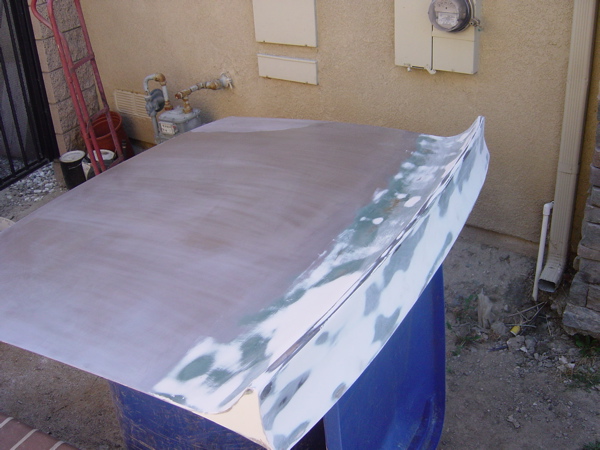 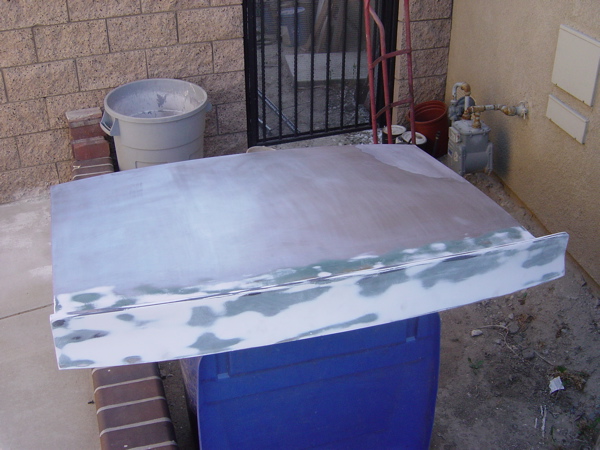
|
|
|
|
| craig downs |
Aug 3 2008, 01:19 AM
Post
#35
|
|
Senior Member Group: Members Posts: 769 Joined: 25-November 05 From: mira loma ca. Member No.: 5,189 Region Association: Southern California |
Here is how the ends look like.
 |
|
|
|
| Grimstead |
Aug 9 2008, 12:29 PM
Post
#36
|
|
Cheaky Monkey Group: Members Posts: 835 Joined: 20-March 05 From: Corona, Ca Member No.: 3,789 Region Association: Southern California |
There you are, hiding on the third page...
(IMG:style_emoticons/default/icon_bump.gif) The car is looking great, I really do admire your level of detail on everything you do be it your car or my house (IMG:style_emoticons/default/biggrin.gif) |
|
|
|
| Grimstead |
Sep 3 2008, 11:55 PM
Post
#37
|
|
Cheaky Monkey Group: Members Posts: 835 Joined: 20-March 05 From: Corona, Ca Member No.: 3,789 Region Association: Southern California |
|
|
|
|
| craig downs |
Sep 4 2008, 12:36 AM
Post
#38
|
|
Senior Member Group: Members Posts: 769 Joined: 25-November 05 From: mira loma ca. Member No.: 5,189 Region Association: Southern California |
Alright I'll see what I can do
|
|
|
|
| craig downs |
Sep 4 2008, 12:59 AM
Post
#39
|
|
Senior Member Group: Members Posts: 769 Joined: 25-November 05 From: mira loma ca. Member No.: 5,189 Region Association: Southern California |
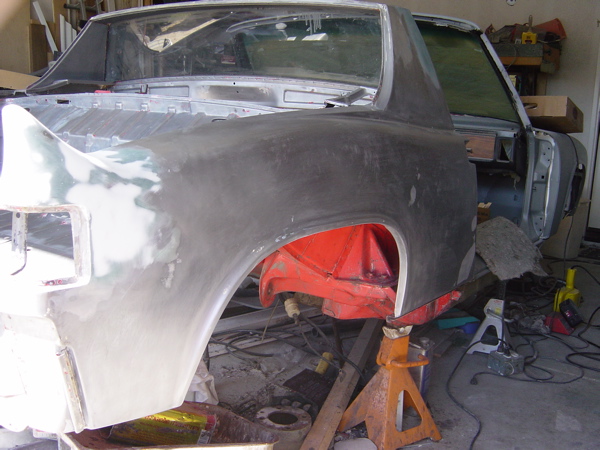
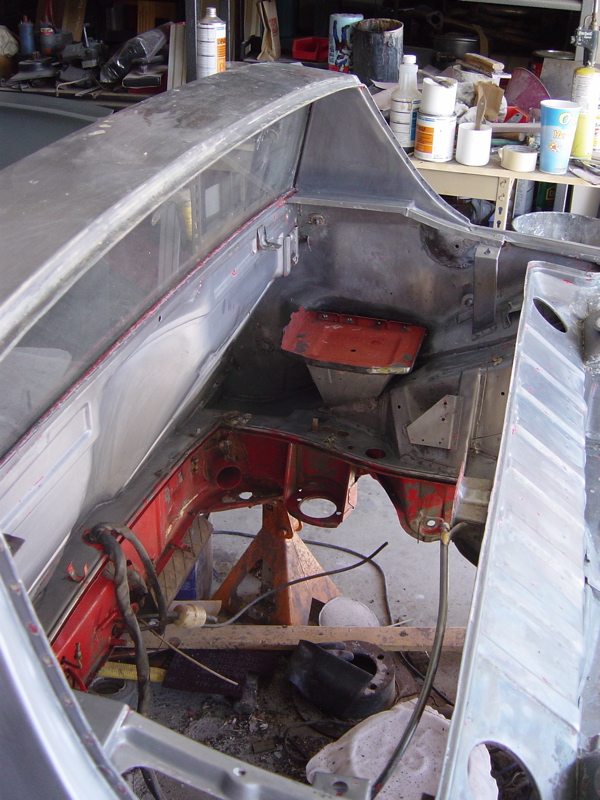
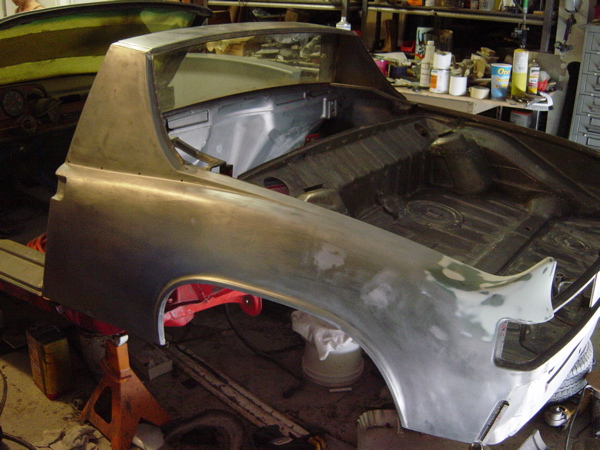
Rear end ready for 1st coat of primer
  |
|
|
|
| craig downs |
Sep 4 2008, 01:02 AM
Post
#40
|
|
Senior Member Group: Members Posts: 769 Joined: 25-November 05 From: mira loma ca. Member No.: 5,189 Region Association: Southern California |
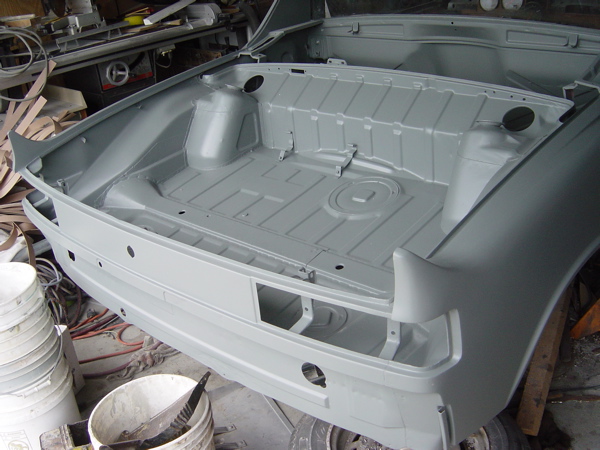
Rear end primed with epoxy primed
  |
|
|
|
|
1 User(s) are reading this topic (1 Guests and 0 Anonymous Users)
0 Members:

|
Lo-Fi Version | Time is now: 8th July 2025 - 10:03 PM |
Invision Power Board
v9.1.4 © 2025 IPS, Inc.