|
|
|
Porsche, and the Porsche crest are registered trademarks of Dr. Ing. h.c. F. Porsche AG.
This site is not affiliated with Porsche in any way. Its only purpose is to provide an online forum for car enthusiasts. All other trademarks are property of their respective owners. |
|
|

  |

| proto31 |
 Sep 8 2008, 12:21 AM Sep 8 2008, 12:21 AM
Post
#1
|
|
Member  Group: Members Posts: 413 Joined: 2-February 06 From: Costa Mesa, CA. Member No.: 5,515 Region Association: None |
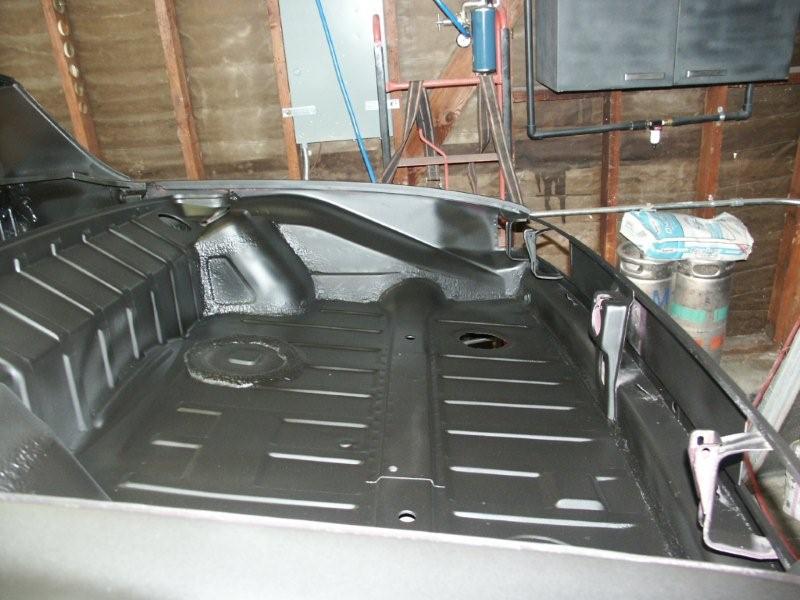
So, I started my new project (Thomas's old project). The shell was originally aubergine, then painted yellow. Thomas had stripped all the undercoating and removed all the exterior paint. I plan on having the entire shell walnut shell blasted to remove the last of the interior paint. Thomas had also installed the "6" engine mount and the chassis stiffening kit. I have removed the mounting hardware for the window washer tank. This weekend I have started installing the steel AA GT flares. Front and and rear left GT flares were installed. I dismantled the 3.0 engine that I will be using, the heads are off to be rebuilt, the rods balanced, the crank balanced and micro polished, the rockers rebushed and resurfaced, and the flywheel and pressure plate balanced. I'll be running carbs and a 911-01 transmission. More to follow.
Attached thumbnail(s) 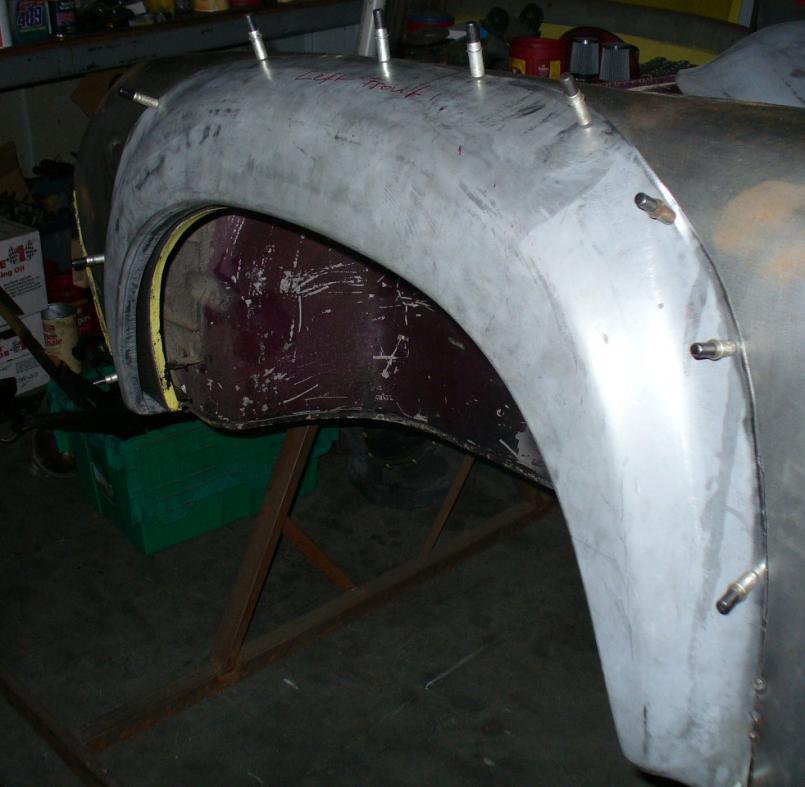 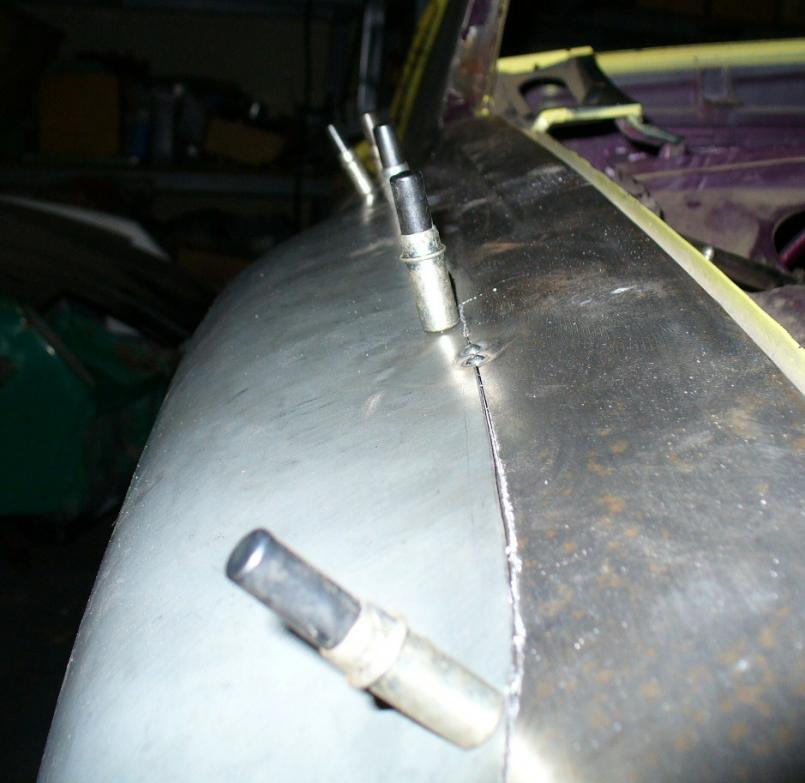
|
   |

 
|
| tronporsche |
Sep 8 2008, 02:49 AM
Post
#2
|
|
Member Group: Members Posts: 281 Joined: 21-August 08 From: California Member No.: 9,447 Region Association: Central California |
HHHmmmmm, somethin is telling me this is gonna be a "mean machine" !!! Have fun, best wishes.
|
|
|
|
| sww914 |
Sep 8 2008, 12:00 PM
Post
#3
|
|
Advanced Member Group: Members Posts: 2,439 Joined: 4-June 06 Member No.: 6,146 Region Association: None |
Cleco fasteners are good, but this seems like a perfect time to share a trick. Self tapping screws do the same job but much faster and cheaper. 1/2" or 5/8" drill point phillips heads go right in with a cordless drill and leave a small hole behind that's just as easy to weld up.
Attached image(s) 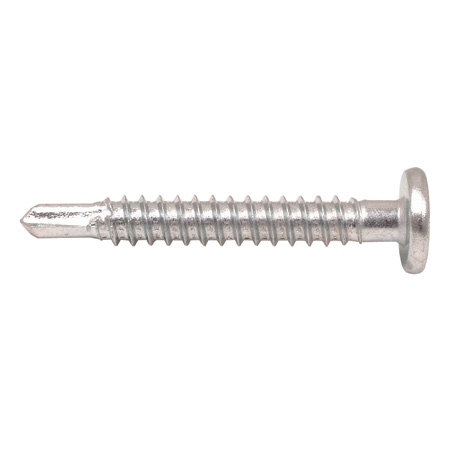
|
|
|
|
| proto31 |
Sep 8 2008, 01:12 PM
Post
#4
|
|
Member Group: Members Posts: 413 Joined: 2-February 06 From: Costa Mesa, CA. Member No.: 5,515 Region Association: None |
Thanks for the Tip! I had the Clacos lying around so I figured I'd use them, the sheet metal screws would would work well too. I like the Clacos because you can put them in with one hand while your holding the panel in position with the other.
|
|
|
|
| LarryR |
Sep 8 2008, 11:41 PM
Post
#5
|
|
Senior Member Group: Members Posts: 929 Joined: 15-March 07 From: E. Bay Area, N. California Member No.: 7,604 |
Subscribing looks like it will be an interesting build (IMG:style_emoticons/default/popcorn[1].gif)
|
|
|
|
| r_towle |
Sep 9 2008, 07:36 PM
Post
#6
|
|
Custom Member Group: Members Posts: 24,577 Joined: 9-January 03 From: Taxachusetts Member No.: 124 Region Association: North East States |
post some more pics...
Rich |
|
|
|
| Lou W |
Sep 9 2008, 07:52 PM
Post
#7
|
|
"Here Kitty Kitty" my ass...... Group: Members Posts: 4,109 Joined: 9-May 04 From: Roseburg, OR. Member No.: 2,039 Region Association: Spain |
This is gonna be a great build, I really liked this car. (IMG:style_emoticons/default/beerchug.gif)
(IMG:style_emoticons/default/popcorn[1].gif) |
|
|
|
| proto31 |
Oct 5 2008, 12:20 AM
Post
#8
|
|
Member Group: Members Posts: 413 Joined: 2-February 06 From: Costa Mesa, CA. Member No.: 5,515 Region Association: None |
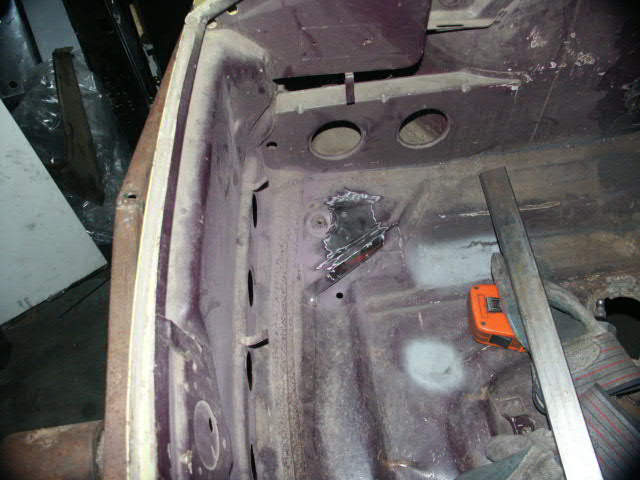
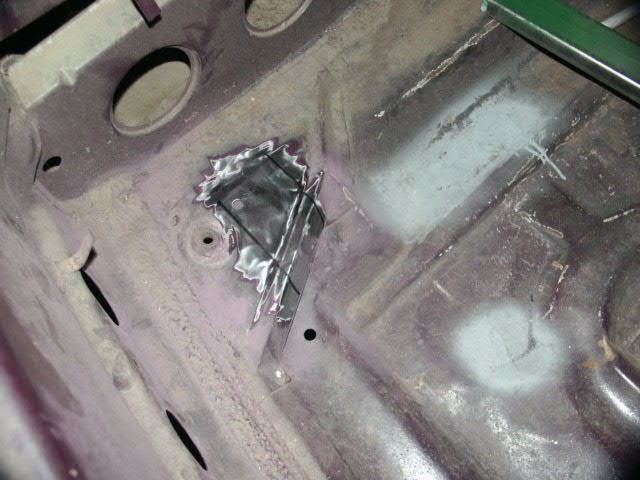
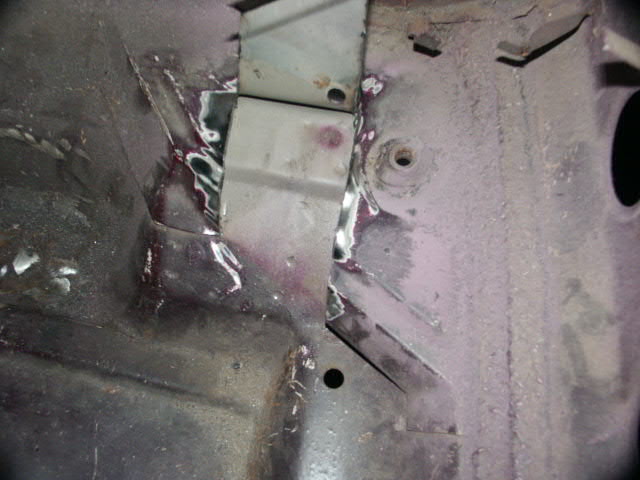
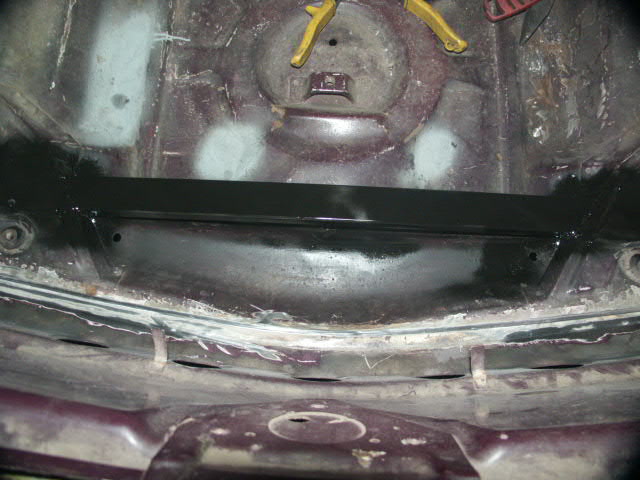
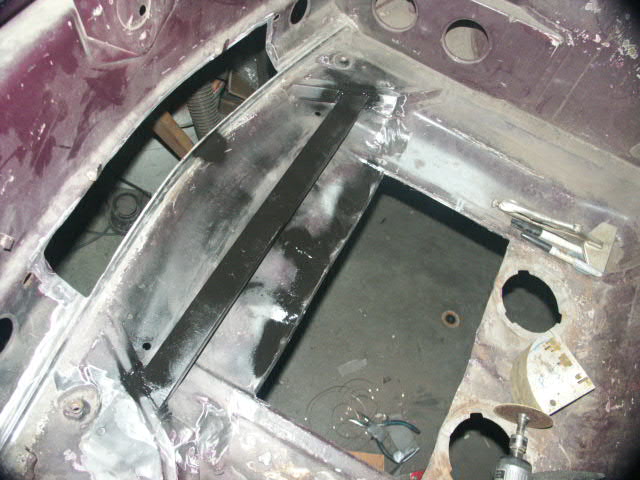
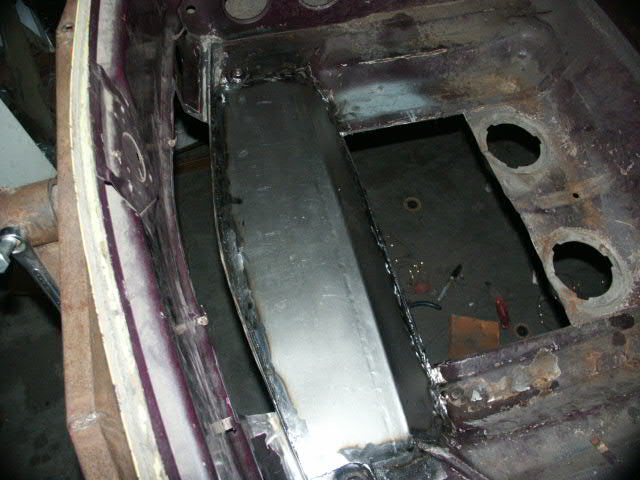
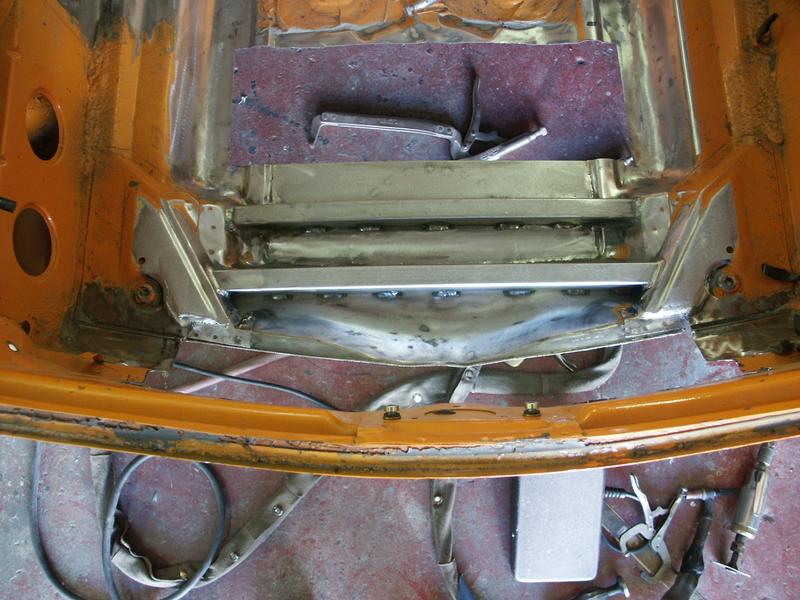
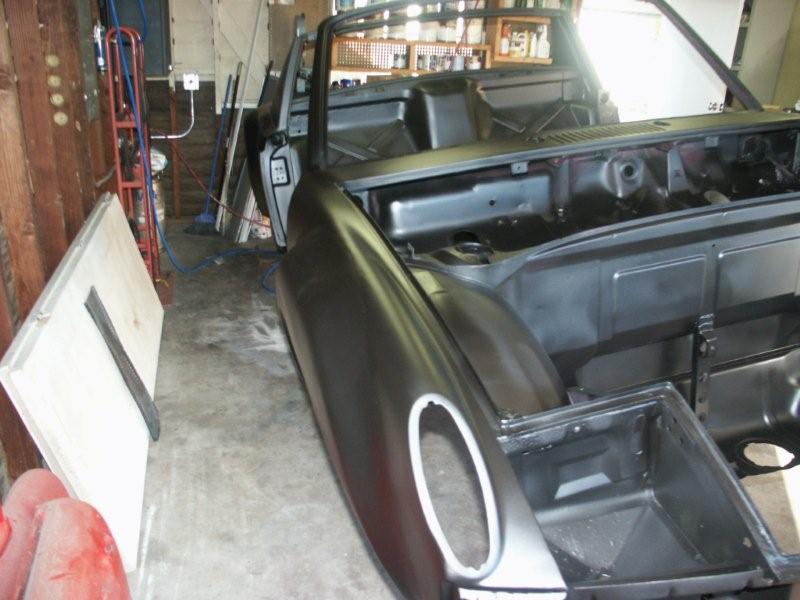
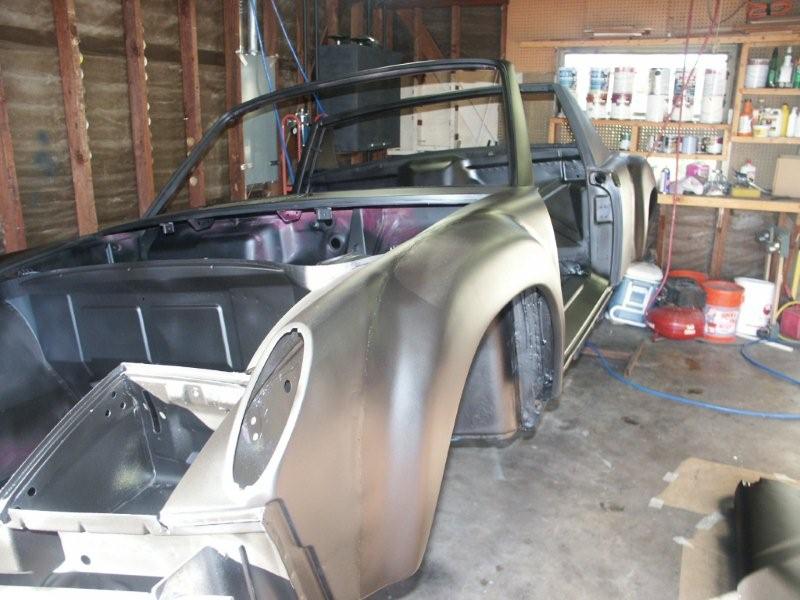
So, I finished all the steel flares last weekend. Those took a lot more work than I thought. This weekend I started on the front oil cooler. I decided to fabricate a brace that attached the two front A-arm pick-ups just like the factory did on all the GTs. I used a pretty beefy beem that was mated to match the contour of the A-arm mounts. Thomas helped me make a cap which will help air flow better through the oil cooler. I then cut out the front and bottom holes needed to feed air into the cooler. I plan on having the entire tub walnut shell blasted before paint. The next step will be to fabricate copper oil lines to feed the cooler. Here are some pics...
   |
|
|
|
| proto31 |
Oct 5 2008, 12:25 AM
Post
#9
|
|
Member Group: Members Posts: 413 Joined: 2-February 06 From: Costa Mesa, CA. Member No.: 5,515 Region Association: None |
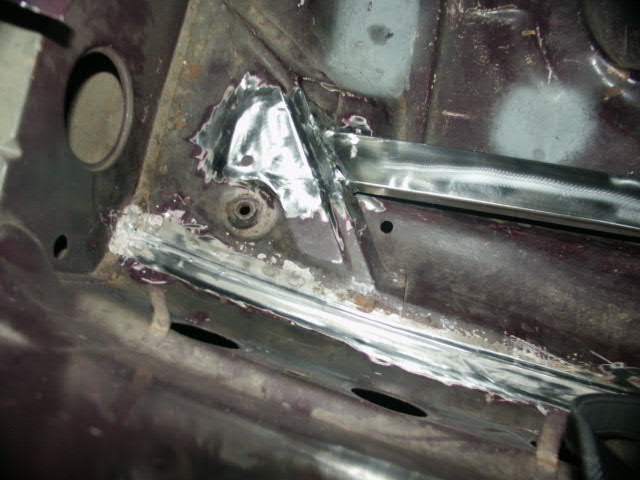
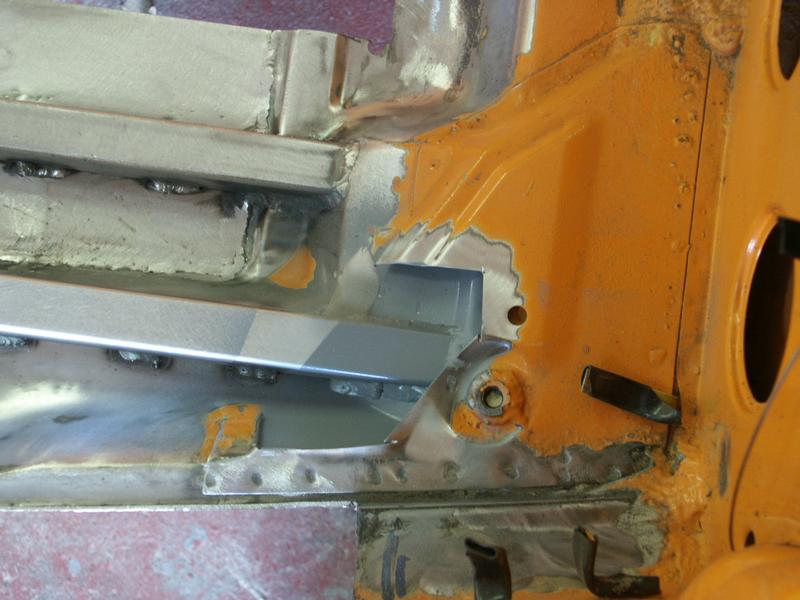
Some more
    |
|
|
|
| proto31 |
Oct 5 2008, 12:32 AM
Post
#10
|
|
Member Group: Members Posts: 413 Joined: 2-February 06 From: Costa Mesa, CA. Member No.: 5,515 Region Association: None |
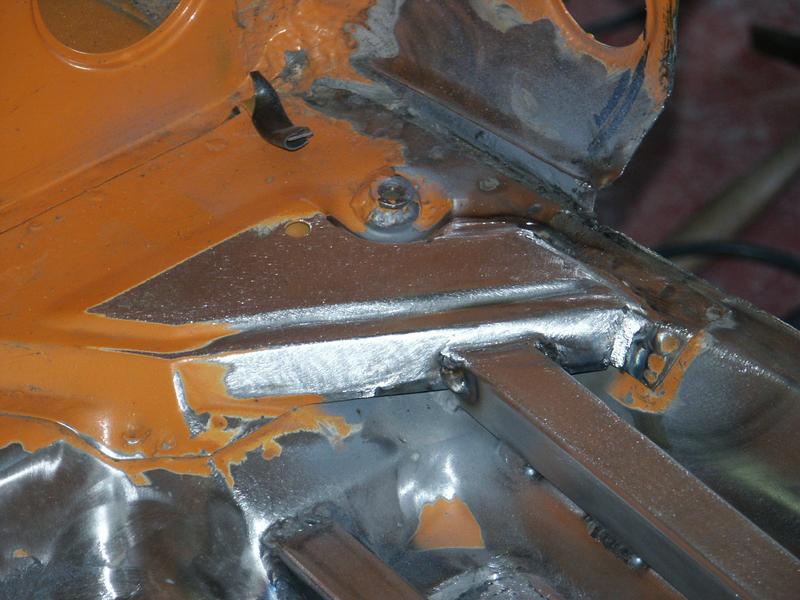
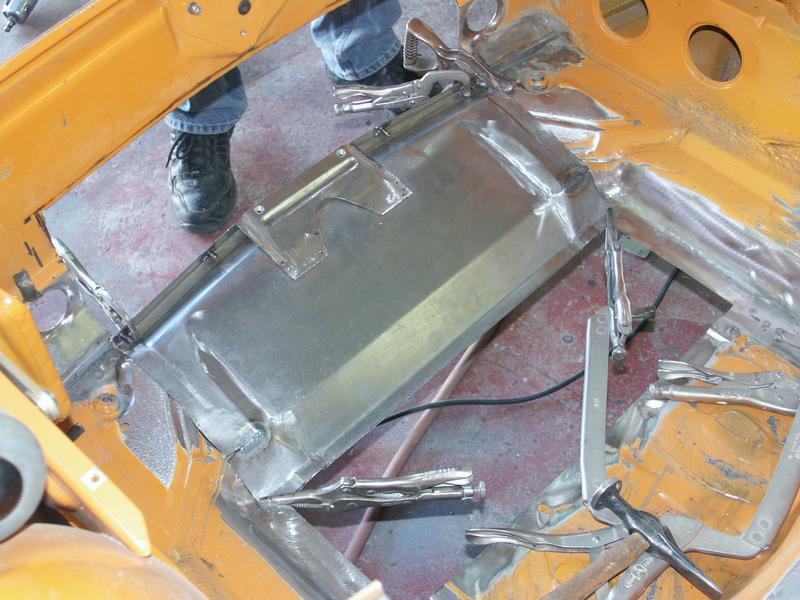
More
  And here's one of Thomas working on his "Dark Night" project, notice the chopped windsheild. This car is going to be pretty wild! 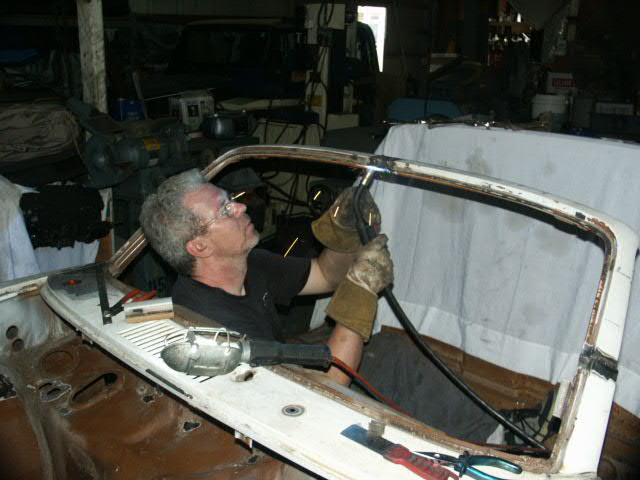 |
|
|
|
| Todd Enlund |
Oct 5 2008, 02:28 AM
Post
#11
|
|
Resident Photoshop Guru Group: Members Posts: 3,251 Joined: 24-August 07 From: Laurelhurst (Portland), Oregon Member No.: 8,032 Region Association: Pacific Northwest |
Are you going to return the car to Aubergine?
|
|
|
|
| rick 918-S |
Oct 5 2008, 09:21 AM
Post
#12
|
|
Hey nice rack! -Celette Group: Members Posts: 20,463 Joined: 30-December 02 From: Now in Superior WI Member No.: 43 Region Association: Northstar Region |
QUOTE(Todd Enlund @ Oct 5 2008, 12:28 AM)  Are you going to return the car to Aubergine? Ya, (IMG:style_emoticons/default/beerchug.gif) |
|
|
|
| SLITS |
Oct 5 2008, 10:10 AM
Post
#13
|
|
"This Utah shit is HARSH!" Group: Benefactors Posts: 13,602 Joined: 22-February 04 From: SoCal Mountains ... Member No.: 1,696 Region Association: None |
Tell that damn Kraut to wear welding goggles before he burns his eyes (Yeh, been there did that ONCE).
Nice build. |
|
|
|
| Gint |
Oct 5 2008, 12:32 PM
Post
#14
|
|
Mike Ginter Group: Admin Posts: 16,075 Joined: 26-December 02 From: Denver CO. Member No.: 20 Region Association: Rocky Mountains |
Can't you see the man is trying to get a tan?
|
|
|
|
| dakotaewing |
Oct 5 2008, 05:11 PM
Post
#15
|
|
Senior Member Group: Members Posts: 1,160 Joined: 8-July 03 From: DeSoto, Tx Member No.: 897 Region Association: Southwest Region |
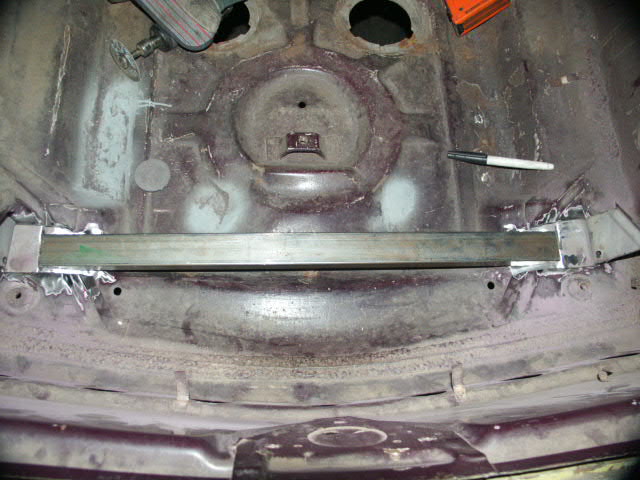
Is that beam solid, or rectanglar tubing/channel?
Looks great!!! |
|
|
|
| proto31 |
Oct 5 2008, 07:32 PM
Post
#16
|
|
Member Group: Members Posts: 413 Joined: 2-February 06 From: Costa Mesa, CA. Member No.: 5,515 Region Association: None |
I told Thomas to stop staring into the light... His car is turning out really nice, I don't want to give too much away, so you'll all have to wait until he starts posting pictures.
The steel tube I used is a hollow rectangular tube. It's definetly over-kill, but it was a fun side project. I don't think I'll be re-painting the car aubergine, right now I'm leaning toward slate grey (late sixties 911 and 912 color). We'll see, I've got a bunch of time to decide what color to paint it. |
|
|
|
| jmill |
Oct 5 2008, 08:29 PM
Post
#17
|
|
Green Hornet Group: Members Posts: 2,449 Joined: 9-May 08 From: Racine, Wisconsin Member No.: 9,038 Region Association: Upper MidWest |
Adding that beam is a great mod. I like it. I just straightened out my front end and that would be a slick addition. Do you have a pic of how the factory did it?
|
|
|
|
| proto31 |
Oct 5 2008, 10:29 PM
Post
#18
|
|
Member Group: Members Posts: 413 Joined: 2-February 06 From: Costa Mesa, CA. Member No.: 5,515 Region Association: None |
Here are some photos from Armando Serano's website, this is supposedly an exact replica of how the factory did it. I've seen pictures of GT front trunks with the same cover over the area where I've welded in the bar, but unfortunatly you cannot see what's underneath the cover.
    |
|
|
|
| jmill |
Oct 6 2008, 07:27 AM
Post
#19
|
|
Green Hornet Group: Members Posts: 2,449 Joined: 9-May 08 From: Racine, Wisconsin Member No.: 9,038 Region Association: Upper MidWest |
Thanks for digging those up. Thats just what I was looking for.
|
|
|
|
| proto31 |
Jul 12 2009, 11:36 PM
Post
#20
|
|
Member Group: Members Posts: 413 Joined: 2-February 06 From: Costa Mesa, CA. Member No.: 5,515 Region Association: None |
Well, I finally got around to working on my car again. The entire car is protected with a layer of sealer. I have a little bit of body work to do, but not much (mainly the areas around the flares). The color has been chosen, it will be viper green, a 1972 911 color, this car is a 1972 98 paint code color car, so viper green is a feasible color for this car.
    And this will be the power plant, a rebuilt 3.0 with carbs. with some bowtailing....  |
|
|
|
|
1 User(s) are reading this topic (1 Guests and 0 Anonymous Users)
0 Members:

|
Lo-Fi Version | Time is now: 20th May 2024 - 11:01 PM |
Invision Power Board
v9.1.4 © 2024 IPS, Inc.