|
|

|
Porsche, and the Porsche crest are registered trademarks of Dr. Ing. h.c. F. Porsche AG.
This site is not affiliated with Porsche in any way. Its only purpose is to provide an online forum for car enthusiasts. All other trademarks are property of their respective owners. |
|
|
  |
| RiqueMar |
 May 25 2020, 06:46 PM May 25 2020, 06:46 PM
Post
#861
|
|
Enrique Allen Mar     Group: Members Posts: 2,263 Joined: 28-August 08 From: San Diego, CA Member No.: 9,478 Region Association: Southern California 
|
Second post today.I'm trying to keep each entry separate for anyone reading along, working on a similar project... and also to keep my focus. (IMG:style_emoticons/default/screwy.gif)
With a lot of help from my Father today, dash controls (aside from the 914/6 column and harness) are complete. Trying ton compare 'apples to apples', currently using a late-model 914-4 steering column control. Headlights, Headlight motors, Foglights, Horn, Wipers, and Air-blower are complete and working. For those following along, and also converting to a 914/6 column, see input on page 40 of this blog by @ClayPerrine regarding headlight relays / LEDs. Trying to make things as uncomplicated as possible, I will most likely go with LEDs. In short, converting to the stock-6 column, the headlight switch takes the full load and burns out, you have two options; Run LEDs or incorporate relays. PS, If I'm 'tagging' or 'linking' to anyone and mentioning user-names here, it's because I found your input valuable for myself and others. I find it easier and a better resource, as sometimes there can be SO much information when one does a search. Sorry if it gets annoying, but wear it as a badge of honor. 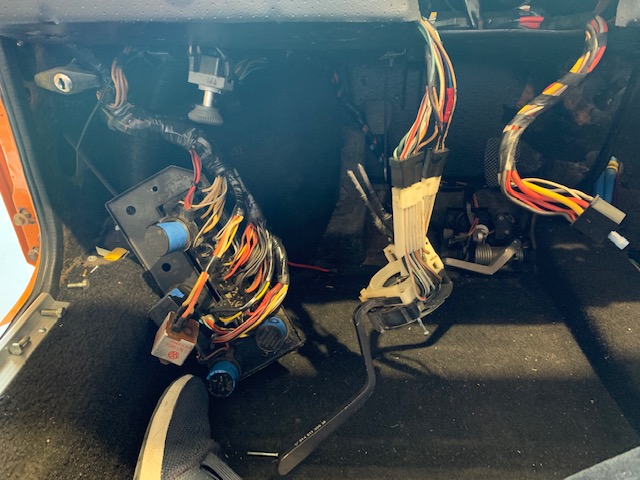 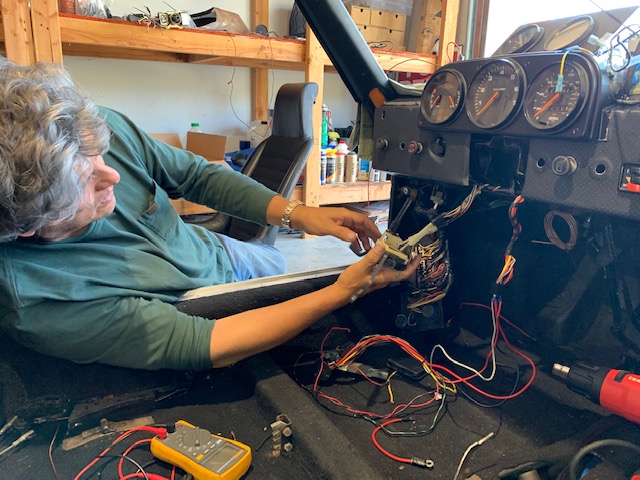 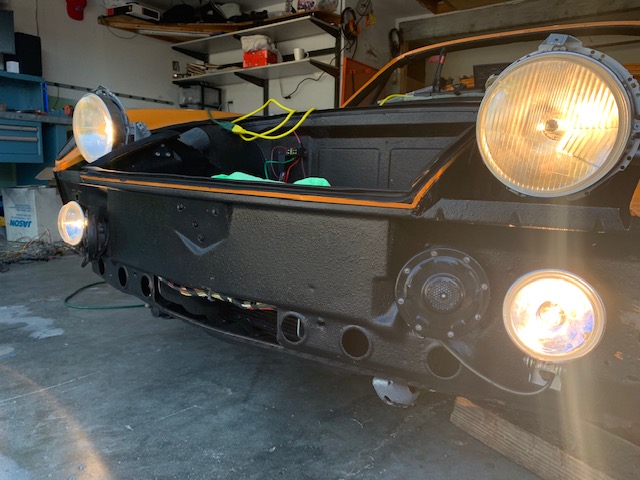 |
| RiqueMar |
 May 26 2020, 07:43 PM May 26 2020, 07:43 PM
Post
#862
|
|
Enrique Allen Mar     Group: Members Posts: 2,263 Joined: 28-August 08 From: San Diego, CA Member No.: 9,478 Region Association: Southern California 
|
I’ve put it off long enough..... Beginning to route the junction point that includes the ECU, diagnostic port and relays. Though it took a bit of decoding, once the wires were run up the center-tunnel, and connected to where they were before in the old car, it started to make sense. This is no where near the finished product, just using butt connectors and make-female connectors to get the shape for now.
(IMG:style_emoticons/default/barf.gif) (IMG:style_emoticons/default/barf.gif) (IMG:style_emoticons/default/barf.gif) 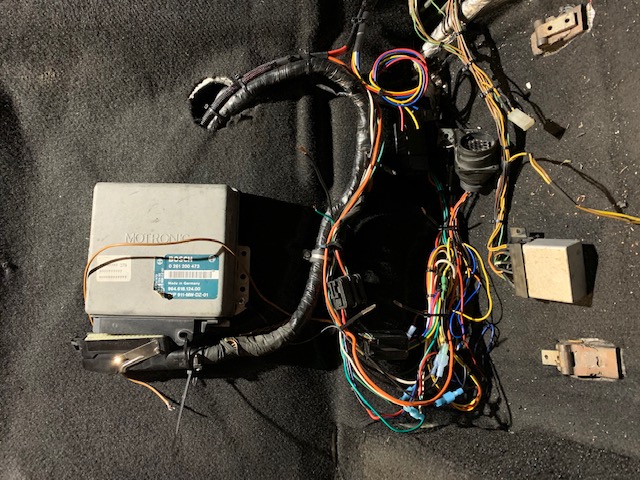 |
| RiqueMar |
 May 28 2020, 12:47 AM May 28 2020, 12:47 AM
Post
#863
|
|
Enrique Allen Mar     Group: Members Posts: 2,263 Joined: 28-August 08 From: San Diego, CA Member No.: 9,478 Region Association: Southern California 
|
Taking a break from the back, I'm starting from the front. It was getting too complicated without knowing which wires correspond to each connection. Starting with the gauges, I've once again 'harvested' wires from the '70 harness, and tidying up and eliminating connections; Airbag status light, Trunk ajar warning light, etc.
Pretty easy right now, Fuel gauge, Oil Level and Clock with status lights crossed off, and working my way through. Hopefully, tomorrow or this weekend, I'll be able to lengthen the wires with the correct color and make this look more clean. I'll update for anyone with a similar project, spreadsheet below. 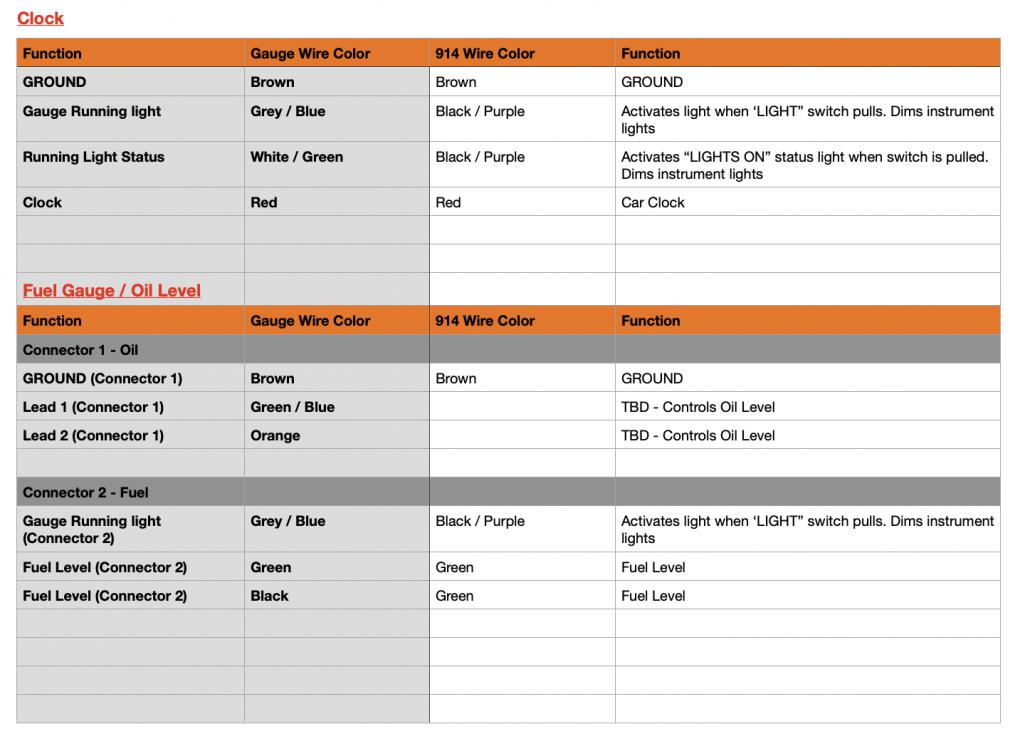 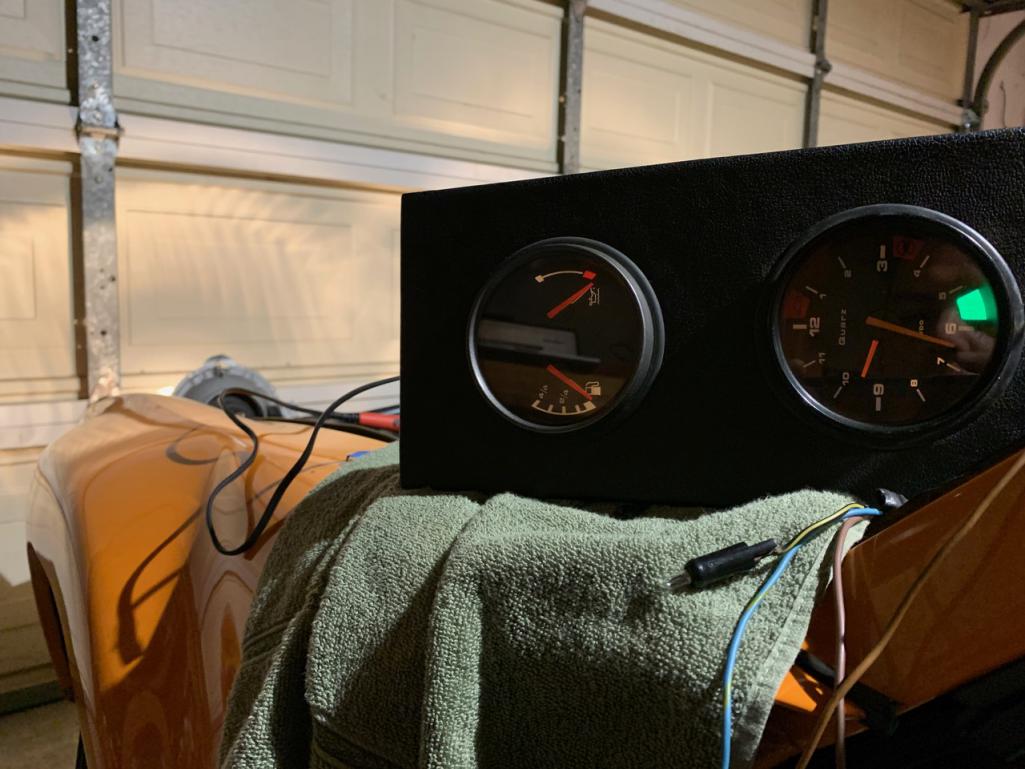 |
| RiqueMar |
 May 28 2020, 01:12 PM May 28 2020, 01:12 PM
Post
#864
|
|
Enrique Allen Mar     Group: Members Posts: 2,263 Joined: 28-August 08 From: San Diego, CA Member No.: 9,478 Region Association: Southern California 
|
Station-break....
Unfortunately, due to the current health crisis, we had a Death in the family. Preparing for the funeral tomorrow, I have the bittersweet task of going through old-photos and assembling a sort of memorial slideshow. The silver-lining in the task is that I get to recall a lot of nice memories with my Grandfather. Amongst others, I stumbled onto this photo on my Fathers social media, probably my first ride in a 914. .... Where it all began! 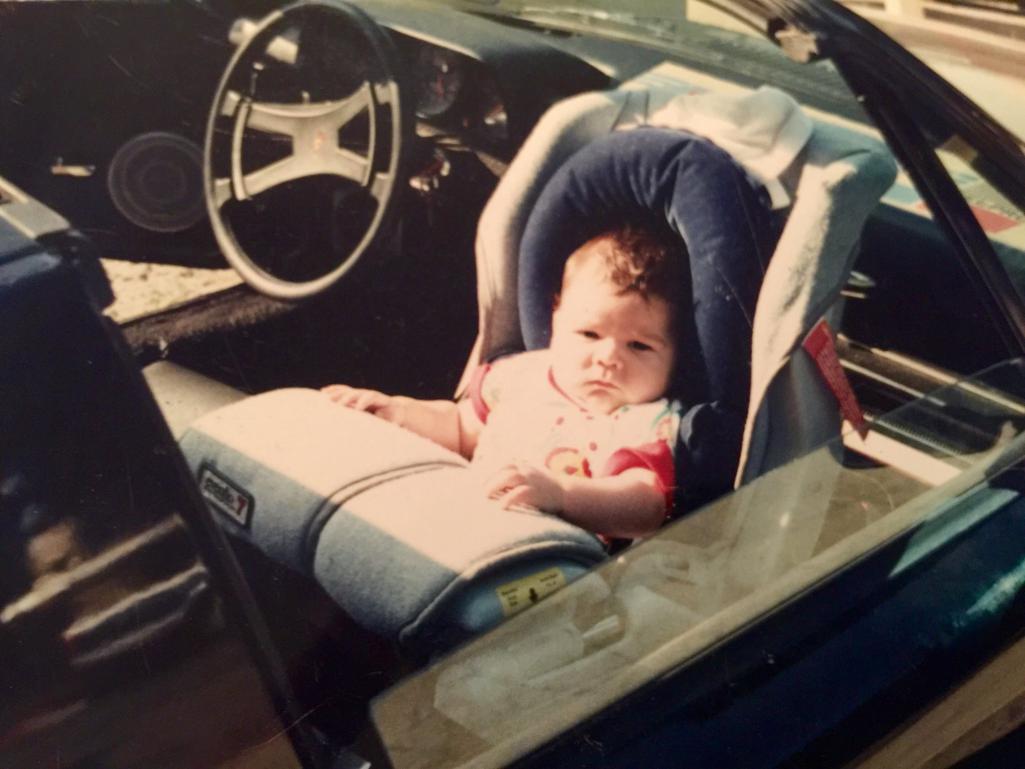 |
| RiqueMar |
 Jun 1 2020, 04:28 PM Jun 1 2020, 04:28 PM
Post
#865
|
|
Enrique Allen Mar     Group: Members Posts: 2,263 Joined: 28-August 08 From: San Diego, CA Member No.: 9,478 Region Association: Southern California 
|
Hi all, hope everyone is well! I was able to use the weekend, and 'distract' myself with the pending items on the car.
First up, I want to make sure the status lights on the gauges and such are working correctly; Check engine light, Light indicator, Low Fuel, etc. I have a few 'holes' in my wiring spreadsheet, however everything is progressing nicely there, and I think it might be time to get a professionals eyes on it soon. In the interim, and to 'ease' the mechanics bill, I lengthened and shortened wires where needed and cleaned everything up. There were ALOT of spliced wires, so I made a dedicated ground lead and 'daisy' chain as well as extended the wires for the gauges that will be in the center console with the correct color (Fuel gauge, Running lights, 12v ignition on, etc.) Previously, it was very confusing as some wires would turn from white... to green... to brown. (IMG:style_emoticons/default/headbang.gif) All clean and tidy now, so much so that I could test-fit my top dashpad 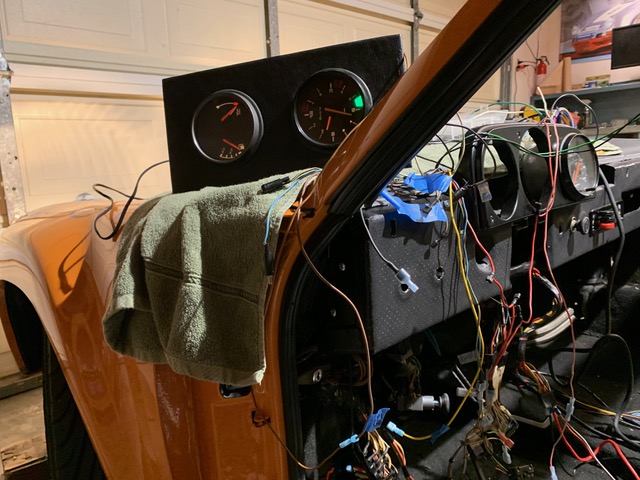 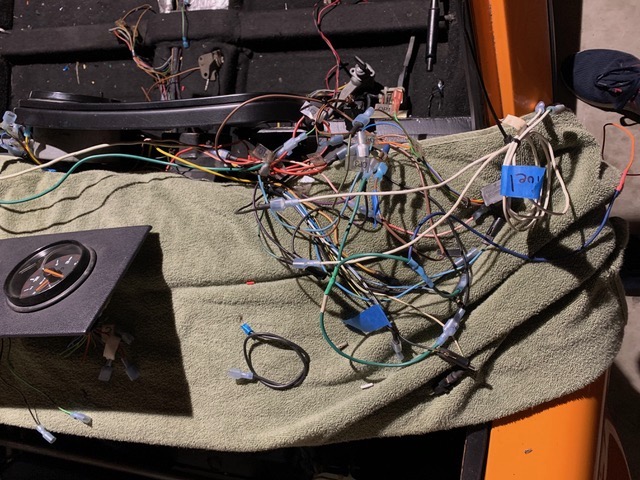 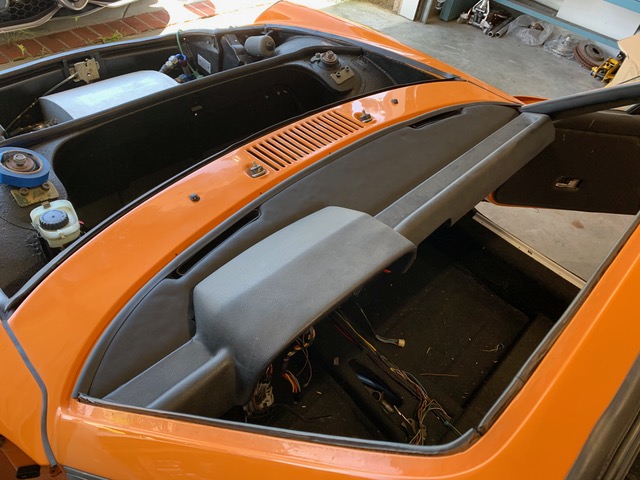 |
| RiqueMar |
 Jun 1 2020, 04:34 PM Jun 1 2020, 04:34 PM
Post
#866
|
|
Enrique Allen Mar     Group: Members Posts: 2,263 Joined: 28-August 08 From: San Diego, CA Member No.: 9,478 Region Association: Southern California 
|
Further into the weekend (and further procrastinating about the ECU harness), I decided to make a storage run and collect my bumpers and some trim pieces. Happy to say, all are and were in very good condition, aside from years of dust, including the bumper-tops.
Being a bit of a 'perfectionist', I decided to sand down both the front and rear bumper and add a bit of filler to a few 'knicks' in the surface. The are set to be satin black, like the rest of the trim. As those items cured or setup, I spent a few hours 'roughing up' my foglight grilles that will also being going satin. 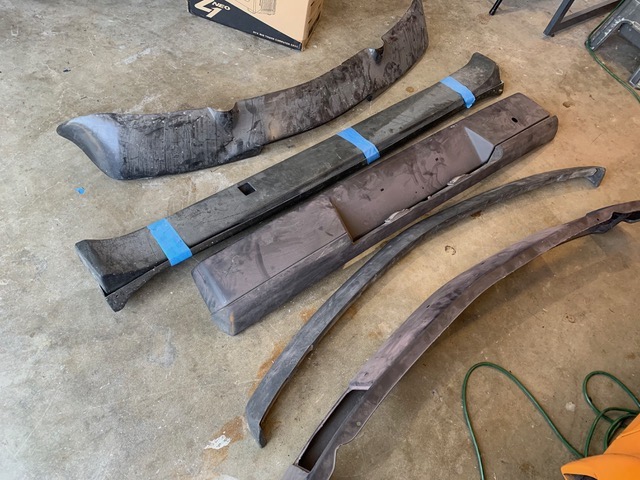 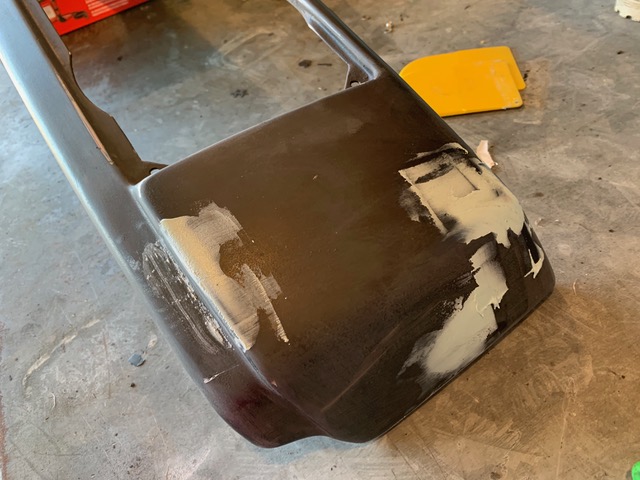 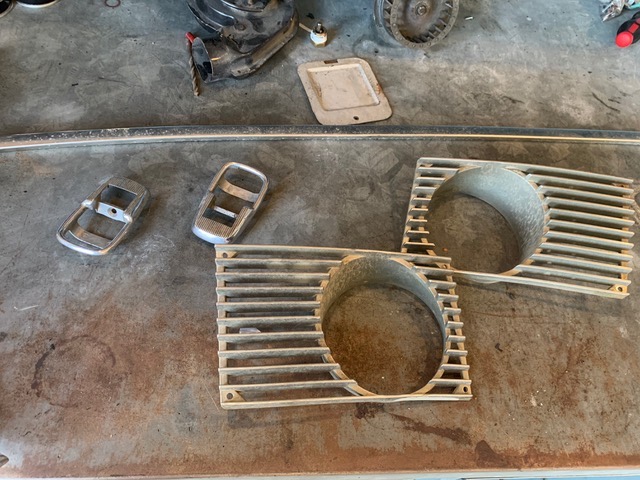 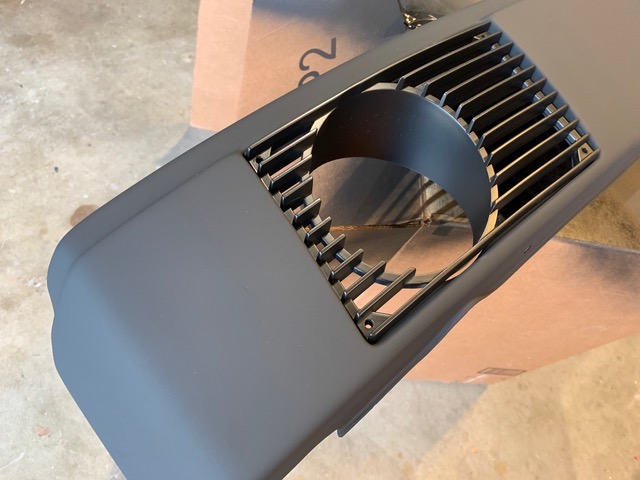 |
| RiqueMar |
 Jun 3 2020, 11:50 PM Jun 3 2020, 11:50 PM
Post
#867
|
|
Enrique Allen Mar     Group: Members Posts: 2,263 Joined: 28-August 08 From: San Diego, CA Member No.: 9,478 Region Association: Southern California 
|
As of yesterday, this is back at my parents 'Ranch' to get a few cosmetic touch-ups as well as fitted for the rockers, GT cutout on the front bumper (changed my mind on that one... looks funky without it) and valences (anyone got a /6 rear?). As we transported, and got it on the 2-post lift, I was happy to see it in the sun for the first time in a while. Also, special appearance by my Moms Dog, Brando.
Man! Do I love those tires and wheels, no-chrome, and that Signal Orange! (IMG:style_emoticons/default/signal914.jpg) 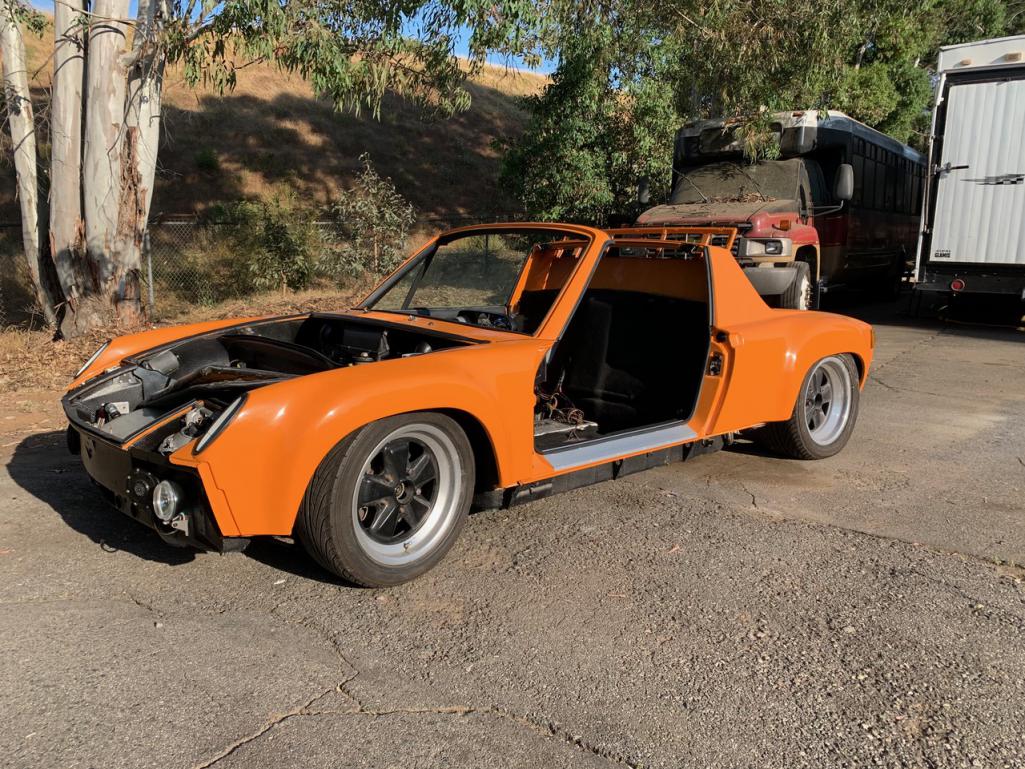 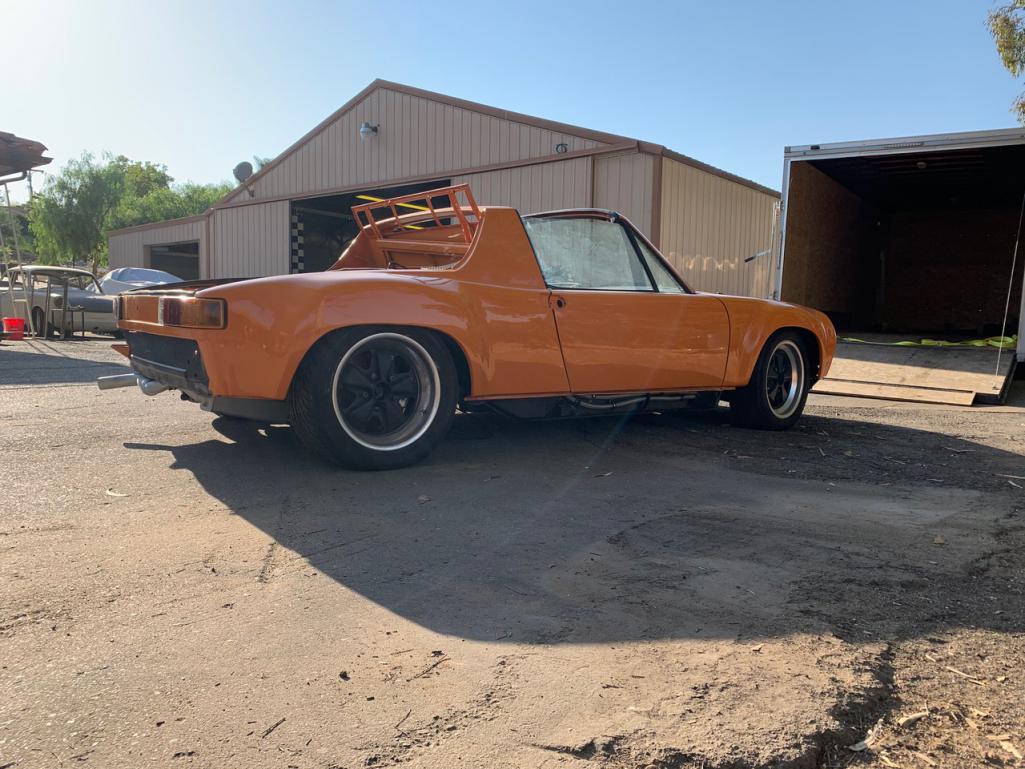 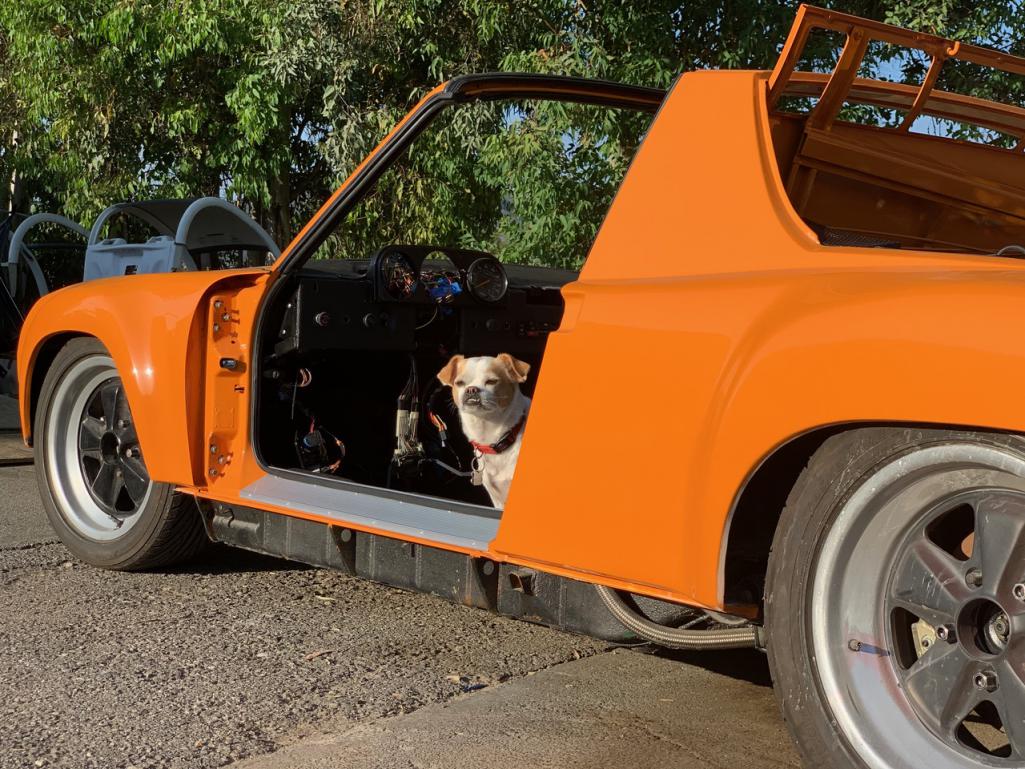 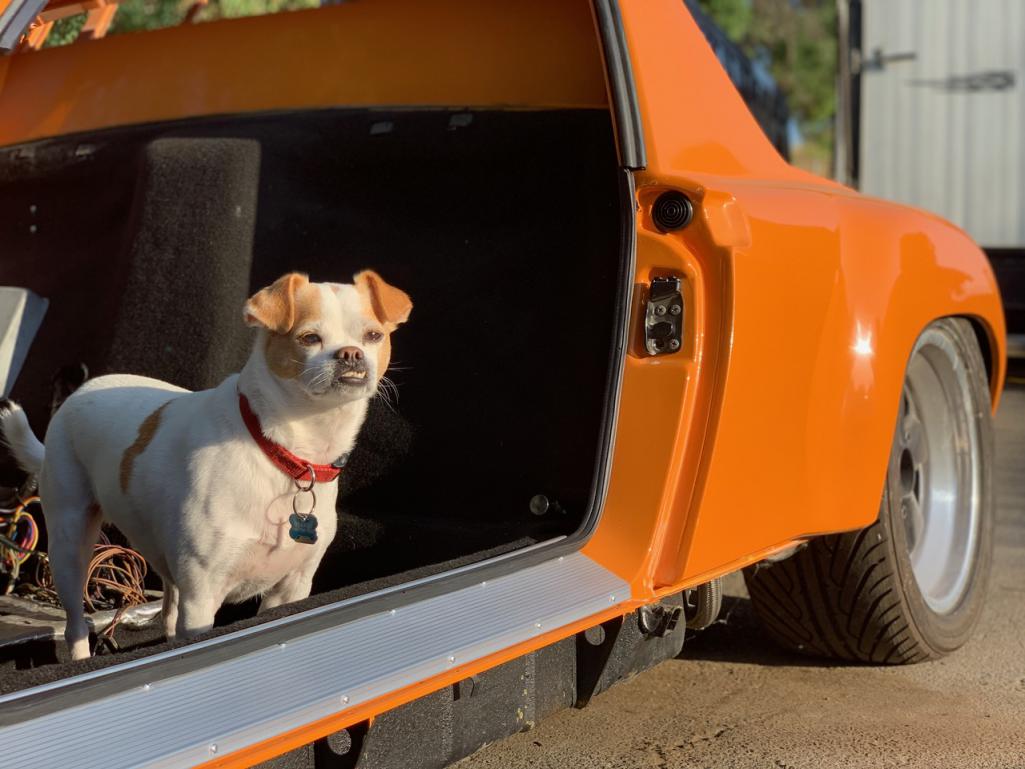 |
| Root_Werks |
 Jun 4 2020, 05:02 PM Jun 4 2020, 05:02 PM
Post
#868
|
|
Village Idiot      Group: Members Posts: 8,884 Joined: 25-May 04 From: About 5NM from Canada Member No.: 2,105 Region Association: Pacific Northwest 
|
Starting to look like a drive-able 914 again!
|
| RiqueMar |
 Jun 8 2020, 12:44 PM Jun 8 2020, 12:44 PM
Post
#869
|
|
Enrique Allen Mar     Group: Members Posts: 2,263 Joined: 28-August 08 From: San Diego, CA Member No.: 9,478 Region Association: Southern California 
|
Starting to look like a drive-able 914 again! Gracias @Root_Werks ! Car is now airborne again, and final body and paint work starts today! I anticipate 2-4 weeks of miscellaneous body-work items. First order is mounting the side-skirts and the front valence as well as the front bumper to line up everything for the GT cutout. A little more on that in a second - so hang on. After the side-skirts and front pieces are complete, plan to move to the back and, hopefully, find a /6 valence or replica. If I can't, I suppose I'll modify the stock /4 valence and, omitting the 'cutouts' just notch both sides for a dual exhaust. Now, a bit of homework on the GT cutout bumper. There is a great thread on this site started sometime in 2018 with the main contributors being @mb911 @ValcoOscar Link here: SAVED - GT Cutout thread Additionally, I can't remember if I found the following passage from that same thread, or a different, but this is very helpful to start... “... I did 1 sample cut out today. Went extremly smooth. Measured center of bumper then 10 inches each direction. Then measured up 1-7\8" from the bottom and made my cuts. With the reinforcement welded in I will be at approximatly 1-3/4"× 19-7/8" which then makes it blend into the bottom valance. There is also decent space between the bumper and valance to give an optical illusion thus the reason I sized it that way...” For my project, I'm toying with the idea of doing something a bit different. Rather than matching the 'outward' lines determined by the valence. This way, the valence opening points outward and up, and the bumper cutout points outward and down, in a sort of oblong-hexagon shape...... We'll see. As the bodywork is getting completed, I'm trying to take as much advantage of the 2-post lift while I can, wrapping up the oil-line mounting, side-skirts, clutch/accelerator/ebrake/heater cables, heater hoses, and any remaining electronics. In order to tackle each of these, I gotta finish what's not completed... Steering column and ignition wiring, ECU, Fuel pump and Oil Cooler. 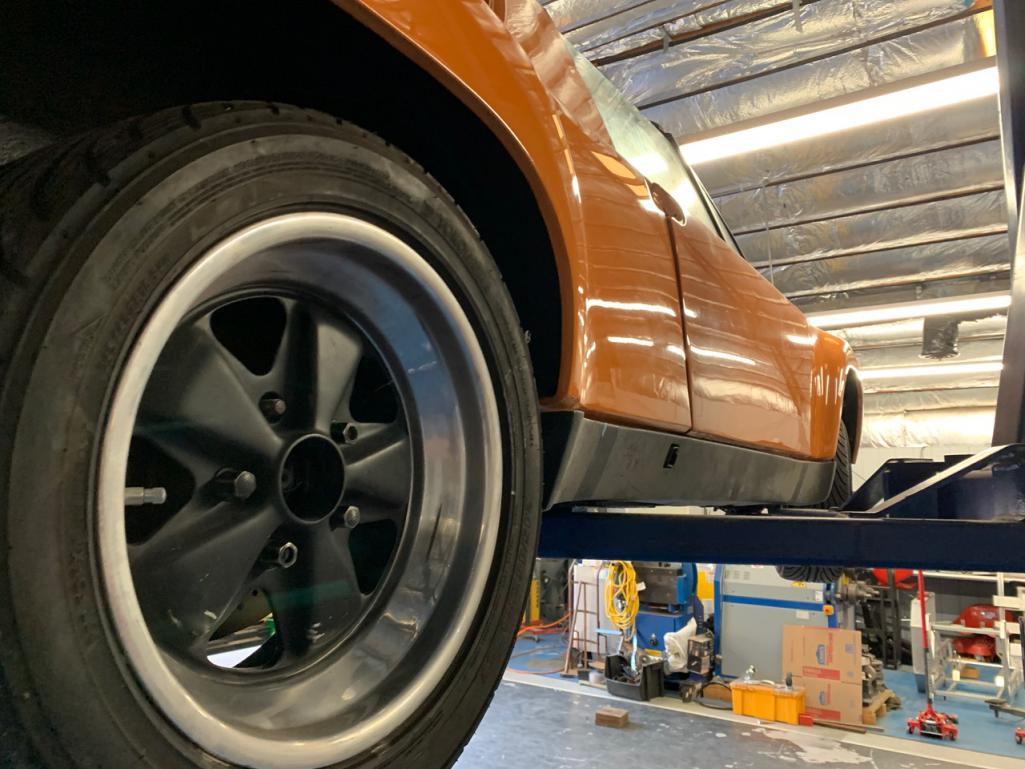 First the 914/6 steering column. As for the mounting, while it is pretty straight forward there's a 'pro-tip' here that I would imagine is applicable to most any year. First, insert the steering column half shaft (the part with the 'bar' and 2 U-joints on either end) but don't connect it to the steering rack (protruding out of the front fire-wall). Once placed, pull it out of the front of the dash, and line up the splines and 'slot' so that you can put in the retaining bolt (helps to have a mallet and a bit of grease) on the u-joint closest to the Driver. Slide it in, put in the bolt, and secure it now, it's a pain-in-the-ass to do it once installed. With the top portion done and just kinda hanging there, line up and repeat the same process on the lower u-joint which should be significantly easier, and secure. Once all that is complete, and checked, secure your steering to the support using 4x 8mm bolts (stock was 8mm Allen head, but I used hex with pressure washer, shouldn't matter). With the 914/6 steering column mounted, I'm moving to wrap up the wiring in that section. As I mentioned in a separate post (link below), I was having a bit of trouble discerning which-color corresponds to which-equipment / function (having a bit of trouble getting my hands on a 914/6 wiring diagram). Currently, plan is to modify the 3.6 harness with a female 12-pin connector so the column 'plugs in' to the harness like a factory model. Any input on this would be greatly appreciated, thanks in advance! Link: SAVED - 914/6 steering column pin-out 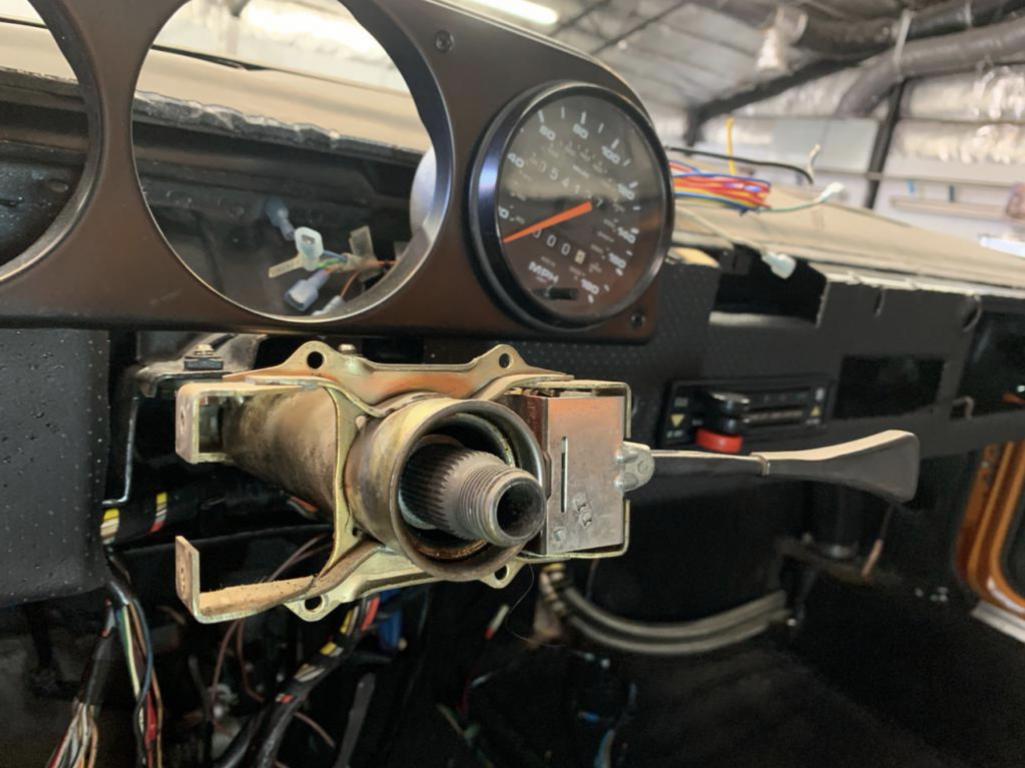 |
| RiqueMar |
 Jun 12 2020, 11:41 AM Jun 12 2020, 11:41 AM
Post
#870
|
|
Enrique Allen Mar     Group: Members Posts: 2,263 Joined: 28-August 08 From: San Diego, CA Member No.: 9,478 Region Association: Southern California 
|
A bit late on this post, but wanted to share a few photos of the June 6th 'Corona Run' in Southern California. While the car isn't done, obviously, it was a lot of fun and great to see such a strong turnout (around 50 cars if I remember correctly).
More pictures to be found on a page I'm starting focused on 914s and all things Porsche - instagram handle @914seis. 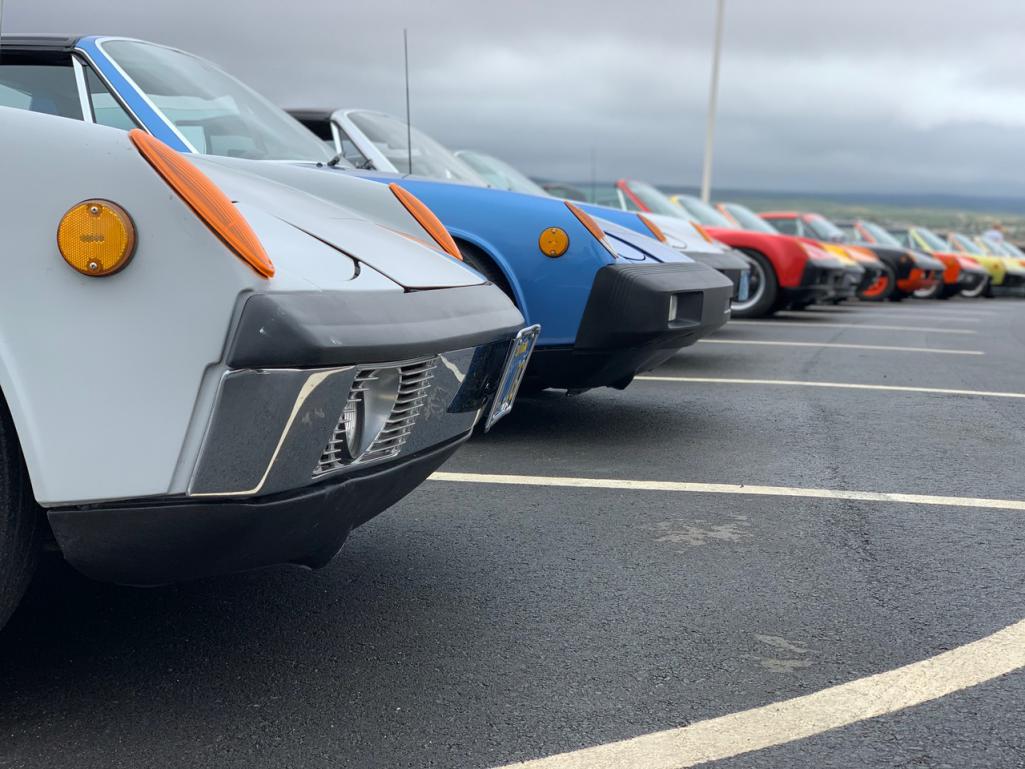 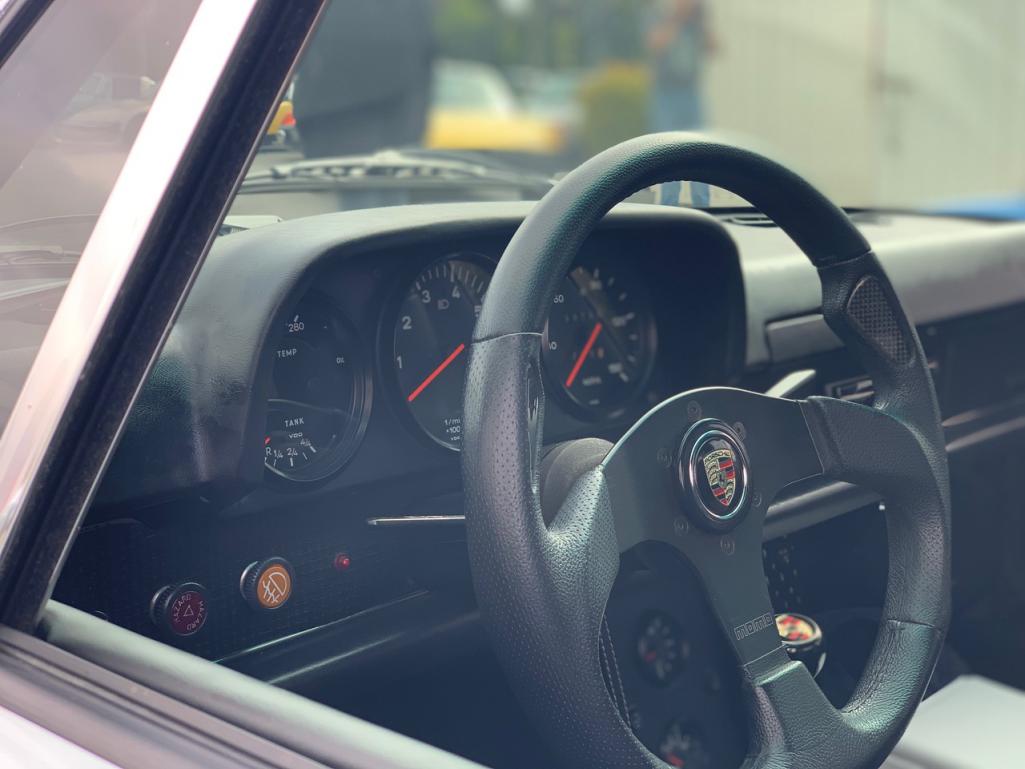 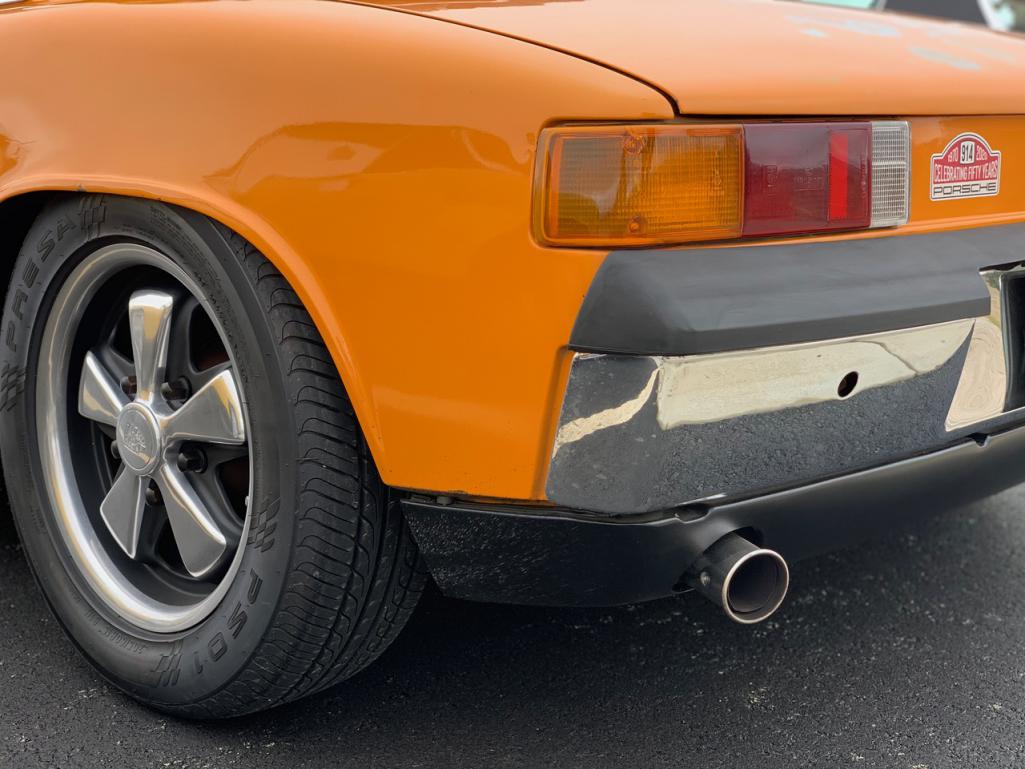 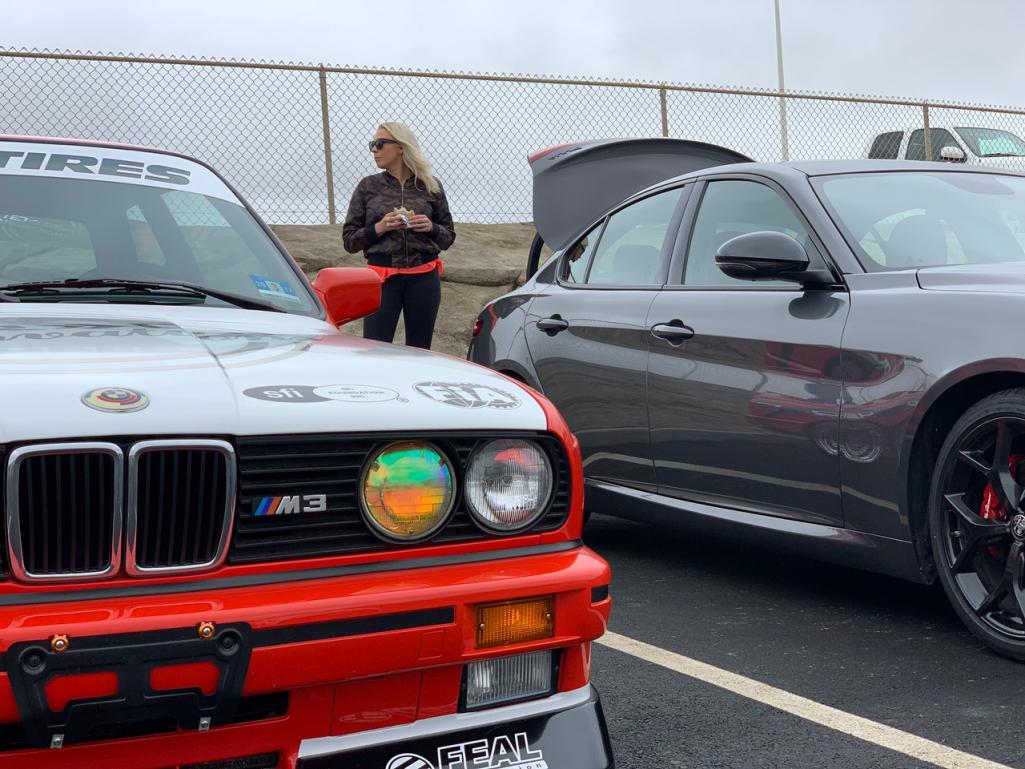 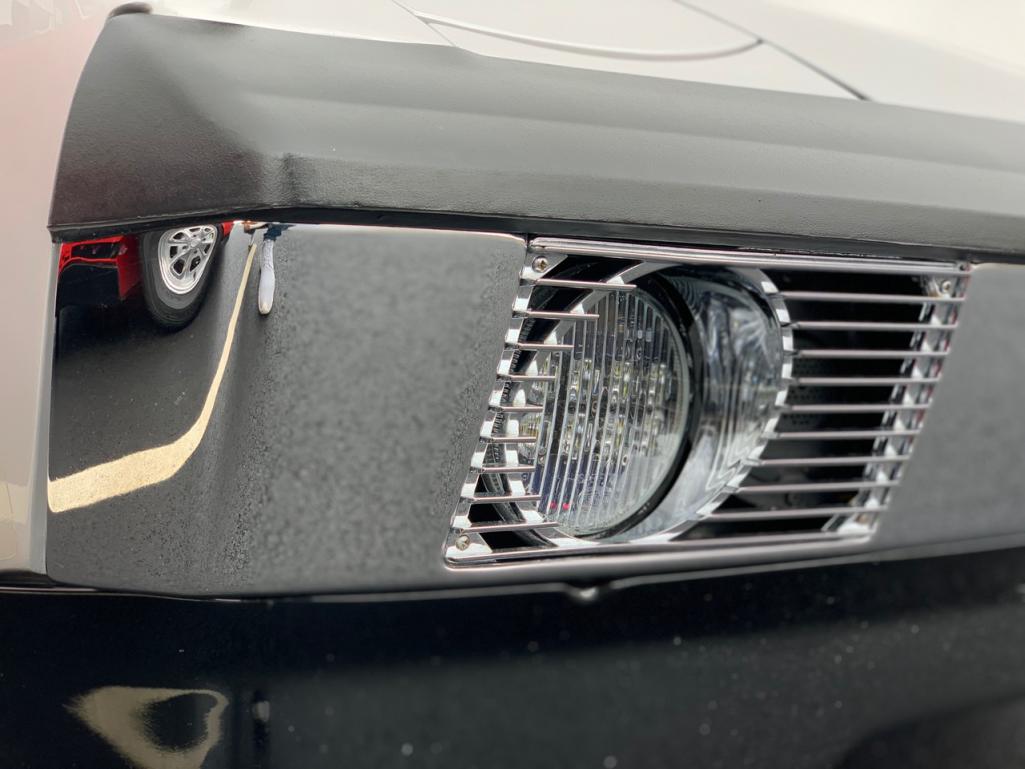 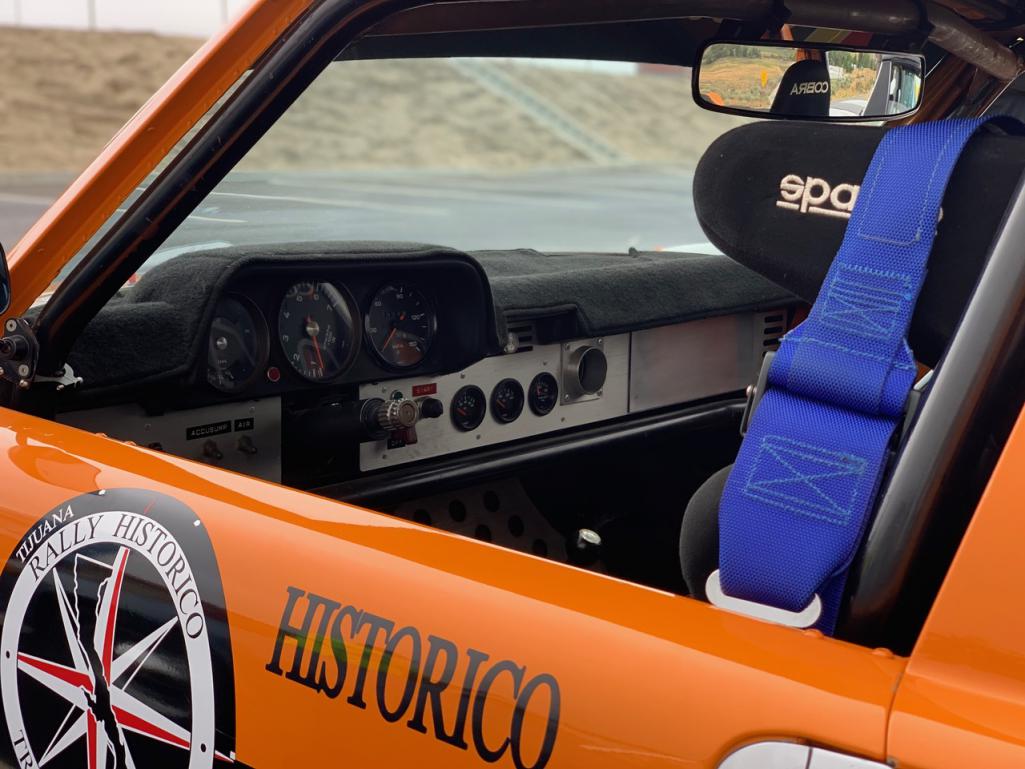 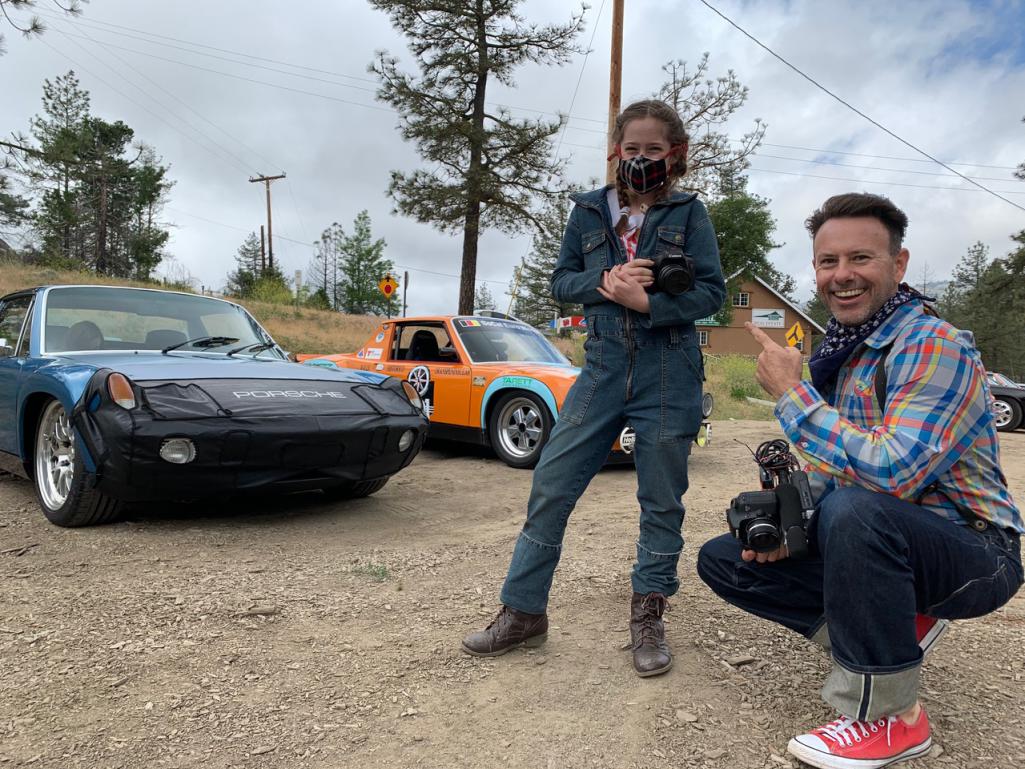 |
| RiqueMar |
 Jun 12 2020, 02:05 PM Jun 12 2020, 02:05 PM
Post
#871
|
|
Enrique Allen Mar     Group: Members Posts: 2,263 Joined: 28-August 08 From: San Diego, CA Member No.: 9,478 Region Association: Southern California 
|
Work continues on the 914/6 steering column! Small progress, but a big hurdle. While this project isn't to make a 'Six-clone', I do want to match the wiring scheme somewhat (just ignore that 3.6 ECU and conversion equipment) and have the wiring scheme make sense. A big part of this is matching the 12-pin connector found on the 914/6 column with the 914/4 harness I have. Luckily, having an old-harness to harvest from I was able to de-solder the female pin connectors, and then re-solder them on to matching wires. From there, I simply used the 'male' side of the harness to match up the 2 pieces.
Shout-out to @jim_hoyland for coming in with a replacement connector after finding out mine was damaged. Now, it seems like its just a matter of connecting the right-wire with the right function (Turn signal, High-Beam, etc.). 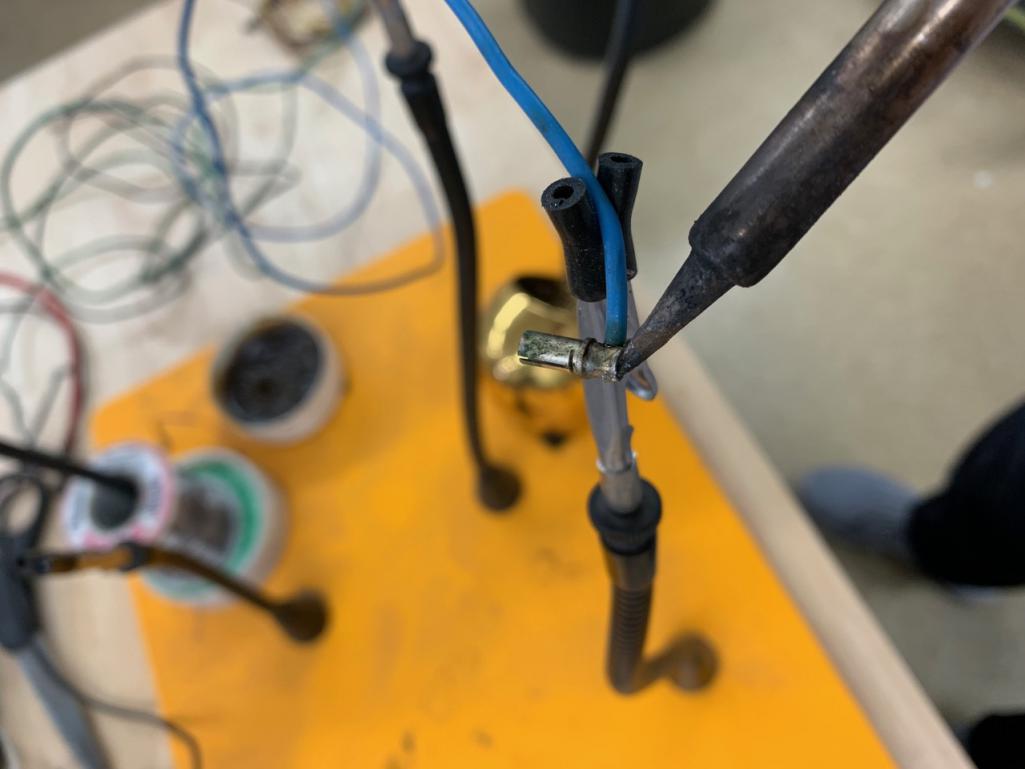 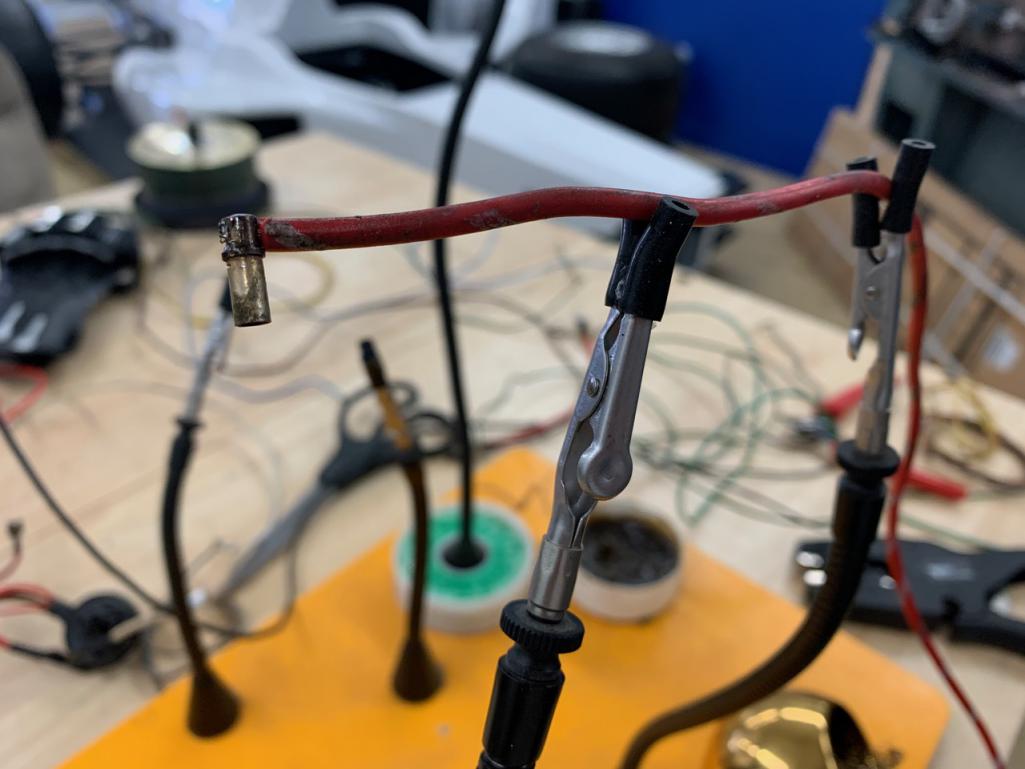 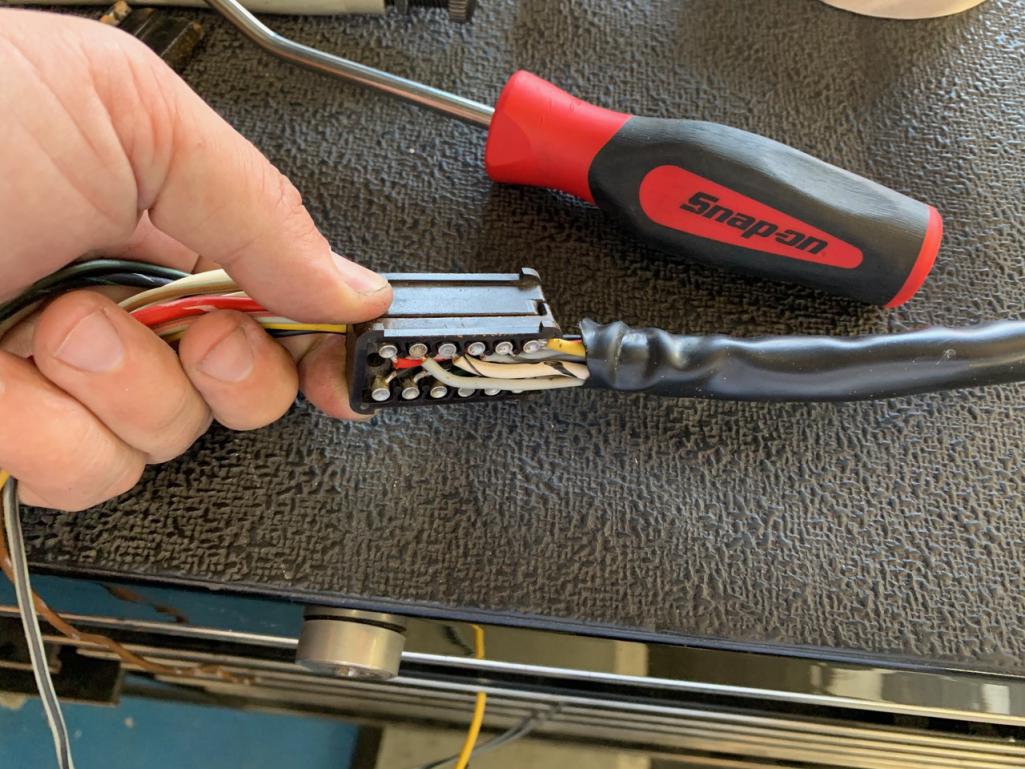 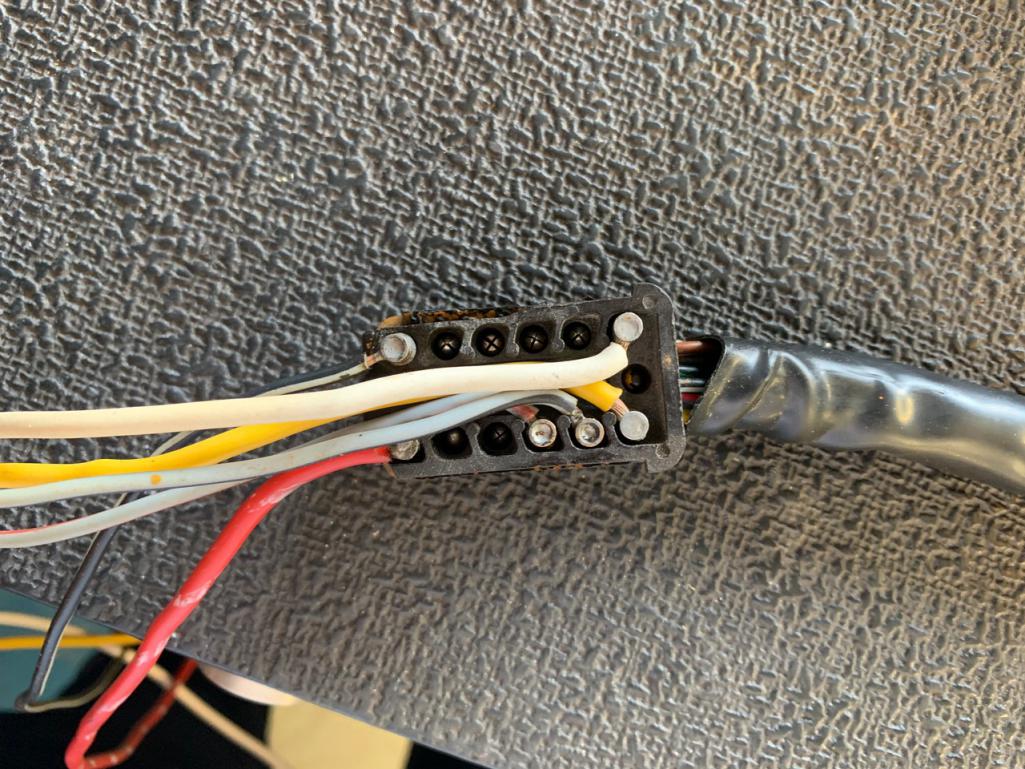 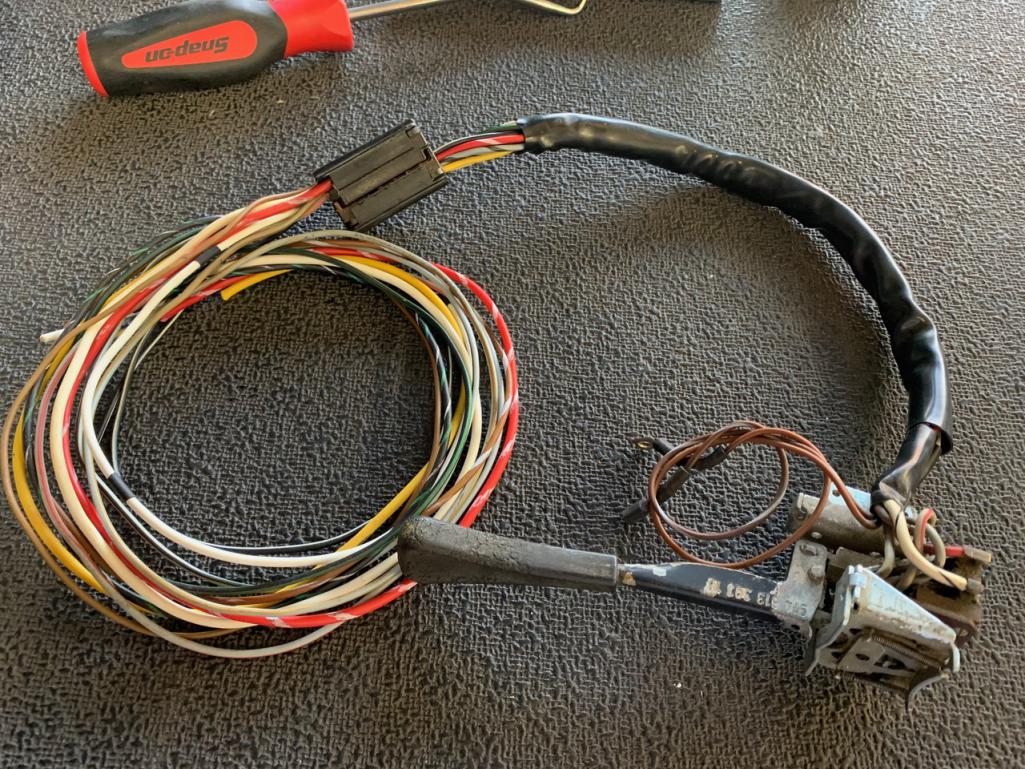 |
| RiqueMar |
 Jun 13 2020, 10:29 PM Jun 13 2020, 10:29 PM
Post
#872
|
|
Enrique Allen Mar     Group: Members Posts: 2,263 Joined: 28-August 08 From: San Diego, CA Member No.: 9,478 Region Association: Southern California 
|
Bodywork on the car is in full swing! I can’t seem to remember where I purchased the front valence, but it did need a bit of work. Split down the middle, widening, and adjustments on the sides right below the wheel-wells / flares. Happy to say though, it’s coming along nicely.
As for the side-skirts, these need very little work. Pro-tip, if installing flares, get these before cutting and welding, and it will save you one-big headache. Figment seems good, just need to install a few spacers and bolt in! 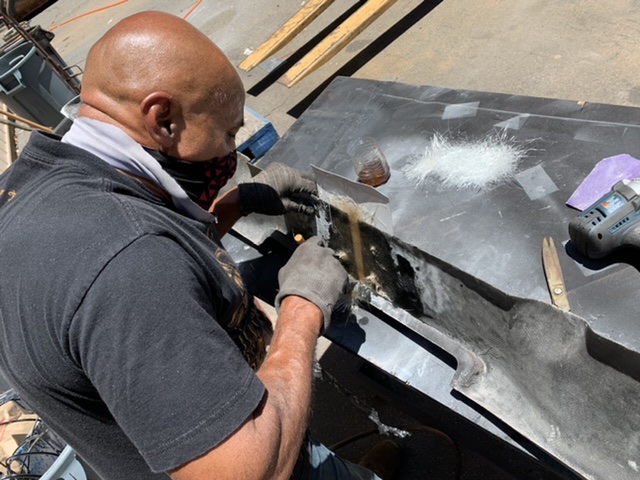 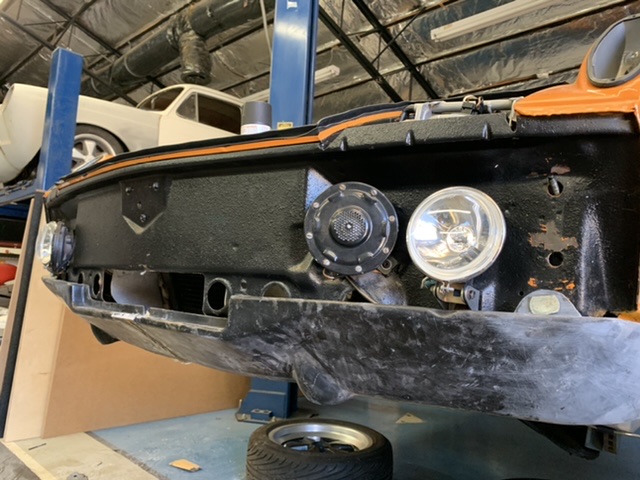 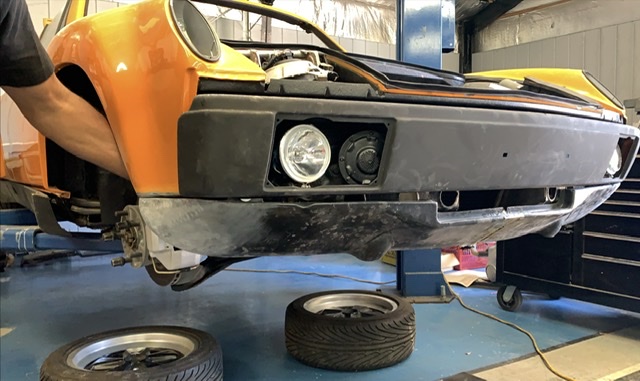 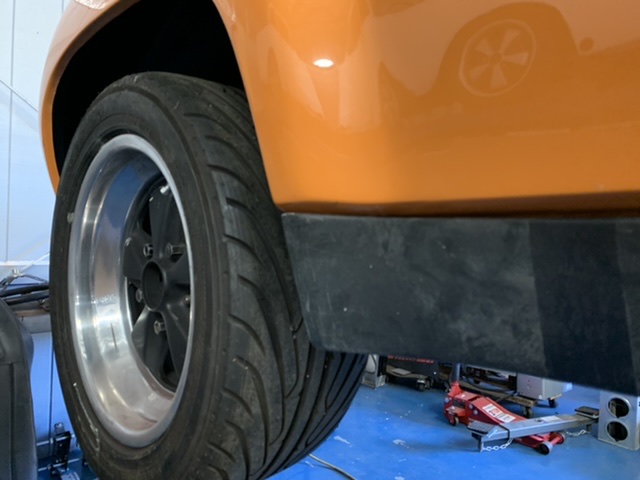 |
| RiqueMar |
 Jun 14 2020, 08:01 PM Jun 14 2020, 08:01 PM
Post
#873
|
|
Enrique Allen Mar     Group: Members Posts: 2,263 Joined: 28-August 08 From: San Diego, CA Member No.: 9,478 Region Association: Southern California 
|
A few photos from today’s progress, not much to update on as the photos speak for themselves. One small note that I would like to add... we ended up glassing in the two mounting bolts on the front part of the valence. This makes it a lot easier to take off and remount.
As Joe continued work on the valences and side-skirts, I’m trying to take this opportunity to ‘clean up’ and ‘restore’ as many pieces of the car as I can. First up, trunk hardware, seat rails and brackets. Sandblast, clean, tape-off, paint and repeat. It’s my opinion that the little things like this are what makes a project of this size really shine. 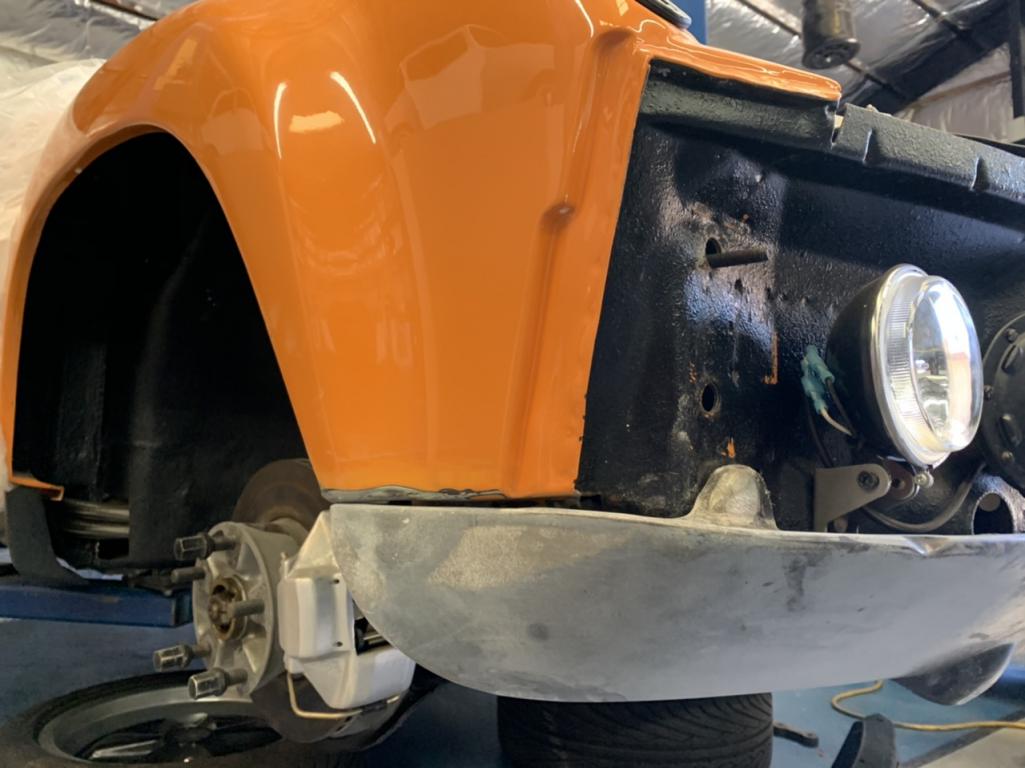 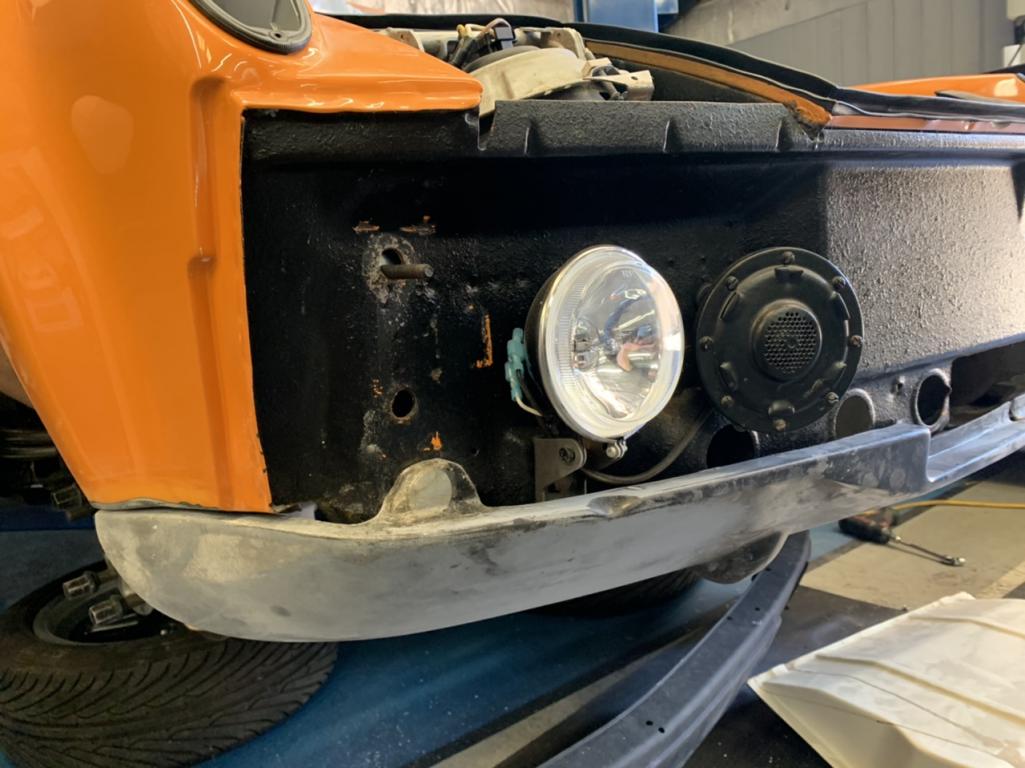 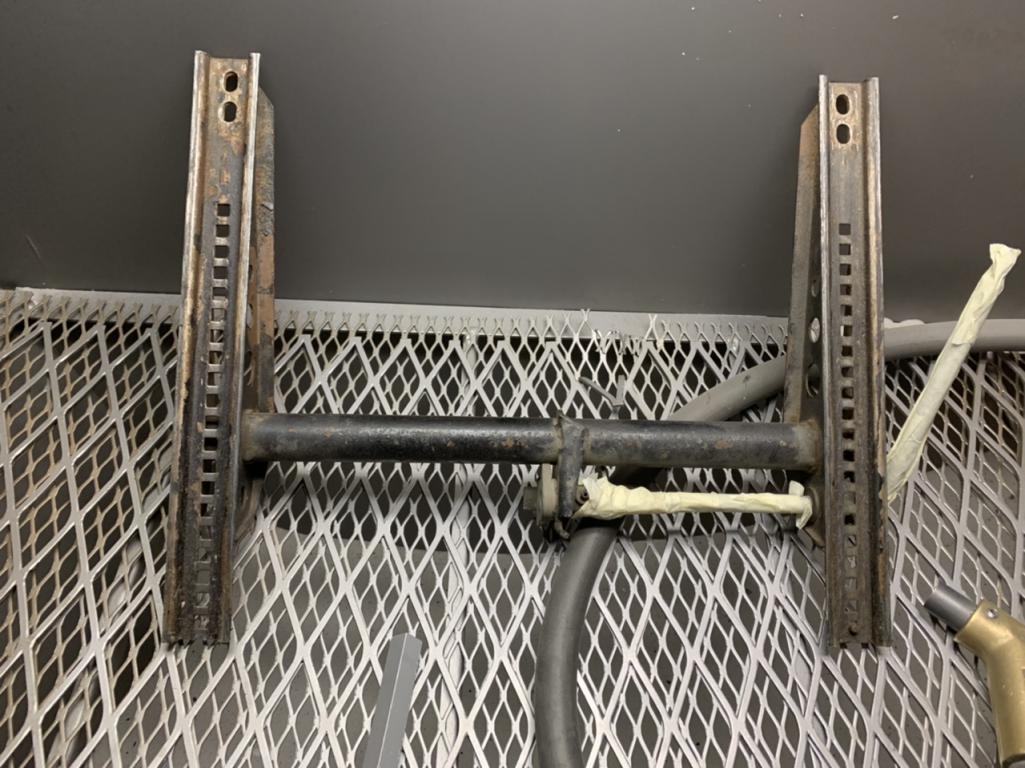 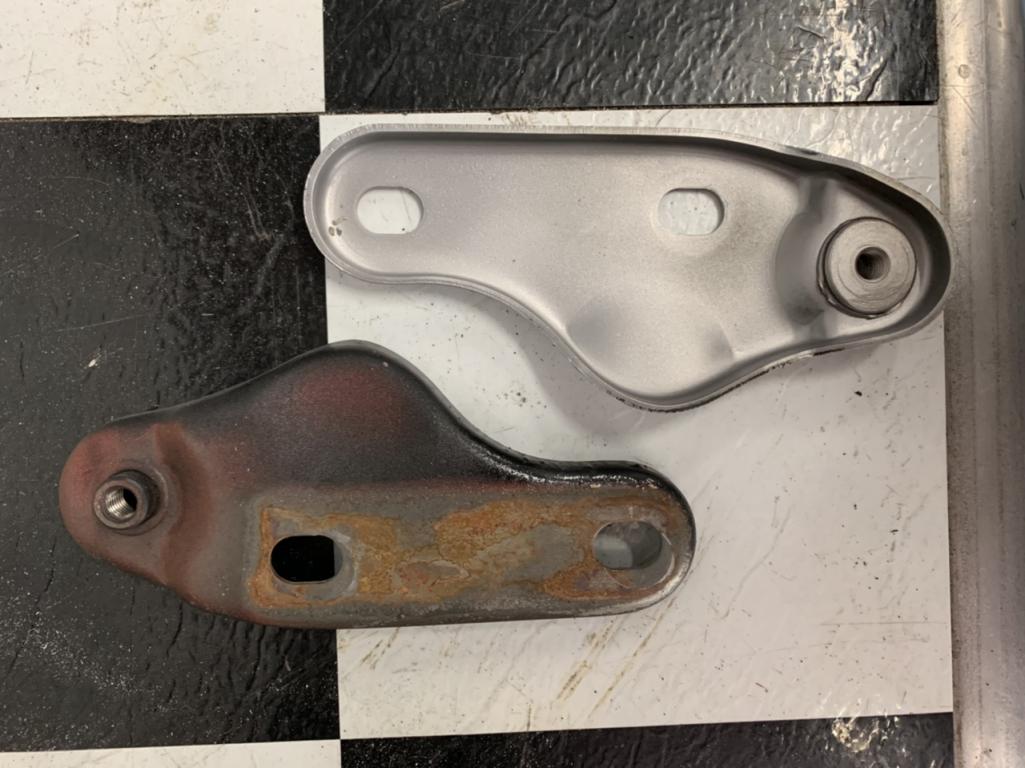 |
| RiqueMar |
 Jun 24 2020, 11:10 AM Jun 24 2020, 11:10 AM
Post
#874
|
|
Enrique Allen Mar     Group: Members Posts: 2,263 Joined: 28-August 08 From: San Diego, CA Member No.: 9,478 Region Association: Southern California 
|
Currently away on a business trip, but work continues on the car while I'm out. Slowed down a bit last week, as I was planning a 'Surprise Party' for my wife's 30th Birthday, and this week is a trip to Southern Utah. In my effort to stay motivated and keep momentum, I was able to snap a few photos of the progress on the front bumper and valence. While it is much more work than anticipated (see previous posts about valence being a bit short), I absolutely love the work Joe is cranking out on the bumper cutout, namely taking the bottom 'lip' and blending it in to the cutout to make it look complete. A bit more work, hopefully by the time I get back, and it will be ready for aluma-lead, then paint.
NOTE: While the mesh was originally installed and 'done', I ended up asking Joe to pull it off a redo the whole thing as I didn't like the 'teeth' look. 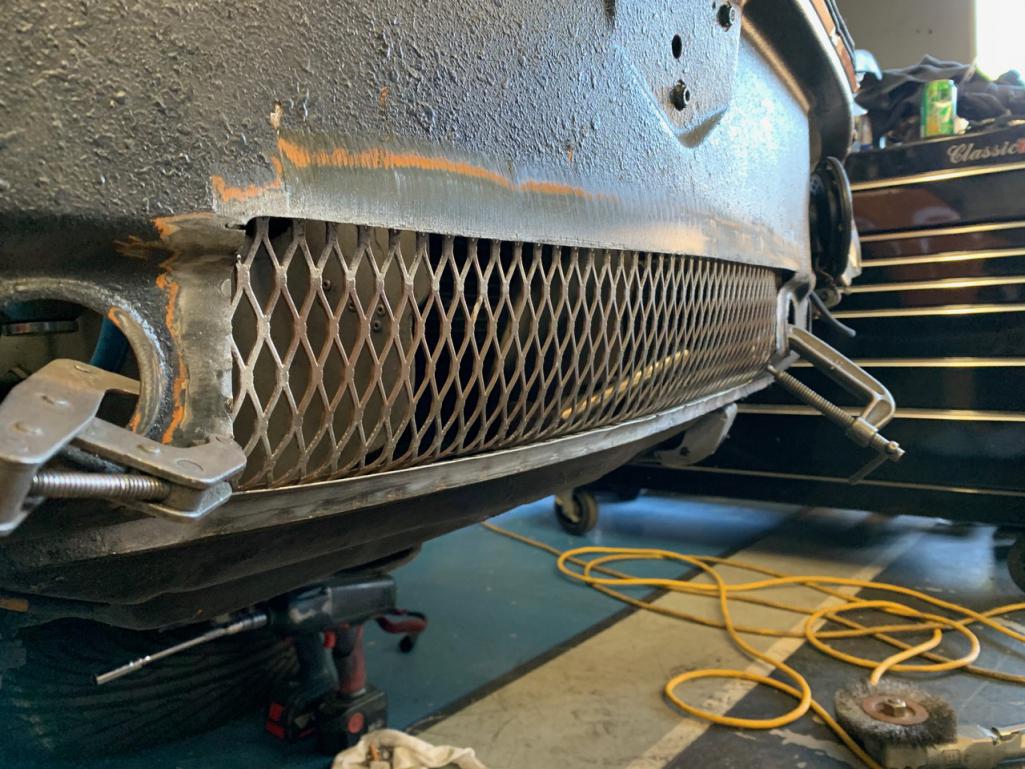 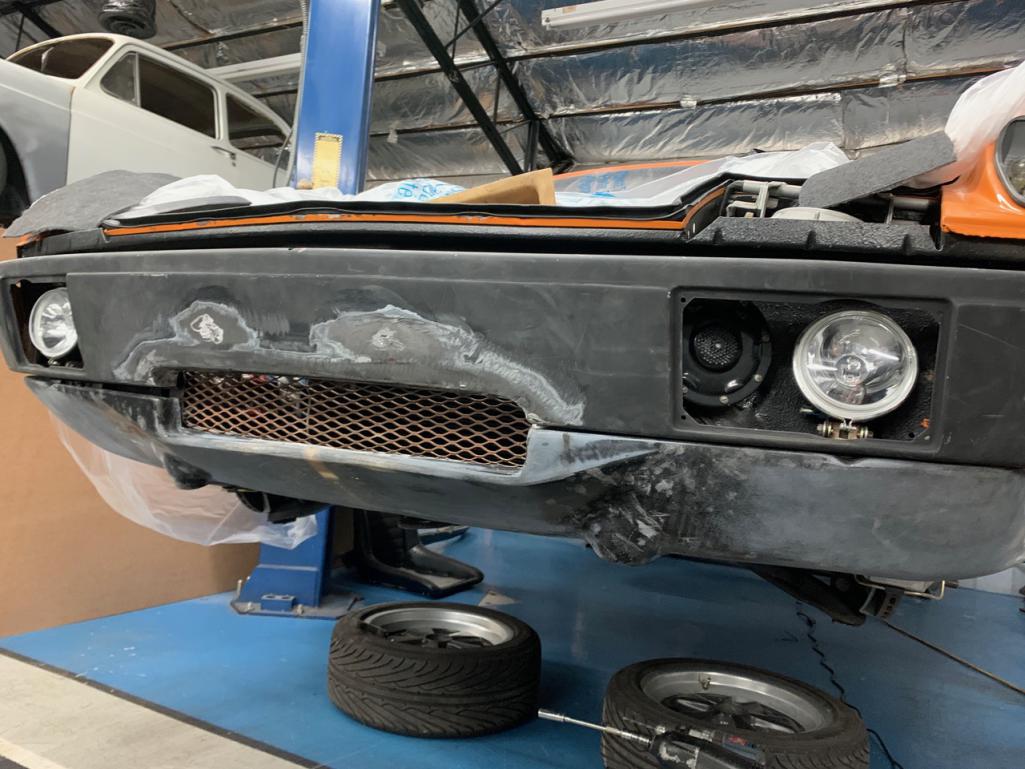 |
| mepstein |
 Jun 24 2020, 11:49 AM Jun 24 2020, 11:49 AM
Post
#875
|
|
914-6 GT in waiting                Group: Members Posts: 20,369 Joined: 19-September 09 From: Landenberg, PA/Wilmington, DE Member No.: 10,825 Region Association: MidAtlantic Region 
|
Looking good.
Is your metal guy blending the ends of the valance to the flares? |
| RiqueMar |
 Jun 24 2020, 06:46 PM Jun 24 2020, 06:46 PM
Post
#876
|
|
Enrique Allen Mar     Group: Members Posts: 2,263 Joined: 28-August 08 From: San Diego, CA Member No.: 9,478 Region Association: Southern California 
|
Looking good. Is your metal guy blending the ends of the valance to the flares? @mepstein - That's right. It seemed to me that, looking at reference photos, most are either 'flush' or there is about an 1/8" offset between the wheel-well and the front of valence. I'm good with either, though I thought this looks better. I figure if I ever want that offset, I can add a spacer on the front and 'boom'. Still out of state, but heading home from the customers site my Father sent me a few photos of both the front bumper and valence in primer, as well as the 'Frame' we added around the mesh for the oil cooler to reinforce the structure. Not much left to do here except for finishing, painting, and touching up the rubberized undercoating on the front bumper-area and the back of the bumper! (IMG:style_emoticons/default/aktion035.gif) 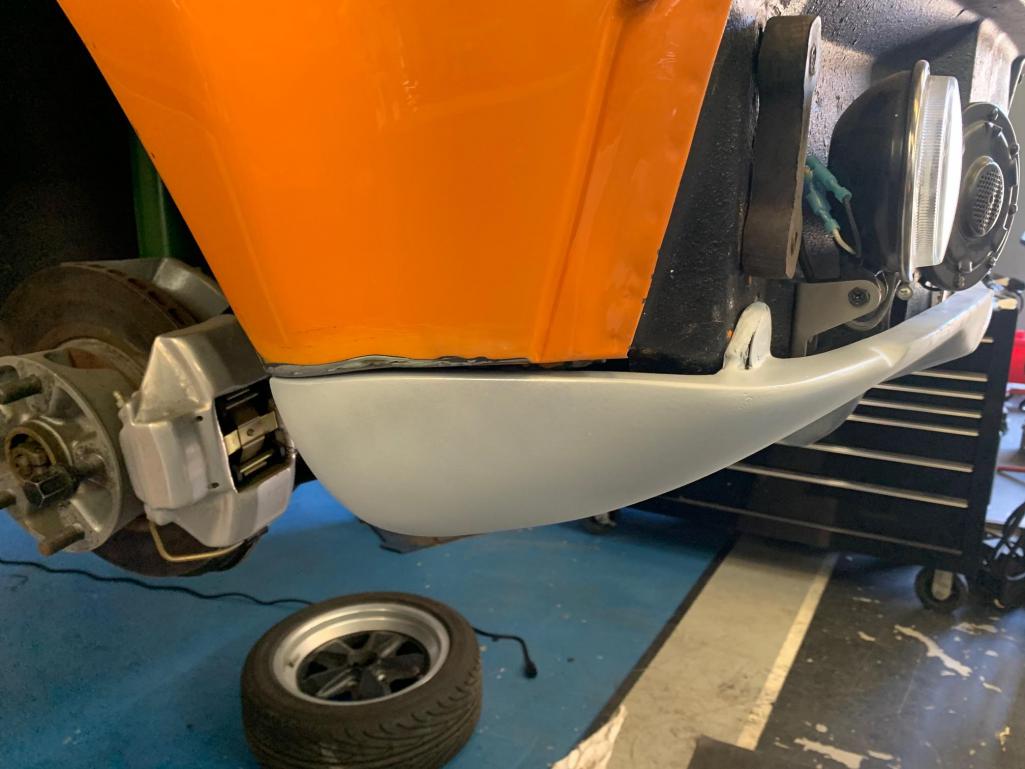 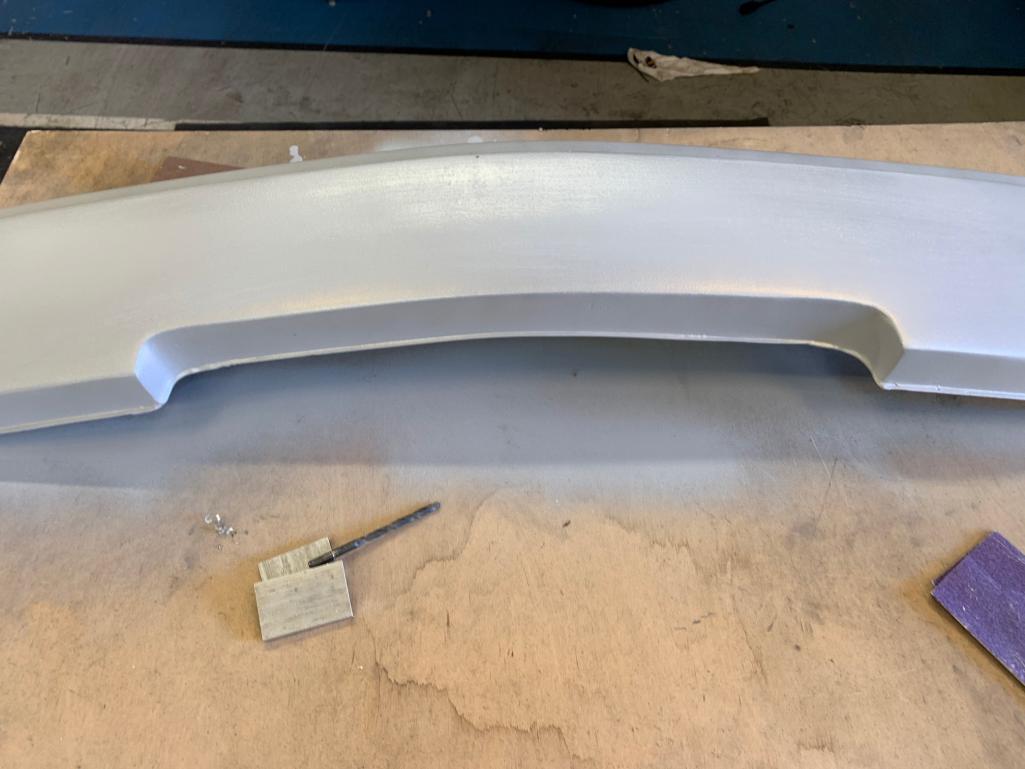 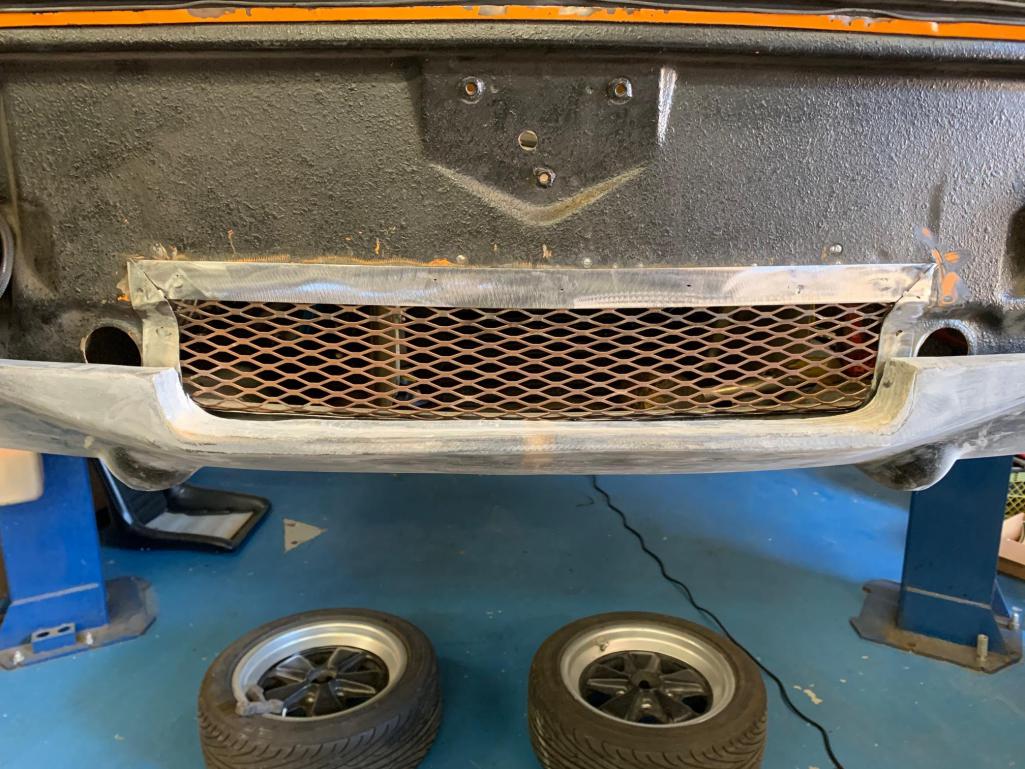 |
| mepstein |
 Jun 24 2020, 06:49 PM Jun 24 2020, 06:49 PM
Post
#877
|
|
914-6 GT in waiting                Group: Members Posts: 20,369 Joined: 19-September 09 From: Landenberg, PA/Wilmington, DE Member No.: 10,825 Region Association: MidAtlantic Region 
|
It looks like a stronger mounting point has been added to the valance.
Attached image(s) 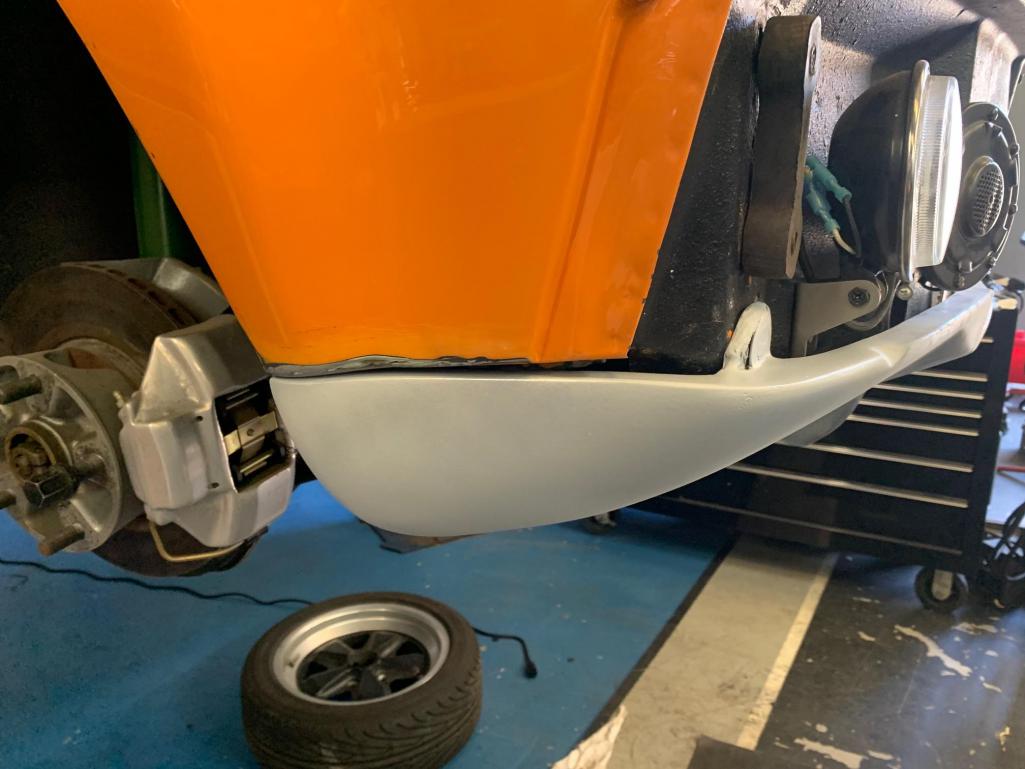
|
| RiqueMar |
 Jun 24 2020, 06:57 PM Jun 24 2020, 06:57 PM
Post
#878
|
|
Enrique Allen Mar     Group: Members Posts: 2,263 Joined: 28-August 08 From: San Diego, CA Member No.: 9,478 Region Association: Southern California 
|
It looks like a stronger mounting point has been added to the valance. @mepstein - Correct again! Look at my post #873 and you can see where we glassed in studs. Much easier to take it on and off, as well as adjust it. My Dad and I are toying with the idea of pulling molds of this valence and selling to people interested. Not to 'knock' the original FRP shop, but this needed ALOT of work; widening about 1"-1.5", adjustment, capping off the ends under the wheel-well, finishing, etc. |
| Cairo94507 |
 Jun 25 2020, 06:23 AM Jun 25 2020, 06:23 AM
Post
#879
|
|
Michael           Group: Members Posts: 10,562 Joined: 1-November 08 From: Auburn, CA Member No.: 9,712 Region Association: Northern California 
|
Nice progress and work. Can't miss those nice front early S aluminum calipers...... (IMG:style_emoticons/default/beerchug.gif)
|
| RiqueMar |
 Jul 8 2020, 06:31 PM Jul 8 2020, 06:31 PM
Post
#880
|
|
Enrique Allen Mar     Group: Members Posts: 2,263 Joined: 28-August 08 From: San Diego, CA Member No.: 9,478 Region Association: Southern California 
|
Nice progress and work. Can't miss those nice front early S aluminum calipers...... (IMG:style_emoticons/default/beerchug.gif) I like them, but may switch to Boxster calipers for purely cosmetic reasons. These were completely restored by PMB, and have zero miles, may post to classifieds. No large updates, but plan to be at the ranch this weekend to finally 'finish off' the dash wiring. Front valence and bumper are in primer, and we are moving onto the side-skirts and rear. For the rear, most likely, will cut off the exhaust tip and customize the rear valence for either single or dual exhaust and then re-attach. I haven't quiet decided which I like better. 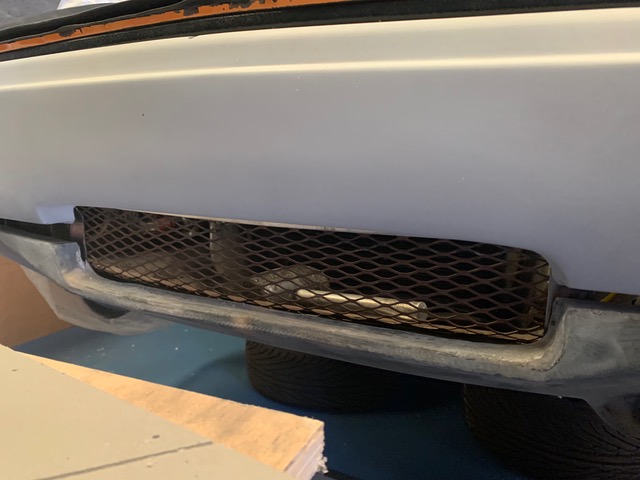 |
  |
1 User(s) are reading this topic (1 Guests and 0 Anonymous Users)
0 Members:

|
Lo-Fi Version | Time is now: 30th January 2026 - 01:54 AM |
Invision Power Board
v9.1.4 © 2026 IPS, Inc.


