|
|
|
Porsche, and the Porsche crest are registered trademarks of Dr. Ing. h.c. F. Porsche AG.
This site is not affiliated with Porsche in any way. Its only purpose is to provide an online forum for car enthusiasts. All other trademarks are property of their respective owners. |
|
|

  |

| jonferns |
 Jan 2 2010, 08:20 AM Jan 2 2010, 08:20 AM
Post
#81
|
|
Advanced Member  Group: Members Posts: 2,081 Joined: 29-March 07 From: New Jersey Member No.: 7,631 Region Association: North East States |
Try 914ap.com for your carpet and interior needs. I love the yellow!
|
   |

 
|
| wayne1234 |
Jan 3 2010, 03:08 PM
Post
#82
|
|
Member Group: Members Posts: 260 Joined: 6-April 09 From: indianapolis in Member No.: 10,238 Region Association: None |
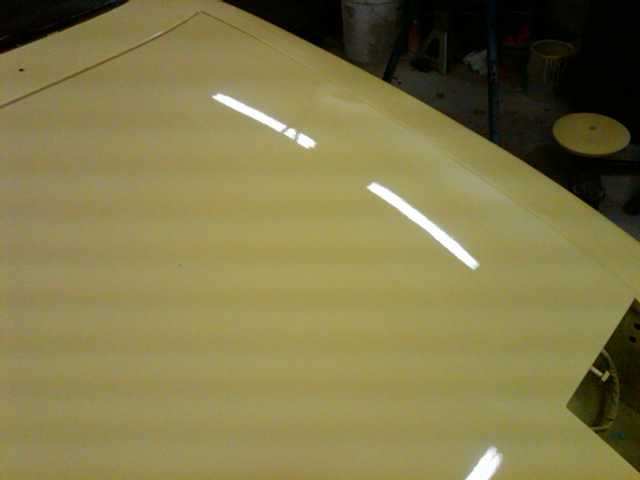
I'm really happy with how the paint is coming out, Man I forgot how time consuming it is to buff out paint, especially a single stage, it is so hard to photo the shine but this is the best I can come up with.
  Attached image(s) 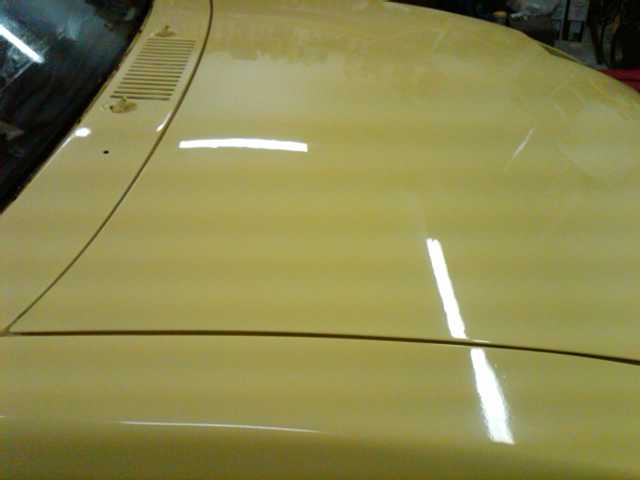
|
 |
|
| Ferg |
Jan 3 2010, 04:12 PM
Post
#83
|
|
914 Guru Group: Members Posts: 5,948 Joined: 8-January 03 From: Boulder CO Member No.: 116 Region Association: None |
Wow, you've been busy, great work! If I was there I'd buy you a Bells!
Ferg (IMG:style_emoticons/default/beerchug.gif) |
|
|
|
| rick 918-S |
Jan 3 2010, 08:16 PM
Post
#84
|
|
Hey nice rack! -Celette Group: Members Posts: 21,285 Joined: 30-December 02 From: Now in Superior WI Member No.: 43 Region Association: Northstar Region |
Looks like your on top of it now! (IMG:style_emoticons/default/clap56.gif)
|
|
|
|
| Sleepin |
Jan 3 2010, 09:30 PM
Post
#85
|
|
Advanced Member Group: Members Posts: 3,647 Joined: 20-November 07 From: Grand Junction, Co. Member No.: 8,357 Region Association: Rocky Mountains |
Looking good! I wish I could do paint and body work like that!
|
|
|
|
| plymouth37 |
Jan 3 2010, 10:25 PM
Post
#86
|
|
Senior Member Group: Members Posts: 1,825 Joined: 24-May 05 From: Snoqualmie, WA Member No.: 4,138 Region Association: Pacific Northwest |
Paint looks great! keep up the good work!
|
|
|
|
| wayne1234 |
Jan 6 2010, 02:12 AM
Post
#87
|
|
Member Group: Members Posts: 260 Joined: 6-April 09 From: indianapolis in Member No.: 10,238 Region Association: None |
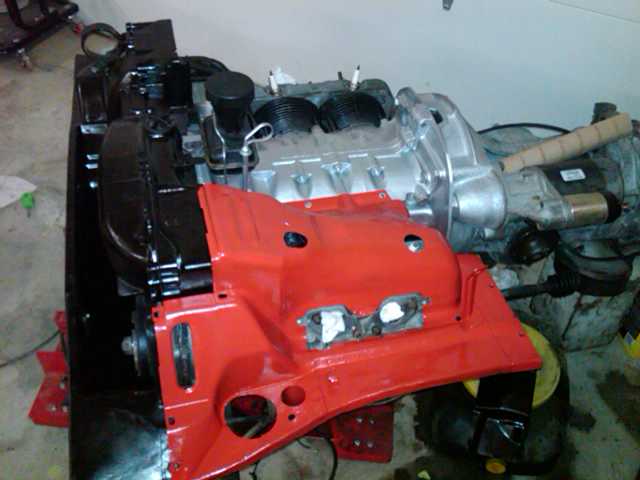
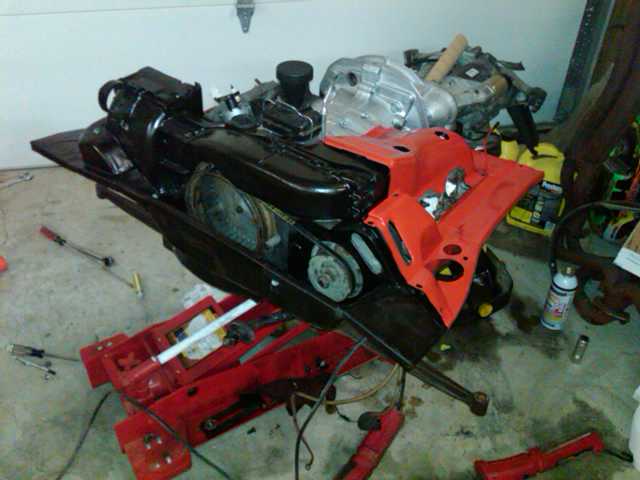
Engine is almost totally together (IMG:style_emoticons/default/cheer.gif) couple of teaser shots, The engine tin came out decent but not perfect, so I did a slight texture using paint blobs like old splatter paint , then a nice coat , it hid most of the surface imperfections.
  |
|
|
|
| wayne1234 |
Feb 12 2010, 12:28 PM
Post
#88
|
|
Member Group: Members Posts: 260 Joined: 6-April 09 From: indianapolis in Member No.: 10,238 Region Association: None |
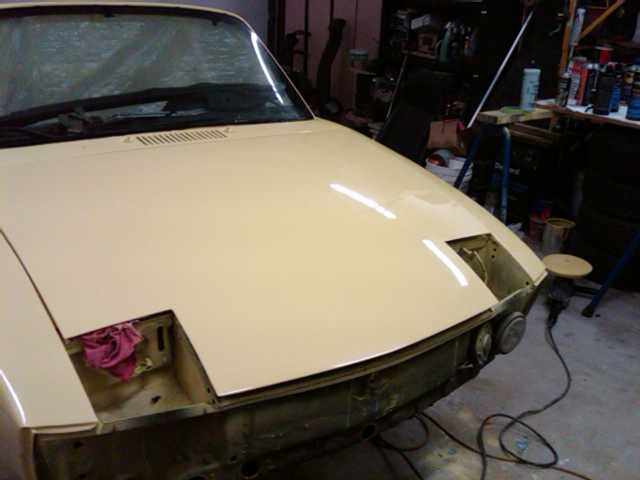
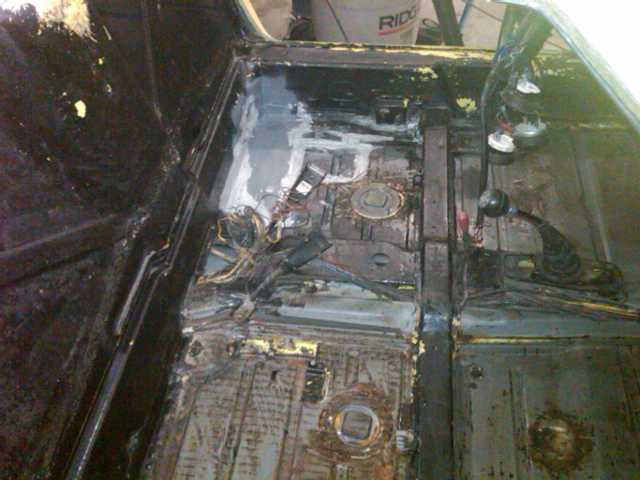
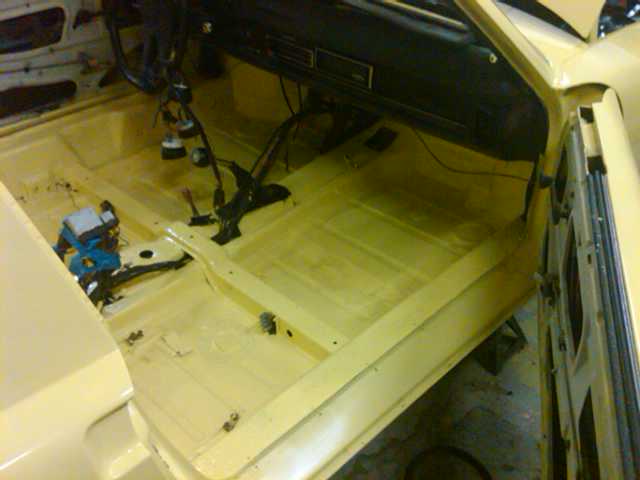
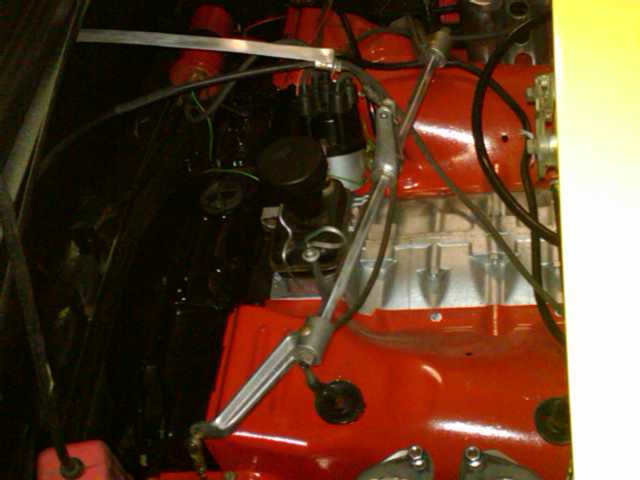
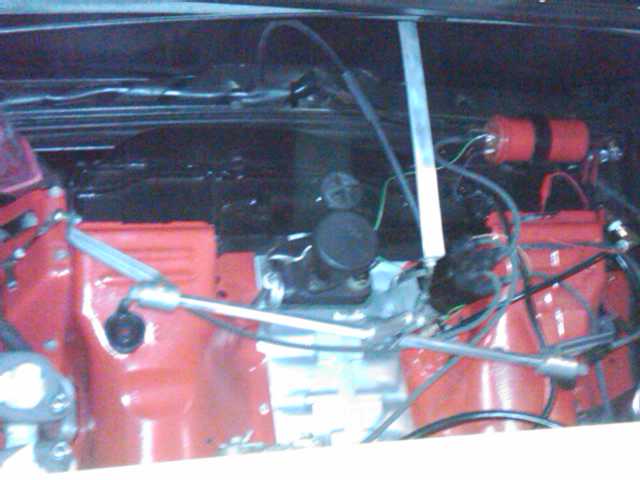
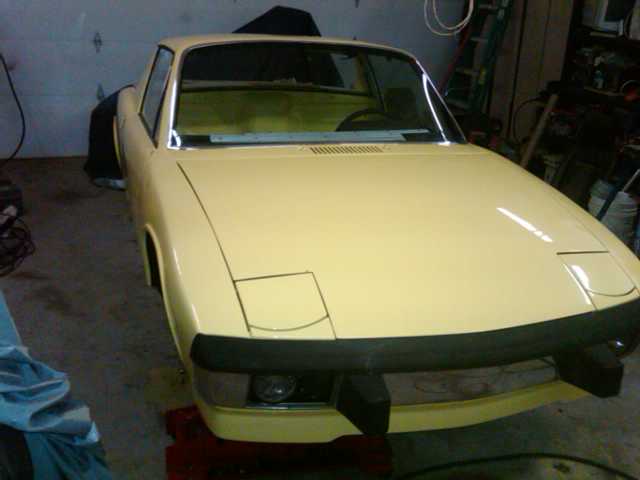
Progress has been SLOW.... the engine is in (IMG:style_emoticons/default/biggrin.gif) I made a mistake , I had looked at the carbs and could tell that indeed they had been recently rebuilt, by the new rubber around the accel pump and other clean things, so I assumed they were fine... well I guess from sitting the got crap in them, So we took them back off and tore them down, and I got the rebuild kits. my buddy did the tank treatment at his work and they cleaned up nice ... Then we were putting them back together last night and the accel pump spring looked funn and there was a weak spot in 1 of them so now more waiting on parts (IMG:style_emoticons/default/headbang.gif) Anybody else find this the most frustrating part of owning a 914???? it is driving me crazy.... so anyway I have done a few other things like reassemble the doors with the glass and paint the floorboards, assemble the headlights completely. install door strikers , worked on refinishing the tail lenses.. and generally putting the car back together and sorting out which rubber pieces I need. Here are a couple pics to keep me going ....
  |
|
|
|
| wayne1234 |
Feb 12 2010, 12:40 PM
Post
#89
|
|
Member Group: Members Posts: 260 Joined: 6-April 09 From: indianapolis in Member No.: 10,238 Region Association: None |
   |
|
|
|
| wayne1234 |
Feb 12 2010, 12:45 PM
Post
#90
|
|
Member Group: Members Posts: 260 Joined: 6-April 09 From: indianapolis in Member No.: 10,238 Region Association: None |
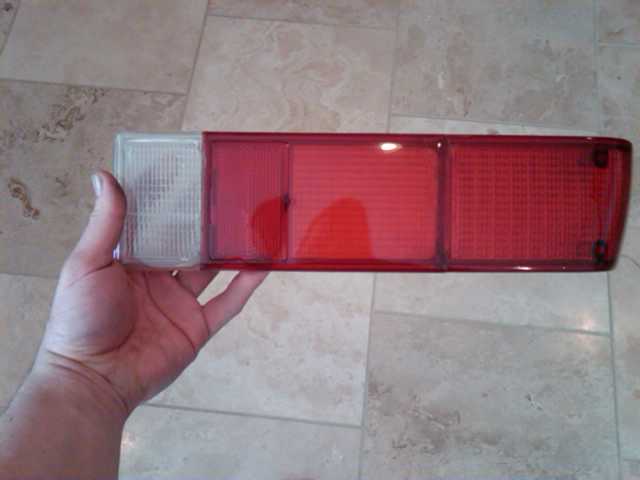
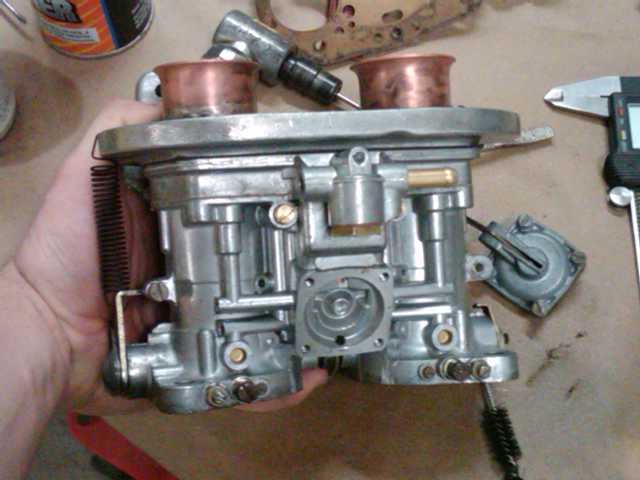
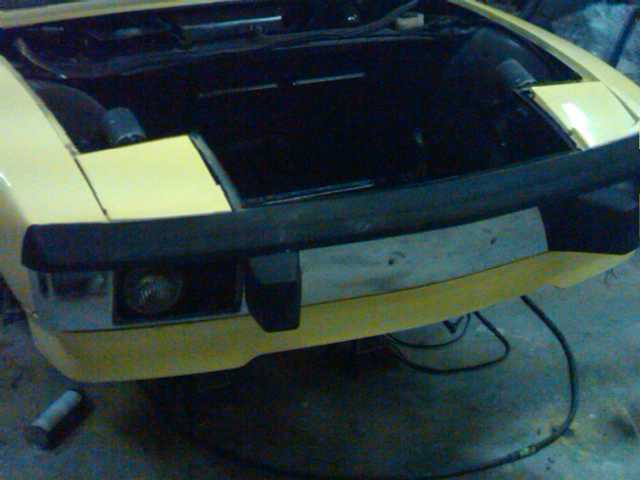
Almost forgot I got the bumpers on!! here is my tail lens, I sanded it and heve cleared it about 5 times. It looks pretty good. I just didnt want to spend the $ for new ones. And the freshly cleaned and rebuilt carbs
   |
|
|
|
| wayne1234 |
Feb 12 2010, 12:56 PM
Post
#91
|
|
Member Group: Members Posts: 260 Joined: 6-April 09 From: indianapolis in Member No.: 10,238 Region Association: None |
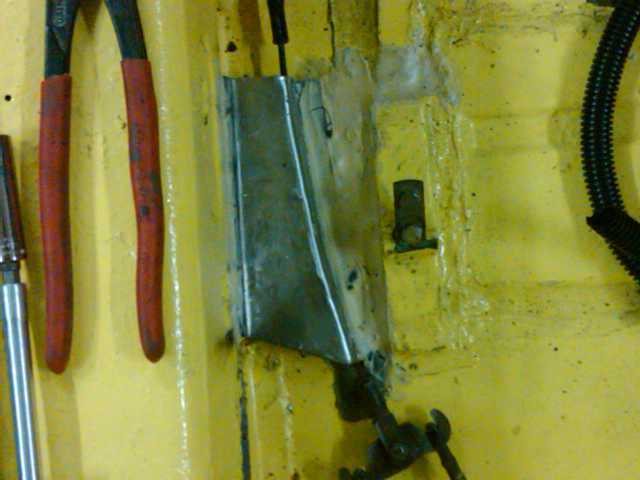
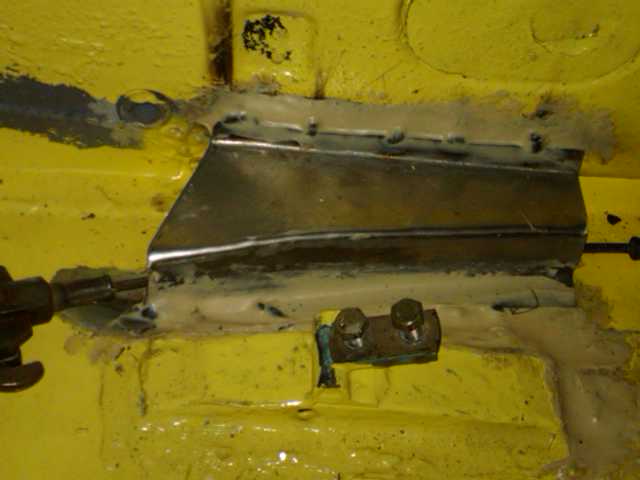
Also I got the parking brake installed and working!!The PO had just removed the metal guide, due to rust and had taken out all the parts, I used the handle and cable from my parts car, and made the guide piece,,, I am so happy with how my metal skill have come along during this project,, In the beginning I would have tried to source a used piece , trying to hunt it down and going to great lengths to get it and then waiting for it to arrive... now it wasn't much for me to fab this up in about 20 minutes or so... And it turned out great,,, I had to wait to paint it just to show you guys... I know its a small piece , but it was curve and was a little challange,,,this and my engine shelf pieces and the new slope nose pieces that I made have came out great. in the beginning I would have never attempted to make any of this.
  |
|
|
|
| 6freak |
Feb 12 2010, 01:44 PM
Post
#92
|
|
MR.C Group: Members Posts: 4,740 Joined: 19-March 08 From: Tacoma WA Member No.: 8,829 Region Association: Pacific Northwest |
ton of work ...nice job .....rubber buggy bumpers look like there on the wrong side
|
|
|
|
| oz371 |
Feb 12 2010, 01:51 PM
Post
#93
|
|
Member Group: Members Posts: 101 Joined: 28-August 09 From: ontario, CA Member No.: 10,739 Region Association: None |
QUOTE(SirAndy @ Dec 4 2009, 01:01 PM)  Oh man, every time you post another picture, it just makes me cringe ... (IMG:style_emoticons/default/sad.gif) Andy (IMG:style_emoticons/default/agree.gif) Keep it up! Looks like someone took you for a ride. You are the bigger man for not slammin the guy and puttin his name here. |
|
|
|
| SirAndy |
Feb 12 2010, 02:15 PM
Post
#94
|
|
Resident German Group: Admin Posts: 42,483 Joined: 21-January 03 From: Oakland, Kalifornia Member No.: 179 Region Association: Northern California |
QUOTE(wayne1234 @ Feb 12 2010, 10:56 AM) I know its a small piece , but it was curve and was a little challange,,,this and my engine shelf pieces and the new slope nose pieces that I made have came out great. in the beginning I would have never attempted to make any of this. Now all you need to learn is how to drill holes and spot-weld your pieces and how to use a grinder afterward to make them welds look nice. (IMG:style_emoticons/default/biggrin.gif) (IMG:style_emoticons/default/smilie_pokal.gif) Andy |
|
|
|
| wayne1234 |
Feb 12 2010, 02:26 PM
Post
#95
|
|
Member Group: Members Posts: 260 Joined: 6-April 09 From: indianapolis in Member No.: 10,238 Region Association: None |
There is always that (IMG:style_emoticons/default/biggrin.gif) I thought about it after the fact.... my next rusty replacement e brake guide plate,,, deal.... (IMG:style_emoticons/default/lol-2.gif)
|
|
|
|
| PanelBilly |
Feb 12 2010, 02:40 PM
Post
#96
|
|
914 Guru Group: Members Posts: 5,969 Joined: 23-July 06 From: Kent, Wa Member No.: 6,488 Region Association: Pacific Northwest |
Did I understand you correctly? You sanded and then cleared the rear lenses? I never thought of that one. Did you just doo the outer side?
|
|
|
|
| wayne1234 |
Feb 12 2010, 03:09 PM
Post
#97
|
|
Member Group: Members Posts: 260 Joined: 6-April 09 From: indianapolis in Member No.: 10,238 Region Association: None |
Yeah there was a crack in mine So I used the hobby version of super glue,, its called "Zap a gap" you can use a spray accelerator, so it cures instantly,,, then a quick sanding, to flaten out the glue,,,, (600 wet ) Then I smeared red nail polish in the crack to give it some color... then I sprayed some clear in the cap and smeared it in the crack to build it up.... let it dry... then did a meduim coat of clear,,, let dry sand and repeat till it comes out the way you want,, took me about 5 coats... I used Krylon Fusion clear it dries to touch in 15 minutes, and I cheated and put it in our ovens warming drawer to dry it quicker, but dont tell the wife (IMG:style_emoticons/default/biggrin.gif) I was baking a tail light lens in the oven.... I figured I only had $6 and some time to loose. But even up close I can hardly tell on the car you will never know...
|
|
|
|
| wayne1234 |
Mar 6 2010, 12:01 AM
Post
#98
|
|
Member Group: Members Posts: 260 Joined: 6-April 09 From: indianapolis in Member No.: 10,238 Region Association: None |
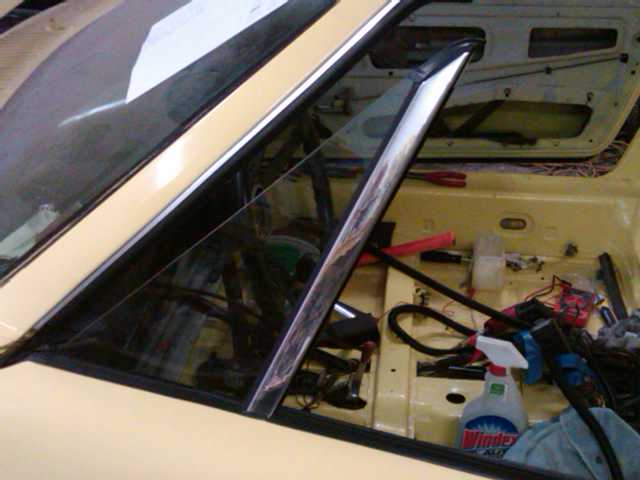
Still making small progress, I got almost all the wiring cleaned up, all lights work horn works eliminated the mess the po made under the pass seat, ran the wires for the oil pressure and oil temp.. then we have been polishing all the trim on the car,.. it is coming out great I had done the triangle windows before, we got the windshield trim done and got it put on , what a difference....
 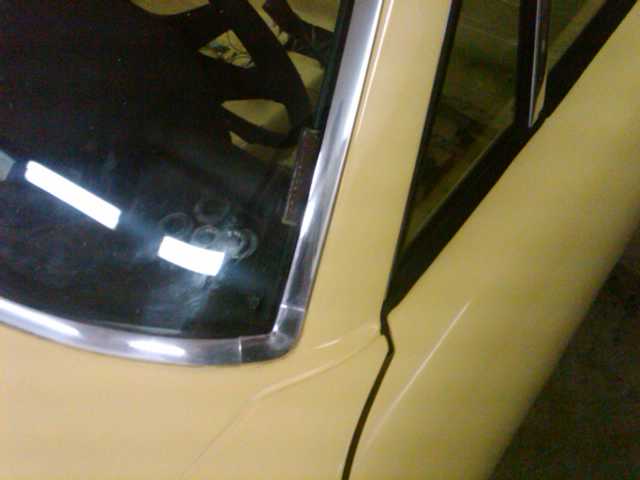 The rear targa trim polished also 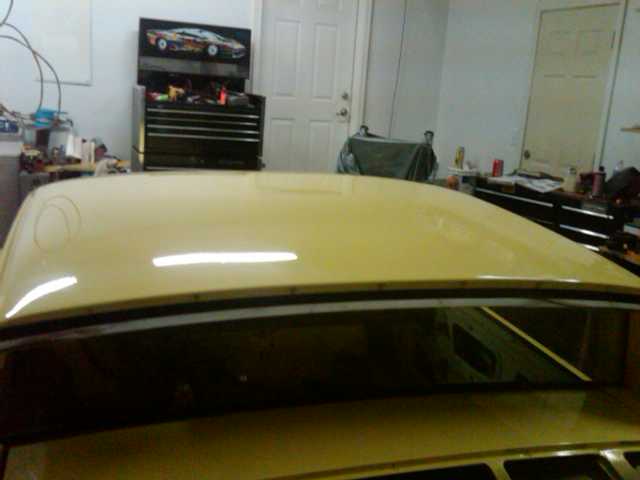 |
|
|
|
| wayne1234 |
Mar 6 2010, 12:08 AM
Post
#99
|
|
Member Group: Members Posts: 260 Joined: 6-April 09 From: indianapolis in Member No.: 10,238 Region Association: None |
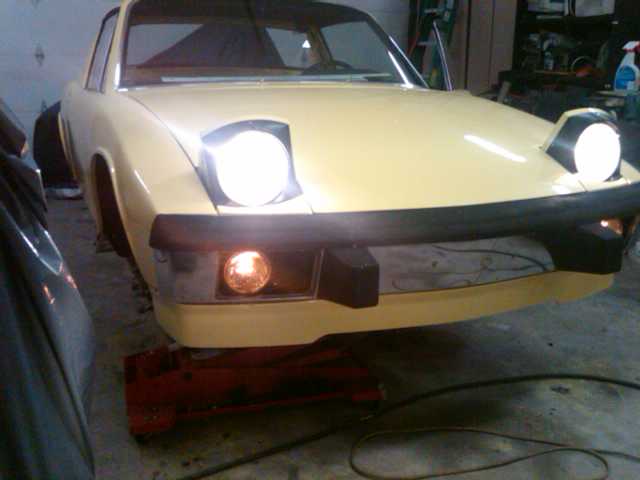
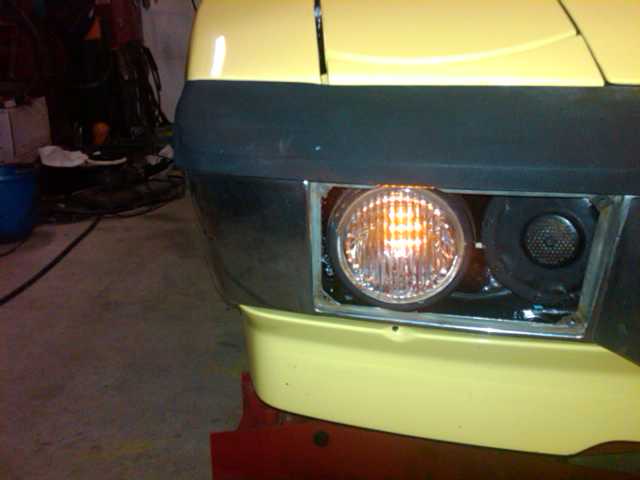
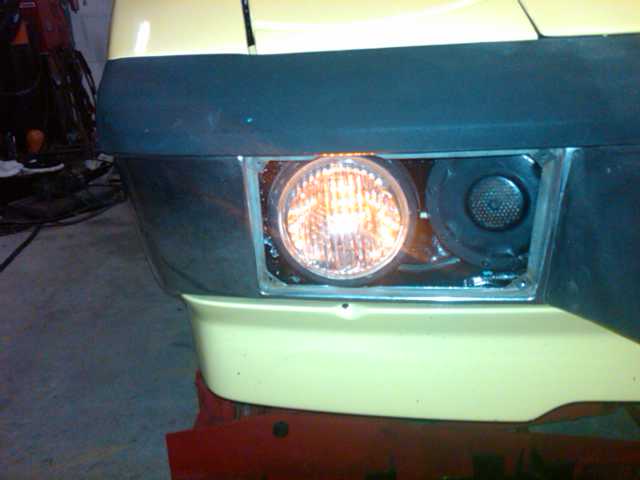
Then the new mod... I realised I have no front parking lights and turn signals up front because of the slope nose. So I took the fog lights apart and added 2 sets of led lights, a small set in the middle for parking lights, then a flexible strip around the ring of the light for the turn signals.. they are bright and because of the reflective piece in the light they can be seen off angle as well. I'm pumped they came out so well. and now I'm legal. What do you guys think? I got the the headlights totally finished also and the rear glass mounted (IMG:style_emoticons/default/biggrin.gif)
   |
|
|
|
| FourBlades |
Mar 6 2010, 06:53 AM
Post
#100
|
|
From Wreck to Rockin Group: Members Posts: 2,056 Joined: 3-December 07 From: Brevard, FL Member No.: 8,414 Region Association: South East States |
Your car is looking good man. I like your turn signal lights idea. (IMG:style_emoticons/default/piratenanner.gif) John |
|
|
|
|
1 User(s) are reading this topic (1 Guests and 0 Anonymous Users)
0 Members:

|
Lo-Fi Version | Time is now: 15th June 2026 - 10:16 AM |
Invision Power Board
v9.1.4 © 2026 IPS, Inc.