QUOTE(poorsche914 @ May 17 2010, 08:40 PM)

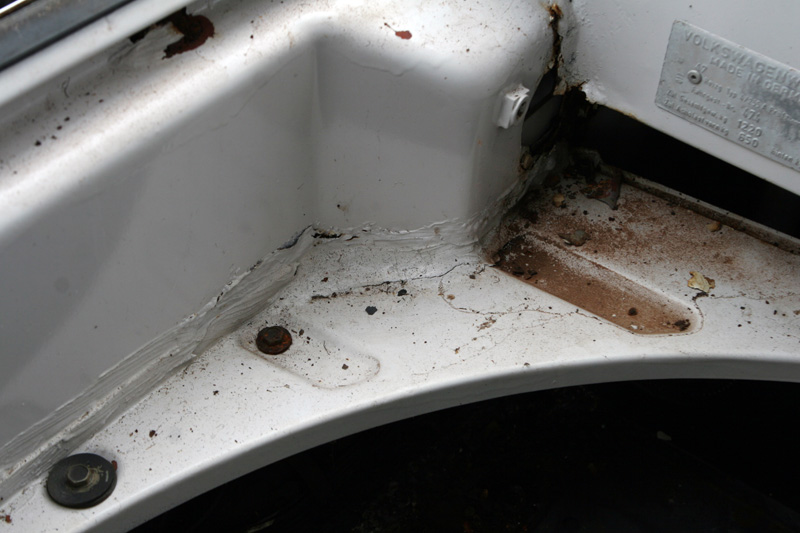
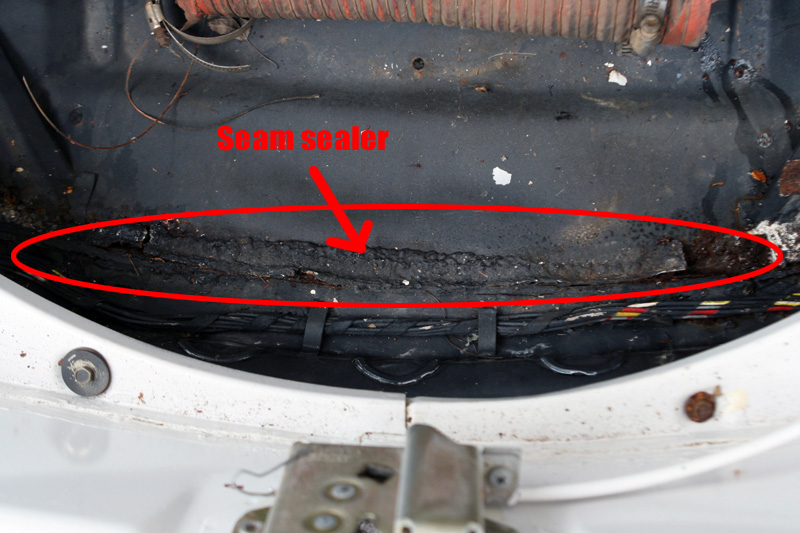
I will take pics tomorrow. Passenger fender underneath has seam sealer and appears factory

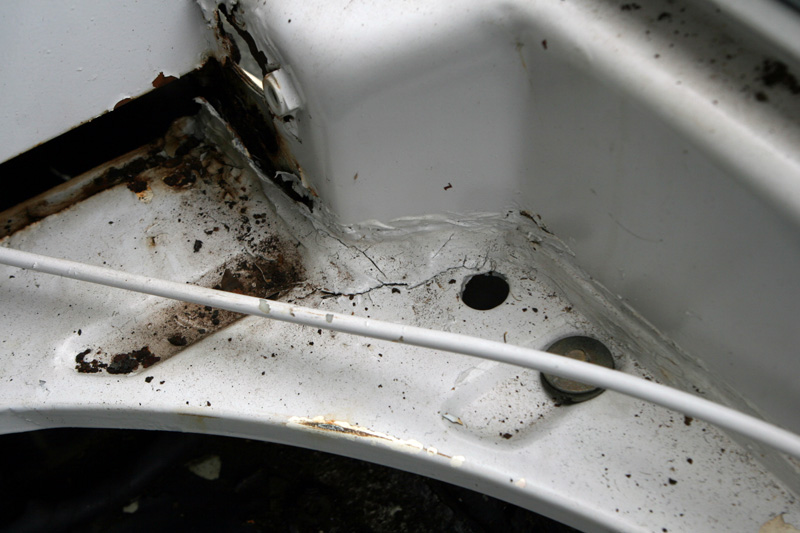
whereas the driver side has NO sealer and the fit is not exact at the leading edge of the door. Didn't look closely at the headlight buckets.
do some research here, the seam sealer looks like it failed, as it is pelling and rusty under it. many repairs may be good metal work, but often they fail with sealing, (hence major rust out at repair spots)
when you replace a panel, you should use weld thru primer for all lap joints, then primer with a good epoxy primer, follwed by the correct seam sealer (some is too stiff and will crack, you want a flexable sealer, as a cracked sealer is worse than none at all (water trap)
keep in mind that over the years of production, the seam sealer quntity and location, even application method all changed. early cars have much less sealer than later cars.
since you have an LE and want to make it right, I'd get some good comparable examples (factory un restored) to look at to make sure you get the seeam seal in the right places with the right textures. little details like this make or break a concours car. do NOT assume that another year 914 will have the same sealer applied. you want an example car as factory sealed, very close to your year style / serial number. this is important.
good luck


heck if you wait long enough, I think the rust will take care of that pesky extra metal lip!

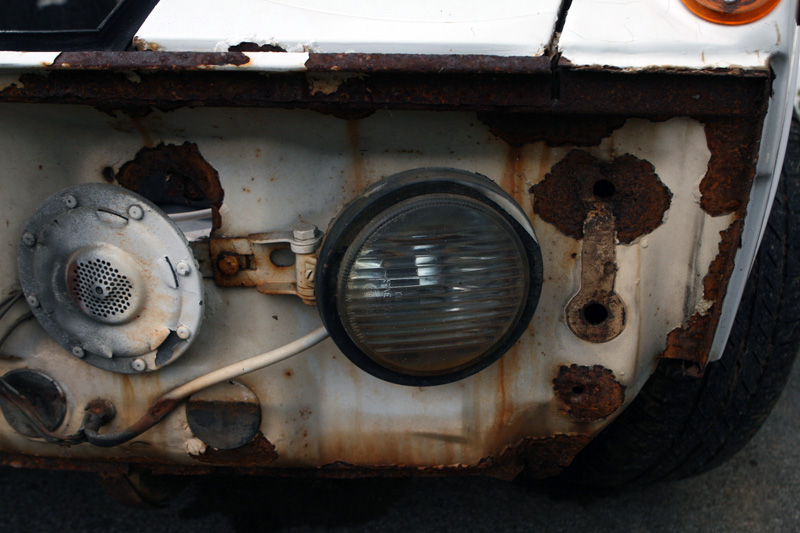
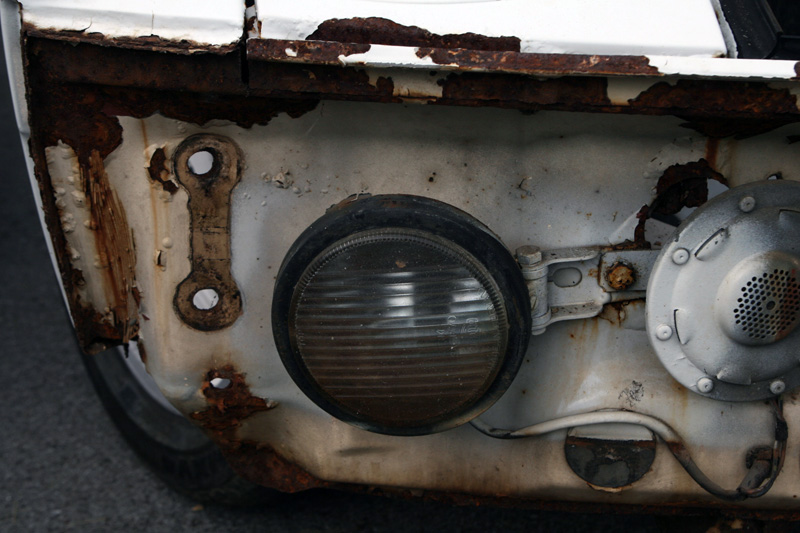

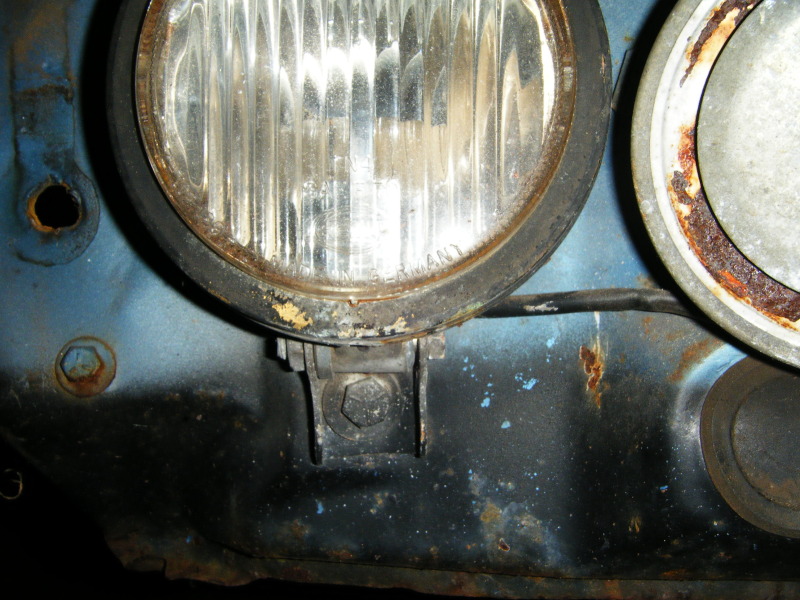
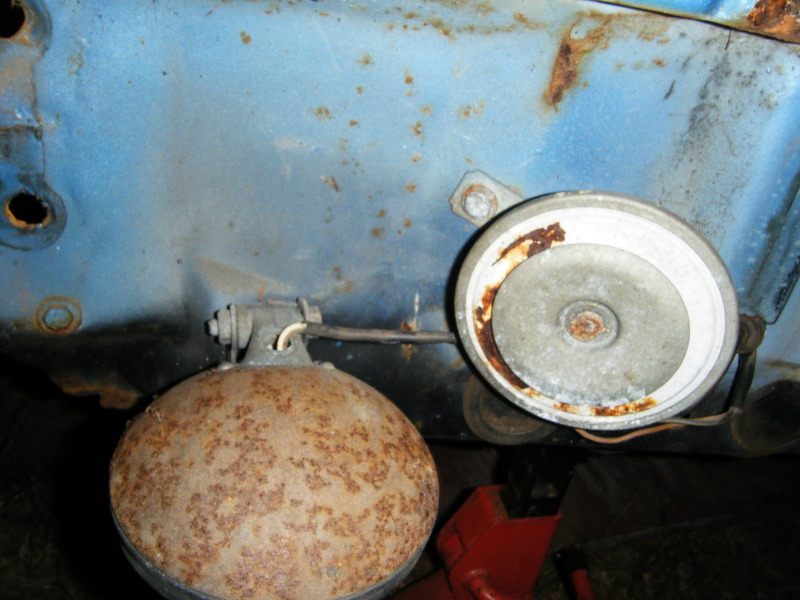

 It also makes me want to turn my laptop sideways to look at those funky fog light mounts!