Some background:
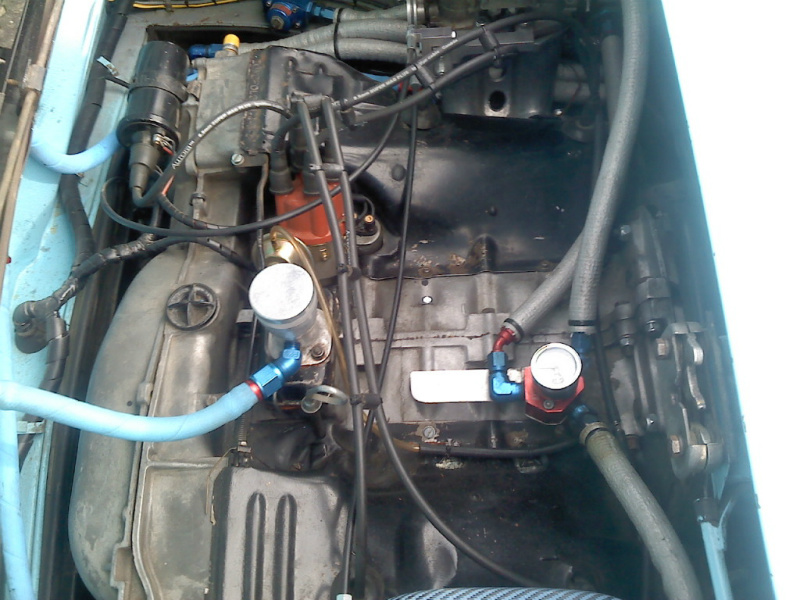
I've been running CB Performances Hex Bar setup for 2 years now, as a daily driver setup. I modified it to correct the arm geometry in an attempt to synchronize the arms at every throttle arrangements, and for those 2 years, It worked extremely well. As of late though, I've noticed that I was having to re-synch the carbs at 200 mile intervals. Yup, the hex bar was wearing. This was how it looked with the hex bar still in place:
As you can see, my heim joints were also wearing, and I had to have springs on the down link itself in an effort to keep the rod ends pre-loaded.
Rather than take the time to upgrade all the heim joints, bar, and linkage, to a quality that I would desire, I figured I'd go with something more accurate. Along comes the CFR kit. First thing's first, remove the old hex bar, and set it aside. I don't think I'll ever go back to it, but I figure I'll save it anyways.
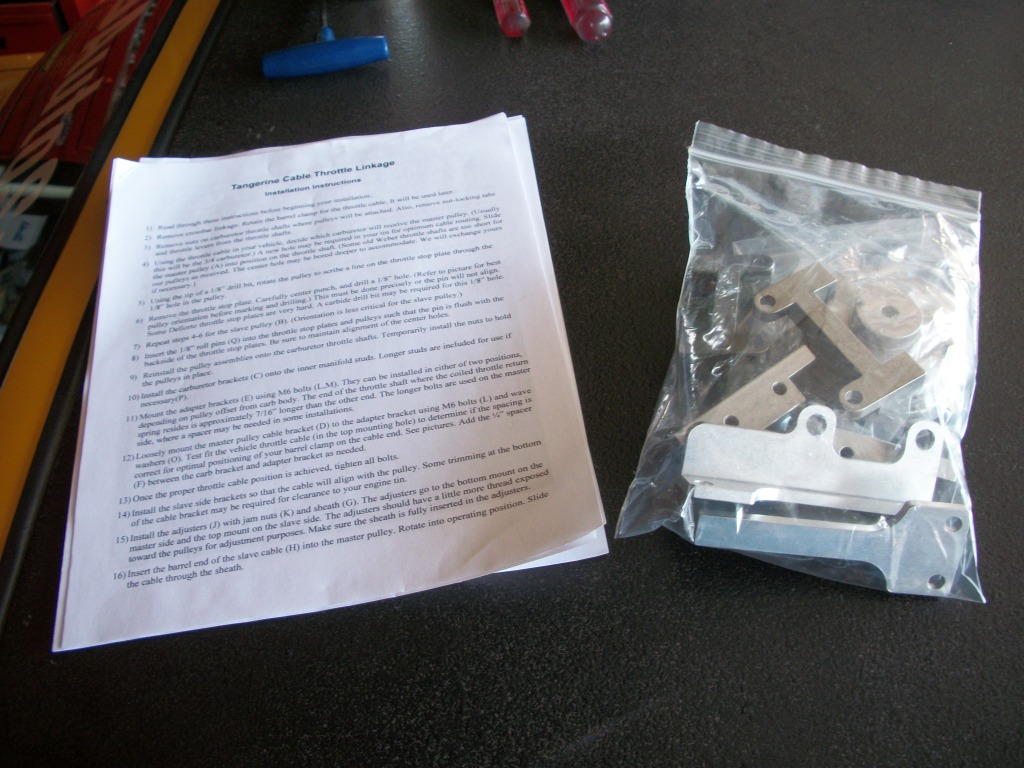
And here's how everything comes from CFR. packaged up nicely, and with good instructions. The cable and sheathes aren't pictured, but you get the gist of what everything looks like.
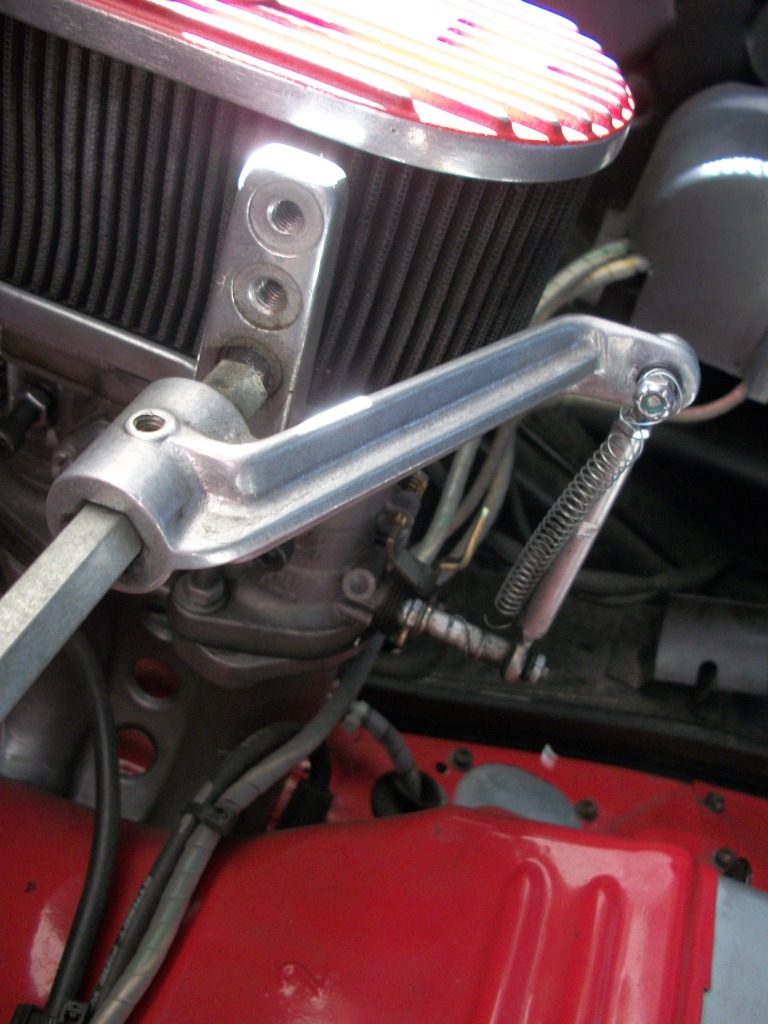
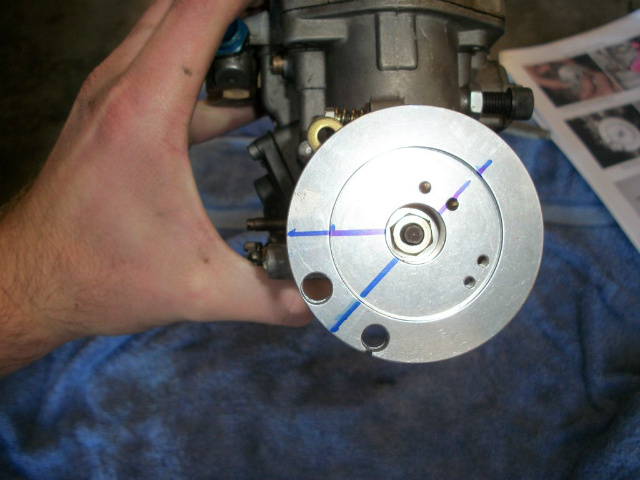
The installation of the pulleys requires some work however, and is not quite "bolt on" but completely doable. The first thing you have to do is line up the holes in the pulley for the barrel clamp. I accomplished this by using blue sharpie at a 45 degree angle. Easily drawn with a protractor. The picture shows the correct orientation in relation to the carb body.
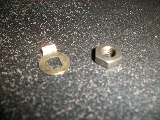
After you have it oriented correctly, you must center punch the throttle stop arm, and then drill a hole in it. A roll pin hold the pulleys on to the throttle arm. It does so quite successfully I must say. To bolt the pulley on to the throttle shaft, you must use blue loctite, as the counterbore in the pulley is not wide enough to accommodate the original locking tab. This is repeated similarly for the driver side (slave side) carb. One thing that was recently pointed out was to not overtighten this nut, as it can strip the threads on the throttle shaft, and then you're SOL at that point (Thanks Mark)
After you have the pulley tight on the carb shaft, you can set down the carb onto the intake and assemble the cable mounts. I don't have any good pictures of the installation procedure for those, however it's incredibly straightforward, and explained in great detail in Chris' instructions. One thing to be aware of, is the position of the cable mounts, in comparison to the groove machined in the pulley. The mounts can be assembled in multiple arrangements to fit just about any pulley offset. Again, I used blue loctite for many of these parts, as I really hate the idea of having throttle linkage coming apart on the freeway.
From here, it's time to string the cables from carb to carb, and really check out your work. This is a picture from my preliminary test/fitment:
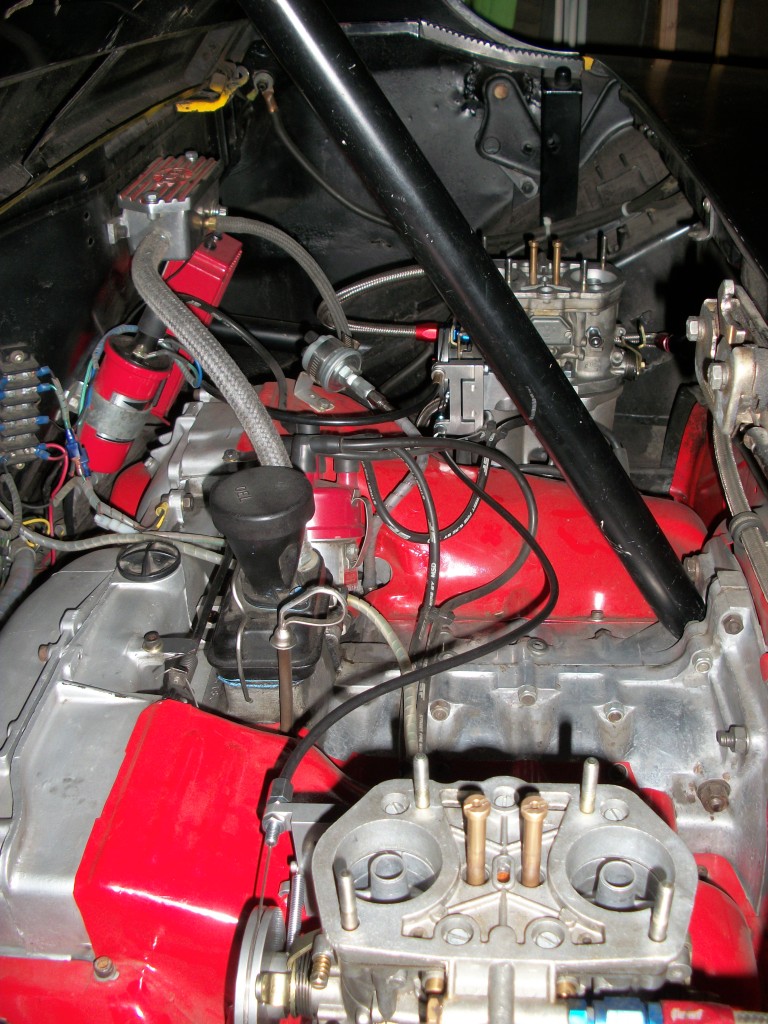
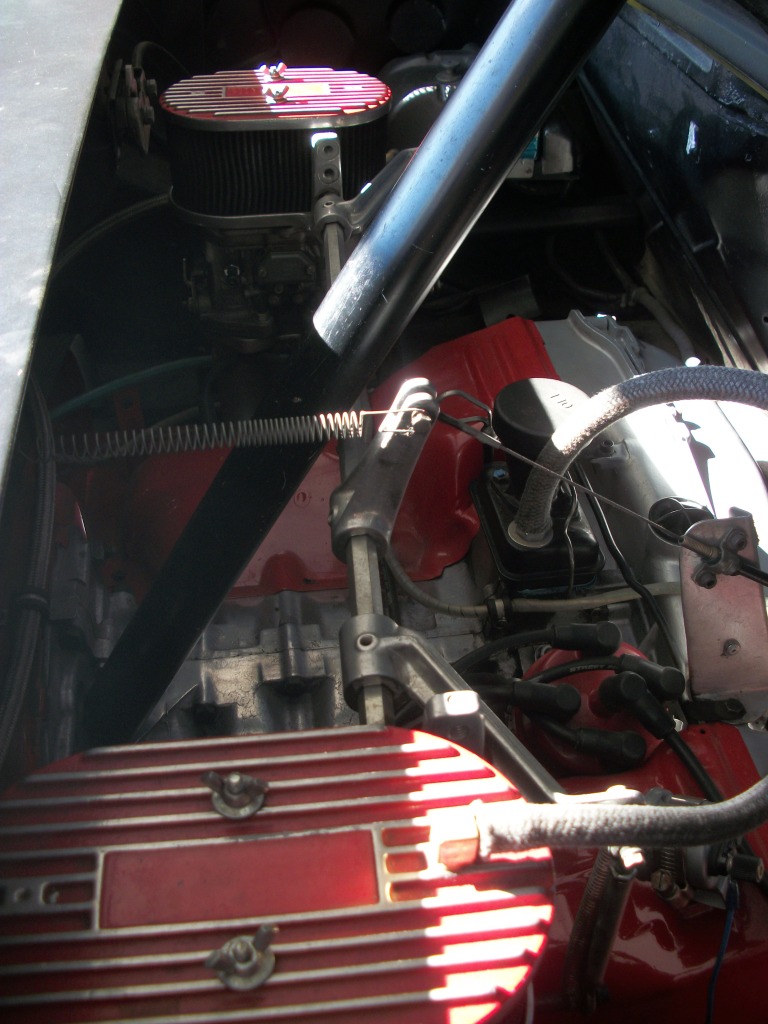
Notice how much cleaner the engine compartment looks without that bulky HexBar mount?
After everything is installed, you can start it up and begin the synchronization process, which I don't think I'll cover in this article. I'm tired, and I have class early tommorow morning. One observation I've had with this cable setup though, is that it is heavily based upon cable tension. In a perfect world, the cable would be tensioned enough so that when the passenger carb begins to rotate, it rotates simultaneously with the slave carb. However, when the cable is tensioned to that degree, it pulls the slave carb off idle. This was overcome by a stiffer spring, but that left me with an undesirably stiff throttle pedal.
Then I looked towards the length of the sheathe. In the last picture, there is an obvious S bend in the sheathe, which despite being teflon lined, creates significant resistance and friction. My solution, shorten it. By doing so, I now have a setup with a nice throttle pedal feel, wonderful idle, and wonderful synchronization. Each application is different, so it may or may not have to be trimmed, or tuned differently than mine.
So, my final conclusion on the linkage is this: It really is a wonderful kit. So far it is the only cable linkage setup that is developed specifically for 914's, and really does live up to the hype that I at least had heard about it. It's wonderful to drive around with carbs synched at every RPM, and without the fear that over 200 miles the synchronization is going to change drastically.
I'm not advertising for Chris, and I wasn't put up to, but I figured I'd share my installation experience, as this really is an excellent alternative to the hex-bar linkage that so many people seem to have issues synchronizing.
One final note, before you go about throwing this kit on dirty carbs, go ahead and buy yourself a can of carb cleaner, and clean the shafts, and the throttle return springs that webers have on their shafts. This will ensure that you have a good clean slate to start out with when getting return spring tensions set.
Thanks for reading, and I hope that some might find this helpful
-Ethan


 and no more of this
  you may want to add something to your tutorial that i found out- do your cable adjustments and syncronization on a hot engine. the engine grows from when its cold, and will throw everything off. been there done that.