QUOTE(Trekkor @ Nov 2 2012, 11:56 AM)

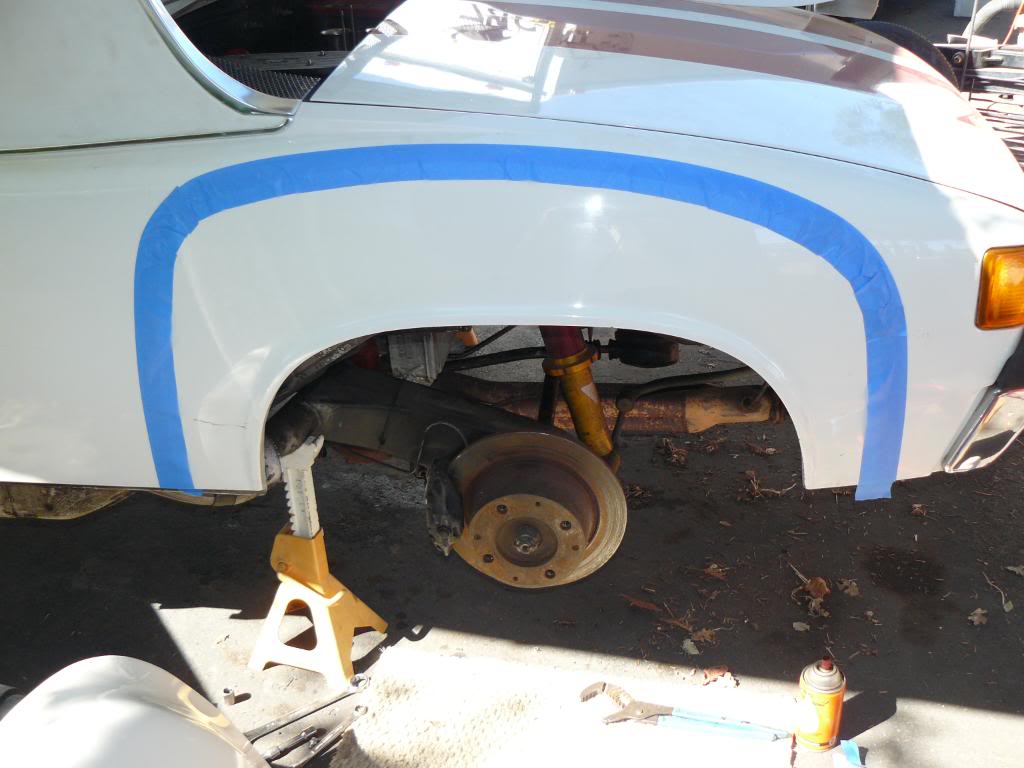
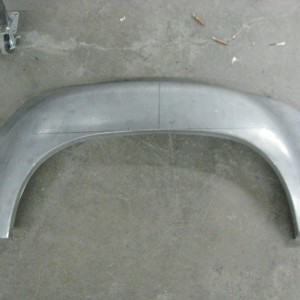
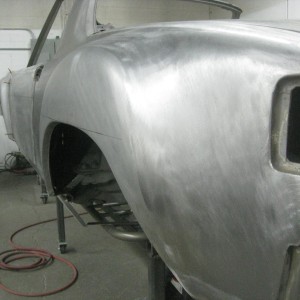
Run the molding over the flare edges, leaving them long.
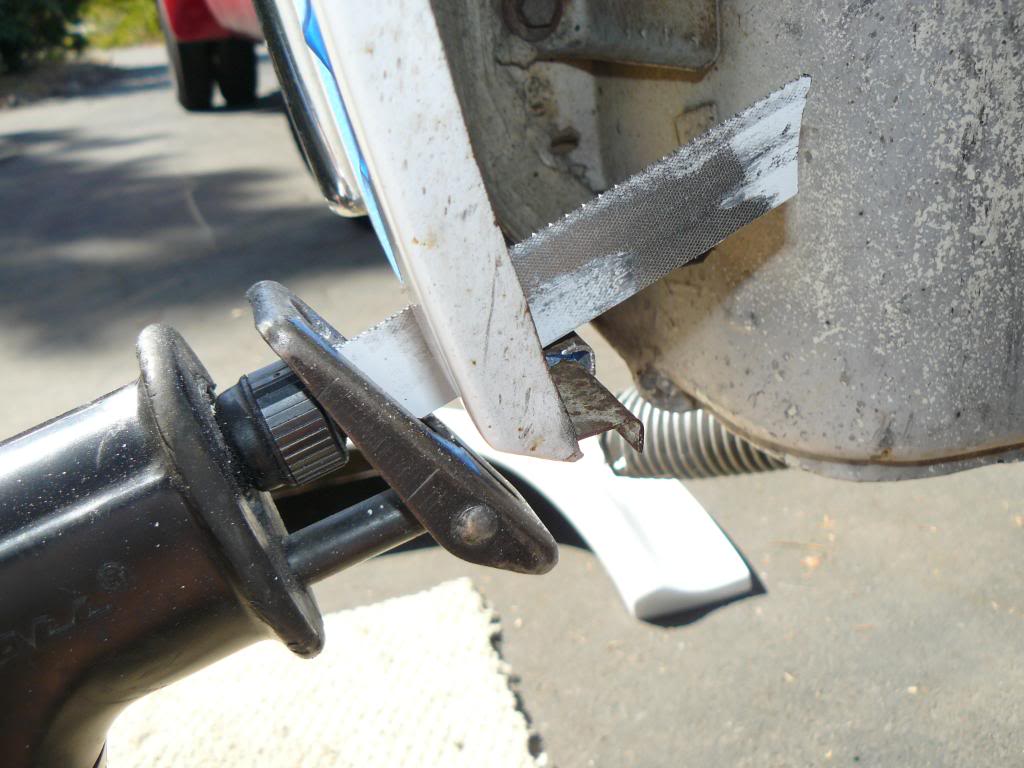
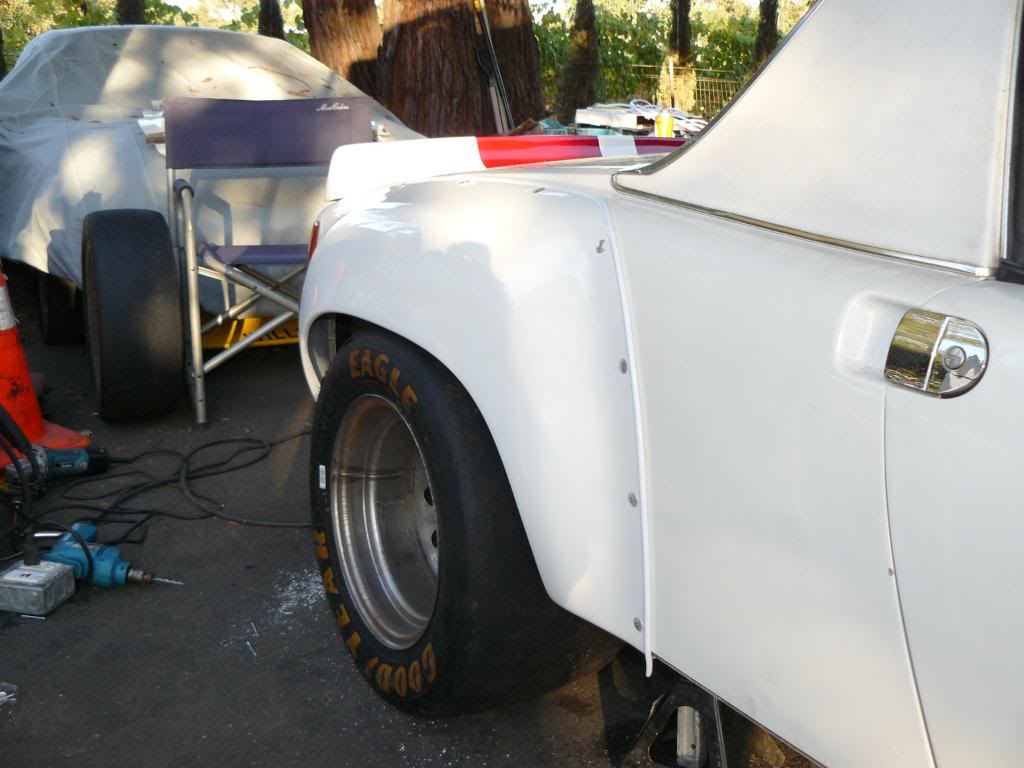
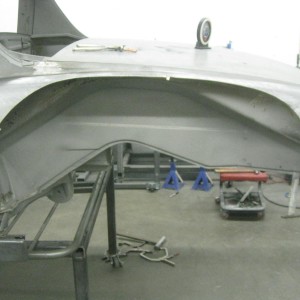
Hold/clamp the flare to the car and drill through both the flare and the steel to accommodate a large head rivet. A helper may be useful.
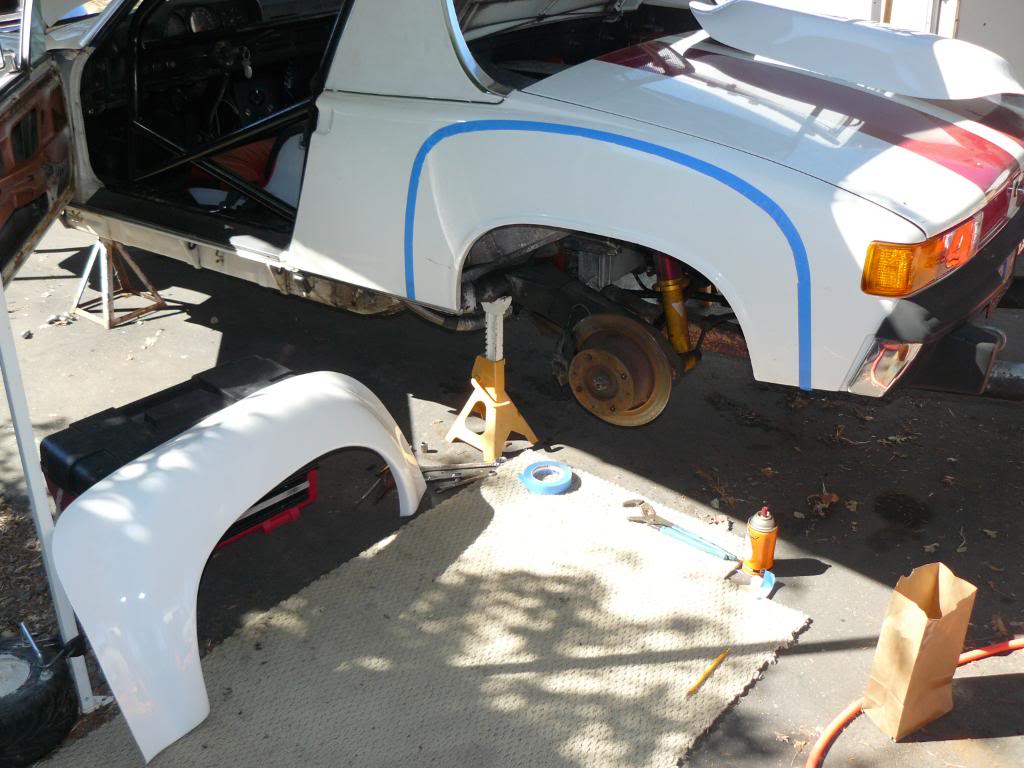
Start at each end and carefully fit the flare to the contour of you car.
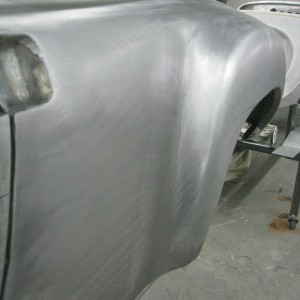
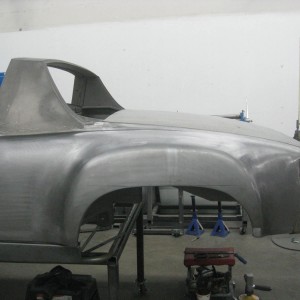
You can decide how many rivet to use and the spacing you like.
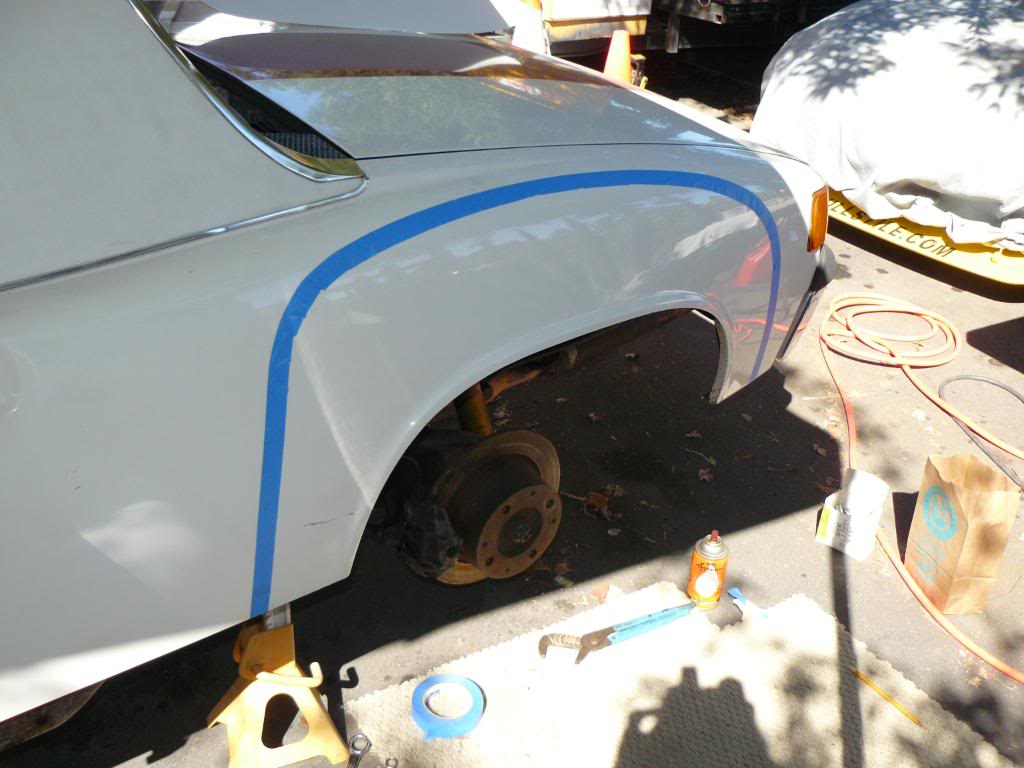
Drill the holes about 1" from the molding.
Remember, there is 2" of surface to mount your flares.
KT
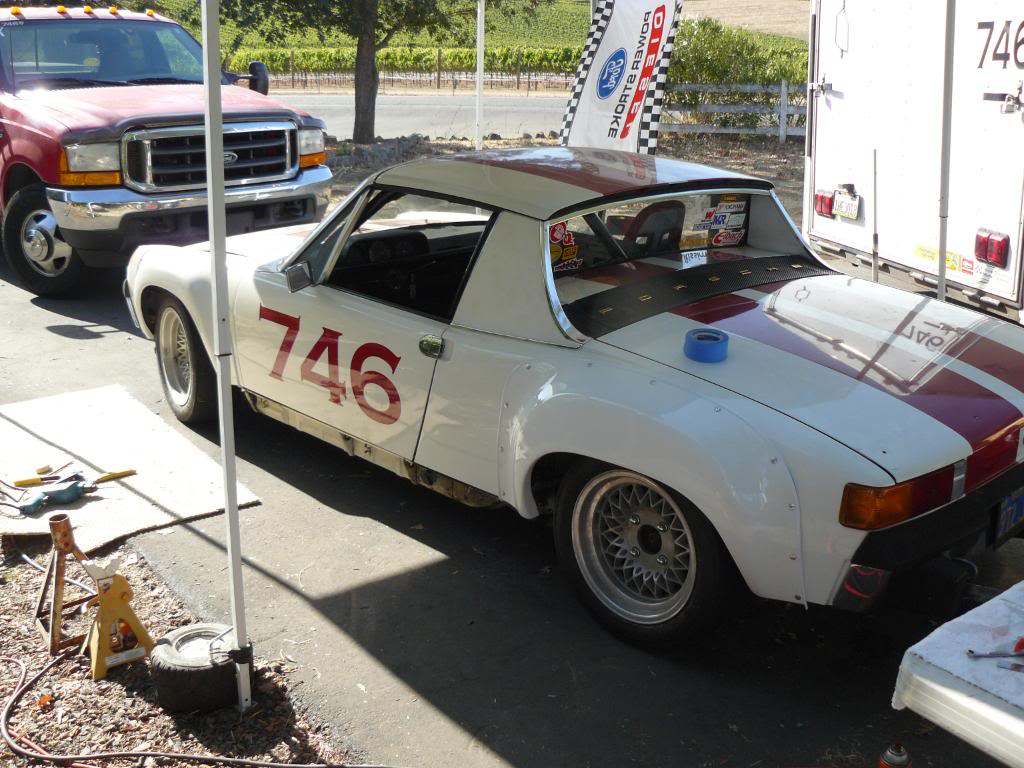
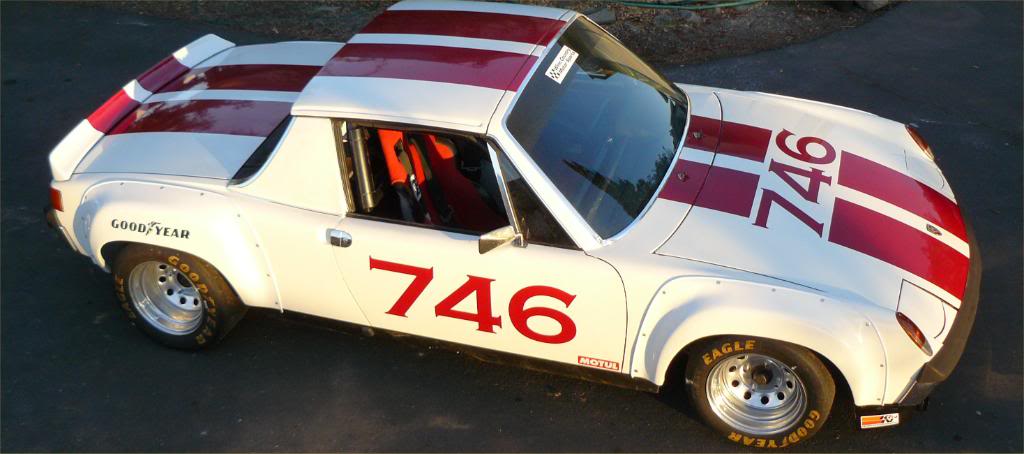
Love this write up what flares are these where they from link? So do they come with a template or you just outline the outside of the flare then measure 2" in?
I was thinking about doing this but this write up it's a forsure now! thanks
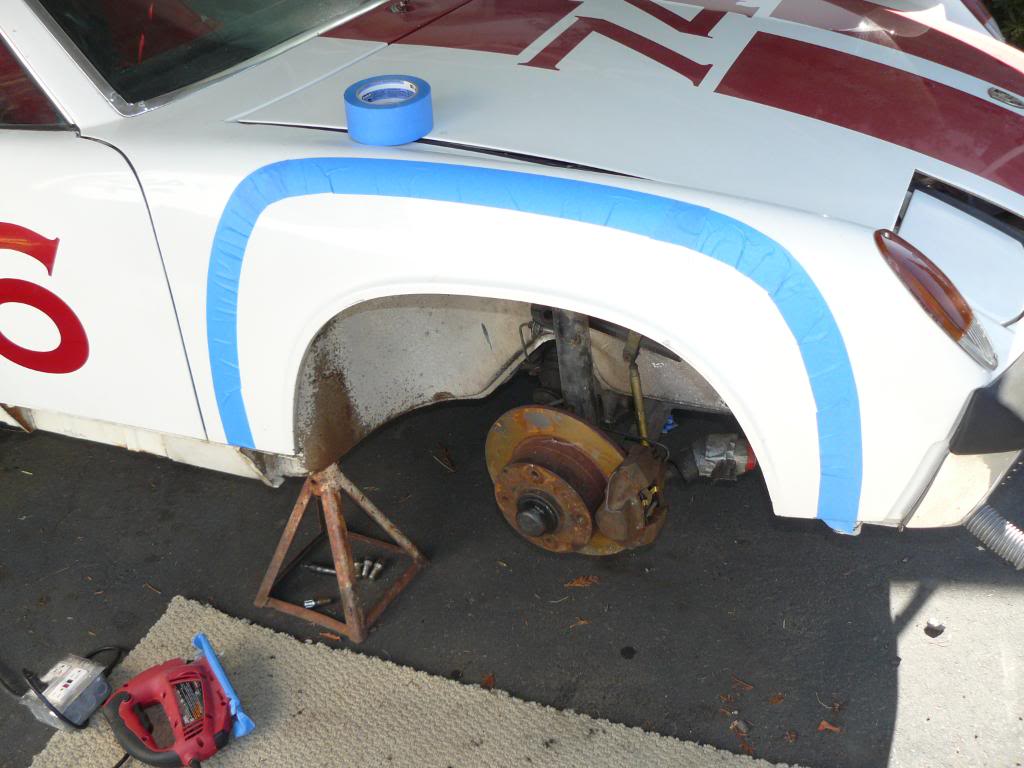
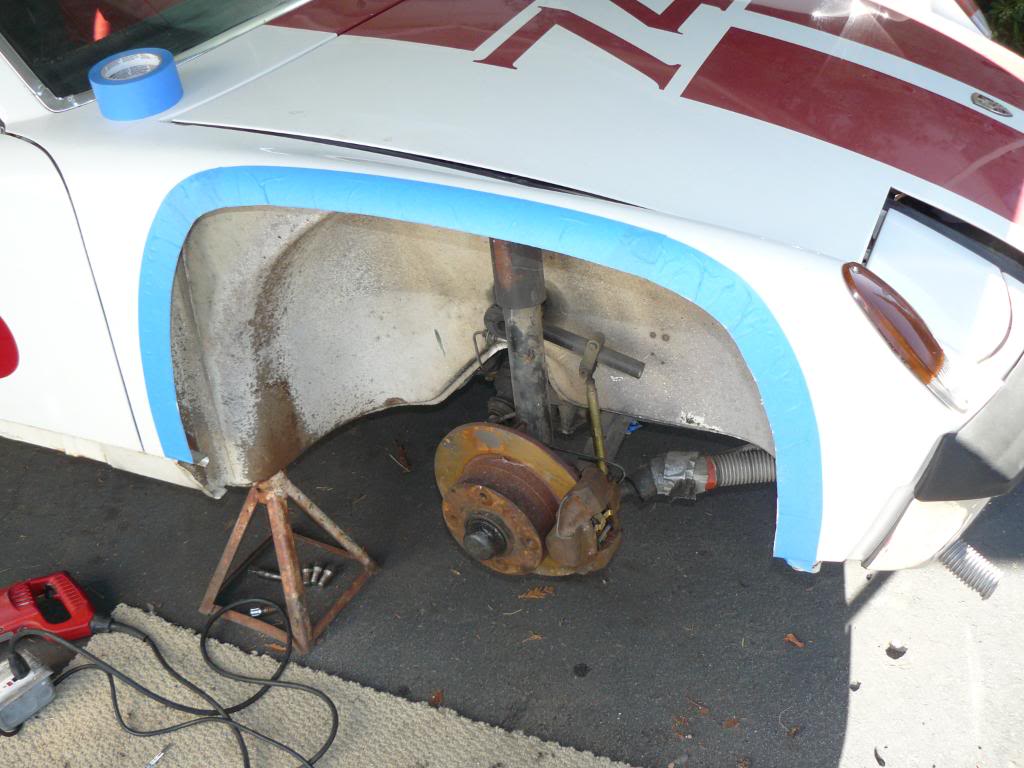
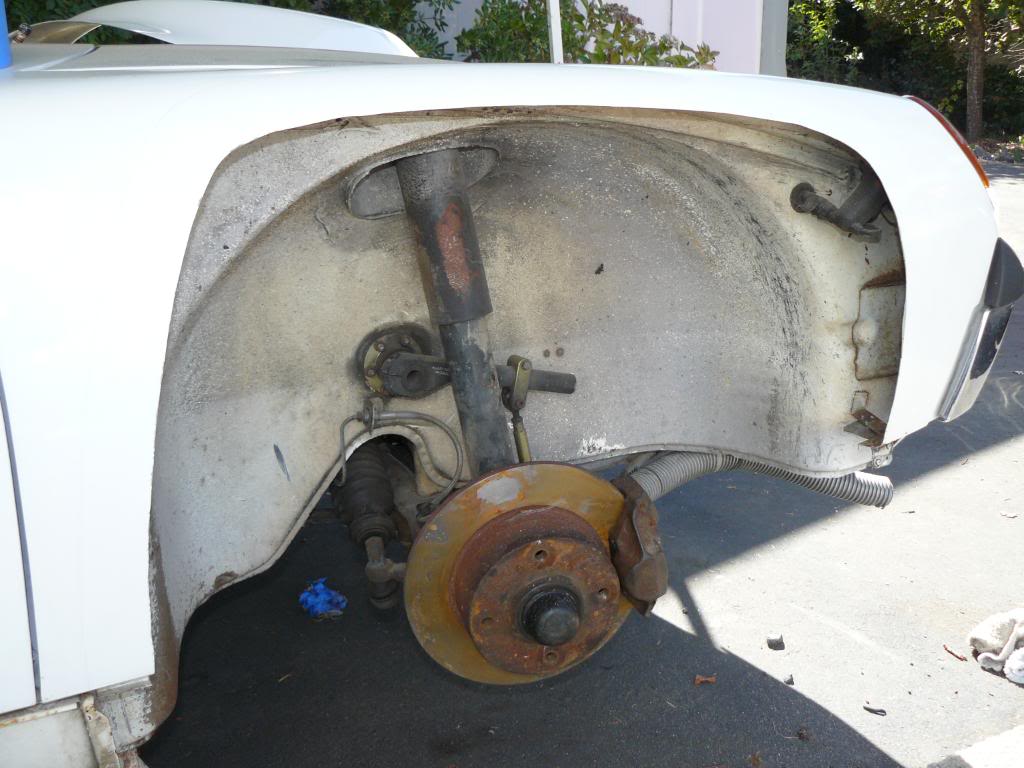
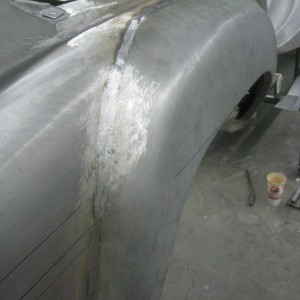
What prepwork did you do to the cars cut fenders to prevent rust?
Also have you ever thought of using plusnuts or
rivnuts on the body then use SS button nose screws and washers to hold them on? I think thats the root I will go.


![popcorn[1].gif](http://www.914world.com/bbs2/style_emoticons/default/popcorn[1].gif)