green914
Aug 20 2013, 11:35 AM
Just getting ready to replace the rollers on the rear trunk hinges

.

It looks like removing the trunk lid might make the job a bit easier.

Any thing that I should know about before I start?
Jeffs9146
Aug 20 2013, 12:24 PM
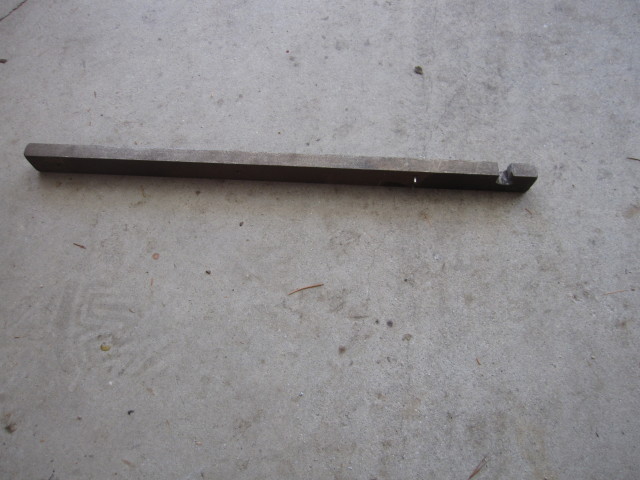
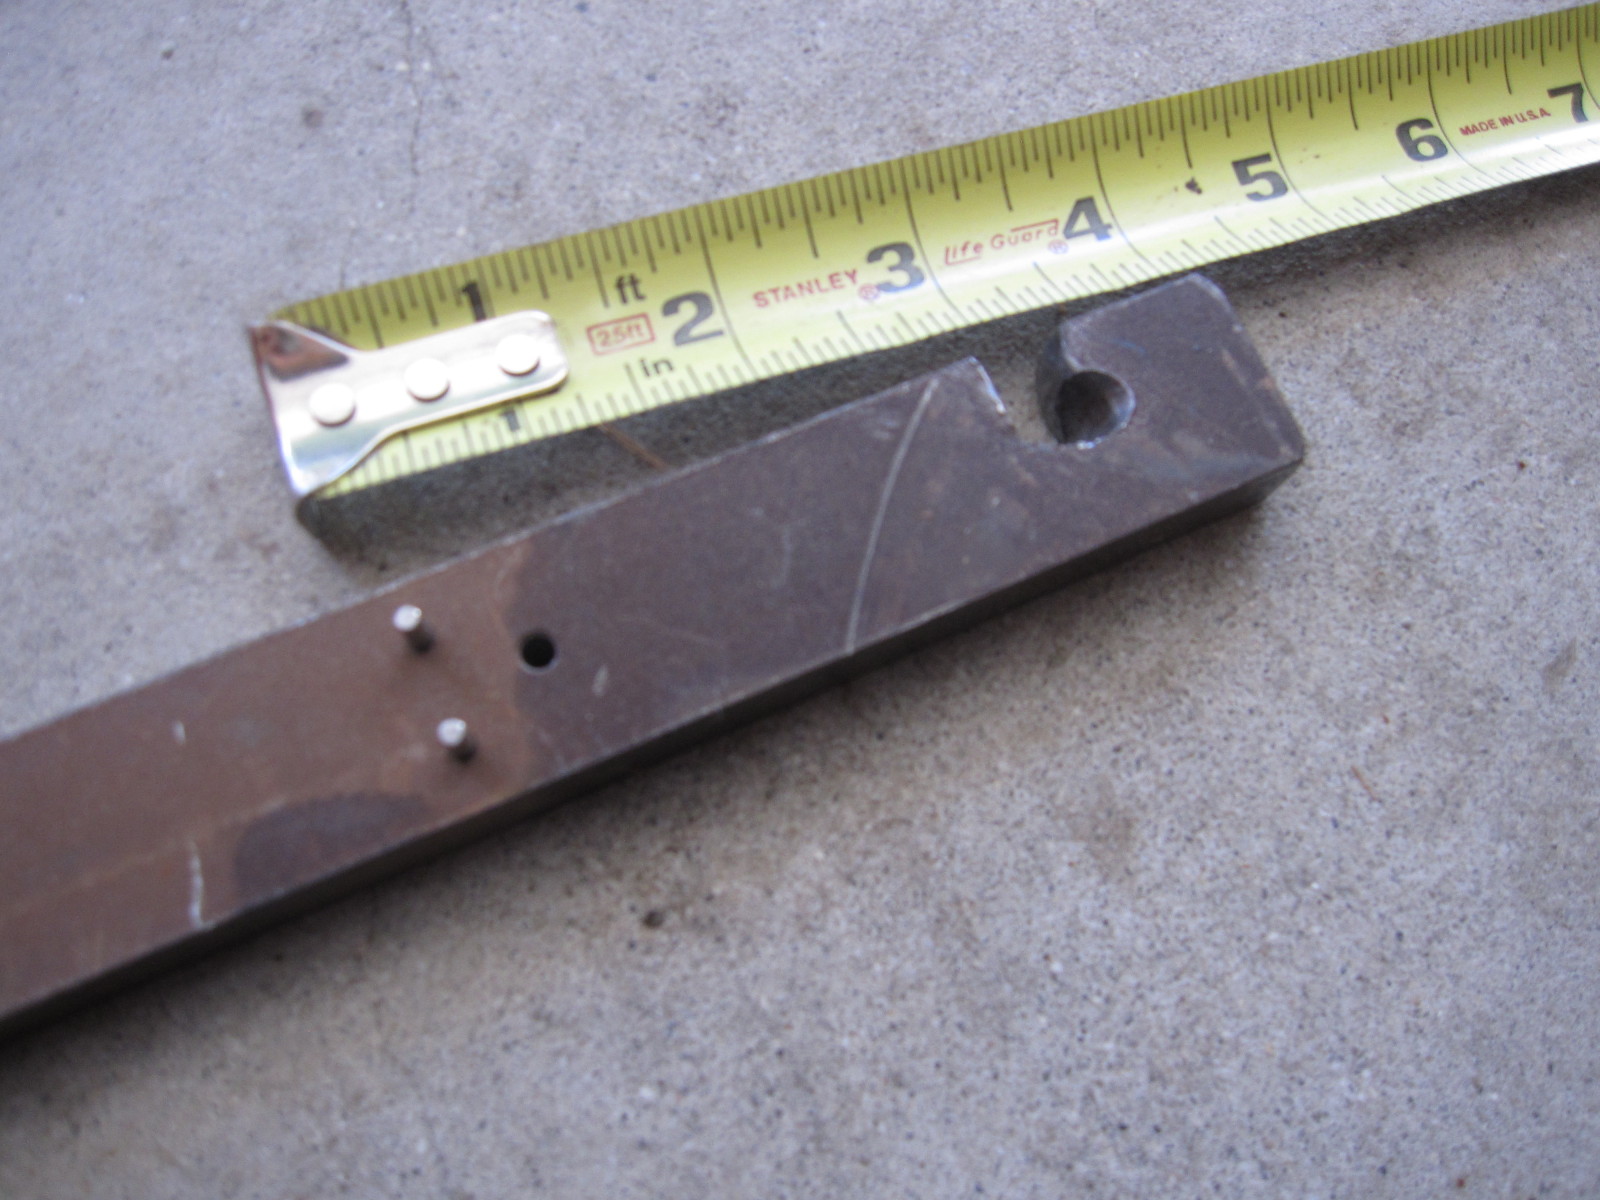
Do you have a long adjustable wrench ??
I cut a notch just big enough to pass the torsion bar thru and "hook it".
The length of the wrench will give you the leverage you need and it wont hurt the "round" end of the wrench. You can still hang it on the wall.
I cut mine with a cutoff wheel.
green914
Aug 20 2013, 12:35 PM
QUOTE(Jeffs9146 @ Aug 20 2013, 11:24 AM)

Do you have a long adjustable wrench ??
I cut a notch just big enough to pass the torsion bar thru and "hook it".
The length of the wrench will give you the leverage you need and it wont hurt the "round" end of the wrench. You can still hang it on the wall.
I cut mine with a cutoff wheel.
Good
I tried a stout box end wrench that works, it's okay. A notch in the eye-let of the wrench sounds like it will make things a little less shaky; I just happen to have a couple of extra long adjustable end wrenches.
Thanks,
Jerry
TheCabinetmaker
Aug 20 2013, 01:34 PM
A 10mm deep socket on a 4" extension will slip over the end of the rod. Pull up slightly. Slip old one off and new one on.
02loftsmoor
Aug 20 2013, 02:27 PM
Work smarter not harder..
QUOTE(The Cabinetmaker @ Aug 20 2013, 02:34 PM)
A 10mm deep socket on a 4" extension will slip over the end of the rod. Pull up slightly. Slip old one off and new one on.

Jonathan Livesay
Aug 20 2013, 03:40 PM
QUOTE(02loftsmoor @ Aug 20 2013, 01:27 PM)
Work smarter not harder..
QUOTE(The Cabinetmaker @ Aug 20 2013, 02:34 PM)
A 10mm deep socket on a 4" extension will slip over the end of the rod. Pull up slightly. Slip old one off and new one on.
I made my own tool for that.
SLITS
Aug 20 2013, 04:37 PM
For my money, I cut the torsion bars out and installed a gas shock kit.
Eliminates strain on hinge mounts so they won't rip off the inner rear wheelhouse. Once was more than enough.
etcmss
Aug 21 2013, 03:54 AM
link to previous thread on torsion bars---shows method and another link
http://www.914world.com/bbs2/index.php?showtopic=39320
rhodyguy
Aug 21 2013, 06:27 AM
socket and extension. raise the rear trunk lid and prop it open with a stick first to help ease the pressure on the spring.
nihil44
Aug 22 2013, 03:30 AM
I agree with The Cabinetmaker.
10mm deep socket placed over the end of the bar, drop the lid a little to get a little more purchase on the bar, press down, old roller off, new roller on.
Safe and quick
David
green914
Aug 22 2013, 08:17 AM
QUOTE(SLITS @ Aug 20 2013, 03:37 PM)
For my money, I cut the torsion bars out and installed a gas shock kit.
Eliminates strain on hinge mounts so they won't rip off the inner rear wheelhouse. Once was more than enough.
Can you show me a picture of how you mounted the gas shocks? This sounds like a very good idea.
Thanks for the input guys - I think the 10 mm deep socket method makes the job easy.
Thanks
monkeyboy
Aug 22 2013, 08:21 AM
Camp914 makes a trunk shock kit for the front and rear. Nice setups.
green914
Aug 22 2013, 06:40 PM
QUOTE(monkeyboy @ Aug 22 2013, 07:21 AM)
Camp914 makes a trunk shock kit for the front and rear. Nice setups.
I like the way they look, and the cost is not a problem.
I would like to hear some reviews from the folks who are using them - or not.
monkeyboy
Aug 23 2013, 08:54 AM
I am using them front and rear.
They work well, and aren't hard to install.
Only problem I had is in the front. They attach to the spring holders in the front. First time I closed my trunk they bent. I got a small aluminum tab and bolted it to the spring holder to thicken up and reinforce the mount. No flex since then.
Rob-O
Aug 23 2013, 10:46 AM
Does the roof still fit in the trunk with the shocks of the Camp 914 kit in place?
rhodyguy
Aug 23 2013, 12:03 PM
yes.
r_towle
Aug 24 2013, 09:00 AM
Yes, the shocks work great, just like every modern car out there.
They mount to the hinge bracket on one end and to the rain gutter (with an additional bracket) on the other end.
They fold down out of the way.
Then you can remove the torsion springs if you want.
Rich
green914
Aug 24 2013, 11:36 AM

After taking a close look at the hinge and the pressure that the torsion bar puts on it, and the welds that attach it

I can see the weld is starting to break loose on the right side.
The struts look like a real good
idea.
Rob-O
Aug 24 2013, 02:58 PM
I pulled the torsion springs from a 914 once...once. Dang near killed myself. Is there a safe method for removing them after installing a the Camp 914 kit?
Ian Stott
Aug 24 2013, 03:09 PM
I removed my torsion bars and installed the Camp 914 kit, very happy with everything. Roof still fits as per normal, trunk stays up all the way instead of half way or hitting you in the head when there is a slight wind. I also found the gentleman from Camp 914 was a pleasure to deal with, bought his flasher/pilot light kit and it works perfect as well.
Ian Stott
Moncton
Canada
SLITS
Aug 24 2013, 08:37 PM
QUOTE(Rob-O @ Aug 24 2013, 01:58 PM)
I pulled the torsion springs from a 914 once...once. Dang near killed myself. Is there a safe method for removing them after installing a the Camp 914 kit?
I wrap rope (2-3 turns) around the torsion bars in two places about in the middle. Then I use a grinder to cut the between the two ropes. No problem, no hits or broken fingers.
Rob-O
Aug 25 2013, 07:14 AM
Good idea SLITS, I'll use that method. I just ordered the Camp kit. I agree Ian, Craig is a good fella. I ordered one of his euro turn signal kits awhile back.
Sorry to hijack your thread Green914! I hope you get your new rollers on with no bruised or battered paws!
rhodyguy
Aug 25 2013, 07:46 AM
if you don't have any rope just roll and stuff a couple of towels in-between 2 spots of the rods and rear firewall with some space in the middle. power up the grinder, cut both rods, and you're done with that portion in about 30 seconds. figure out the open height of the lid first. i would pre-fit the struts then cut. with the camp kit you need to make small notches in the outside edges of the rear trunk wall for the strut rods to sit/lower into.
This is a "lo-fi" version of our main content. To view the full version with more information, formatting and images, please
click here.