Trying to get #4 to stop popping from the carb. I have checked the timing, dist drive gear, intake for leaks, swapped plug wire, replaced spark plug, adjusted and balanced carbs, plugged and unpluged the vacuum port on that carb barrel. ( I leave these plugged and have no use for them) And done a valve adjustment.
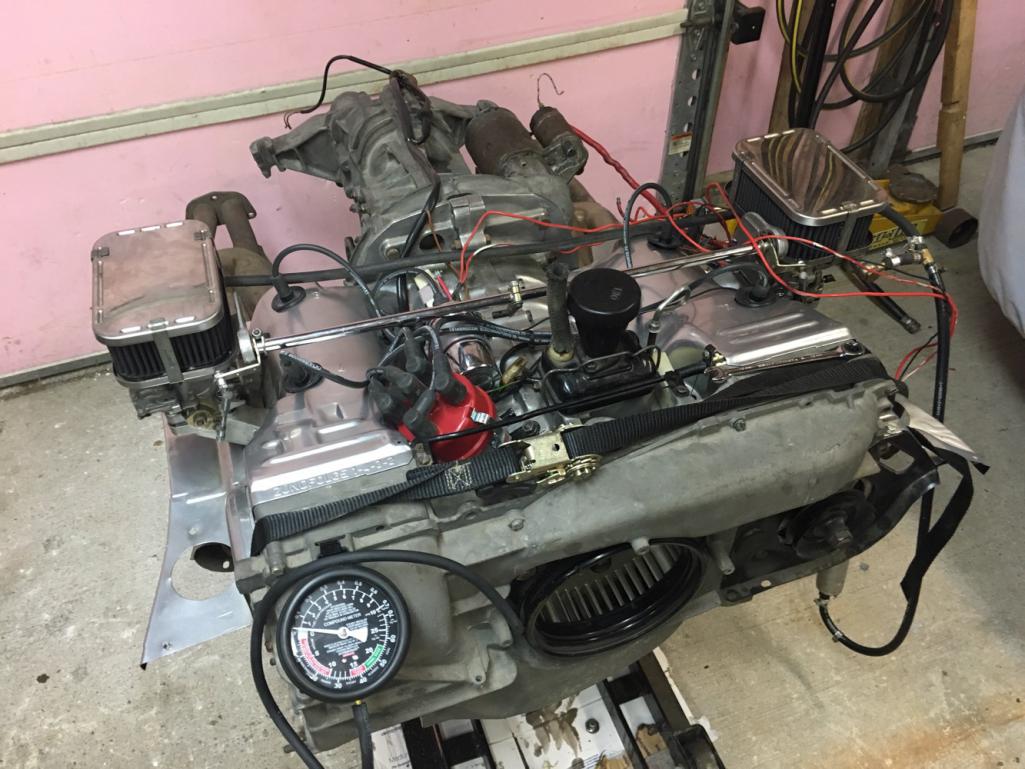
Heres what Im wondering. My drive gear looks a bit off from the pictures here and in the book. But if I lift and drop, right or left its way off. The location of #1 on the cap is seen in the picture below. The engine starts right up, and runs well. Yet the popping from # 4 is killing me., If i adjust the timing it seems that I can retard it to mostly exhaust backfire.
The #4 plug hole is a pit short in depth, at least it looks that way, but the plug is seating and appears to be no leakage. I think it was slightly miss threaded in the past.
I am concerned that somehow I am missing the correct distributor alignment with the gear, or the gear is off, or I'm clocked wrong. Or the spark plug hole is not sealing.
I have put about 100 miles on the engine, with it running like this. Seems a little rough, while cruising along at 70 almost like a intermittent miss whit that cab popping.
What could be the cause of this? Any ideas of what now? Could the items Im addressing be the cause? I am going to drive this car to Okteenerfest.
Mallory unilite installed.
(silver tape marks #1)
Click to view attachment
Click to view attachment
Click to view attachment
Full Version: Help me make it to Oktennerfest! (under my own power)
You have the drive 180 off but that won't cause issue if the order is also 180 off (backwards). Drive being off a bit won't cause your popping issue.
Linkage issues is ALWAYS the number one problem I see, it must 100% open the plate at the exact same rate from full close to WOT. I only use quality 1/4 in.- 28 Thread Ball Joints (like in link below) and since, other than the Berg T1 linkage, I've never found a crossbar linkage that wasn't a total POS, I make my own linkage. for a T4 I custom make a centerpull linkage. The big trick is I bend the arm rods I make so they are pushing at exactly 90 degrees to the throttle shafts, This is important to not cause any thrust wear on the carb. I also use the bend to make slight adjustments to the rod length.
Then when you have it perfect you disconnect the one arm and at idle set your sync. Then reconnect the arm making damn sure the it doesn't move the other carb even a hair.
Setting sync at different RPM's is totally stupid, because if your sync changes from idle to say 3000rpm this just proves it's a linkage issue.
http://www.homedepot.com/p/The-Hillman-Gro...83546/204726444
I used the home debit link to show you can get these almost anywhere. On the ones with the little rubber boot I cut the boot off.
I'm going to try to balance the carbs out again, but I was missing the link you spoke of "see link below"?
Look again I wasn't done editing 
Looking at your linkage, well to be kind I'll just say I'm not impressed. 
OK, just to be sure I'm following a proper procedure for balancing out these carbs. Is there a link or a theory I should be applying? And, thanks for your help.
The linkage came with some other spare parts but I agree with you.
I don't see how I have the distributor drive off I have the lower section to the outside of the vehicle?
The linkage came with some other spare parts but I agree with you.
I don't see how I have the distributor drive off I have the lower section to the outside of the vehicle?
If you turn the idle air mixture screw on #4 in until seated and it has no effect on how it idles the idle jet is prob fouled. Check the flow with the rpm off idle speed. Just turn one idle speed adj screw in to raise the idle (the other one will now be off of it's stop) and recheck the balance. If your linkage is sloppy at the hime joints or loose end play, it's time to go linkage shopping.
Got it. I'll post my results thank you. And I'm sure I'll be going
linkage shopping very soon .
linkage shopping very soon .
This is the centerpull linkage in the T4 in my bug, see how I made the linkage pull on the arm at exactly 90 degrees to the throttle shaft.
I bent the rod so that it would be 90 degrees and since the joints I use only have CW threads I use the bend to make fine adjustments to the lengths. At idle you take one arm off, get it to perfect sync, then reattach the arm making sure you do not move the sync. I bend the arm slightly till it's the perfect length.
I bent the rod so that it would be 90 degrees and since the joints I use only have CW threads I use the bend to make fine adjustments to the lengths. At idle you take one arm off, get it to perfect sync, then reattach the arm making sure you do not move the sync. I bend the arm slightly till it's the perfect length.
I've checked mine over it it has a lot of slop. Also the joints slide right and left which engages the linkages at different times. One last note, the popping happens at idle or any RPM. . Hot cold anytime.
QUOTE(Garland @ Sep 10 2016, 12:49 PM) 
I've checked mine over it it has a lot of slop. Also the joints slide right and left which engages the linkages at different times. One last note, the popping happens at idle or any RPM. . Hot cold anytime.
Yep...
If you don't have the fab skills for a center pull try the cable style from tangerine racing.
I've never seen a hexbar/crossbar style that IMHO thought was worth a pinch of shit. I don't even like the commercial centerpulls available, my bars are custom only.
I've never seen a hexbar/crossbar style that IMHO thought was worth a pinch of shit. I don't even like the commercial centerpulls available, my bars are custom only.
get the new linkage. you can fight it til you're blue in the face and then start all over again after the purchase. try the IAMS and rule out any jetting issues. after the carbs are sorted you're still going to have to find the best lean idle mixture.
I have done the fight. The CFR linkage is the way to go.
Still going to go with the new linkage soon. But for now I adjusted the idle stops on the carburetors, adjusted the linkage to be as tight as possible, and then balance the carbs back-and-forth so I'm running it 5 on the flowmeter for each barrel. Now that they're equally working I can actually move the popping from one cylinder to another by adjusting the imbalance. Thank you for the help. And also check out this link it helped me with adjusting the carburetors.
Carburetor adjustment
Carburetor adjustment
This is a "lo-fi" version of our main content. To view the full version with more information, formatting and images, please click here.