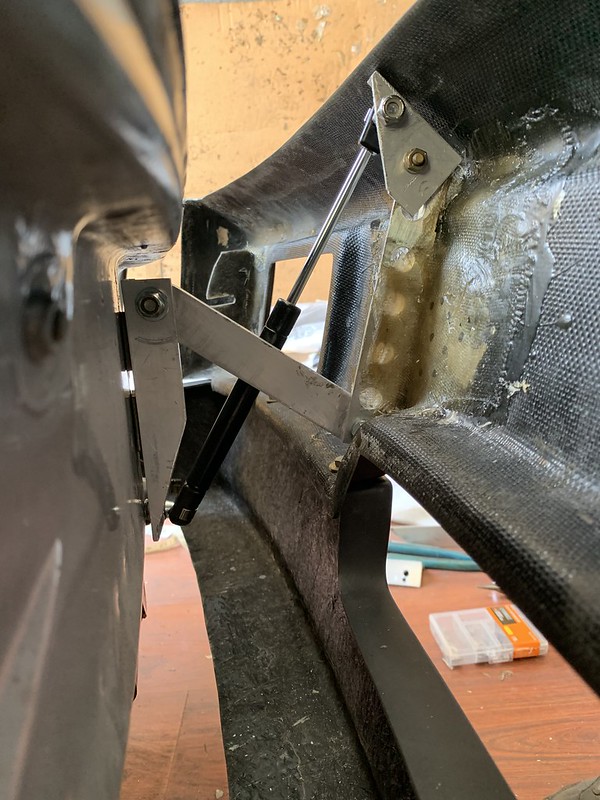
I was inspired by another member (can't remember who, sorry) to make some adjustable brackets for the FG bumpers.
The fit of the original brackets was not good, plus once I clamped the ones flat to the back of the front bumper the angle was completely wrong and made it impossible to screw them through the original mounting holes in the front of the car.
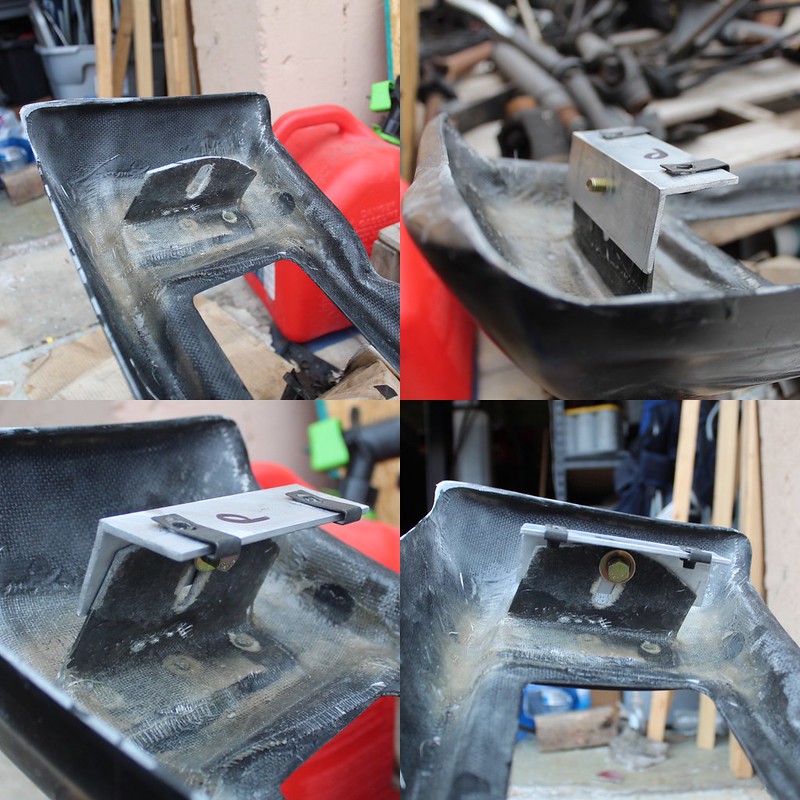
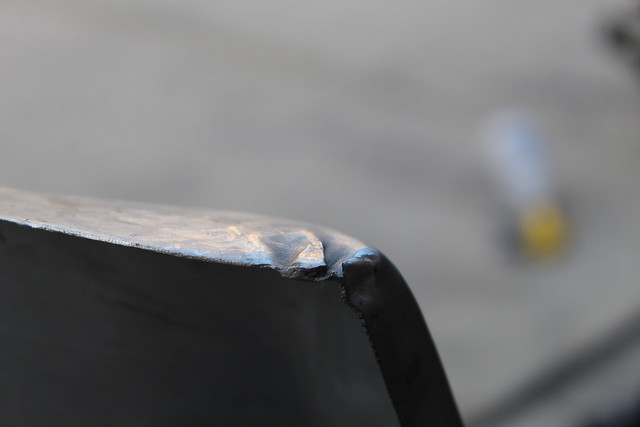
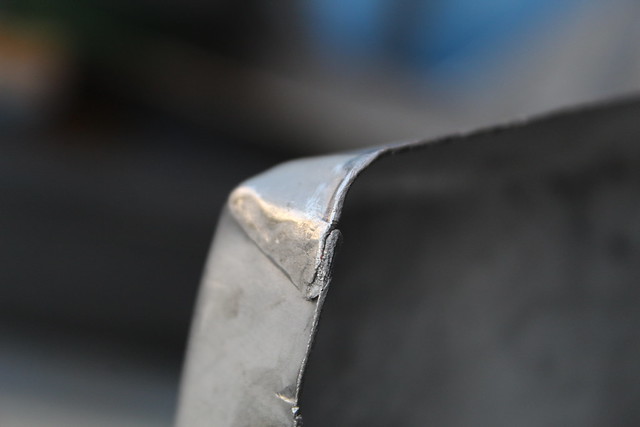
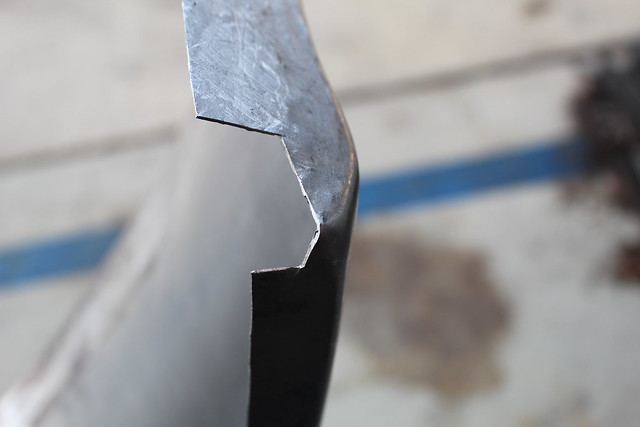
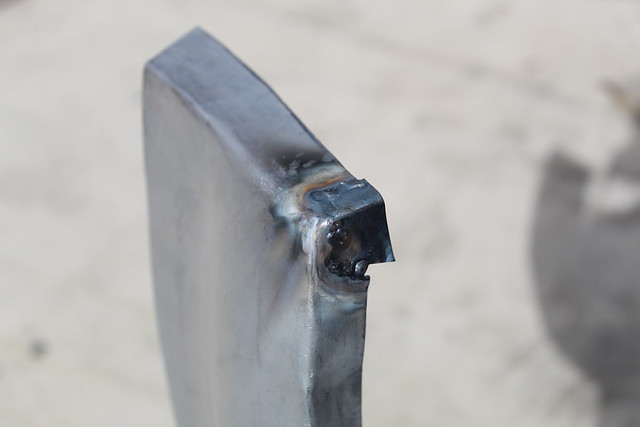
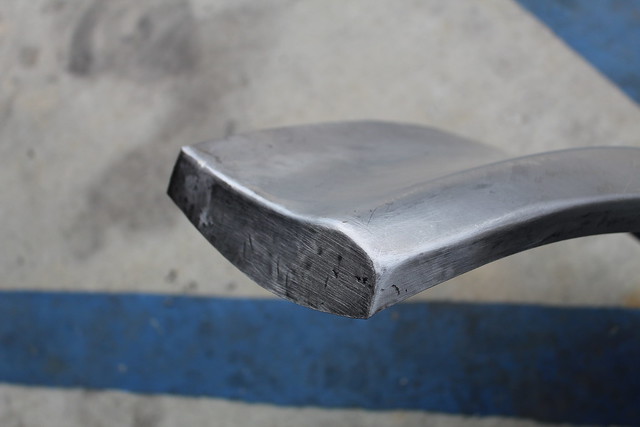
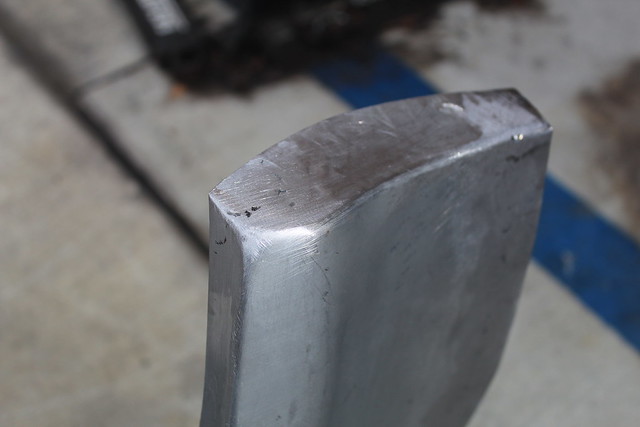
So I made two pieces - one out of the FG bracket with a channel so it could be slid forwards and backwards, and a second piece out of aluminum L that mounted to the car.
Fixing the FG part to the back of the bumper in the right place still took some work, but here's how I did it:
I mounted the brackets to the car and then offered the bumpers up to them so they mated flat to the back of the bumper and were in the correct position..

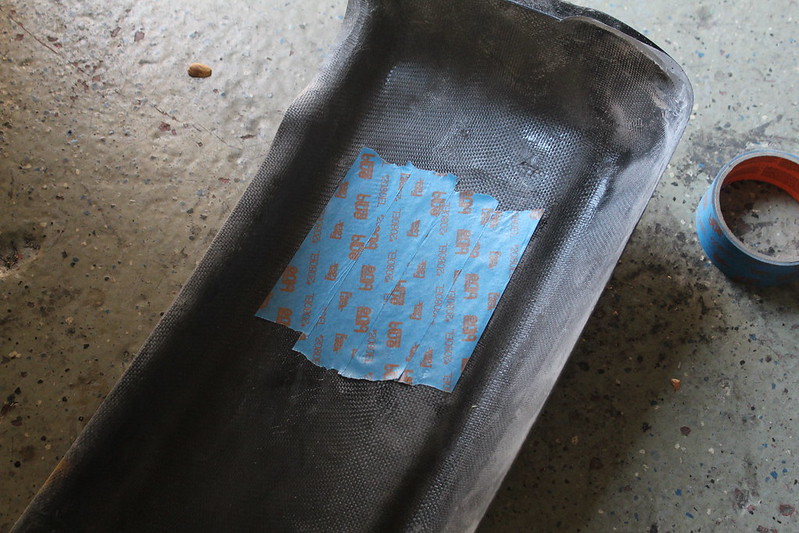
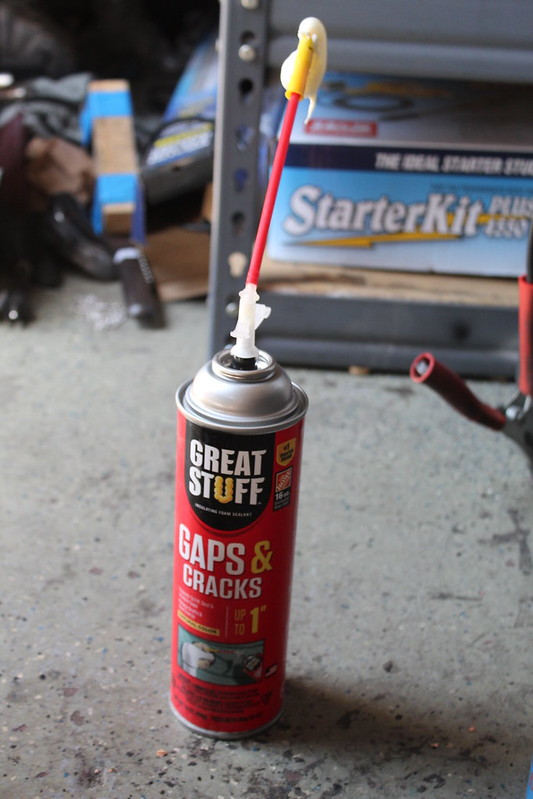
Then I put tape inside the bumper where the brackets would mount and sprayed a thin layer of insulating foam...
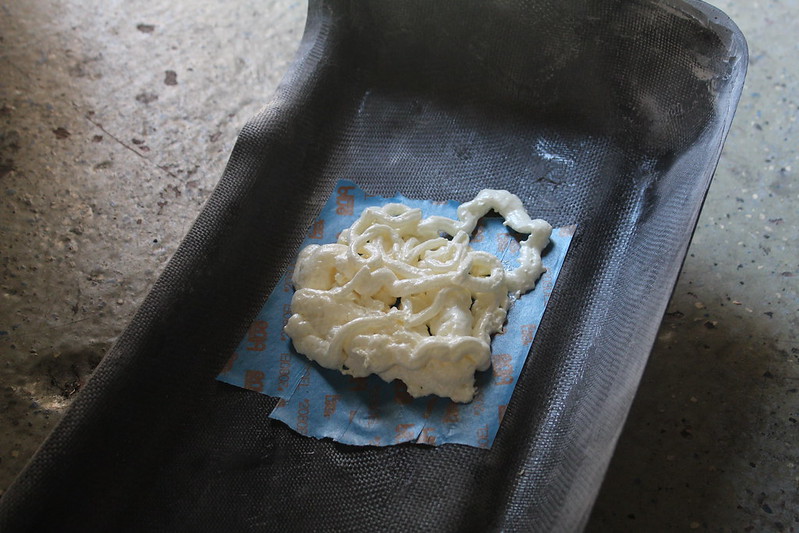
I then waited a few minutes for the foam to start to set and then lifted the bumper up to the brackets and held it in place for a few minutes.
I didn't get a picture of the result, but basically the foams sets with an imprint in it of exactly where the bracket needs to be mounted.
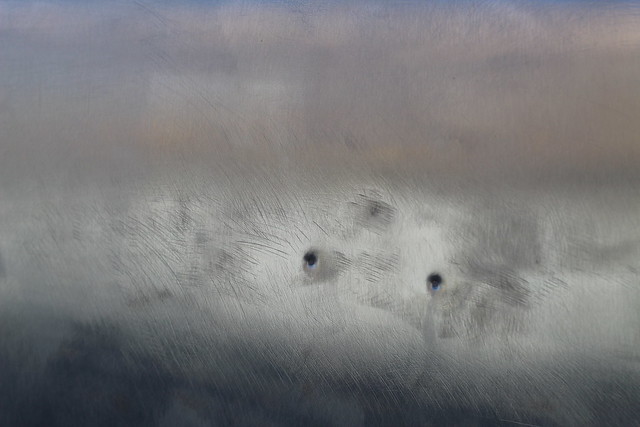
You can then cut away the rest of the tape/foam, use a sharpie to mark around the tape that's left (i.e. where the bracket will go) and then chuck the last bit of tape away. This leaves you with a clean surface to fiberglass the bracket too.
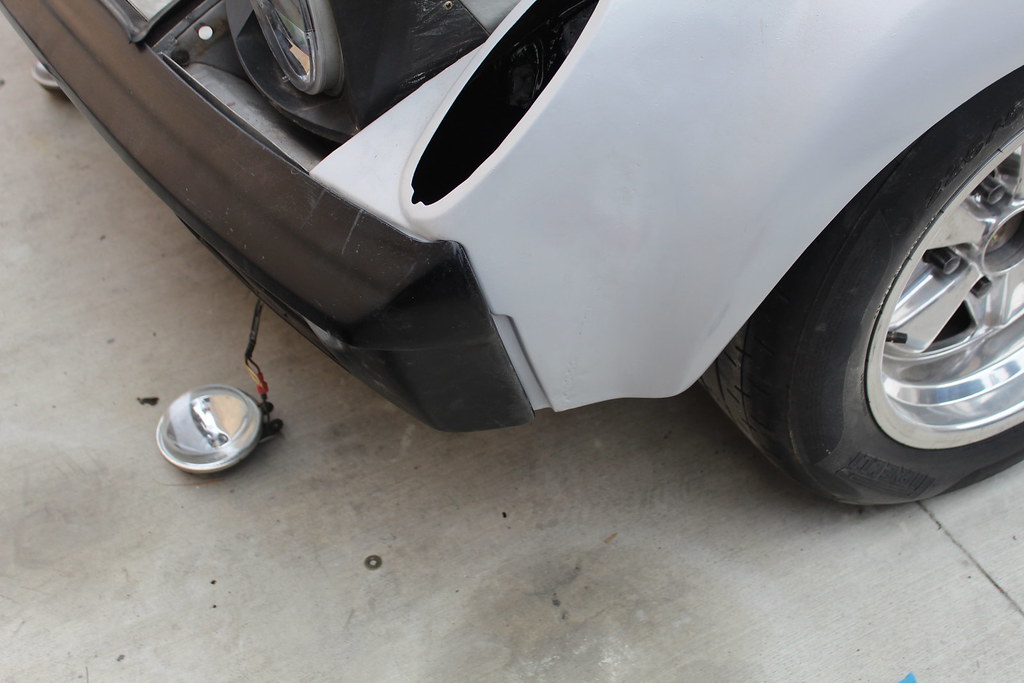
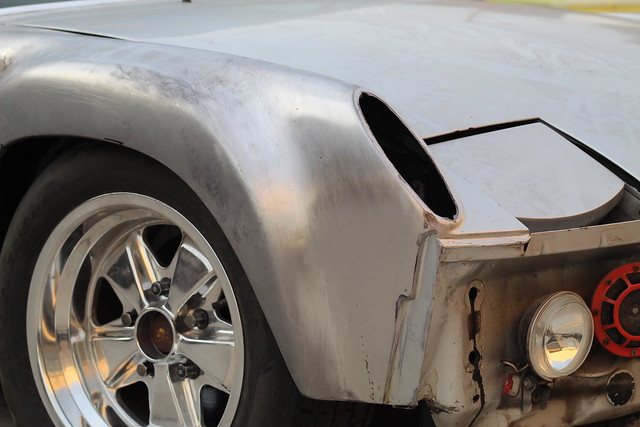
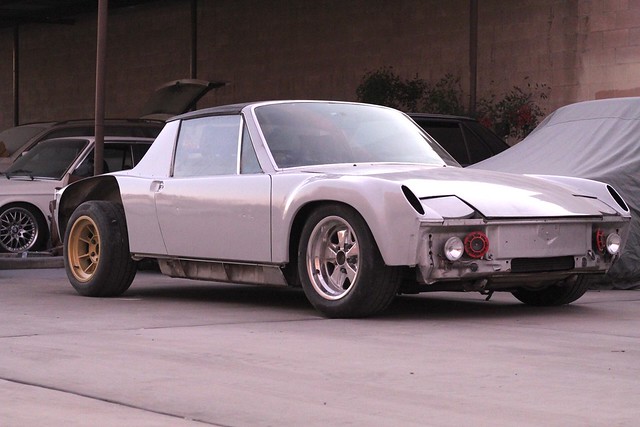
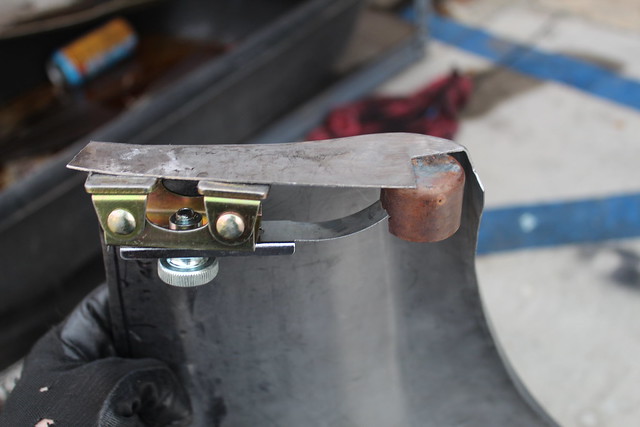
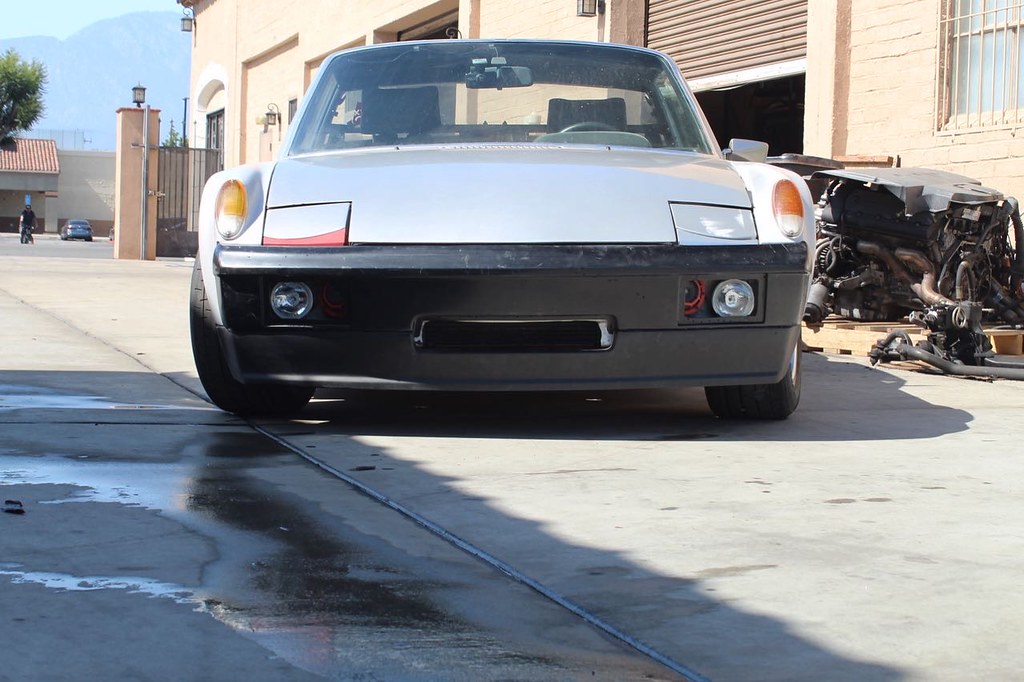
Here's the brackets mounted to the front bumper (I used a hydraulic press to widen the angle of the aluminum L on the front bumper brackets so the mated up to the FG pieces properly):
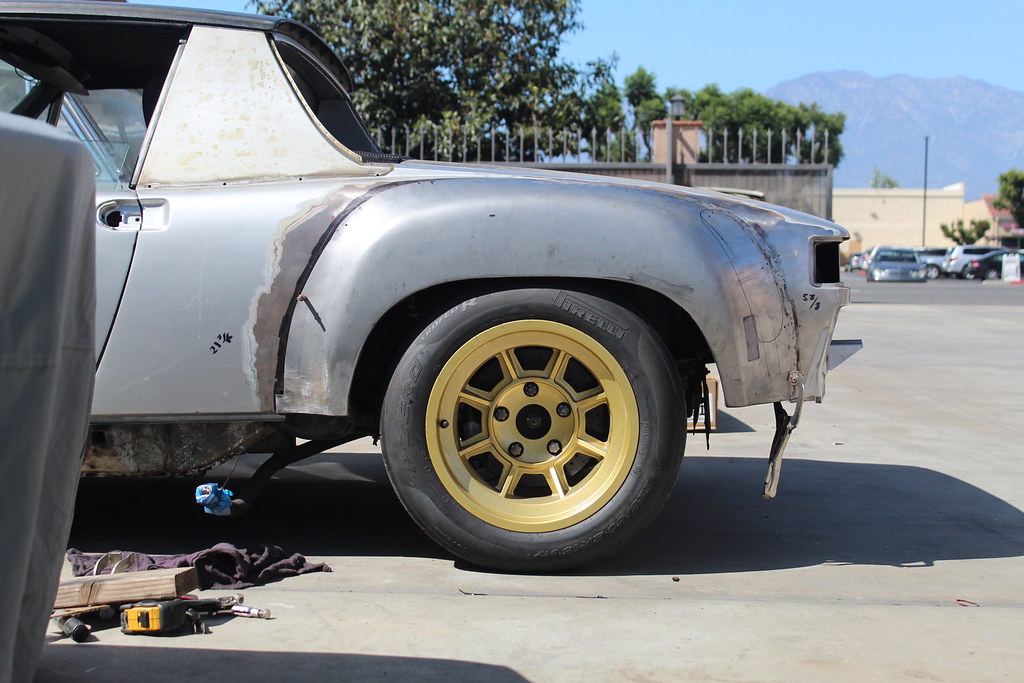
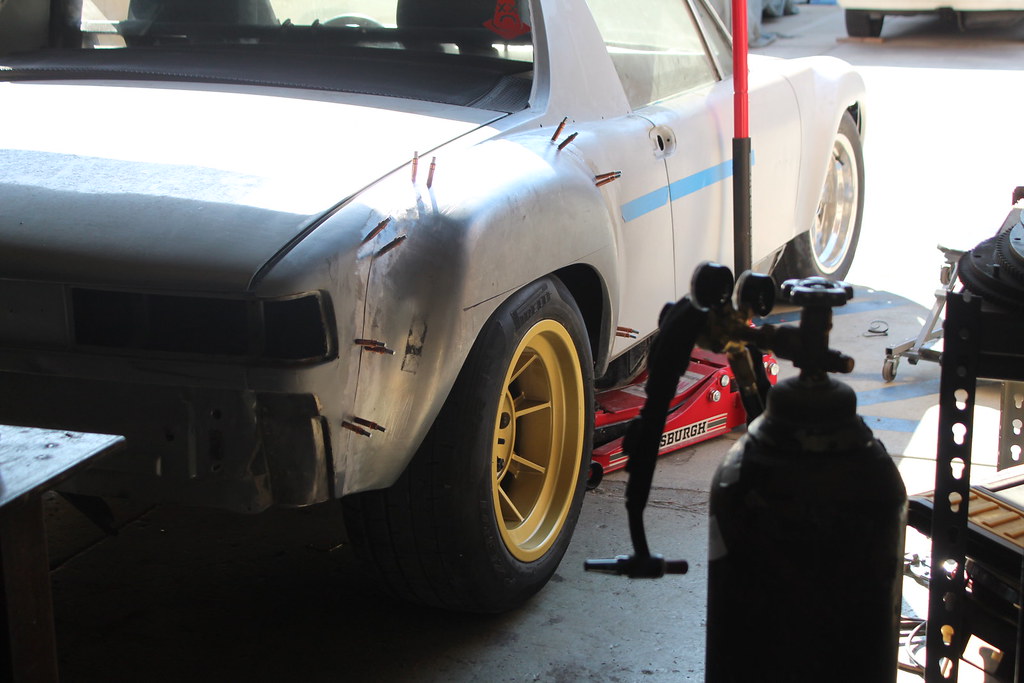
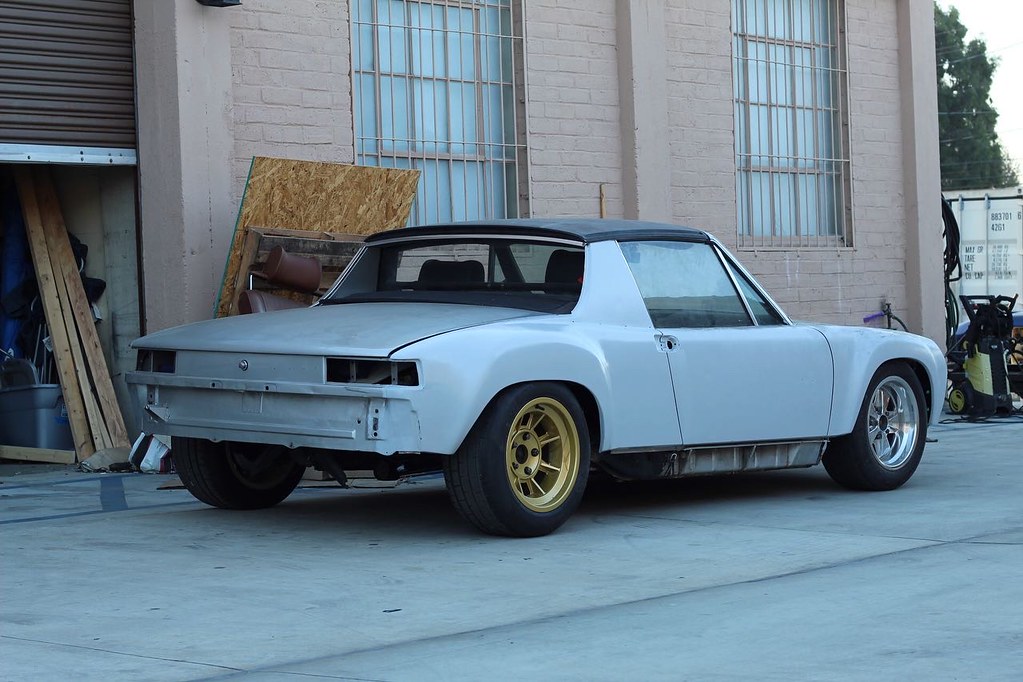
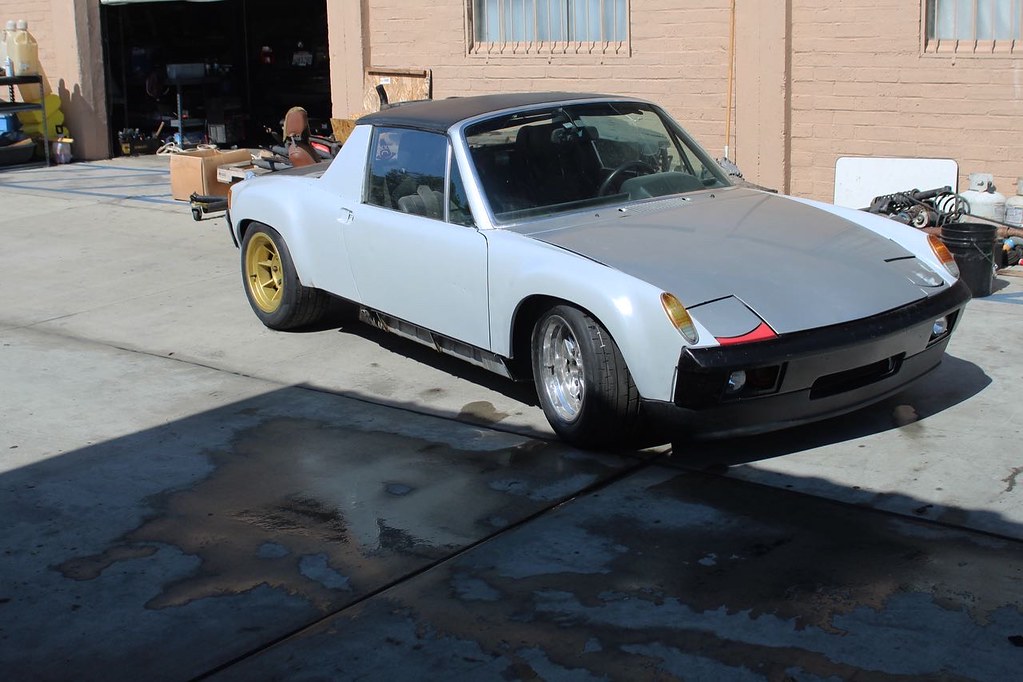
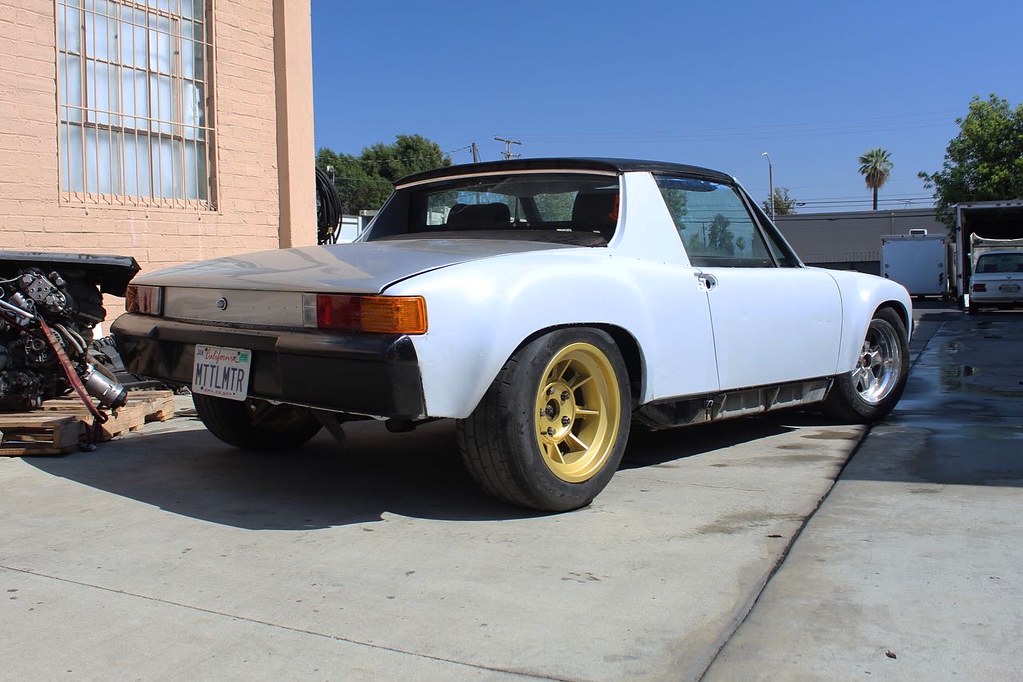
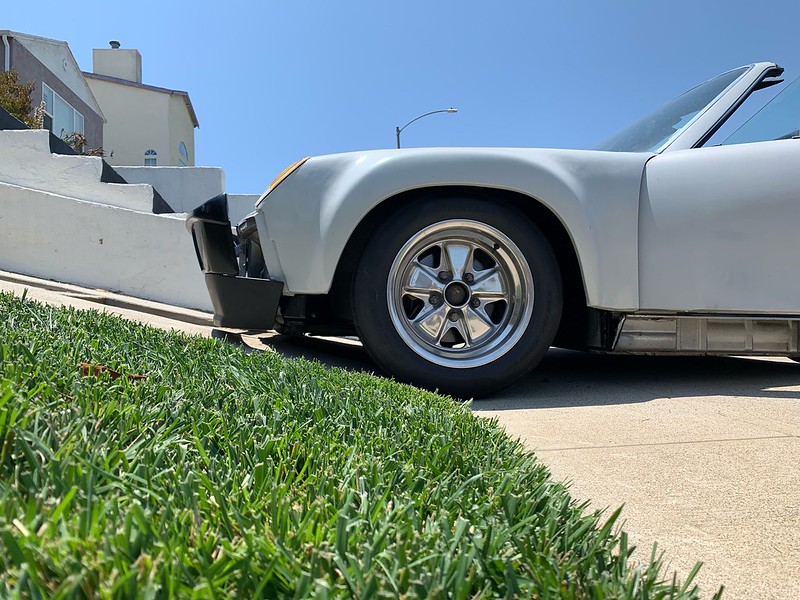
And the front bumper on the car. They need a little fine tuning, but overall I'm pretty happy with the fit.


 [/url]
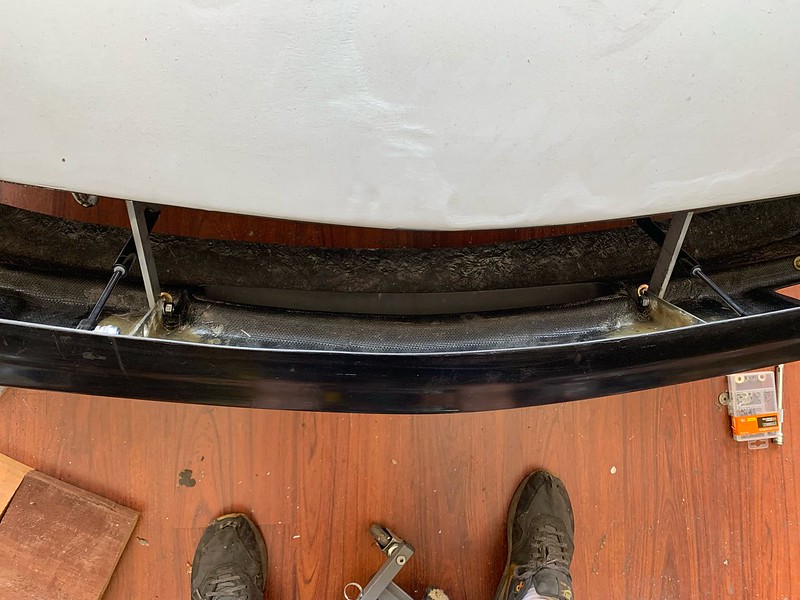
 That's the kind of crazy
  I really admire.