Rear Window Fix/Install
By Eric Shea
If you?ve got a rattling or leaking rear window fix it and fix it now.
Leaks allow water to go straight down the firewall behind the back pad and it ends up sitting in puddles under your carpet.
Ever wonder why they sell ?rear half? floor pans? I just finished up installing the interior after
re-installing my rear window. This procedure is fairly easy yet a bit more involved than it seems so I
decided to do a Step-by-Step to help others understand what?s needed and what?s involved.
Tools and Supplies
- Regular Phillips Screwdriver
- Short Phillips Screwdriver
- 17mm Socket and Ratchet or Open-End Wrench
- 10mm Socket and Ratchet (for early models with fixed seat)
- .024 Gauge Electric Guitar String ?or-Windshield Knife
- 1" Putty Knife
- Butyl Tape (NAPA #4196)
- Electrical Tape
Step 1: Remove Interior Pieces
You?ll need to remove the interior pieces surrounding the rear window.
This would be the top roll bar pad. The side roll bar pads and the back pad.
Pop the little round access covers off to get at the screws.
Use the regular and short phillips to get at everything.
Remember, there?s screws on the bottom of the roll bar pad as well.
The 17mm socket or wrench is used to get the seat belt bolts out which hold in the side pads.
If you have an early car with a stationary passengers seat, pull up the seat cushion from the rear
and remove it. You should see (2) 10mm bolts toward the front of the seat.
You?ll also have (4) 10mm nuts on either side of the seat bottom. Remove those and lift the seat
bottom out of the car.
If you have a later car you simply slide the seats forward or remove them altogether for an easier job.
Now you?ll see 4 screws (2 on each side) at the bottom of the pad. You want to remove those as well.
Don?t go yanking on the pad just yet, you need to remove the light (clips on the side) and disconnect
the wires. You?ll also need to unscrew the engine lid release handle and unscrew the base for the handle.
Now the pad should be ready for removal. Pull from the bottom and let the top of the pad slide down out of
its retainers.
Now is a good time to clean up any loose vinyl (ever notice that vinyl and butyl are spelled really weird?).
Water and age loosens up the adhesives on the back of the pad. Clean up any old adhesive and apply 3M
spray trim adhesive to re-tack the vinyl down.

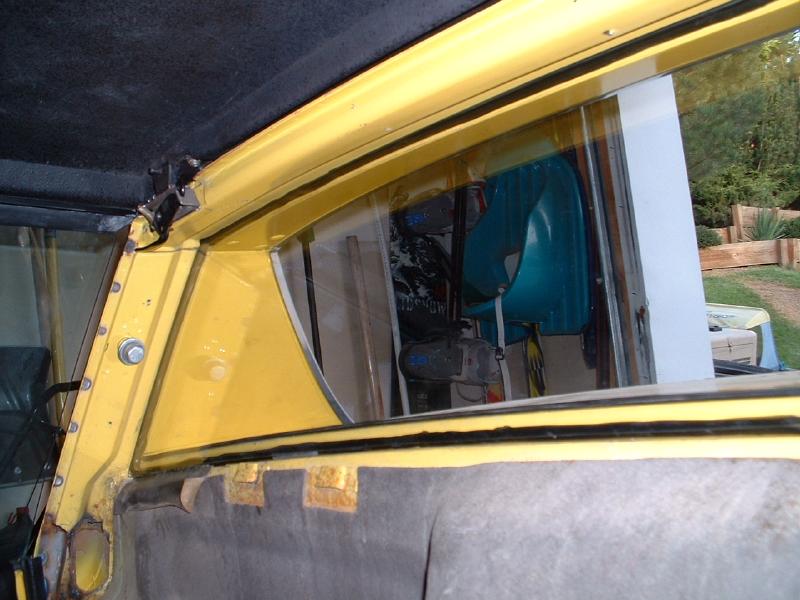
Step 2: Remove the Glass
I?ve never had a problem removing the rear glass myself but others have needed the guitar string or
a windshield knife. The window should basically pop inward toward the interior of the car.
Position yourself inside the car and have a hand on the glass while you reach over the roll bar and
push with the other hand. They usually pop right out. It?s not all that heavy but it is awkward so
handle with care.
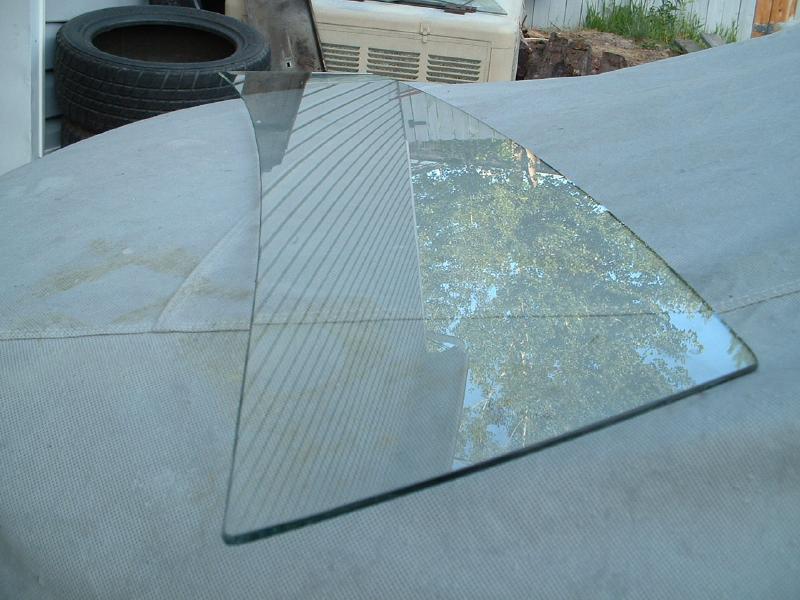
Step 3: Remove the Old Butyl Tape and Clean it all Up
Use a 1" putty knife to clean up the old butyl tape. If it?s old tape then it should be fairly stiff.
This stuff usually comes out fairly easily. Be careful not to lose the rubber mounts that the glass sits on.
There should be 2 rubber pads about 3? long and ?? wide that sit on the shelf where the glass was.
You?ll need these for the installation. Clean the glass and clean the area where the butyl tape was.
I like a product called ?Goof-Off? but there?s plenty of heavy duty cleaners and removers out there.
Bug and Tar remover is basically the same thing. This is a great time to replace the window to engine seal.
They?re about $45.00 so be prepared if you want to go this route.
Step 4: Install the Butyl Tape
I started in the passengers upper corner. If there were going to be a seam in my butyl tape I?d want
it there. Water will have a hard time getting to that location. This stuff is sticky.
The upper and side areas will be seen after the install so make sure you press the tape in evenly and smoothly.
Press it directly into the corner of the mounting area.
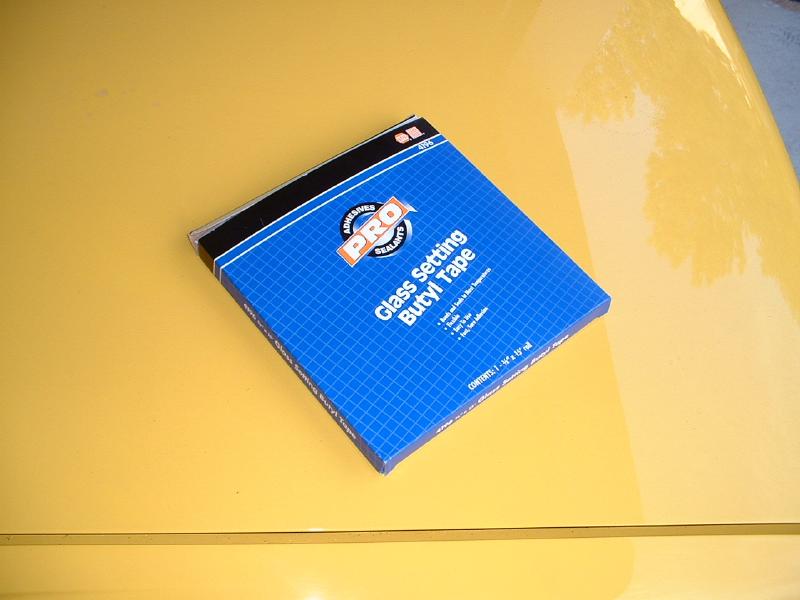
Butyl Tape (NAPA #4196)
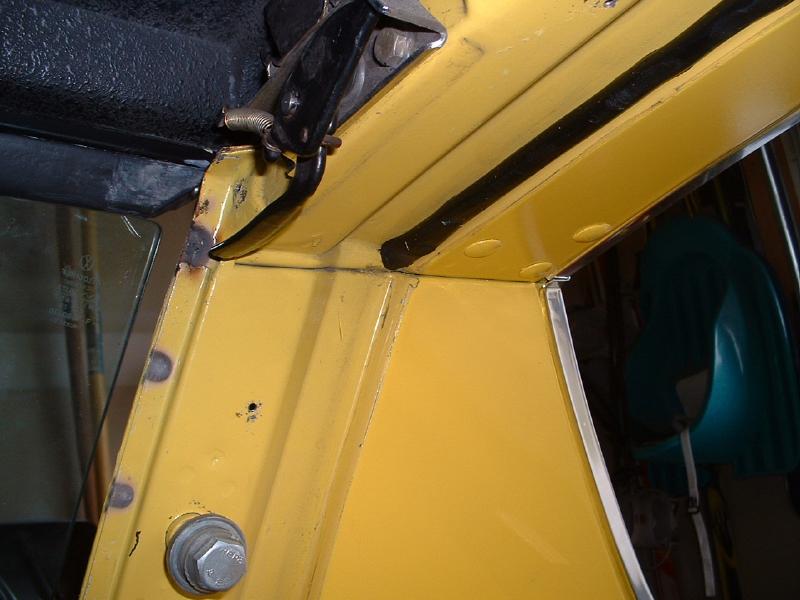
Started...
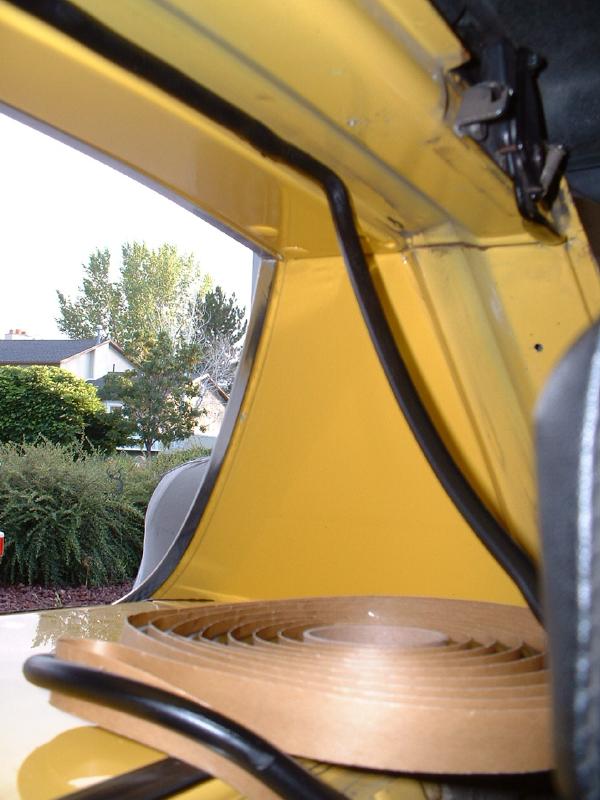
Half Way There...
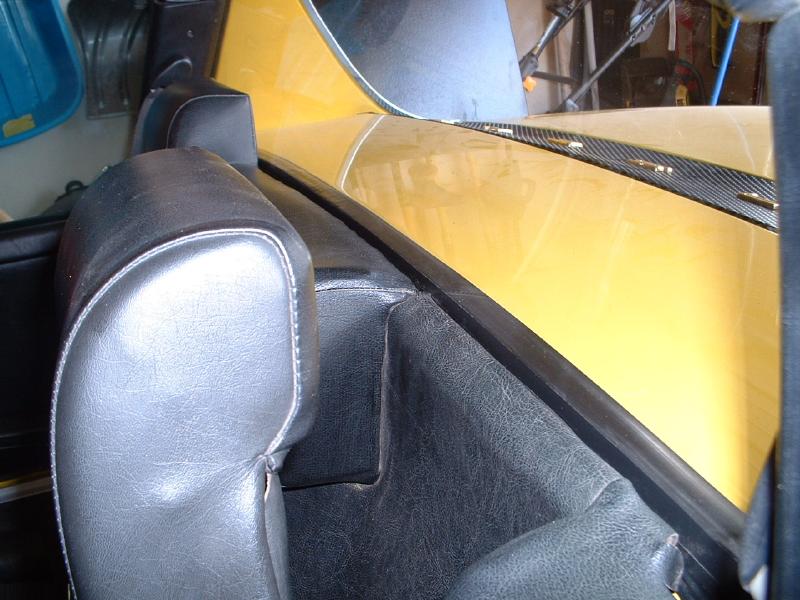
Step 5: Re-Install the Glass
This can be a bit tricky because the tape (as mentioned before) is quite sticky.
First install the rubber mounts on the ledge the window will sit in. The butyl tape will help hold
them in place. Make sure the glass is set back in at the proper orientation. For mine the VW logo was
readable from the inside and just above and behind the drivers headrest. Make sure the glass is sitting
on the rubber mounts and press firmly all the way around.
Step 6: Tape the Bottom Edge of the Glass
I used electrical tape just as the factory did. Use the rubber seal on the other side of the
window as a guide and run the tape from edge to edge along the bottom. I used two rows to get the
desired effect.
Step 7: Reinstall the Interior Pieces
Excellent time to do a thorough cleaning of the vinyl and carpets.
Vacuum out those areas that have never been vacuumed etc.
Enjoy your new watertight, rattle free view.
|