|
|
914 Lock Rekeying
by MarkB
I was re-keying a lock for someone today, and thought it might be a good
time to take some pictures & explain how you can do this yourself.
It’s not rocket science, if I can do it, anyone can do it. Please
correct me if I’m wrong, or use the wrong terminology.
I’ll start with a door handle,
because that seems to be what needs to be re-keyed the most.
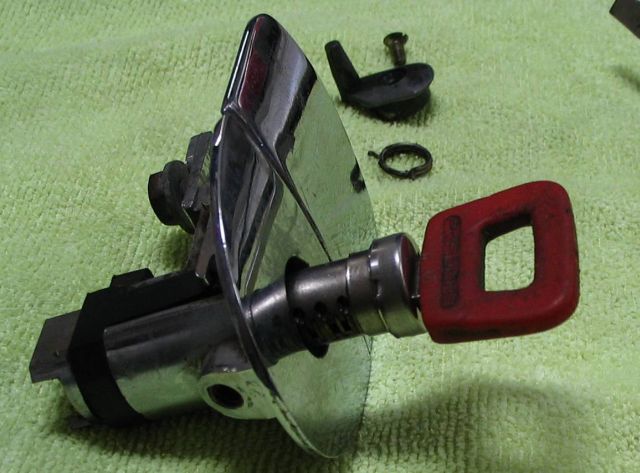
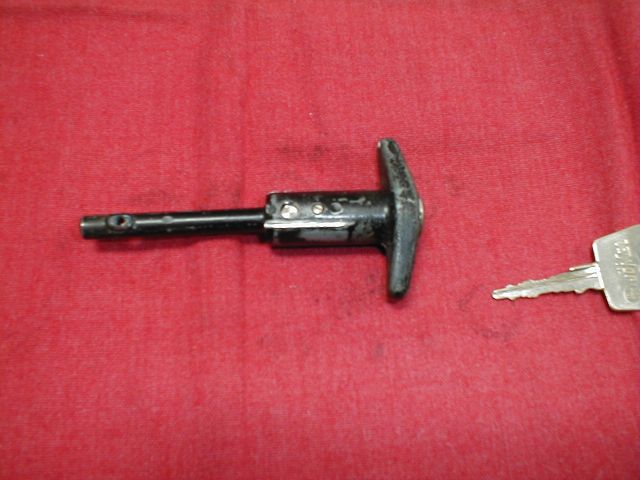
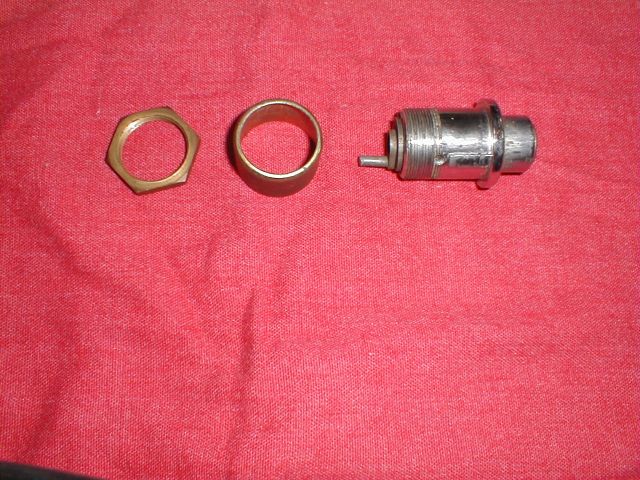
The Door Handle Lock
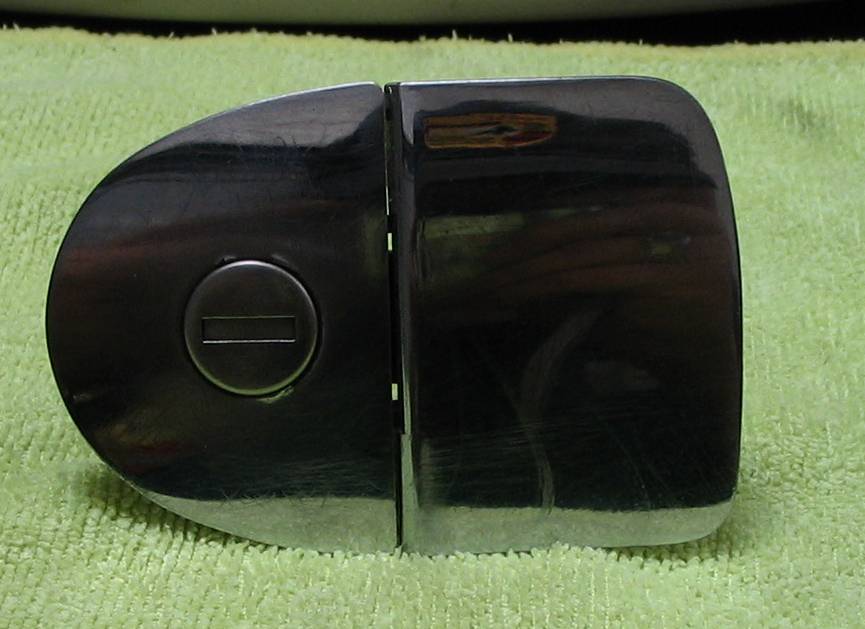
Your standard 914 door handle.
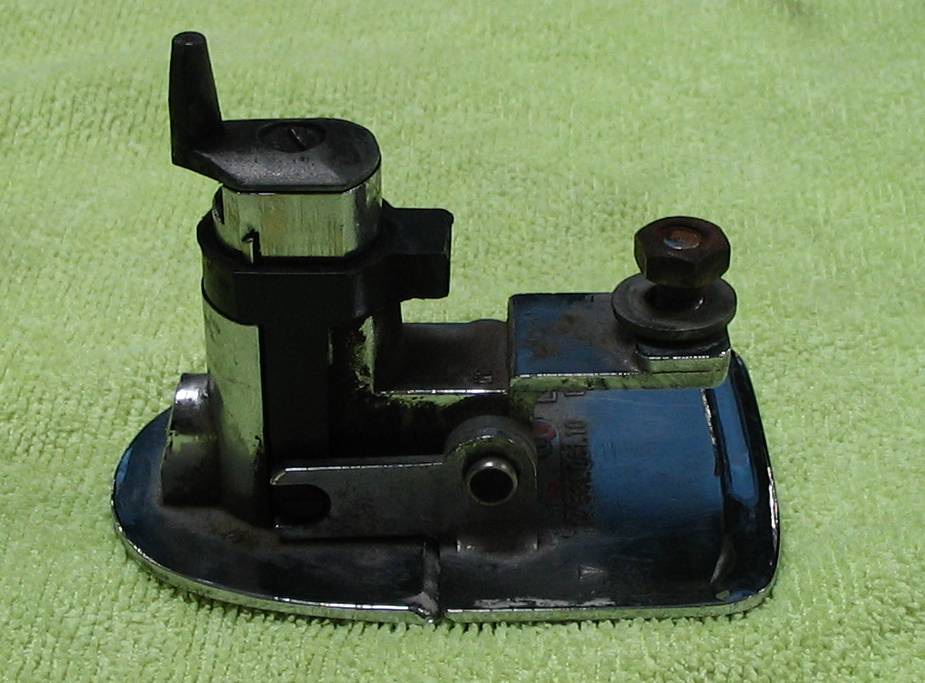
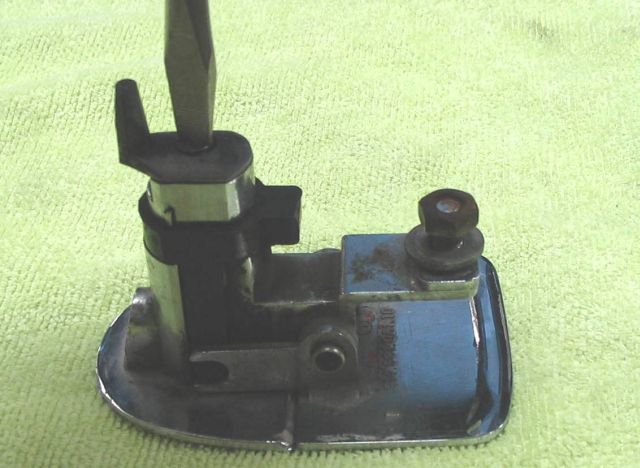
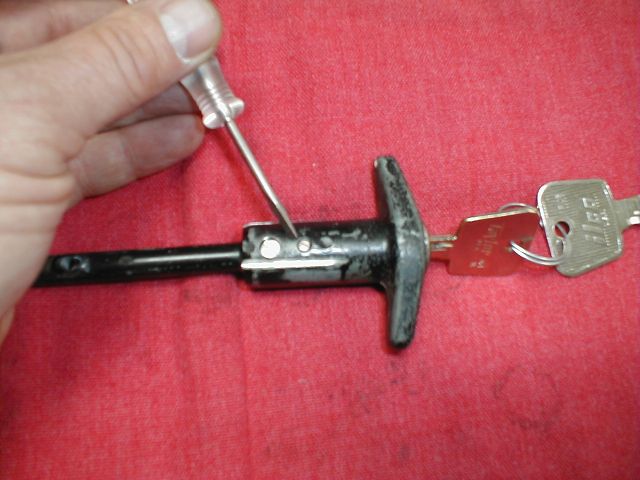
Remove the screw that holds the tumbler in place.
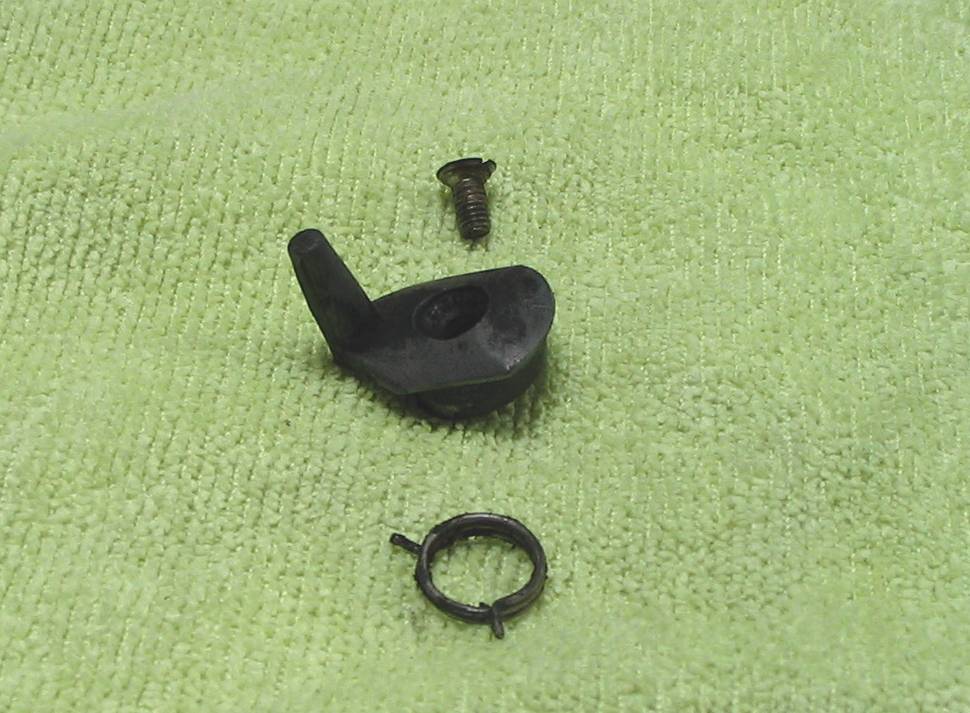
Once the screw is removed, remove the lever and spring.
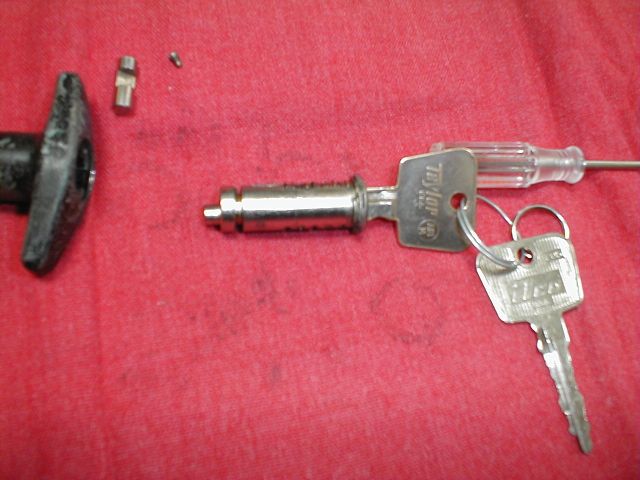
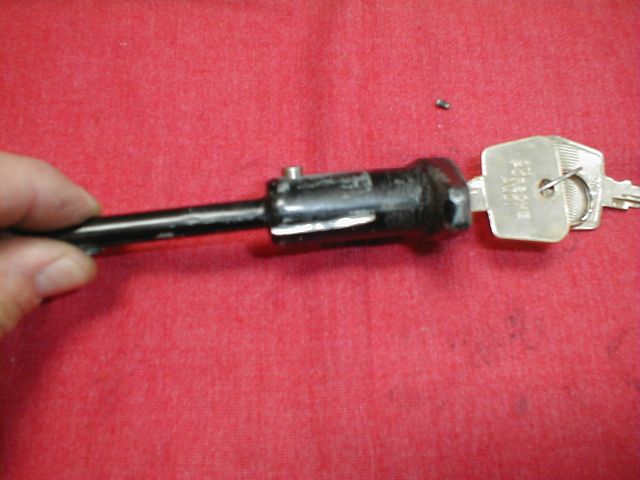
Insert the key in the tumbler and remove the tumbler.
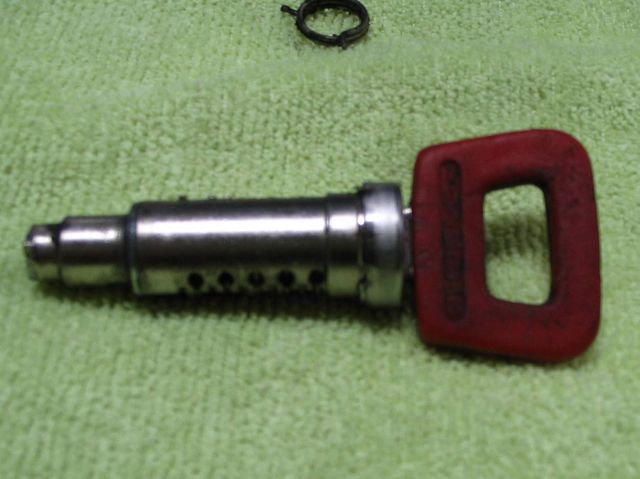
Once the tumbler is removed, you can see how the wafers sit. When you remove the key from the tumbler,
make sure to hold the wafers lightly in place with your fingers (these little puppies can go
flying).
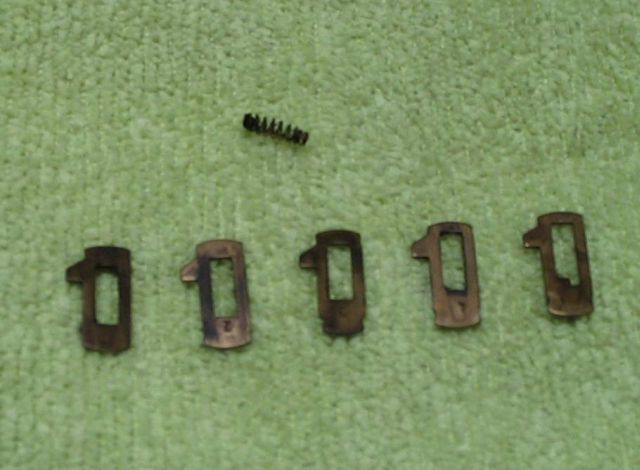
This is what you should have.
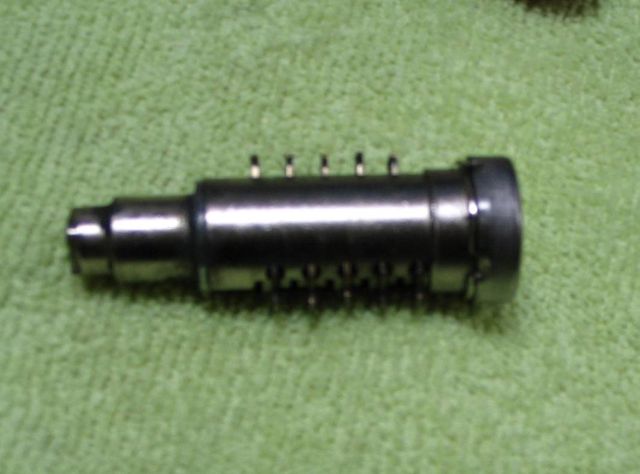
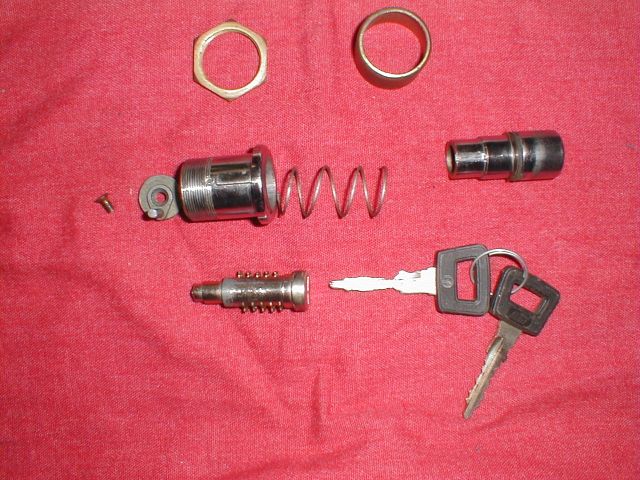
This might be a good time to discuss the wafers. There are 5 different wafers. From left to right, they are
numbered 1, 2, 3, and 4. The last wafer is the infamous “valet” wafer. This is the one that keeps
the valet key from working the trunks & glovebox locks. Notice the “ledge” on the
wafer.
Here are the keys, so you can see the difference. The valet key has 2 slots, where the normal key has only
one.
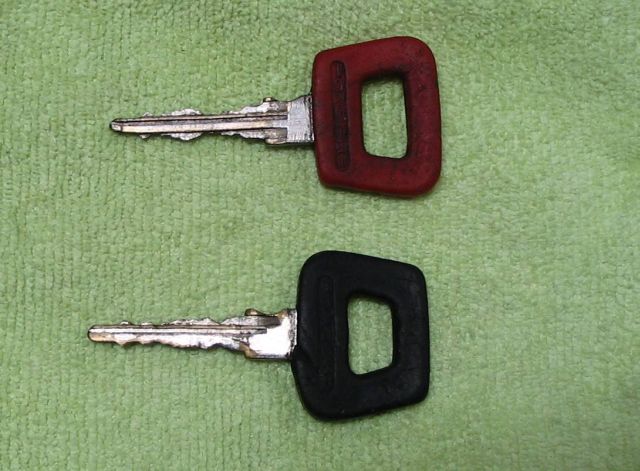
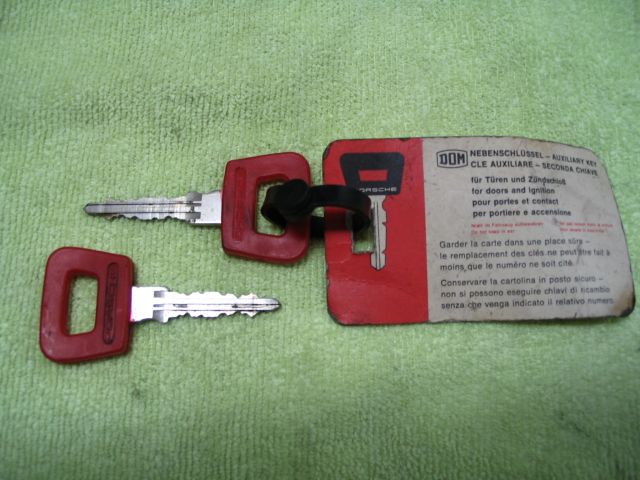
Ever wanted to see a brand new key? Here you go.
Before you start replacing wafers, wipe the accumulated gunk off of the parts.
I’ve been told it’s better to put the wafers back in dry, and lube
things up once it’s back together.
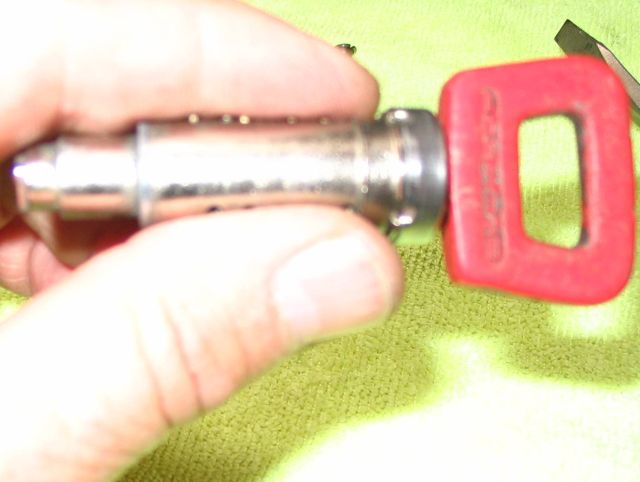
Now you need to move the
wafers around until they are flush with the tumbler. Put the key in the
tumbler, and look to see which wafers are not flush. Now look to see if
they are not flush at the bottom of the wafer, or the top. One at a
time, replace with other wafers that aren’t flush, until you have them
all flush. Be careful not to lose any of the springs. They’re pretty
small, and probably full of old lubricant, so they may come out when
you remove the wafer.
Many times you can just rearrange the
wafers without having to have spares. If you do need spares, I would
rob them from another lock that usually isn’t used. For instance, when
was the last time you locked your glovebox? Or your front trunk? These
would be the ones I would rob for wafers. Just make sure you’re not
using one of the valet wafers. If you’re like me, and have a few broken
door handles lying around, you can rob them for parts.
Before:
After:

Since you have the door handle out, you should check the plastic actuator
(these have a tendency to break) to see if it needs to be replaced.
Yup, this one is broken. The originals were white, the replacements are
black.
Wipe it all down to remove the old lube, and re-lube with a good lubricant. I like either of
these:
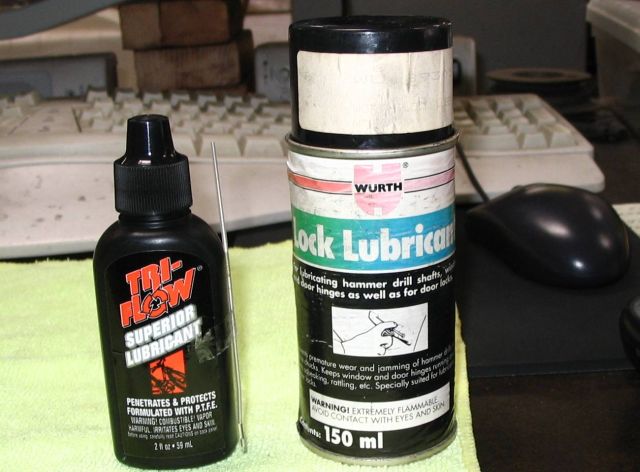
DO NOT USE GRAPHITE!!! It’s an abrasive, and it gums things up.
Once
you have all the wafers in flush, put the tumbler back in the handle.
There is a small seal that fits around the outer edge of the tumbler
where it meets the handle, and helps to keep dirt & water out of
the handle. If the seal is still good, re-use it. If it’s in pieces, go
ahead and reassemble without it. I haven’t had any problems with any
handles that didn’t have this seal. The tumbler only fits in one way,
so check to make sure it fits correctly, and make very sure the key
rotates the tumbler easily, and with the key in either way. Once that
is done, put the spring in place, and use the lever to help seat the
spring. Put the screw back in, and you now have a re-keyed door handle!
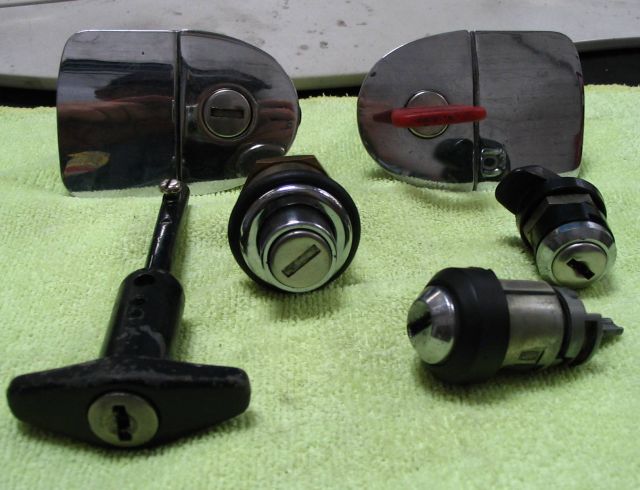
That's all for now. I'll do
more on each of the locks on a 914. Here's a picture of all that we'll eventually cover.
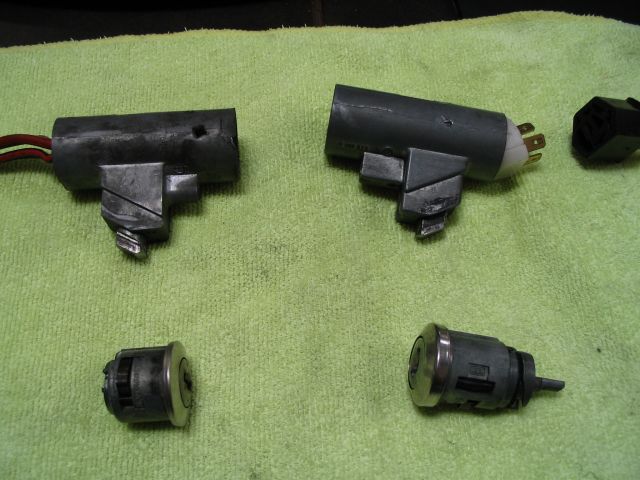
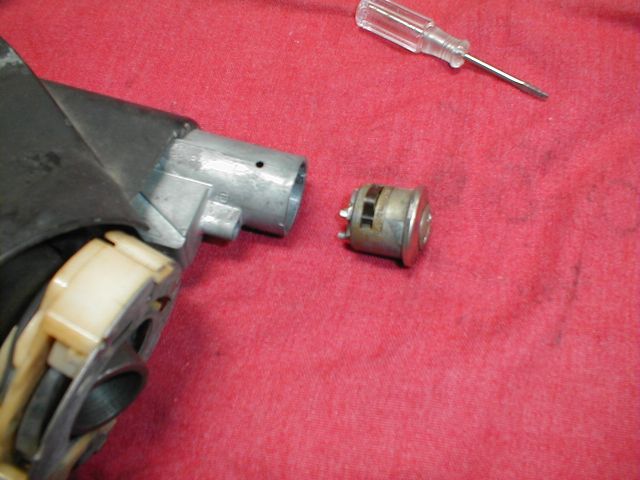
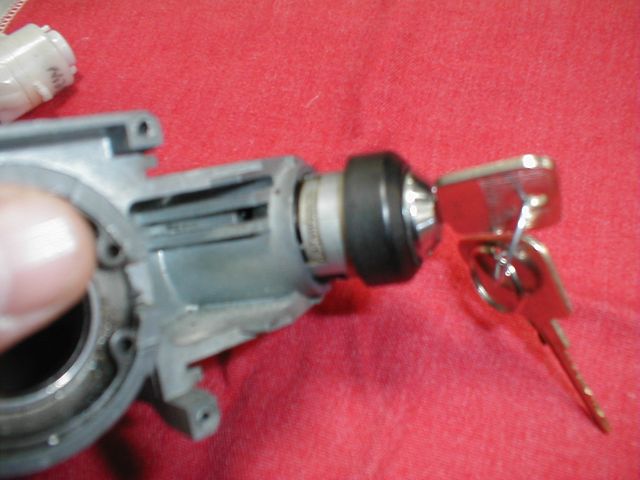
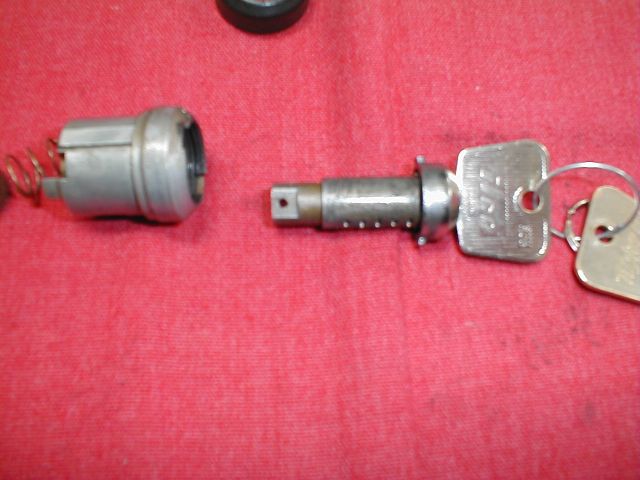
The Ignition Switch
Ok, moving on to the ignition switch. tumbler There are differences in the
early (70-71) and the later (72-76), and I believe there are even
differences in the 72-74 to 75-76, but I haven’t knowingly done the
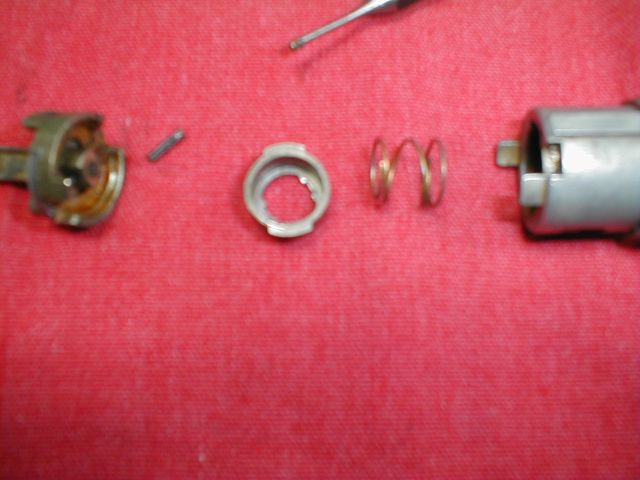
75-76 years, so I can’t state that for a fact. What I’ll do is show the 70-71 and the 72-up side
by side. On the left is the early switch, tumbler & housing, and on the right the later switch, tumbler
& housing. If I get the names for things wrong, someone please correct me.
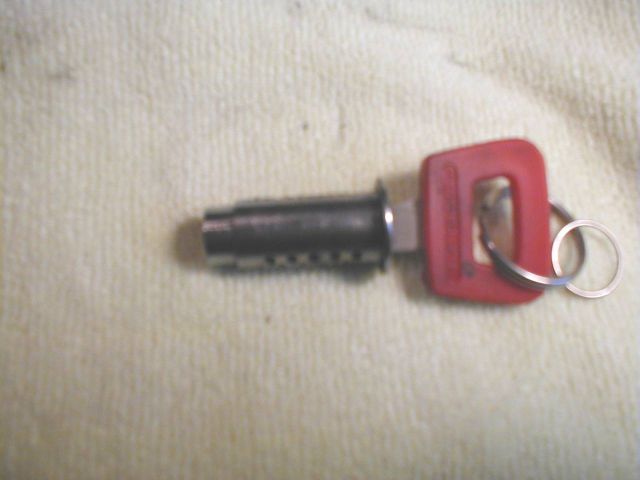
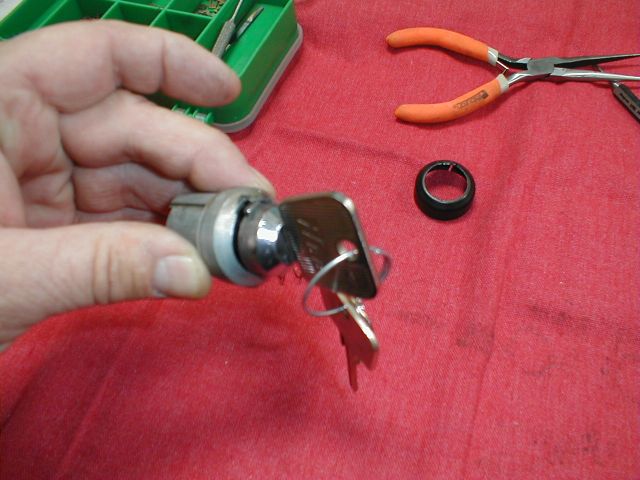
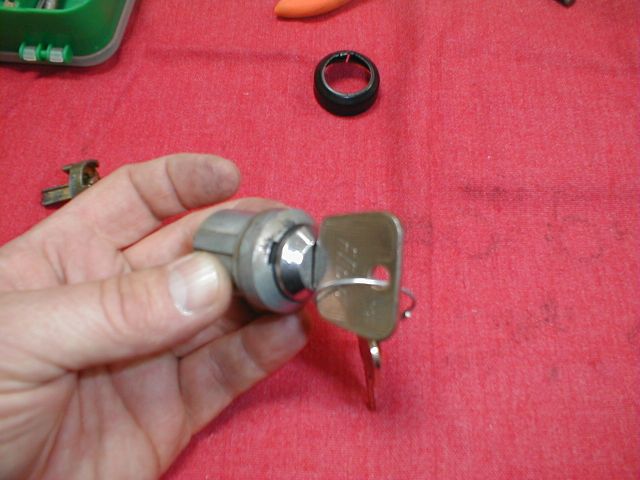
The Mid-years Switch
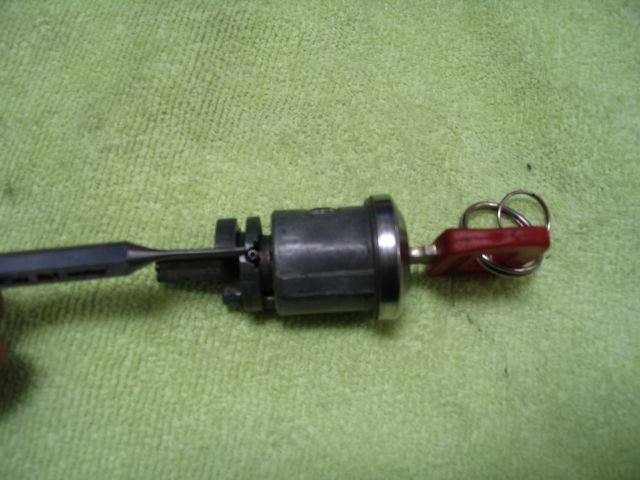
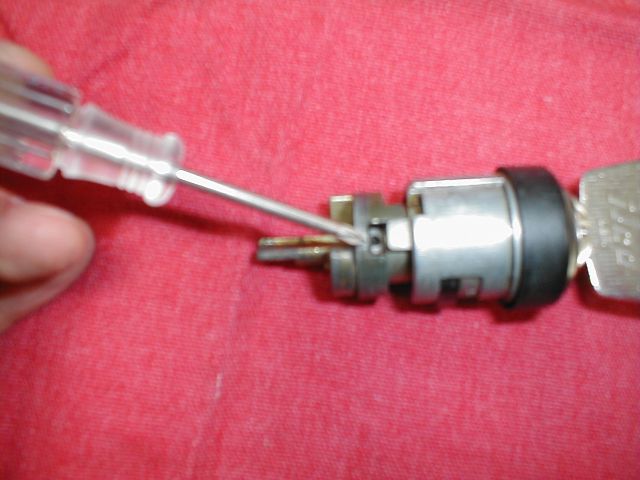
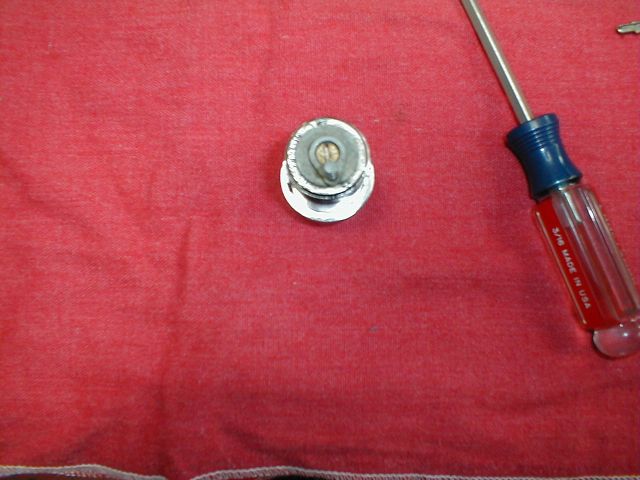
I’m going to start with the later tumbler, because they seem to be the most common in use. To remove
the tumbler from the housing, there is a small hole that you put a small punch tip or screwdriver tip into
that will release the tumbler. If you look at the early switch, you can see this hole. I *believe* the hole
has to be drilled in a new housing, but I’ve never run across one that didn’t have the hole.
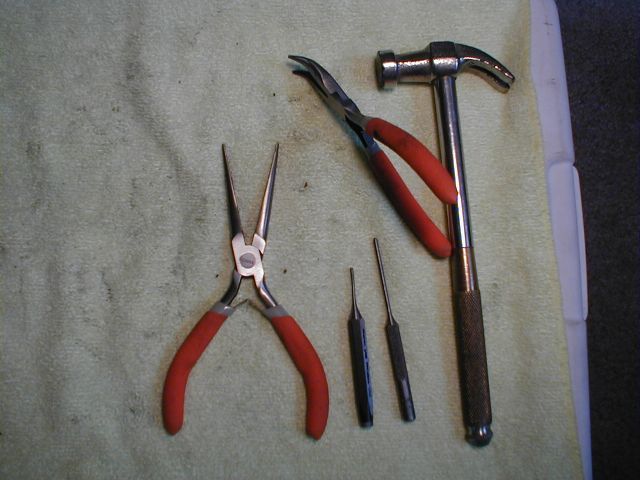
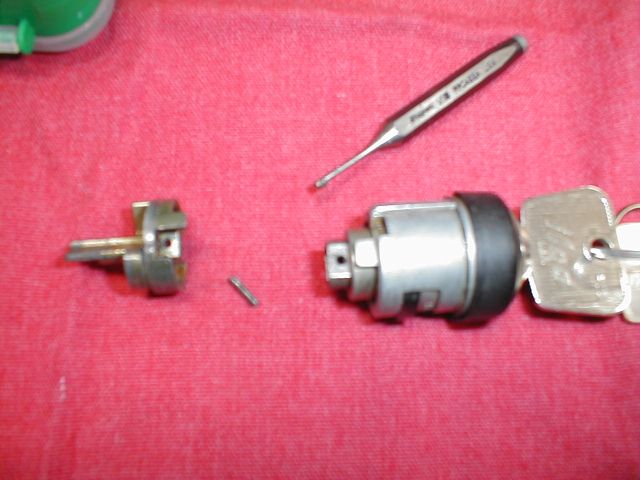
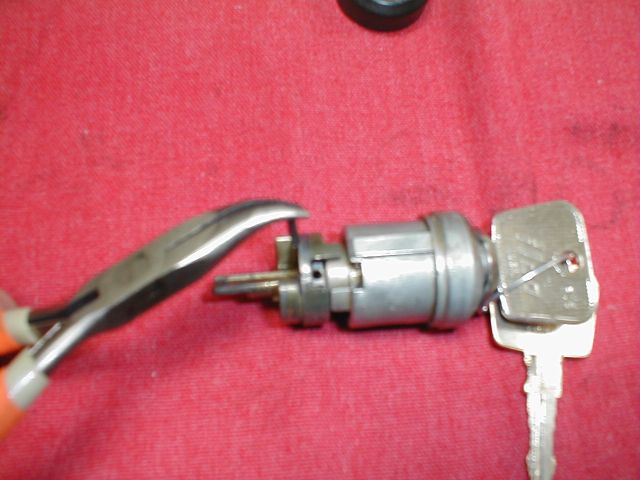
I’ll be using a standard Porsche tumbler to re-key. These are the tools I tend to use for re-keying
ignition tumblers. A couple of small needlenose pliers, one set curved, at least on punch, 1/16 in size, and
a small hammer.
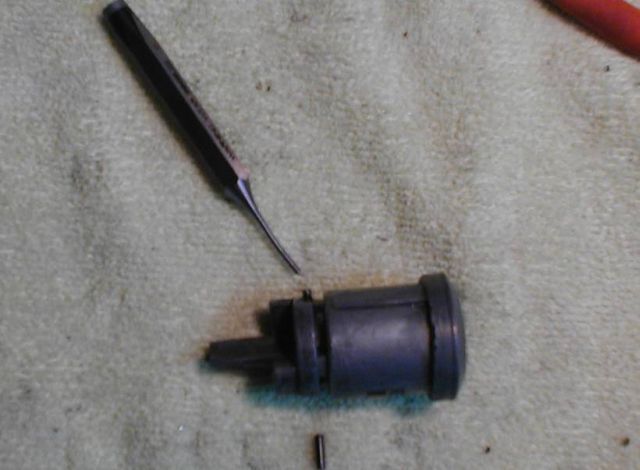
At the tip of the punch, you’ll see a pin. There’s one on each side that have to be removed.
That’s where the small needlenose pliers come into play. These can be real fun to get out, so be
patient. You *can* use
the punch to knock them through, and if you choose to do it this way,
make sure the key is out of the tumbler, because it may be in the way
(I bent a punch trying to push a pin past the key). I prefer to take my
time and pull them out.
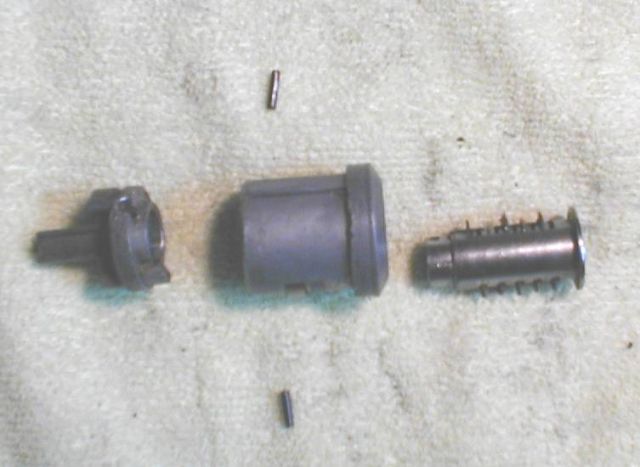
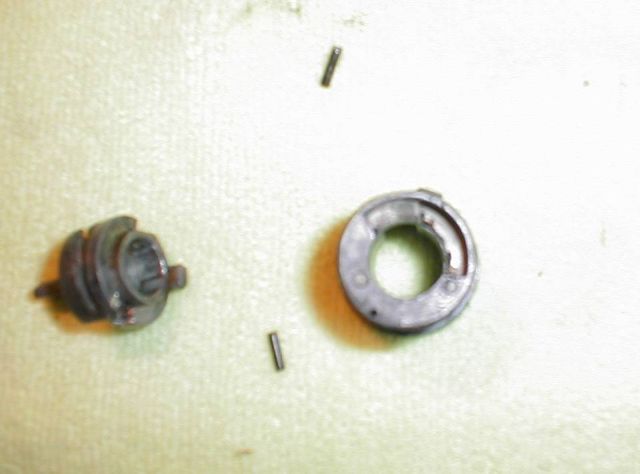
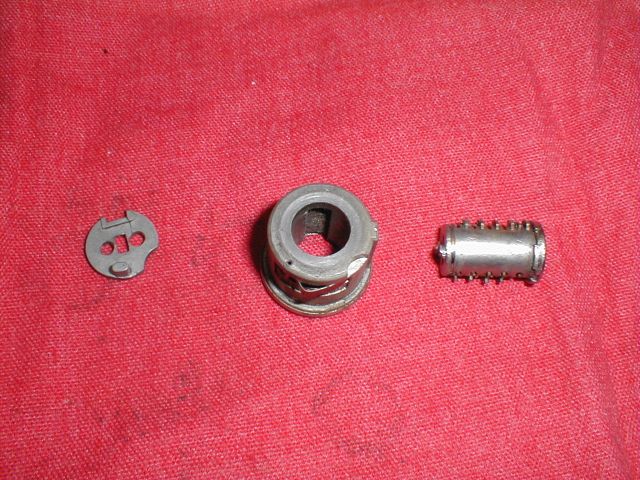
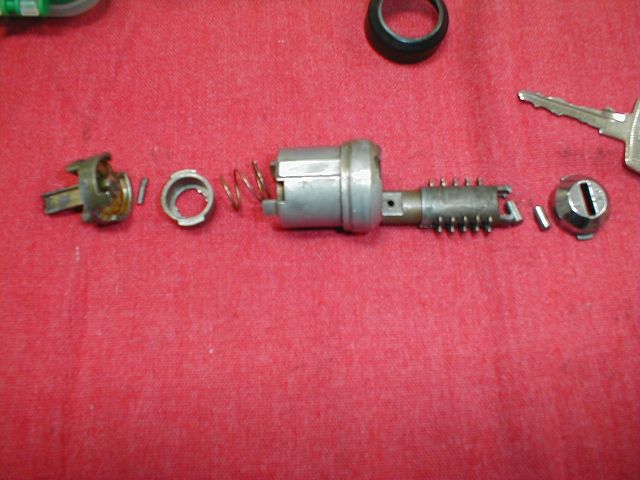
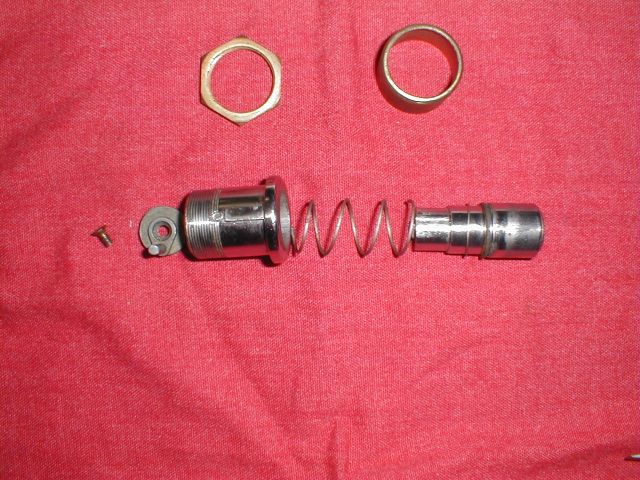
Once the pins are out, the tumbler is in 3 pieces. Take the time to clean
everything up before you continue.
Now you re-key the tumbler by replacing the wafers as we did with the door
key. Again, it’s trial and error until they are all flush with the
tumbler housing. Make sure you DO NOT use one of the valet wafers in
this tumbler!
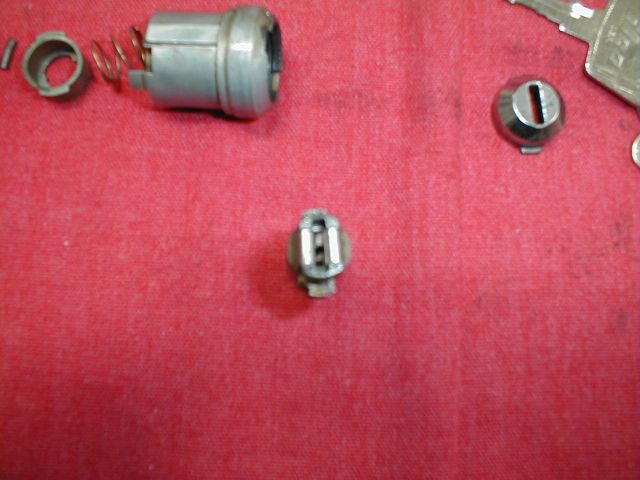
Sorry for the blurry pictures, I must have gotten some lessons from SirAndy. The
pieces only go back together one way, so make sure you have it together properly before you put the pins in.
The end piece on the left only goes into the middle piece one way, and also only goes onto the tumbler one
way.
I put the pins in using the curved pliers, then tap *lightly* with the
small hammer. DON’T FORCE IT!!! You can bend a pin that way. Gentle is
the keyword here, and tap the pins in a little at a time, checking the
key each time. If the pin goes in too far, it can keep the key from
going in all the way. The pins should be about flush with the top of
the tumbler housing. As you’re testing the key, keep a slight pressure
on the opposite end, it seems it’s needs some resistance to operate
properly.
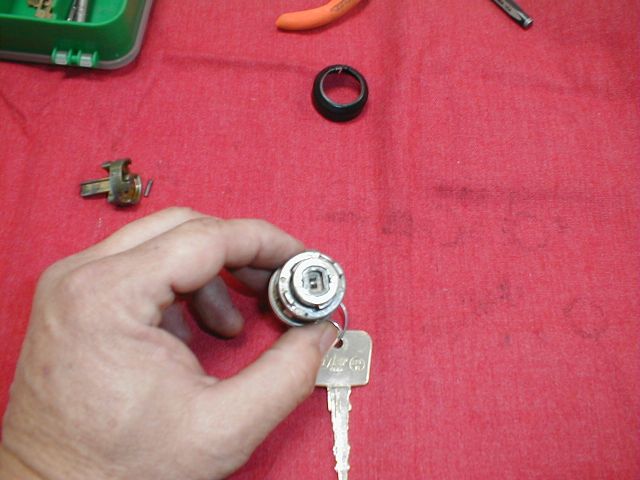
Once the pins are in place, make sure everything turns
easily, and the key goes in & out smoothly. Now you can lubricate
the tumbler, and re-insert in the housing.
That’s pretty much all there is to it. I’ll be doing a write-up on the early
ignition switch next time.
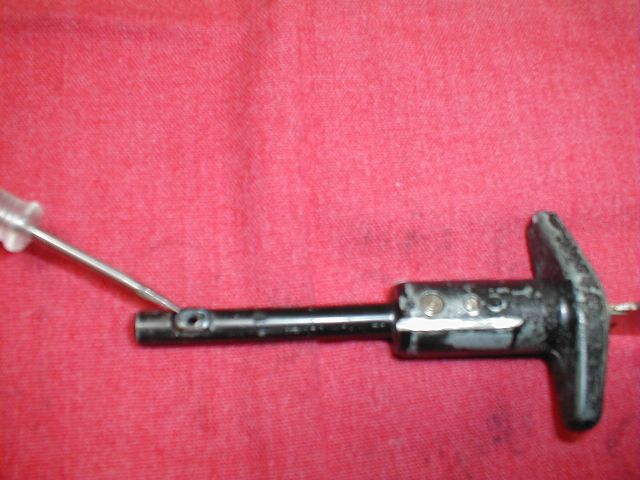
The Earlier Ignition Switch
Since these are quite a bit different than the ones we’ve just seen, I’ll show taking the column
apart too.
Take the steering wheel off, then this is what you see:
There are 4
screws holding the horn plate on (OK, so I took 3 out, sue me).
The last one has the horn wire attached to
it.
Here is the switch housing. 4 more screws hold it on at the corners.
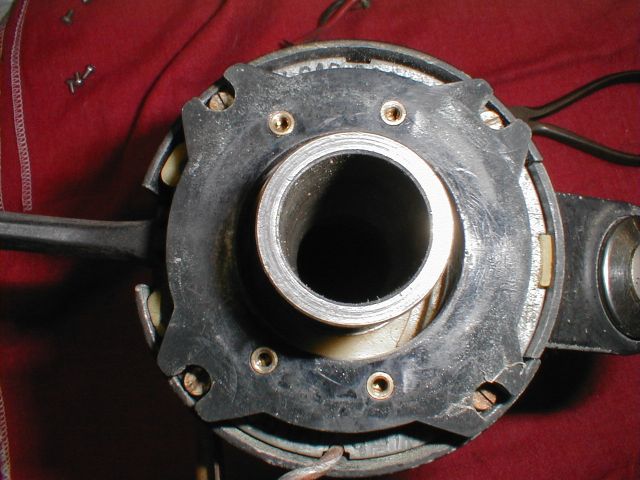
The
turn signal switch does not need to come all the way off. Just pull it
far enough out so you can get to the 2 bolts holding on the piece that
retains the switch.
Here you can see the 2 bolts that hold the ignition switch retainer in
place.
Remove them.
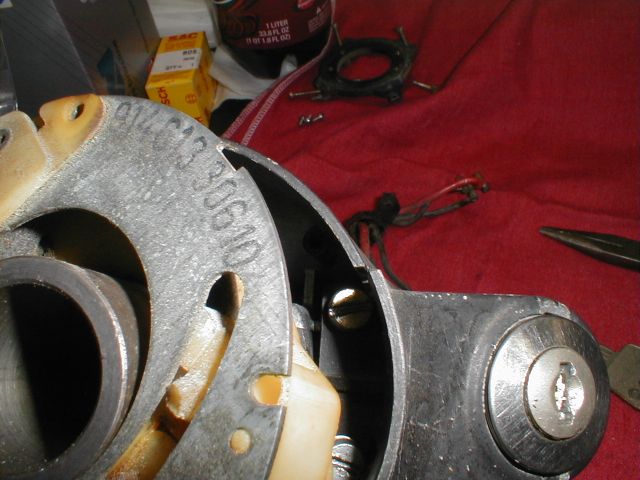
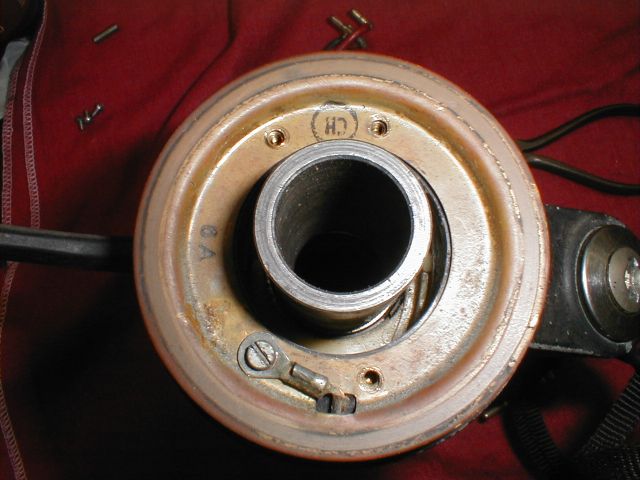
Now you can get to the housing. This housing has the wires hard-wired onto
it, so make sure they’re straight, and use a pair of pliers to gently
pull the housing forward. The key needs to be turned to release the
steering wheel lock. You don’t need to remove the whole housing to pull
the switch (Yes, I know, the key on this one is broken off).
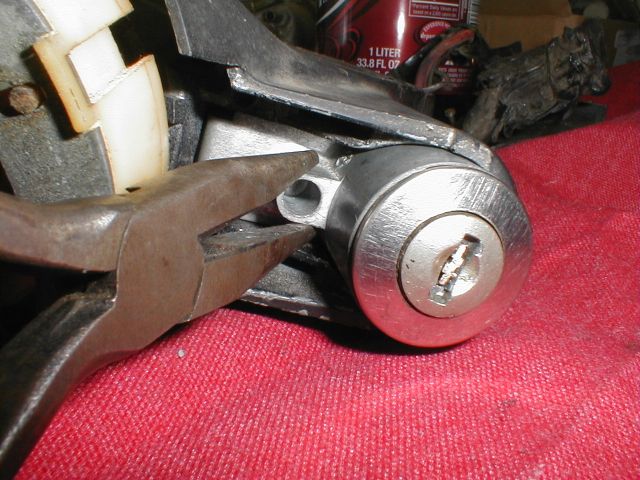
Once the
housing is pulled forward, you can access the hole that you use to release the tumbler.
This tumbler
is much smaller than later years.
Here is a
rear view of 3 tumblers. Left to right:
An
unbroken tumbler, next is a broken one. This has happened to me a
couple of times when pulling the tumbler apart. It develops a crack at
one of the holes when you pry the back off. Notice the holes are
different sizes so it only fits on one way. The last is a JB Weld fix
done by a PO. I’ve used the same method myself, and it seems to work OK.

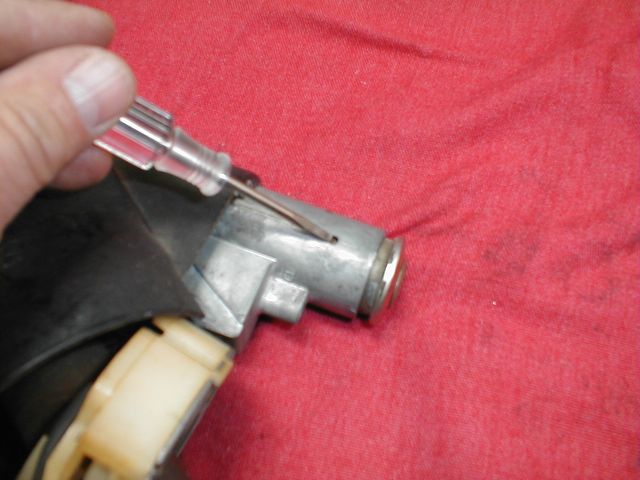
Once
you’ve pried the back off, you see the 3 pieces.
Re-key the
tumbler. Assembly is just the reverse of disassembly.
When
you reassemble the tumbler, tap the pins that hold the back on with a
punch or chisel to spread the pins slightly. If the pins don’t spread
enough to hold the back on well, you may need to JB Weld it as shown
above.
Not as tricky as the later (75-76) are going to be.
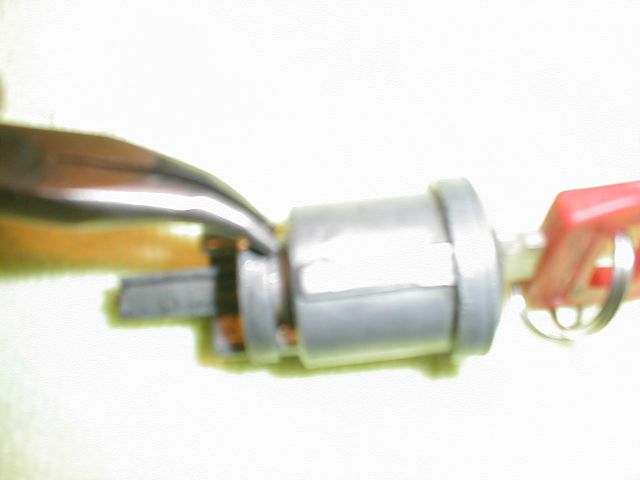
The Later (75-76) Ignition Switch
On this one, it seems the whole dern thing needs to come out of the column.
I didn’t do that, so
I’m afraid you’re on your own there.
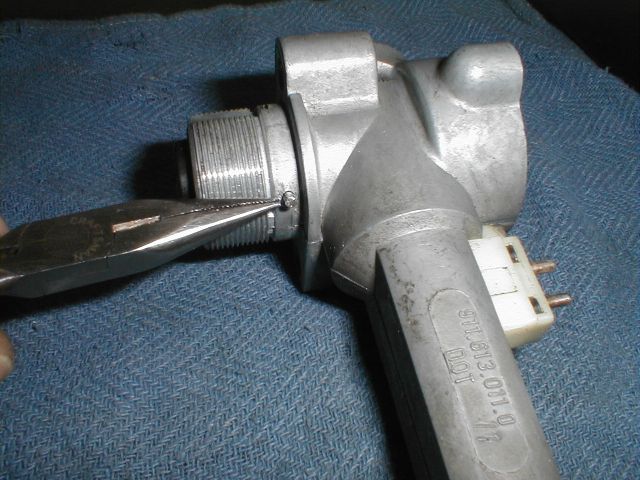
This is what it looks like off of the
column.
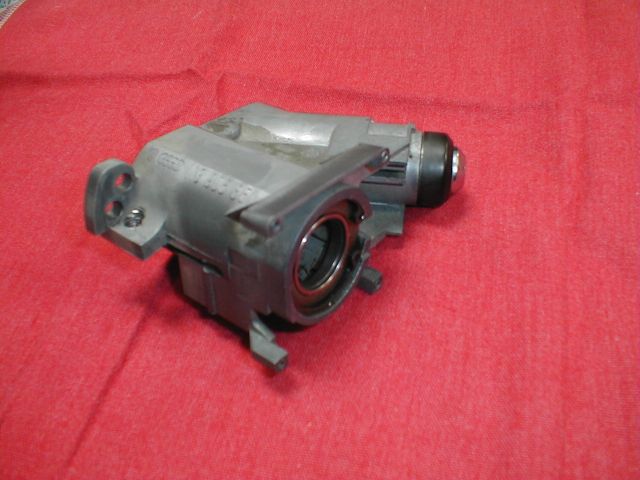
Sorry again for the blurry pics, I forgot to set the macro on the camera.
This is where the
release is (in that recess)
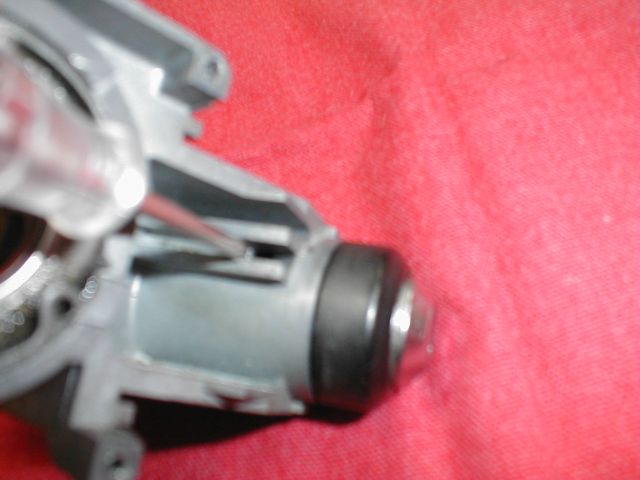
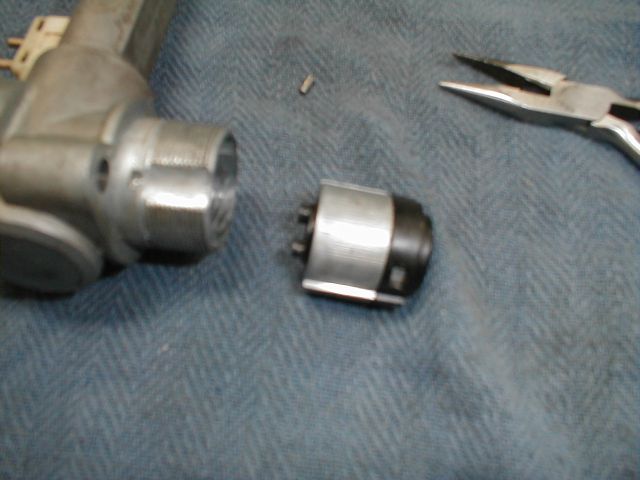
Once again, turn the key to release the steering wheel lock, and pull the tumbler
free.
Here is the pin that needs to be pushed through.
Now it gets a little more complicated than what we’ve done before.
You have to
have a working key to get the tumbler any farther apart. Turn the key to release the rear of the
tumbler.
There are 2 “ears” that fit into a slot, that need to line up with their release
slots.
Once the rear is out, then you can line up the “ears” with their slots for the
front of the tumbler.
Now you have the tumbler apart.
Notice the 2
pins that fit into slots at the very front of the tumbler.
Put the pins
and the front piece back on, and re-key the tumbler as explained previously.
Now you can
begin to reassemble. Put the front piece on, getting the “ears” in their slots.
Once the front part is on, put the spring and rear piece in place.
The rear piece is what I found I needed
to get the “ears” in their slots first, the replace the front “ears”.

Now
you can put the pin in, and assemble back in the housing. Make sure the
pin is in far enough to allow the end piece to fully retract, or the
steering lock won’t engage. The tumbler will fit back together 2 ways,
only one of which is correct, so make sure it’s correct when it goes
back into the housing.
The Front Trunk Lock
I did not have a key for this lock, so I had to use a cutoff wheel to get
it out of it’s housing. That’s why there are grooves in it. Please
ignore them.
The first pic is showing where the screw that holds
it to the housing is located. The cable in the front trunk needs to be
disconnected, then this screw needs to be taken out. You need a key, or
at least have the handle unlocked, to remove it. Then the handle will
pull far enough forward to get the cable off of the handle
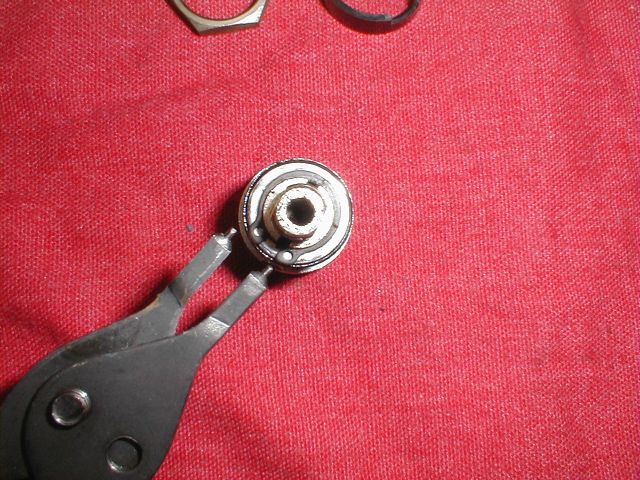
Here is the
small screw that releases the tumbler.
Note the locking pin, it needs go back in the same way it came out.

Re-key in the
normal way.
Reassemble, making sure the locking pin is in correctly. This is a very simple, but time
consuming lock. Put it back in the car, and you’re done.
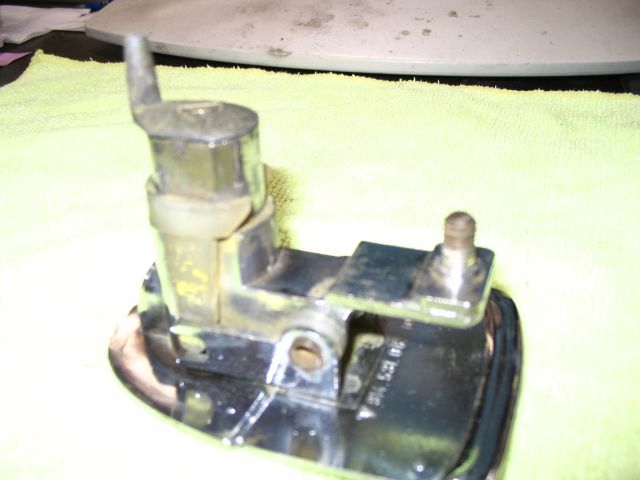
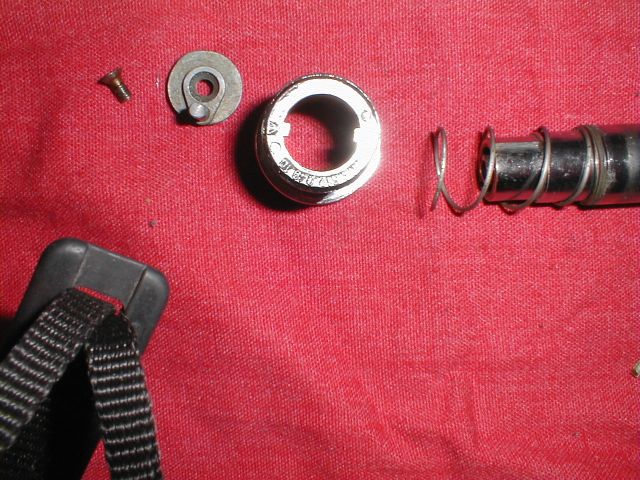
Rear trunk lock
Moving on to the rear trunk lock.
You will need a 32mm wrench to remove the nut.
Remove the nut and
spacer sleeve, and the lock will pull out of the car.
Remove the
screw that holds the mechanism in.
Insert the key
and remove the tumbler.
Clean and re-key in the normal fashion.
Fit the mechanism back into the housing, making sure to line up the
slots.
Reassembly is the reverse of disassembly.
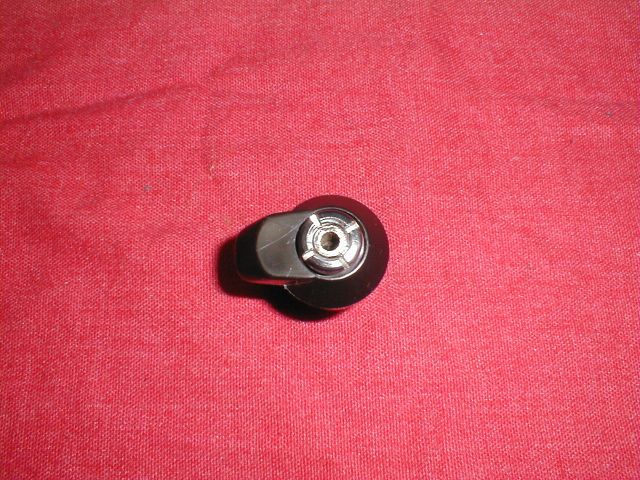
And now for the dreaded glovebox lock
It's a pain in the a$$ to get out of the car. You need to take the strap loose that holds the glovebox in
place, and to do that you should remove your radio to give you better access to the small nut holding the
strap in place. Once you can get to the lock, from the glovebox side, you can get a small screwdriver on the
nut.
Once the nut is off, you can pull off the latch. There is a wavy lock washer in there, don't
lose it when you pull off the latch.
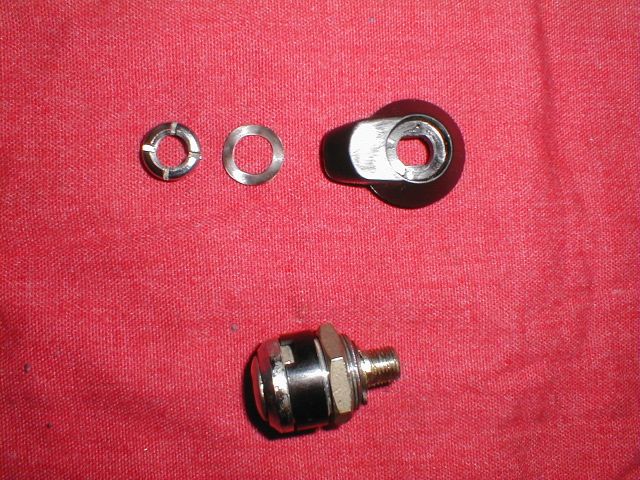
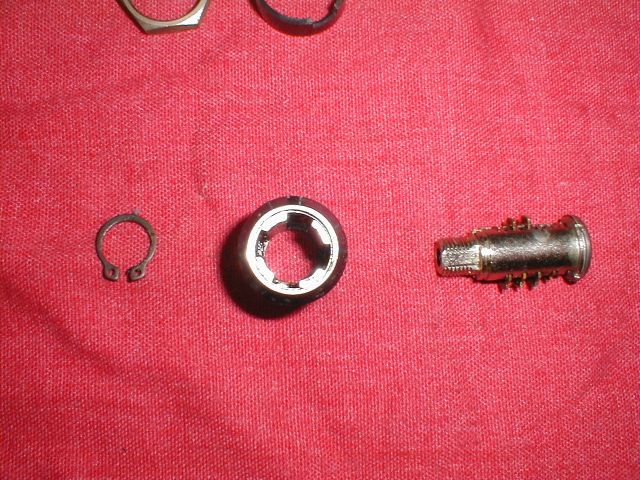
Now you can
remove the 24mm nut, and take the lock itself out. There’s a locking sleeve that will come out with the
nut.
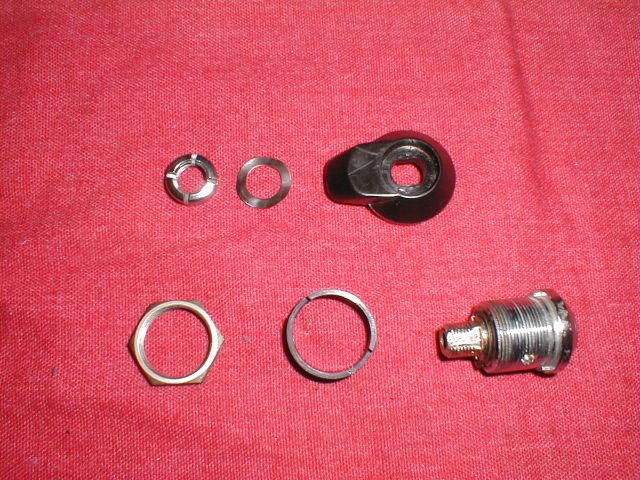
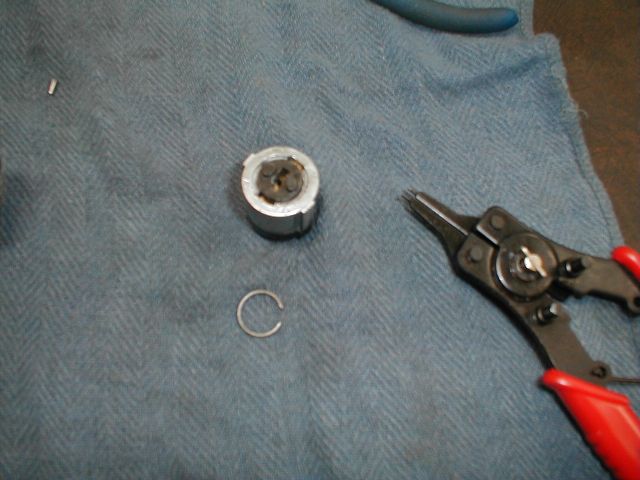
You will need a pair of snap-ring pliers to remove the snap-ring.
Insert the key
& remove the tumbler.
Clean and re-key as described above.
Once again, reassembly is the reverse of
disassembly.
That’s it for the normal 914/4 locks.
I’ll tackle the 914/6 ignition
next time.
914-6 Ignition Switch
This is what I've done to re-key a 914-6 (this one is actually a 911) ignition switch. There is a "blind" pin
that needs to be removed. I was lucky with this one, in that it was removable without drilling. I talked to a
local locksmith, and he advised drilling a small hole next to the pin, and use a small pick or awl to remove
it.
Once the pin is removed, the assembly will slide out.
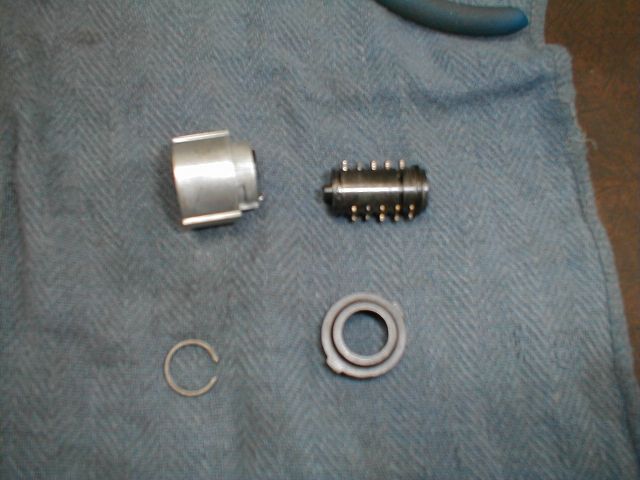
There is a
black piece at the front of the assembly that twists off. To remove the tumbler, remove the circlip (kind of
a pain in the a$$).
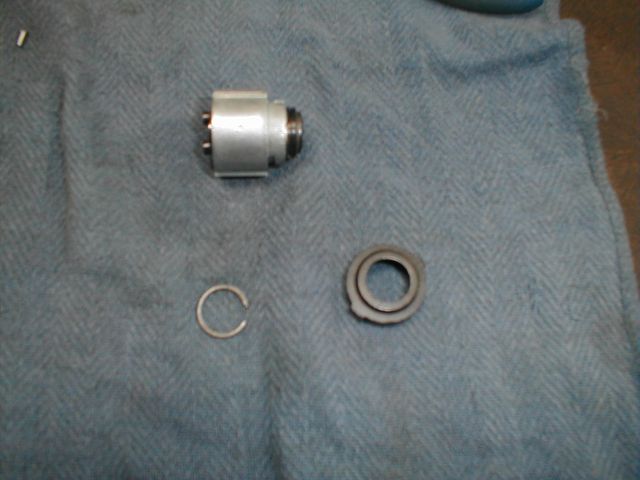
Now you can re-key it as explained above.
Put it back together & drive that puppy!
|
|