|
|
|
Porsche, and the Porsche crest are registered trademarks of Dr. Ing. h.c. F. Porsche AG.
This site is not affiliated with Porsche in any way. Its only purpose is to provide an online forum for car enthusiasts. All other trademarks are property of their respective owners. |
|
|

  |

| MrHyde |
 Aug 10 2013, 07:29 PM Aug 10 2013, 07:29 PM
Post
#421
|
|
Senior Member  Group: Members Posts: 525 Joined: 13-October 10 From: Ontario, Canada Member No.: 12,268 Region Association: None |
Lookin good !
|
   |

 
|
| 3d914 |
Aug 10 2013, 09:35 PM
Post
#422
|
|
Senior Member Group: Members Posts: 1,275 Joined: 24-September 03 From: Benson, AZ Member No.: 1,191 Region Association: Southwest Region |
Congrats Bob on being so close to the finish line. You should feel good that you're making this much progress over just a couple of years.
|
|
|
|
| saigon71 |
Aug 25 2013, 02:08 PM
Post
#423
|
|
Advanced Member Group: Members Posts: 2,026 Joined: 1-June 09 From: Dillsburg, PA Member No.: 10,428 Region Association: MidAtlantic Region |
I figured I would be driving the car by now, but re-assembly is taking much longer than expected, of course. (IMG:style_emoticons/default/dry.gif)
Re-installed the factory antenna and fished the wire to the back of the radio:  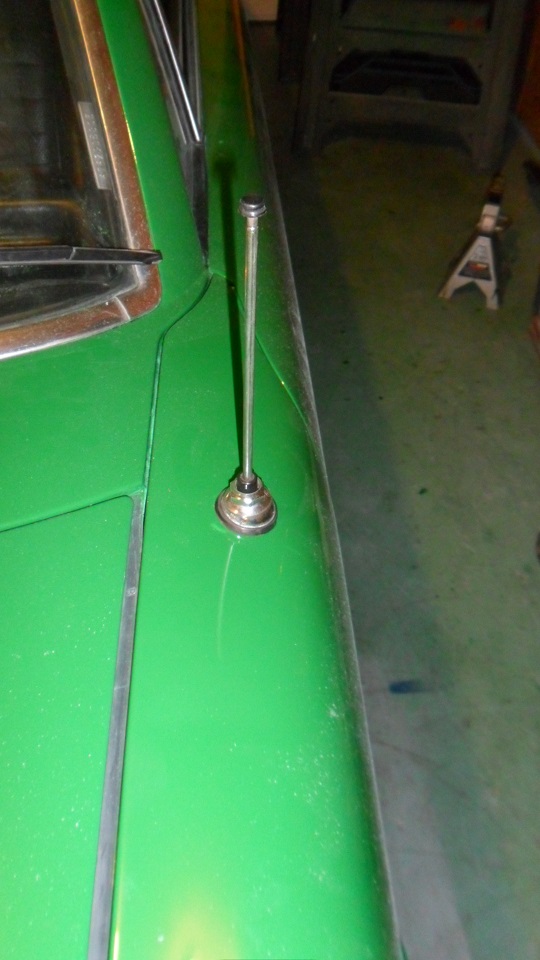 Attached & adjusted the clutch cable. Took me much longer than it should have to figure out how the banjo clip worked: 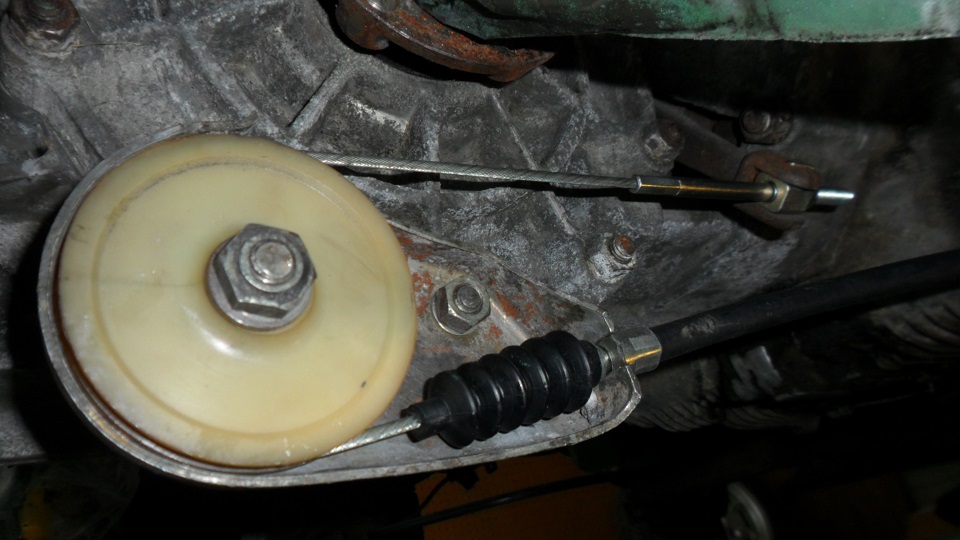 Cleaned the mating surfaces of the inner CV joints, added some fresh grease, installed new gaskets from PMB, tightened new bolts with new schorr washers to 31Ft Lbs and safety wired them on:   Had to use vice grips to remove the decal valve from an old chunk of engine shelf: 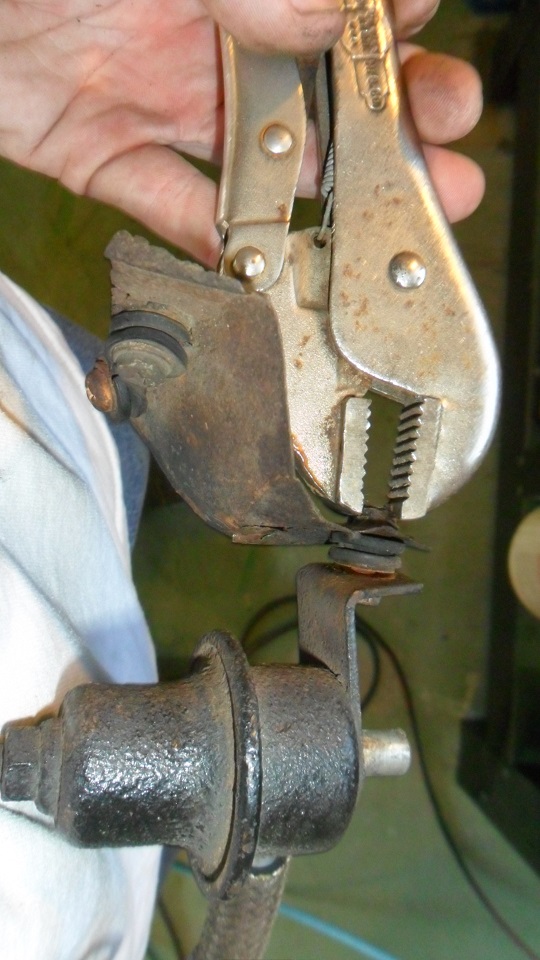 Made sure the engine bay seals from 914rubber were positioned correctly on the bottom lip of the engine tin. The seals fit nicely: 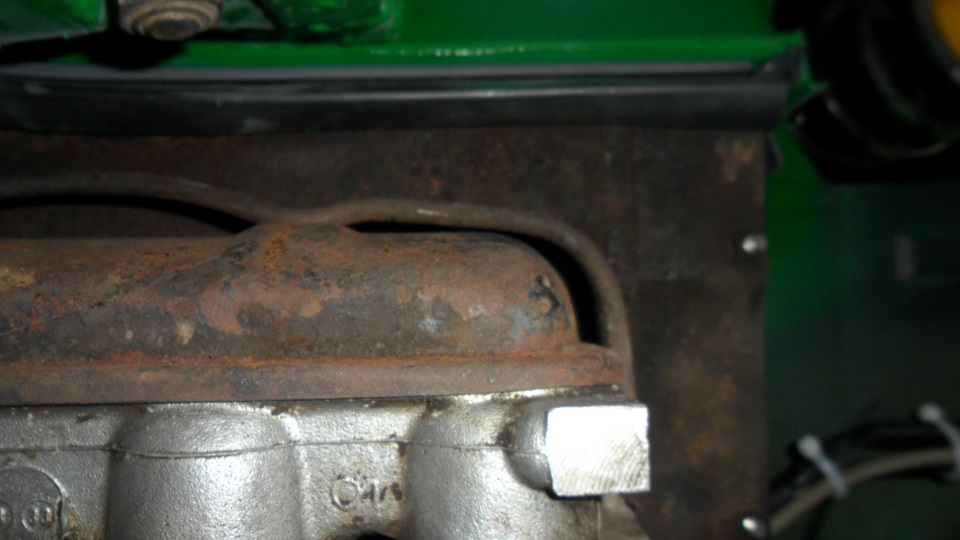  Ran the plastic EVAP lines from the fuel tank, through the triangle sills to the engine bay & hooked everything up: 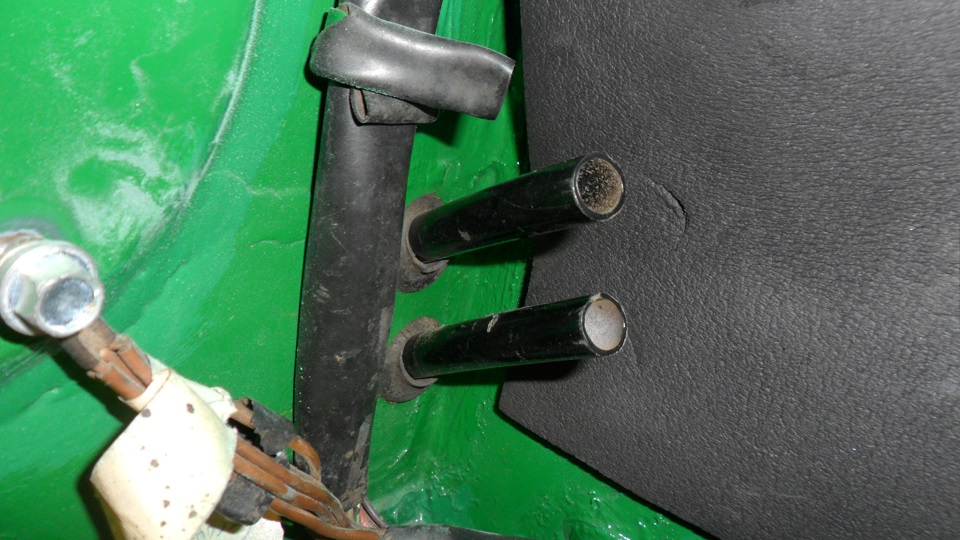 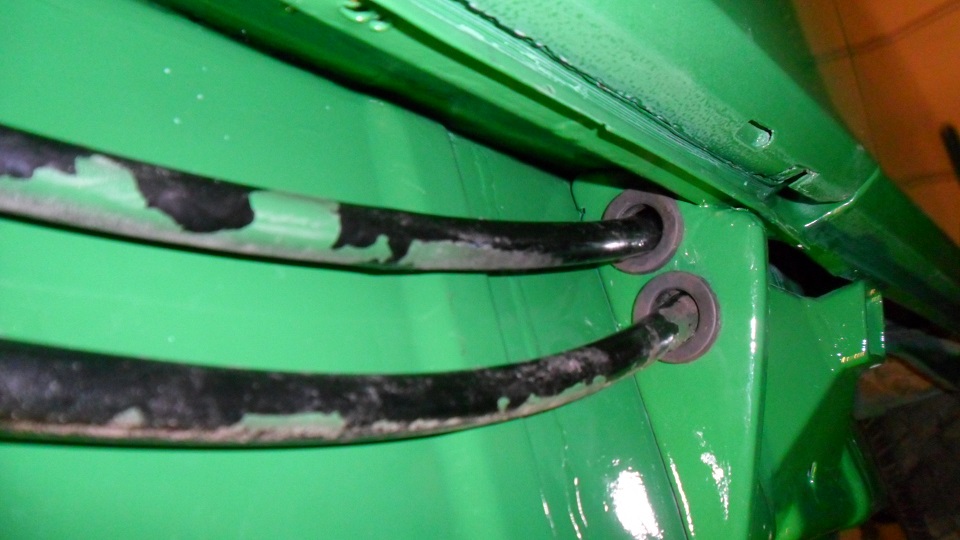 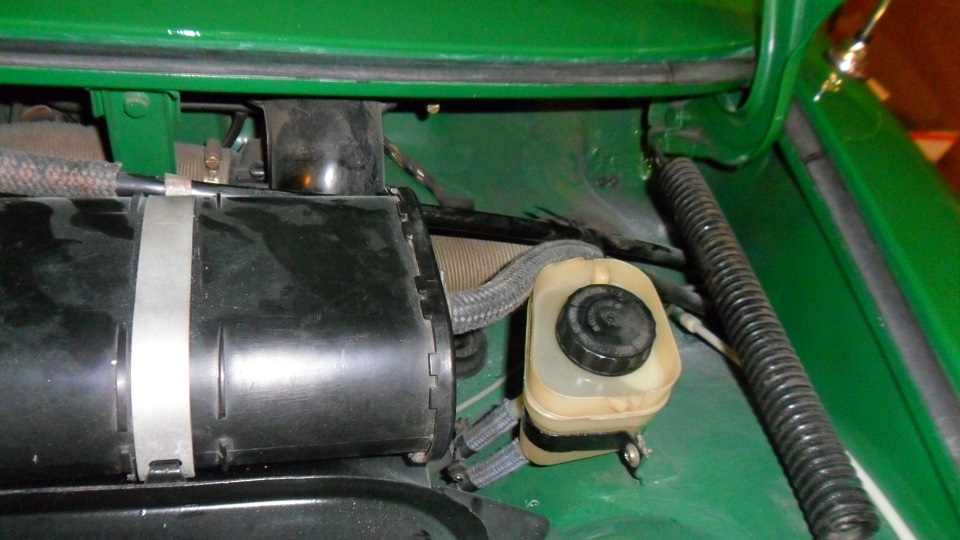 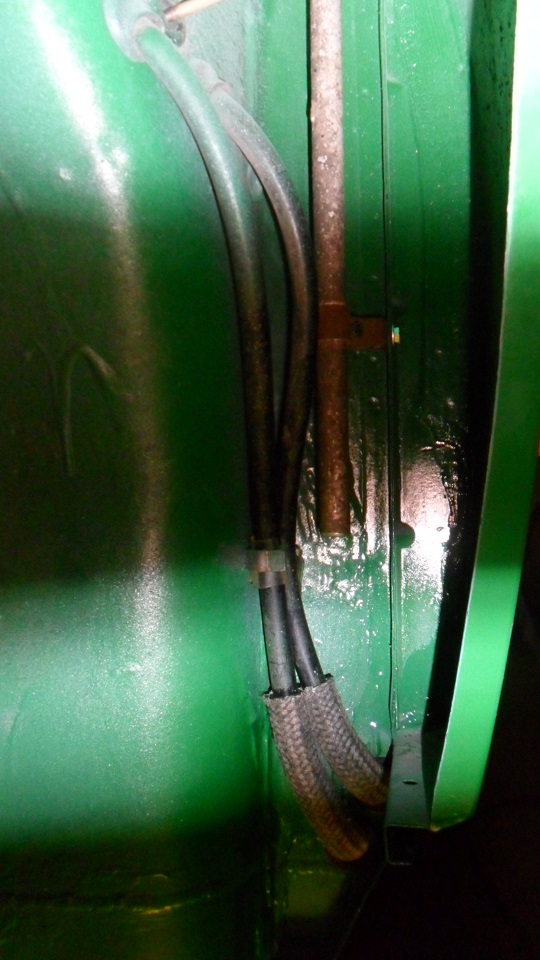 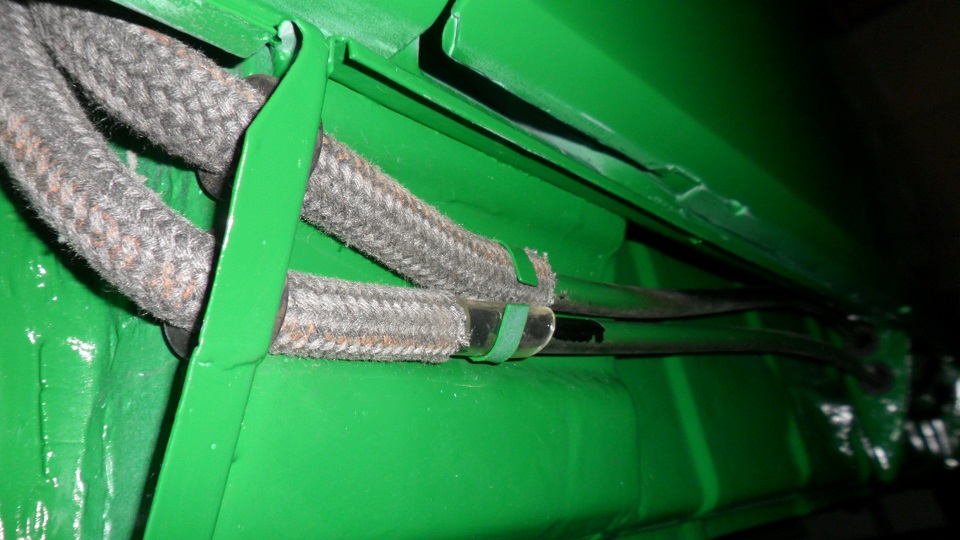 |
|
|
|
| saigon71 |
Aug 25 2013, 02:18 PM
Post
#424
|
|
Advanced Member Group: Members Posts: 2,026 Joined: 1-June 09 From: Dillsburg, PA Member No.: 10,428 Region Association: MidAtlantic Region |
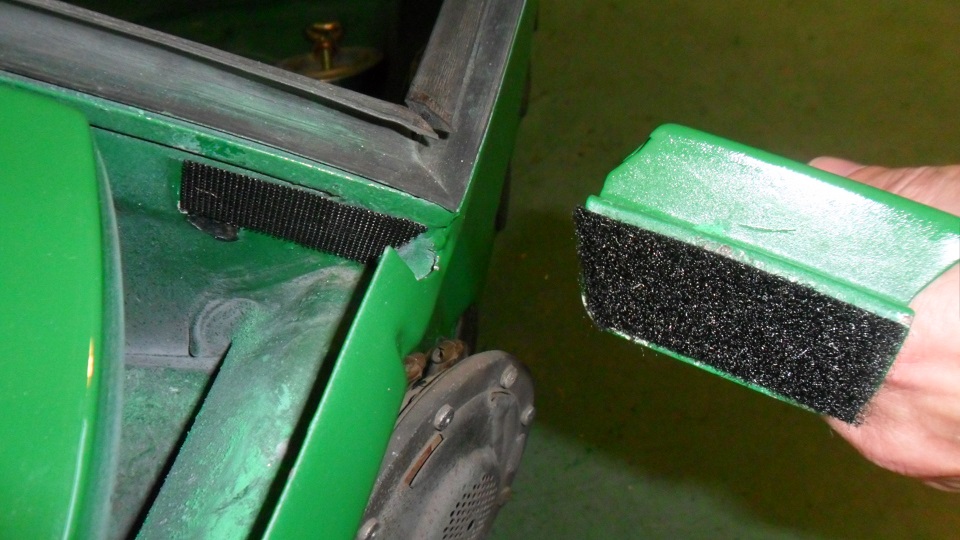
I discovered during restoration that the front passenger bumper had been replaced at some point. They did a decent job braising it on...but the headlight always rubbed the eyebrow going up & down. I could not get the eyebrow far enough forward to prevent this with the factory eyebrow grommets, so I went with industrial strength Velcro. Certainly not concourse, but an effective solution:
 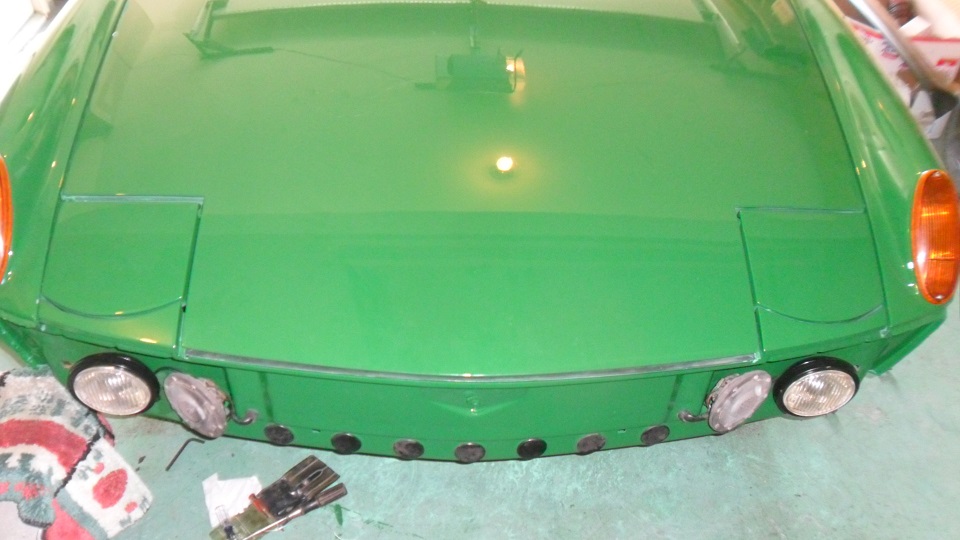  Installed the front bumper with my old factory top that was still in decent shape: 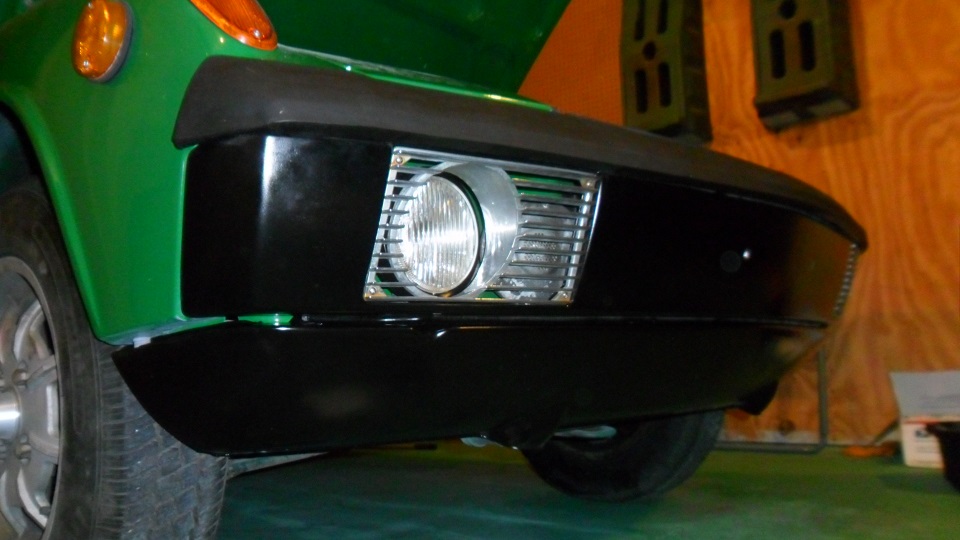 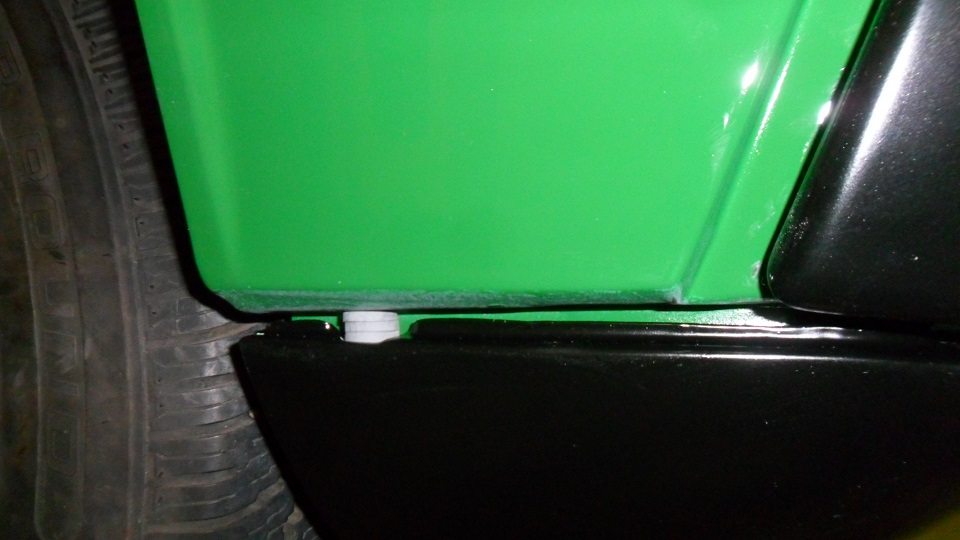 |
|
|
|
| saigon71 |
Aug 25 2013, 02:29 PM
Post
#425
|
|
Advanced Member Group: Members Posts: 2,026 Joined: 1-June 09 From: Dillsburg, PA Member No.: 10,428 Region Association: MidAtlantic Region |
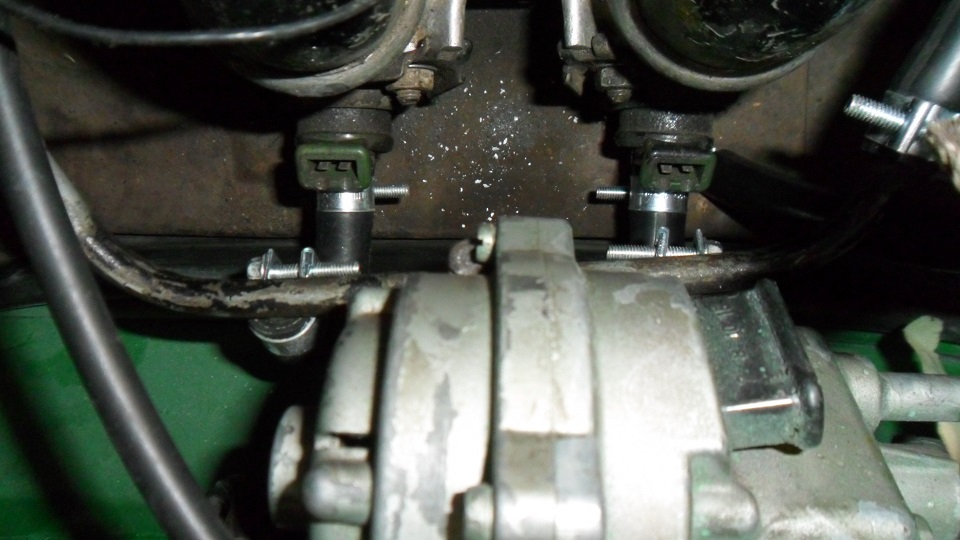
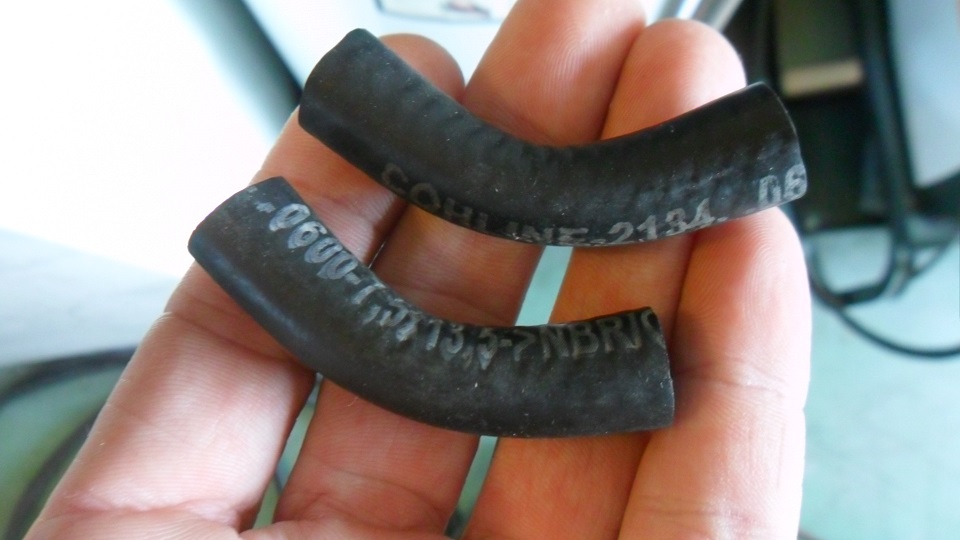
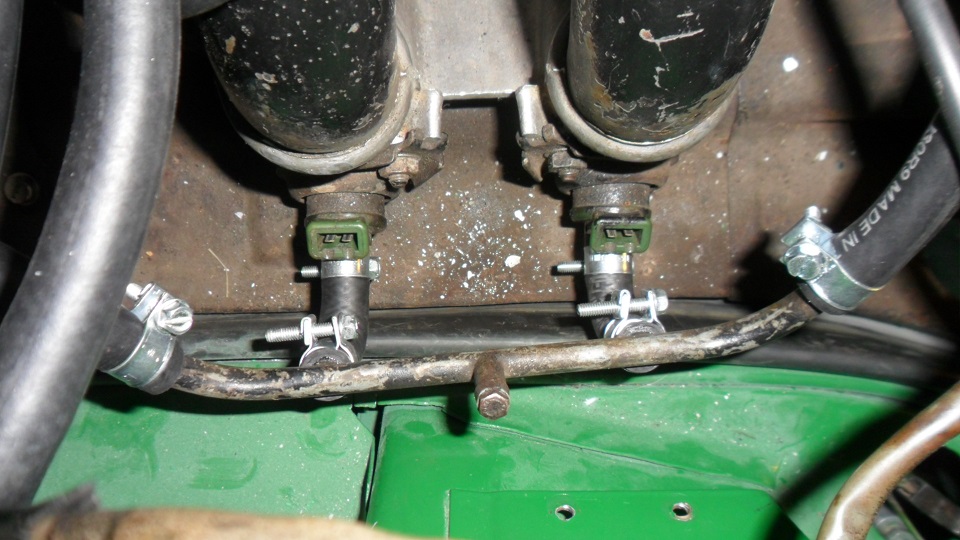
Started connecting everything in the engine bay. Like many, I used regular fuel injection hose for the connection from the fuel rail to the injectors. I ran into problems with the MPS mounted in the factory location, as the MPS put pressure on the elbows, causing them to kink. I will order the formed lines for this side. Didn't want this to prevent me from starting the engine, so I temporarily installed the MPS with velcro on the long:
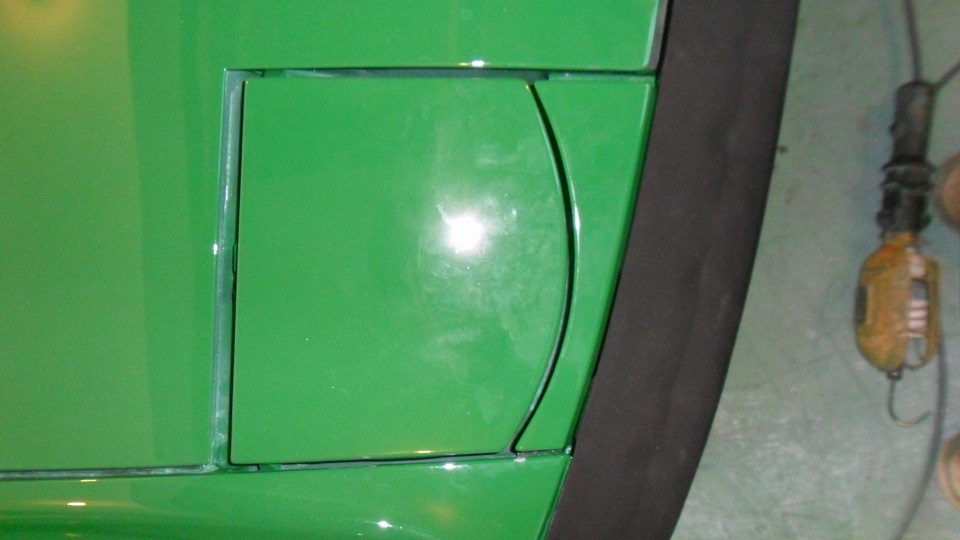
     Installed the rear bumper with a fiberglass top from 914rubber. Some light trimming where it is meets the side recesses of the car body and on the top was all it took. Nice fit and looks great: 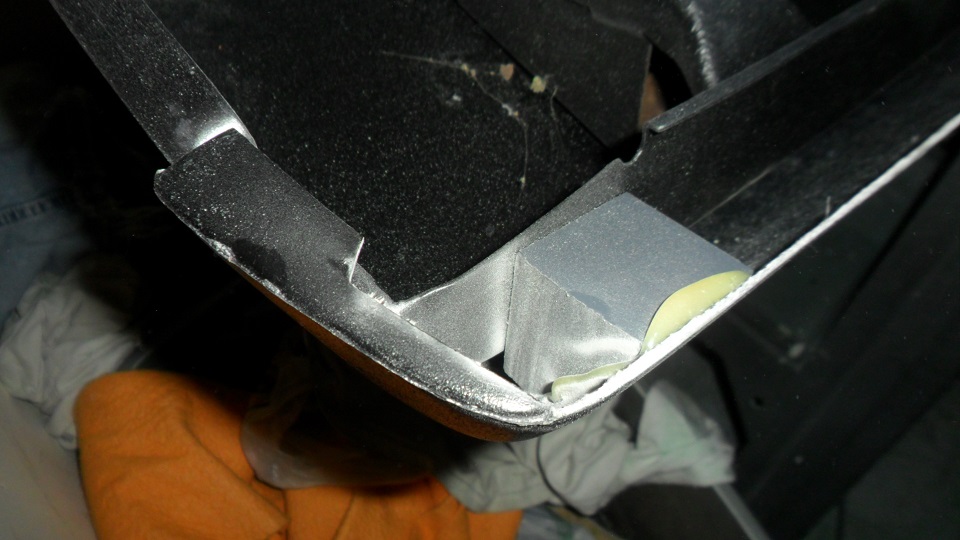 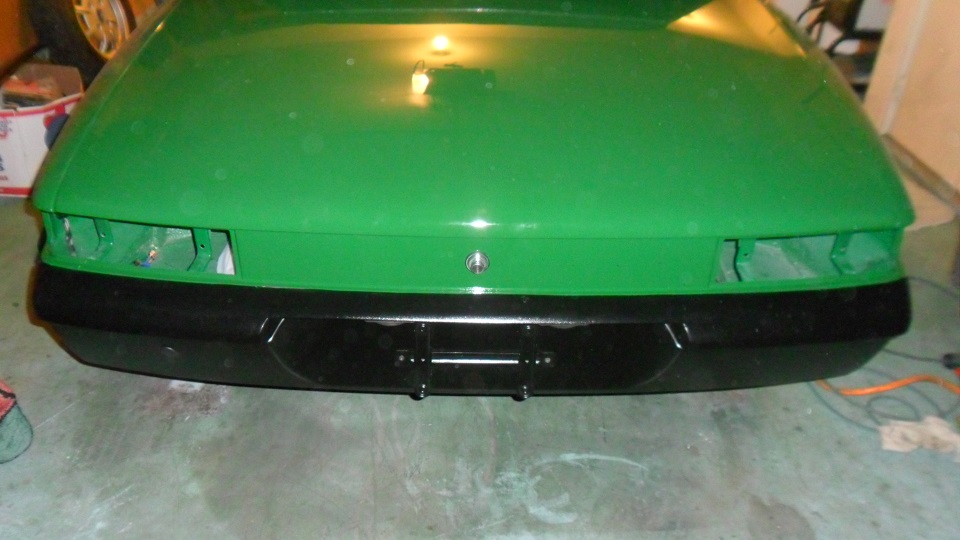 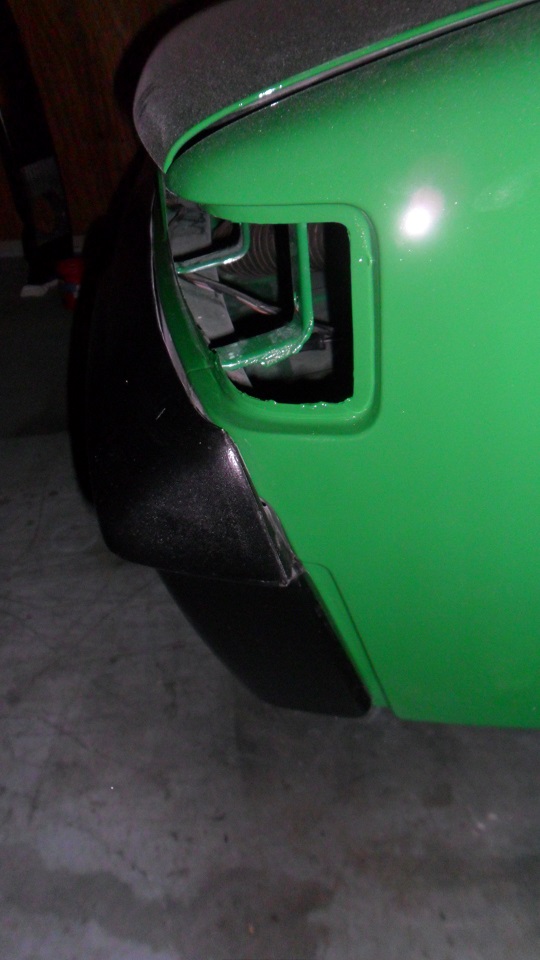 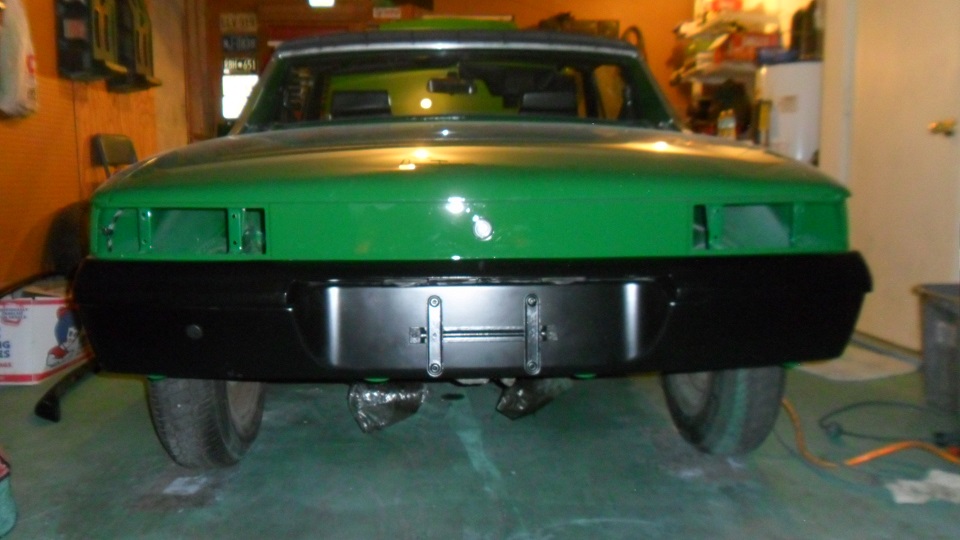 Installed the tail lights with new seals from 914rubber: 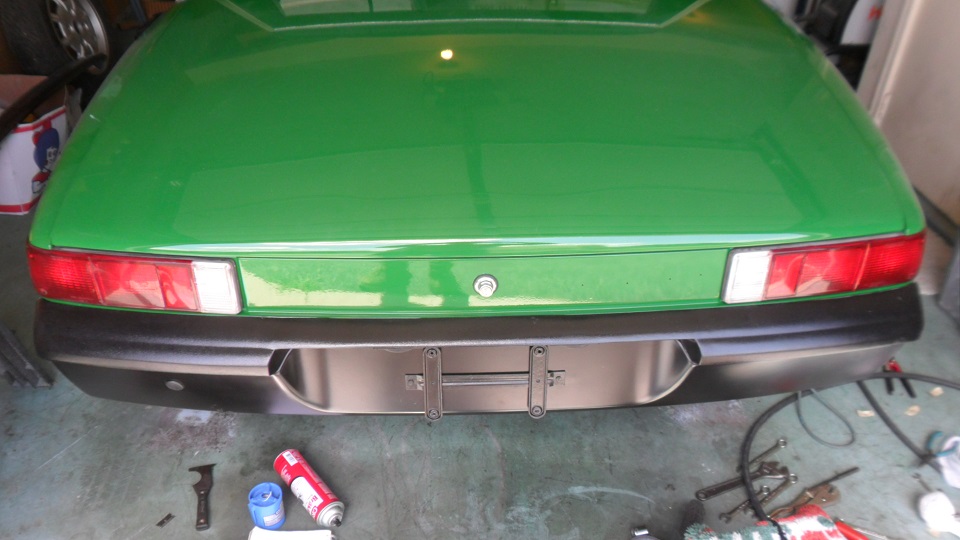 |
|
|
|
| saigon71 |
Aug 25 2013, 02:34 PM
Post
#426
|
|
Advanced Member Group: Members Posts: 2,026 Joined: 1-June 09 From: Dillsburg, PA Member No.: 10,428 Region Association: MidAtlantic Region |
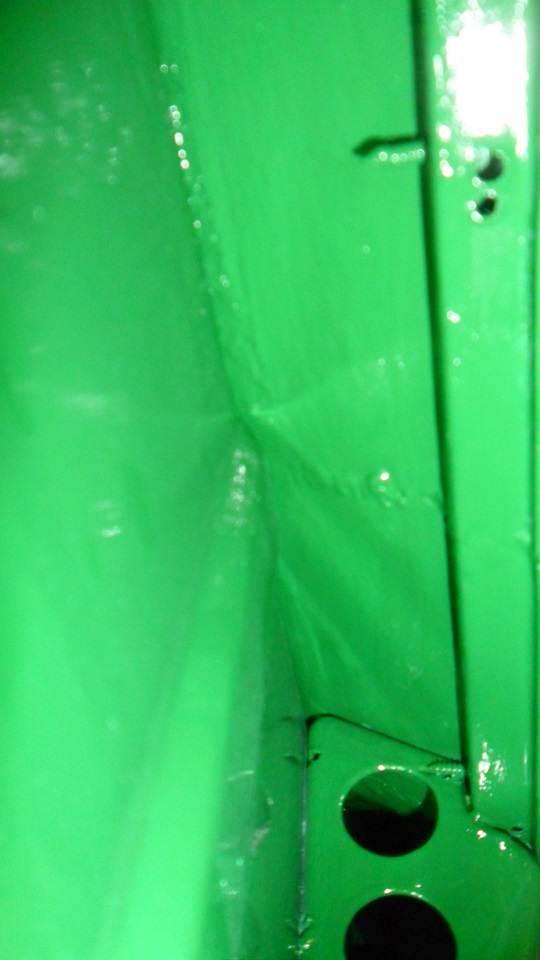
Took the time to brush a coat of paint on the rocker panels where the paint gun didn't reach. I realized if I didn't do it now, it would never happen:
 Wired the starter: 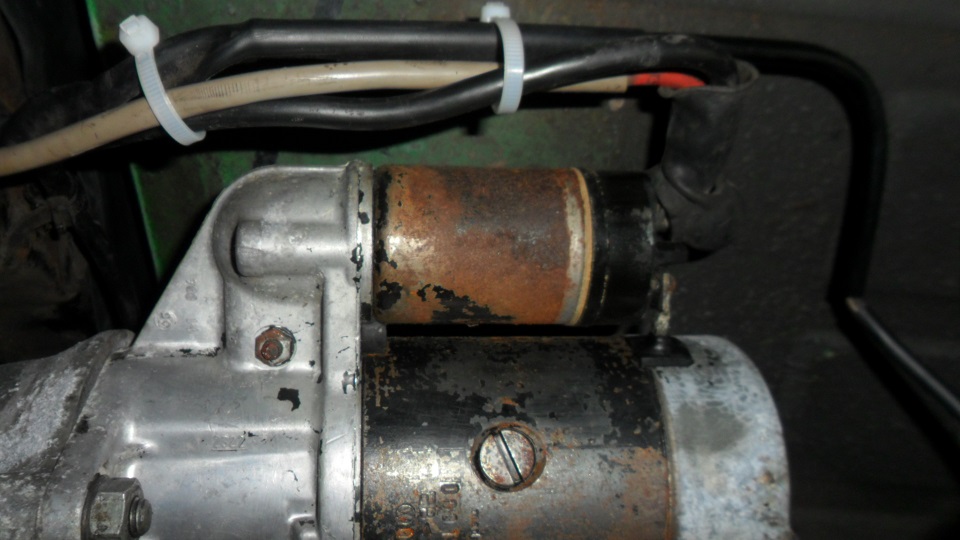 Connected the speedometer drive at the transmission. My protective boot was a disaster, so I used mastic, water sealing electrical tape to seal it up: 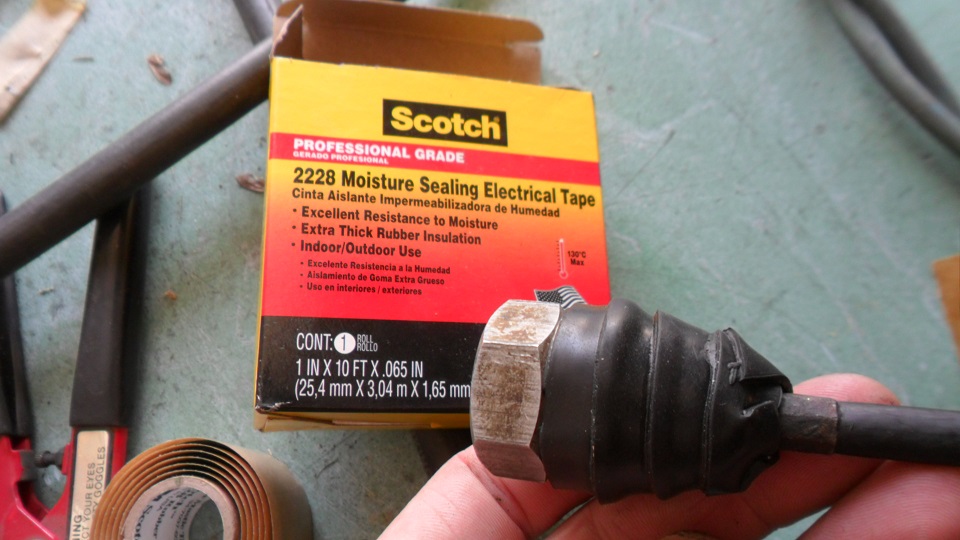 |
|
|
|
| saigon71 |
Aug 25 2013, 02:45 PM
Post
#427
|
|
Advanced Member Group: Members Posts: 2,026 Joined: 1-June 09 From: Dillsburg, PA Member No.: 10,428 Region Association: MidAtlantic Region |
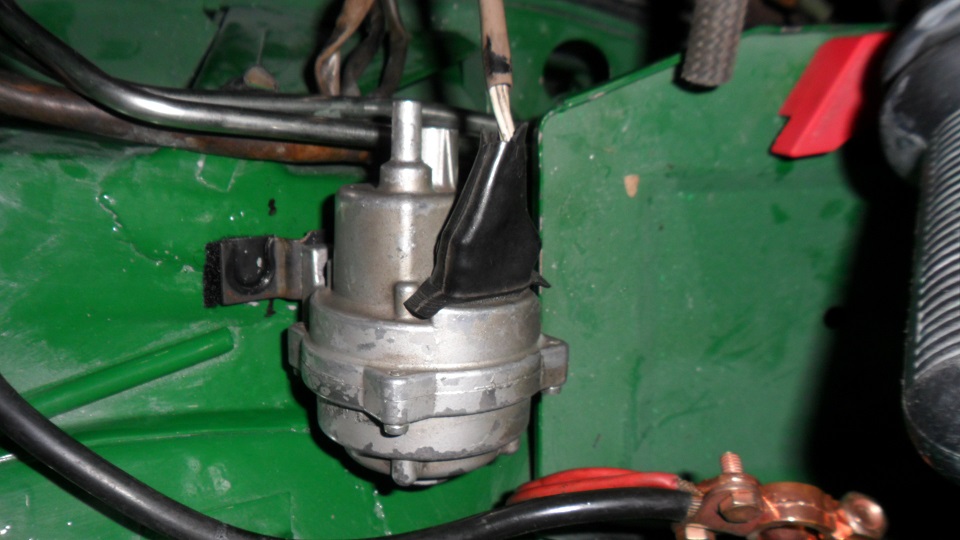
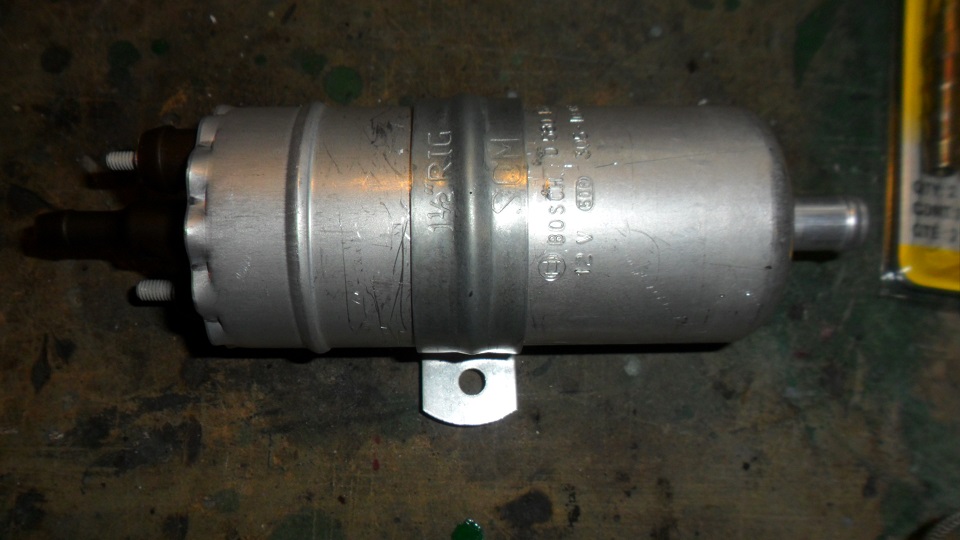
I was hoping to get the car started today. Everything was going well. Poured three gallons of gas into the tank...no leaks. Checked oil. Pulled coil wire to build oil pressure before starting. Installed battery and saw no smoke. (IMG:style_emoticons/default/beerchug.gif) Hit the ignition and the engine turned over. Immediately smelled gas. Fuel pump was leaking like a sieve at the seam and running out over the electrical plug. I think I learned why the pump was covered in some type of sealant. I am in the market for a new fuel pump.
Today ended badly. Fuel continued to drip from the pump. Jacked up the car and crawled under with a gas can. I had to use some force to yank the supply line from the filter to drain the tank. When it popped off, fuel sprayed everywhere, including my mouth and eyes. Managed to get the line into the gas can with my eyes closed as tightly as I could make them, then felt my way outside and flushed my eyes with the garden hose. Decided to call it a day after that adventure. (IMG:style_emoticons/default/dry.gif) On the bright side, I know my fuel lines aren't kinked under the tank! 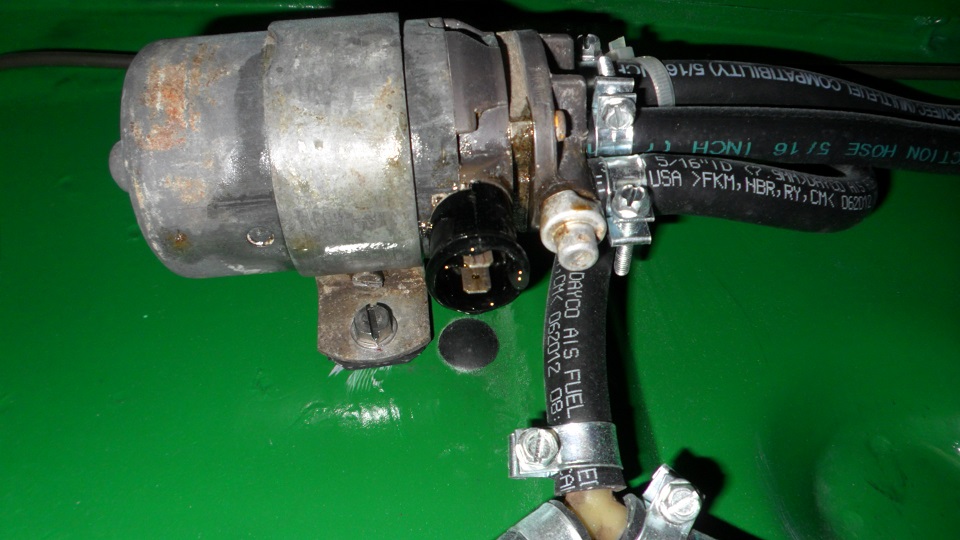 |
|
|
|
| saigon71 |
Aug 25 2013, 02:54 PM
Post
#428
|
|
Advanced Member Group: Members Posts: 2,026 Joined: 1-June 09 From: Dillsburg, PA Member No.: 10,428 Region Association: MidAtlantic Region |
Damnit!
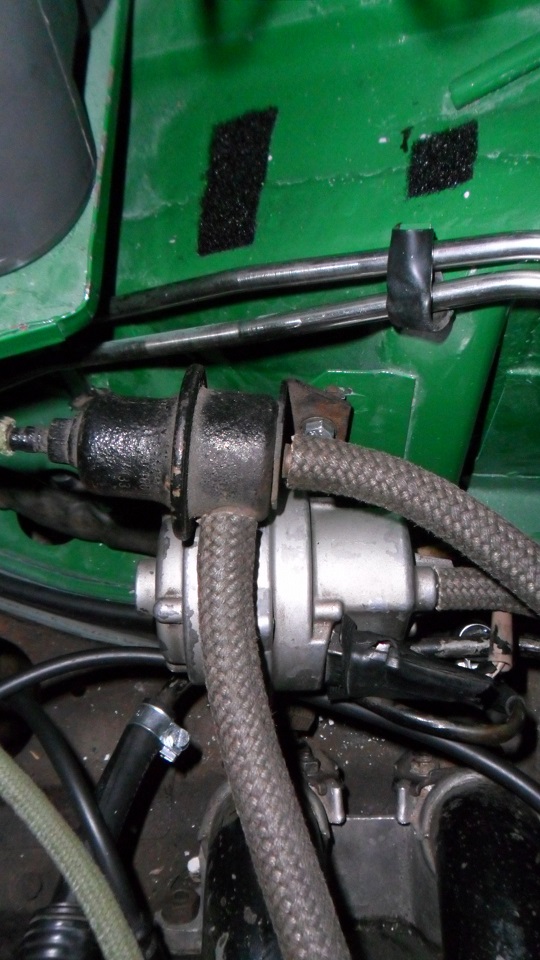
I had this engine leak free before pulling it a few years back. After installing the engine, I noticed an oil spot on the garage floor. It is coming from a "bracket" at the front of the engine very near the oil screen plate. The area above it is dry. What is this thing and is there a gasket that can be replaced at my next oil change? 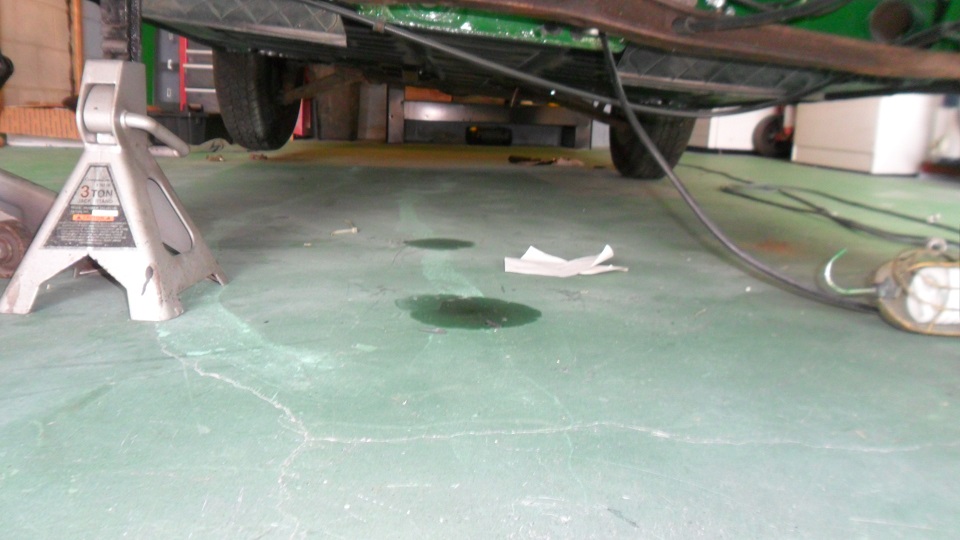 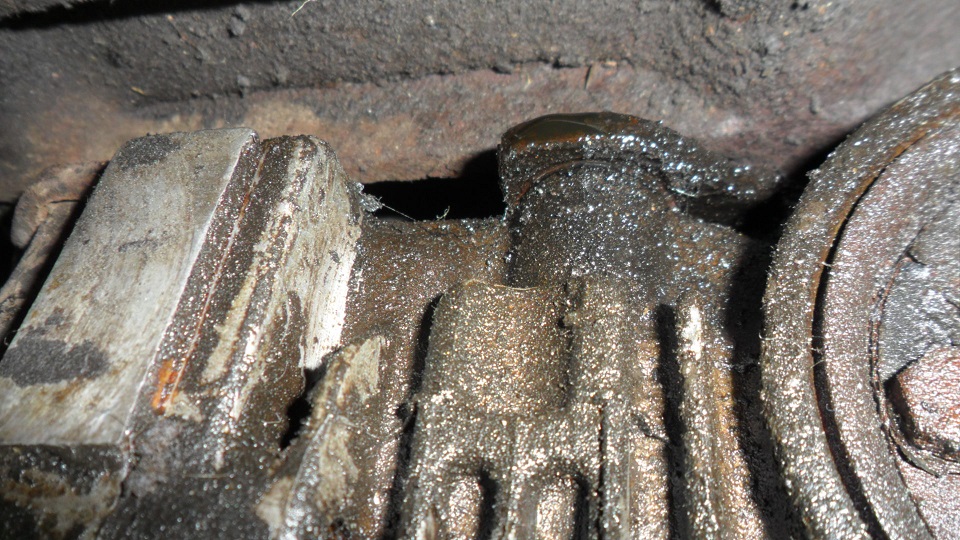 |
|
|
|
| cary |
Aug 25 2013, 03:52 PM
Post
#429
|
|
Advanced Member Group: Members Posts: 3,900 Joined: 26-January 04 From: Sherwood Oregon Member No.: 1,608 Region Association: Pacific Northwest |
Bob, that's the taco plate for the oil temp gauge.
Seems to be a bit wet around the front edge of the plate. |
|
|
|
| cary |
Aug 25 2013, 03:55 PM
Post
#430
|
|
Advanced Member Group: Members Posts: 3,900 Joined: 26-January 04 From: Sherwood Oregon Member No.: 1,608 Region Association: Pacific Northwest |
New pump is big bucks.
I think when mine gives up the ghost on my white car I'll convert to a 2 holer newer pump. The orange car will get a 2 holer from the get go. |
|
|
|
| jsayre914 |
Aug 25 2013, 04:07 PM
Post
#431
|
|
Speed Up !!! Group: Members Posts: 3,210 Joined: 10-February 08 From: Timonium MD 21093 Member No.: 8,696 Region Association: MidAtlantic Region |
|
|
|
|
| OllieG |
Aug 26 2013, 02:14 AM
Post
#432
|
|
OllieG Group: Members Posts: 212 Joined: 6-July 11 From: UK Member No.: 13,282 Region Association: England |
Hang in there Bob..you're almost there! (IMG:style_emoticons/default/biggrin.gif) I'm envious you're getting so much time to work on it...
|
|
|
|
| ChrisFoley |
Aug 26 2013, 11:03 AM
Post
#433
|
|
I am Tangerine Racing Group: Members Posts: 8,030 Joined: 29-January 03 From: Bolton, CT Member No.: 209 Region Association: None |
That bracket on the front of the engine is one of the motor mounts. I doubt thats the source of the oil leak.
I have a 2 port fuel pump in stock. Its easy to replumb in the same location as your original pump. Northeast 914 Rally & Barbeque thread Posts #31 & 32 |
|
|
|
| turk22 |
Aug 26 2013, 01:23 PM
Post
#434
|
|
Treetop Flyer Group: Members Posts: 735 Joined: 27-July 12 From: Cincinnati OH Member No.: 14,725 Region Association: Upper MidWest |
QUOTE(saigon71 @ Aug 25 2013, 04:08 PM)  I figured I would be driving the car by now, but re-assembly is taking much longer than expected, of course. (IMG:style_emoticons/default/dry.gif) Attached & adjusted the clutch cable. Took me much longer than it should have to figure out how the banjo clip worked: My clutch cable broke the other day, I have a new one on order, what did you learn about the banjo clip? Is the rubber boot on in the correct place? Hoping you can save me some time/effort. thx, Turk |
|
|
|
| saigon71 |
Aug 29 2013, 05:40 AM
Post
#435
|
|
Advanced Member Group: Members Posts: 2,026 Joined: 1-June 09 From: Dillsburg, PA Member No.: 10,428 Region Association: MidAtlantic Region |
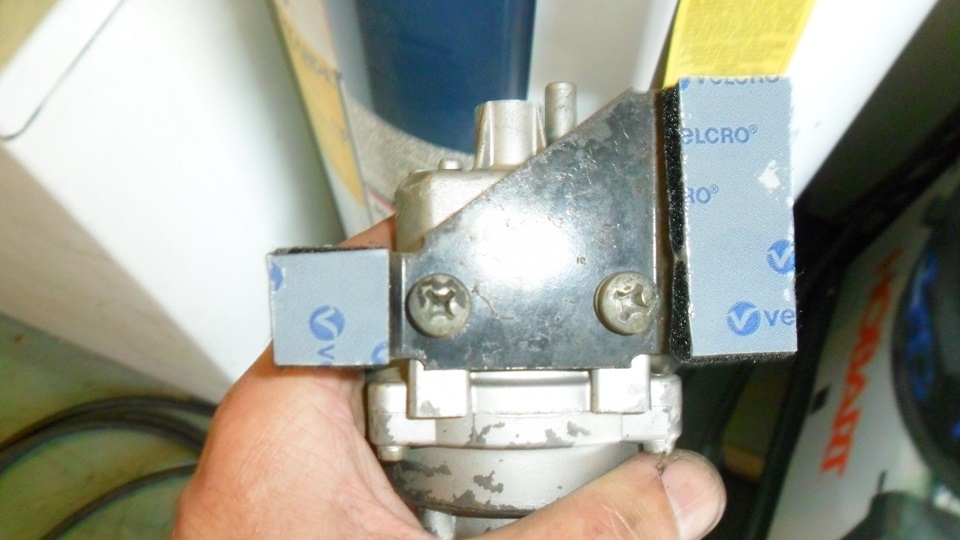
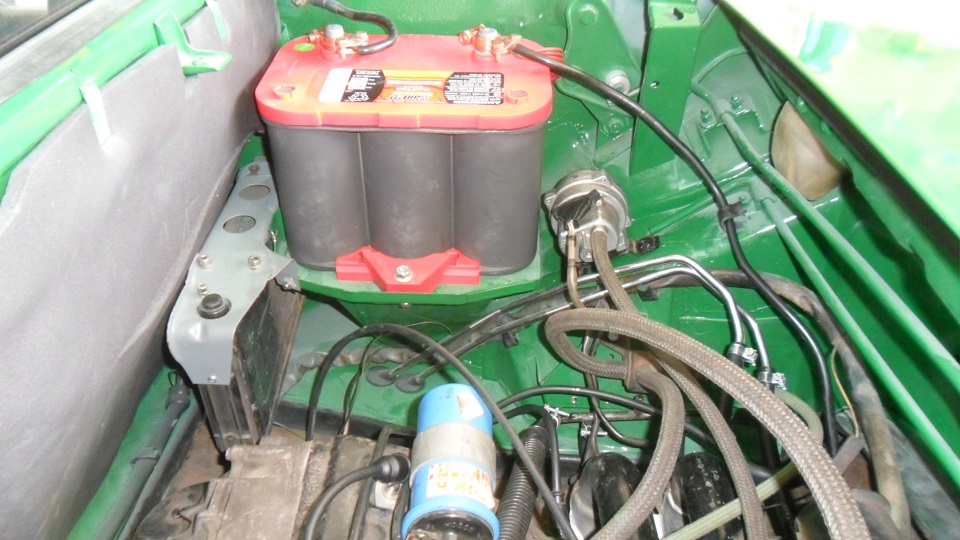
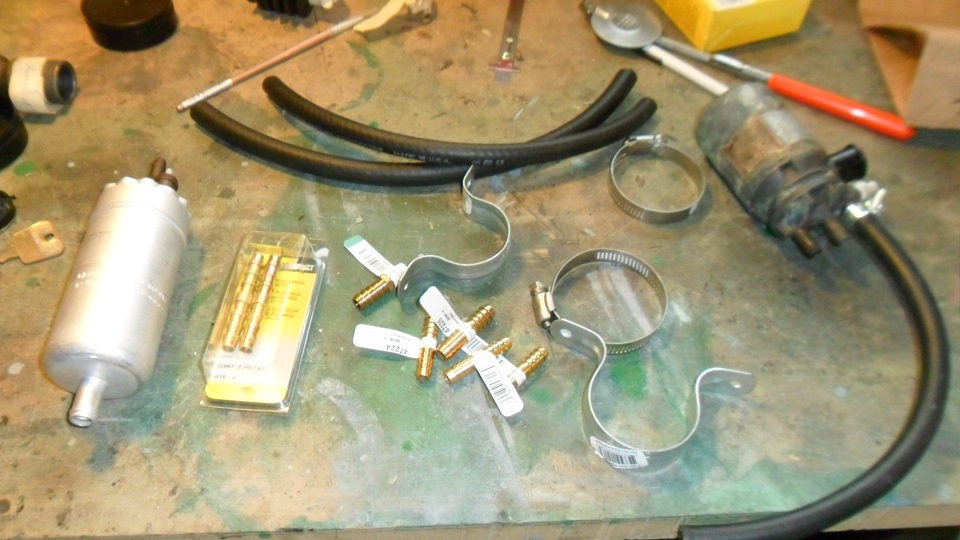
Installed the new Bosch two port fuel pump from GPR yesterday. Made a trip to the local ACE for the hardware I needed. I ended up going with a 59 cent pipe mount to secure the pump to the firewall. I didn't want to drill new holes, so I modified it slightly to line up with the mounting holes of the original 3 port clamp. Cut pieces of rubber hose as vibration dampeners where the mount meets the firewall. The pump itself pulled up tight against the firewall as well, so I ran a piece of thick mastic electrical tape along the back of the pump. A couple lengths of hose on the supply side, some brass hose menders and it was done:
    Pushed the car out of the garage to snap some pics for the insurance company: 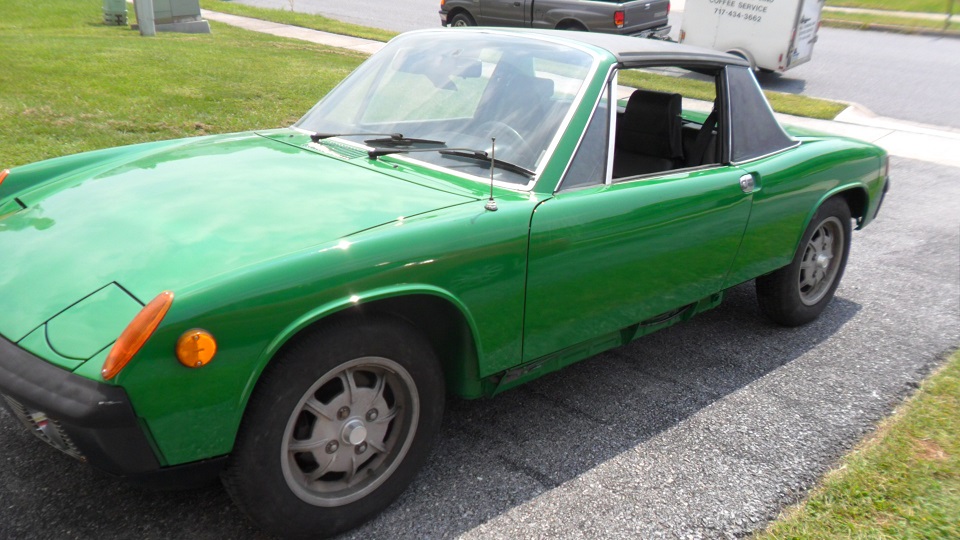 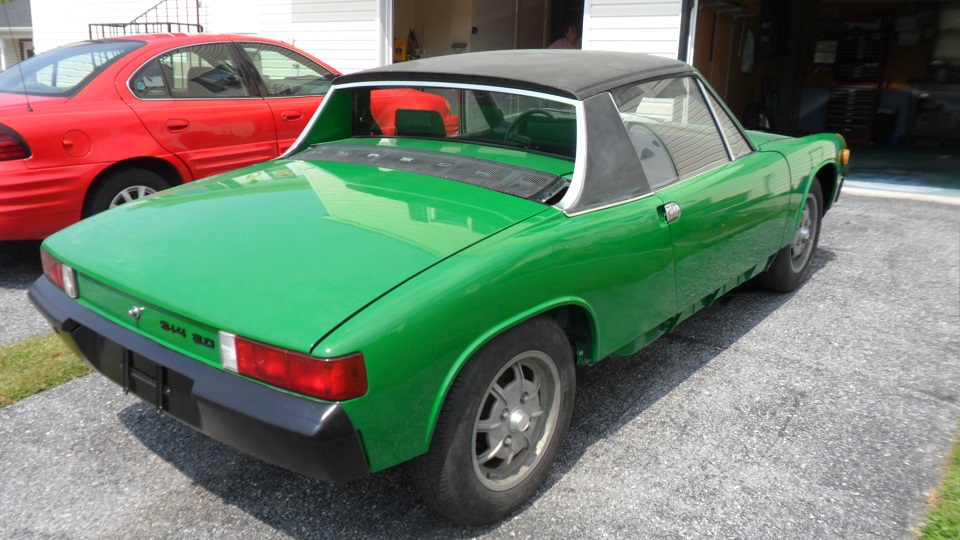 |
|
|
|
| saigon71 |
Aug 29 2013, 05:55 AM
Post
#436
|
|
Advanced Member Group: Members Posts: 2,026 Joined: 1-June 09 From: Dillsburg, PA Member No.: 10,428 Region Association: MidAtlantic Region |
QUOTE(jsayre914 @ Aug 25 2013, 06:07 PM) Met with my insurance agent and picked up my tags on Tuesday from the DMV. (IMG:style_emoticons/default/biggrin.gif) I decided to go with a regular registration. I don't want any restrictions on when, where and how much I can drive it. For insurance, I added it to my existing policy with ERIE as an "Antique Unrestricted" vehicle with full coverage. It's about the same price as insurance through Haggerty's and it lowered the insurance on my truck by $75 a year due to a multi vehicle discount. (IMG:style_emoticons/default/beerchug.gif) I fully intended to go the antique route when I left the house. Asked my insurance agent a lot of questions. My biggest concern was getting a check for $1500 if I totaled the car. That's not the way it will work. Erie is sending out an underwriter/appraiser to look at the car, document it with pics and determine value. At any rate, I expect to recoup what I have invested in the car in the event of a total loss. I can always switch to the antique option down the road... Can't wait for that first legal drive! (IMG:style_emoticons/default/driving.gif) (IMG:style_emoticons/default/driving.gif) (IMG:style_emoticons/default/driving.gif) (IMG:style_emoticons/default/driving.gif) (IMG:style_emoticons/default/driving.gif) (IMG:style_emoticons/default/driving.gif) |
|
|
|
| Porschef |
Aug 29 2013, 07:33 AM
Post
#437
|
|
How you doin' Group: Members Posts: 2,180 Joined: 7-September 10 From: LawnGuyland Member No.: 12,152 Region Association: North East States |
From here it looks like all you gotta do is slap some rocker covers on her and go
(IMG:style_emoticons/default/beerchug.gif) (IMG:style_emoticons/default/piratenanner.gif) (IMG:style_emoticons/default/beerchug.gif) |
|
|
|
| Cairo94507 |
Aug 29 2013, 07:42 AM
Post
#438
|
|
Michael Group: Members Posts: 10,666 Joined: 1-November 08 From: Auburn, CA Member No.: 9,712 Region Association: Northern California |
Your car looks beautiful. Enjoy driving her for many many miles.
|
|
|
|
| saigon71 |
Aug 29 2013, 07:10 PM
Post
#439
|
|
Advanced Member Group: Members Posts: 2,026 Joined: 1-June 09 From: Dillsburg, PA Member No.: 10,428 Region Association: MidAtlantic Region |
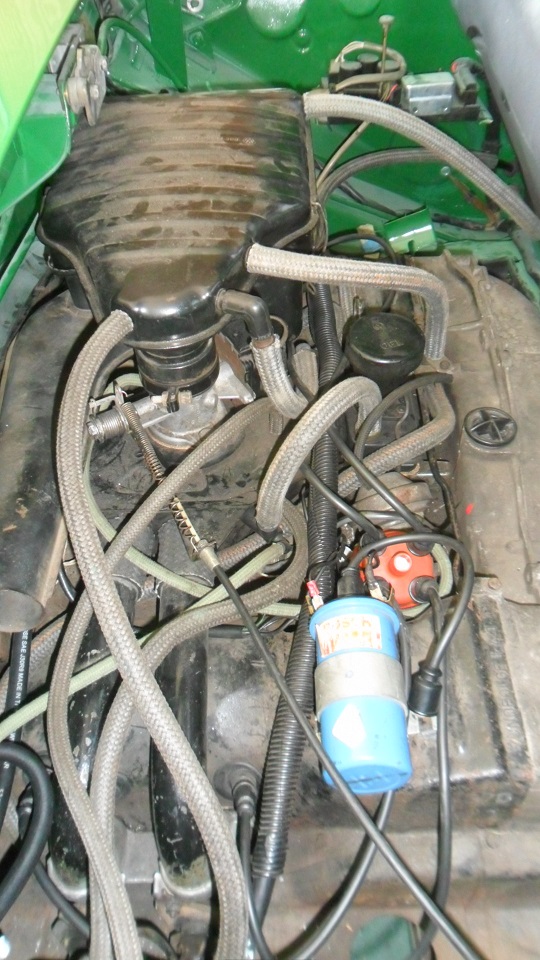
Got a package in the mail today from AA - my pre-bent fuel injector lines. Went to work hooking everything up. Then mounted the MPS and Decel valve in the stock location. I forgot how tight it is working in there with the deck lid on. Naturally, I dropped a ratchet and dinged my fresh paint job. (IMG:style_emoticons/default/mad.gif) I had to disconnect the fuel lines and re-route the wiring harness under the MPS as well:
   |
|
|
|
| saigon71 |
Aug 29 2013, 07:21 PM
Post
#440
|
|
Advanced Member Group: Members Posts: 2,026 Joined: 1-June 09 From: Dillsburg, PA Member No.: 10,428 Region Association: MidAtlantic Region |
Dumped a gallon of gas in the tank. Turned the engine over with the coil wire disconnected to build oil pressure and prime the fuel pump. At 6:57 PM on this fine day, my 2.0 D-jet came back to life after about a three year wait in my shed. (IMG:style_emoticons/default/beerchug.gif) (IMG:style_emoticons/default/beerchug.gif) (IMG:style_emoticons/default/beerchug.gif) I couldn't wait for the exhaust to go back on:
https://www.youtube.com/watch?v=1BUMculE0Fw...eature=youtu.be American woman...stay away from me!!! |
|
|
|
|
2 User(s) are reading this topic (2 Guests and 0 Anonymous Users)
0 Members:

|
Lo-Fi Version | Time is now: 11th June 2026 - 12:27 PM |
Invision Power Board
v9.1.4 © 2026 IPS, Inc.