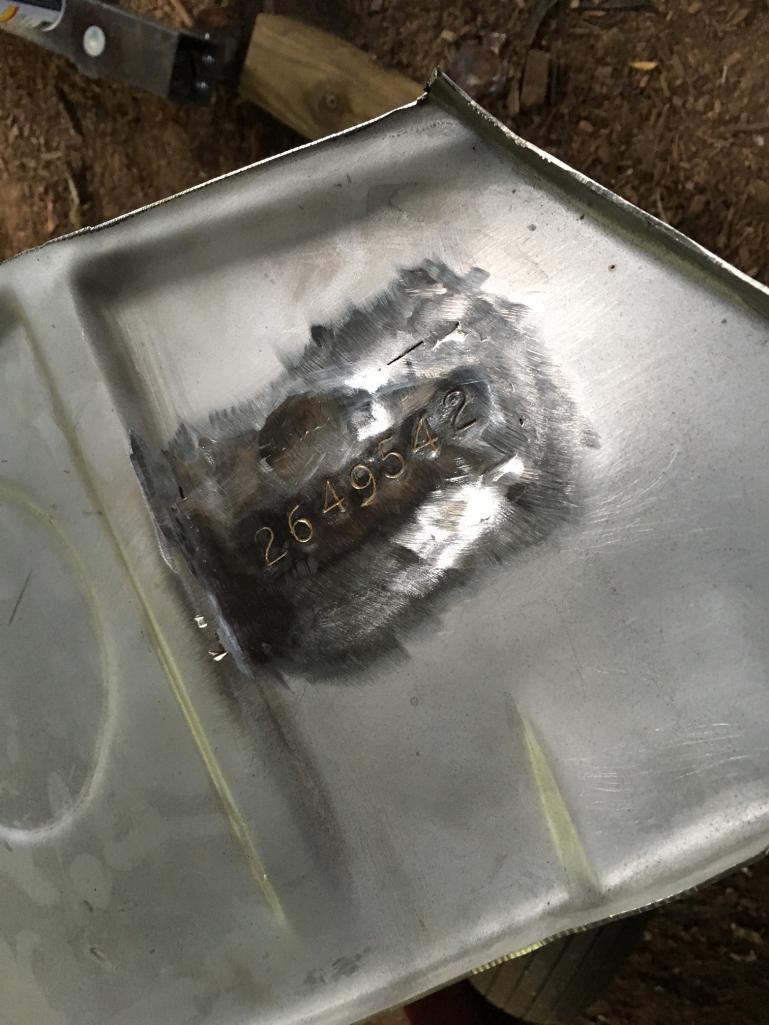
|
|

|
Porsche, and the Porsche crest are registered trademarks of Dr. Ing. h.c. F. Porsche AG.
This site is not affiliated with Porsche in any way. Its only purpose is to provide an online forum for car enthusiasts. All other trademarks are property of their respective owners. |
|
|
  |
| dlee6204 |
 May 30 2016, 02:06 PM May 30 2016, 02:06 PM
Post
#61
|
|
Howdy     Group: Members Posts: 2,162 Joined: 30-April 06 From: Burnsville, NC Member No.: 5,956 |
|
| raynekat |
 May 30 2016, 04:10 PM May 30 2016, 04:10 PM
Post
#62
|
|
Advanced Member     Group: Members Posts: 2,170 Joined: 30-December 14 From: Coeur d'Alene, Idaho Member No.: 18,263 Region Association: Pacific Northwest 
|
Looking spectacular.
Keep up the great work. |
| dlee6204 |
 Jun 1 2016, 06:43 PM Jun 1 2016, 06:43 PM
Post
#63
|
|
Howdy     Group: Members Posts: 2,162 Joined: 30-April 06 From: Burnsville, NC Member No.: 5,956 |
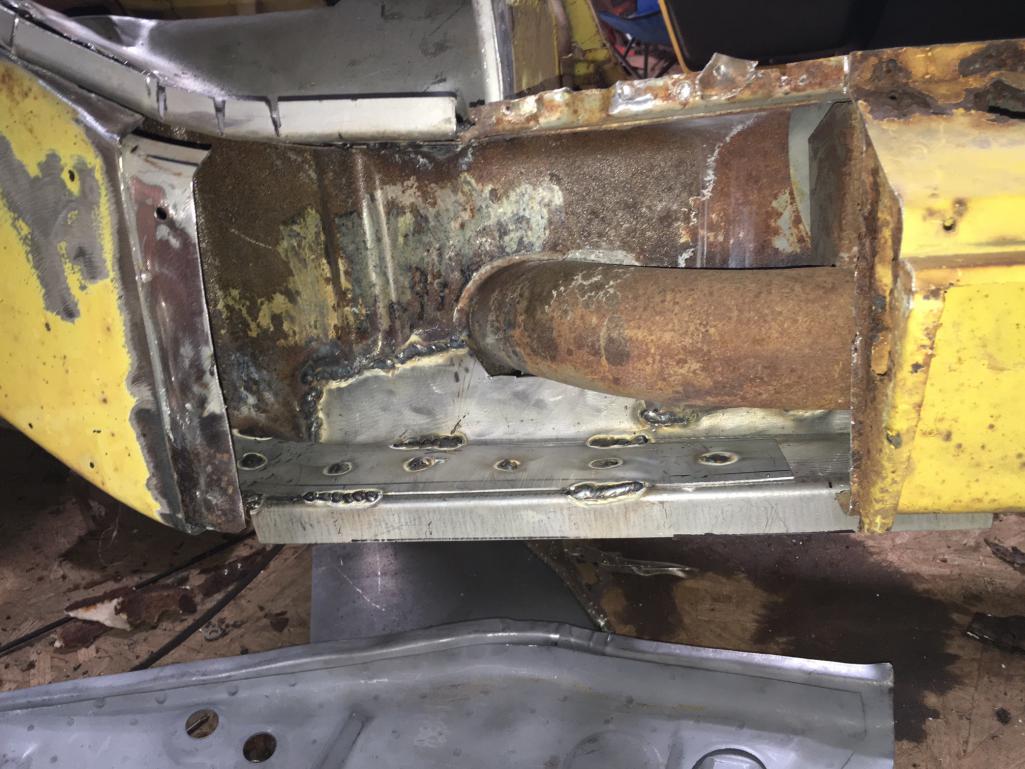
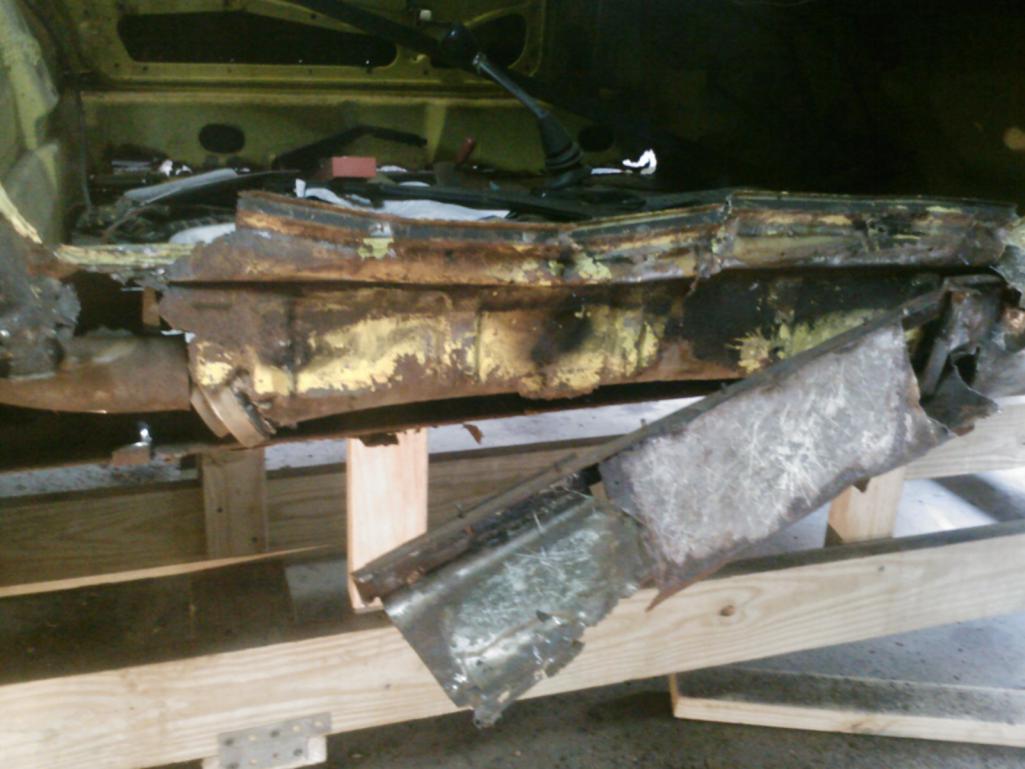
I tore into the long tonight. I first braced the door opening before making any cuts. In total I had to cut out about a 14 inch section of inner long.
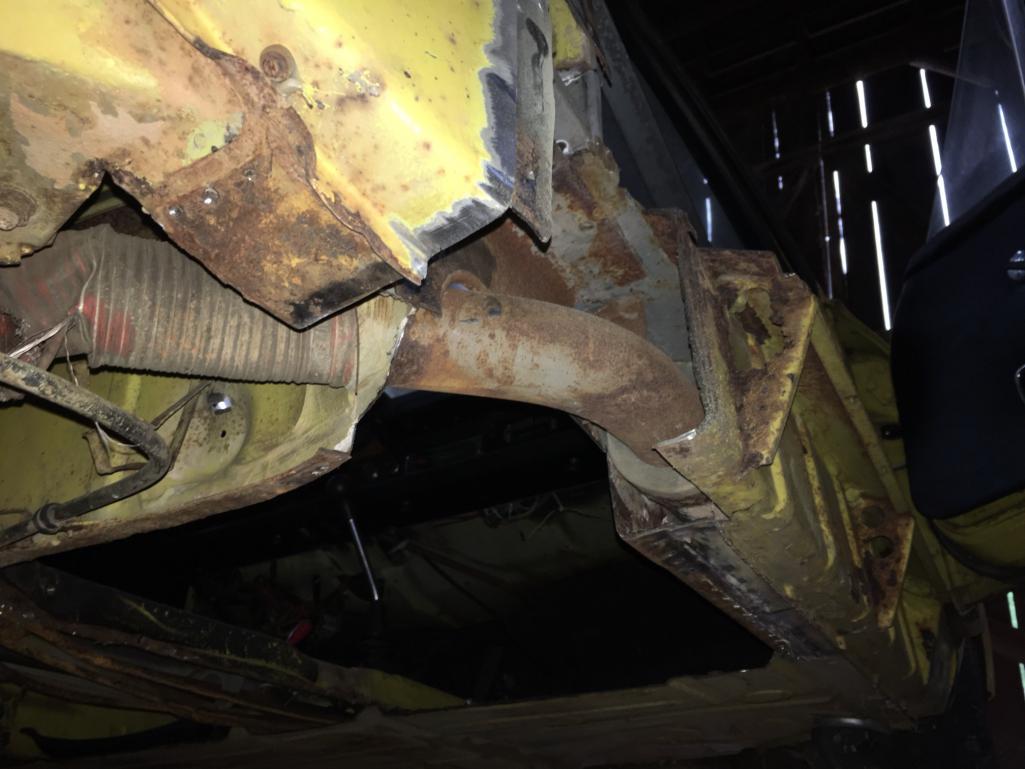 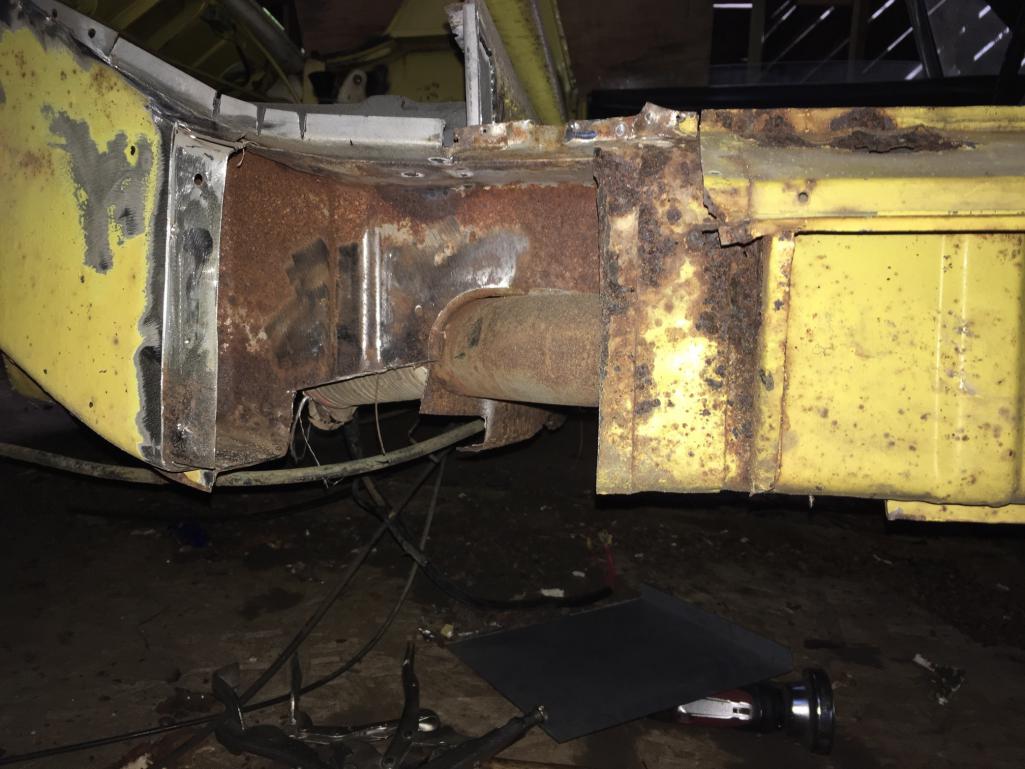 The rest of the upper long doesn't look bad from the inside. The whole long will be treated with Ospho and painted before closing it up. 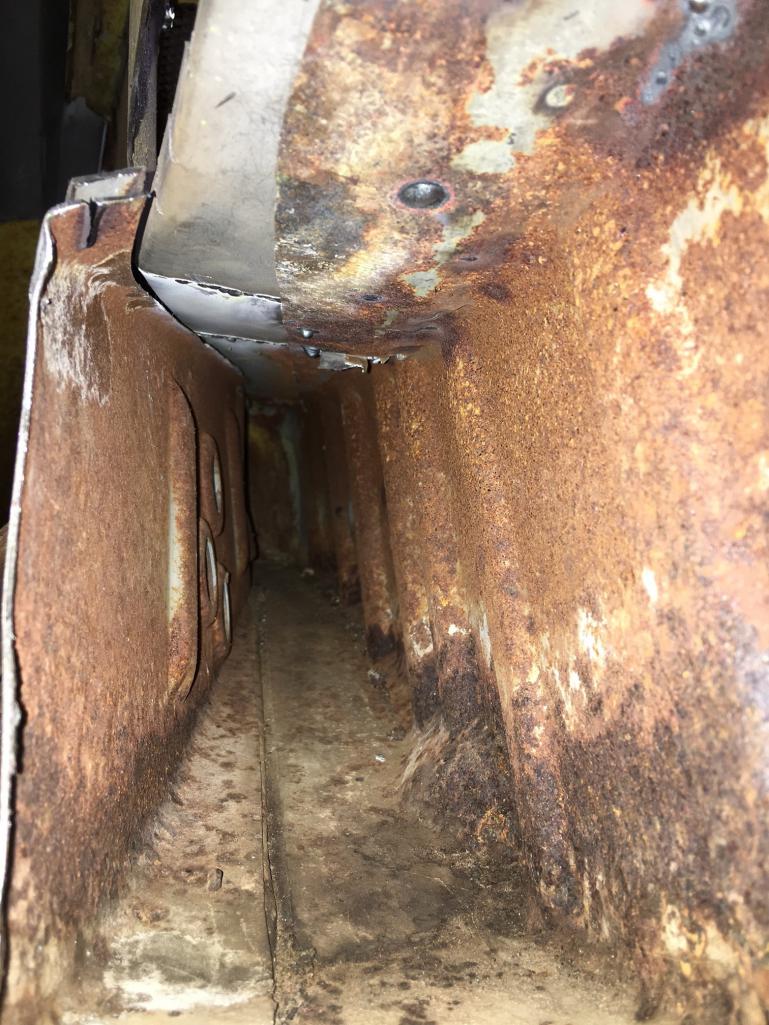 When cutting out the outer long I made sure to leave a section of "inner" material to tie into later for added strength. 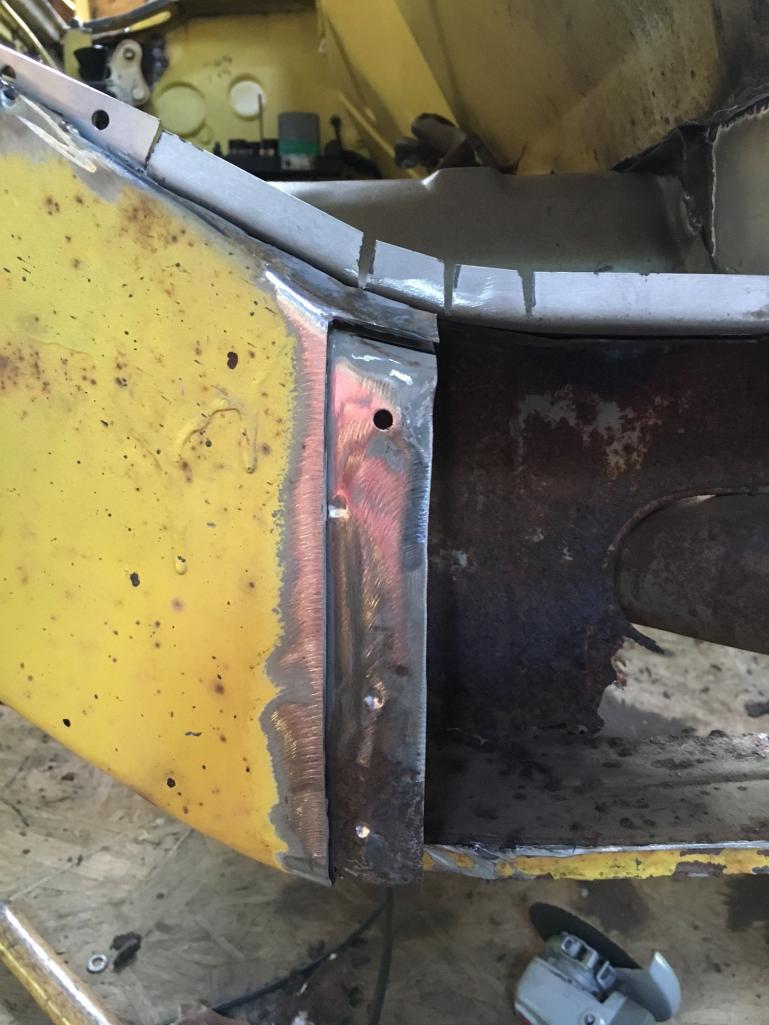 |
| dlee6204 |
 Jun 6 2016, 04:07 PM Jun 6 2016, 04:07 PM
Post
#64
|
|
Howdy     Group: Members Posts: 2,162 Joined: 30-April 06 From: Burnsville, NC Member No.: 5,956 |
|
| 76-914 |
 Jun 6 2016, 05:33 PM Jun 6 2016, 05:33 PM
Post
#65
|
|
Repeat Offender & Resident Subaru Antagonist           Group: Members Posts: 13,830 Joined: 23-January 09 From: Temecula, CA Member No.: 9,964 Region Association: Southern California 
|
Way to go, Doug. You don't let anything slow you down! Keep on keeping on! (IMG:style_emoticons/default/beerchug.gif)
|
| trojanhorsepower |
 Jun 7 2016, 06:21 PM Jun 7 2016, 06:21 PM
Post
#66
|
|
Senior Member    Group: Members Posts: 1,011 Joined: 21-September 03 From: Marion, NC Member No.: 1,179 Region Association: None |
Looks good Doug!
|
| dlee6204 |
 Jun 9 2016, 03:49 AM Jun 9 2016, 03:49 AM
Post
#67
|
|
Howdy     Group: Members Posts: 2,162 Joined: 30-April 06 From: Burnsville, NC Member No.: 5,956 |
Been working on some small stuff.
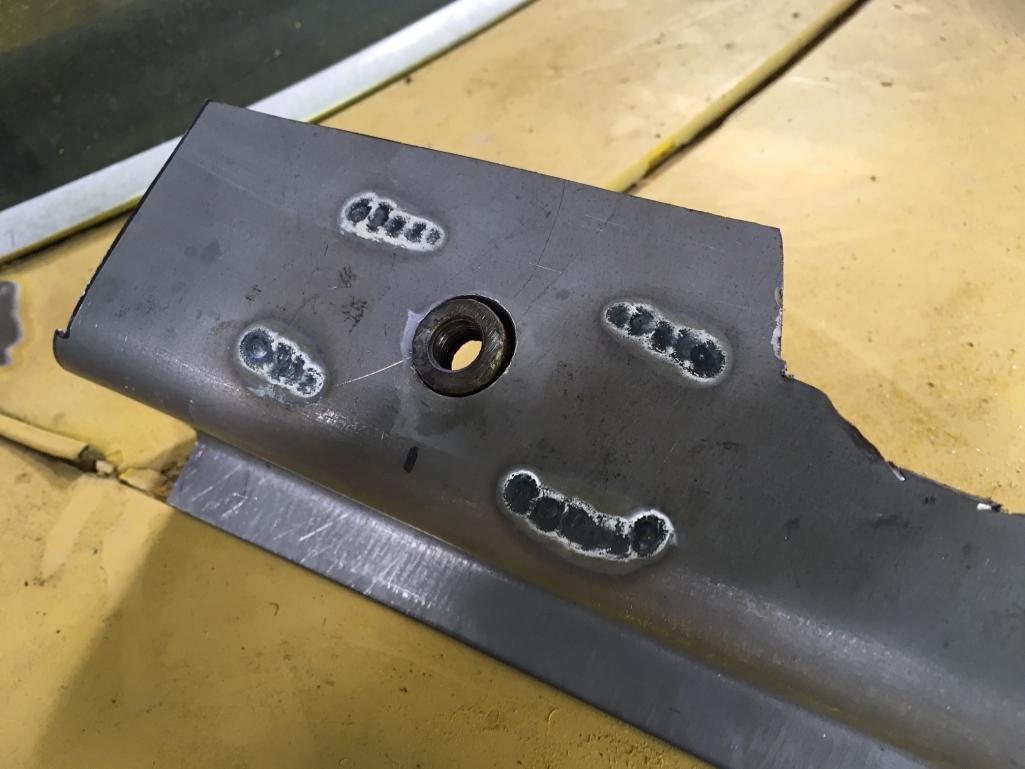
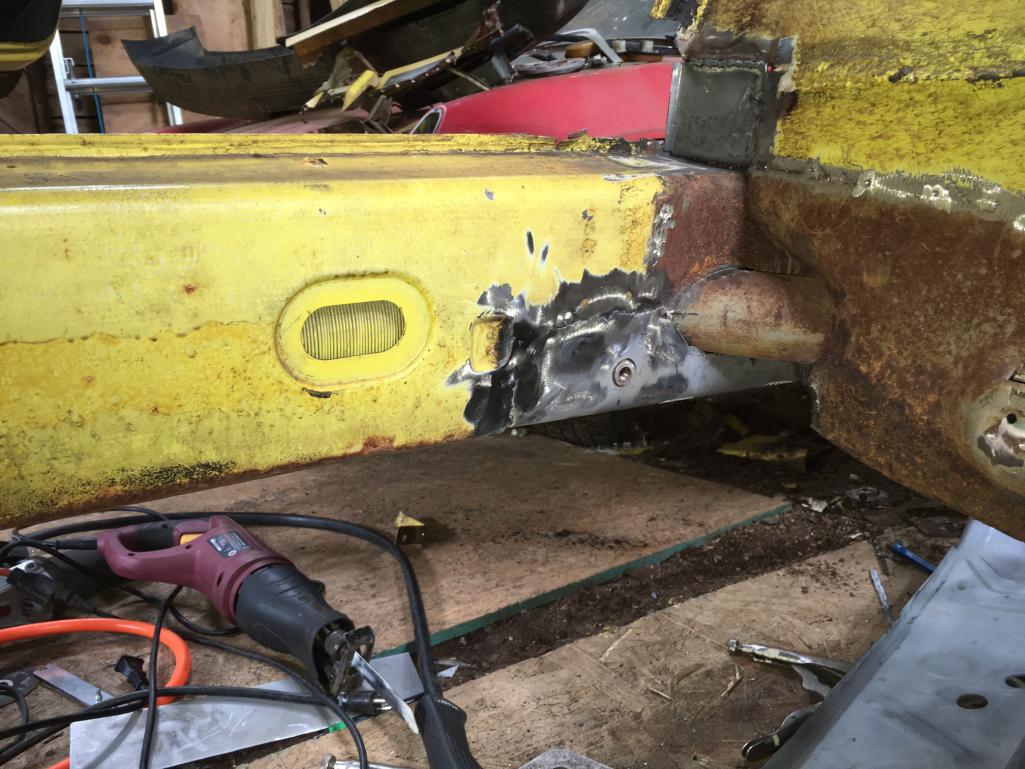
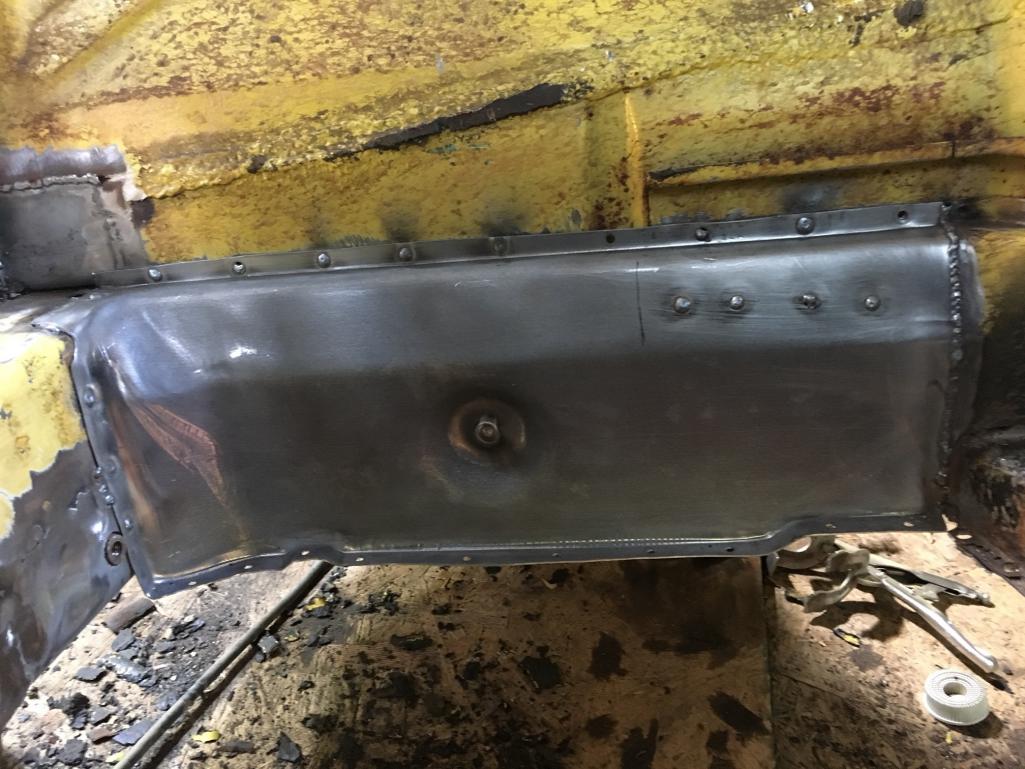
First, got one side of the engine done with P/Cs and head. 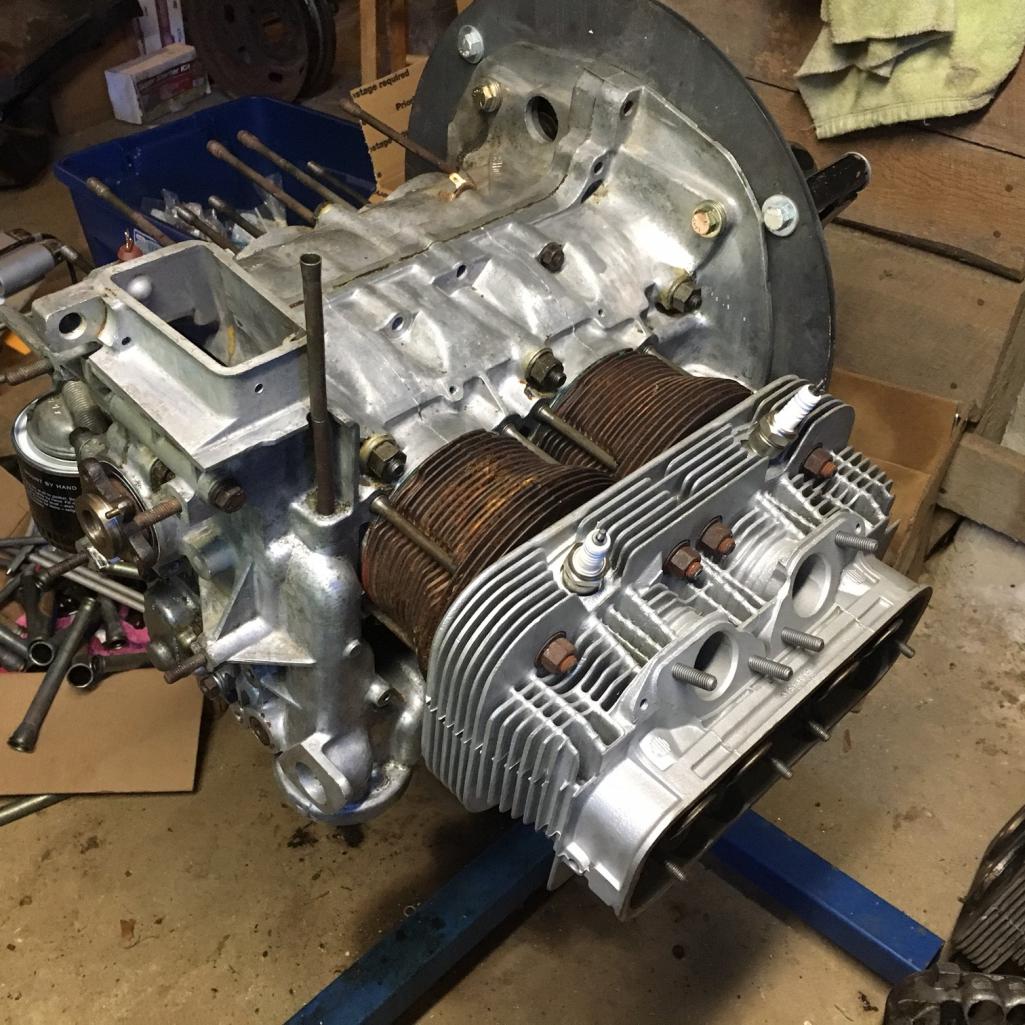 I also coated the inside of the upper long on passenger side. I first treated it with two coats of Ospho and then some internal frame coating. The outer section has already been fitted now I just need to weld it on. Pics to come. 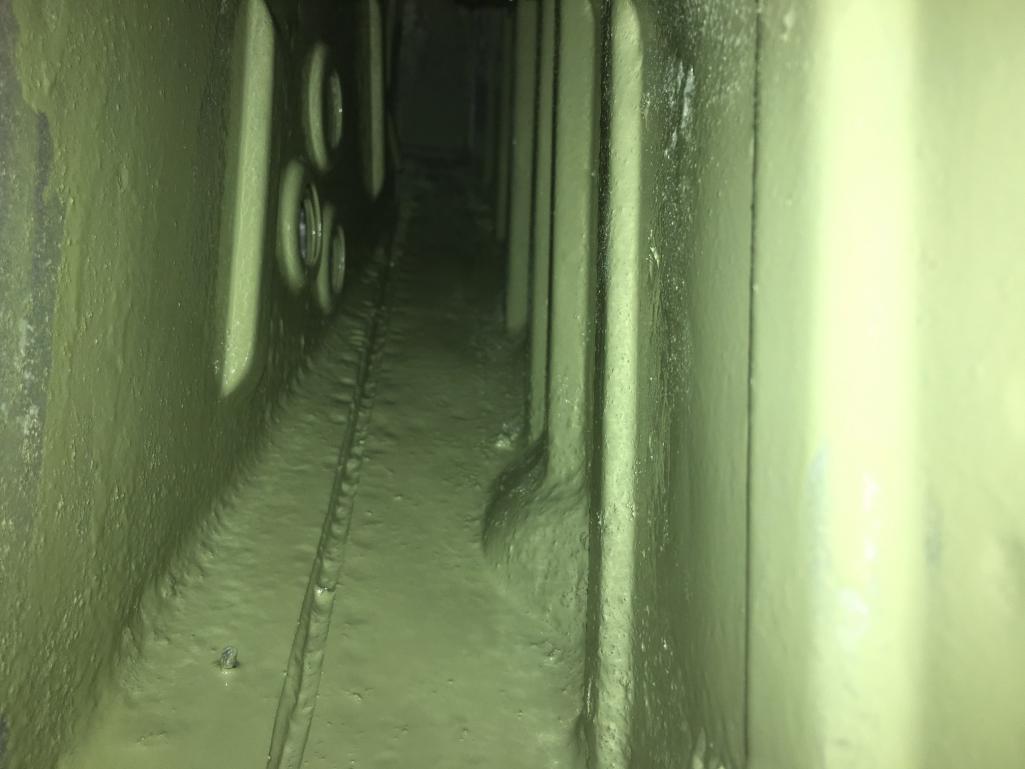 Finally I started prepping for the floorpan. Its currently held in with some self-tapping screws. There are a few areas around the lower firewall that I have to repair before I install the pan but its getting close! Those seat brackets will also be modified to fit the non-adjustable passenger seat. 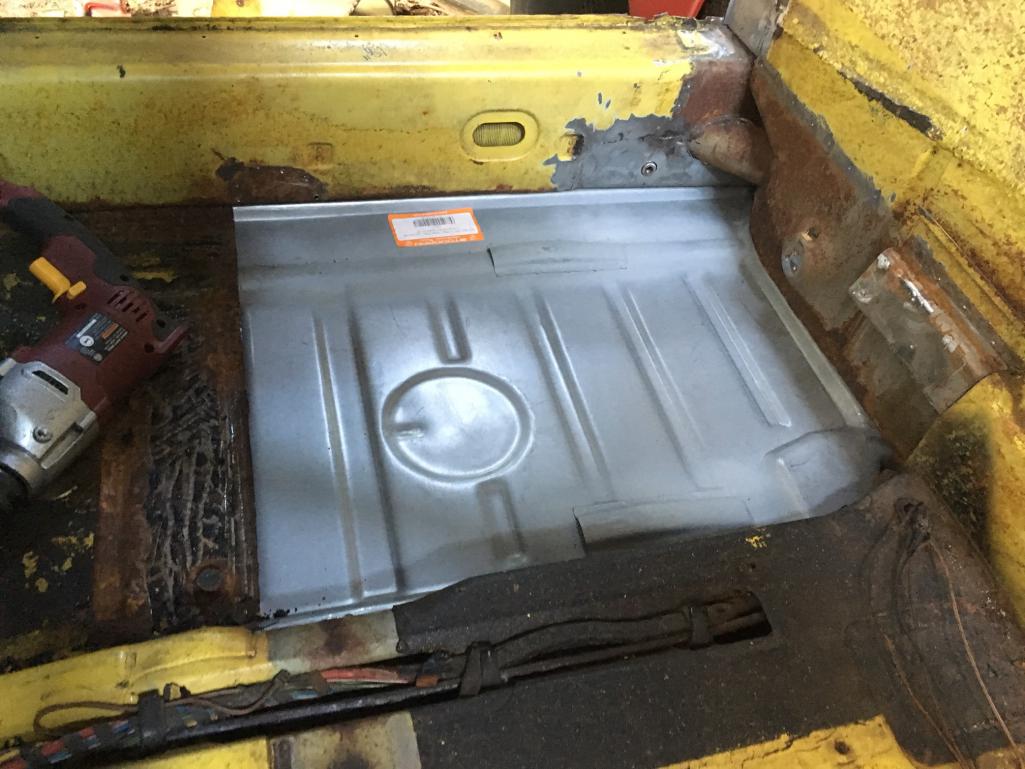 |
| dlee6204 |
 Jun 9 2016, 03:35 PM Jun 9 2016, 03:35 PM
Post
#68
|
|
Howdy     Group: Members Posts: 2,162 Joined: 30-April 06 From: Burnsville, NC Member No.: 5,956 |
Got the upper part of the long installed and the jackpoint. I have a few welds to do in the "hell hole" and then I can install the battery support and tray. (IMG:style_emoticons/default/piratenanner.gif)
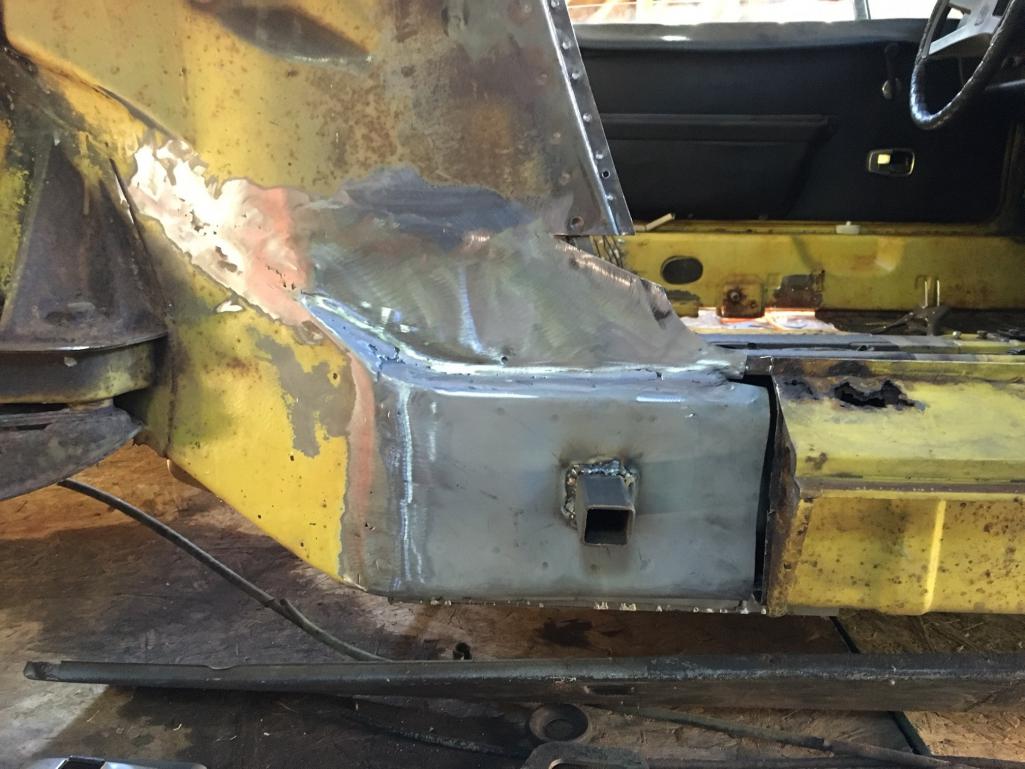 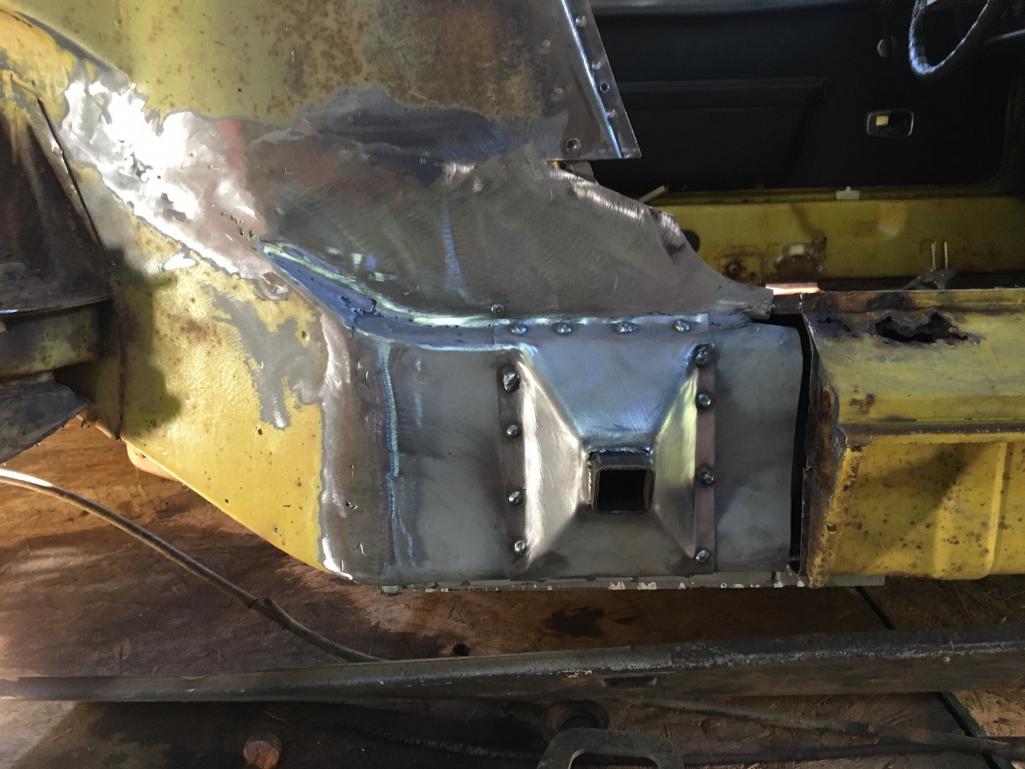 No more hell hole 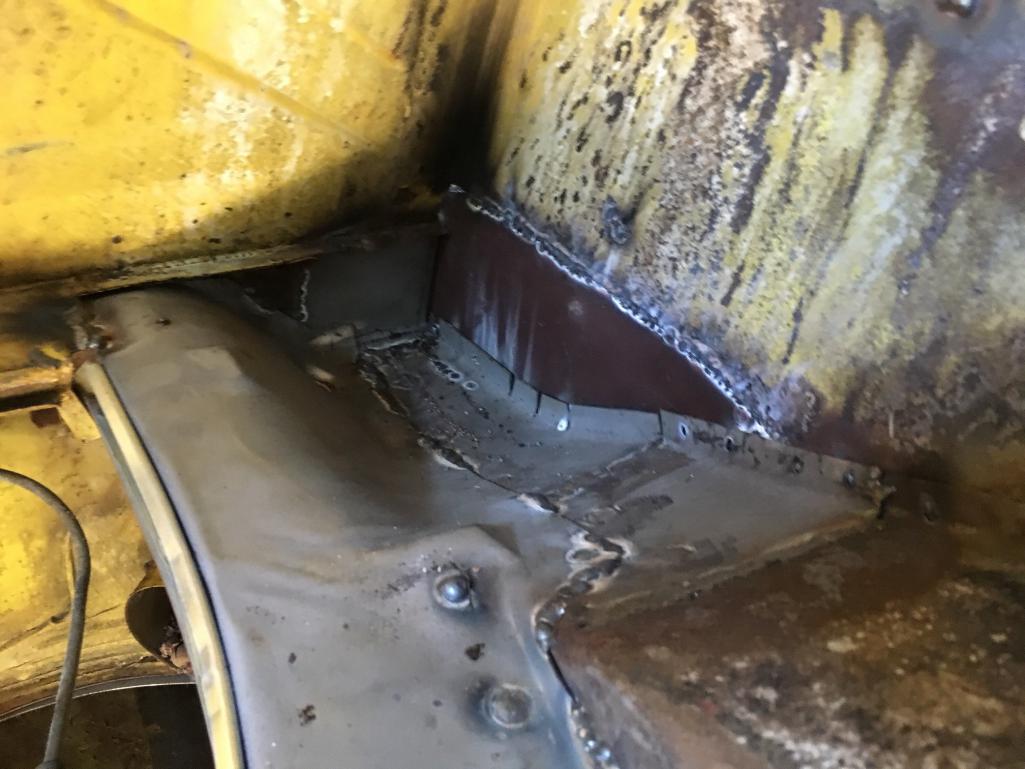 |
| jmitro |
 Jun 9 2016, 04:54 PM Jun 9 2016, 04:54 PM
Post
#69
|
|
Senior Member    Group: Members Posts: 713 Joined: 23-July 15 From: Oklahoma Member No.: 18,986 Region Association: None 
|
really nice work. (IMG:style_emoticons/default/beerchug.gif)
gives me a good idea of what I'm up against in the next few weeks/months |
| Claus Graf |
 Jun 9 2016, 07:59 PM Jun 9 2016, 07:59 PM
Post
#70
|
|
Member   Group: Members Posts: 51 Joined: 25-November 14 From: Houston, TX Member No.: 18,154 Region Association: None |
|
| tygaboy |
 Jun 10 2016, 11:50 AM Jun 10 2016, 11:50 AM
Post
#71
|
|
914 Guru      Group: Members Posts: 5,731 Joined: 6-October 15 From: Petaluma, CA Member No.: 19,241 Region Association: Northern California 
|
|
| dlee6204 |
 Jun 20 2016, 08:33 AM Jun 20 2016, 08:33 AM
Post
#72
|
|
Howdy     Group: Members Posts: 2,162 Joined: 30-April 06 From: Burnsville, NC Member No.: 5,956 |
I've been busy working on my other 914 but I did manage to get the other side of the motor together.
(IMG:style_emoticons/default/smile.gif) 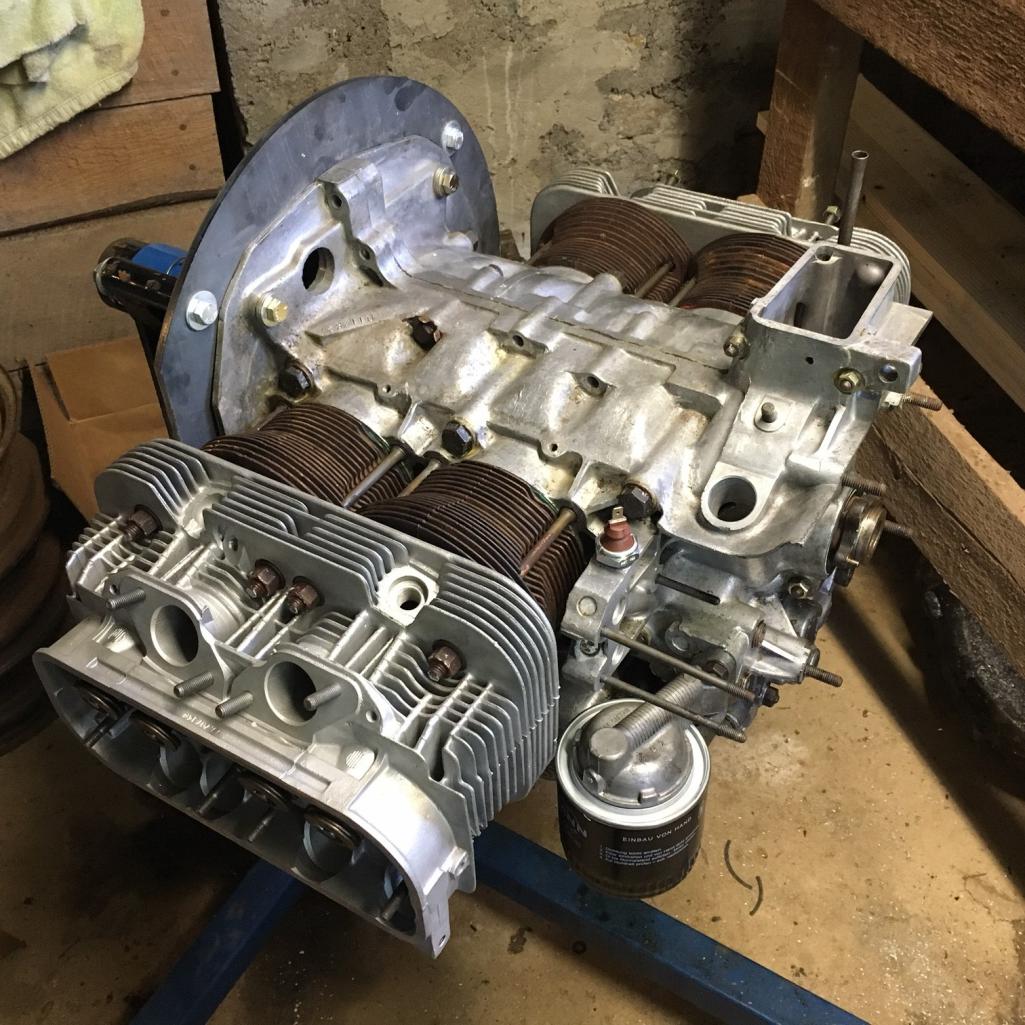 |
| dlee6204 |
 Jun 26 2016, 02:38 PM Jun 26 2016, 02:38 PM
Post
#73
|
|
Howdy     Group: Members Posts: 2,162 Joined: 30-April 06 From: Burnsville, NC Member No.: 5,956 |
|
| dlee6204 |
 Jun 26 2016, 02:41 PM Jun 26 2016, 02:41 PM
Post
#74
|
|
Howdy     Group: Members Posts: 2,162 Joined: 30-April 06 From: Burnsville, NC Member No.: 5,956 |
|
| dlee6204 |
 Jun 28 2016, 03:28 PM Jun 28 2016, 03:28 PM
Post
#75
|
|
Howdy     Group: Members Posts: 2,162 Joined: 30-April 06 From: Burnsville, NC Member No.: 5,956 |
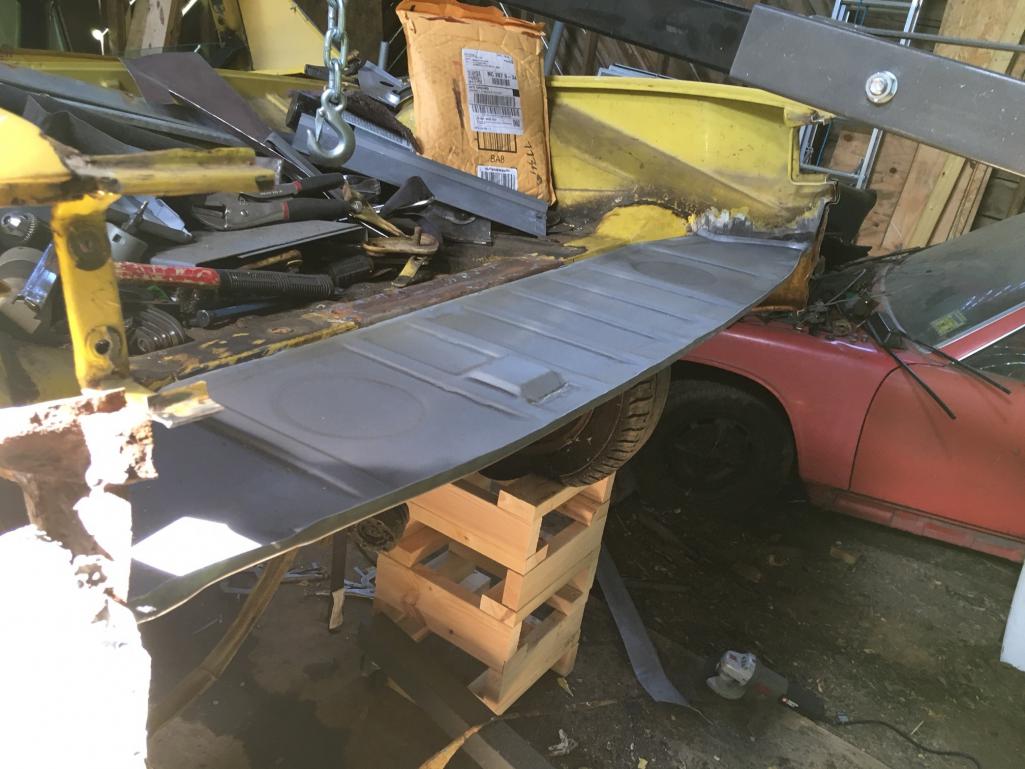
I just took advantage of the sale happening at Restoration Design and ordered the remaining sheet metal I will need to finish the car...
Rear trunk Rear trunk reinforcement Right inner rocker Right sill The end is near (IMG:style_emoticons/default/shades.gif) |
| dlee6204 |
 Jul 19 2016, 05:53 PM Jul 19 2016, 05:53 PM
Post
#76
|
|
Howdy     Group: Members Posts: 2,162 Joined: 30-April 06 From: Burnsville, NC Member No.: 5,956 |
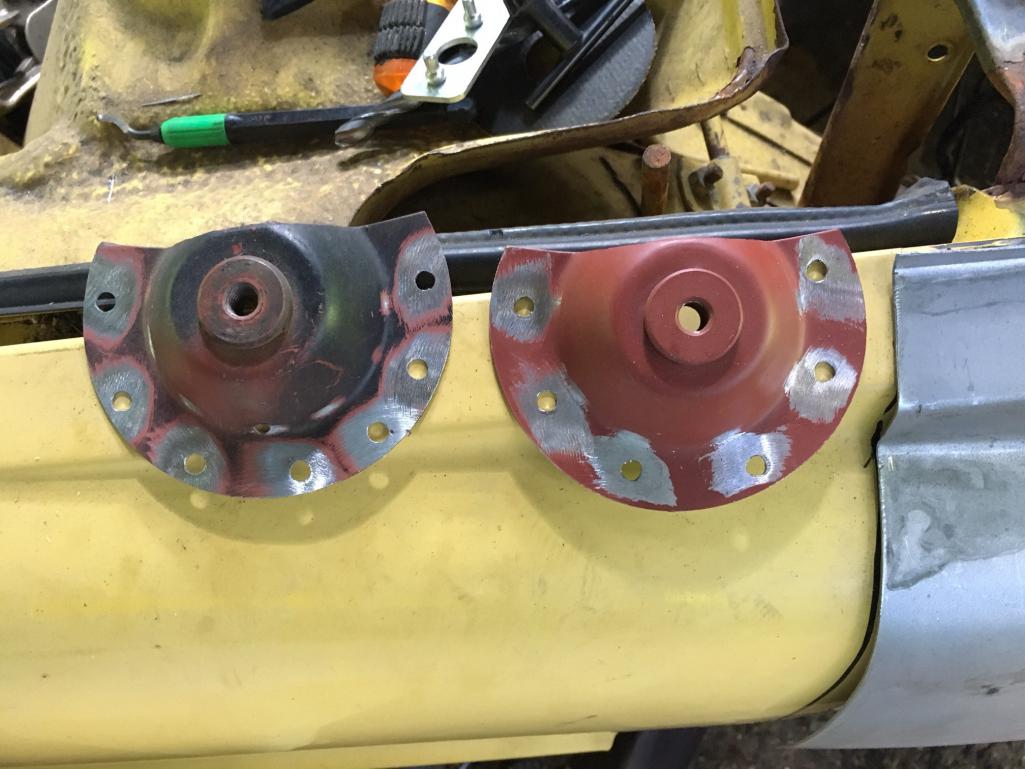
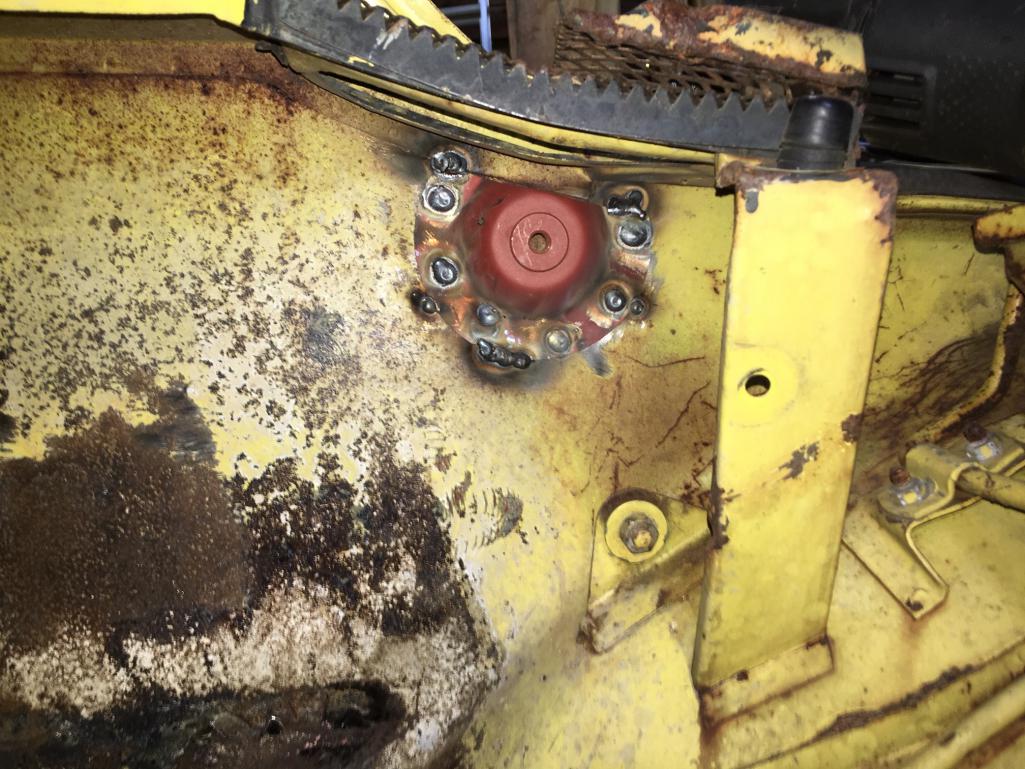
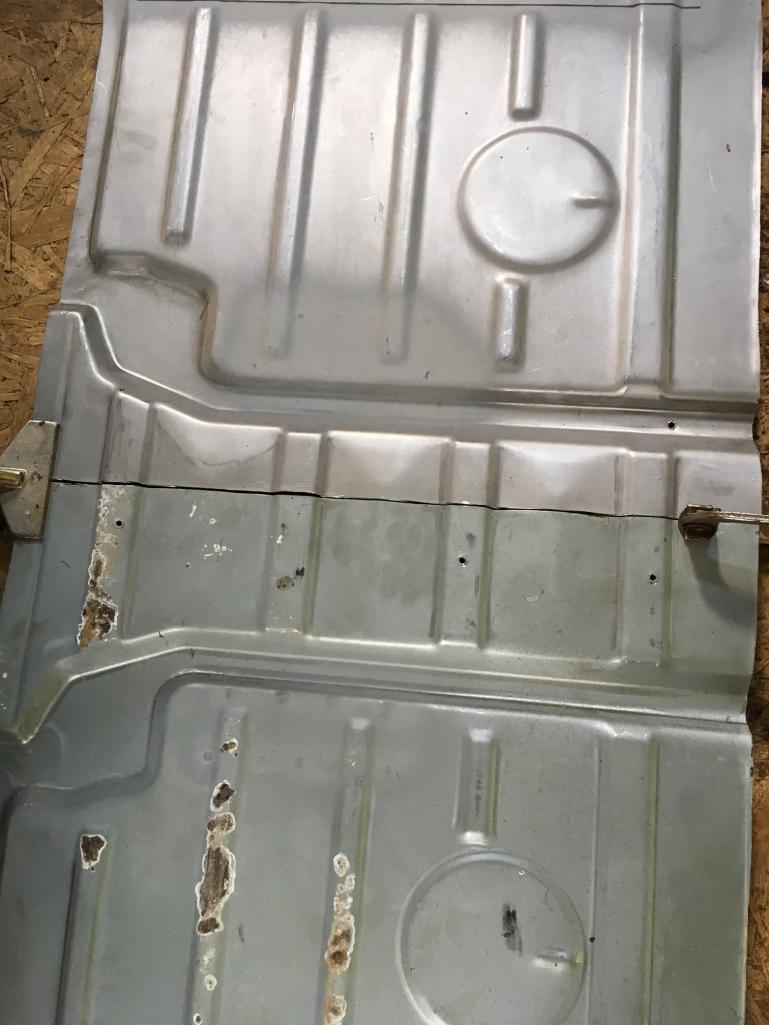
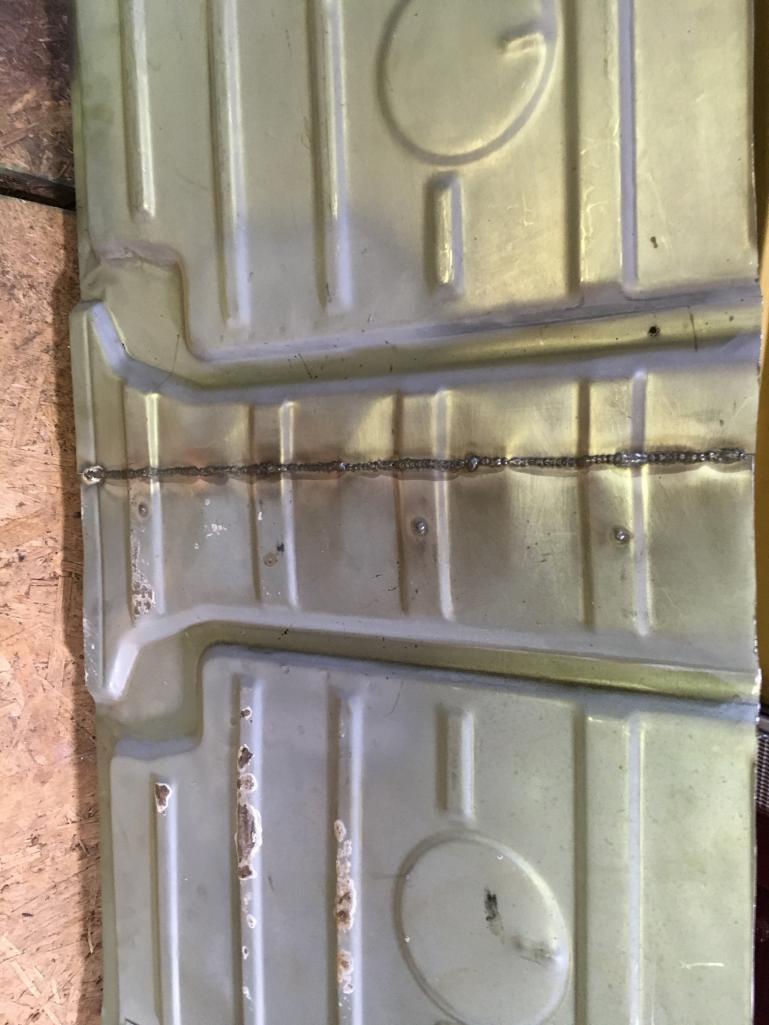
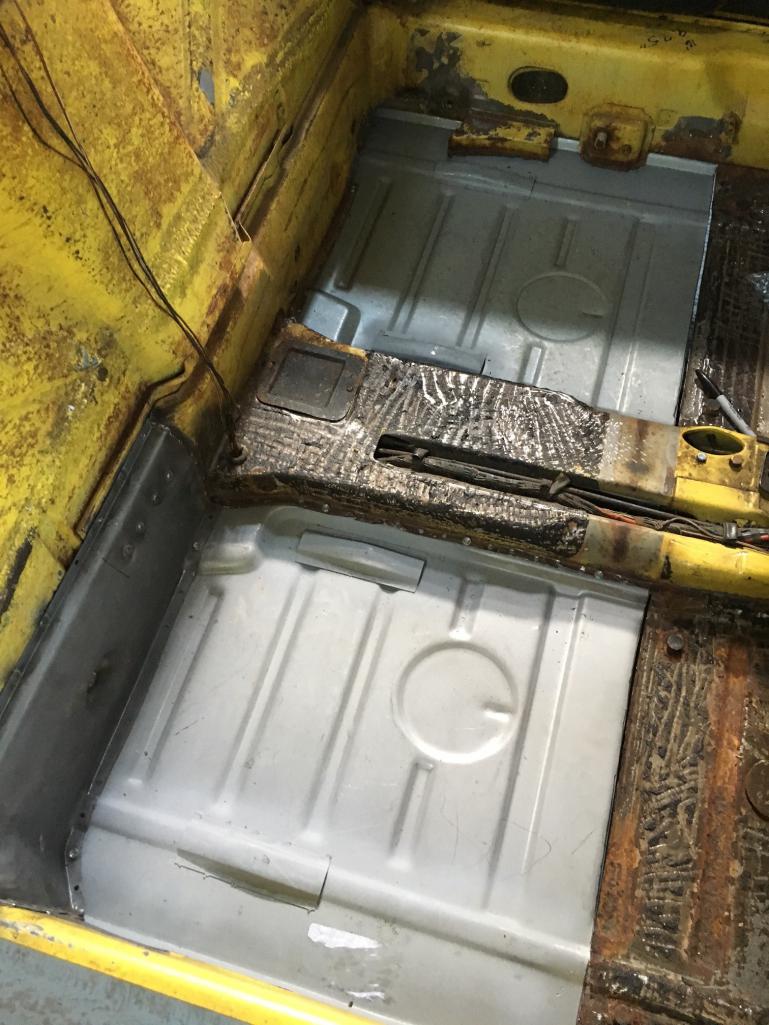
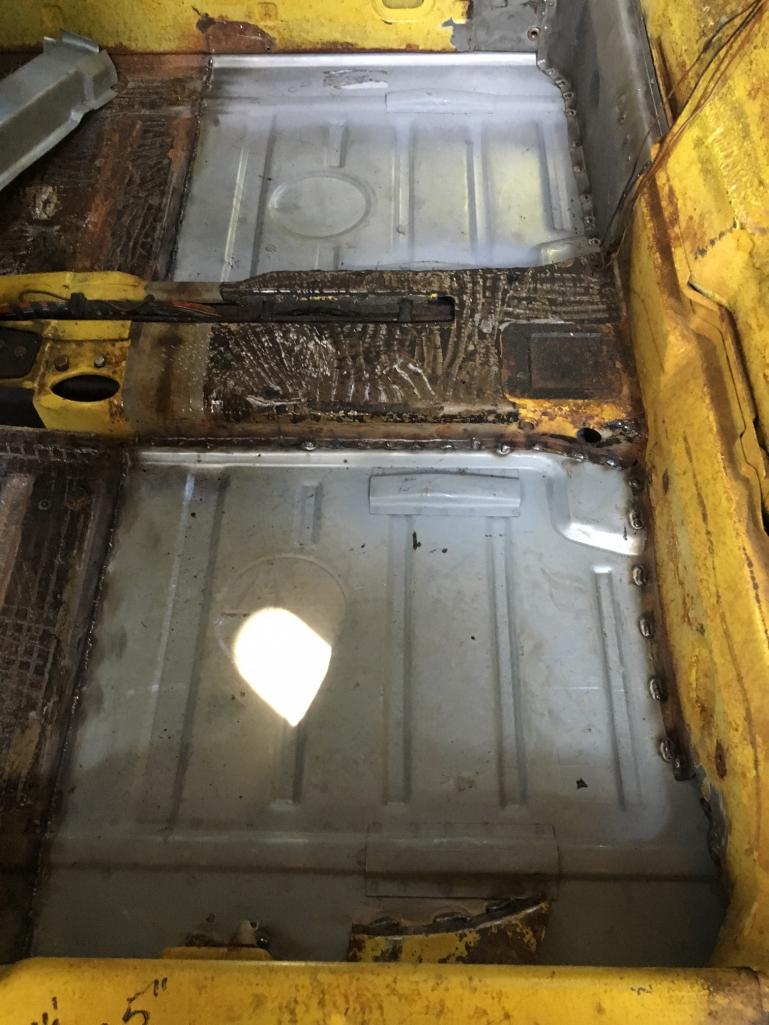
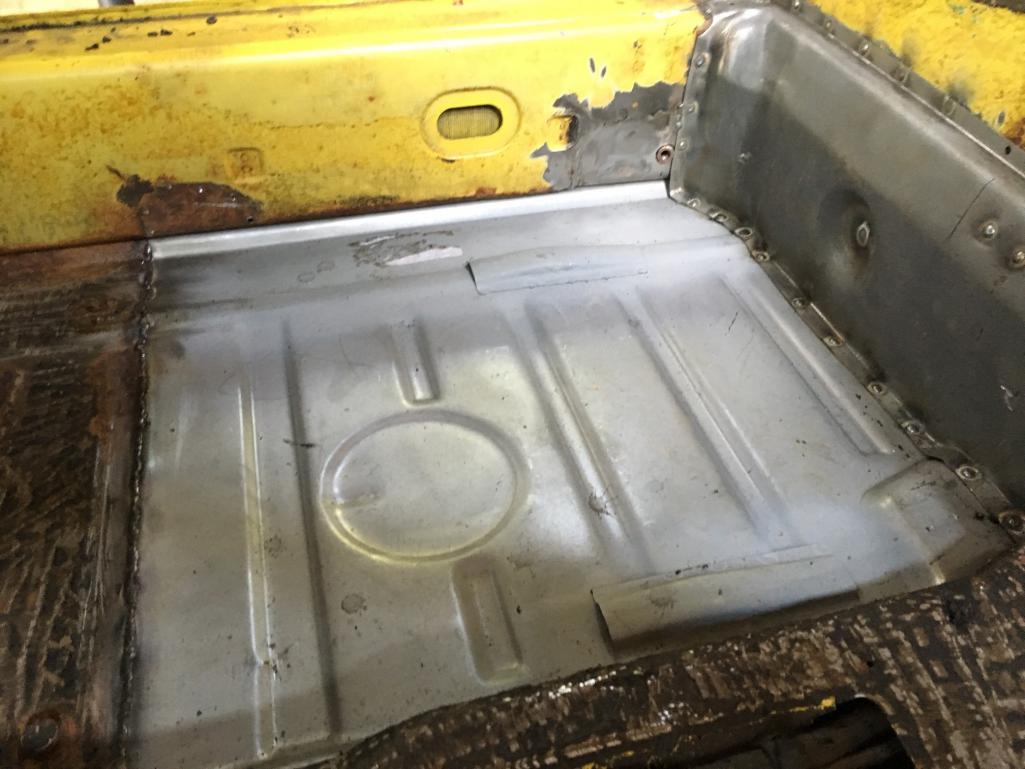
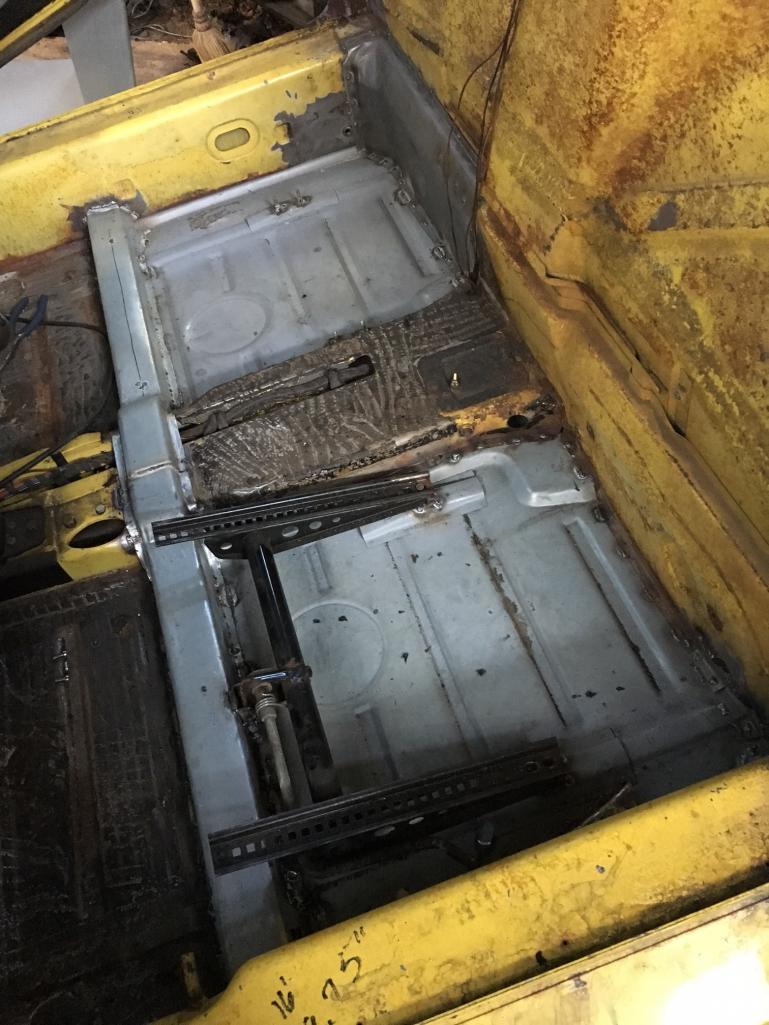
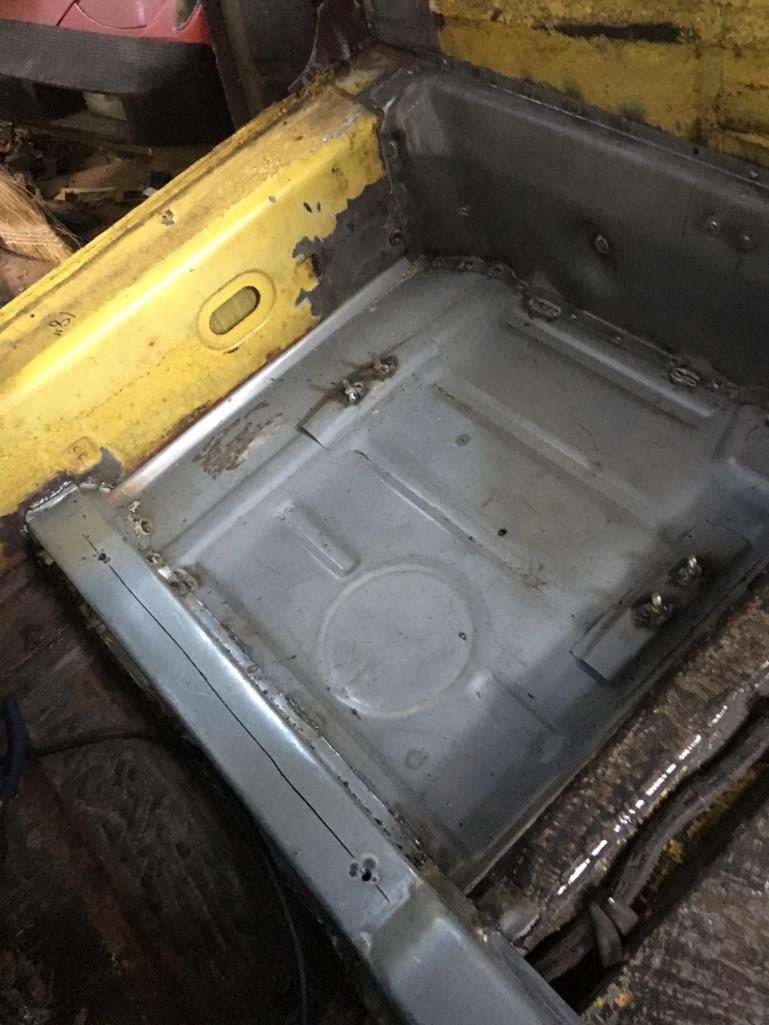
Got the interior floorpan complete with crossmember and seat mounts. (IMG:style_emoticons/default/smile.gif)
  |
| trojanhorsepower |
 Jul 19 2016, 06:00 PM Jul 19 2016, 06:00 PM
Post
#77
|
|
Senior Member    Group: Members Posts: 1,011 Joined: 21-September 03 From: Marion, NC Member No.: 1,179 Region Association: None |
Way to go!
|
| dlee6204 |
 Jul 19 2016, 06:10 PM Jul 19 2016, 06:10 PM
Post
#78
|
|
Howdy     Group: Members Posts: 2,162 Joined: 30-April 06 From: Burnsville, NC Member No.: 5,956 |
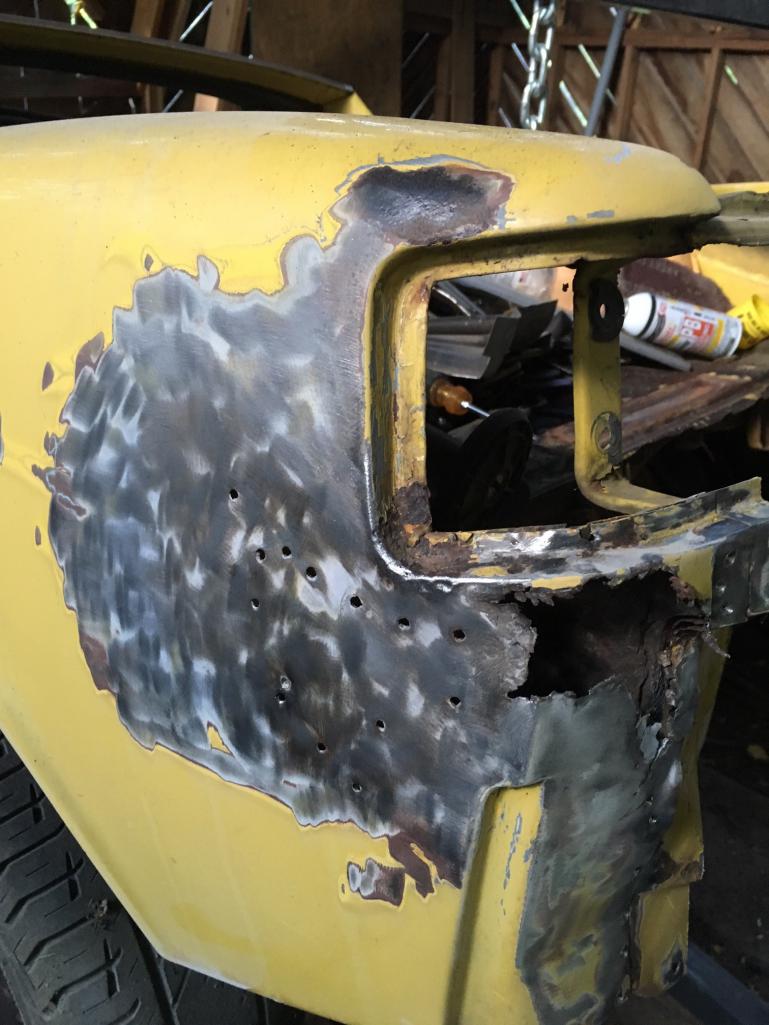
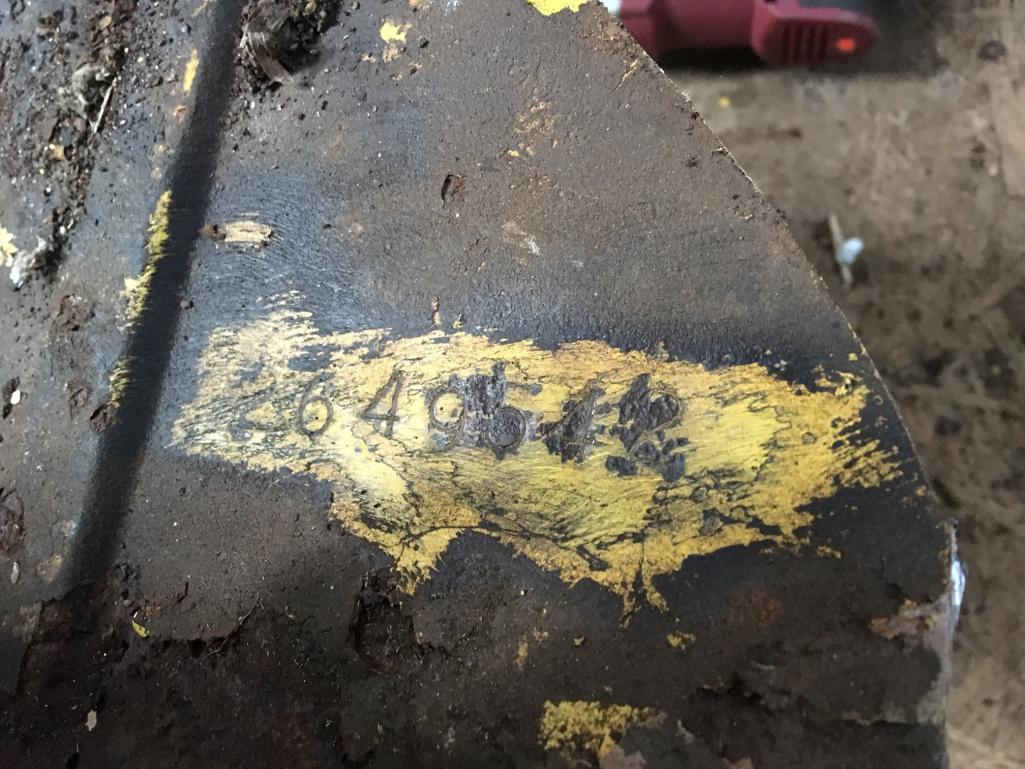
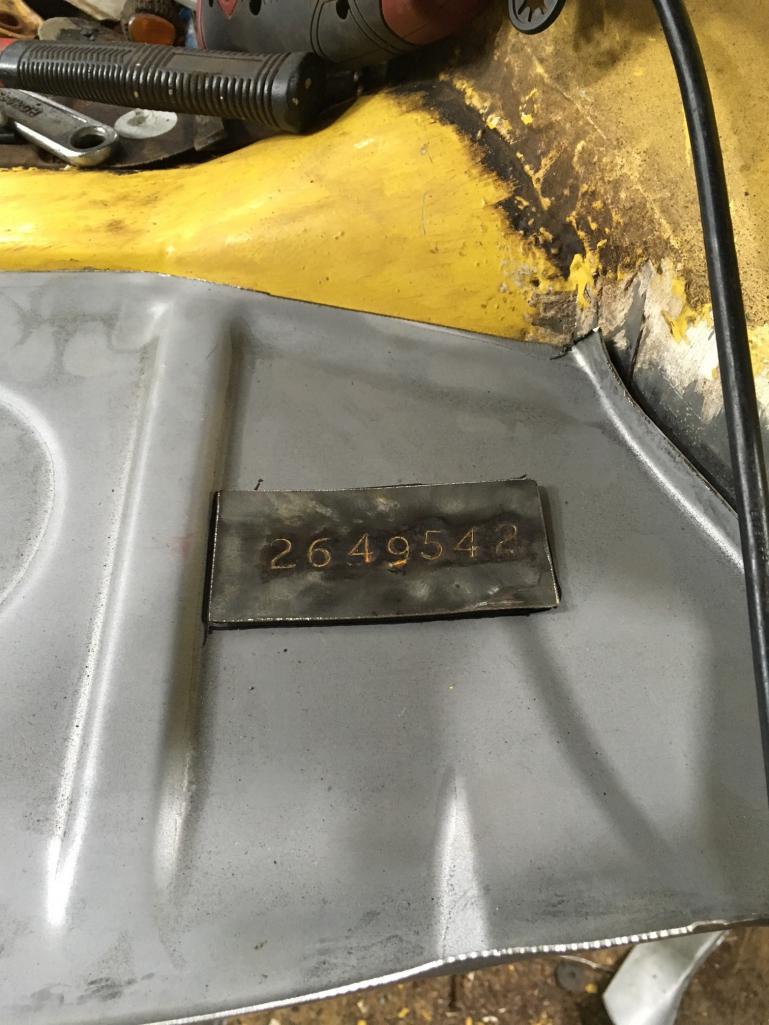
I started digging into the rear trunk area. I discovered the rear has been hit at some point. There was also some previous sketchy rust repair done to one corner. In the end I decided it was best to make some big changes.
Notice there is a scotch brite pad under the bondo. (IMG:style_emoticons/default/icon8.gif) 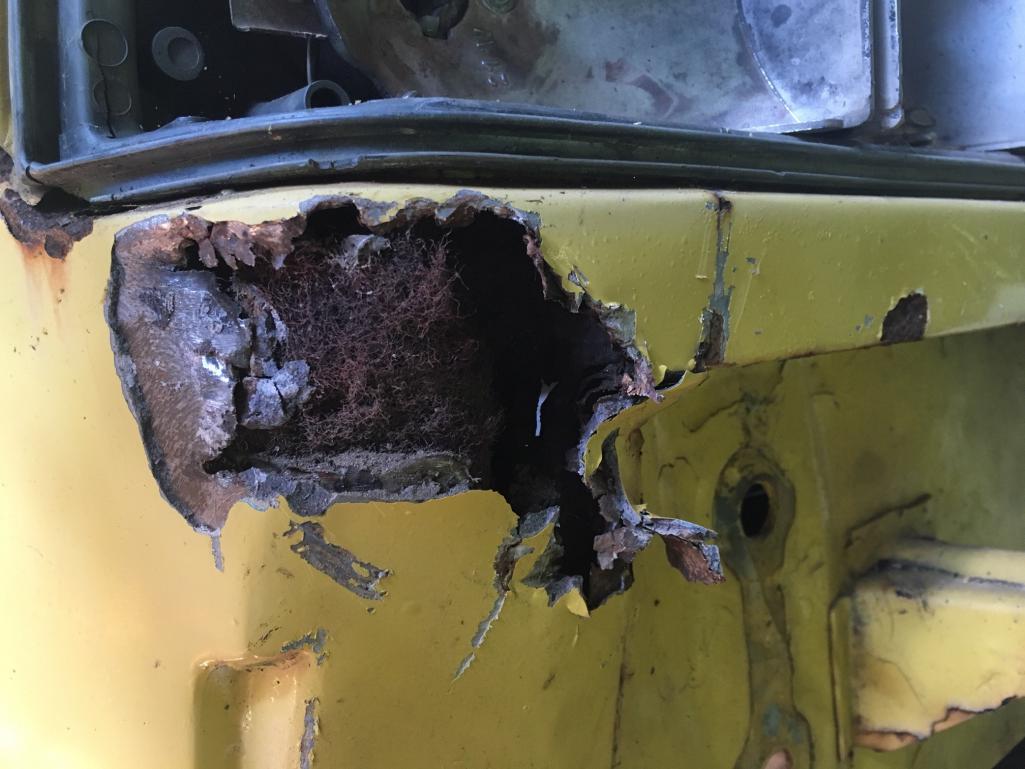 Notice the bump 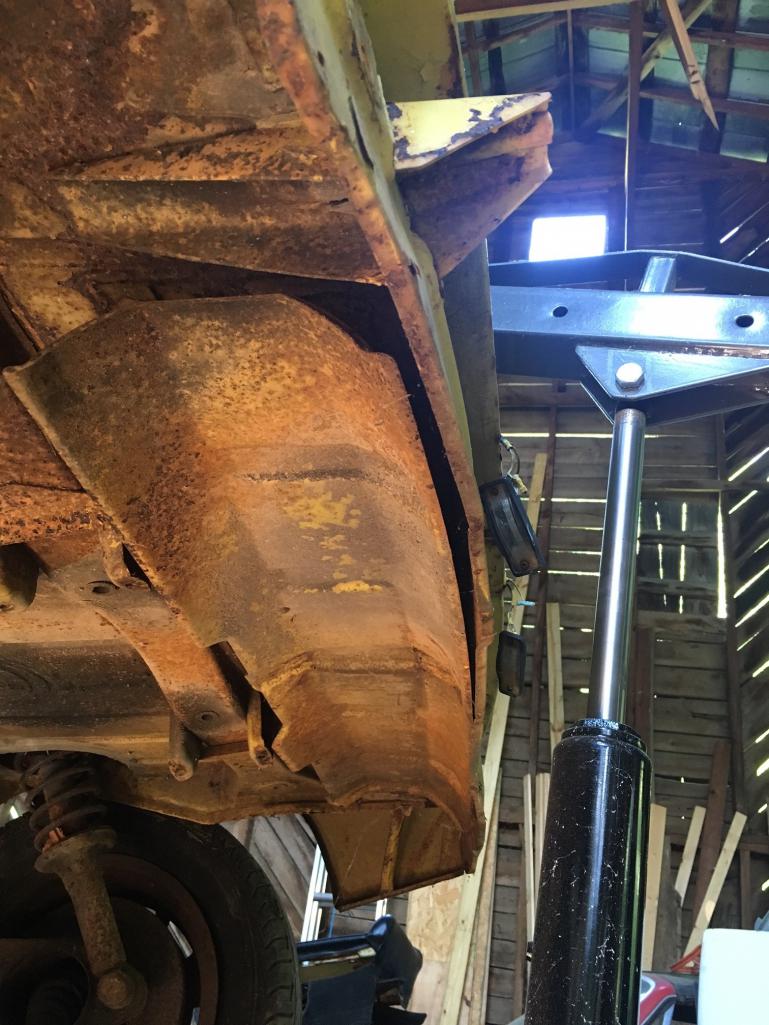 (IMG:style_emoticons/default/w00t.gif) 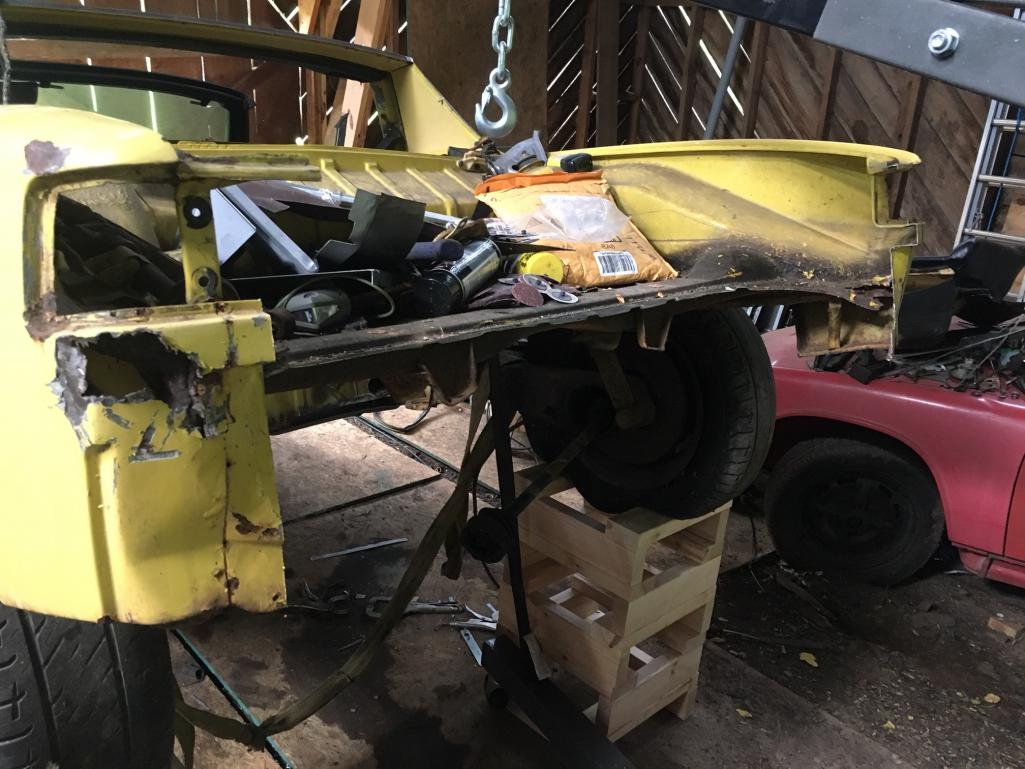 |
| dlee6204 |
 Jul 19 2016, 06:16 PM Jul 19 2016, 06:16 PM
Post
#79
|
|
Howdy     Group: Members Posts: 2,162 Joined: 30-April 06 From: Burnsville, NC Member No.: 5,956 |
|
| dlee6204 |
 Jul 19 2016, 06:38 PM Jul 19 2016, 06:38 PM
Post
#80
|
|
Howdy     Group: Members Posts: 2,162 Joined: 30-April 06 From: Burnsville, NC Member No.: 5,956 |
|
  |
2 User(s) are reading this topic (2 Guests and 0 Anonymous Users)
0 Members:

|
Lo-Fi Version | Time is now: 23rd December 2025 - 05:25 PM |
Invision Power Board
v9.1.4 © 2025 IPS, Inc.


