|
|
|
Porsche, and the Porsche crest are registered trademarks of Dr. Ing. h.c. F. Porsche AG.
This site is not affiliated with Porsche in any way. Its only purpose is to provide an online forum for car enthusiasts. All other trademarks are property of their respective owners. |
|
|

  |

| Lou W |
 Apr 5 2006, 08:08 PM Apr 5 2006, 08:08 PM
Post
#101
|
||
|
"Here Kitty Kitty" my ass......  Group: Members Posts: 4,109 Joined: 9-May 04 From: Roseburg, OR. Member No.: 2,039 Region Association: Spain |
Yes, I did it the hard way, I sure wished I had a rotisserie. Basically I stripped the parts off the car, lowered one side as close to the ground as I could and raised the other side as high as I could and used Castrol Purple Power to clean the underside and then used Aircraft Paint remover. Then I sanded the underside, welded where needed, primered and shot it with Body Shutz then cleared it. I did the same thing with lowering the rear and raising the front, etc. (IMG:http://www.914world.com/bbs2/html/emoticons/smile.gif) |
||
   |

 
|
||
| RustyWa |
Apr 5 2006, 08:15 PM
Post
#102
|
||
|
Working Member Group: Members Posts: 610 Joined: 2-January 03 From: Kent, WA Member No.: 72 |
I probably missed this, but why apply clear coat to the undercoat? Thanks |
||
|
|
|
||
| jim_hoyland |
Apr 5 2006, 08:16 PM
Post
#103
|
|
Get that VIN ? Group: Members Posts: 9,960 Joined: 1-May 03 From: Sunset Beach, CA Member No.: 643 Region Association: Southern California |
Lou,
Fantastic, this is very interesting; will you be bring the finished car over to Joe's for the (IMG:http://www.914world.com/bbs2/html/emoticons/jsharp.gif) ? Can't wait to see it; Joe says I need to check out the fender wells (IMG:http://www.914world.com/bbs2/html/emoticons/burnout.gif) .. Jim |
|
|
|
| Eddie Williams |
Apr 5 2006, 08:30 PM
Post
#104
|
||||
|
Senior Member Group: Members Posts: 822 Joined: 30-December 02 From: Nederland, TX Member No.: 55 Region Association: None |
Seals it and helps keep it clean. |
||||
|
|
|
||||
| Lou W |
Apr 5 2006, 10:00 PM
Post
#105
|
||||
|
"Here Kitty Kitty" my ass...... Group: Members Posts: 4,109 Joined: 9-May 04 From: Roseburg, OR. Member No.: 2,039 Region Association: Spain |
Tom suggested it, he's says that some of the cw do it to keep it looking good, not that I'm gonna be a cw too, it's just a good idea. (IMG:http://www.914world.com/bbs2/html/emoticons/smile.gif) |
||||
|
|
|
||||
| RustyWa |
Apr 5 2006, 10:30 PM
Post
#106
|
|
Working Member Group: Members Posts: 610 Joined: 2-January 03 From: Kent, WA Member No.: 72 |
Oh yea...I remember reading that now.
Thanks. (IMG:http://www.914world.com/bbs2/html/emoticons/biggrin.gif) |
|
|
|
| bernbomb914 |
Apr 5 2006, 11:30 PM
Post
#107
|
|
one of the oldest Farts on this board Group: Benefactors Posts: 1,873 Joined: 29-December 02 From: Temecula, CA Member No.: 36 |
Lou that is toooo muchhhhh Very Nice,
Bernie |
|
|
|
| Lou W |
Apr 14 2006, 06:17 AM
Post
#108
|
|
"Here Kitty Kitty" my ass...... Group: Members Posts: 4,109 Joined: 9-May 04 From: Roseburg, OR. Member No.: 2,039 Region Association: Spain |
Okay, I [i]finally got all the sanding done, here is apicture of the gas tank area;
Attached image(s) 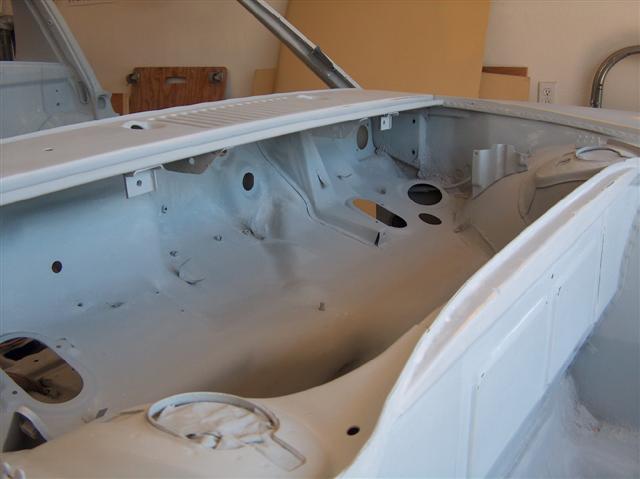
|
|
|
|
| Lou W |
Apr 14 2006, 06:18 AM
Post
#109
|
|
"Here Kitty Kitty" my ass...... Group: Members Posts: 4,109 Joined: 9-May 04 From: Roseburg, OR. Member No.: 2,039 Region Association: Spain |
Another angle;
Attached image(s) 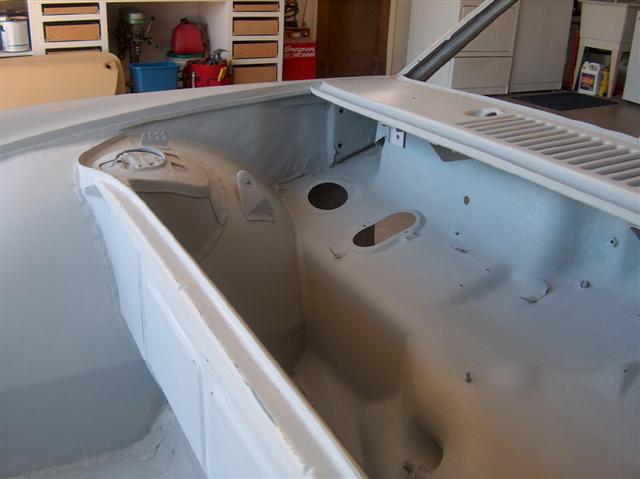
|
|
|
|
| Lou W |
Apr 14 2006, 06:19 AM
Post
#110
|
|
"Here Kitty Kitty" my ass...... Group: Members Posts: 4,109 Joined: 9-May 04 From: Roseburg, OR. Member No.: 2,039 Region Association: Spain |
Here is the rear trunk;
Attached image(s) 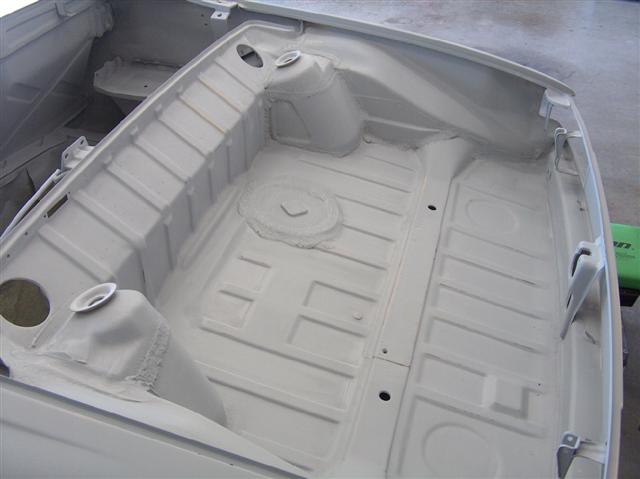
|
|
|
|
| Lou W |
Apr 14 2006, 06:20 AM
Post
#111
|
|
"Here Kitty Kitty" my ass...... Group: Members Posts: 4,109 Joined: 9-May 04 From: Roseburg, OR. Member No.: 2,039 Region Association: Spain |
And here is the engine compartment, this was a pain in the ask to work in;
Attached image(s) 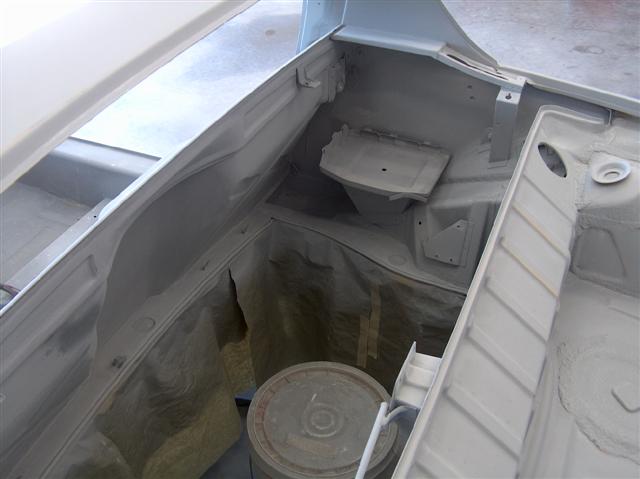
|
|
|
|
| Lou W |
Apr 14 2006, 06:21 AM
Post
#112
|
|
"Here Kitty Kitty" my ass...... Group: Members Posts: 4,109 Joined: 9-May 04 From: Roseburg, OR. Member No.: 2,039 Region Association: Spain |
Better pictures here;
Attached image(s) 
|
|
|
|
| Lou W |
Apr 14 2006, 06:21 AM
Post
#113
|
|
"Here Kitty Kitty" my ass...... Group: Members Posts: 4,109 Joined: 9-May 04 From: Roseburg, OR. Member No.: 2,039 Region Association: Spain |
Another;
Attached image(s) 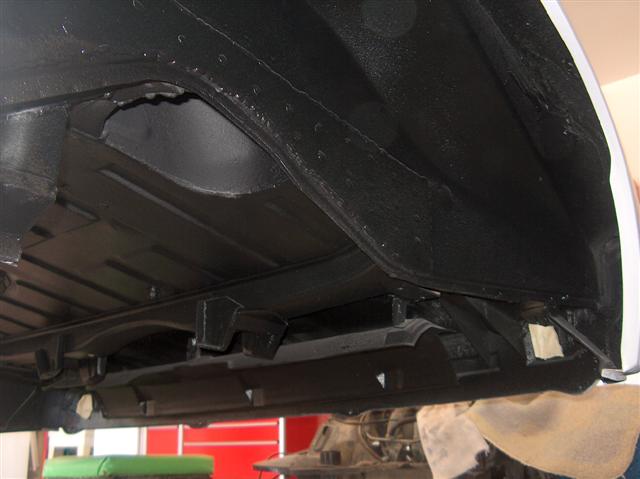
|
|
|
|
| Lou W |
Apr 14 2006, 06:23 AM
Post
#114
|
|
"Here Kitty Kitty" my ass...... Group: Members Posts: 4,109 Joined: 9-May 04 From: Roseburg, OR. Member No.: 2,039 Region Association: Spain |
Again;
Attached image(s) 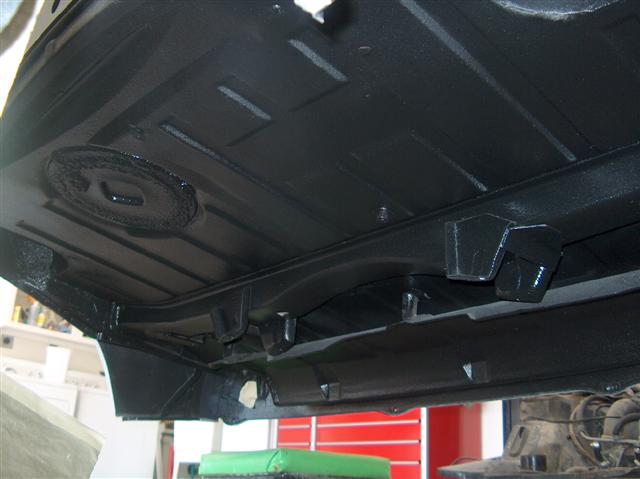
|
|
|
|
| Lou W |
Apr 14 2006, 06:24 AM
Post
#115
|
|
"Here Kitty Kitty" my ass...... Group: Members Posts: 4,109 Joined: 9-May 04 From: Roseburg, OR. Member No.: 2,039 Region Association: Spain |
Yet another, these turned out better than the last pictures;
Attached image(s) 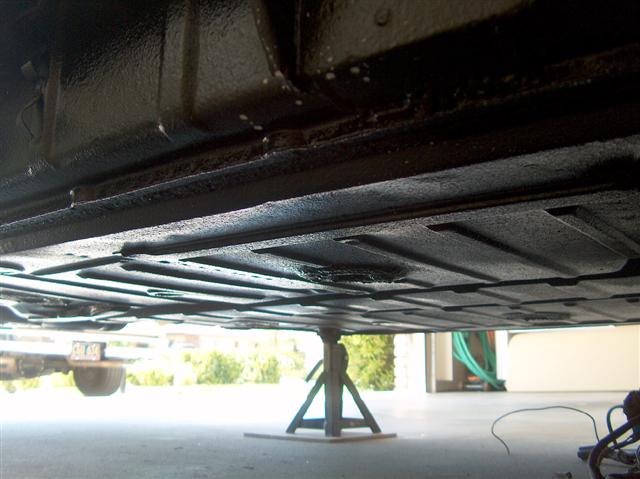
|
|
|
|
| Lou W |
Apr 14 2006, 06:28 AM
Post
#116
|
|
"Here Kitty Kitty" my ass...... Group: Members Posts: 4,109 Joined: 9-May 04 From: Roseburg, OR. Member No.: 2,039 Region Association: Spain |
As I mentioned earlier, the undercoating is a little shinnier than what I wanted, but, I think it will work, if I did it again, I would have gone with one coat like what was originally suggested.
Now, I'll remask the car and shoot the sealer. (IMG:style_emoticons/default/smile.gif) |
|
|
|
| Lou W |
Jun 4 2006, 08:16 PM
Post
#117
|
|
"Here Kitty Kitty" my ass...... Group: Members Posts: 4,109 Joined: 9-May 04 From: Roseburg, OR. Member No.: 2,039 Region Association: Spain |
I got some more of the bolts, washers and nuts, along with other parts back from getting plated. I'm real happy with the way that they turned out. Some of the bolts were not in too good of shape when I sent them out, so those will have to be replaced. I'll probably have one more batch to go, then that will be it, Thank you Bruce (bdstone914) they sure look great. Here are some of the pictures:
Attached image(s) 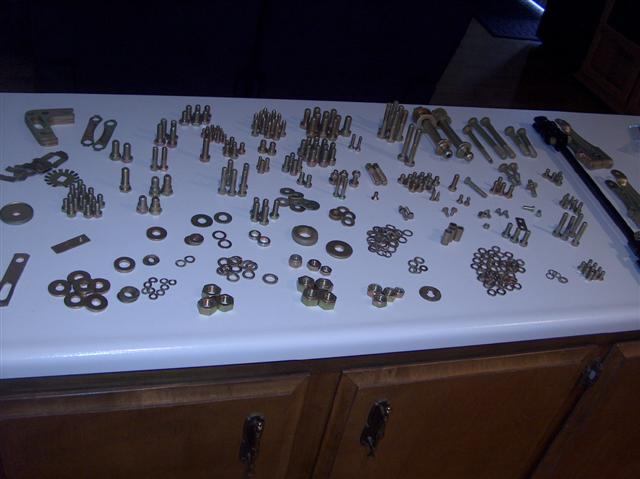 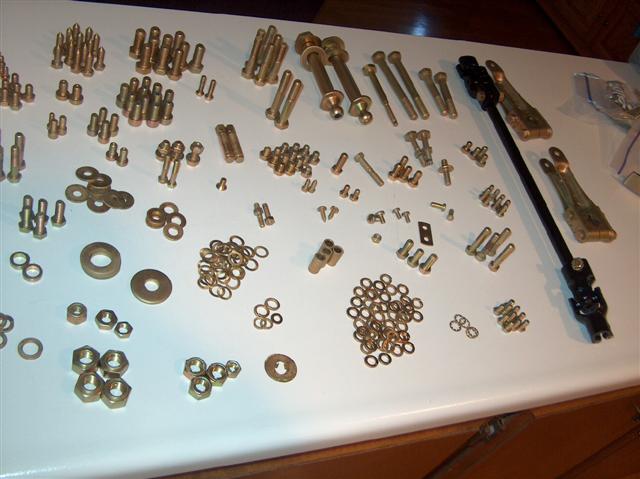 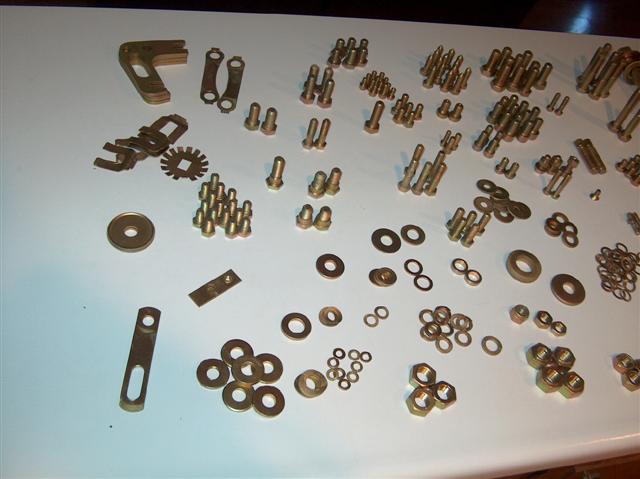 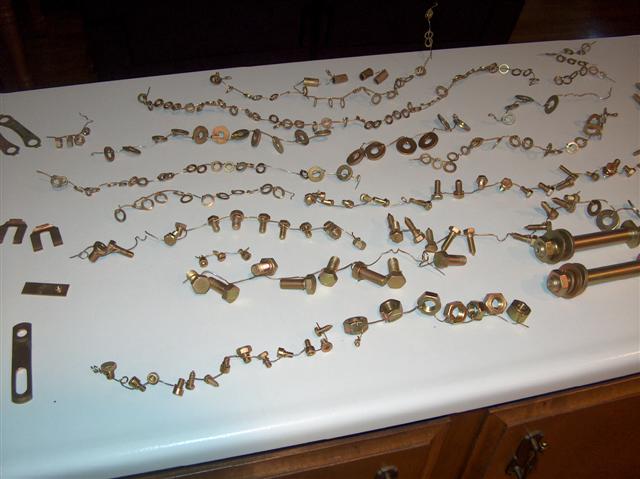 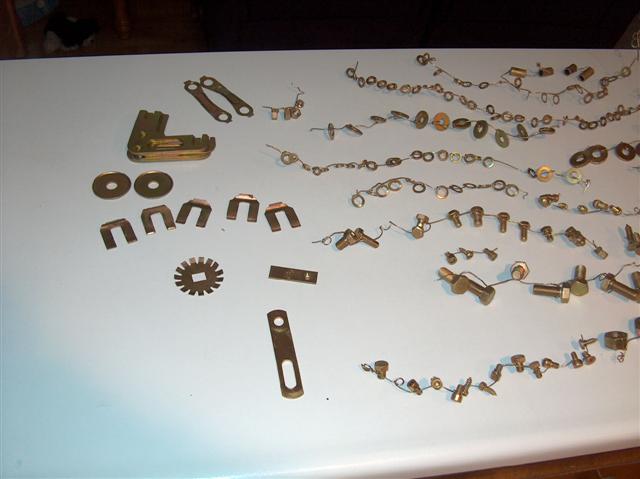
|
|
|
|
| Lou W |
Jun 4 2006, 08:19 PM
Post
#118
|
|
"Here Kitty Kitty" my ass...... Group: Members Posts: 4,109 Joined: 9-May 04 From: Roseburg, OR. Member No.: 2,039 Region Association: Spain |
I decided to weld the Camp914 rear shox bracket instead of using the screws and nuts that were supplied, I'm glad I did this before I start painting.
Attached image(s) 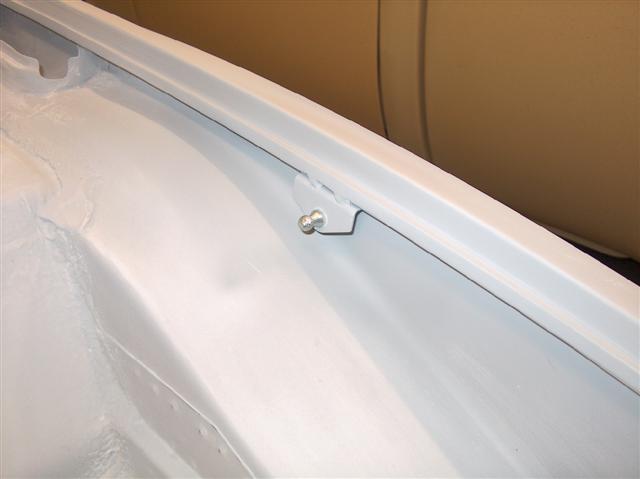 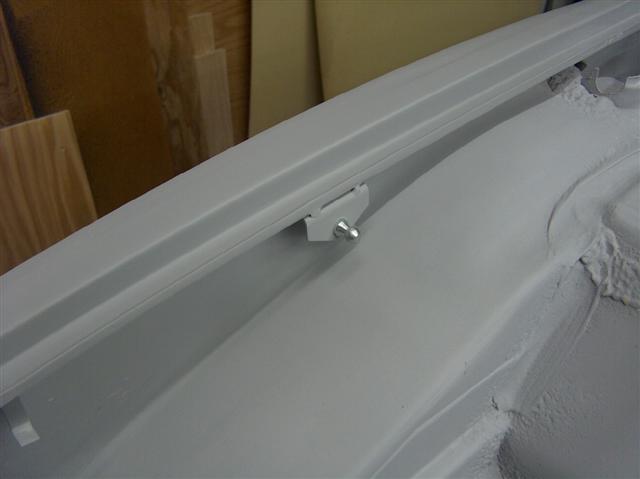 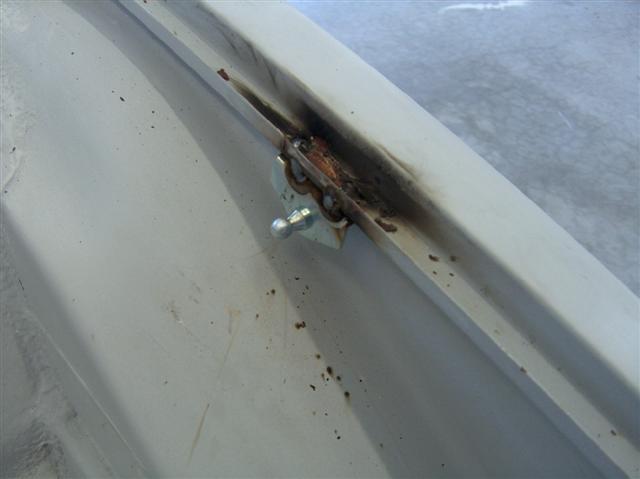 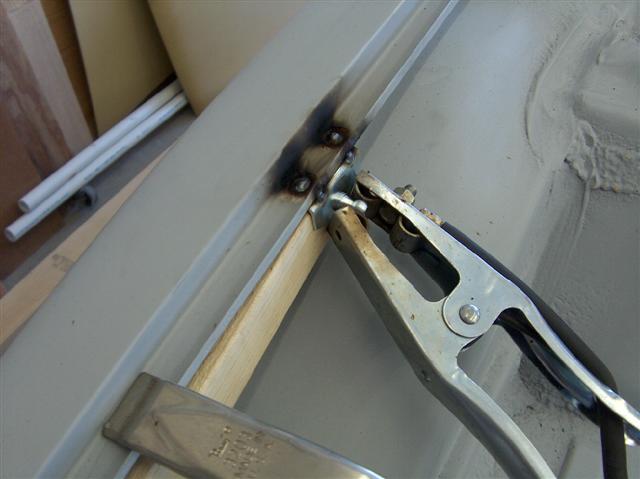 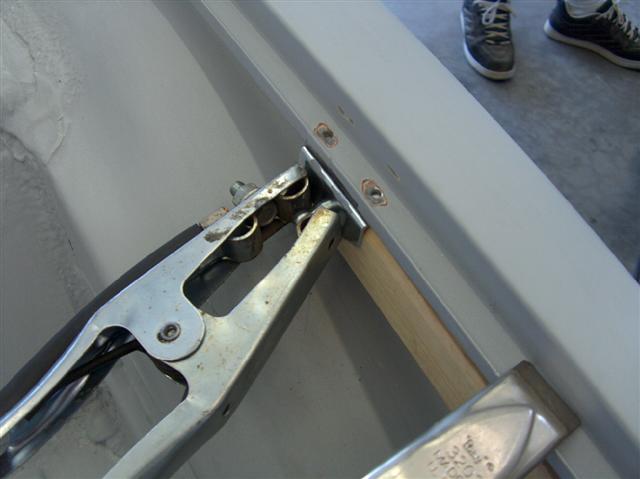
|
|
|
|
| Lou W |
Jun 4 2006, 08:25 PM
Post
#119
|
|
"Here Kitty Kitty" my ass...... Group: Members Posts: 4,109 Joined: 9-May 04 From: Roseburg, OR. Member No.: 2,039 Region Association: Spain |
I finished some fiberglass repairs, then I sanded, primered and sprayed the rocker panels with 3M Rocker Gard;
Attached image(s) 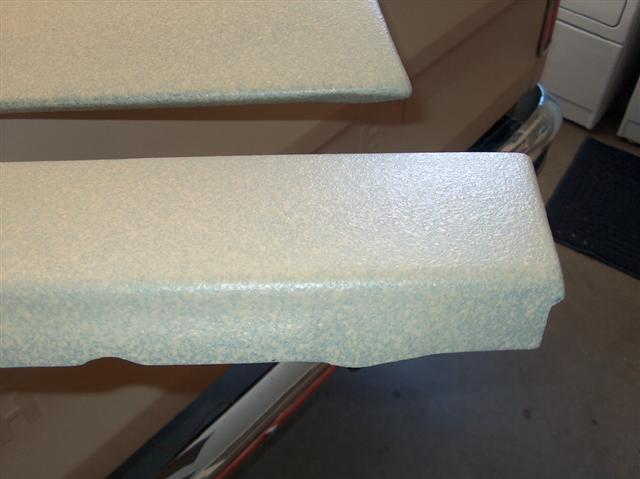 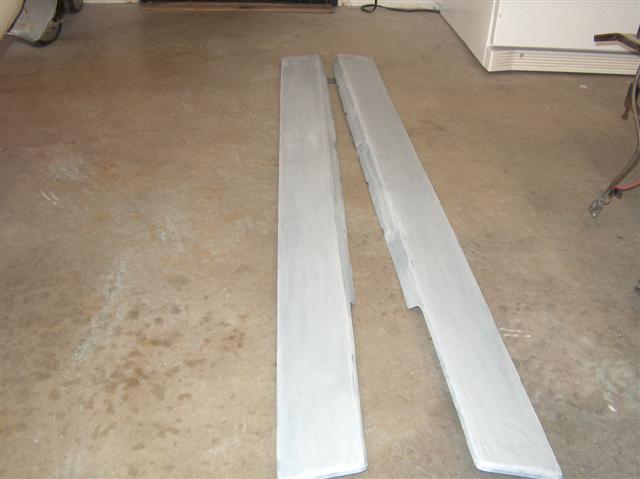 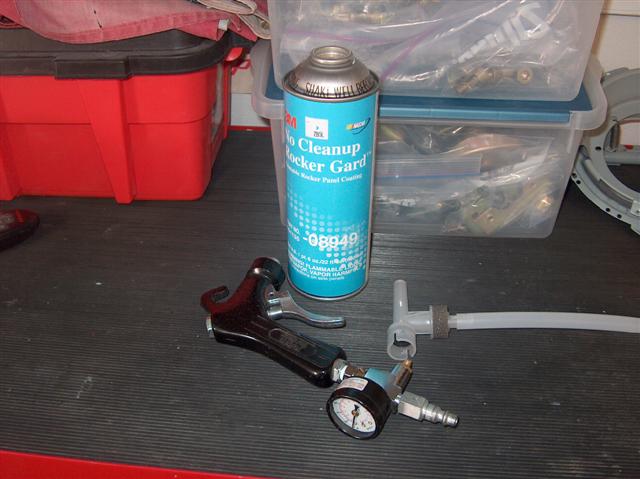 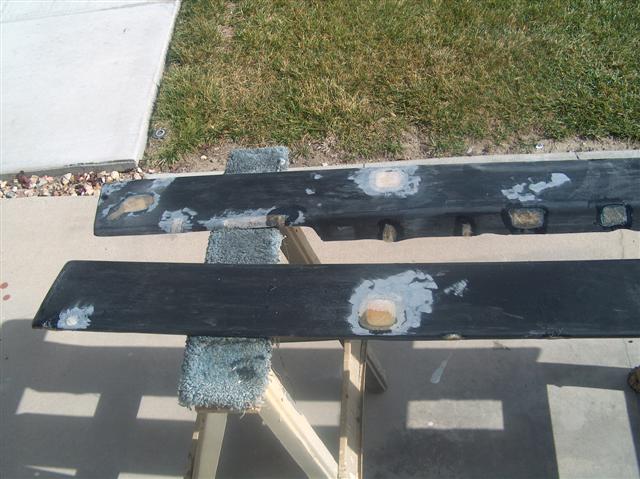 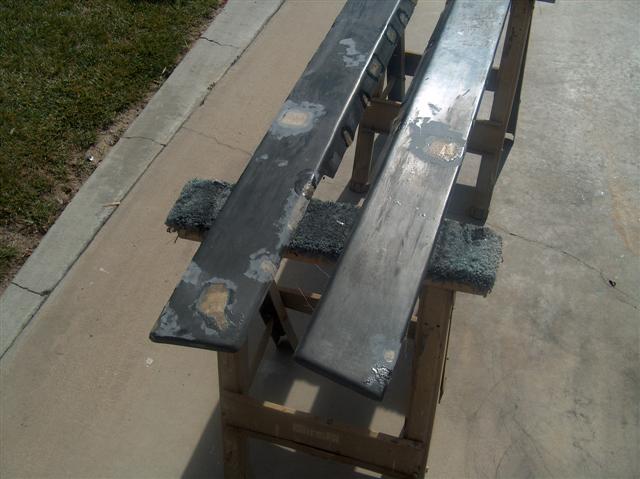
|
|
|
|
| Lou W |
Jun 4 2006, 08:27 PM
Post
#120
|
|
"Here Kitty Kitty" my ass...... Group: Members Posts: 4,109 Joined: 9-May 04 From: Roseburg, OR. Member No.: 2,039 Region Association: Spain |
All the block sanding is done so now I'm masking the car once again so I can shoot the Sealer;
Attached image(s) 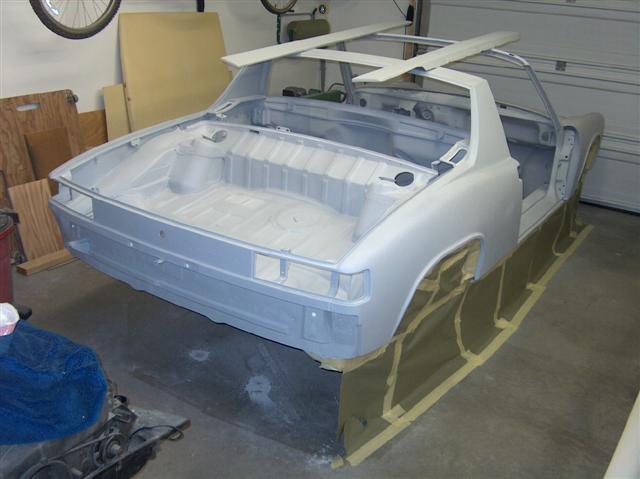 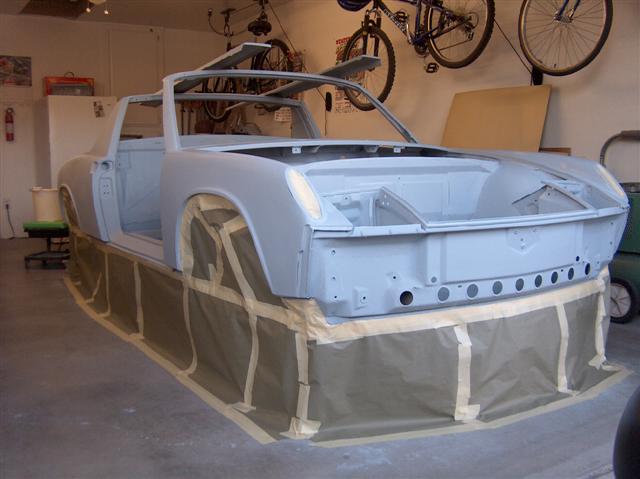
|
|
|
|
|
1 User(s) are reading this topic (1 Guests and 0 Anonymous Users)
0 Members:

|
Lo-Fi Version | Time is now: 13th December 2025 - 04:29 AM |
Invision Power Board
v9.1.4 © 2025 IPS, Inc.