|
|
|
Porsche, and the Porsche crest are registered trademarks of Dr. Ing. h.c. F. Porsche AG.
This site is not affiliated with Porsche in any way. Its only purpose is to provide an online forum for car enthusiasts. All other trademarks are property of their respective owners. |
|
|

  |

| rhodyguy |
 Jan 27 2020, 01:26 PM Jan 27 2020, 01:26 PM
Post
#1461
|
|
Chimp Sanctuary NW. Check it out.  Group: Members Posts: 22,252 Joined: 2-March 03 From: Orion's Bell. The BELL! Member No.: 378 Region Association: Galt's Gulch |
That's some pretty exciting stuff. (IMG:style_emoticons/default/14.gif)
|
   |

 
|
| 914werke |
Jan 27 2020, 03:01 PM
Post
#1462
|
|
"I got blisters on me fingers" Group: Members Posts: 11,658 Joined: 22-March 03 From: USofA Member No.: 453 Region Association: Pacific Northwest |
Whoo Hoo!! (IMG:style_emoticons/default/piratenanner.gif)
|
|
|
|
| KELTY360 |
Jan 27 2020, 06:15 PM
Post
#1463
|
|
914 Neferati Group: Members Posts: 5,189 Joined: 31-December 05 From: Pt. Townsend, WA Member No.: 5,344 Region Association: Pacific Northwest |
QUOTE(914werke @ Jan 27 2020, 01:01 PM)  (IMG:style_emoticons/default/agree.gif) Can't believe how big your shop helper is getting! |
|
|
|
| twistedstang |
Jan 28 2020, 05:52 AM
Post
#1464
|
|
Member Group: Members Posts: 229 Joined: 9-January 06 From: Port Huron, MI Member No.: 5,395 Region Association: None |
Saw the progress pics last night. Had to come back this morning and look again. Amazing car.
|
|
|
|
| plymouth37 |
Mar 4 2020, 04:15 PM
Post
#1465
|
|
Senior Member Group: Members Posts: 1,825 Joined: 24-May 05 From: Snoqualmie, WA Member No.: 4,138 Region Association: Pacific Northwest |
I mocked up and trimmed the rockers, aligned the doors and got everything relatively straight.
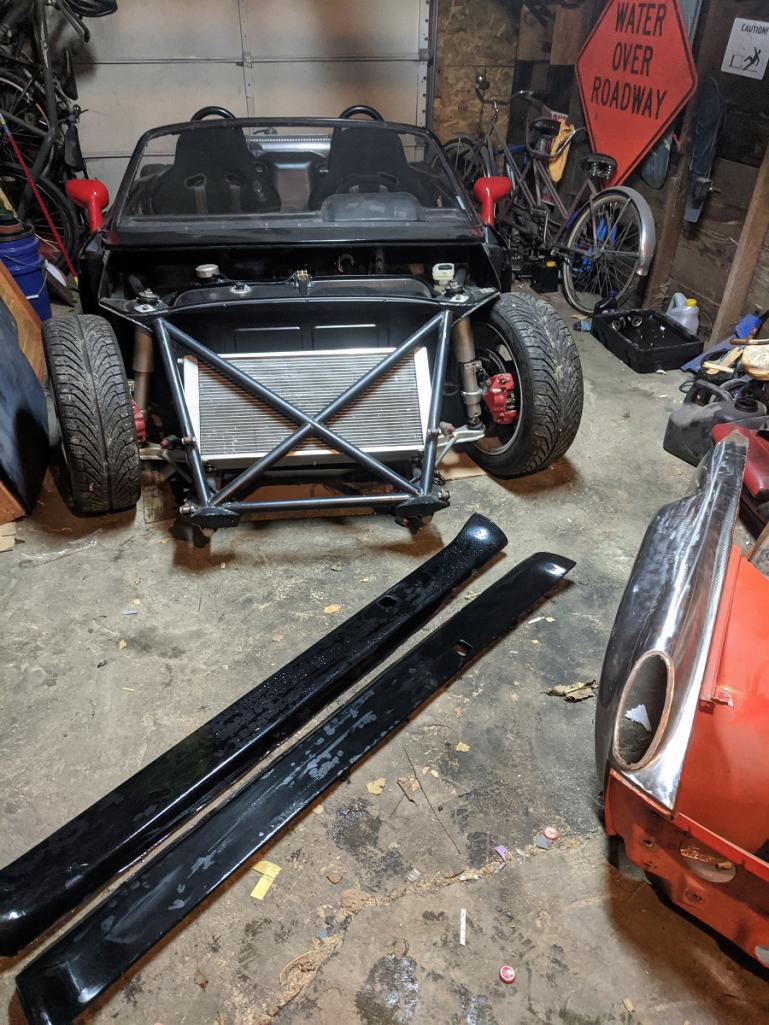 I got the fenders mocked up, got the gaps good, threw on the bumpers to generally test fitment. 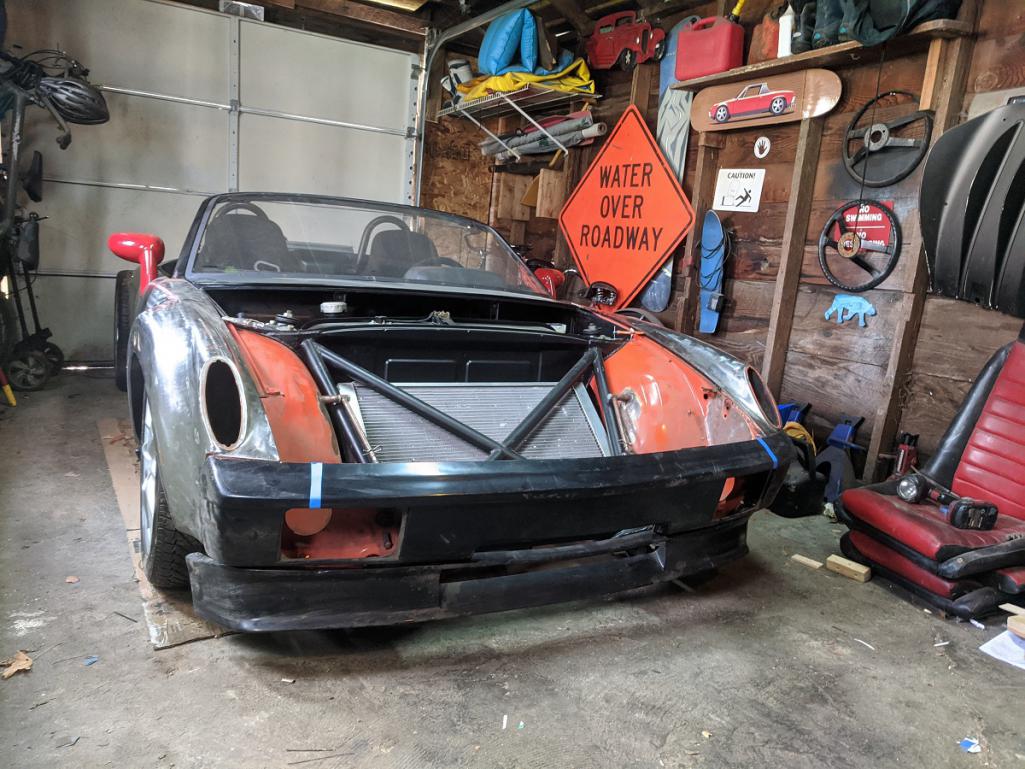 I am re-thinking the hinge system in the front, after mocking it up I can get away with a simple pivot point off of the front of the chassis. 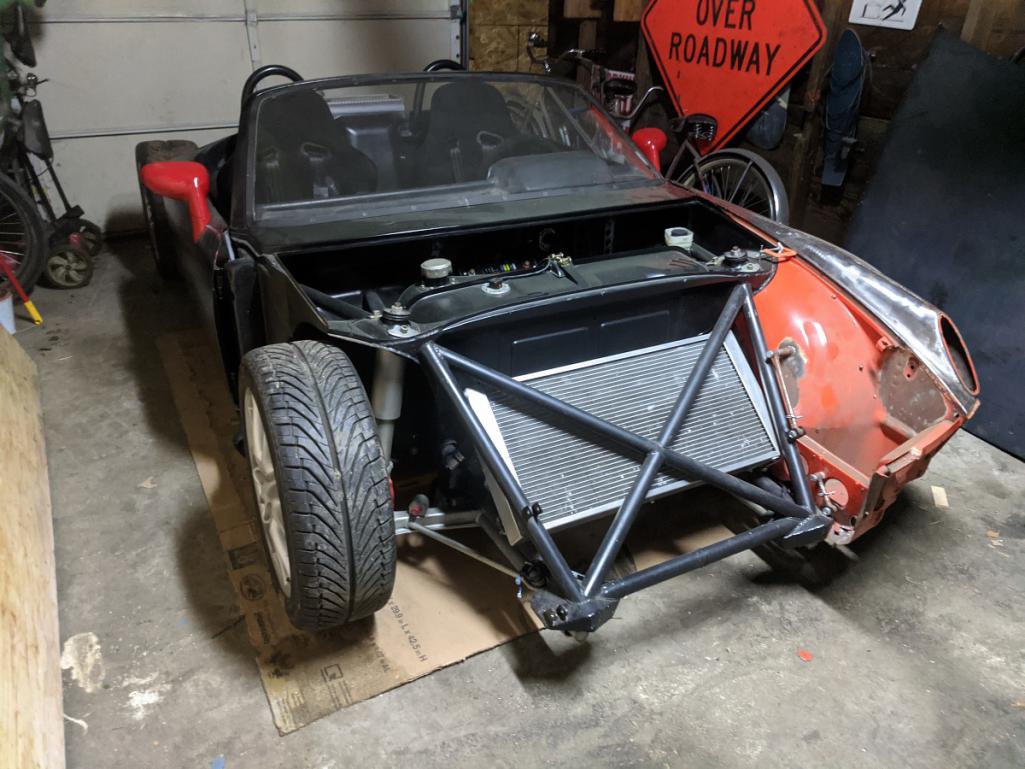 I pulled off the fender and ground off the old hinge points and started stripping it. 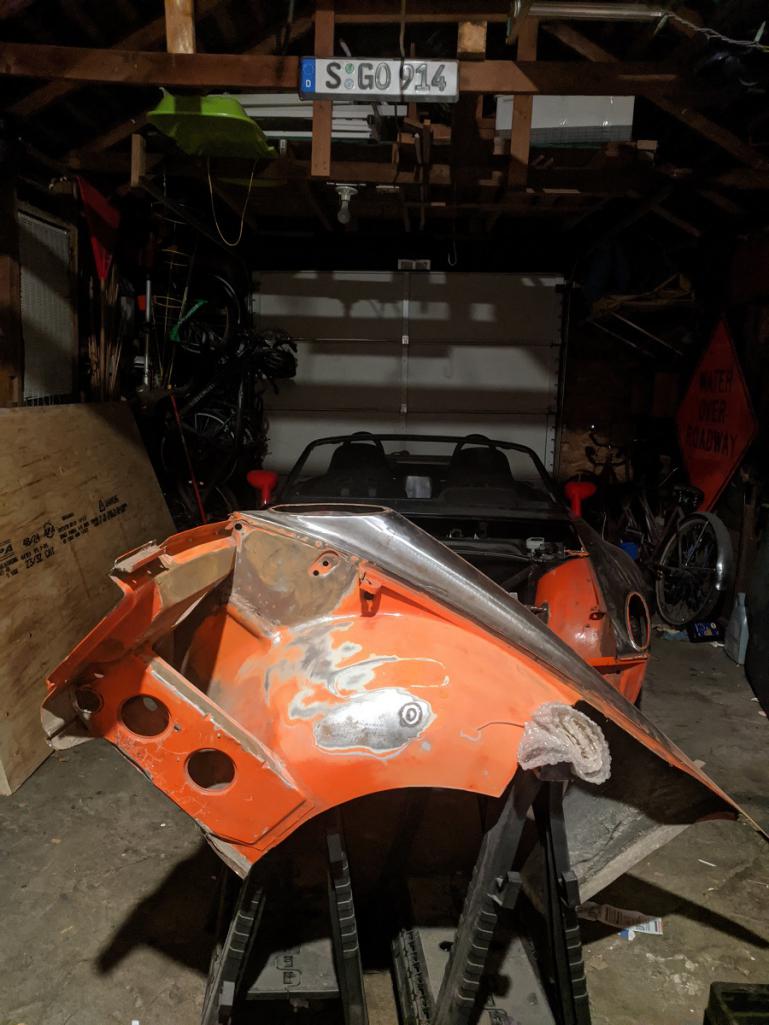 |
|
|
|
| porschetub |
Mar 5 2020, 01:23 PM
Post
#1466
|
|
914 Guru Group: Members Posts: 5,105 Joined: 25-July 15 From: New Zealand Member No.: 18,995 Region Association: None |
Impressive build ,have been following this,IMO the raked windscreen really gives the car a more modern look .
|
|
|
|
| plymouth37 |
Mar 12 2020, 09:33 AM
Post
#1467
|
|
Senior Member Group: Members Posts: 1,825 Joined: 24-May 05 From: Snoqualmie, WA Member No.: 4,138 Region Association: Pacific Northwest |
I threw some primer on the interior portions of the fenders after cleaning them up, whole new world doing metal work in the wet PNW, I used to be able to leave metal bare for years in Wyo/Co, not any more!
 Took the front wheels off, then started getting the fenders aligned for real with good door gaps, forgot how fiddly body work is... This is to set the exact location for the front pivot point, get the fenders in the right spot, mark it, add pivot points, then weld the hood on. 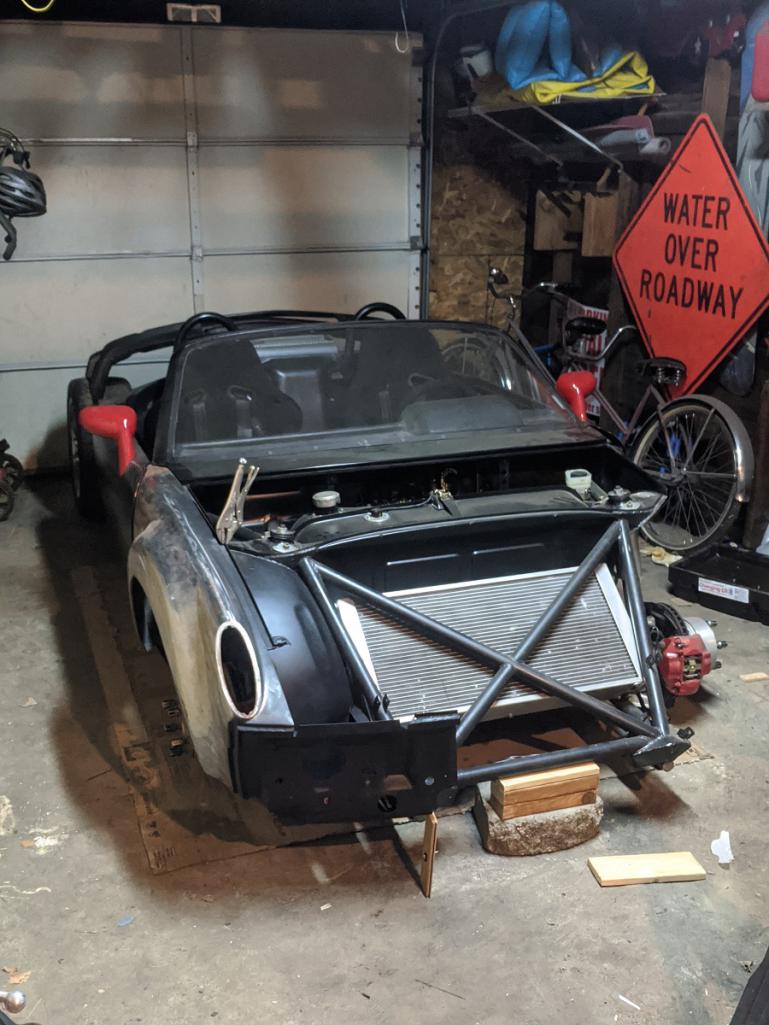 Had to do a bit of clearancing on the chassis but everything fits snug now. 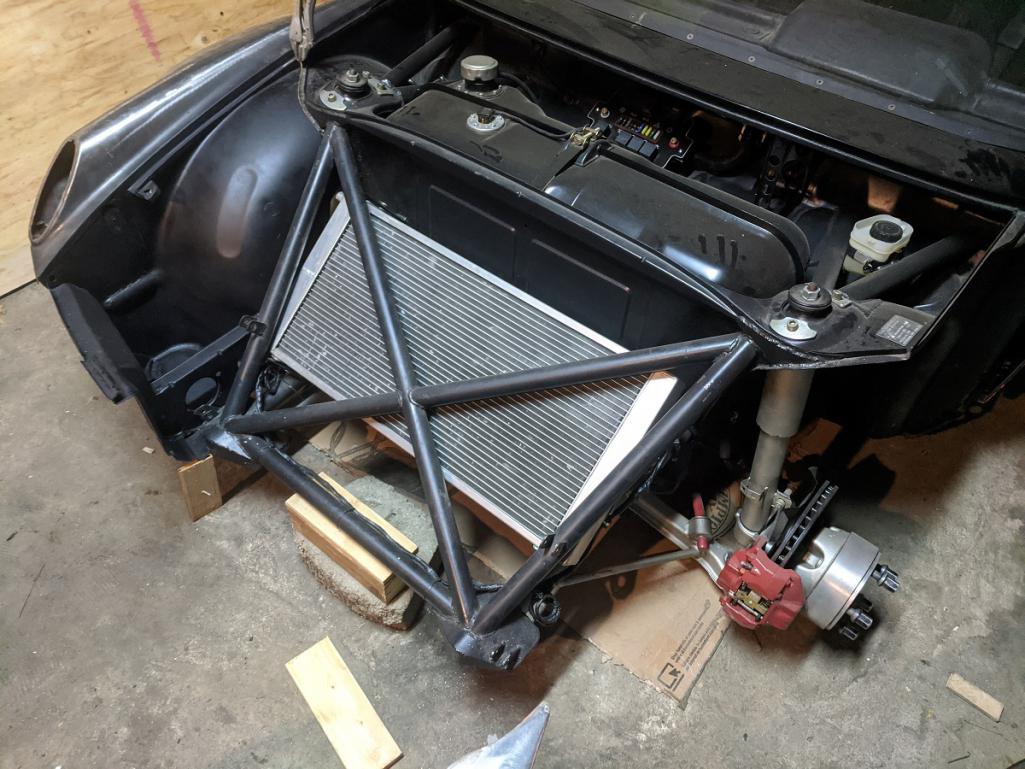 But now for the most important bit of news, I am upgrading my shop to 220, I used to have to drag a 50' extension cord to our dryer plug in the house to weld, which pretty much kept me from welding at all, not any more! Never had the luxury of just being able to turn on a welder and go, should be life changing for all of the panel welding I have on the horizon! 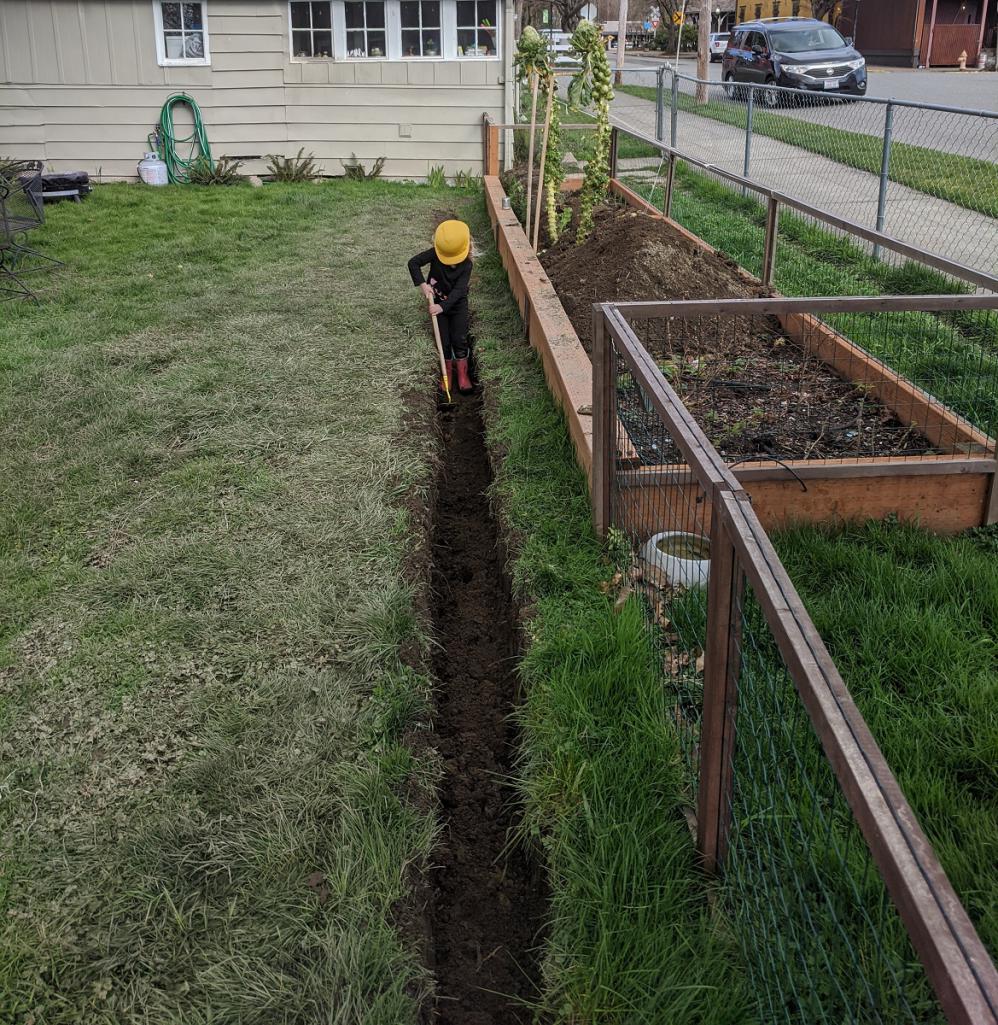 |
|
|
|
| Cairo94507 |
Mar 12 2020, 10:09 AM
Post
#1468
|
|
Michael Group: Members Posts: 10,631 Joined: 1-November 08 From: Auburn, CA Member No.: 9,712 Region Association: Northern California |
Great picture. Teach them young that life requires work. Love your project. (IMG:style_emoticons/default/beerchug.gif)
|
|
|
|
| plymouth37 |
Apr 9 2020, 10:43 AM
Post
#1469
|
|
Senior Member Group: Members Posts: 1,825 Joined: 24-May 05 From: Snoqualmie, WA Member No.: 4,138 Region Association: Pacific Northwest |
Well good news and bad news, bad news is we are under shelter in place orders for the foreseeable future, good news is I am sheltering in my garage...
Quick little project to start off, I think the lack of wipers on the car is the only actual violation on the car, time to make that situation a little less obvious... I bought some manual golf cart wipers, I like their blacked out minimal design. 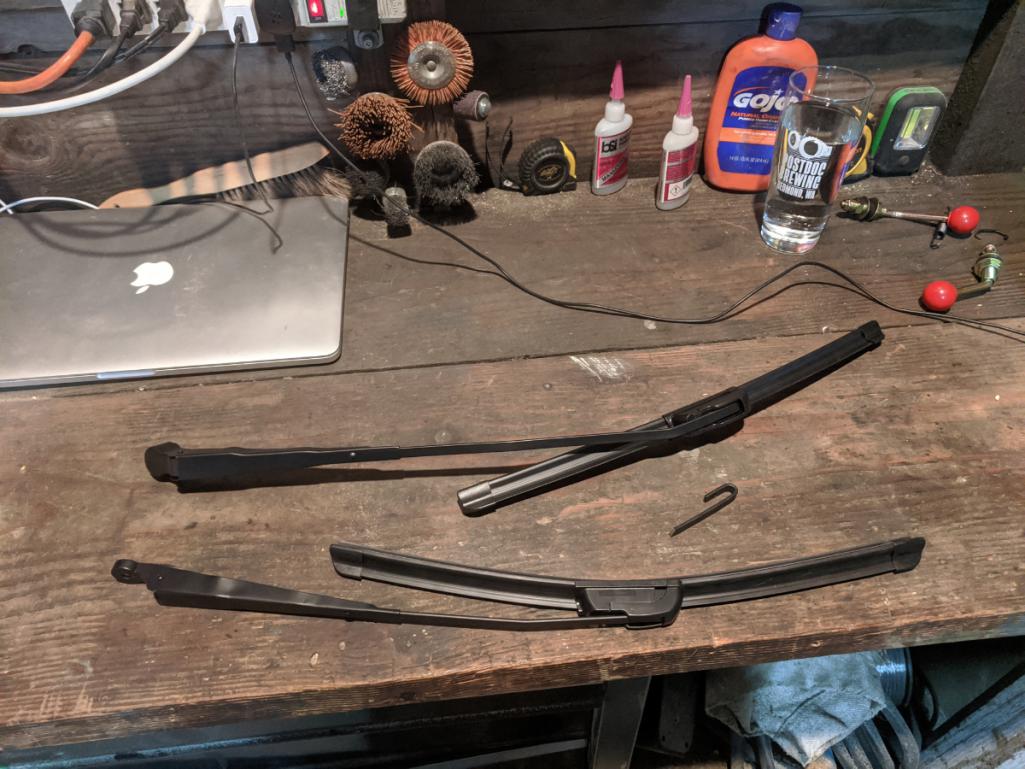 Then modified them to be straight and short enough for the chopped windshield.  Then bolted them on....  (IMG:style_emoticons/default/whistle[1].gif) |
|
|
|
| plymouth37 |
Apr 9 2020, 12:12 PM
Post
#1470
|
|
Senior Member Group: Members Posts: 1,825 Joined: 24-May 05 From: Snoqualmie, WA Member No.: 4,138 Region Association: Pacific Northwest |
Now onto some real work, I am rethinking the front tilt hinges and going to a simple pivot in the front, this causes issues in other spots but that is a problem for another day.
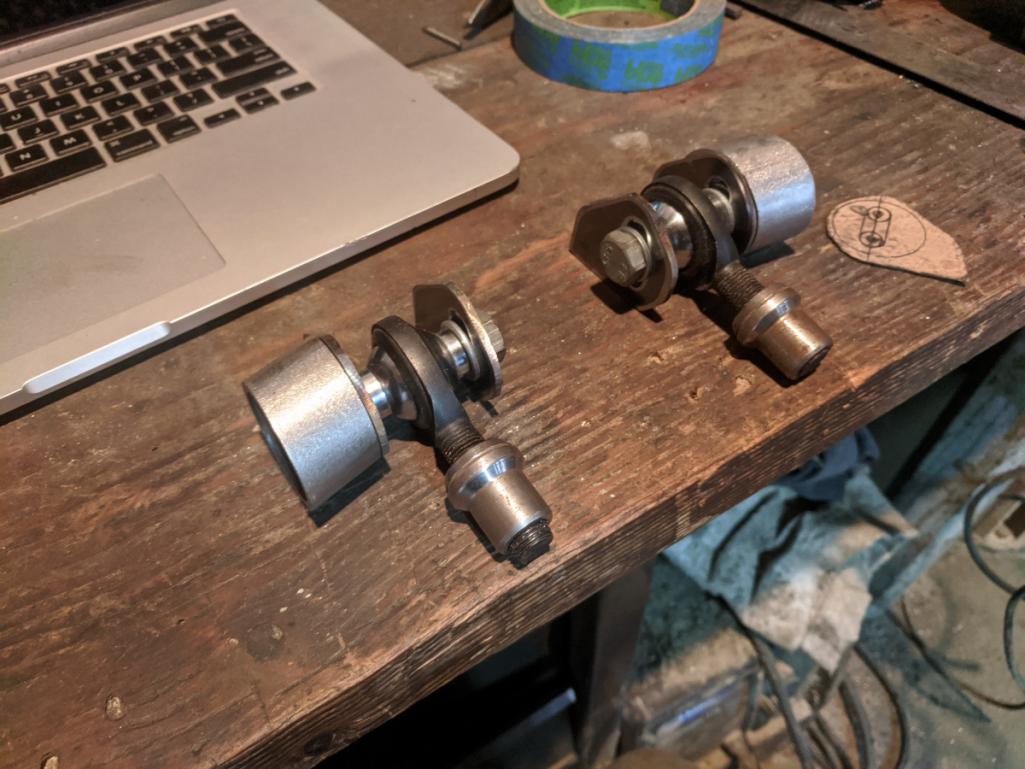 I prepped the fenders for their new attachment points: 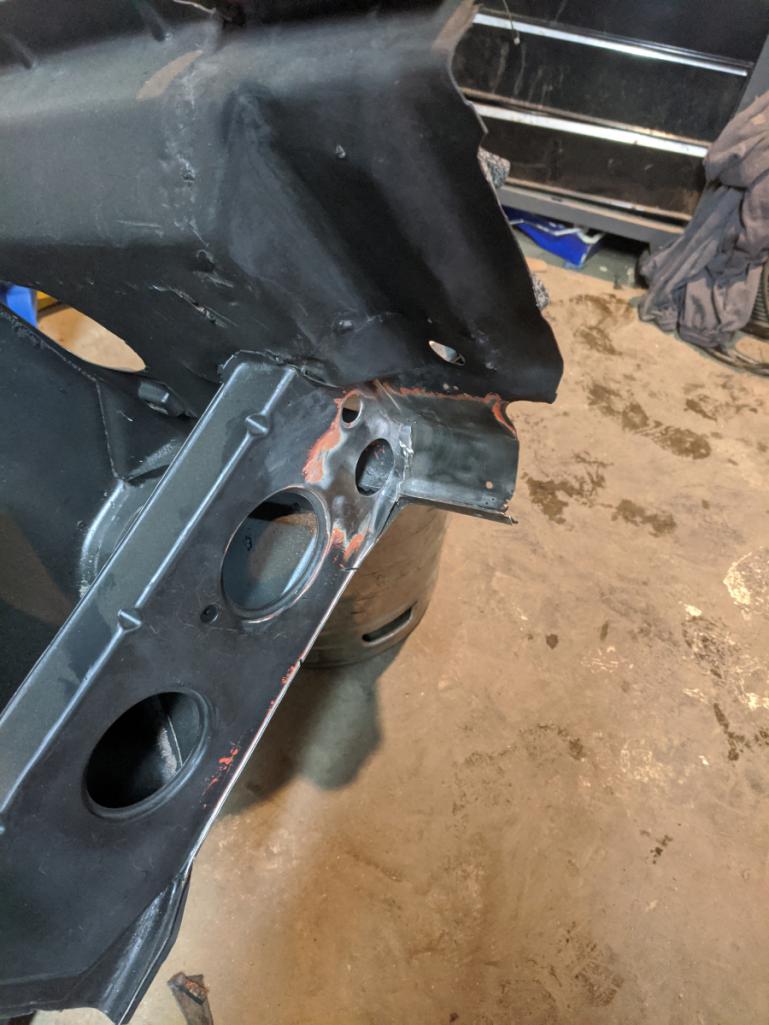 And welded them on: 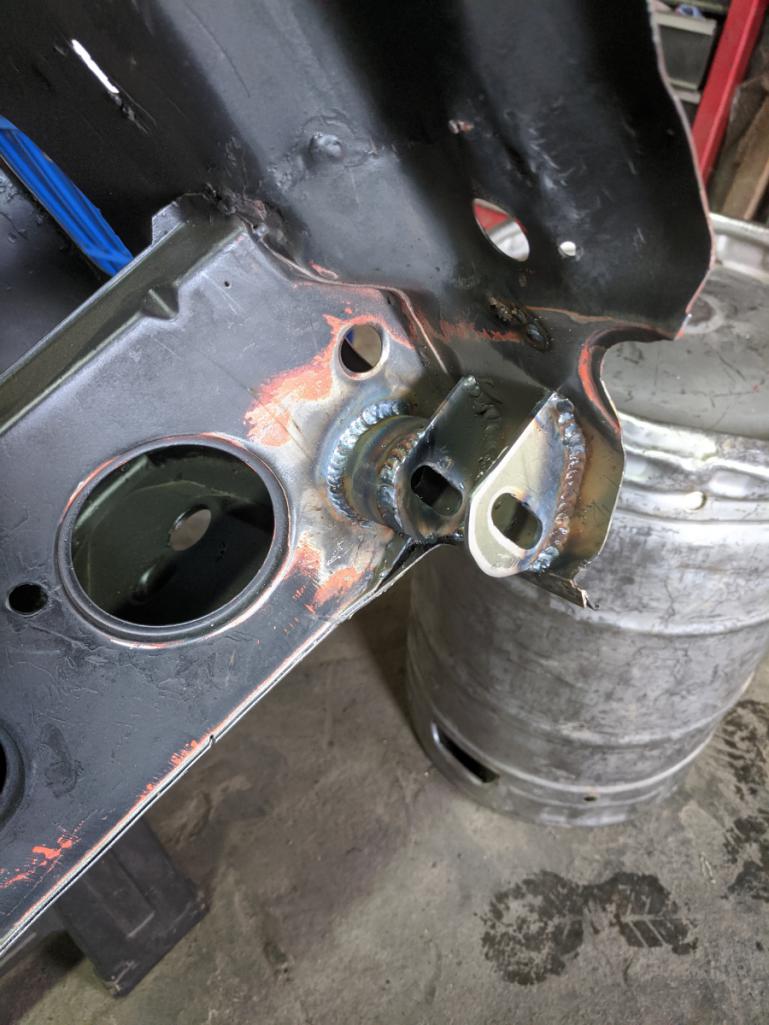 |
|
|
|
| plymouth37 |
Apr 9 2020, 01:00 PM
Post
#1471
|
|
Senior Member Group: Members Posts: 1,825 Joined: 24-May 05 From: Snoqualmie, WA Member No.: 4,138 Region Association: Pacific Northwest |
|
|
|
|
| plymouth37 |
Apr 13 2020, 09:16 AM
Post
#1472
|
|
Senior Member Group: Members Posts: 1,825 Joined: 24-May 05 From: Snoqualmie, WA Member No.: 4,138 Region Association: Pacific Northwest |
I cut off the old tilt front brackets, and cleaned up the front a little bit.
 Welded in the mounts for the new front pivots. 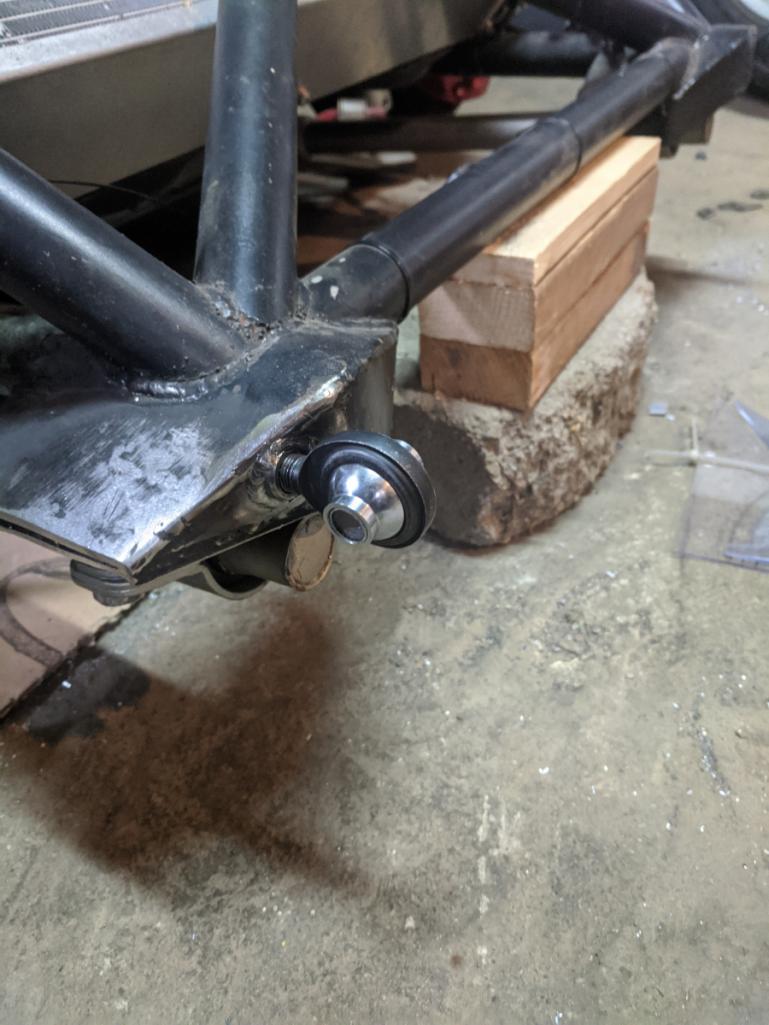 Then mounted the fenders to the new mounts. 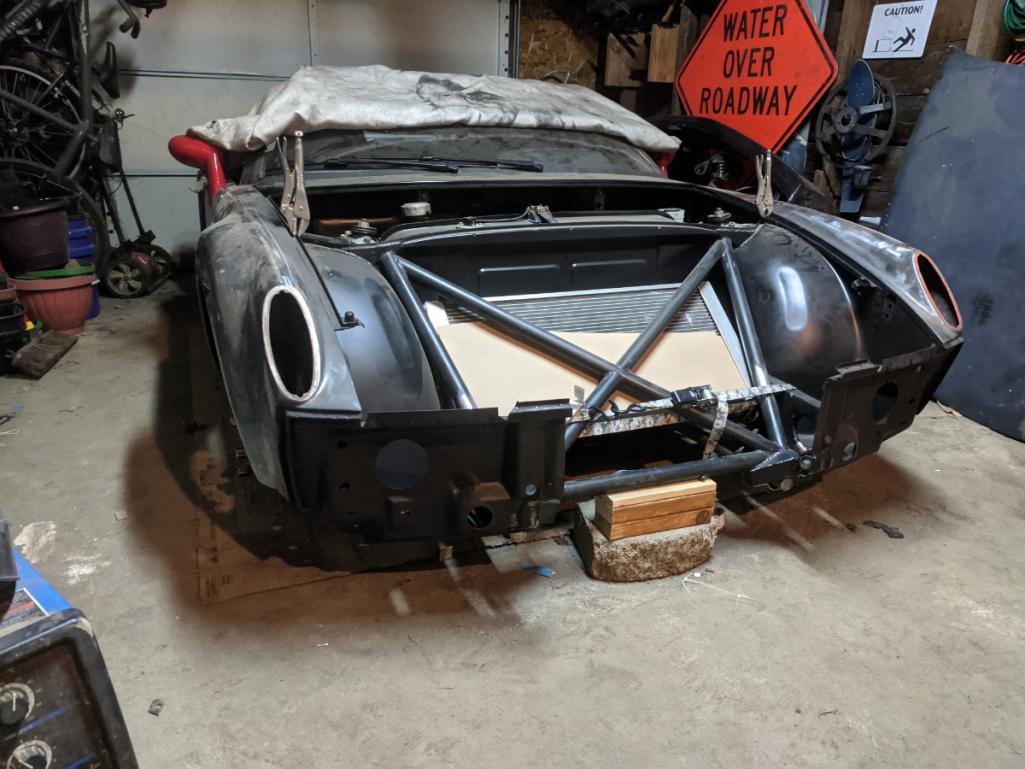 |
|
|
|
| dan10101 |
Apr 13 2020, 10:03 AM
Post
#1473
|
|
TORQUE-o-holic Group: Members Posts: 1,140 Joined: 29-April 03 From: Eagle Point, Or Member No.: 626 Region Association: Pacific Northwest |
QUOTE(plymouth37 @ Apr 13 2020, 08:16 AM) I cut off the old tilt front brackets, and cleaned up the front a little bit. Welded in the mounts for the new front pivots. Then mounted the fenders to the new mounts. Nice work! I can't wait to see it tilt. |
|
|
|
| Asheikh |
Apr 13 2020, 11:31 AM
Post
#1474
|
|
Newbie Group: Members Posts: 48 Joined: 7-August 15 From: Pakistan Member No.: 19,037 Region Association: Pakistan |
I Absolutely love this build!
|
|
|
|
| MidshipMadness |
Apr 13 2020, 11:44 AM
Post
#1475
|
|
Newbie Group: Members Posts: 27 Joined: 28-March 20 From: Hudson, WI Member No.: 24,064 Region Association: None |
Very cool project!
|
|
|
|
| plymouth37 |
Apr 14 2020, 04:22 PM
Post
#1476
|
|
Senior Member Group: Members Posts: 1,825 Joined: 24-May 05 From: Snoqualmie, WA Member No.: 4,138 Region Association: Pacific Northwest |
Now that I am setting panel gaps for real I need to make some tools to hold panels in the correct location. I cut out all the ingredients for some panel clamps.
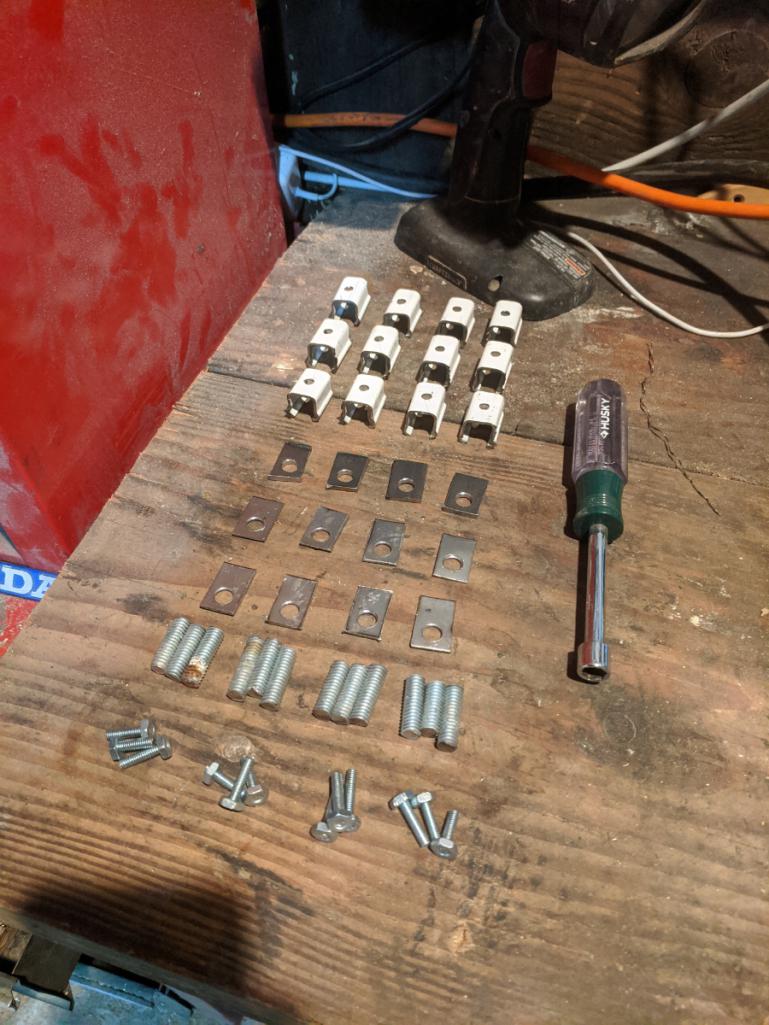 Welded them up. 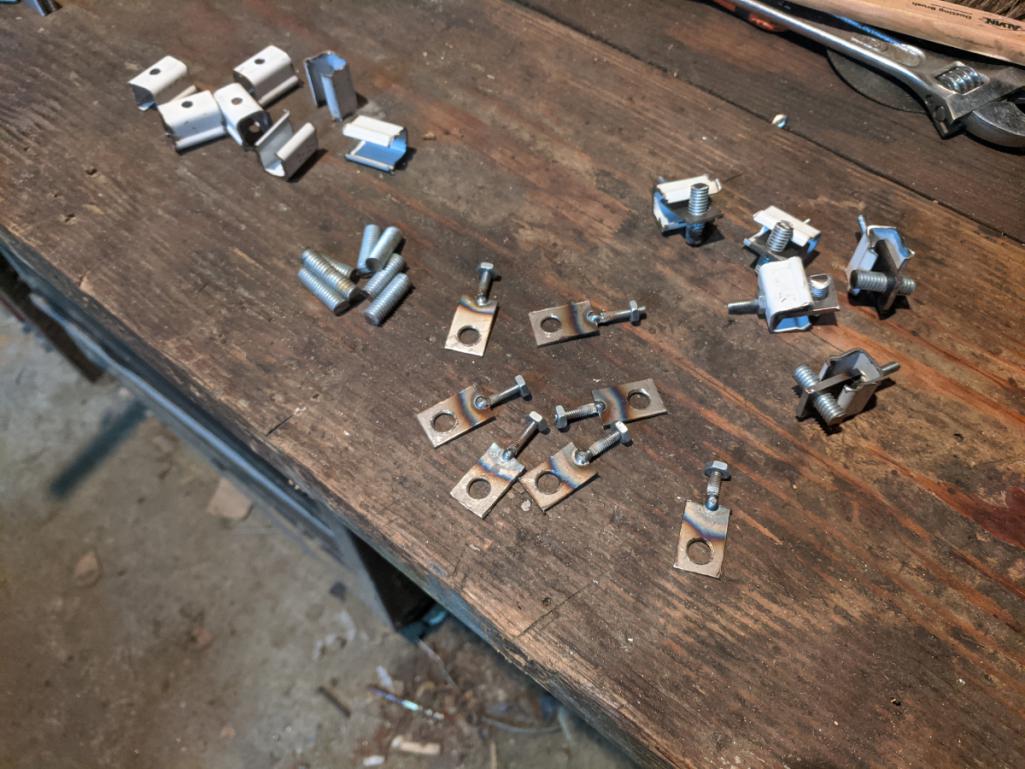 I also 3D printed some panel spacers.  |
|
|
|
| plymouth37 |
Apr 14 2020, 04:27 PM
Post
#1477
|
|
Senior Member Group: Members Posts: 1,825 Joined: 24-May 05 From: Snoqualmie, WA Member No.: 4,138 Region Association: Pacific Northwest |
i am pretty pleased with the 3D printed door spacers, they hold the gap perfect.
 Other clamps are working well too. 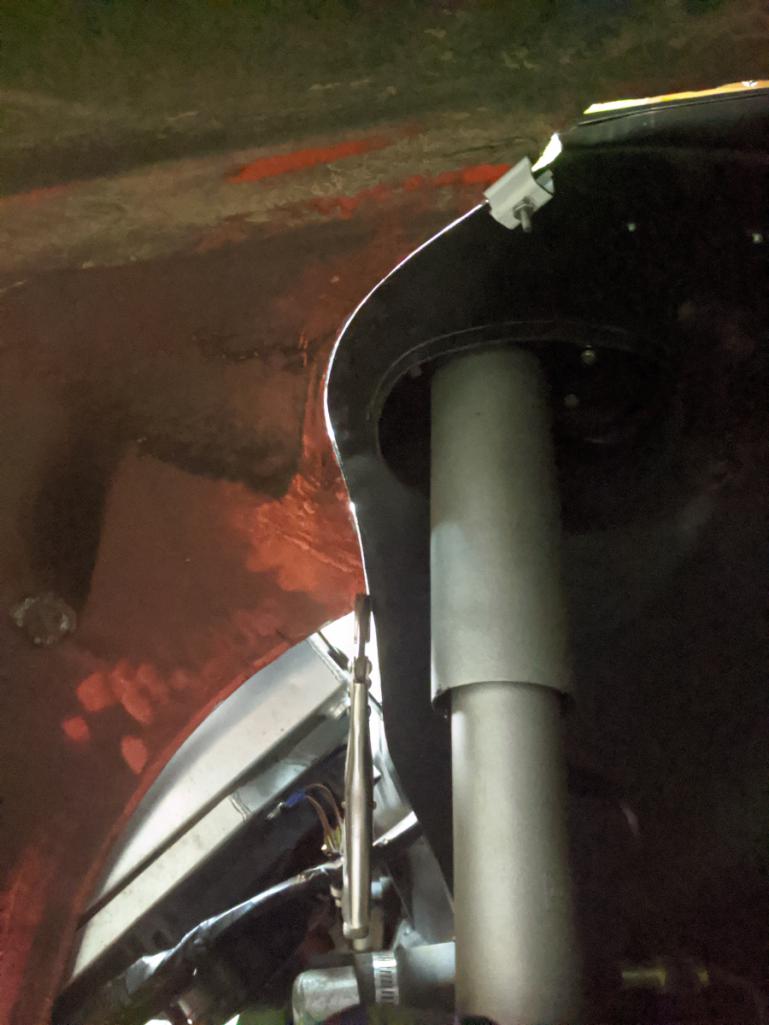 Now the fenders really seem to be in the right spot and ready to meet the hood. 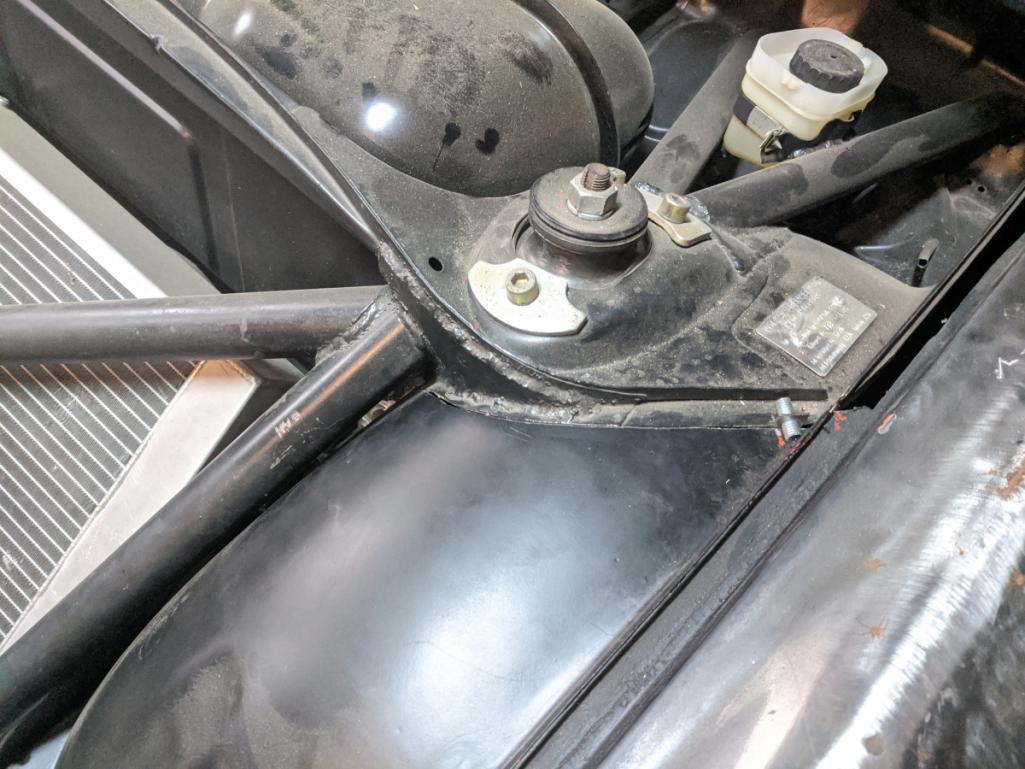 |
|
|
|
| Asheikh |
Apr 16 2020, 11:02 AM
Post
#1478
|
|
Newbie Group: Members Posts: 48 Joined: 7-August 15 From: Pakistan Member No.: 19,037 Region Association: Pakistan |
do u still have your break active spoiler....? can you please share more information on it
|
|
|
|
| plymouth37 |
Apr 23 2020, 03:47 PM
Post
#1479
|
|
Senior Member Group: Members Posts: 1,825 Joined: 24-May 05 From: Snoqualmie, WA Member No.: 4,138 Region Association: Pacific Northwest |
QUOTE(Asheikh @ Apr 16 2020, 11:02 AM) do u still have your break active spoiler....? can you please share more information on it I may make another one, that was a relay logic board (would use an arduino now) powering a couple linear actuators attached to a cut portion of the original trunk lid. didn't have it for long, can't even find a pic! |
|
|
|
| plymouth37 |
Apr 23 2020, 04:00 PM
Post
#1480
|
|
Senior Member Group: Members Posts: 1,825 Joined: 24-May 05 From: Snoqualmie, WA Member No.: 4,138 Region Association: Pacific Northwest |
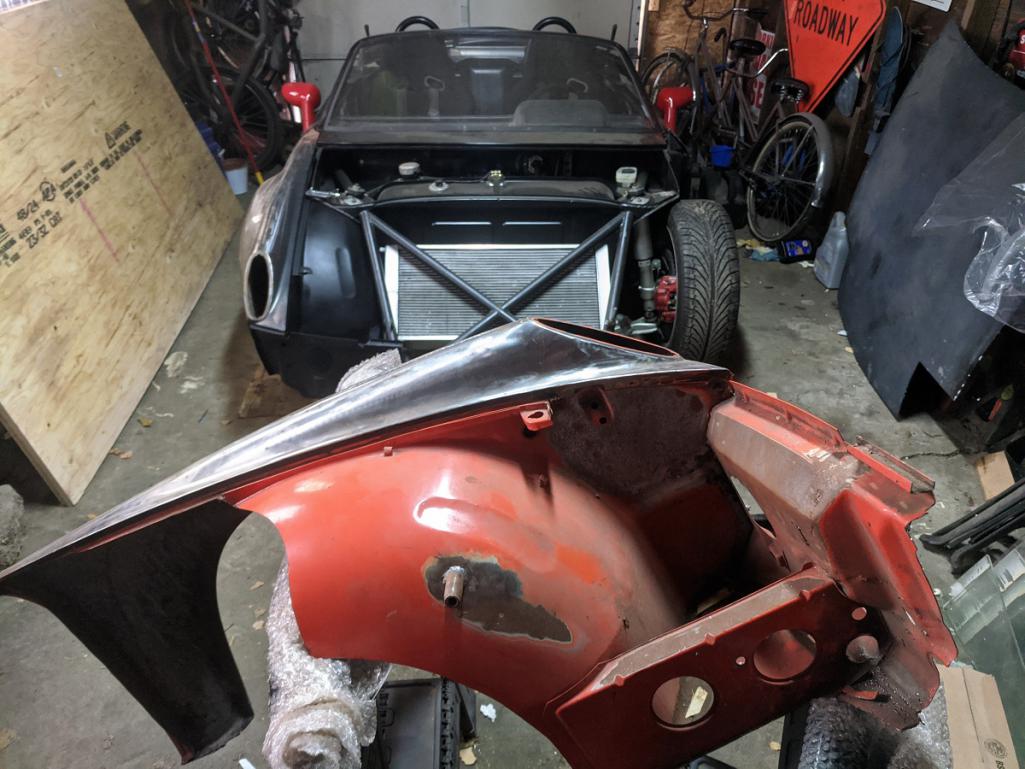
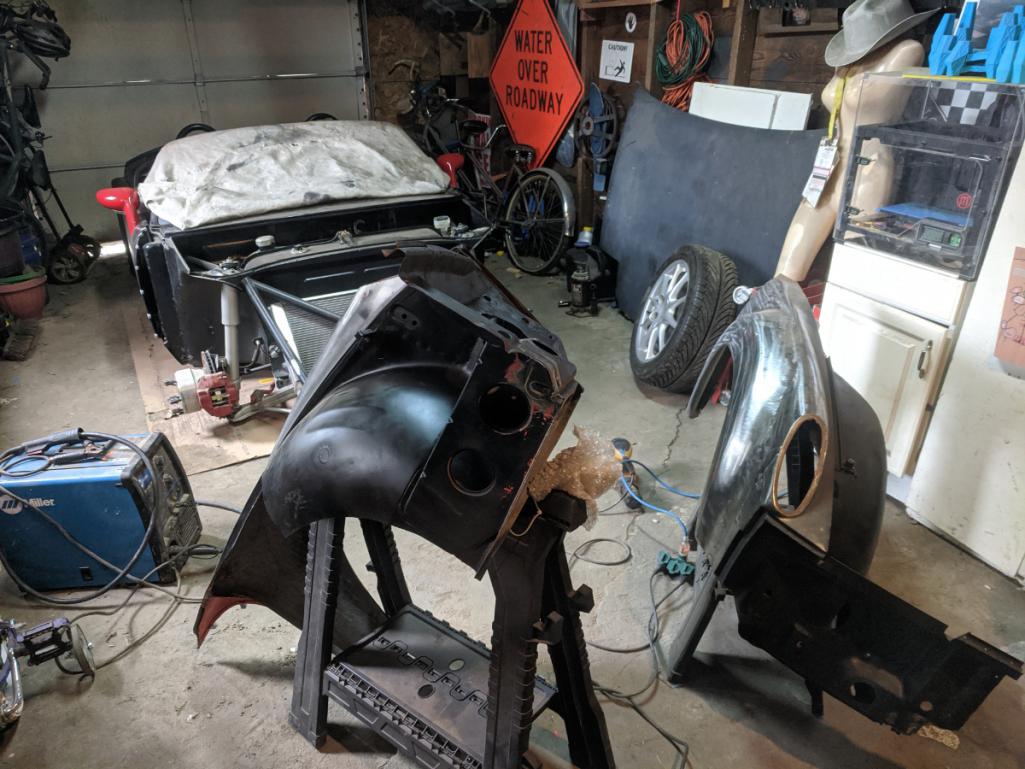
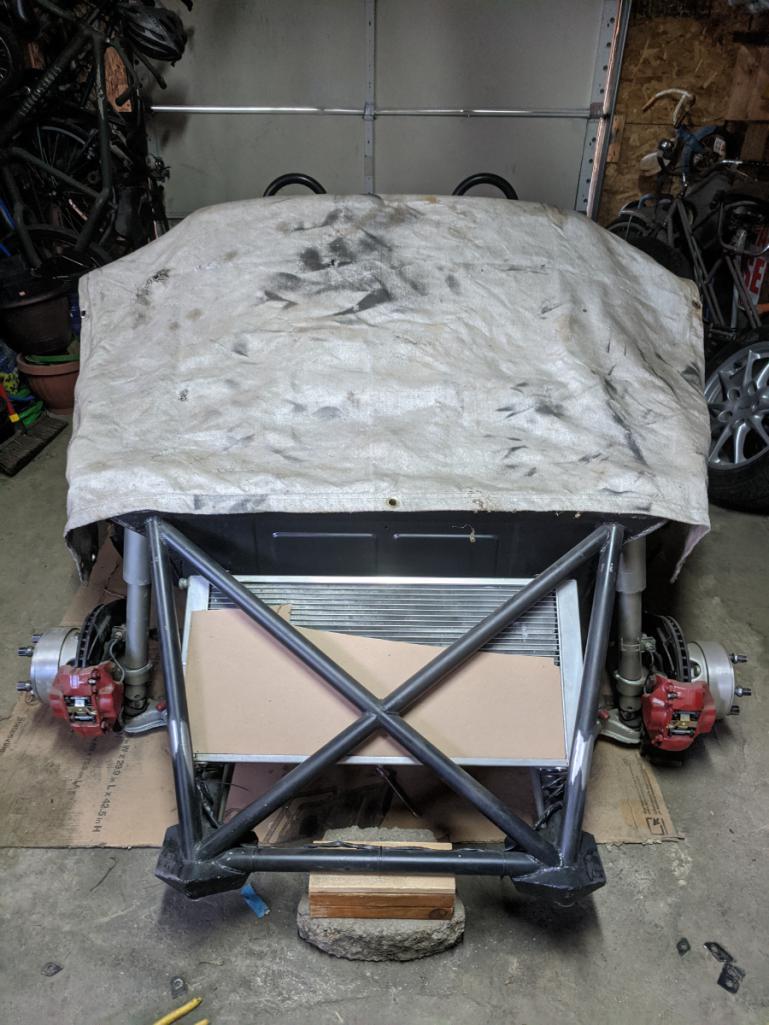
I used a flat sheet held against the cage to mark the inner wheelwell that needed to be clearanced.
 Then marked and cut out the excess material. 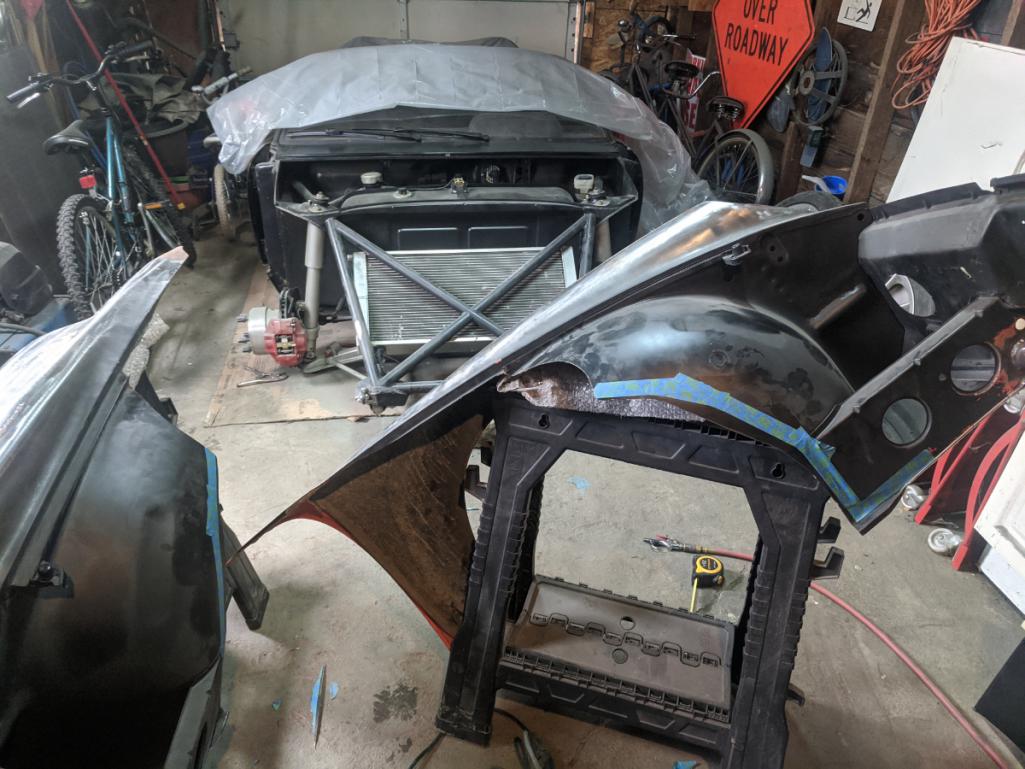 Finally I mocked up the front end for the 100th time, this time though I bolted them onto the pivots, then temporarily reinforced with an appropriate amount of plywood (IMG:style_emoticons/default/sawzall-smiley.gif) 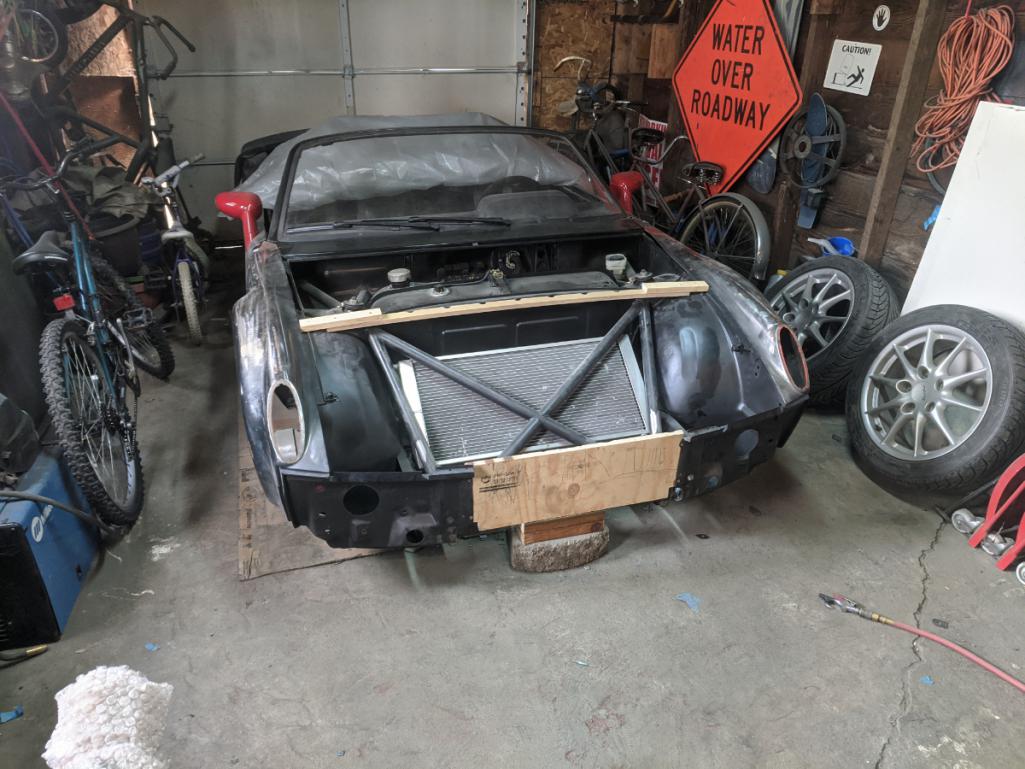 |
|
|
|
|
6 User(s) are reading this topic (6 Guests and 0 Anonymous Users)
0 Members:

|
Lo-Fi Version | Time is now: 14th May 2026 - 04:11 AM |
Invision Power Board
v9.1.4 © 2026 IPS, Inc.