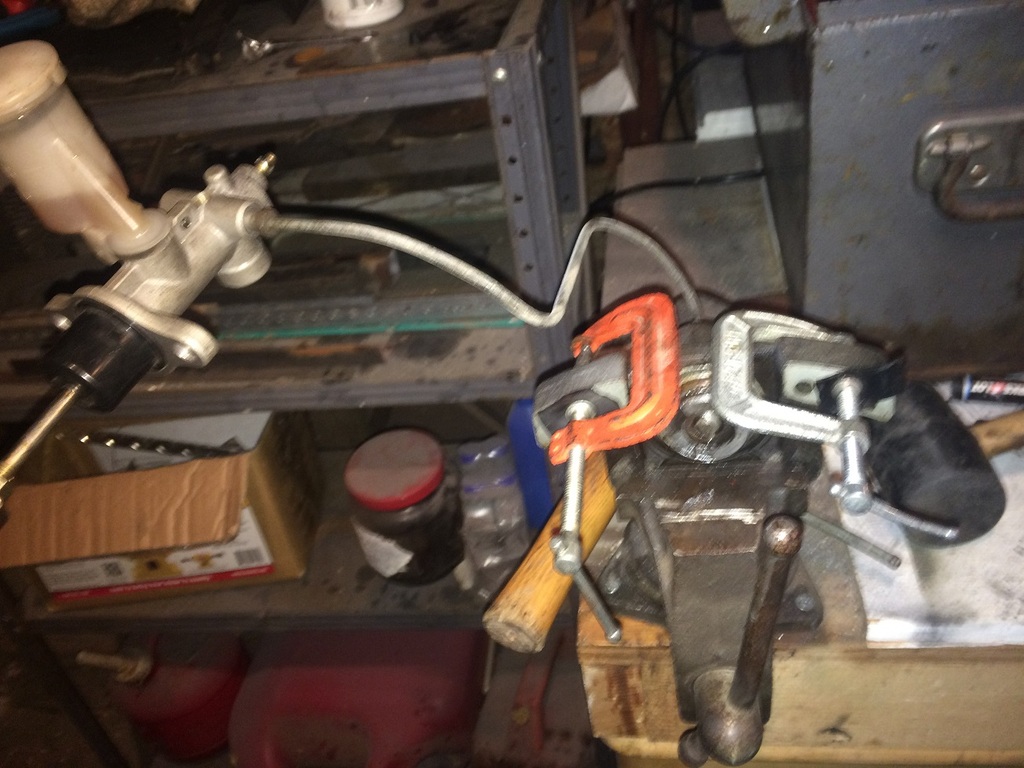
ClutchI decided to go with the Subaru clutch master cylinder. There has been a lot of discussion about clutch travel and which master cylinder to buy. Some guys are going with the civic master cylinder. Some advantages with the Civic are the remote fill reservoir since you can't fit the fill reservoir under the pedals and the firewall. I am still working on plumbing a remove reservoir to the approximate location of the brake fill reservoir. This will take some doing as there are no threads in the master clutch cylinder where the reservoir is mounted.
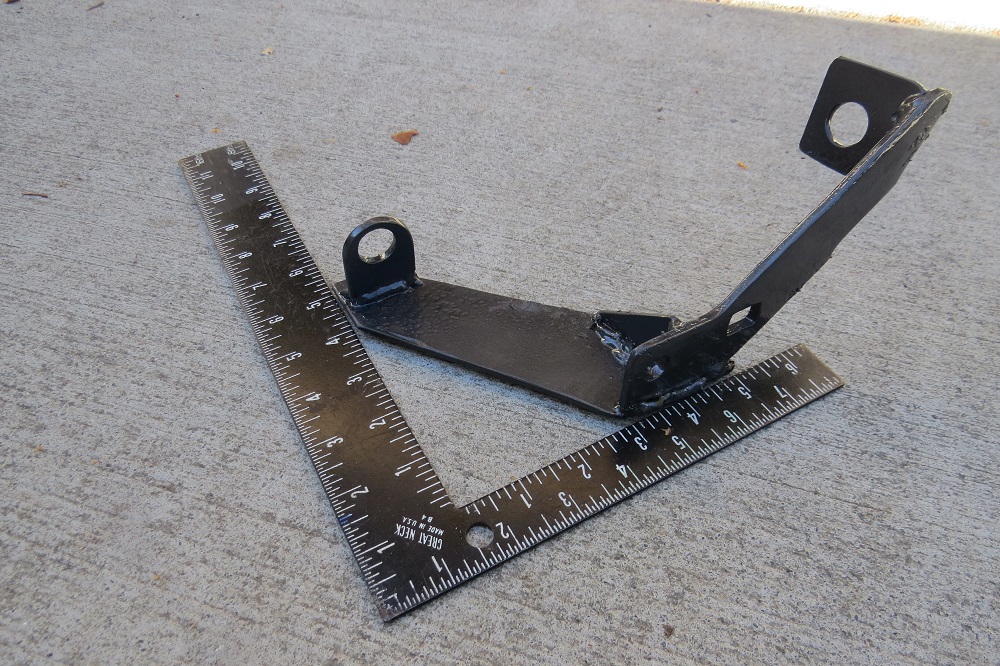
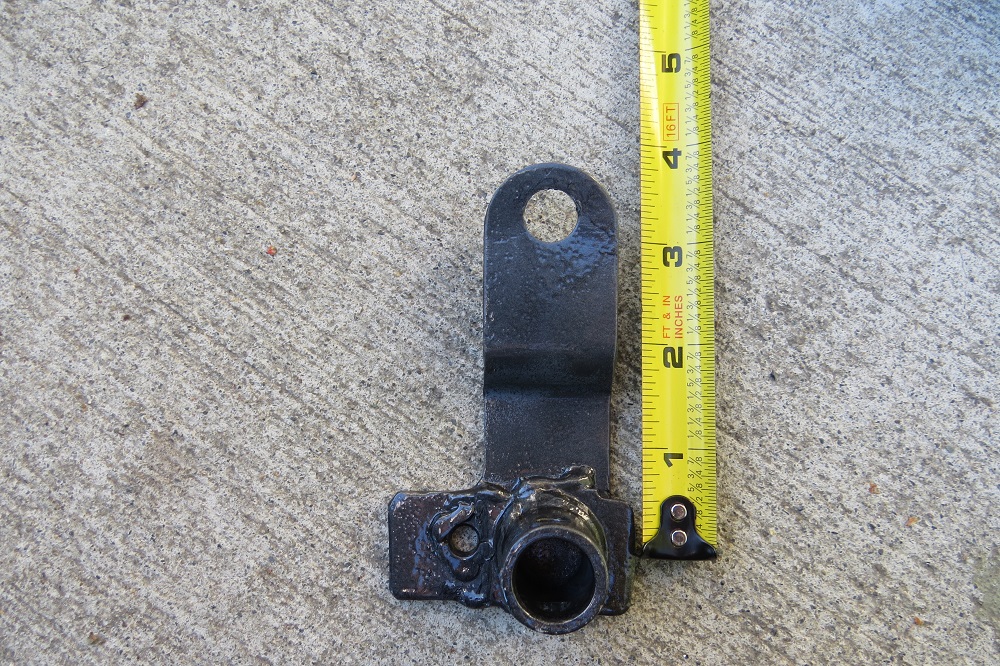
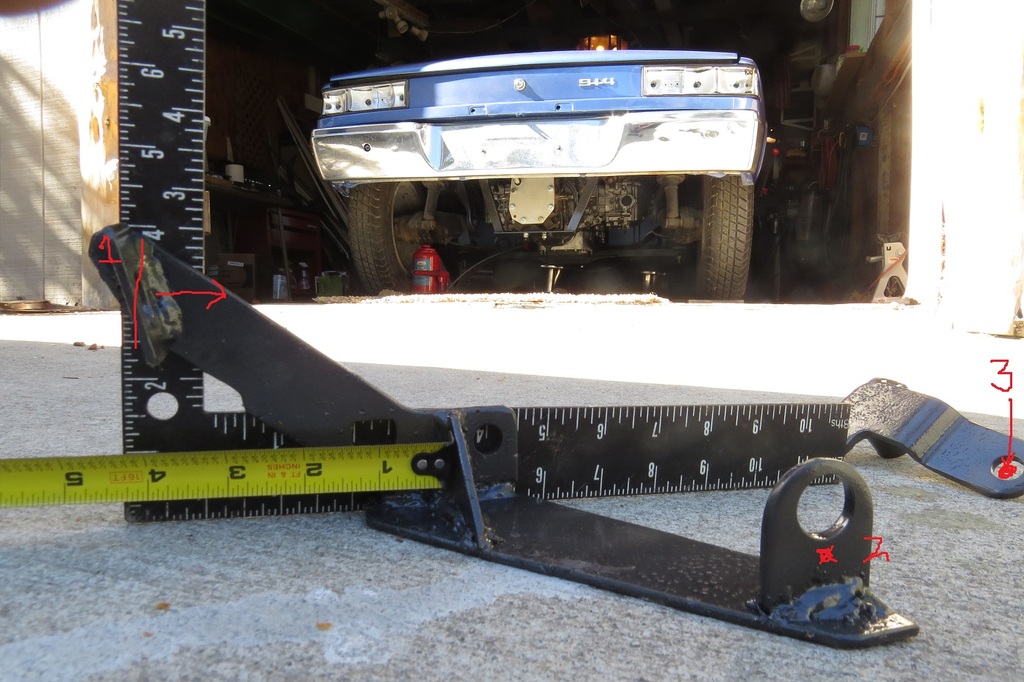
Having decided on a master cylinder, I built a bracket for under the pedals similar to those who have gone before.
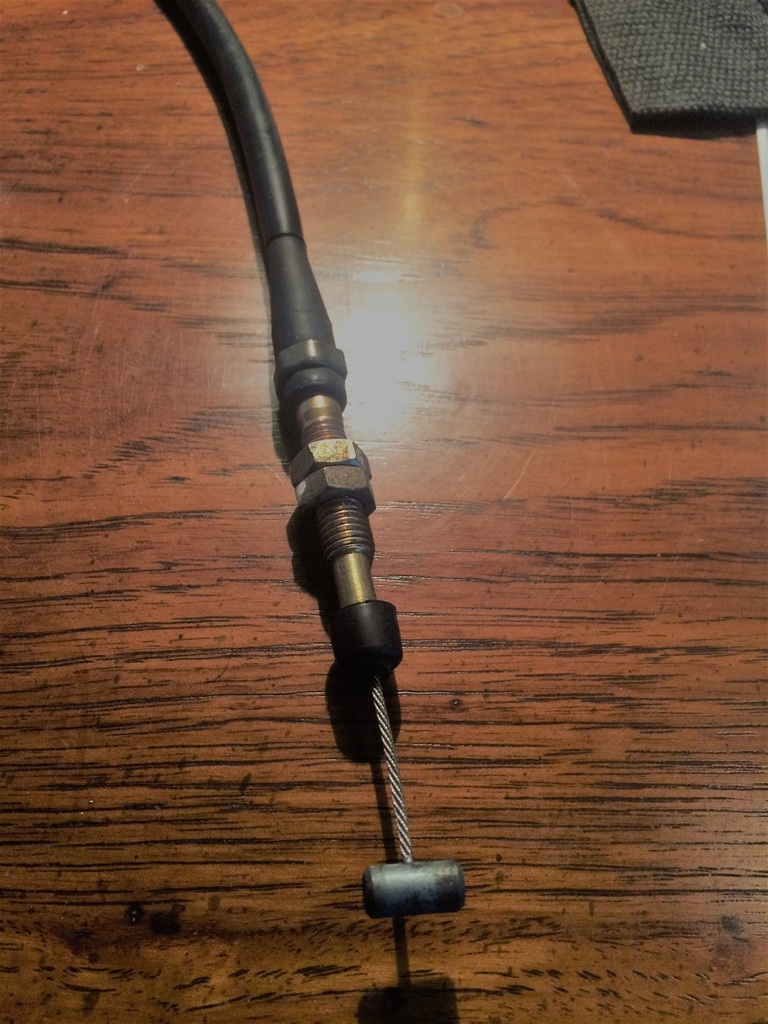
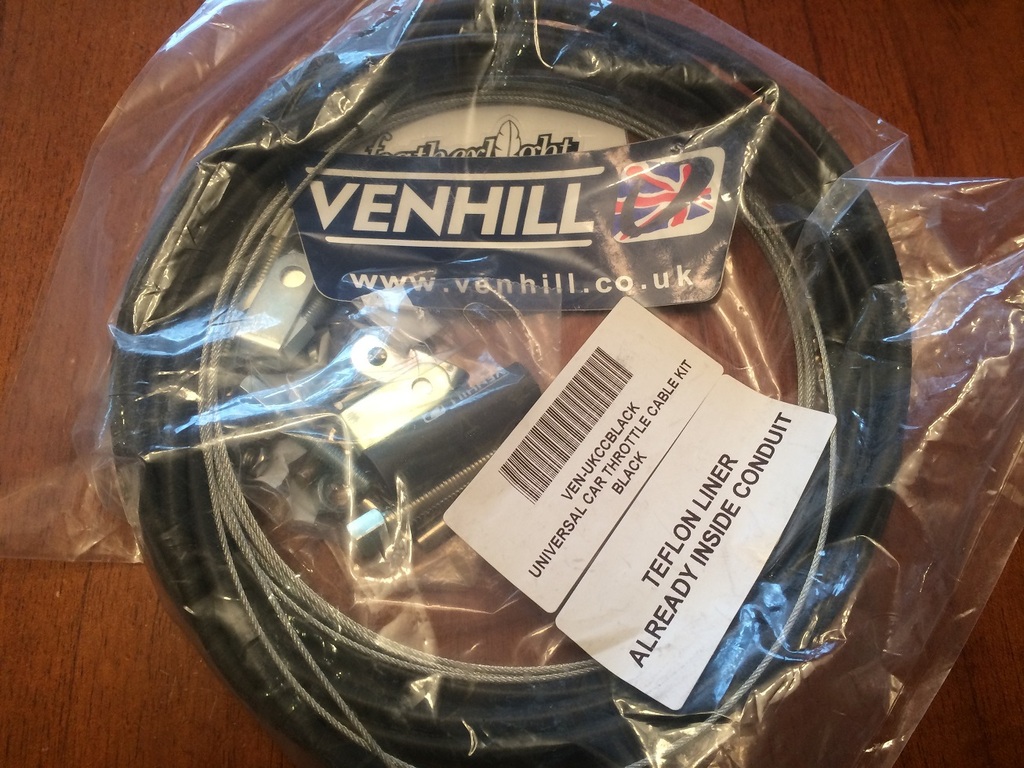
The next mystery is a hose for the clutch line to take the fluid from the master to the slave. You've probably done this before: I went down to the local auto store and sifted through a bunch of brake lines that might fit. I bought 4.8 mm hard lines with 3/8ths ends. I tried them at the store and they seemed to fit... When I brought them home, I noticed they were not quite the right size...
Again, after a lot of time on the net I have learned a bit about hoses. What I should have bought at first was 10mm fittings with 3AN line. 10mm and 3/8 ends will thread together, but won't tightly seal and will probably strip the threads. I found a website for Pegasus Auto and had a line custom made.
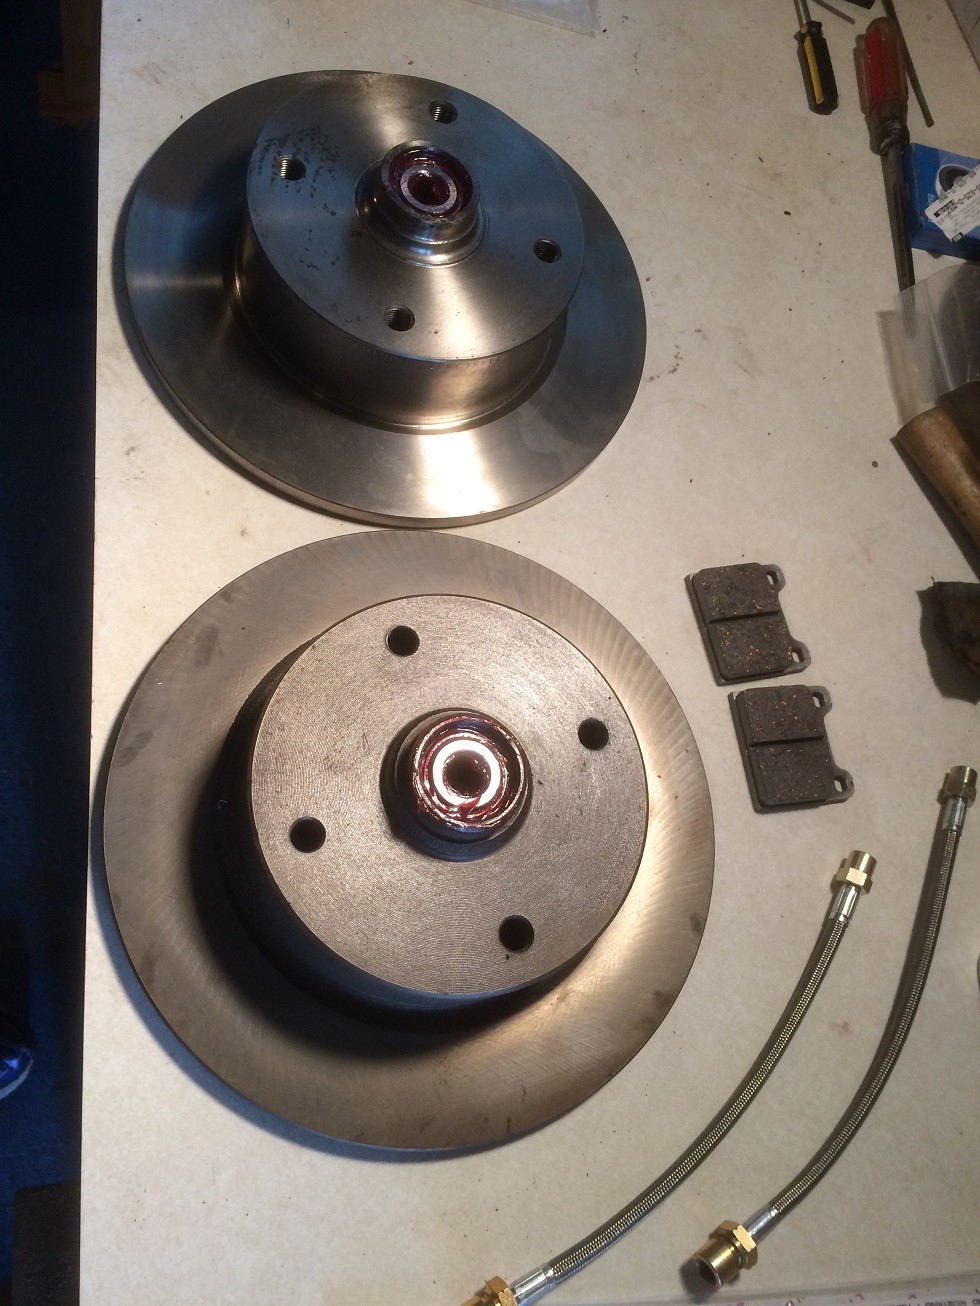
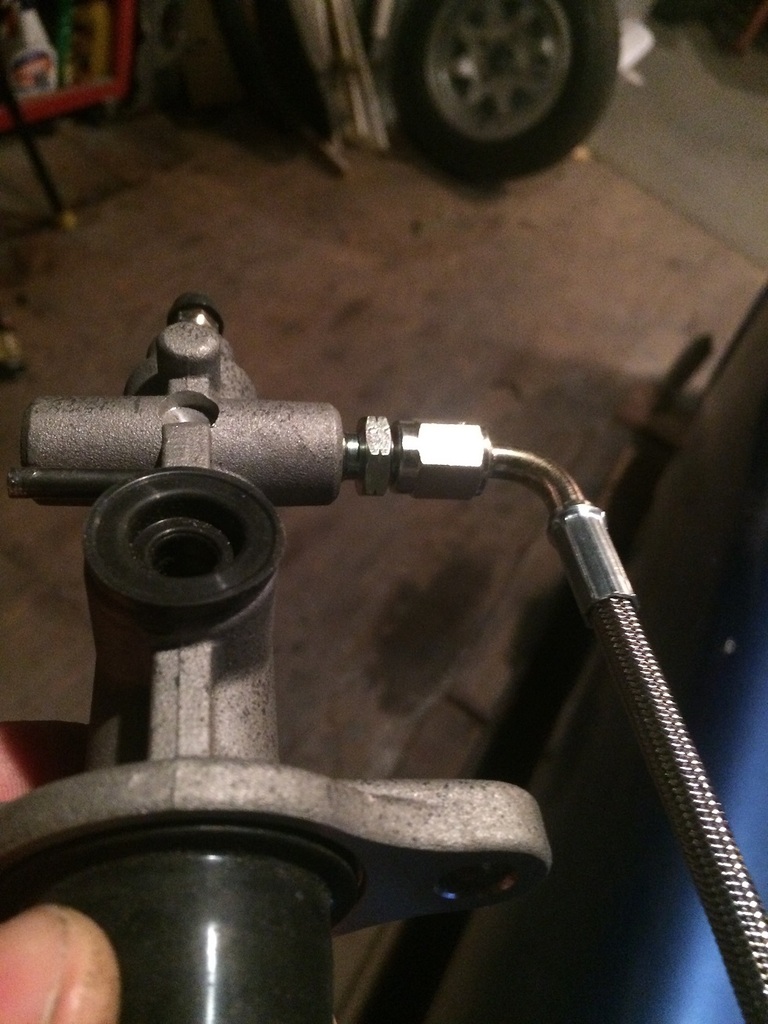
So this is the winning formula for the Porscheru Clutch Line:
#3 Stainless Steel Braided PTFE Brake/Clutch Hose 10 feet long. (A little extra).
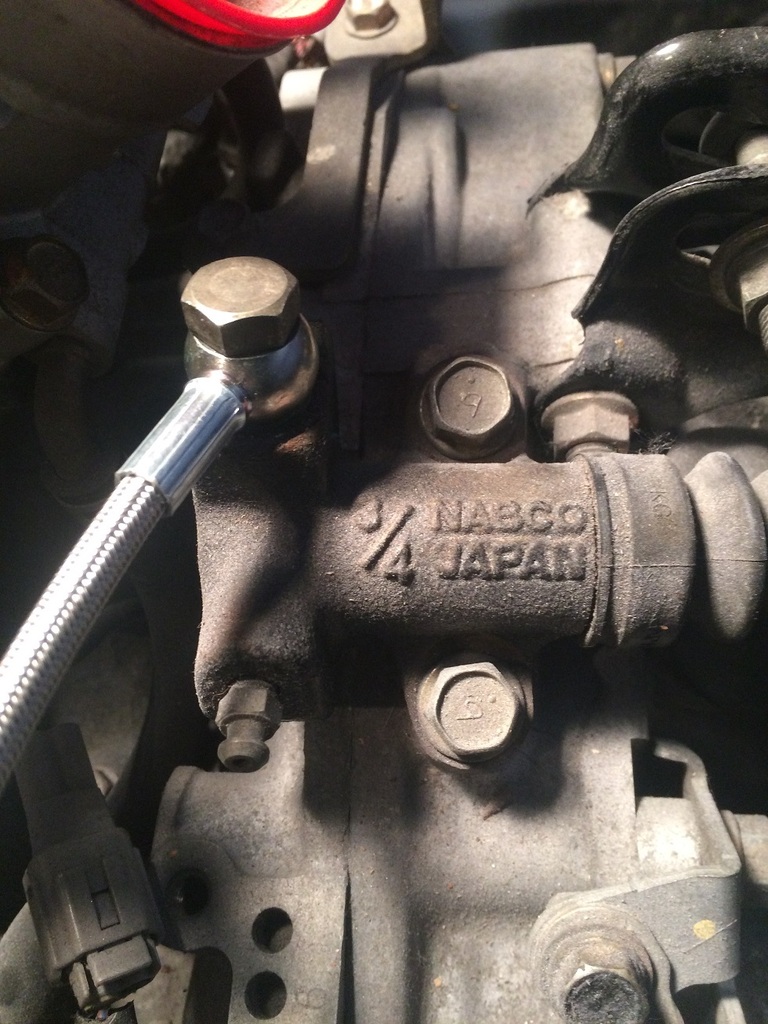
-3 Swaged Hose End. 10 mm Banjo Straight Steel. The 10 mm Banjo fits but is a bit thick. Notice that your Subaru Banjo is fairly narrow.
-3 Swaged Hose End. 3AN Female 90 Degree, Steel.
Male 10 x 1 mm Metric Concave Seat to 3AN Male, Steel. (The concave inside seat is very important). All for about $100.
Clocking is not necessary with the banjo on the far end and the length of line, plus the swivel on the 90. Clocking allows the fittings to be set so that when tightened the line points in a given direction.
Otherwise the closest thing I could find that is not custom would be a Honda Accord clutch line, but they are only 60" long.


 . Still your going to have it drivable
  . Seriously cool
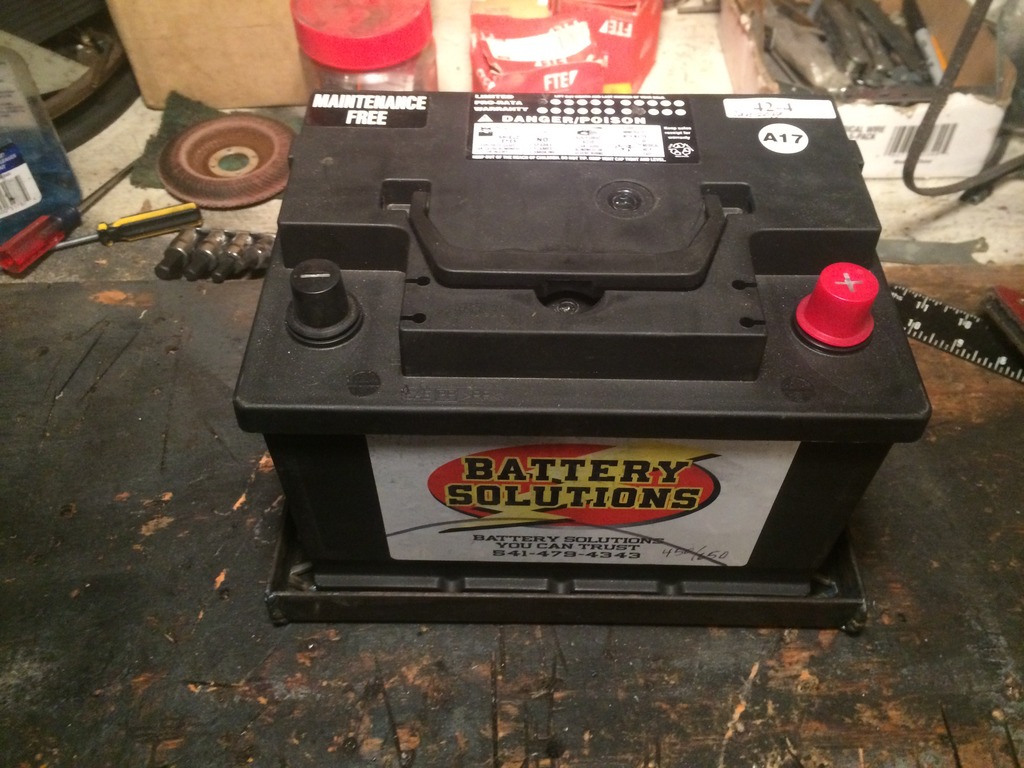
 Miata Sealed, Gel Mat and small plenty of cranking amps. And not that expensive.
 I am not sure which battery he is using looks like an Odyssey to me.