Help - Search - Members - Calendar
Full Version: Trans gear flip. Can I do it?
914World.com > The 914 Forums > 914World Garage
Han Solo
I'll probably get more eyes on the thread in the Garage.

I've got a spare 901 trans purchased about 2 years ago. No idea how many miles are on it or what year car it came off of. What I do know is I need a different gear set for my Prepared '73 914 autocross car. I've read through the gear set charts and I believe the flipped 3rd and 5th will get me where I need to go.

So today I got that trans on the bench, drained the fluid and removed the rear cover. Those of you who know what they're looking at, please let me know how 1st gear slider and dog teeth look in the photos.

My initial observations are that those look pretty good. I noted that someone had installed a magnetic drain plug. That had done it's job and there was about 1/2" of metallic goo stuck around the inside of the plug. The gear oil came out pretty clean with only very slight traces of micro particles.

I just read Bondo's thread on trans disassembly and it's pretty intense. There's also no mention of the 3rd and 5th gear flip so I've got no clue exactly what that procedure is.

914 transmission disassembly

IPB Image

IPB Image

IPB Image

IPB Image

IPB Image

IPB Image

IPB Image
jimkelly
I think slider (the side shown, anyway) is usable

but dog teeth need to be replaced for sure.

others will chime in.
r_towle
Too hard to see for a decent opinion.

For the flipping of the gears, pull the gear stack.
When you lay them next to each other you will see they can only fit a certain way.

When you take the fifth gears off, and exchange them to the different shafts, it still fits together...

You have two shafts.
The long one is the drive shaft, connected to the engine.
The short one is the driven shaft, it gets its power from the drive shaft.

So, take the fifth gears off.
Take the 4th and 3rd gears off too.
Keep the orientation correct, front and back.
Now, take the fifth driven gear and put it on the drive shaft in position 3
Take the 5th drive gear and put it on the driven shaft in position three.
Do that swap for both 5th and third, put fourth back the way you found it.

Fifth is the farthest away from the clutch.

Make sense?
0396
Dog teeth and syncro band looks like it past its life.
Han Solo
QUOTE(r_towle @ Dec 27 2015, 03:42 PM) *


So, take the fifth gears off.
Take the 4th and 3rd gears off too.
Keep the orientation correct, front and back.
Now, take the fifth driven gear and put it on the drive shaft in position 3
Take the 5th drive gear and put it on the driven shaft in position three.
Do that swap for both 5th and third, put fourth back the way you found it.

Fifth is the farthest away from the clutch.

Make sense?


That's exactly what I needed to know! So you're actually swopping gears instead of flipping them. Makes perfect sense.
Han Solo
QUOTE(396 @ Dec 27 2015, 06:21 PM) *

Dog teeth and syncro band looks like it past its life.


Yeah, as I looked more closely today at the dog teeth, I'm inclined to agree. Most threads I've read recommend replacing all the syncros while you're in there.

So the the most important tool to do this is the Shift Fork Jig, correct?

914 Shift Fork Jig

Having the Syncro Hub Removal Tool would be handy but there's other ways to extract those.
r_towle
QUOTE(Han Solo @ Dec 27 2015, 09:57 PM) *

QUOTE(r_towle @ Dec 27 2015, 03:42 PM) *


So, take the fifth gears off.
Take the 4th and 3rd gears off too.
Keep the orientation correct, front and back.
Now, take the fifth driven gear and put it on the drive shaft in position 3
Take the 5th drive gear and put it on the driven shaft in position three.
Do that swap for both 5th and third, put fourth back the way you found it.

Fifth is the farthest away from the clutch.

Make sense?


That's exactly what I needed to know! So you're actually swopping gears instead of flipping them. Makes perfect sense.

Both gears, meaning they move in pairs.
The drive and driven gears are matched sets.
Otherwise they don't fit.

Bleyseng
I did the flipping years ago for AX and it was barely ok. I installed the 3rd and 4th gears out of a 912 for a close ratio gear box and it was fantastic. I am still running that gear box as it's sooo much fun even in town. 5th gear is like a overdrive after you run though 1st thru 4th... but really for AX you hardly use 4th but 3rd is most important for a big course.
Han Solo
Okay. I went in deep today and here's what I found...

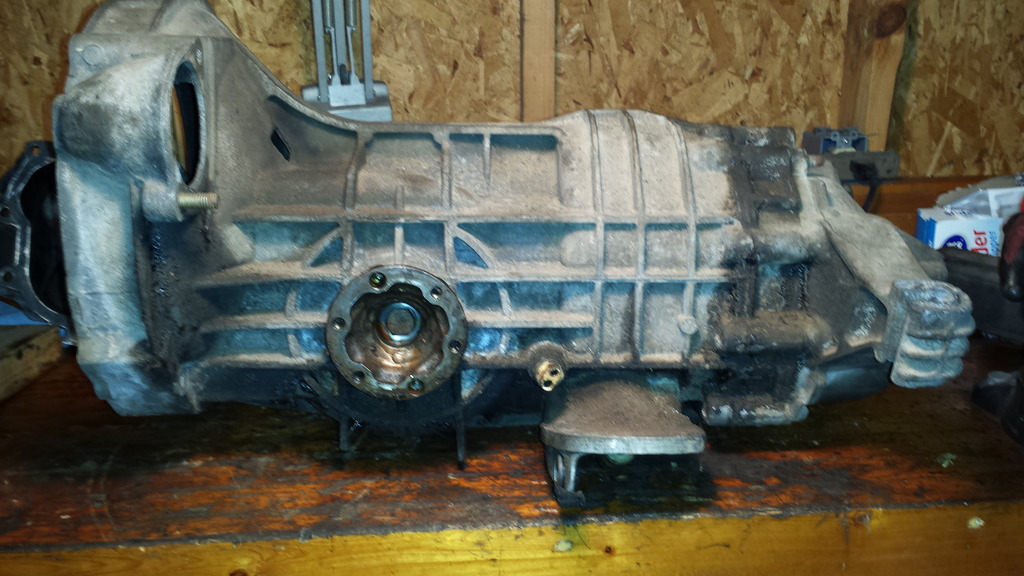
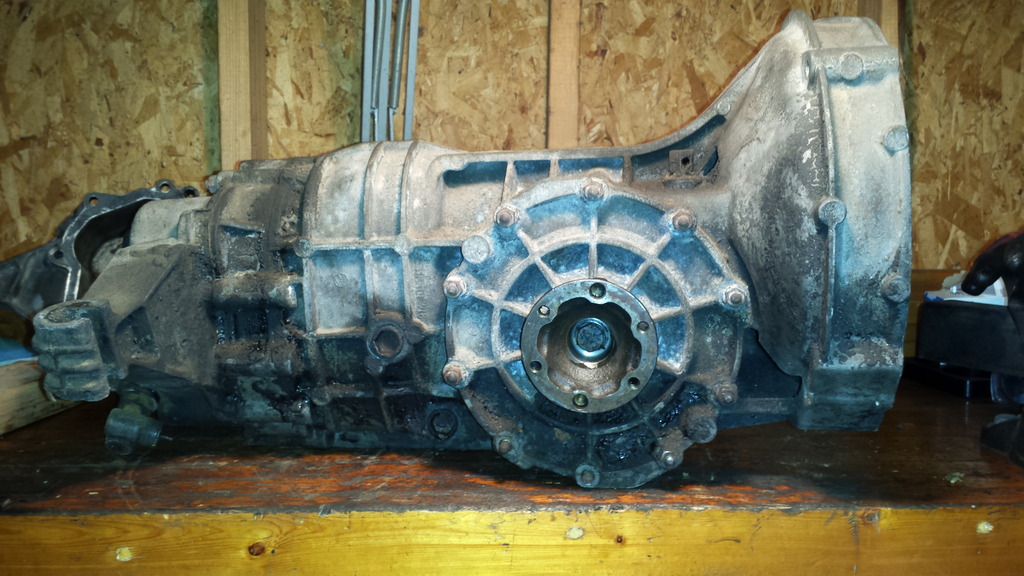
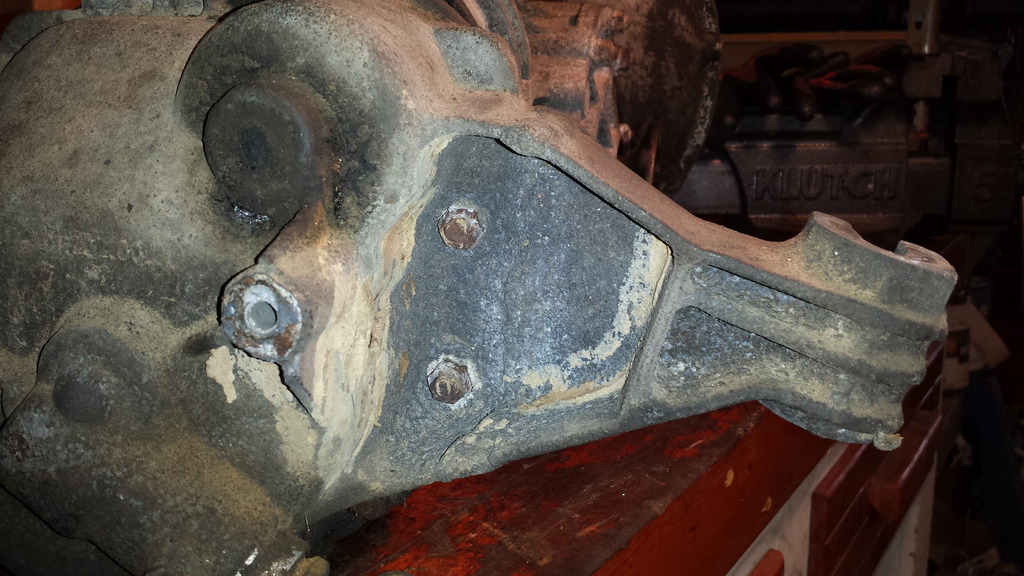
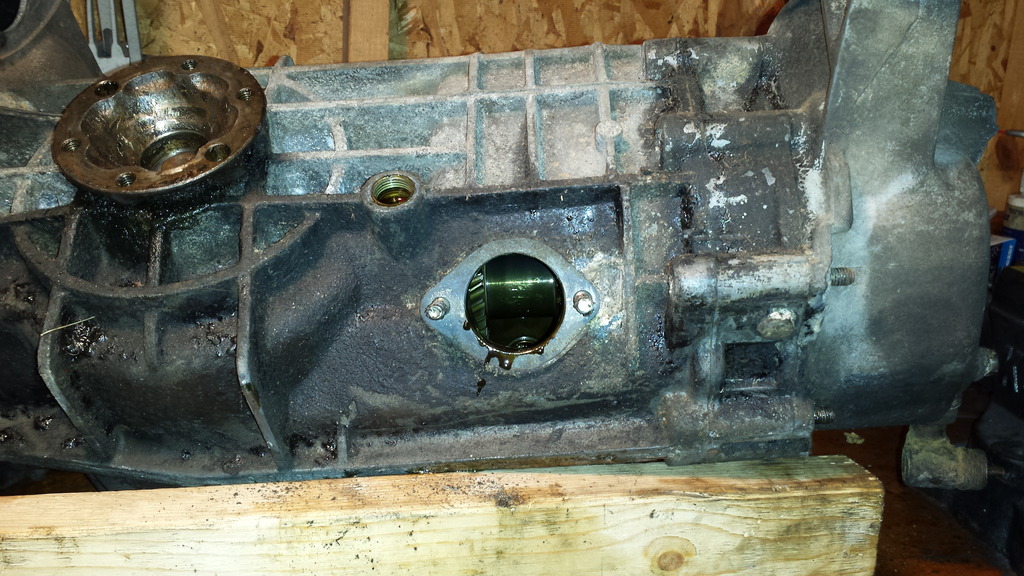
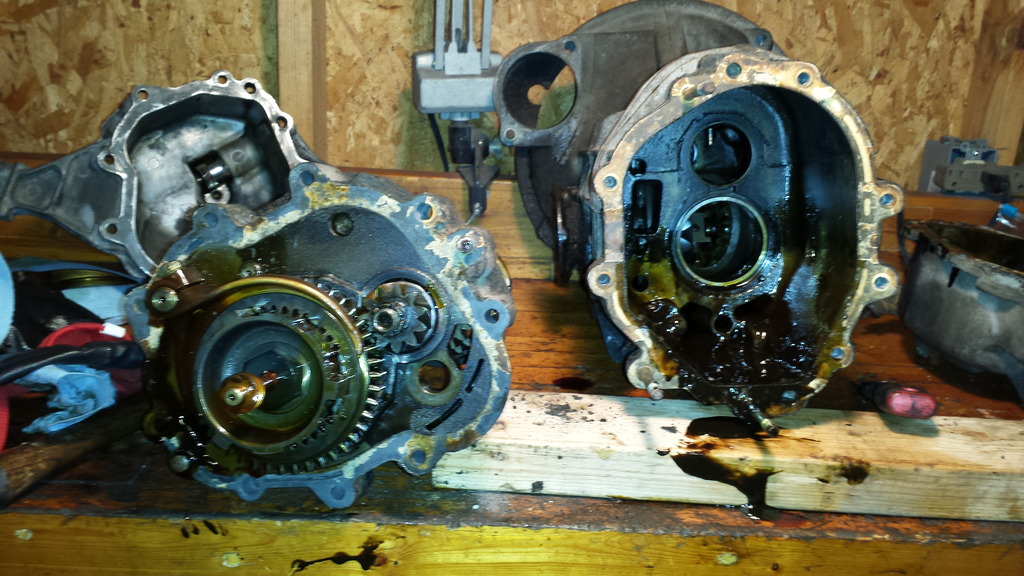
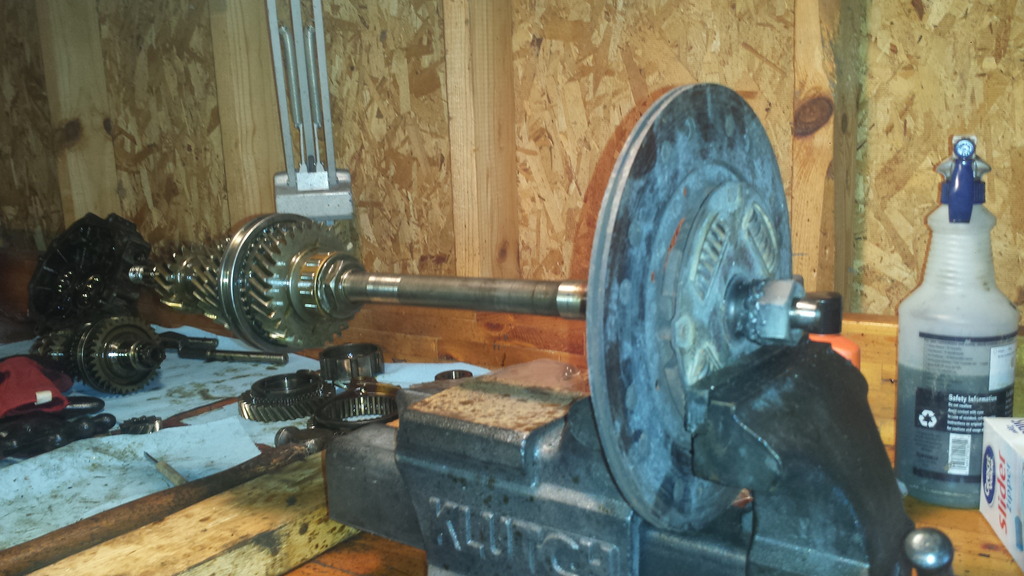
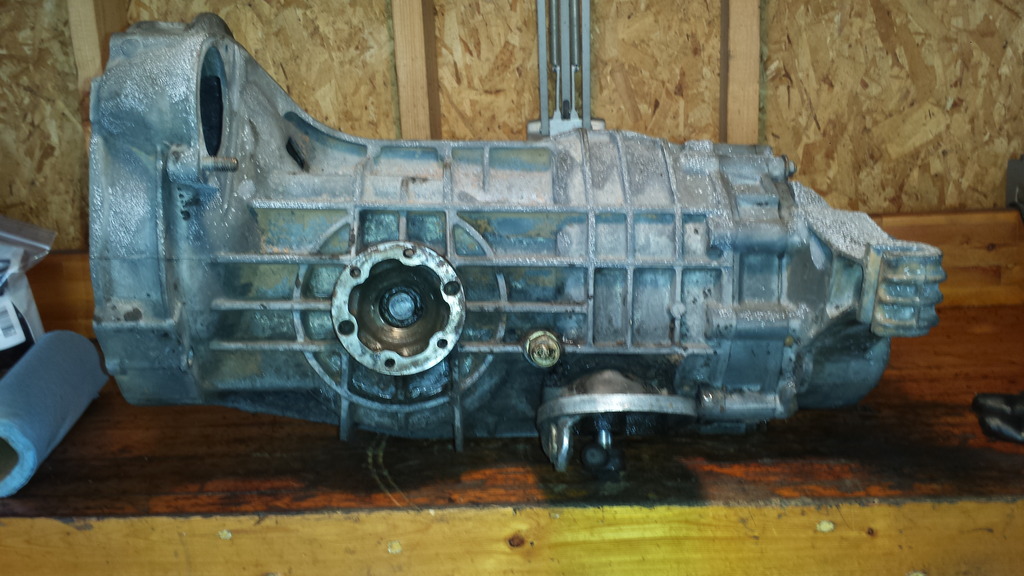
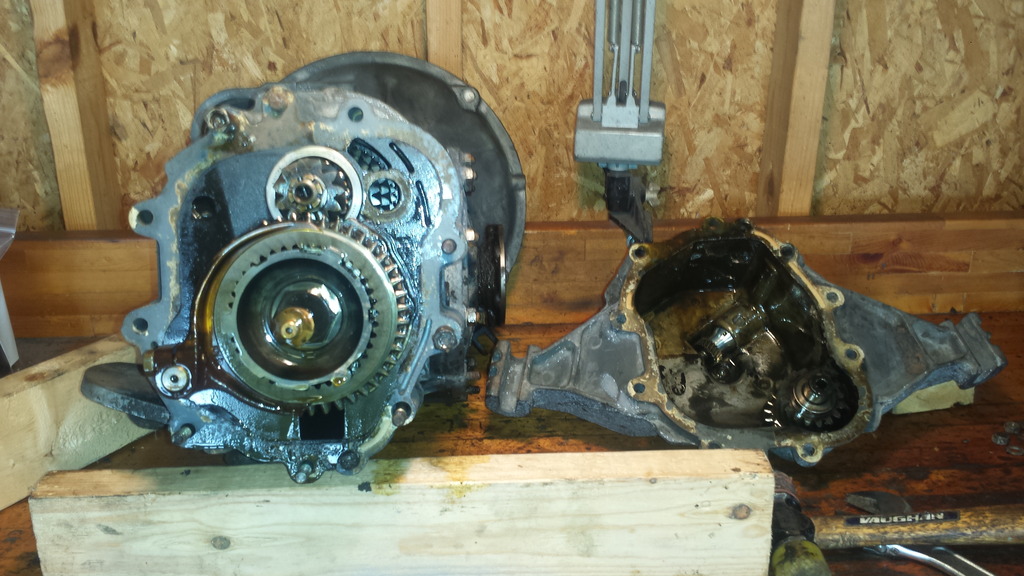
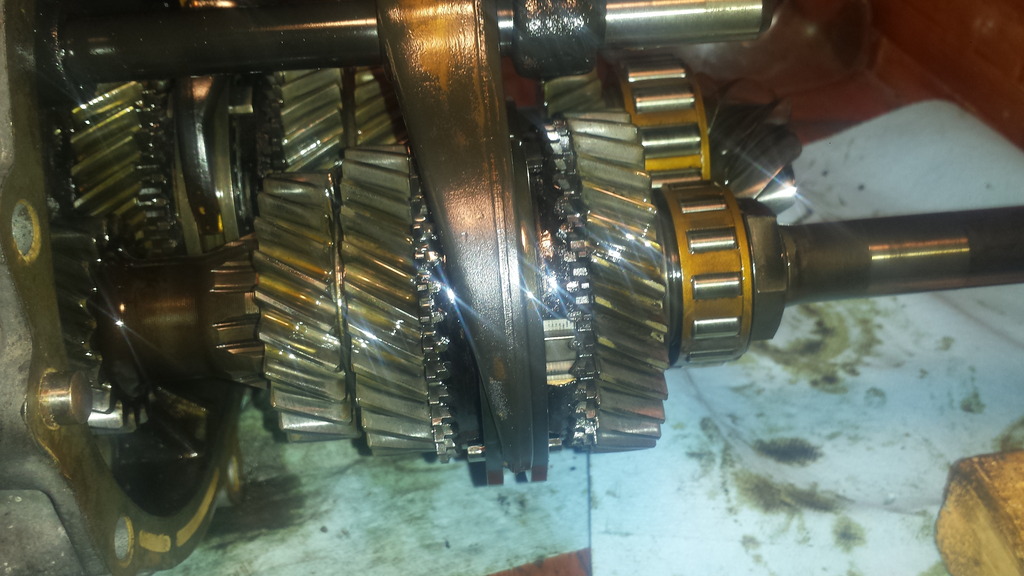
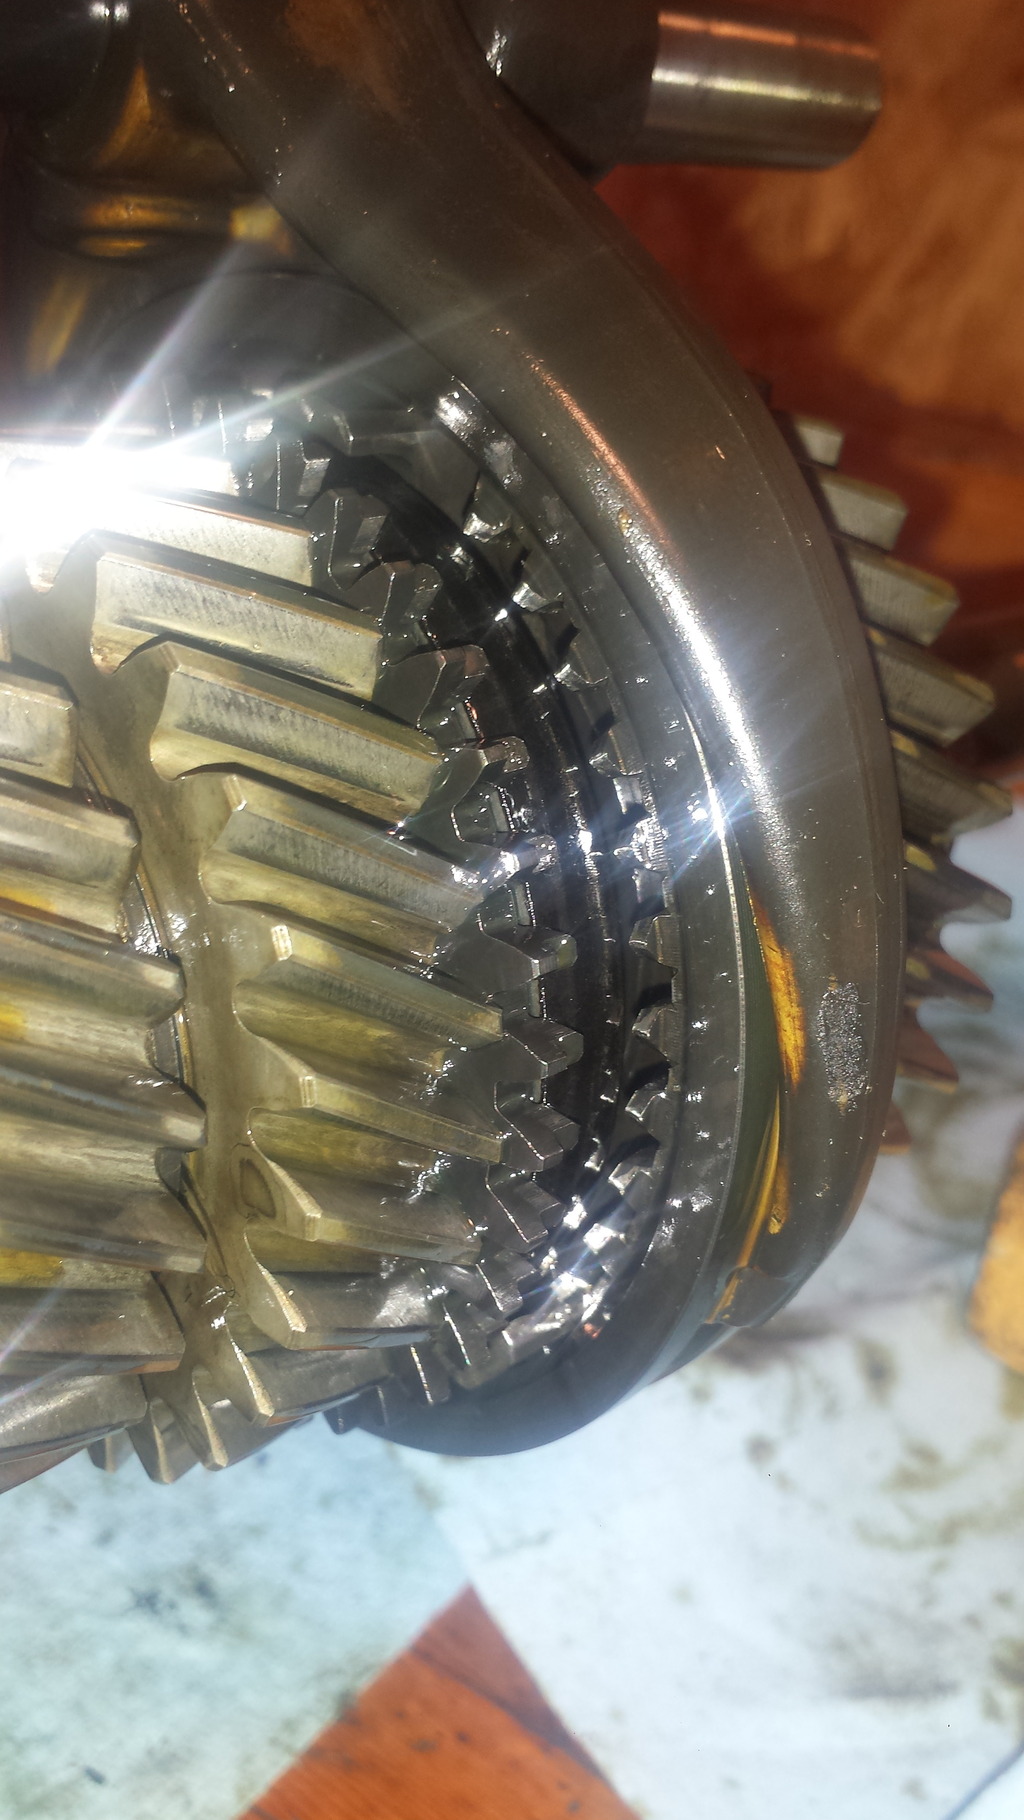
Instead of digging deeper into the spare trans that I pulled the cover and 1st gear, I went into another off a '76 parts car, figuring if I monkeyed that up, it wouldn't rally matter. Well surprise, surprise. The dirty trans with a welded rear cover (suspension mount cracked) has what appears to be really fresh syncros, nice sliders and really good dog teeth! I guess when the mount broke, the PO had the trans re-built. Finding that, I'm thinking this is the stack I want to use in the race car. So I pulled the shift rod, wiggled out the intermediate plate and pulled the shift forks with rods. I found out why Red Beard recommends loosening the 30mm nut and castle nut before pulling the intermediate plate (harder to do with the plate out) but I purchased some handy tools a couple days ago from a Porsche shop going out of business - an alignment jig and a spanner with a 1st gear slider welded on it. Once I locked down the stacks, those tools enabled me to get the drive shaft out but the pinion shaft was more difficult. My gear puller wouldn't fit so I had a buddy drive the shaft end out with a large brass punch. Amazingly the bearings remained in good shape. Then to get the other end of the pinion shaft dis-assembled, I used a friction plate with a nut welded to it to hold the input shaft end while I used a large open end wrench on the retaining nut.

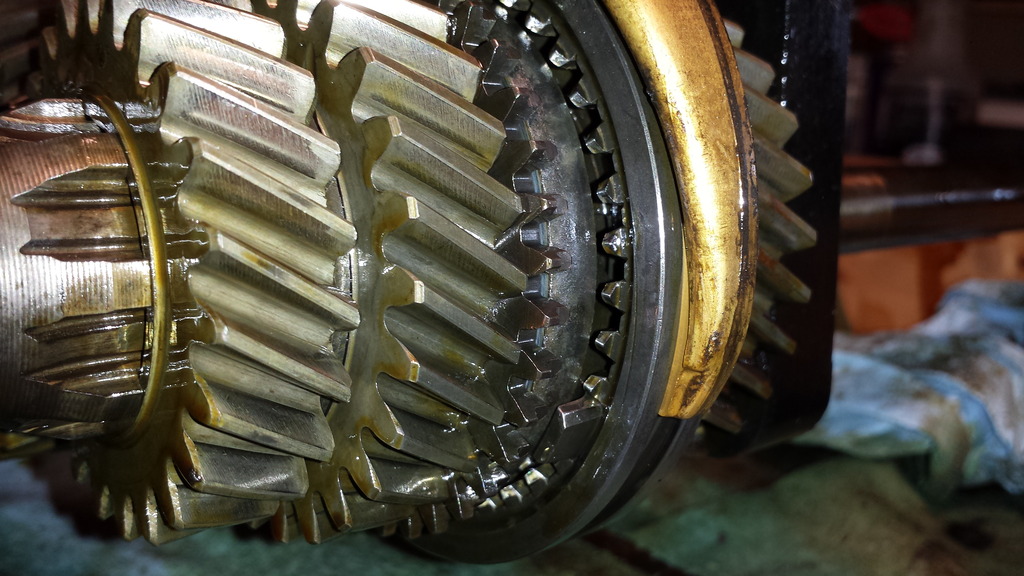
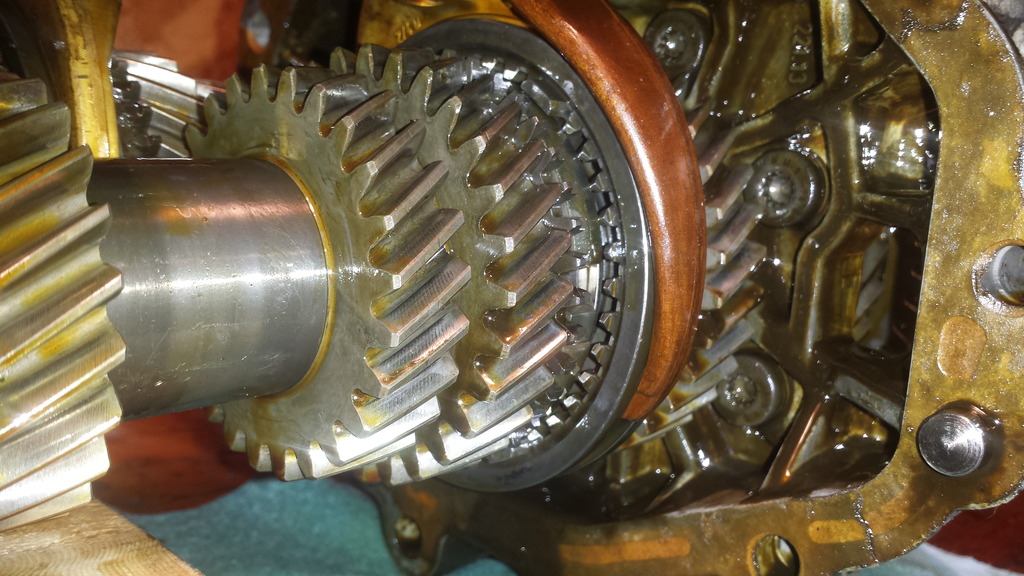
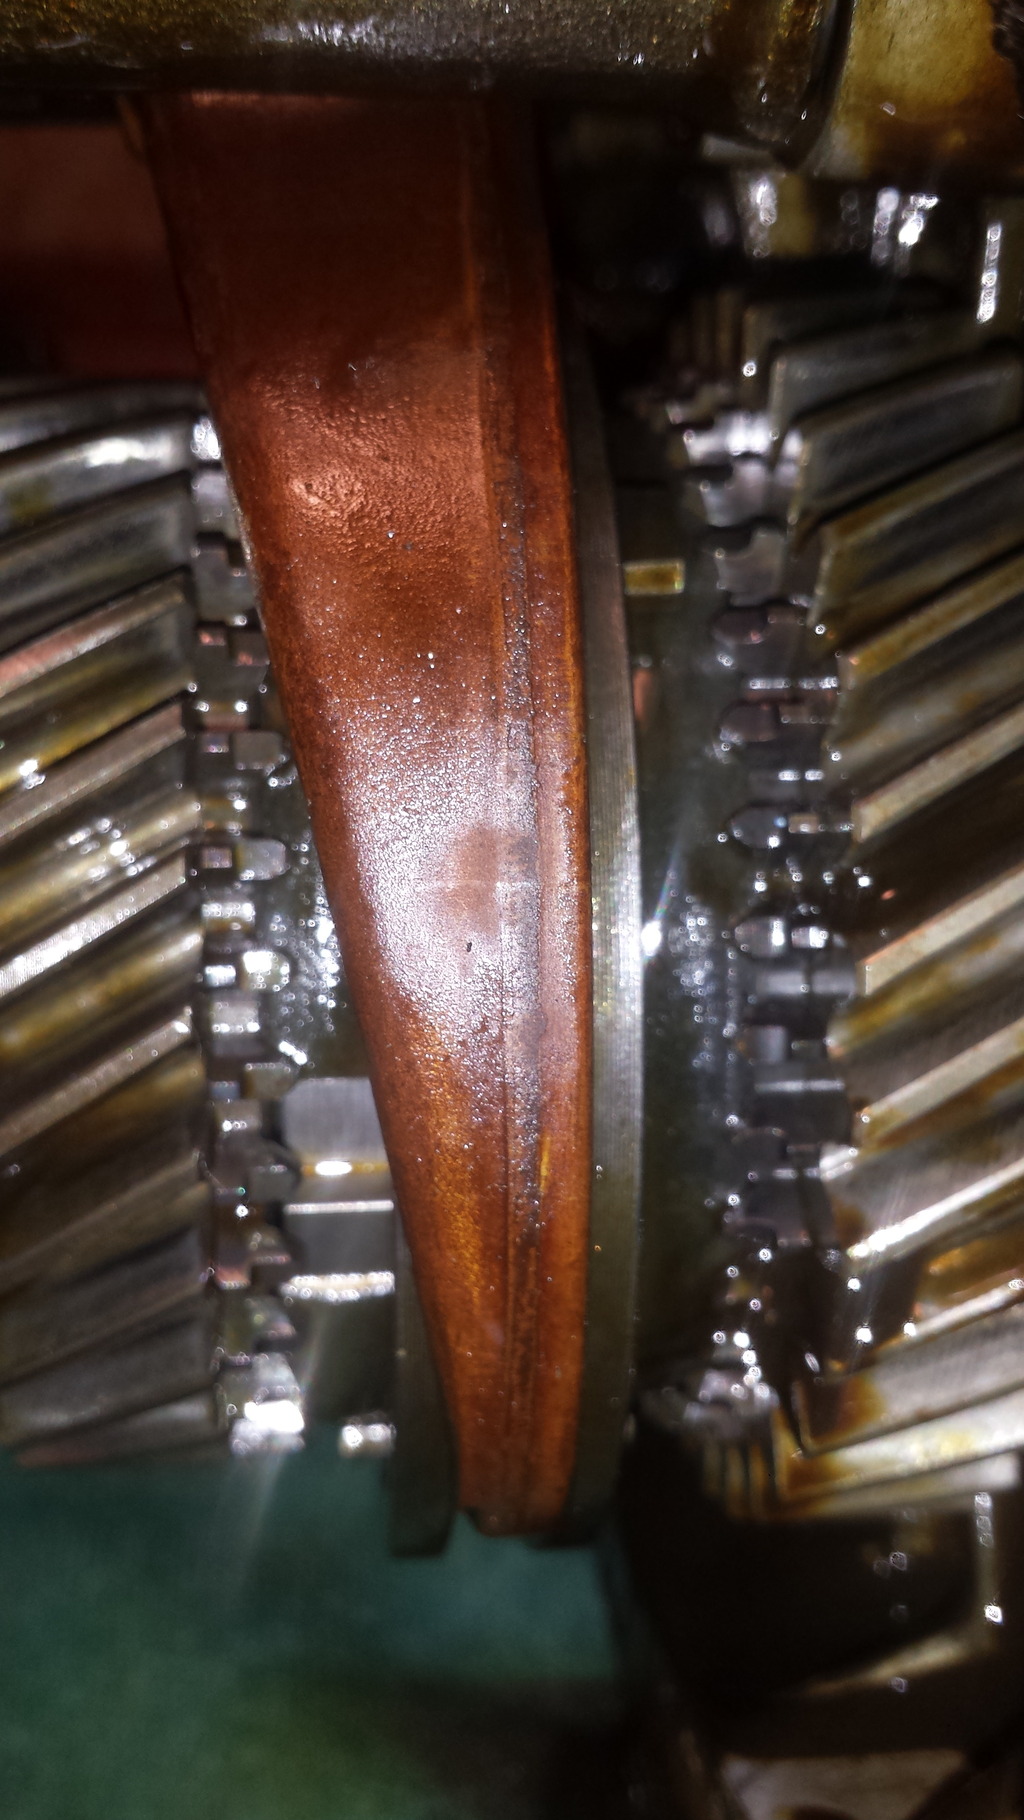
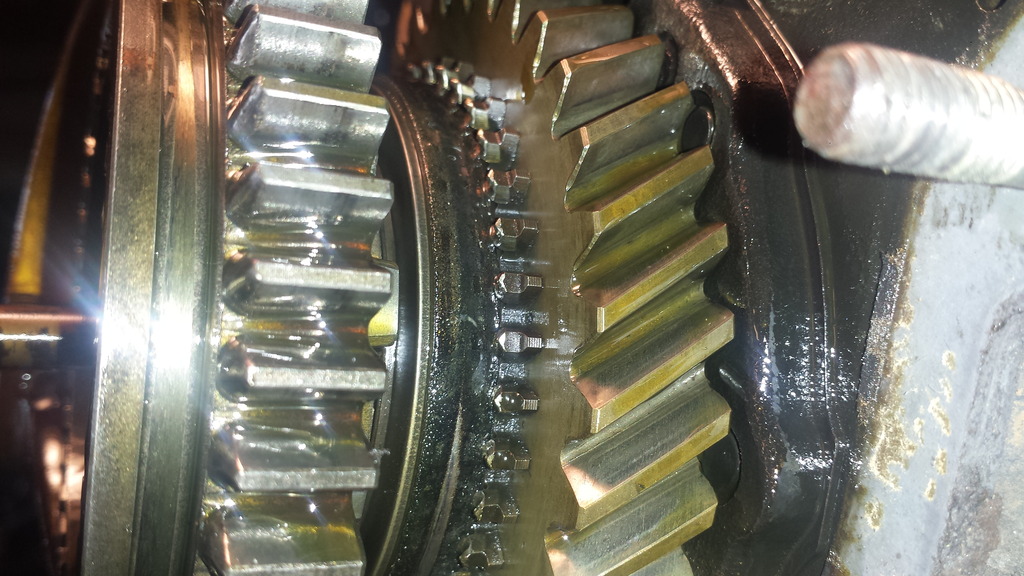
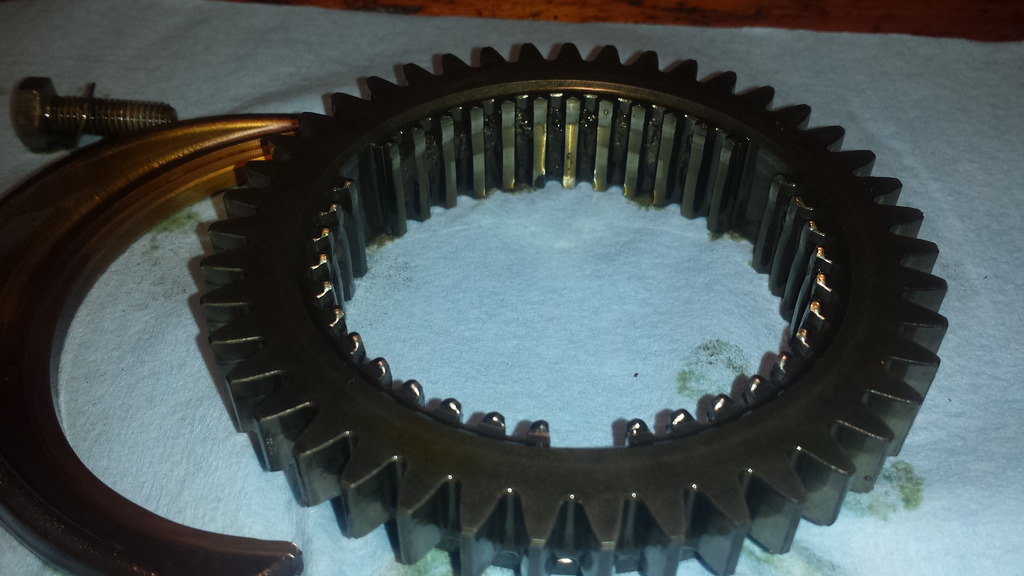
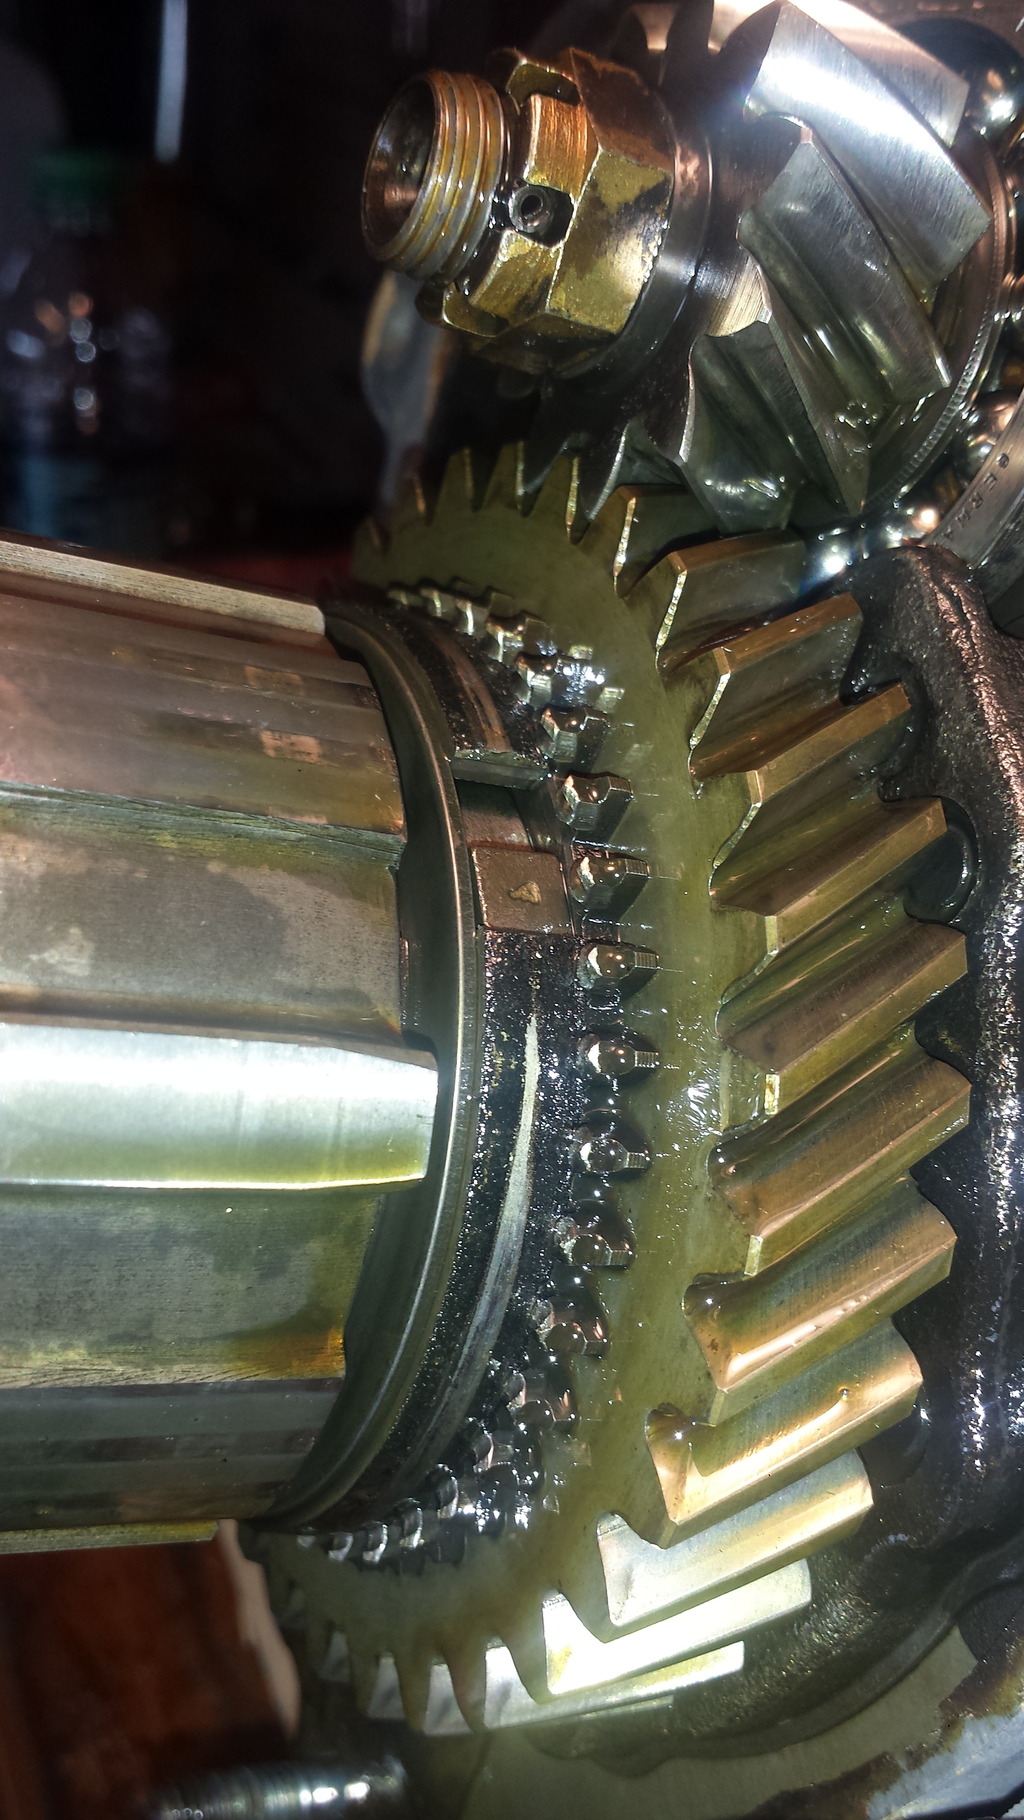
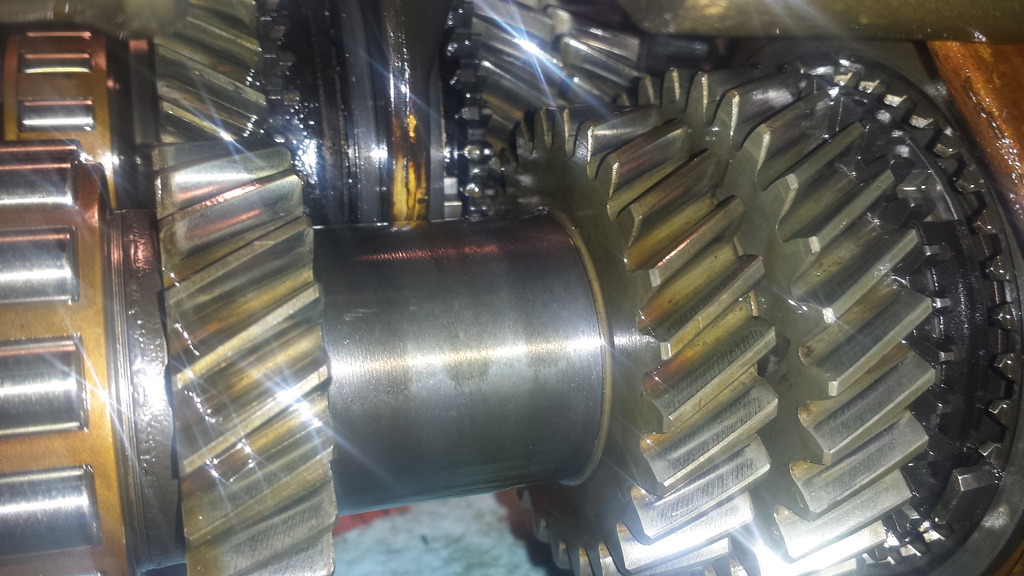
So I've got everything loose and lined up in order on the bench and I'm taking a real close look at swopping 3rd and 5th gears when I realize that to do that, yes, you do have to flip the gears (to get the correct orientation) also AND that means reversing the dog teeth. Someone let me know if there's something I'm missing here. So, with the dog teeth, sliders and syncros looking so good on these gears, there's no way I'm going to trash the dog teeth and buy another set.

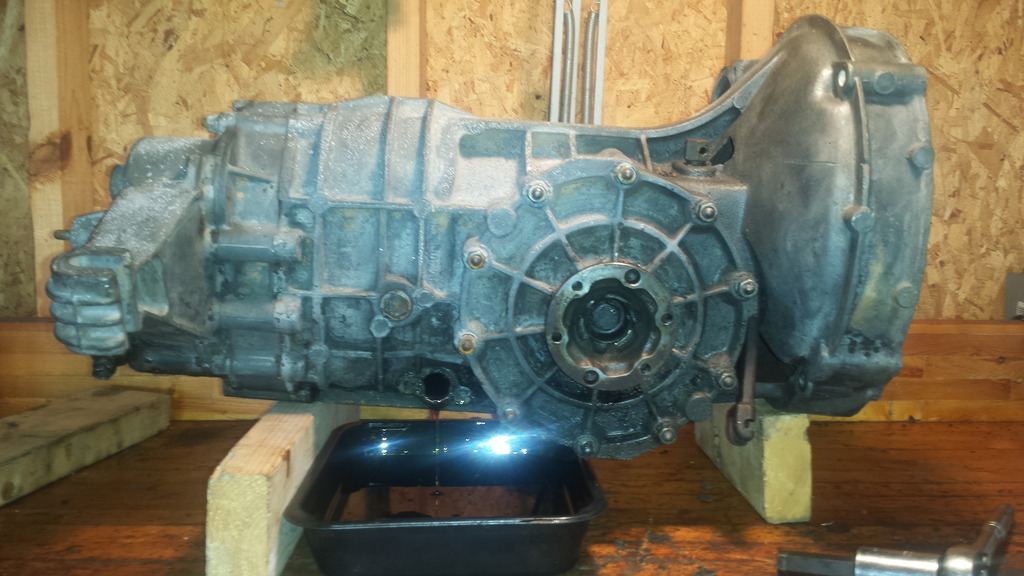
At this point, I'm just going to re-assemble this stack (OEM gearing) and probably stick it in the spare case and use the spare end cap. OR... I could use this stack in the case that's in the race car right now and not even have to pull the trans out.

IPB Image

IPB Image

IPB Image

IPB Image

IPB Image

IPB Image

IPB Image

IPB Image

IPB Image

IPB Image

IPB Image

oldie914
You should not put the gear stack from the 2nd transmission into the case in your car without adjusting the pinion depth. Depth is measured and adjusted with the gaskets between the case and the intermediate. Measure the thickness of the old gaskets with a micrometer and use the same thickness gaskets when you put the gear cluster back into the case.
Also, in one of the pictures it looks like the mainshaft ball bearing has been turning underneath the retaining plate. The bearing then cuts into the plate and you have no clamping force. Plate should hold the bearing with about 0.08mm interference. Pictures show a damaged retaining plate and one that has been reworked.Click to view attachment Click to view attachment Click to view attachment
Han Solo
QUOTE(oldie914 @ Jan 2 2016, 05:16 AM) *

You should not put the gear stack from the 2nd transmission into the case in your car without adjusting the pinion depth. Depth is measured and adjusted with the gaskets between the case and the intermediate. Measure the thickness of the old gaskets with a micrometer and use the same thickness gaskets when you put the gear cluster back into the case.
Also, in one of the pictures it looks like the mainshaft ball bearing has been turning underneath the retaining plate. The bearing then cuts into the plate and you have no clamping force. Plate should hold the bearing with about 0.08mm interference. Pictures show a damaged retaining plate and one that has been reworked.Click to view attachment Click to view attachment Click to view attachment


Thanks for those notes. So measure the gasket thickness either side of intermediate plate on the active transmission before using the re-built stack and match that. I'm thinking the only fix for the spinning bearing is to replace that and use a good plate, correct? Perhaps use the intermediate plate from the first spare trans if it's in better condition.
oldie914
The gear cluster on the intermediate plate, ring/pinion and case are a set with clearances adjusted during assembly. If you take a transmission apart and don't see any R&P or bearing problems, you can reassemble it and preserve the original adjustments. If you exchange major components, you need to reset R&P adjustment.

Pinion depth is the 1st thing checked when rebuilding a transmission and requires special tools (expensive). Rough pinion depth is established with shims in the gear stack next to the roller bearing. Fine adjustment is made with various thickness gaskets between the case and the intermediate plate. This means that you can reassemble a transmission with the same major components and with the same thickness gaskets and pinion depth setting will be OK. The gasket between the intermediate plate and the nose has no adjustment function; it is always about 0.20mm thick.

The second thing checked is the preload on the differential roller bearings. It is adjusted through various thickness spacer rings on the differential carrier spigots under the roller bearings. It is measured by checking the turning resistence of the differential carrier. If you do not change differential carrier, case or bearings, this adjustment is preserved.

The last thing checked is the backlash between the ring and pinion gears. It is adjusted by changing the spacer rings under the differential bearings so as to move the ring gear toward or away from the center line of the pinion shaft.
Rings need to be changed in pairs in order to preserve the bearing preload. To measure backlash, you need to fix the pinion shaft and attach an arm with a dial indicator to the differential carrier and measure movement to a fixed point on the side cover. Backlash adjustment is preserved if you do not change components involved.

I hope I didn't tell you how to build a clock when you only wanted to know the time.
J P Stein
That trans is in pain.
The keys to a good shifting trans is are the condition of the dog teeth & the sliders that mate up to them. Do what you want. Use those parts and you have a POS trans like most 914ers.

For a change of pace, try a 2 speed using 2nd and 3rd only. That trick is relatively easy and is slick for AX only. A stock 2nd for 1st and a flipped 5th for 2nd. I ran that set up for a few years after I figured it out...the cost was maybe 20-30 bucks. and it got rid of about 20lbs of rotating weight.

a pic of the gear stack....you gotta figure out the restClick to view attachment
Your motor needs some sand to pull that first gear
sixaddict
Since there seems to be some knowledgeable subscribers here I would like to tag on a question
I have 3 liter DE car with 3rd/5th flip done by shop.
I am running out of rpms at top end on tracks with long straights......Anybody out there with knowledge to recommend a fix.
Thanks
TOT
J P Stein
QUOTE(sixaddict @ Jan 2 2016, 06:07 AM) *

Since there seems to be some knowledgeable subscribers here I would like to tag on a question
I have 3 liter DE car with 3rd/5th flip done by shop.
I am running out of rpms at top end on tracks with long straights......Anybody out there with knowledge to recommend a fix.
Thanks
TOT


A bit shy of info here.
A good (not a great one) 911 motor should pull 73-7500 rpms.......a stockish 3.0l can't go there.
I don't know of the availability of a higher 5th gear for the 901.....but someone might.


jmill
QUOTE(sixaddict @ Jan 2 2016, 08:07 AM) *

I am running out of rpms at top end on tracks with long straights......Anybody out there with knowledge to recommend a fix.
Thanks
TOT


You could always make your tires part of your gear ratio. For those tracks with long straights, install larger diameter rear tires.
Dave_Darling
That's the easiest way to go.

You can make taller 5th gears out of oddball 3rd gear sets. But those can be quite expensive, as usually not very many were made.

--DD
r_towle
QUOTE(sixaddict @ Jan 2 2016, 09:07 AM) *

Since there seems to be some knowledgeable subscribers here I would like to tag on a question
I have 3 liter DE car with 3rd/5th flip done by shop.
I am running out of rpms at top end on tracks with long straights......Anybody out there with knowledge to recommend a fix.
Thanks
TOT

Get another fifth gear and put it back in as fifth gear.

Rich
wndsrfr
QUOTE(r_towle @ Jan 2 2016, 06:15 PM) *


Get another fifth gear and put it back in as fifth gear.

Rich

agree.gif
Frankly, with a 3 liter, you can go back to stock just fine IMO. I've got both on two cars...2.7/6 has stock trans, the 2.3/4 has flipped 5&3rd with S as 4th.
On the 2.7/6 I geared it down using 225/45/15's for most tracks but was on the rev limiter (7000) at Daytona so put on the "street" wheels 225/59/16's which added 10mph & still touched the rev limiter---Daytona is surreal!
Van914
With a 3.0 stock gears are the way to go.
sixaddict
Thanks for the gear input ....Couple of good thoughts ....like going back to 17" inch wheels.
also shop tells be not above 6500-6800 which seems to be topping out from a sound and power perspective.
beerchug.gif
Han Solo
QUOTE(oldie914 @ Jan 2 2016, 07:47 AM) *

The gear cluster on the intermediate plate, ring/pinion and case are a set with clearances adjusted during assembly. If you take a transmission apart and don't see any R&P or bearing problems, you can reassemble it and preserve the original adjustments. If you exchange major components, you need to reset R&P adjustment.

Pinion depth is the 1st thing checked when rebuilding a transmission and requires special tools (expensive). Rough pinion depth is established with shims in the gear stack next to the roller bearing. Fine adjustment is made with various thickness gaskets between the case and the intermediate plate. This means that you can reassemble a transmission with the same major components and with the same thickness gaskets and pinion depth setting will be OK. The gasket between the intermediate plate and the nose has no adjustment function; it is always about 0.20mm thick.

The second thing checked is the preload on the differential roller bearings. It is adjusted through various thickness spacer rings on the differential carrier spigots under the roller bearings. It is measured by checking the turning resistence of the differential carrier. If you do not change differential carrier, case or bearings, this adjustment is preserved.

The last thing checked is the backlash between the ring and pinion gears. It is adjusted by changing the spacer rings under the differential bearings so as to move the ring gear toward or away from the center line of the pinion shaft.
Rings need to be changed in pairs in order to preserve the bearing preload. To measure backlash, you need to fix the pinion shaft and attach an arm with a dial indicator to the differential carrier and measure movement to a fixed point on the side cover. Backlash adjustment is preserved if you do not change components involved.

I hope I didn't tell you how to build a clock when you only wanted to know the time.


That's all good information. What I'm hearing is that unless you're trained transmission mechanic, you're best just using the original stack, case and intermediate plate.

Yesterday I pulled the stack out of the spare transmission (with the bad 1st gear dog teeth, slider and syncro). Mainly just to see how the other gear sets looked and to help with re-assembly on the '76 trans shift forks and rods. The syncros and dog teeth on that stack look okay but not as good as the '76.

Everything went back in well but unfortunately the threaded end of the pinion shaft got mushroomed a bit and I'll need to chase those threads. It's always something sad.gif

IPB Image

IPB Image

IPB Image
This is a "lo-fi" version of our main content. To view the full version with more information, formatting and images, please click here.
Invision Power Board © 2001-2024 Invision Power Services, Inc.