I just went through this a few months ago. It was not a pleasant experience. Here is the order of operation that worked best...
1. Attach cable to bottom of blower. Plug in wiring harness to rear of blower.
2. If you have an early model, consider adding some mesh to the intake as mentioned above in this thread. If you have a later model, make sure the plastic grille is in place. Install blower & housing. It is a tight fit, so be careful.
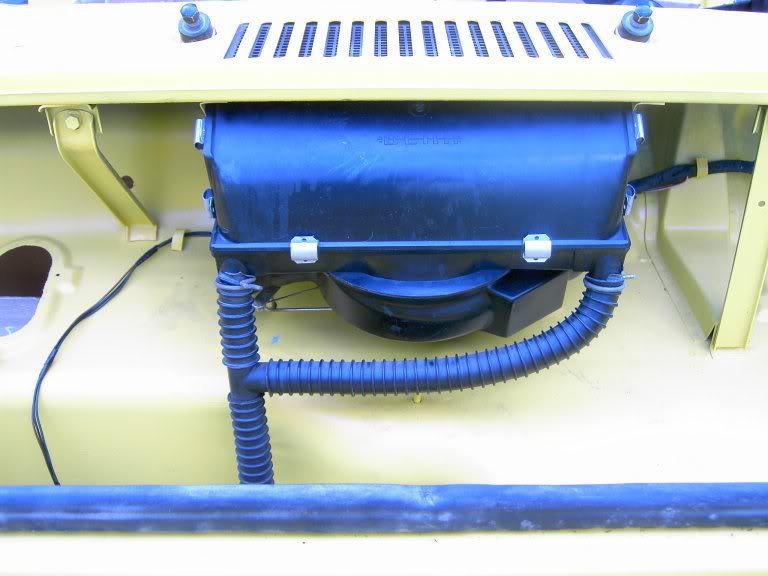
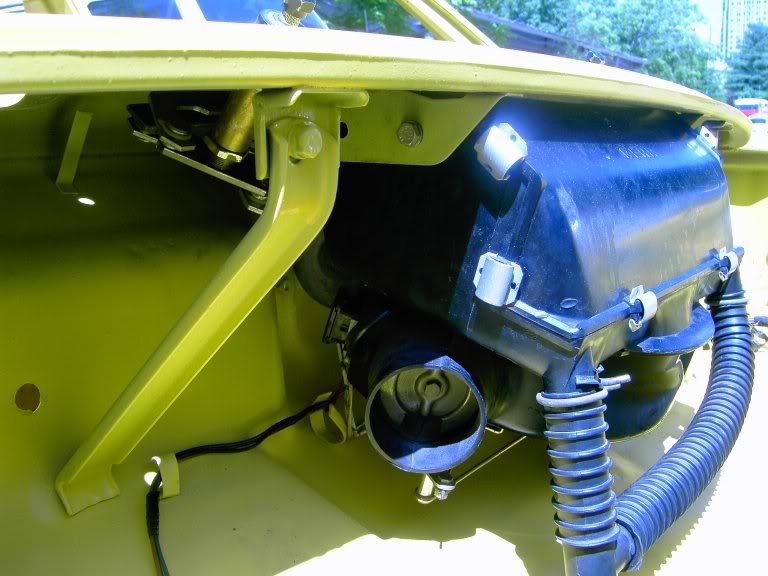
3. The left valve has four cables connected to it, two in front and two in back. The top cable on the front goes through the funny-looking cable guide grommet to the control unit in the dashboard. The bottom cable in the front goes to the rear of the right valve. The top (I think - check this, as I may be remembering incorrectly and can't tell from the pics) cable on the back goes through the funny-looking cable guide grommet to the control unit in the dashboard. The bottom cable in the back goes to the front of the right valve. Attach the two
rear cables to the left valve/defrost duct (remove the spring clip from the forward-facing side prior to install, but leave the other in place -- this allows a bit of flexibility, and you do not want to break the tabs) and install.
I found that Installation works best by fitting the defrost end first, then sliding the bottom of the valve into place in its hole with the assistance of some grease. I was not able to fit the valve first as suggested above (your results may vary, see which works best for you). In either case, this is a very tight fit. If you are not extremely patient, you will snap off the tabs that hold the defrost duct to the valve (via spring clips). I broke a set during installation, and it sucked (even with a parts car or four, it takes a bit of time and effort to get to and carefully remove a replacement... think about it

). Note that the securing hardware is in the form of metal tabs for the duct with bolts that also attach the plastic air deflectors in the interior.
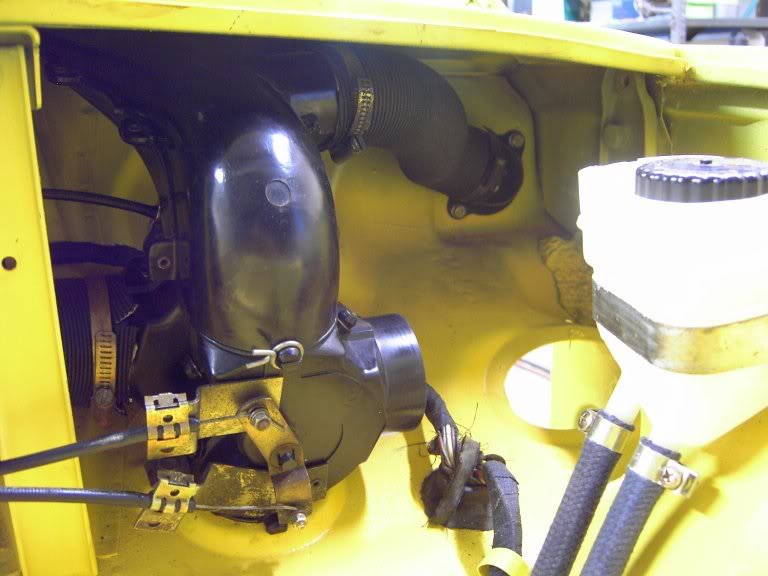
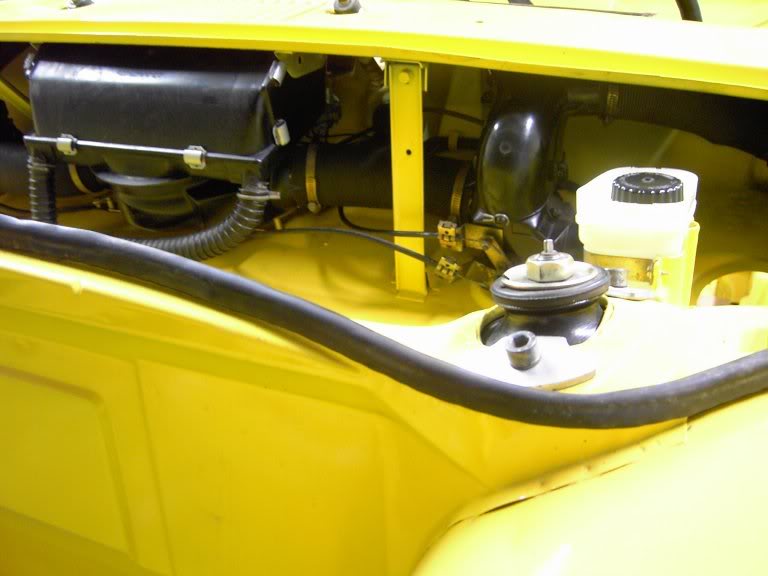
4. Attach the remaining cable to the right valve/defrost duct assembly and install in the same manner as the left side.
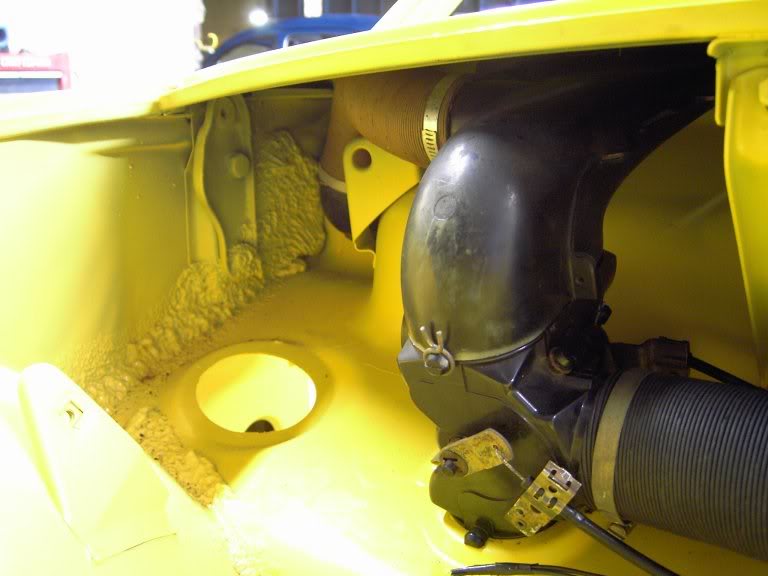
5. Run and attach the remaining cable ends as described in step 3.
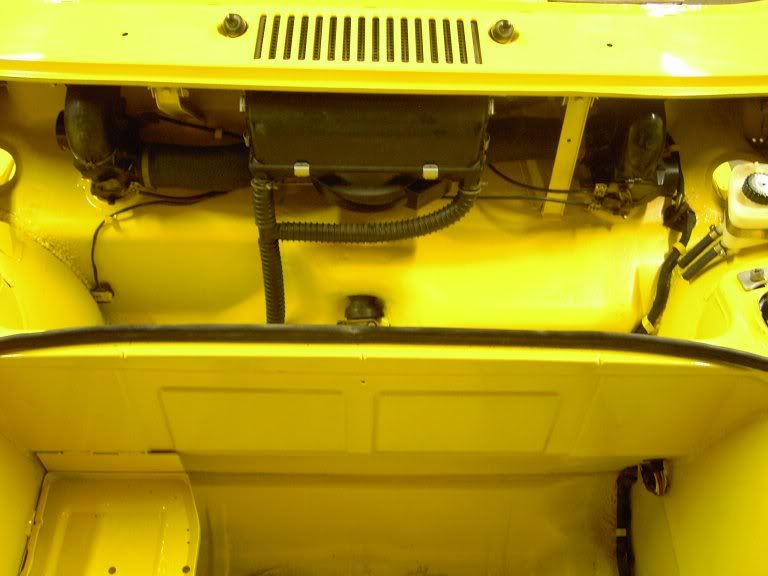
6. Install the little plastic elbow ducts in the corners shown in the pics above. NOTE: These ducts go to the vents in the lower dash on post-1971 cars. If you have a 1970-71 model, I'd expect you won't have these (and some other things might look a bit different).
7. Install the hoses. (Note that the long, large hoses that run from the valves to the longitudinal heater pipes (behind the speaker grilles) are not yet installed in the picture above... I forgot to take a "completed" picture... D'oh!)
8. Attach the three cable ends to the appropriate slides on your interior vent controller.
9. Hope it works.

Good luck!


