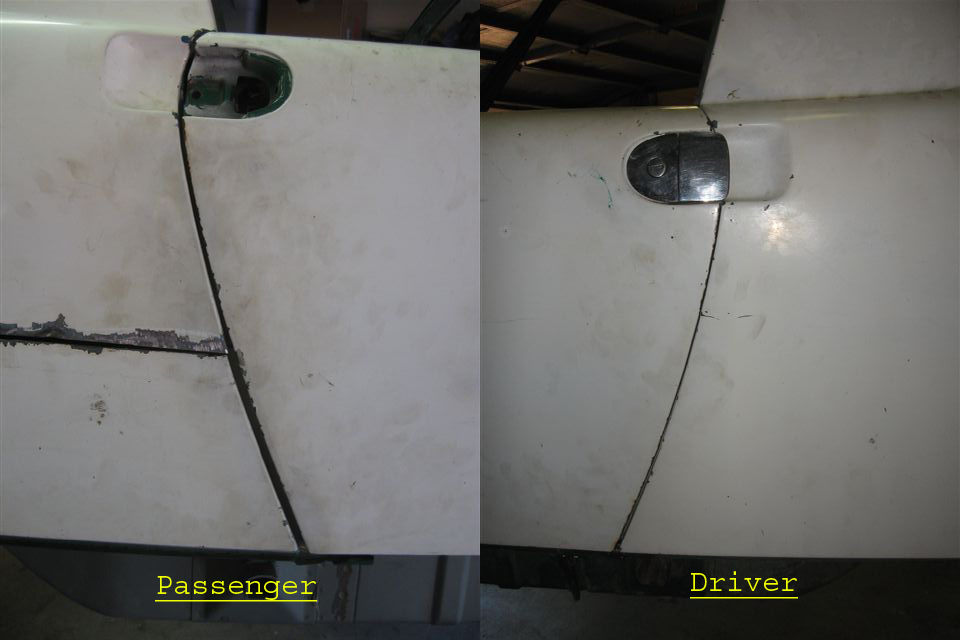
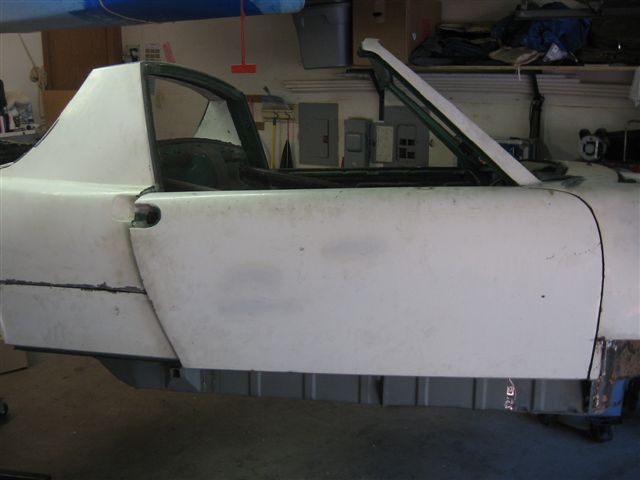
Hello all – I’ve been in lurking mode for a while (I guess two years is a while…) but have slowly made progress on my project. Thanks Rick for the response - I seem to have missed it until just now! When I ran into the door gap issues work essentially stopped until I got the car off of the rotisserie and down to Sac. I was very relieved to find that once the car was off the rotisserie the door gap problem disappeared! I even took it by a Porsche Restoration shop in West Sac and they took a loot at it for me. I know that without putting it onto a rack with the precise measurements I’ll never know how close (or far off I really am), but the door gaps are lining up now and every measurement I can take seems to be within spec and symmetric to within a couple 32nds of an inch…so, I’ve pressed onwards and hope to be a bit more diligent at posting my progress.
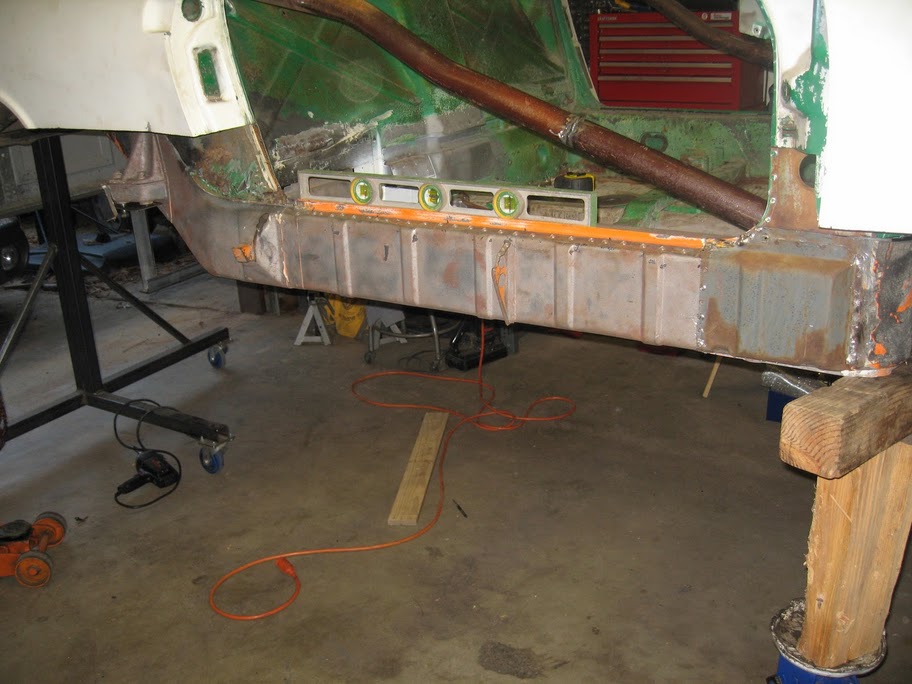
Since bringing the car down I have made some “upgrades” to the bracing on the car – again paying very close attention to the dimensions and all the measurements were symmetrical from driver to passenger side. Now I have a dolly that attaches at all of the suspension points and braces in each of the doors:
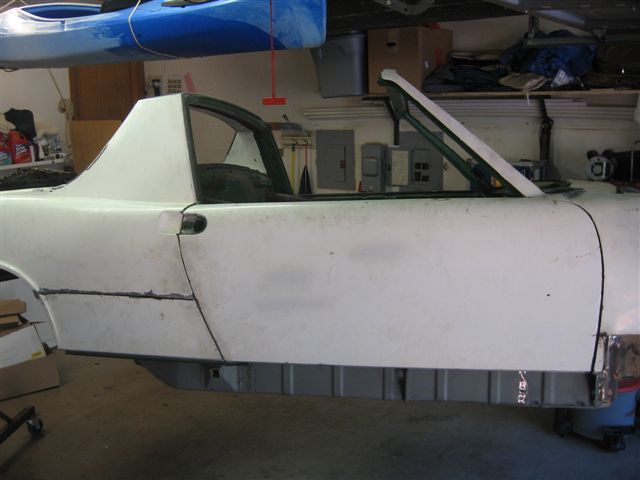
Click to view attachment I’ve also made the following progress on the car:
- Replaced passenger and driver floor pans (both rusted pretty bad)
- Replaced the rear trunk floor pan
- Disassembled rear suspension consoles
- Got all suspension parts powder coated
- Drilled holes for the front through body sway bar
- Seam welded the rear suspension consoles
- Decided to go the Suby motor + Transmission route
- Removed rear trunk firewall section to weld inside seams and make room for Suby motor
- Plumed the coolant lines through where the heater tubes used to be (more on this later)
- Inspected the driver’s side long for rust (only surface stuff found!)
- Ordered lots of parts…with many more left to be ordered.
I've got pictures of everything listed above, but since my laptop battery is dying fast here I'll have to post them tomorrow.

 waiting for the restoration that it deserves

 ....though it helps to start with low expectations. It looks like I will need to replace the engine shelf under the battery tray (which seems to have already been replaced by a PO). Does anybody know what the best way is to check the inside of the longs for rust? I figure I'll have to cut the exterior off, just wondering where to do it at.

 Every cut only seemed to expose more.
![popcorn[1].gif](http://www.914world.com/bbs2/style_emoticons/default/popcorn[1].gif)


 Its definitely one of the bigger black widows I've seen (at least around here).
 the rear fender back to expose the rest of the long up to the outer suspension console. I have to admit, I was really nervous making the first cut seeing as how this was my first time and all...
  ...Anyways, I bet you can't guess what I found under there! Looks like I will be replacing a bit of metal under there. I can't wait to see what inside the longs, but maybe I should get a tetanus shot before going further
 . I've ordered a quart (supposed to cover 25 sq. ft) and will use it to protect the inside of the passenger long. I cant wait to start patching this thing back together!
 to forget about it?
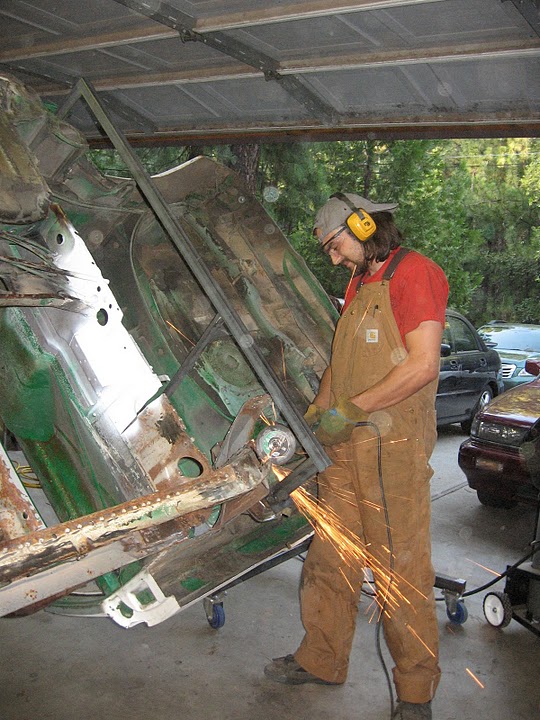

 . Hopefully this will keep someone else from doing the same. Sorry man
 :
: Congrat's, That's a major milestone.