QUOTE(stewteral @ Feb 3 2011, 03:39 AM)

QUOTE(Hontec @ Jan 16 2011, 02:05 PM)
QUOTE
Are you going wide?? I for one one love to see this as a narrow car... I think it's more muscular with the right amout of rubber under the arches...
Yes, I'm going wide......to which extend , I'm not sure yet..... GT. GT+ or Sheridan..
Hi Randall,
I just had to add my admiration for your welding, engineering skills and Craftsmanship!
Your work is so good that you could work at any race shop in the world!
After seeing all the incredible work you did on your 914, I have been wondering where you learned your impressive skills and what type of work you do for a living. I have not been able to produce the level of work I was proud of until I was in my 50's, but you are still under 40 and so skilled!
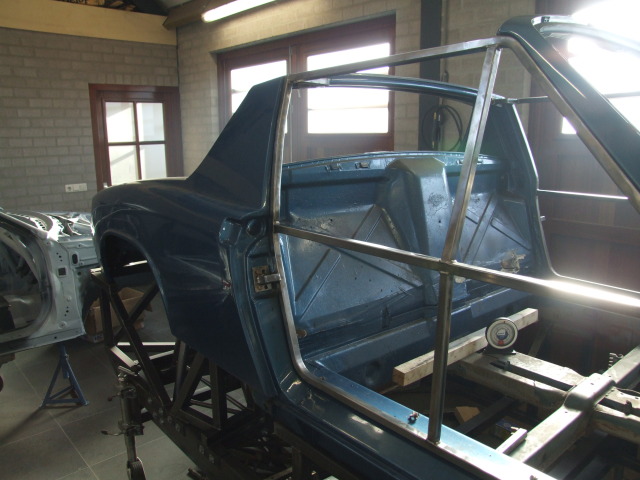
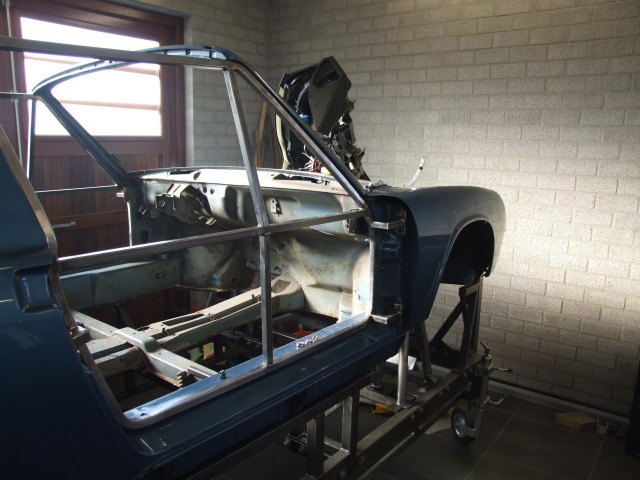
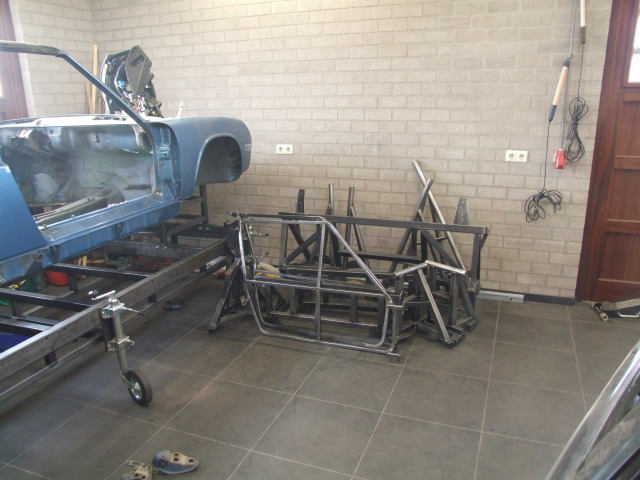
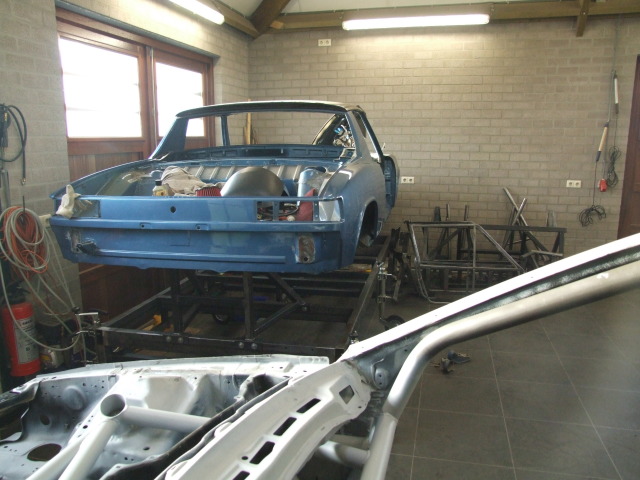
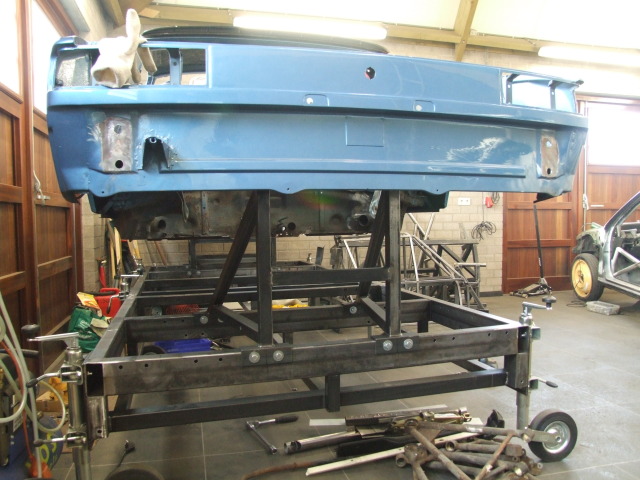
Just my Opinion: the 914 is a tightly designed package engineered around a very Low Cg drive-train, mid-engine and rear wheel drive. To try to make it 4-wheel drive would simply take the car too far-afield of its origin. With the car's Low Polar Moment of Inertia, even 4-wheel drive would probably NOT help its "Bad manners" in the wet. Of course, Holland is WET a great deal of the time. (With my Chevy-V8 power, when it rains here in California, I won't even CONSIDER taking the car out, after the 75 MPH "tank-slapper" experience next to a BIG diesel rig in the rain, on a bridge, a couple years back.)
So I APPLAUD going to a TUBE-Frame with your 914 and suggest trying another car for 4-wheel drive fun. The Audi A4-S4 is a pretty impressive package to look at.
PLEASE keep all those GREAT photos coming! I learn from all your good work,
Best,
Terry
Thank you for the compliment!
I started working on cars in my uncle's garage from age 10 in the holidays, so I've been wrenching now for 27 years

He taught me welding as well, gave me a welder and an old Mercedes and told me to replace the bottom......and from there it went wrong........never stopped again.....I love to weld!
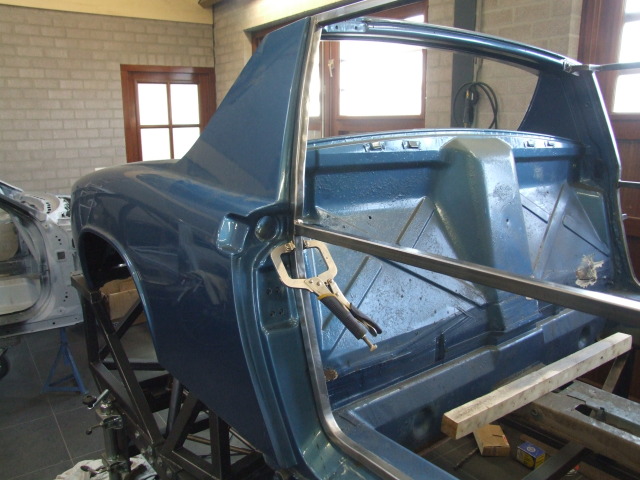
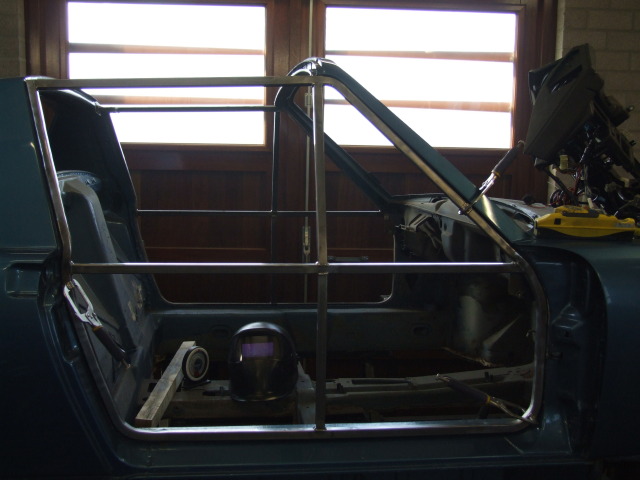
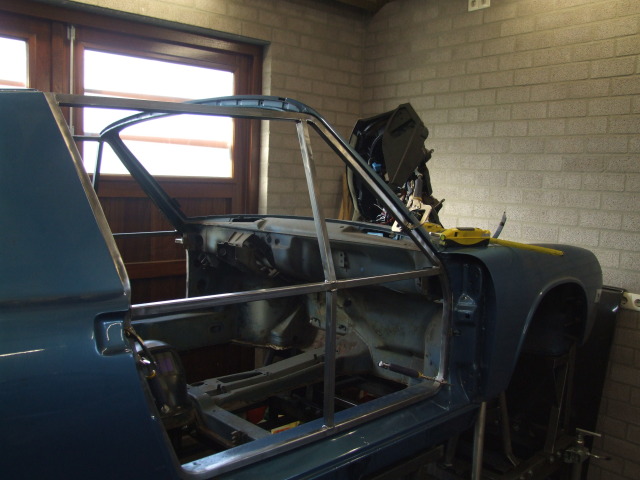
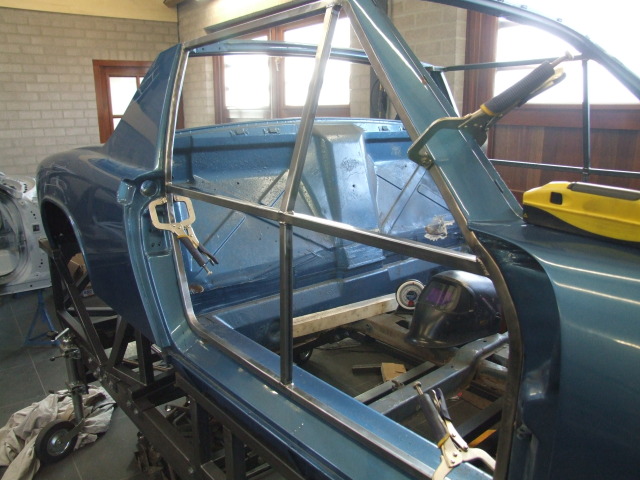
The 4wd 914 idea I have to abandon, I fear I'm going to hit a wall when it comes to the paperwork/burocracy here....I tried, but I have gotten no coöperation or even someone that will listen.... So unfortunately I give up...
I'm keeping it RWD but with a sequential transmission...
Ow and my daily job is flying a Boeing 747..I did have a company where we built race/rally cars and even built Dakar cars but I quit, having my own company is not something I enjoyed.
Thanks and best regards
Randall


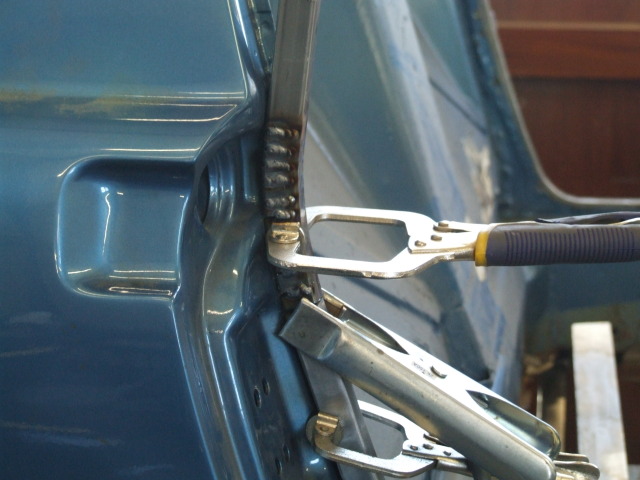
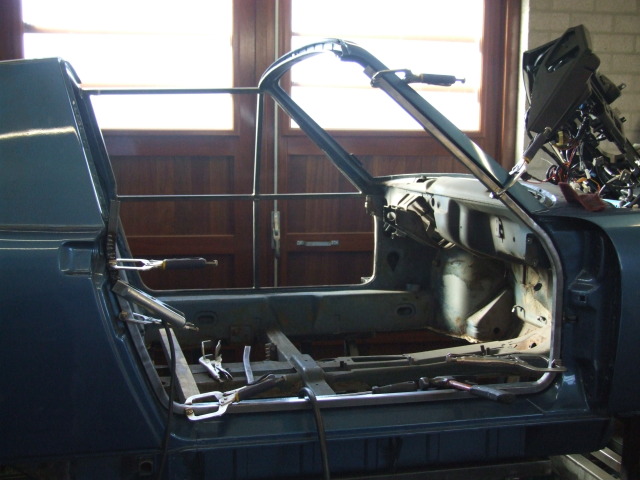
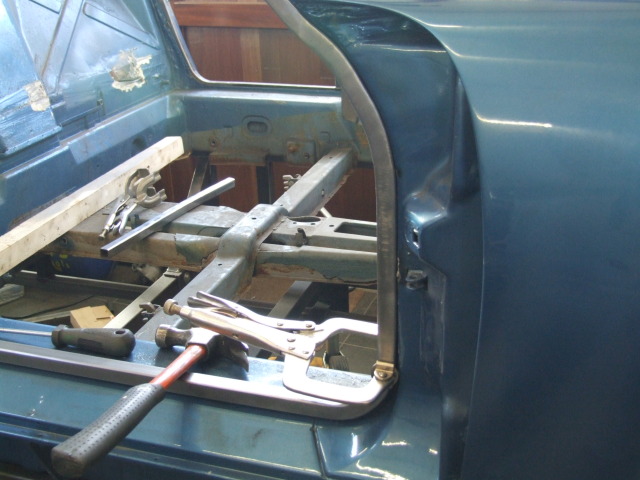
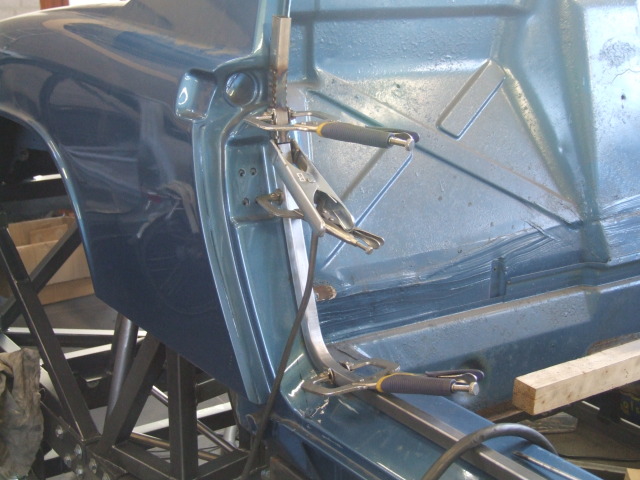
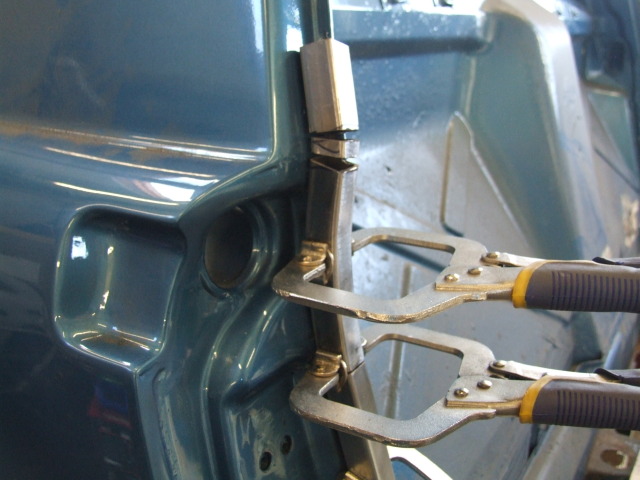
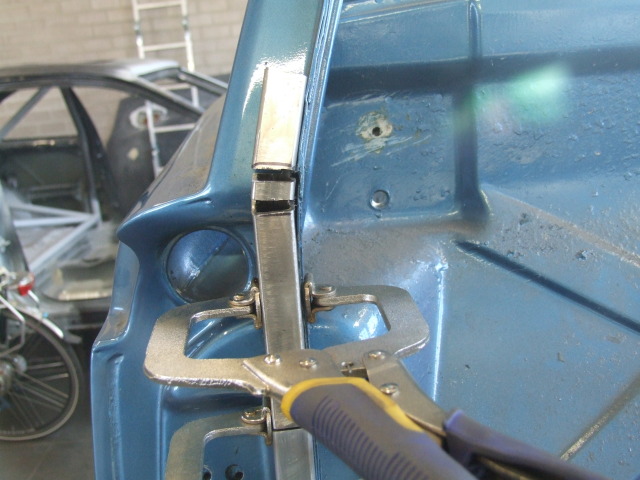
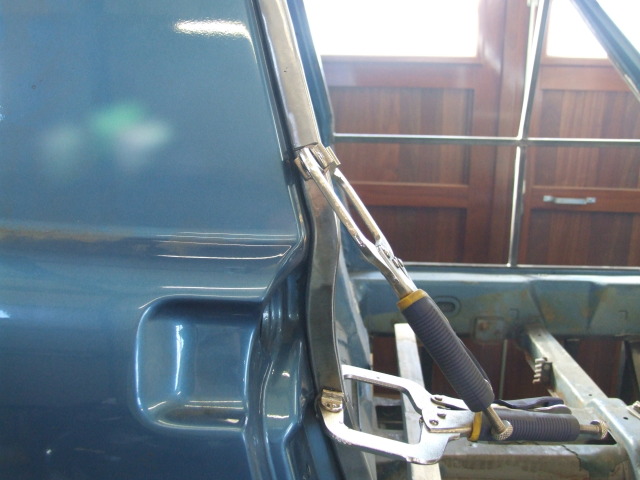
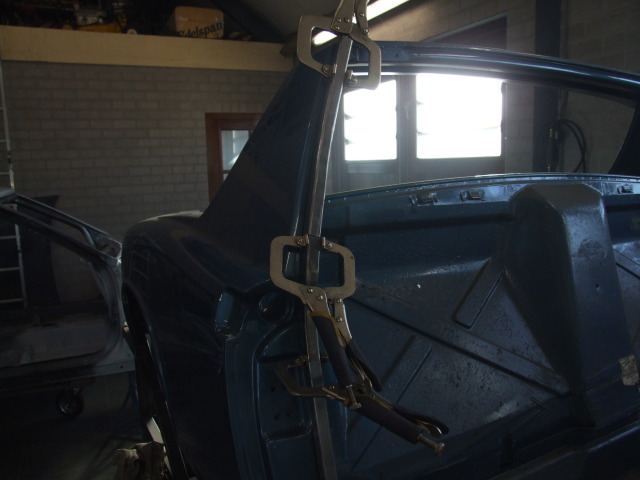
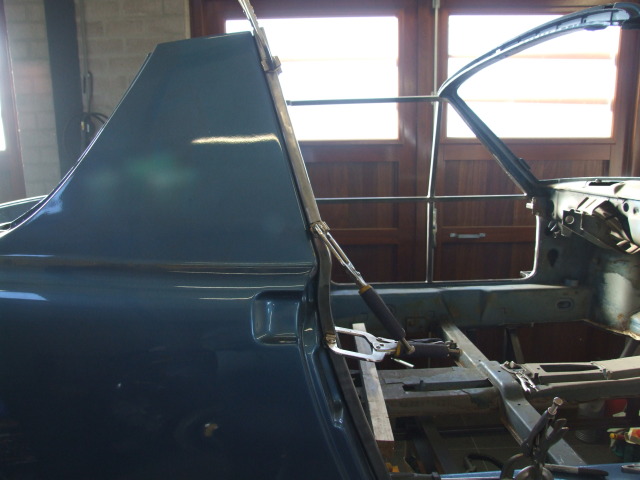
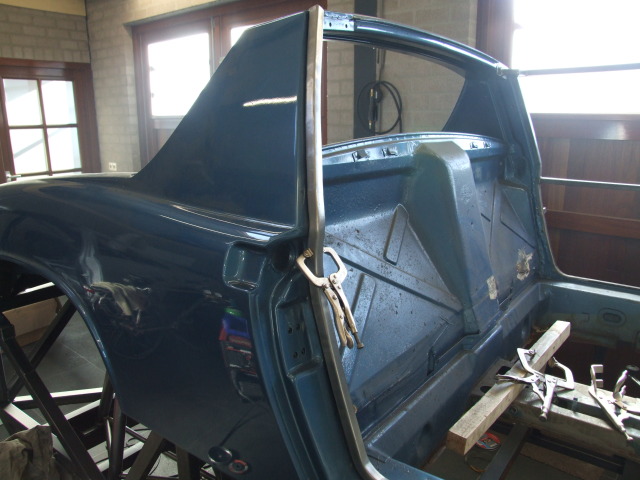
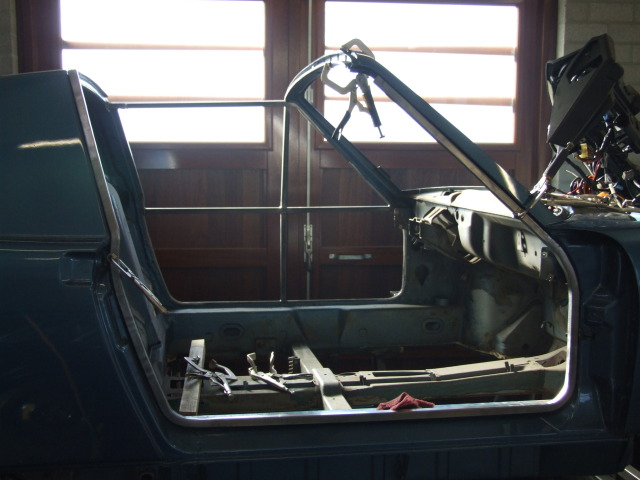

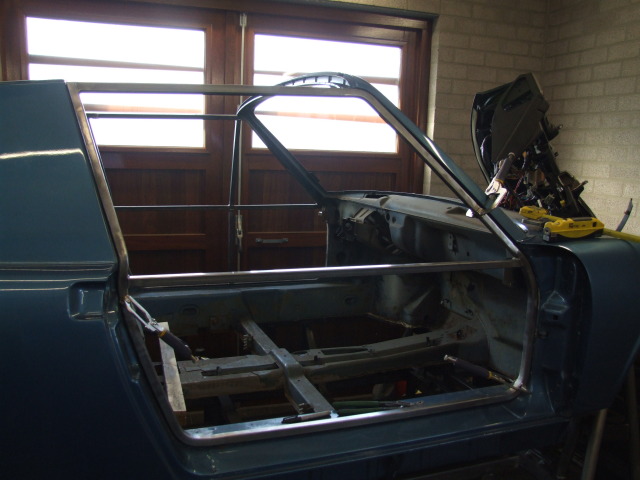
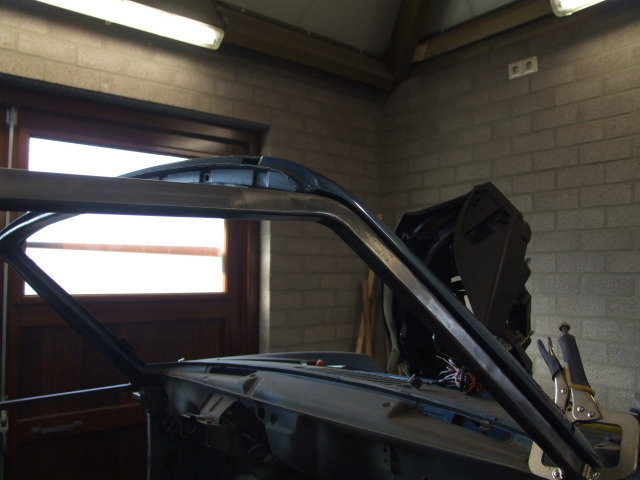
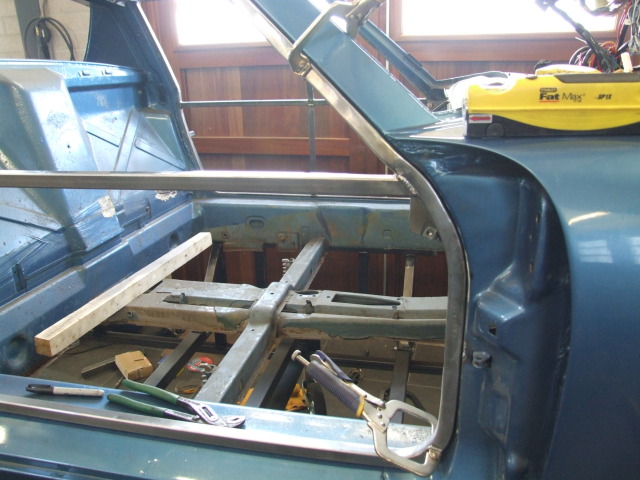
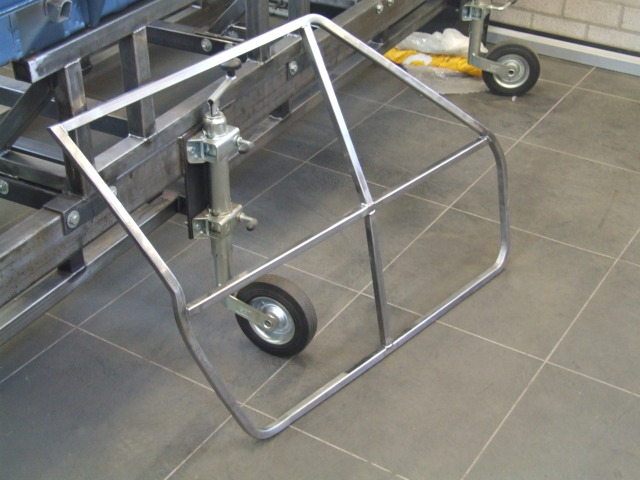
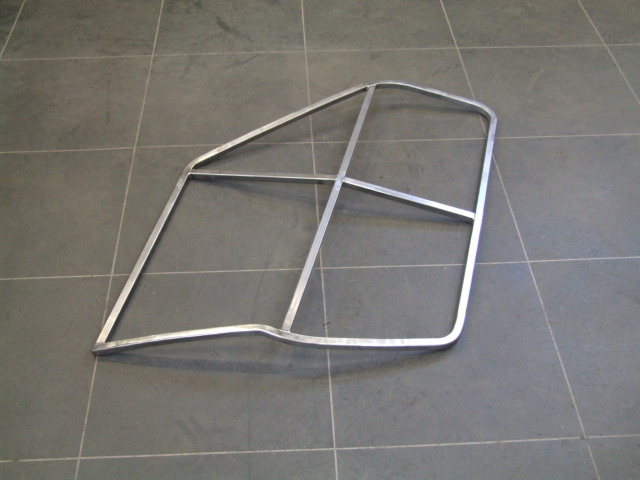
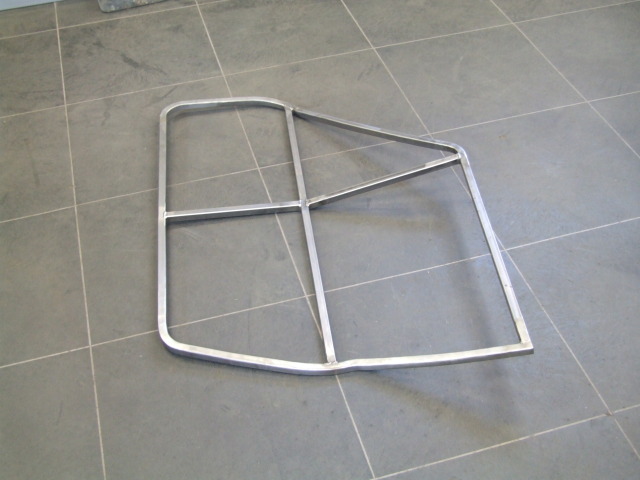
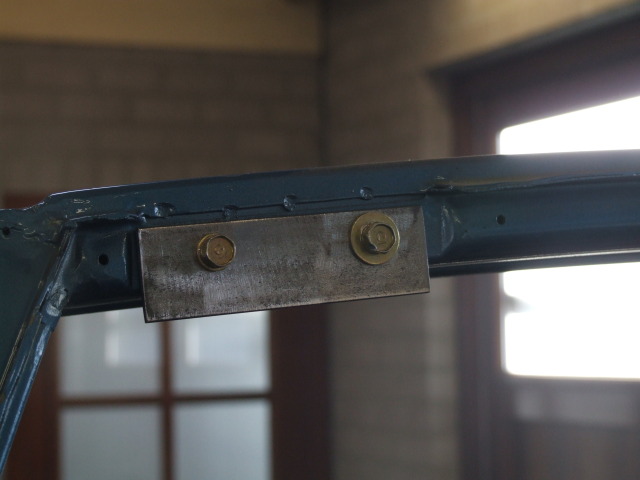
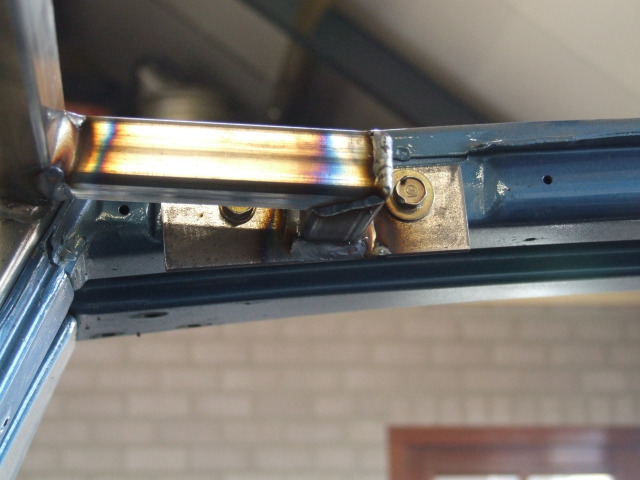
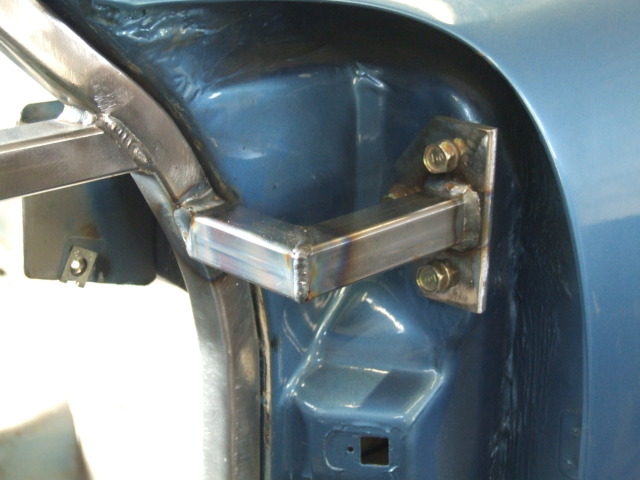
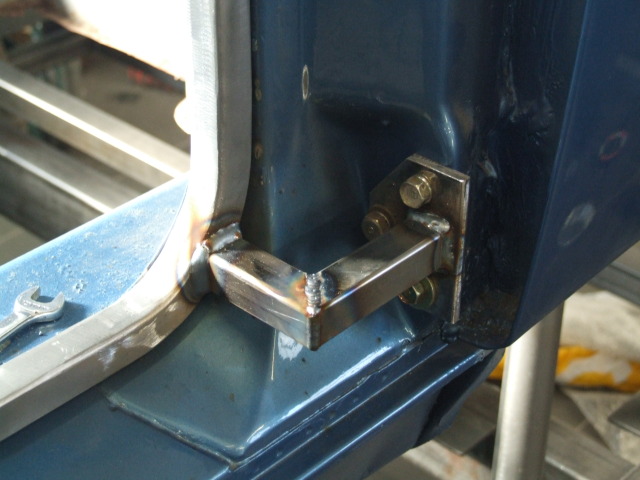
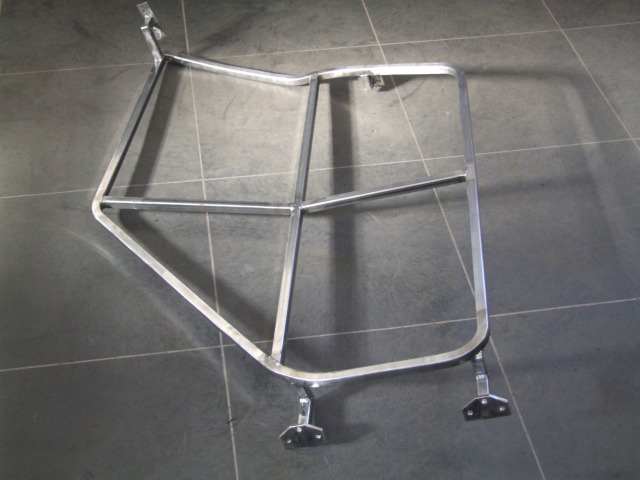
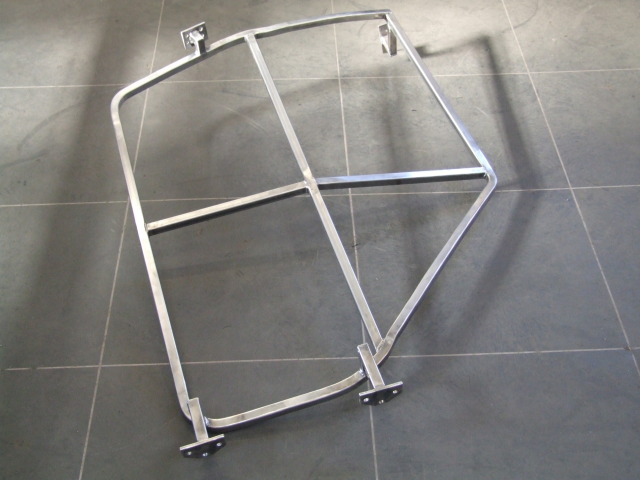
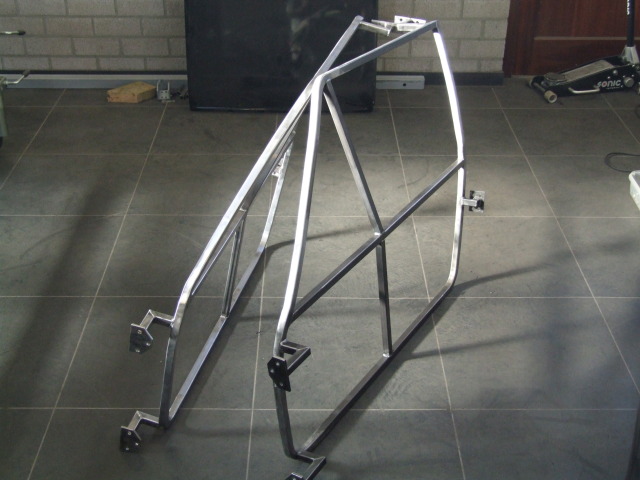
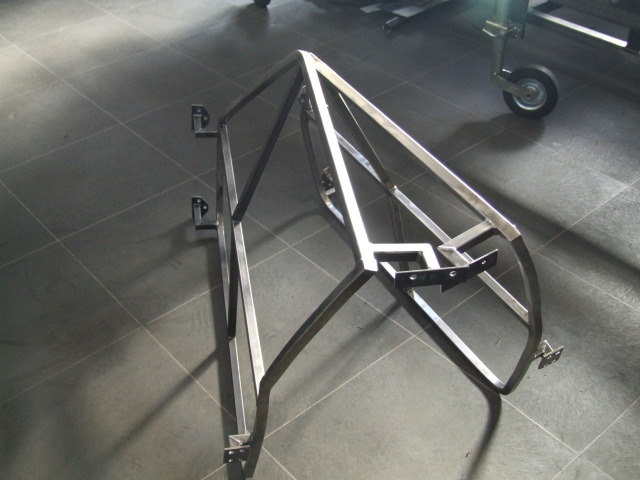
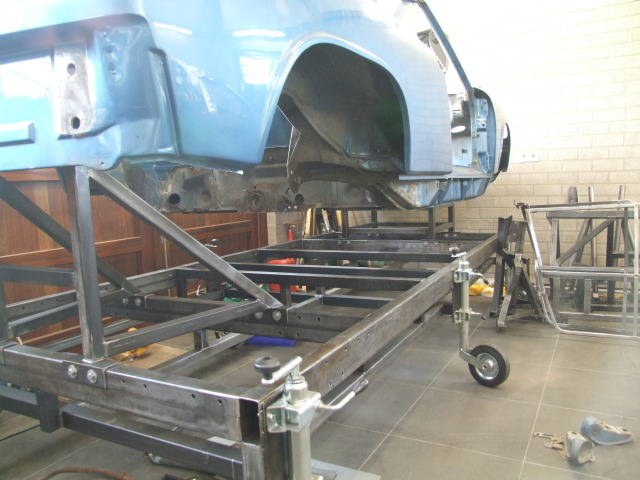
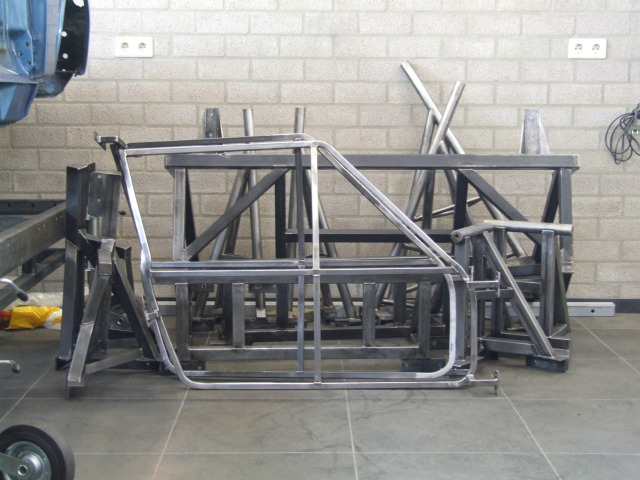
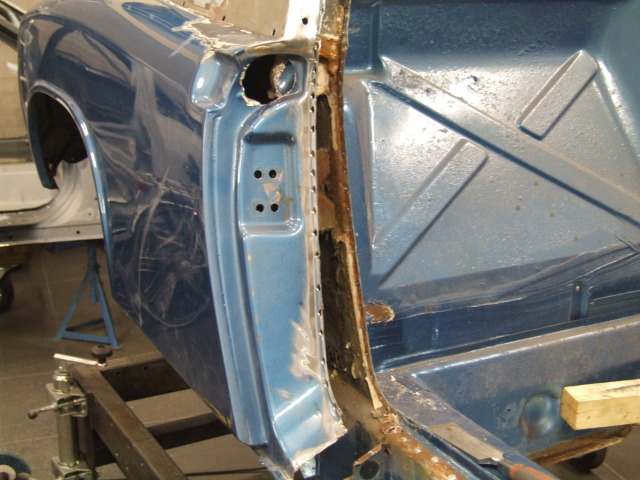
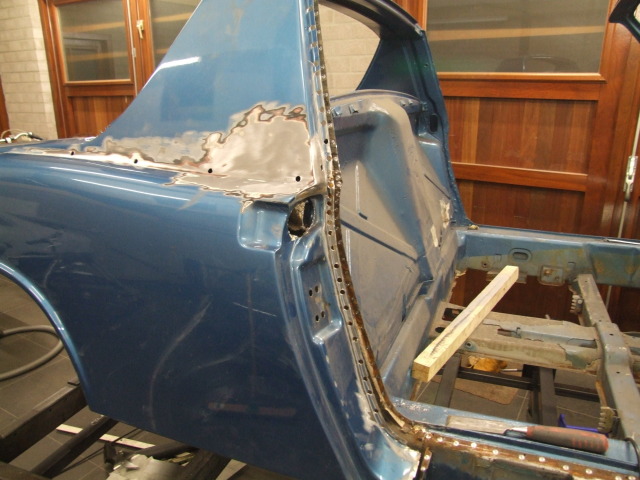
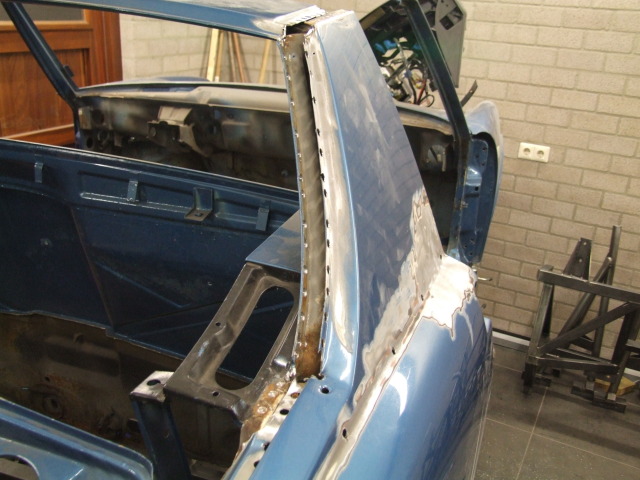
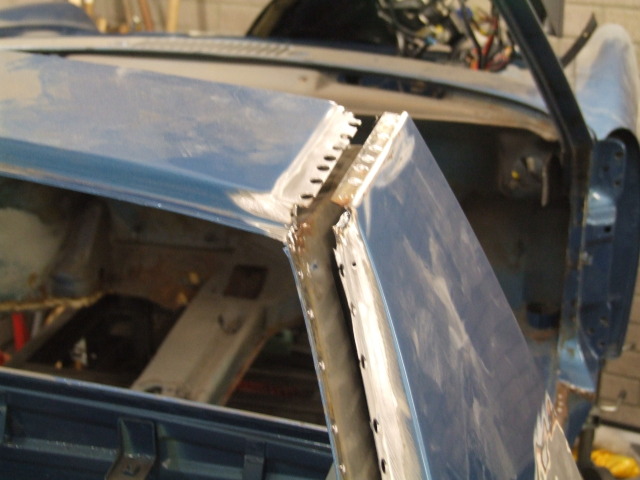
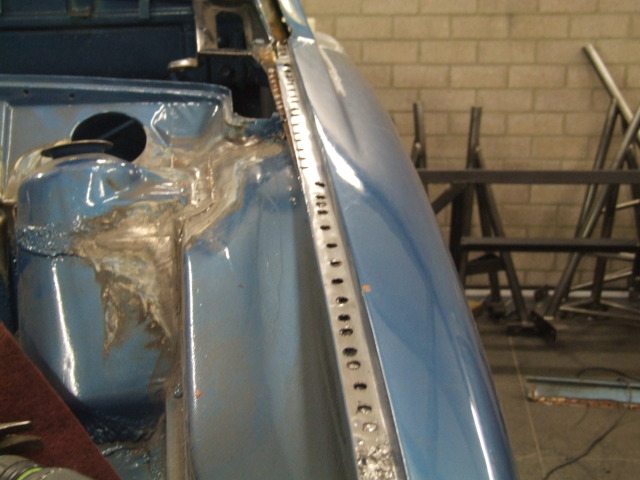
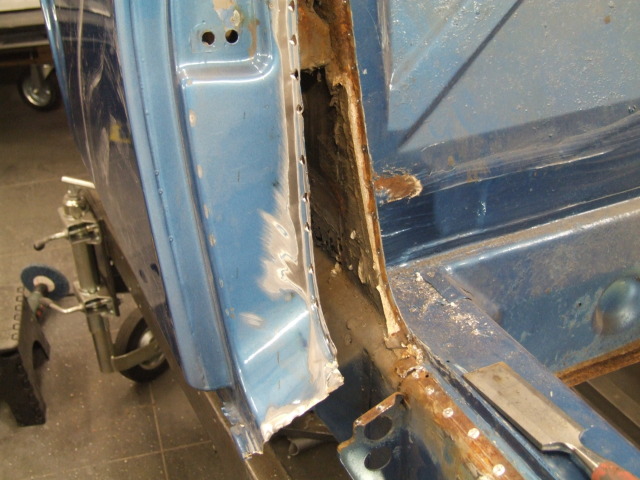
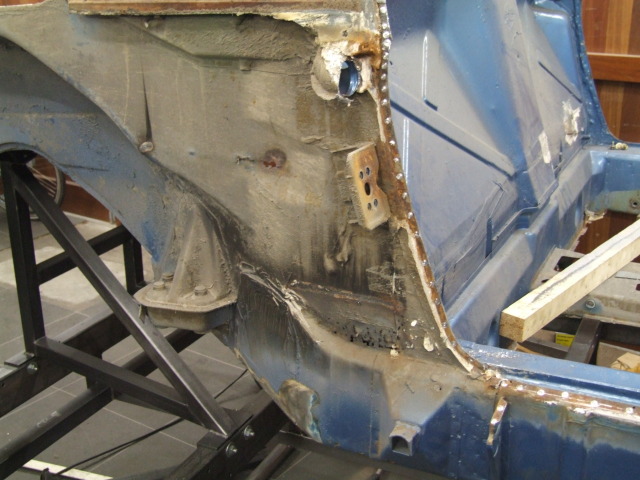
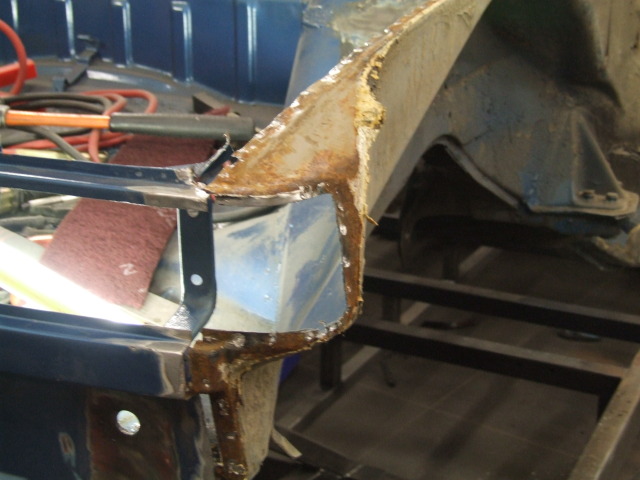
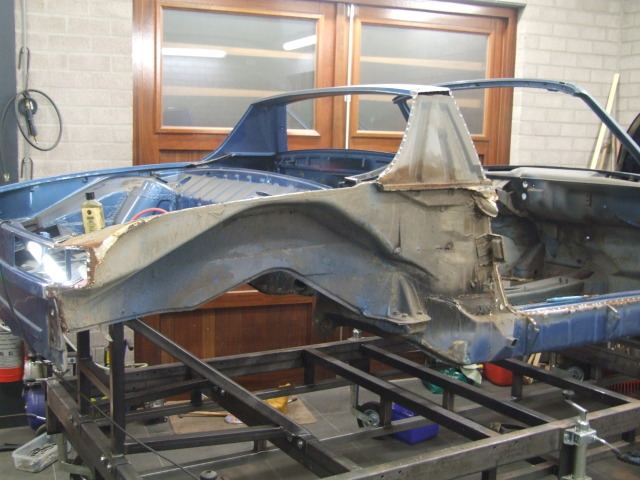
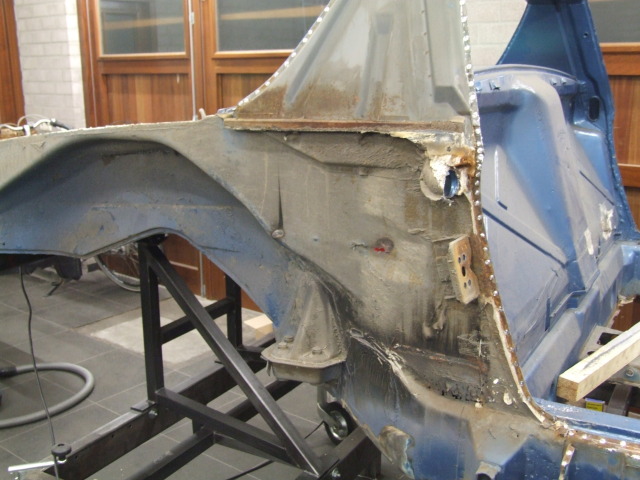
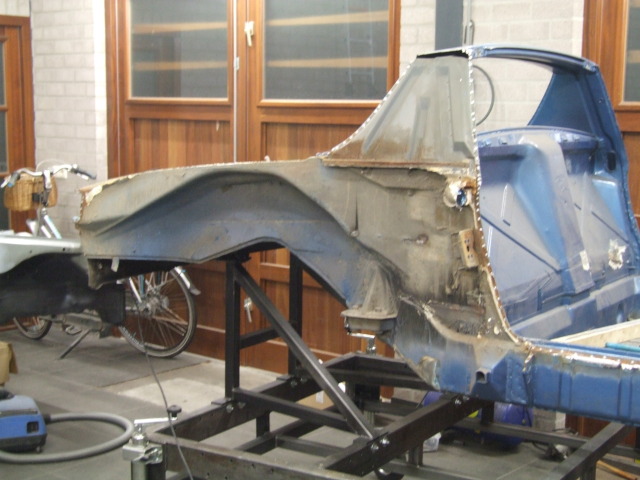
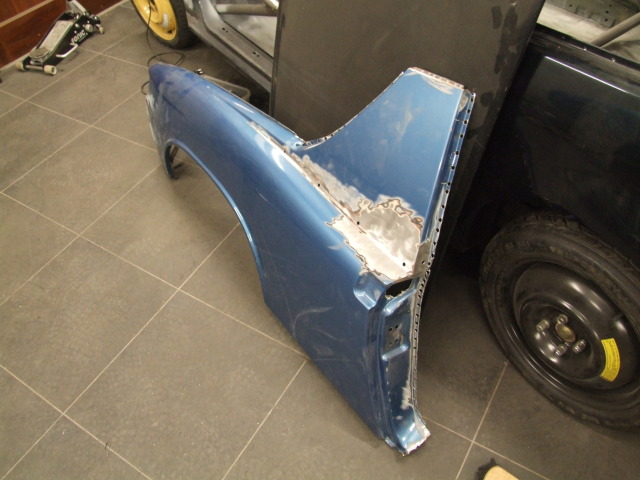
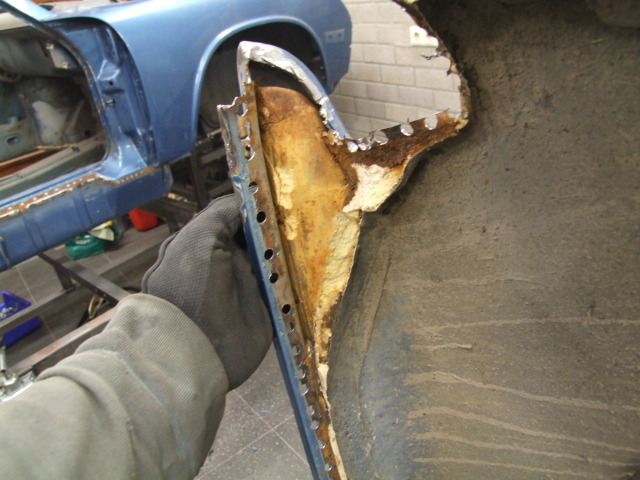
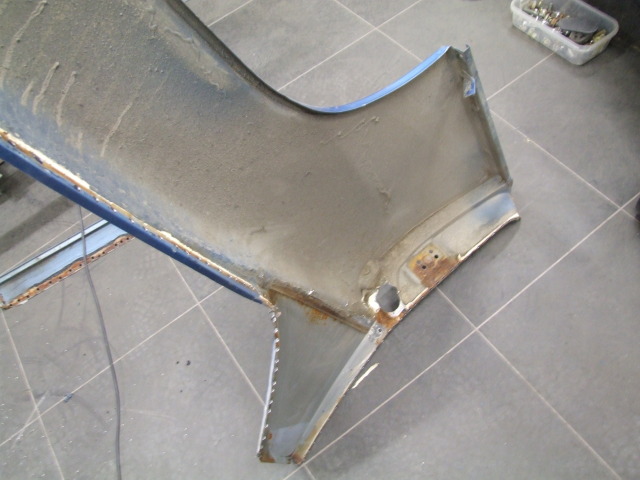
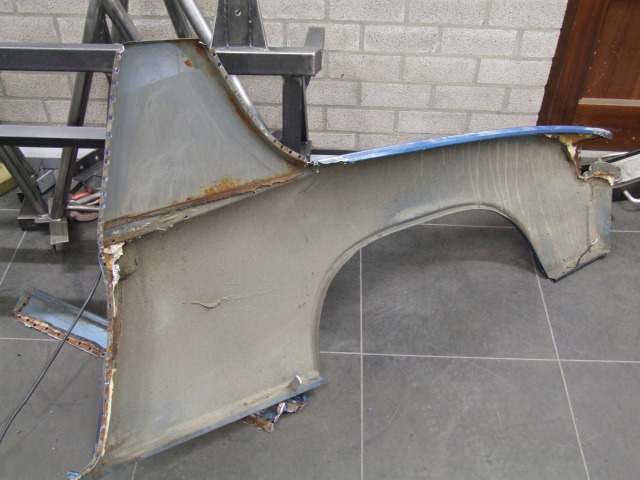
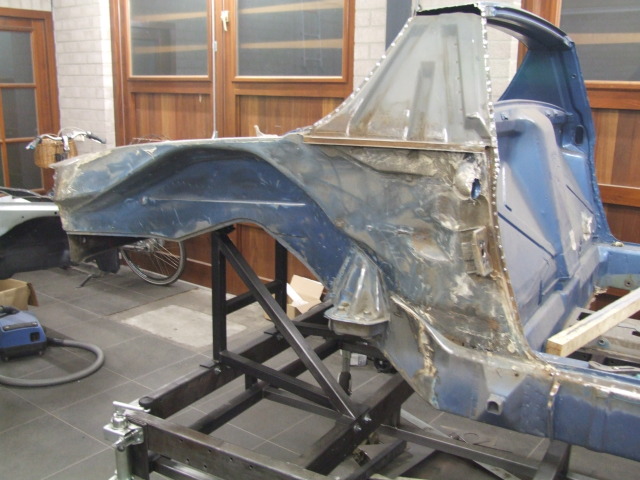
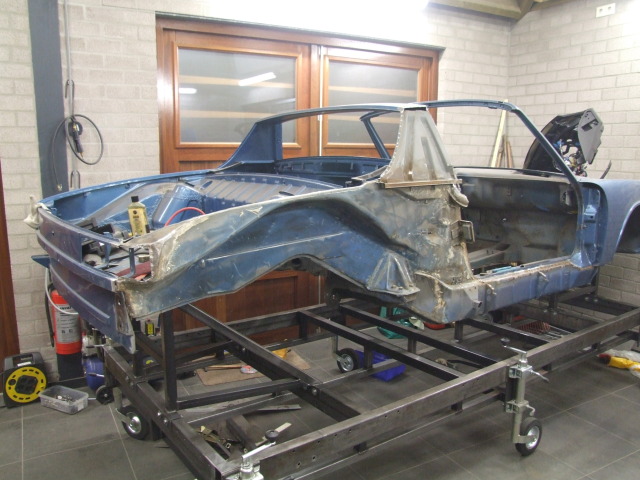
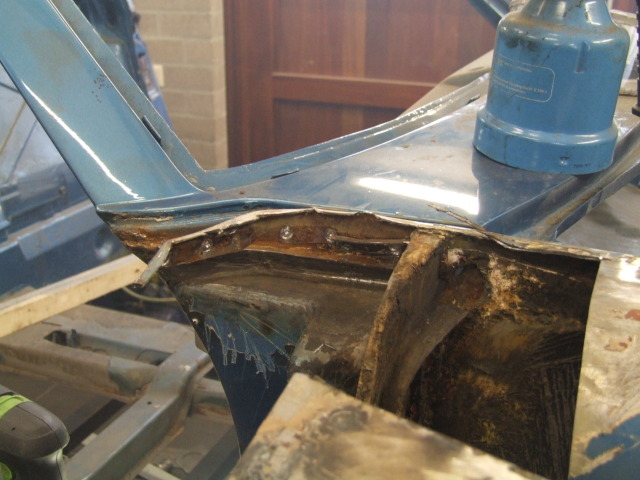
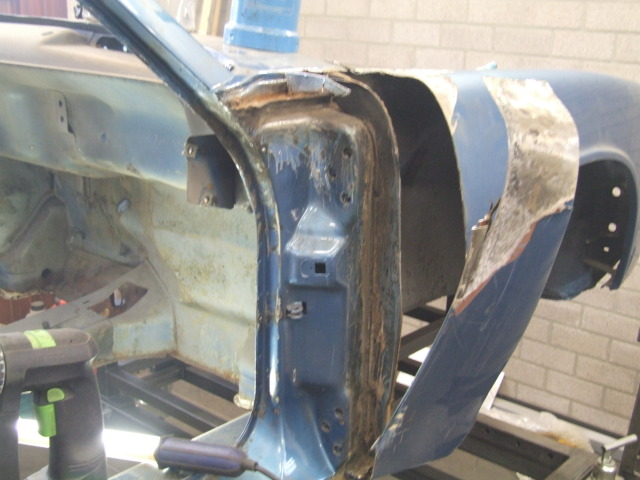
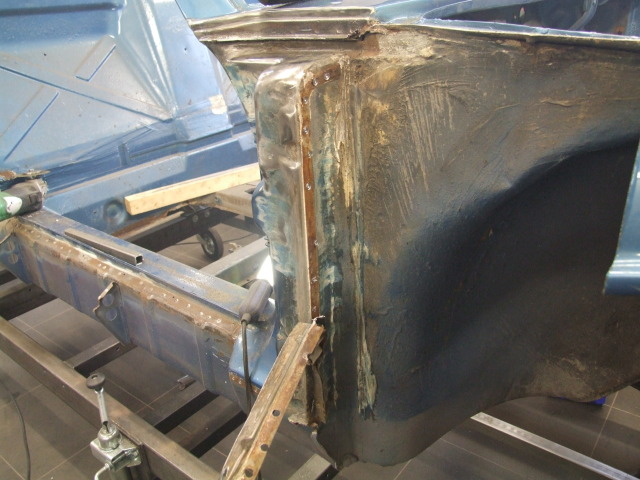
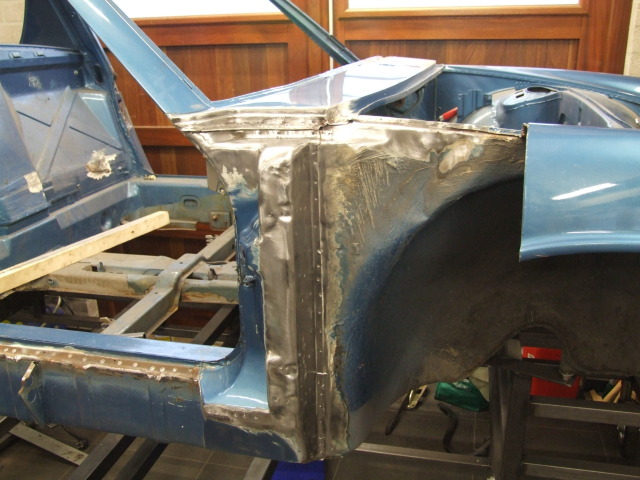
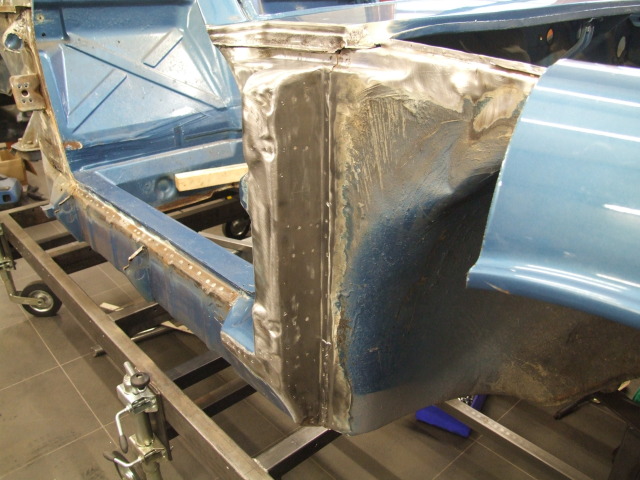
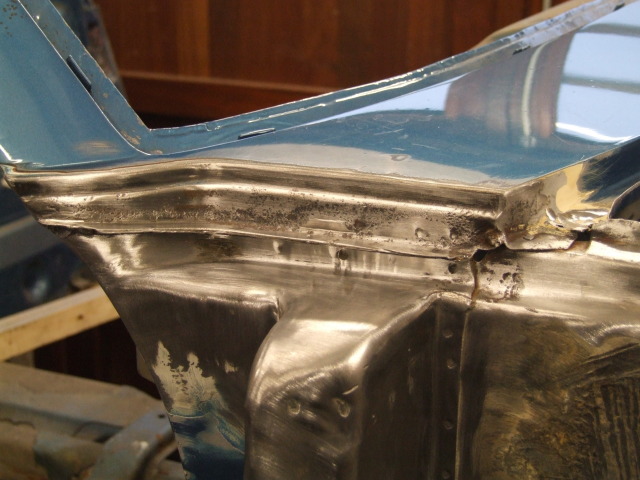
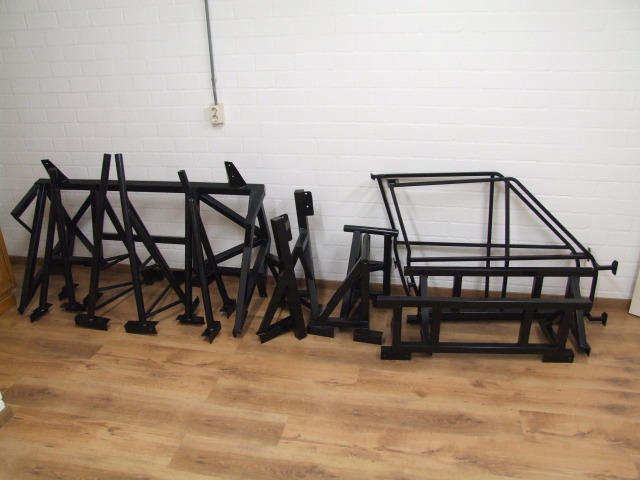
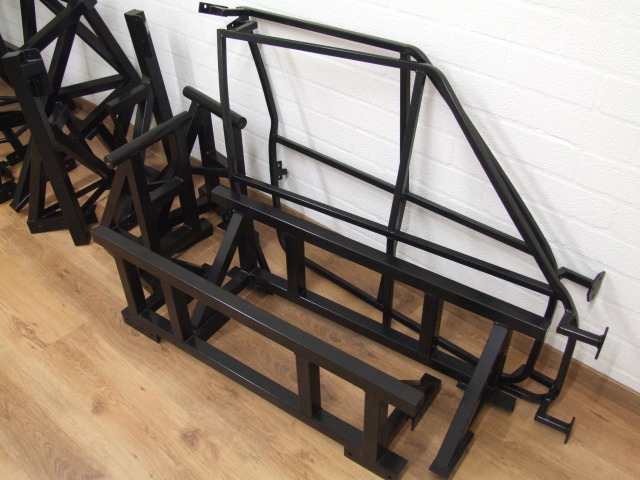
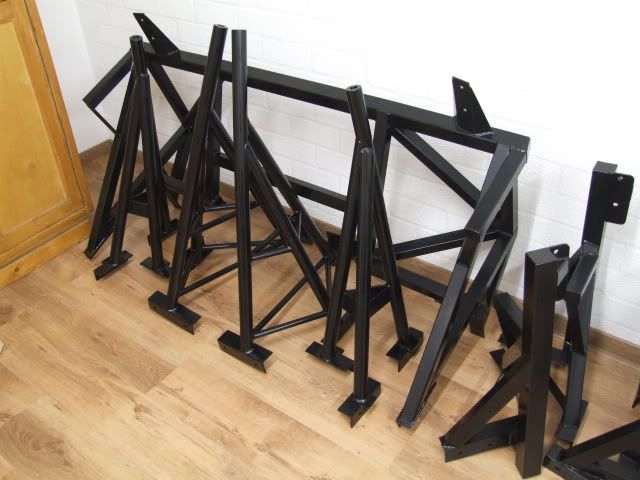
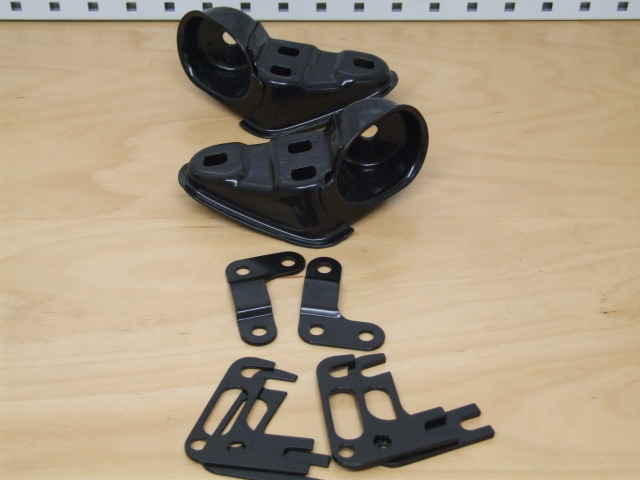
 Make this in 2 or 3 parts with a pin to connect the parts, and you'll probably sell all the body shops and some members. Best I've seen on rebuild posts.