Help - Search - Members - Calendar
Full Version: PMB Performance - Mike Krieger Build
914World.com > The 914 Forums > 914World Garage
Pages: 1, 2
Eric_Shea
Hey Gang,

We've been working on this one for a while now and I thought you'd like to follow along. It has a lot of "914" issues to sort through and can be a good piece to show how and why to fix things properly, especially with the value of these cars climbing and the money invested in a car of this quality.

Mike came to us last year after finding us here for a PPI. In this case it was a "Post Purchase Inspection". The car was sold as a rust free (yes, enter your comments here) 3.2 six conversion. It turns out it was anything but. Regardless, Mike was in for the long haul and, he was determined to do things properly. He expressed interest in making the car a wide-body and fixing what needed to be fixed at the time.

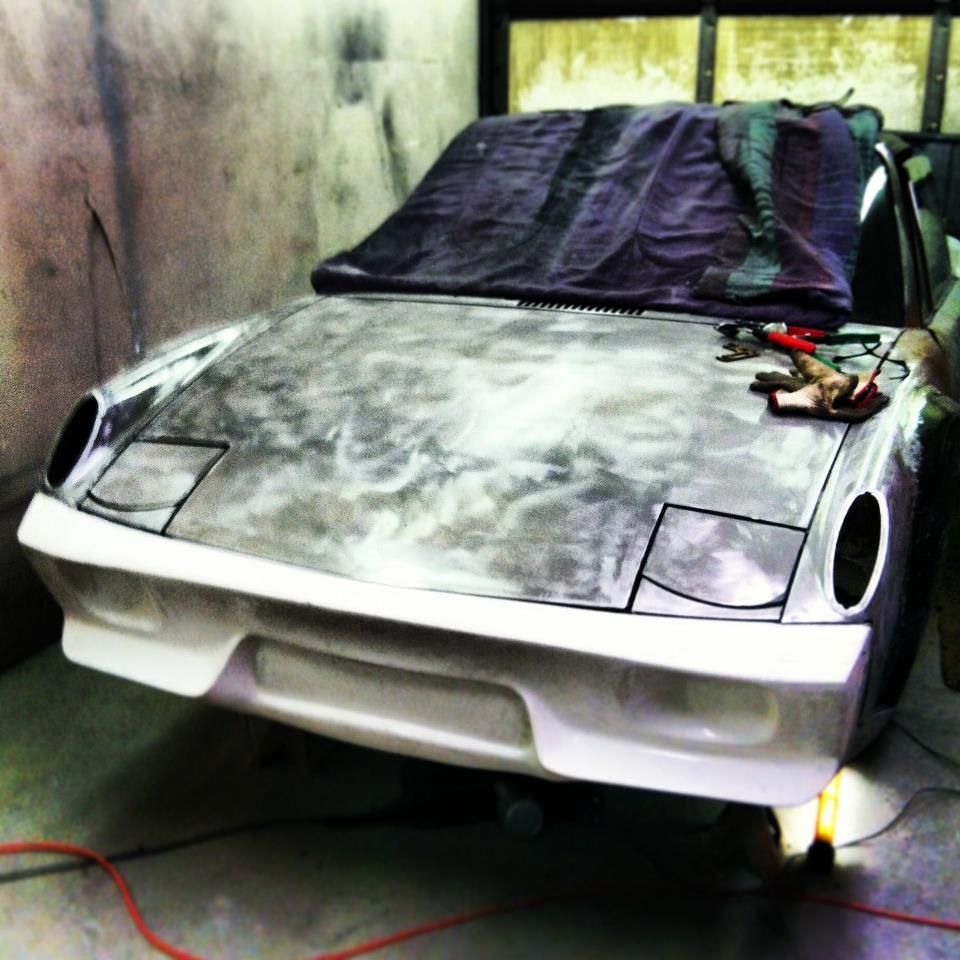
Off the tub went to be stripped and prepped for flares and paint work. Here you can see the "after" shot with the flares on and glass panels being fitted:
IPB Image

There was a lot of metal work needed as indeed... the rust was free on this one. Before flares could go on, a new quarter panel was needed and various stiffening kits (factory and 914LTD) added to ensure minimal twist with an impending 3.6 install. The car was then painted "Signal Orange" and given back to Mike for some detail installments.

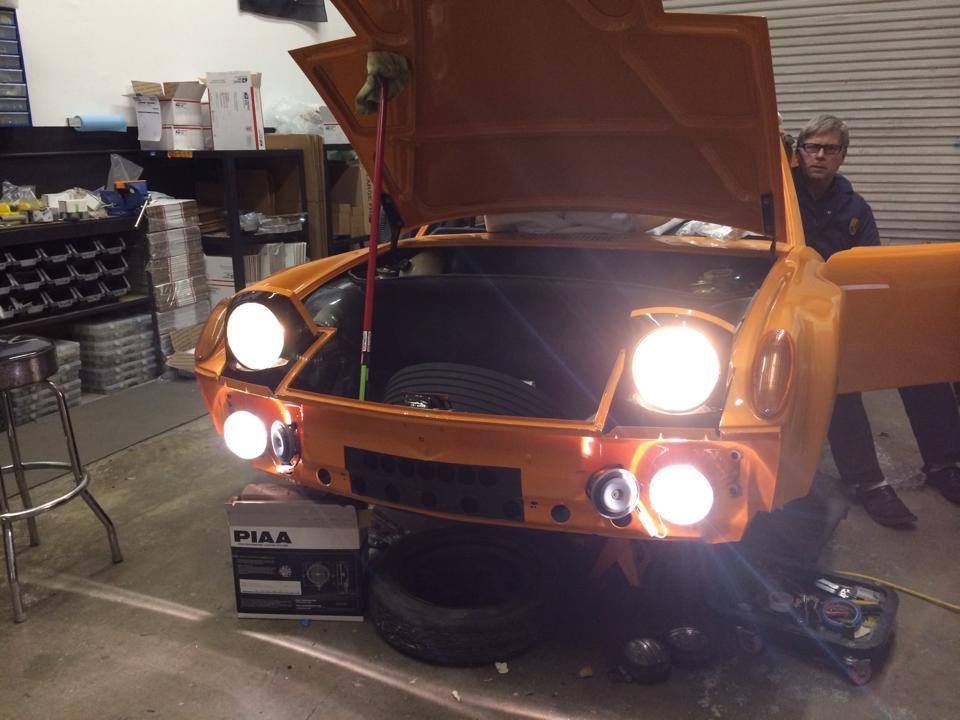
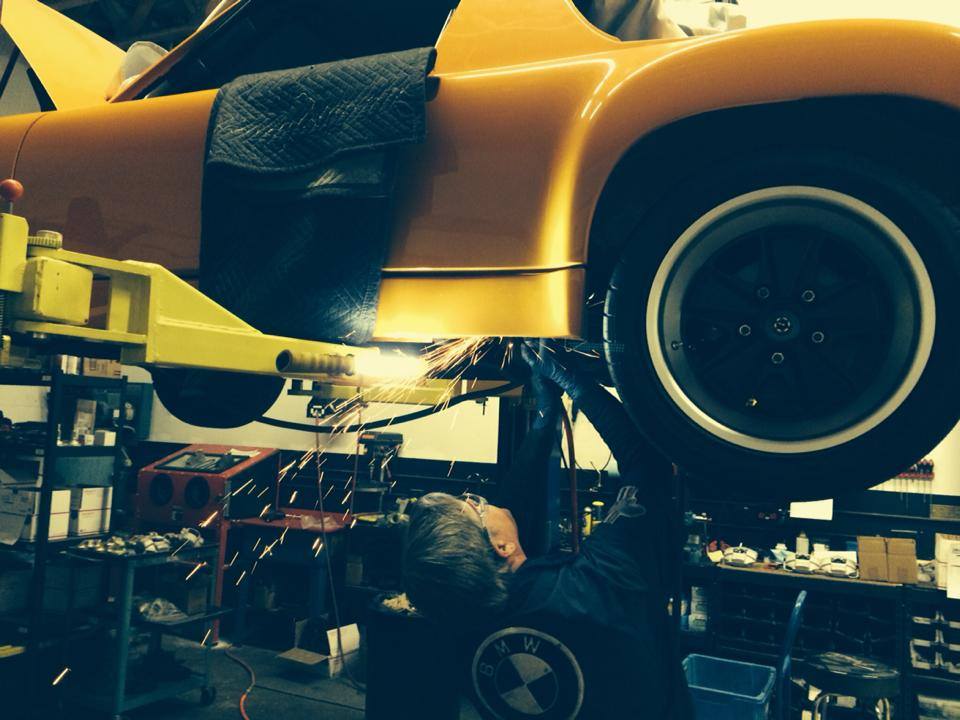
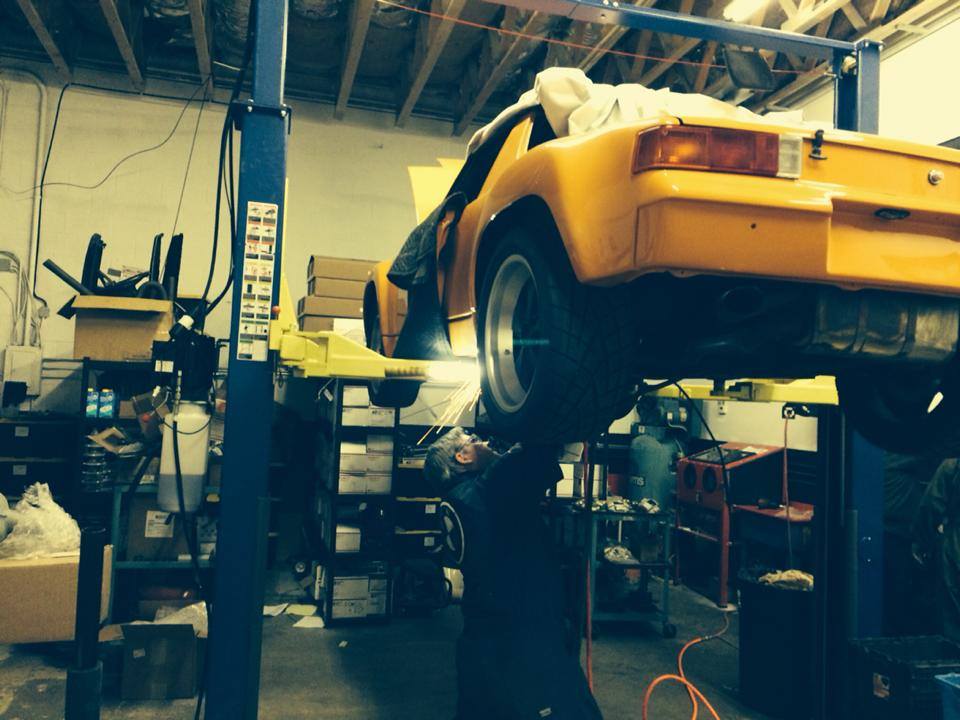
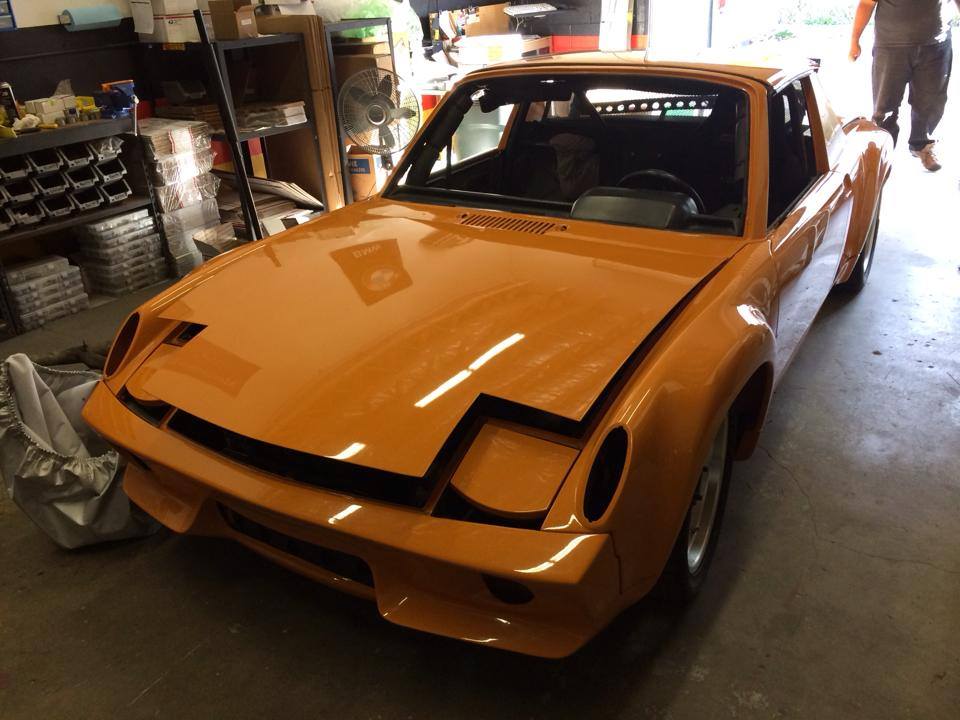
Fast forward to present day. We picked the car up from Mike and began ticking off items on his wish list. Install driving lights, front turn signal buckets, hood lights, hood pins, sway bar, get turn signals working, various trim pieces etc.

Here's how it it sat when we got'er in the shop:
IPB Image

IPB Image

Then the "inevitable" happened. It began to act like any other DAPO 914. She began to show some of her true colors. I actually think the car was talking to us and letting us know about the problems before she burned to the ground in a heap of smoke and flames.

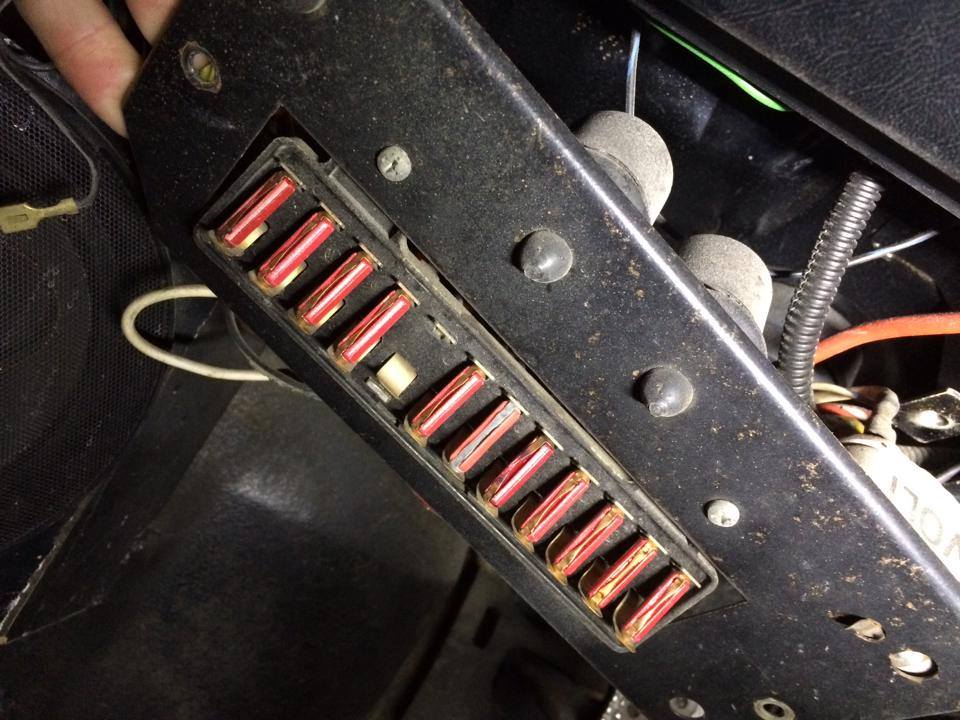
Let's start with wiring because we basically had to re-wire the car. What started as a simple request to "get the rear light buckets working" brought us to a few swapped wires on the install post paint and then... funny smells and blown fuses. When we looked at the fuse block we saw this:
IPB Image

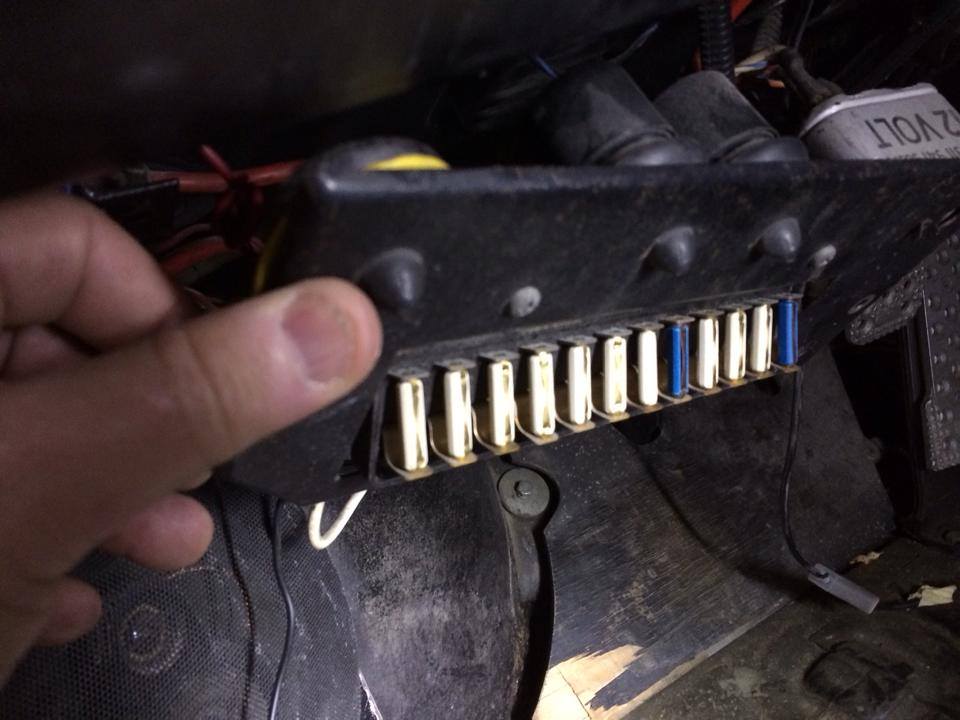
Yes, the blown fuse was also a 16a!! Needless to say, this was one of the first things we did...
IPB Image

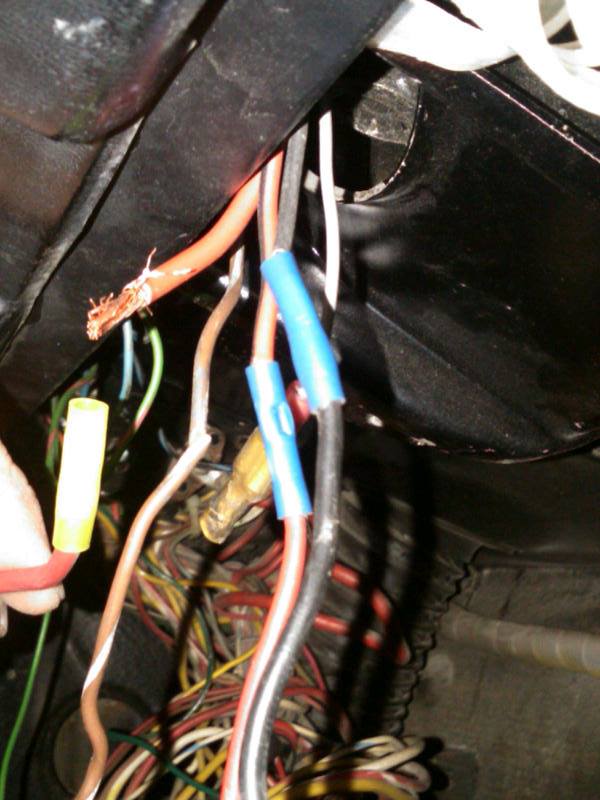
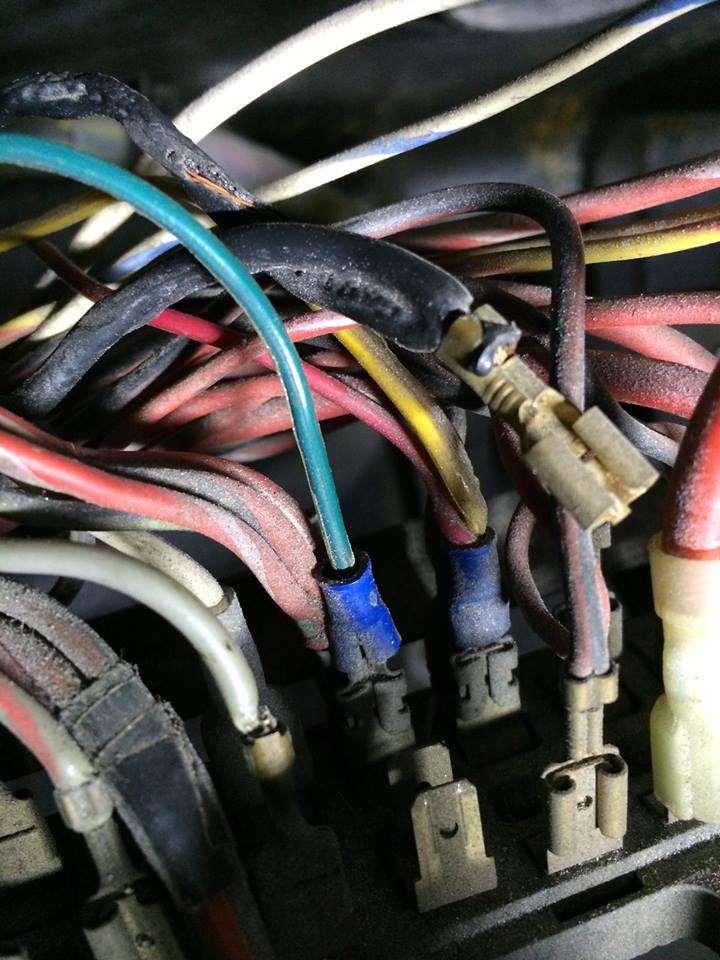
We also found some previous melted wires that could have been catastrophic:
IPB Image

This caused us to start at the front and completely go over all of the wiring. Fix and replace with proper factory colored wires from a donor harness and wrap everything back up with the early cloth tape loom.

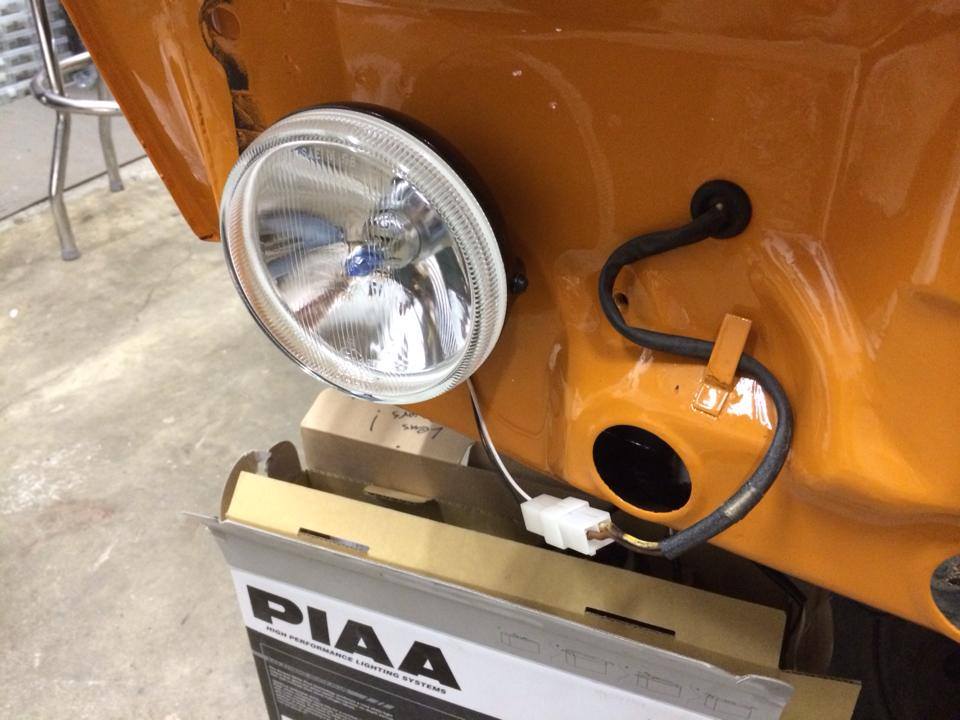
The factory driving light harness was cut and crimp on ends were all that existed in the apron. We went into the harness and soldiered in new leads and used factory sheathing to bring them through the grommets in the front apron. Mike wanted these PIAA lights so we then soldiered the PIAA ends on the factory wires and inserted them back into the connectors for a clean, clip-on installation:
IPB Image

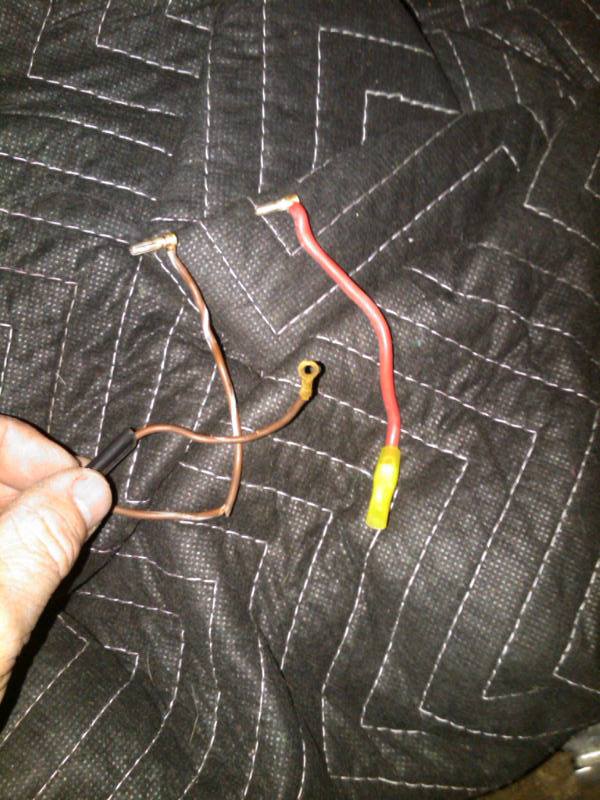
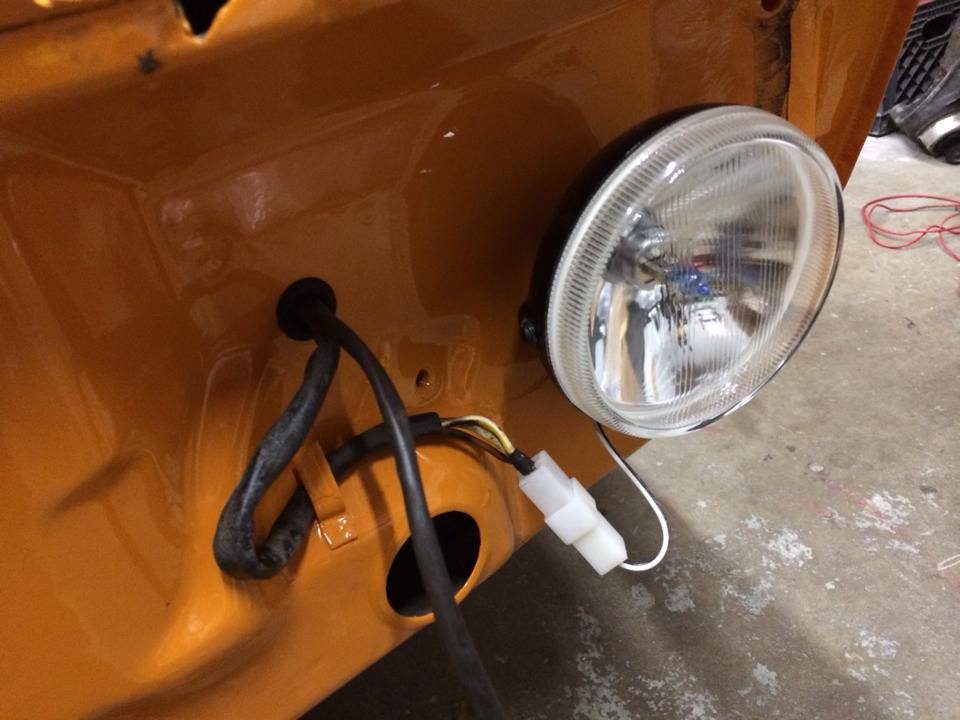
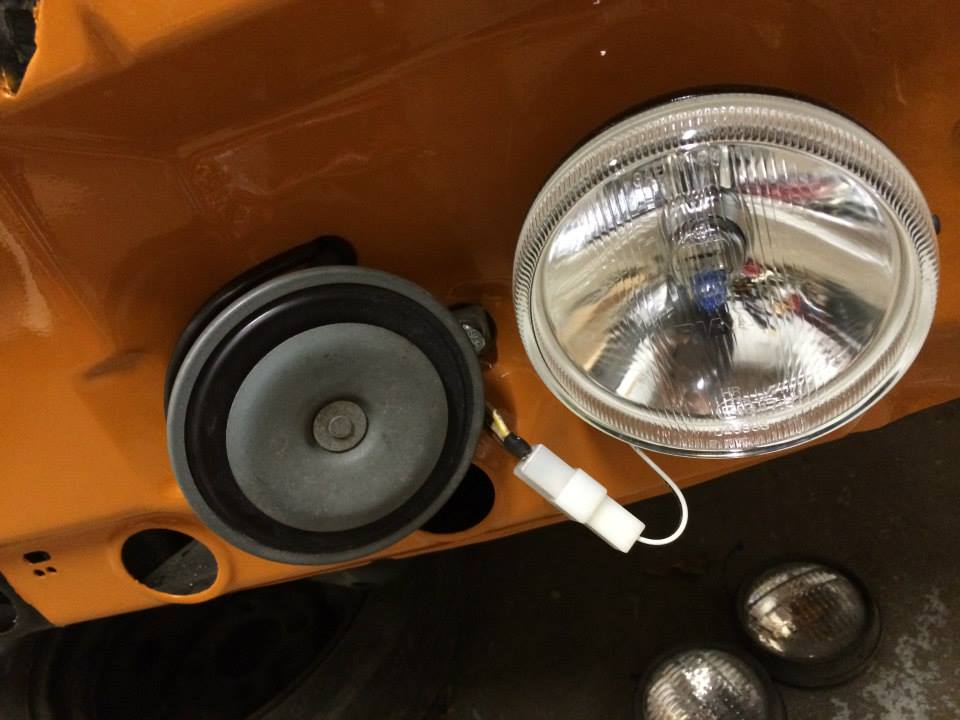
Next we did the same thing while repairing the horn leads. Removed the crappy blue crimp on connectors and went full factory with the protective sheath. We also ran a second lead over for dual tone horns.
IPB Image

IPB Image

Here's a shot of Mike's new harness:
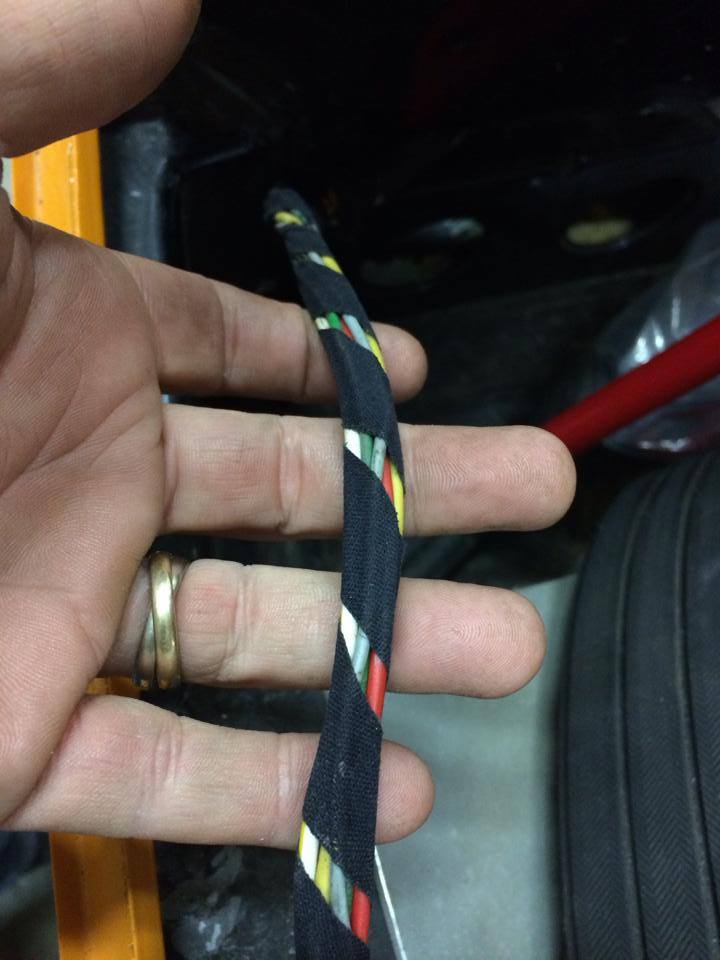
IPB Image
0396
QUOTE(Eric_Shea @ Dec 7 2013, 09:01 AM) *
We've been working on this one for a while now and I thought you'd like to follow along. It has a lot of "914" issues to sort through and can be a good piece to show how and why to fix things properly, especially with the value of these cars climbing and the money invested in a car of this quality.


Thanks for the inspiration. 3.6-smile.gif... A 964 or 993 install? If I had to guess, 964 ..oh wait. 993 with webers -smile.gif!
toolguy
Eric. . pm sent. . Dave
bigkensteele
Nice work as usual, Eric.

Will the 3.2 be for sale? Please PM me if so.
shoguneagle
Very nice, indeed! One for great enjoyment.

Steve
rudedude
Eric,

Very nice indeed! Keep us posted.

Jule
gothspeed
Awesome!! smile.gif

JamesM
Is this the car that rear quarter from my place went to? I felt a little bad about cutting that one up given how solid the longs were, but if this is the result of its sacrifice then it was totally worth it. Looks awesome!
old dog
Very nice !
scotty b
beerchug.gif Tell Brown E he does wonderful work smile.gif
Eric_Shea
Thanks guys.

PM not received Dave.

3.2 is probably sold already.

James, it is indeed your quarter panel. If that car hs good longs you can always put a complete QRS kit on it! biggrin.gif (more on that in our next build thread). Thanks for the good metal!!

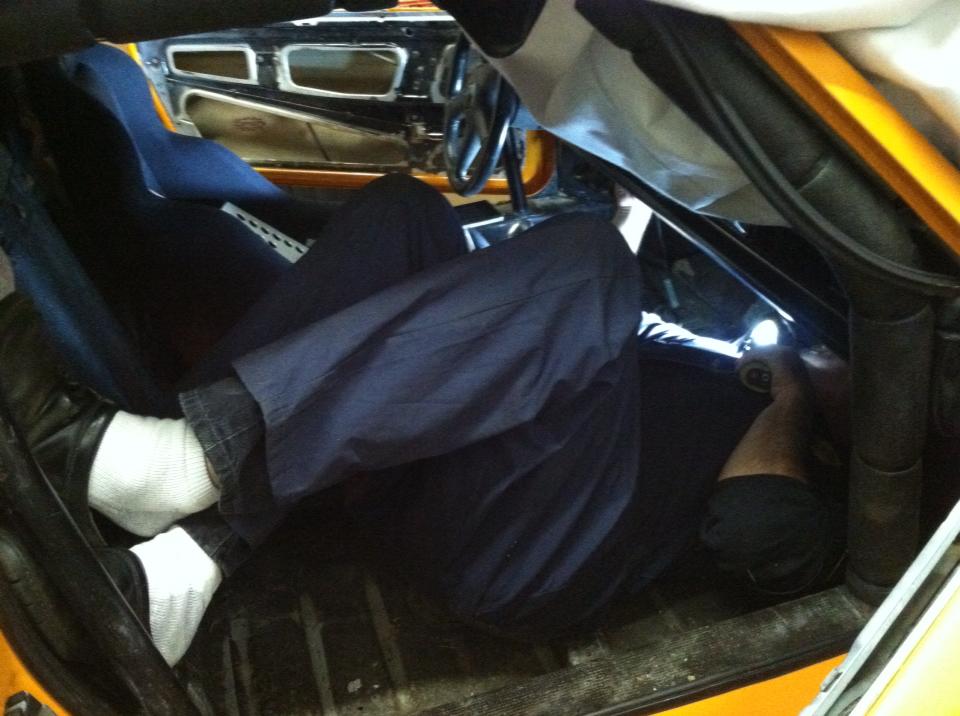
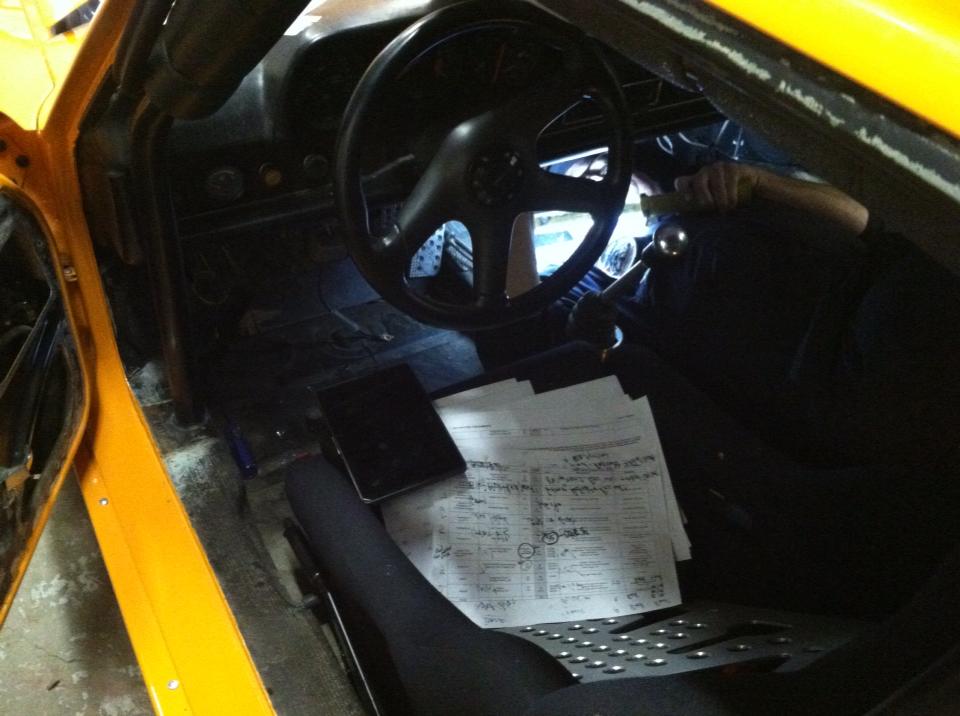
We seriously had to dig into the wiring on this. Front and rear harness and most of the dash. We even did all of the harness behind the fuel tank and fresh air box. Anywhere we found "crimp-ons".

Here's David "assuming the 914 position".

IPB Image

IPB Image

Making progress...

IPB Image

David checking the lights.

IPB Image

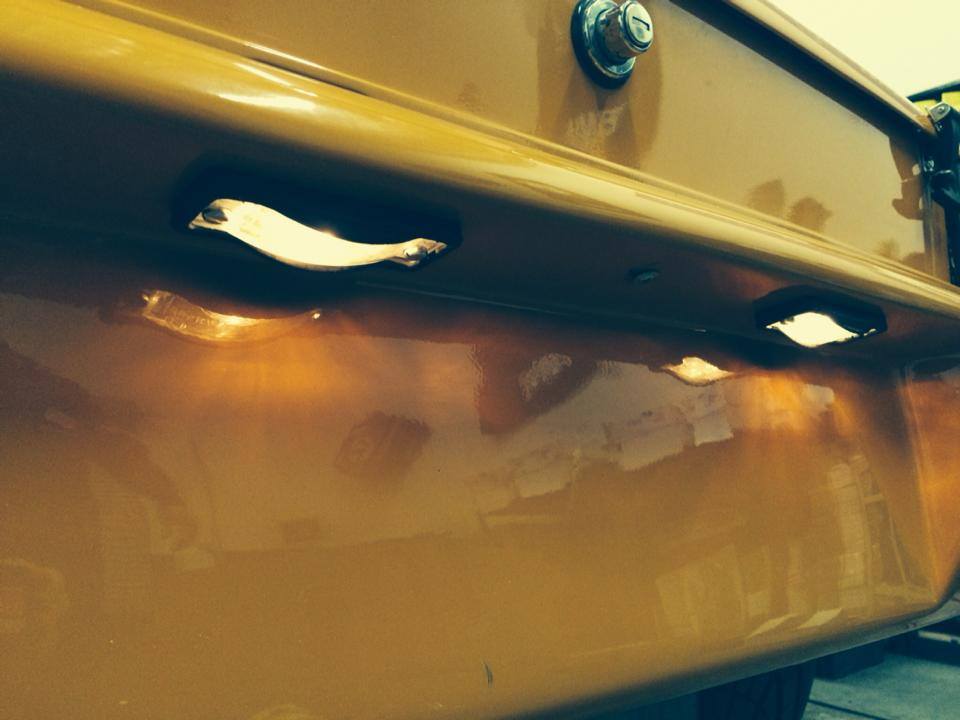
The rear harness was so brittle it was falling apart in our hands. Here's one of those 914 "tips". Do the wiring right and... to do that, one of the best things to get is an old harness out of a sawzall project. We pulled the rear harness apart from the engine compartment to the light housings. We then found the license plate leads were seriously so hard they were breaking like a twig. A few things can do this, heat and elements. We pulled the proper color and gauge wires from our donor harness and "soldiered" the factory ends on them and heat shrinked the ends. Do it right... IT ONLY TAKES A FEW MINUTES! And, wiring is one of those things that can come back to bite you time and time again.

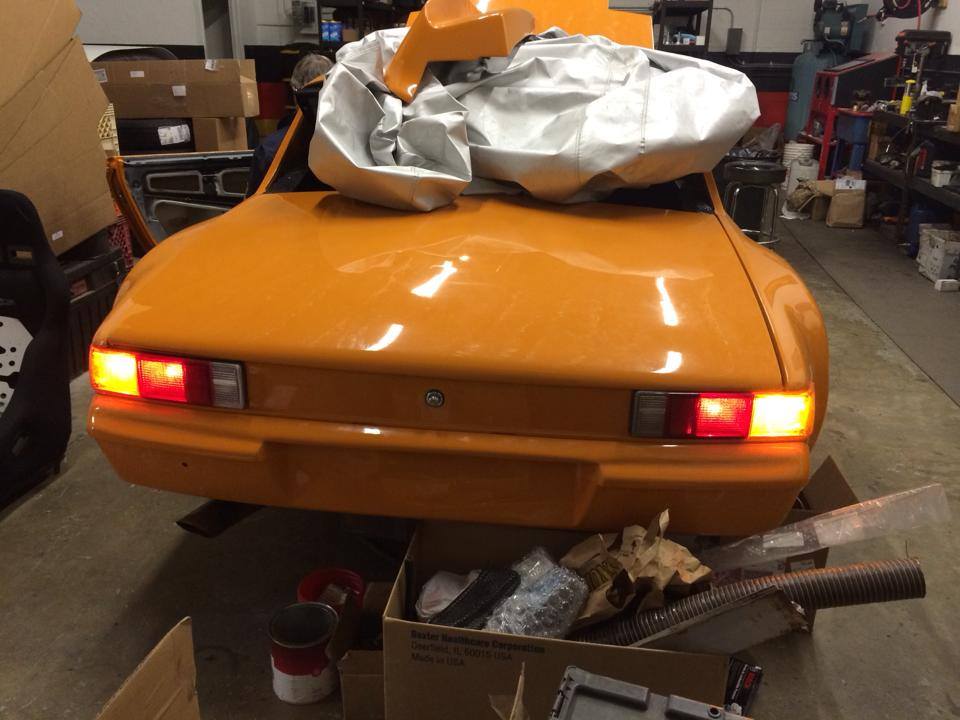
We installed the lights in the fiberglass bumper and hooked it up!

IPB Image

Guess what? Turn signals are still goofy. Switch! Guess what? More crimp-ons! We're pretty sure the melted wire came from a bad switch. We found the turn signal switch all metled. Time for a new switch but... NO MORE CRIMPS!!

IPB Image

The hot lead pulled off in our hands and the horn ground was broken and frayed.

IPB Image

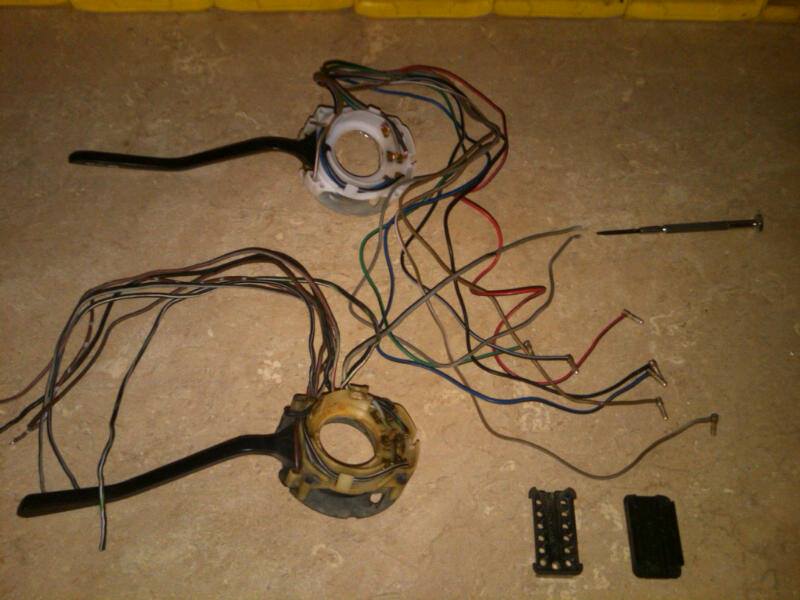
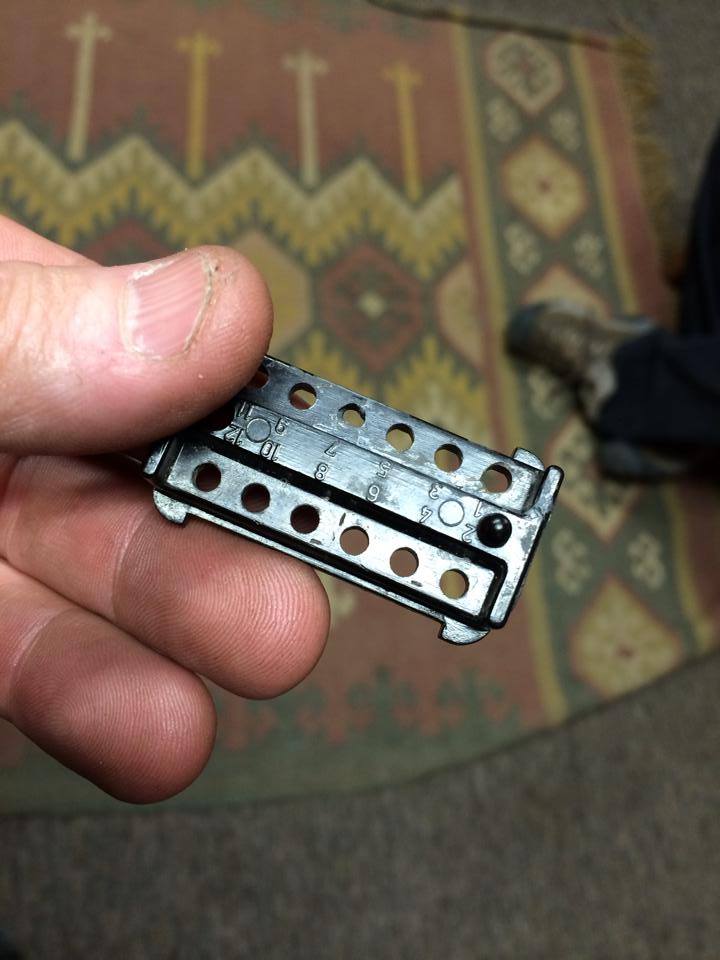
We pulled the switch and tore into the 12-pin connector. Unsoldiered the factory pins and soldiered them on to the new switch. The worst part will be getting the cover back on.

IPB Image
rick 918-S
Wiring can be so time consuming. Nice car!
Eric_Shea
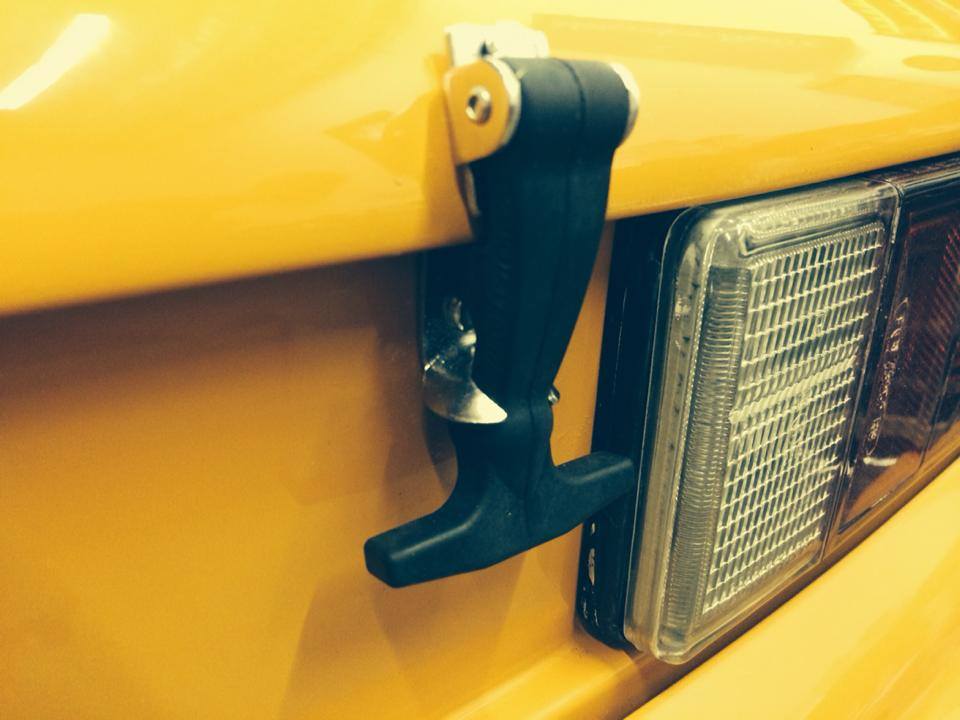
Rear hood tie-downs in place:

IPB Image

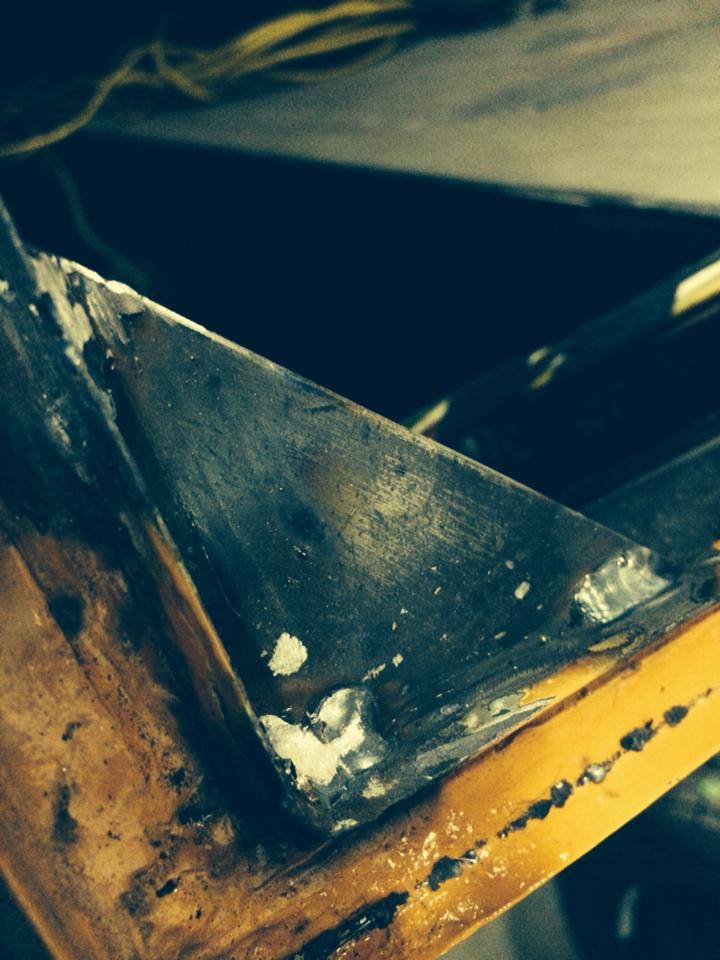
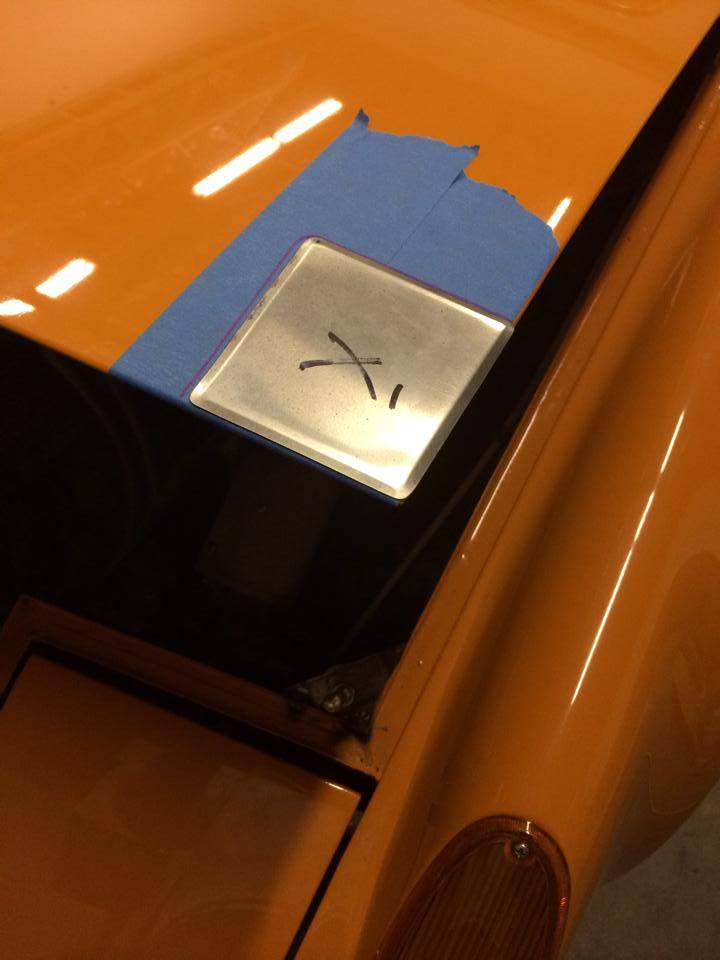
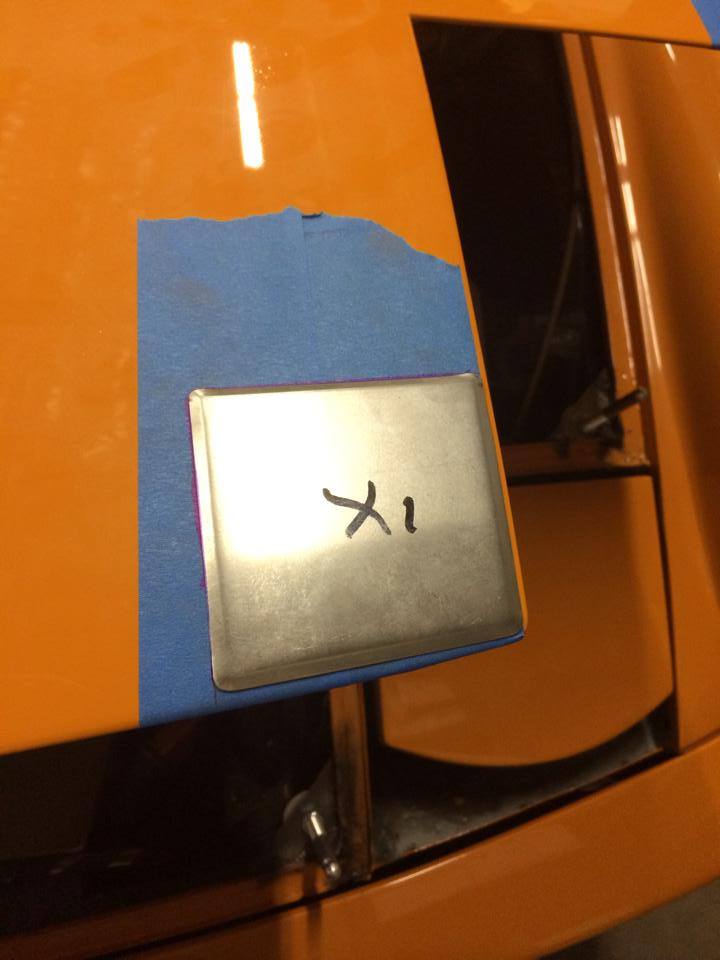
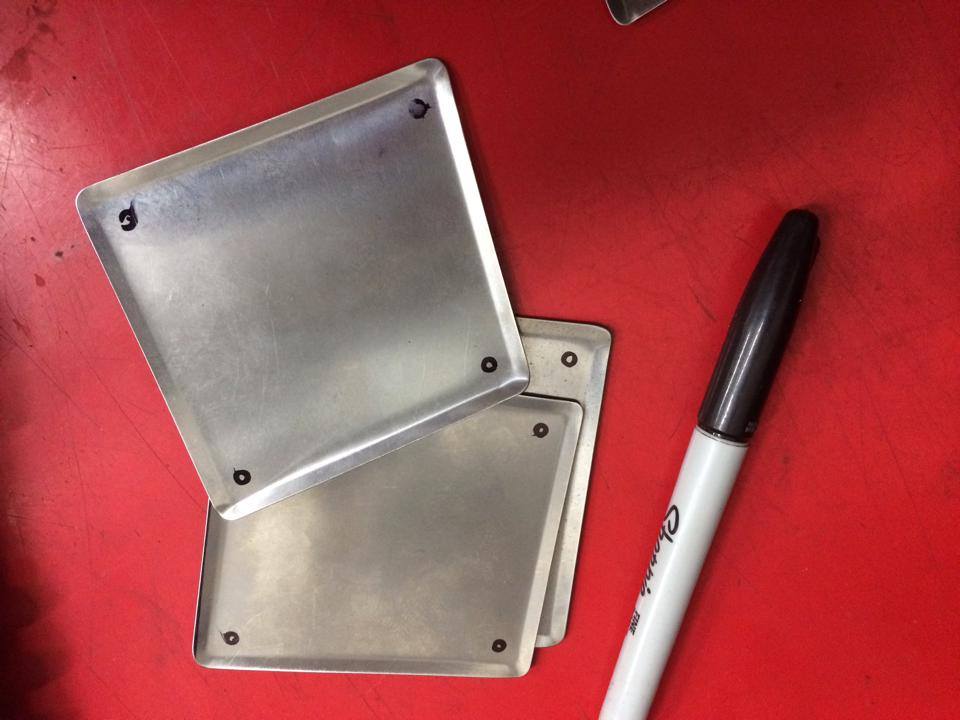
Hood pins are going on so we had to weld in new plates for the front trunk corners:

IPB Image

Tarett install...

IPB Image

IPB Image
Mike Bellis
Eric, I think your just taking pics of your car. poke.gif
914werke
smile.gif
JRust
WTF.gif is up with those front brakes man confused24.gif . Those fronts do not look like PMB work blink.gif . Get your rebuilt calipers on & a nice fresh rotor bud. Thats just embarrassing poke.gif
Eric_Shea
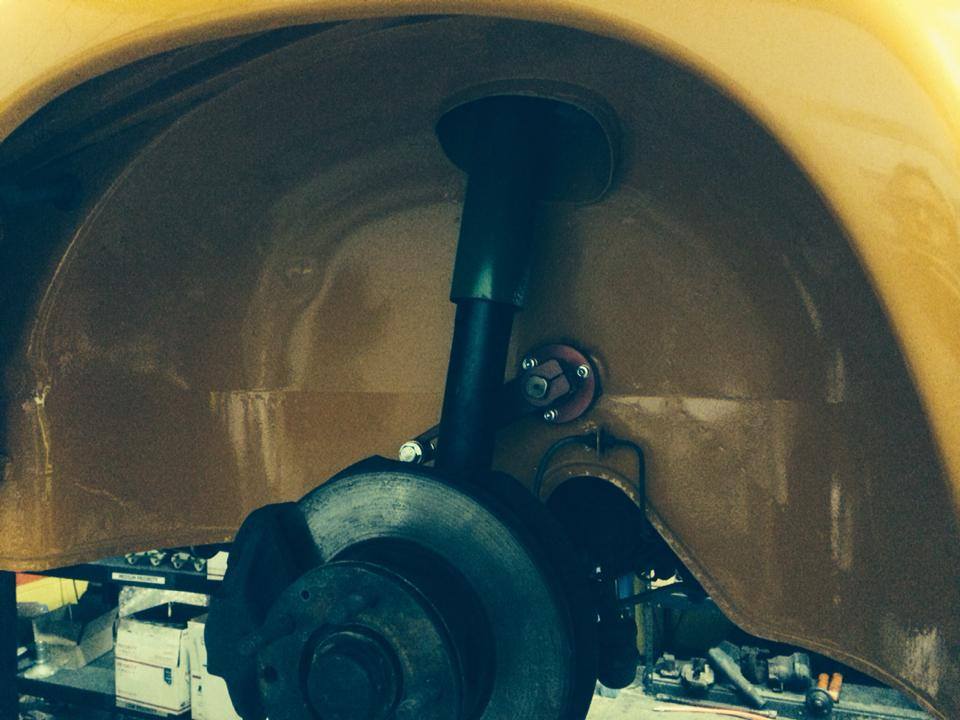
Brakes are further down the list right now. That's a Carrera front end bolted on. sad.gif Too much rotor, too heavy. The idea is to find a nice set of S-Calipers and 20mm rotors and remove the odd "front" bias valve. Phase 2. wink.gif
PanelBilly
Are you putting anything on the metal tabs that hold the wire in place? I used heat shrink tubing and it worked great. Doesn't have the deep black color. More like dark grey, but it does a nice job.
MDG
QUOTE(Eric_Shea @ Dec 8 2013, 09:43 AM) *

Brakes are further down the list right now. That's a Carrera front end bolted on. sad.gif Too much rotor, too heavy. The idea is to find a nice set of S-Calipers and 20mm rotors and remove the odd "front" bias valve. Phase 2. wink.gif


I've got some wide-A's you can have for free.

mellow.gif


unsure.gif
mikesmith
QUOTE(Eric_Shea @ Dec 7 2013, 09:01 AM) *

IPB Image


Not to rag on a lovely looking job, or on the idea of fixing wiring, but using a sealed connector (even something cheap like a WeatherPack) there would be good.

Otherwise, it's going to get wet (assuming this is a driver and not a museum piece) and in a few years it'll be corroded and someone else will be cursing the DAPO. 8)
Maltese Falcon
QUOTE(Eric_Shea @ Dec 8 2013, 06:43 AM) *

Brakes are further down the list right now. That's a Carrera front end bolted on. sad.gif Too much rotor, too heavy. The idea is to find a nice set of S-Calipers and 20mm rotors and remove the odd "front" bias valve. Phase 2. wink.gif


Eric...I still have a nice set of 911s light alloy calipers if you need !
Marty
JamesM
QUOTE(Eric_Shea @ Dec 7 2013, 05:32 PM) *


James, it is indeed your quarter panel. If that car hs good longs you can always put a complete QRS kit on it! biggrin.gif (more on that in our next build thread). Thanks for the good metal!!


Longs were solid front to rear, cut them out in one piece and they went to Guy to patch up his -6 project. The problem with that car was the floor pan (and shoddy PO repair of it along with a lot of other hidden gems) More work then it was worth it to me and I came across that donor chassis that is now the purple car to replace it.

Original windshield was cleanly removed and then broken a month later by me when I forgot I stored it under my autox car *DOH*

The 1.7 and side shift got cleaned up and went in the purple car for my wife.

Click to view attachment


Wish I had known about your wiring issues, I managed to pull the entire harness out of that car in one piece. This is all that was left when I threw it on the back of someones pickup truck for scrap.


Click to view attachment


You better get started on another project soon, I only have one more car left to get rid of!

Eric_Shea
Help! biggrin.gif

IPB Image
MDG
QUOTE(Eric_Shea @ Dec 24 2013, 11:41 AM) *

Help! biggrin.gif

IPB Image


Did you try a good quality hand scrub and a nail file?

Eric_Shea
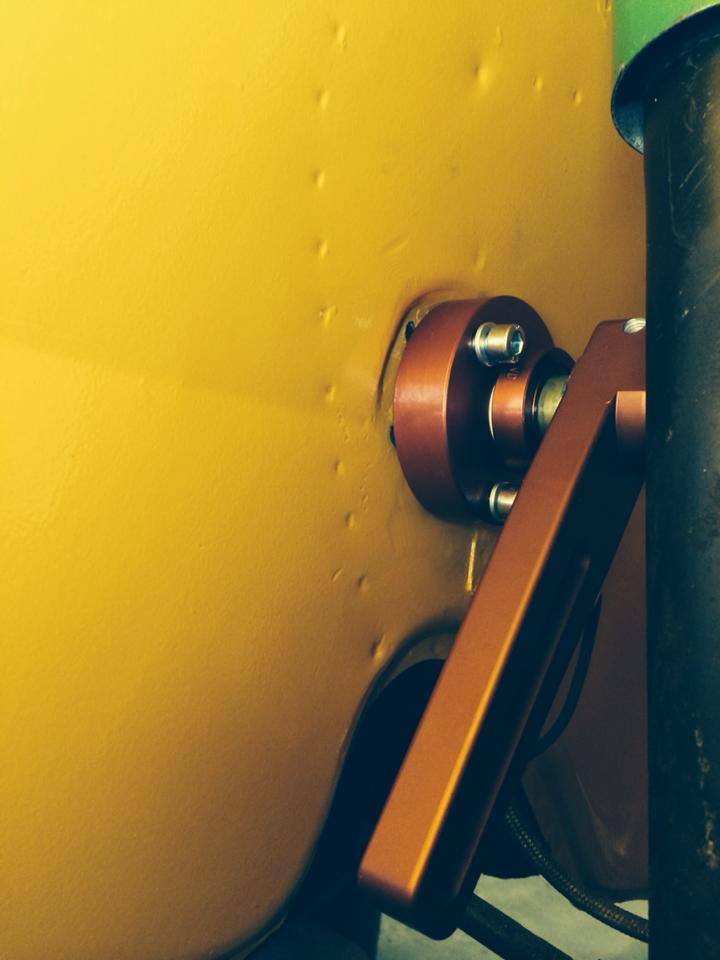
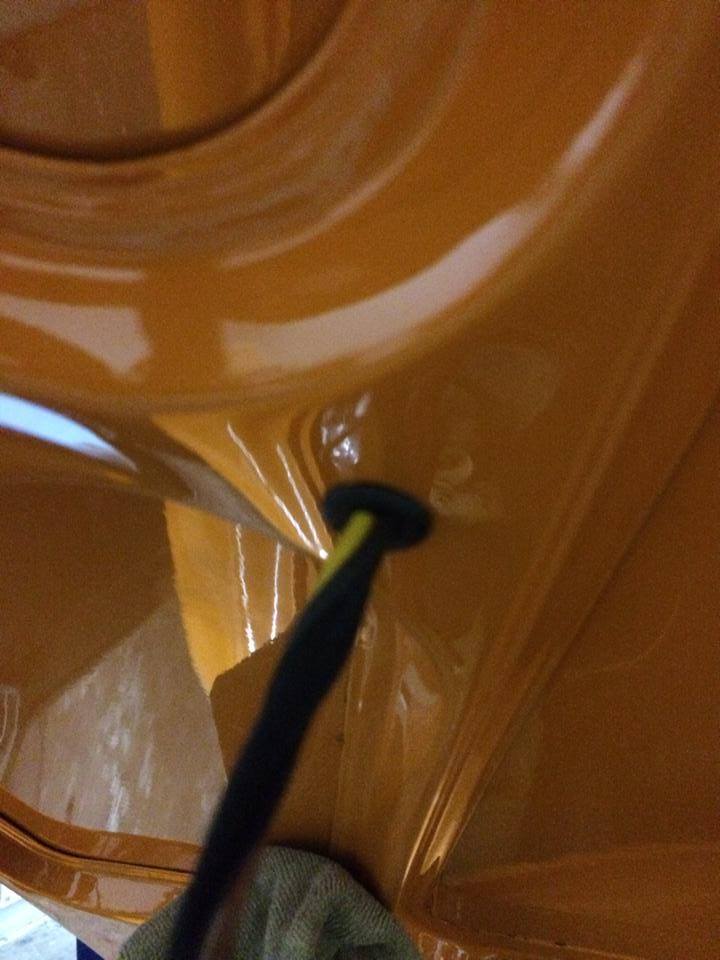
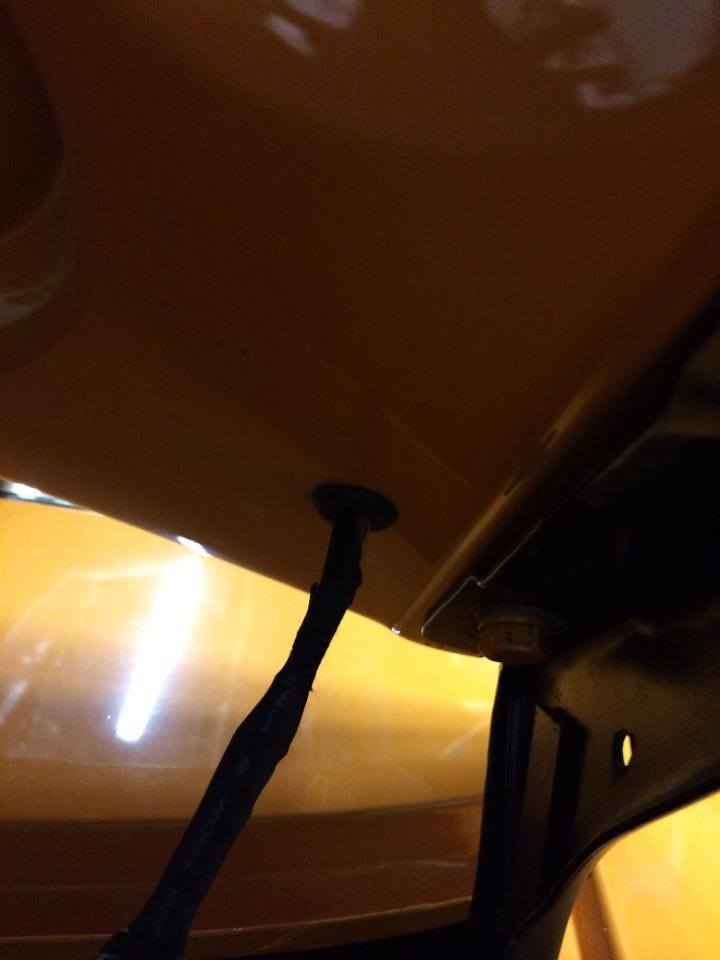
Wiring harnesses built and run for the Cibie hood lights. The harness was wrapped and put through grommets and run down to the hinge plates.

IPB Image

Hard to see in this crappy photo but, the harness feeds into a couple of disconnect plugs so the owner can swap hoods. These will run to an additional factory fog light switch and a relay with a hot lead directly off the battery.

IPB Image

Off come the 4-cylinder mounts to make way for the custom hardlines.

IPB Image

IPB Image

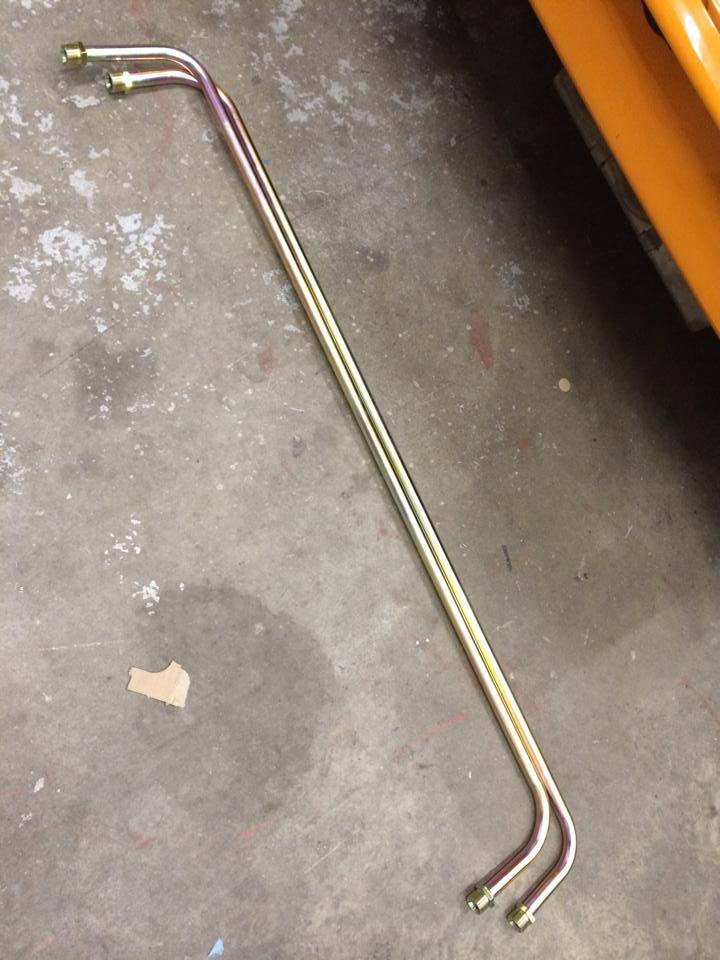
Did someone say custom hard lines? These were straight because Mike has a set of 914ltd longitudinal kits with no jack posts.

IPB Image

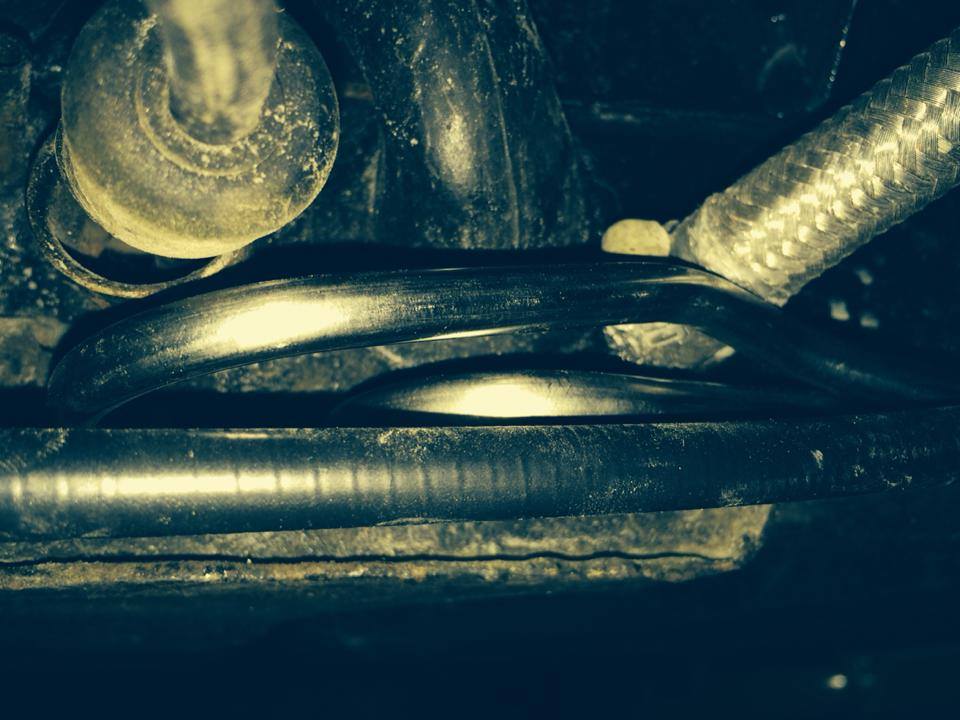
New stainless steel hardlines run through the tunnel as nature intended! The PO had both the fuel lines and the oil lines bolted to the floorboards running under the car... blink.gif

IPB Image
Krieger
Looking good!
sixnotfour
SC cruise control, and 80's Mercedes also 1970 914 turn signal switch to body harness plug..
QUOTE(Eric_Shea @ Dec 24 2013, 08:41 AM) *

Help! biggrin.gif

IPB Image
914werke
smile.gif
JamesM
QUOTE(Eric_Shea @ Dec 24 2013, 09:41 AM) *

Help! biggrin.gif

IPB Image


Didn't want to text you as its almost midnight! When you said early I thought you meant pre 73, but just finished going through that spare 72 harness and that piece you need does not exist there. Looking at parts catalogs it seems that 70-71 had a different turn signal switch

looks like the switch side of that connector is 91161212202 but I can not find any part number for the chassis side. I think you are on a hunt for a pretty odd ball part here. I can bring by a later harness if you want to convert to the more common switch.
sixnotfour
QUOTE
SC cruise control, and 80's Mercedes also 1970 914 turn signal switch to body harness plug..

female on the main harness , male on the turn signal switch ..1970-914
mharmon
Eric,

Would you mind showing a pic of how to ran the wires for the hood lights from the hinge to the lights? I'm planning on doing the same thing and I'm thinking of going through the hood itself, but not sure if its worth the trouble.

Thanks for your help.

Mike
Eric_Shea
Hey Mike,

If you look at post #26 the first picture is the grommet where the hood lights will mount. The second picture is the grommet where it exits by the hinge.
Eric_Shea
Rich saves the day and the 12-pin connector is back and working like a champ. We have turn signals, low beams, high beams and parking lights. It was a good day but, like many things on old sports cars... it took about a month just to source the right parts for the needed job!

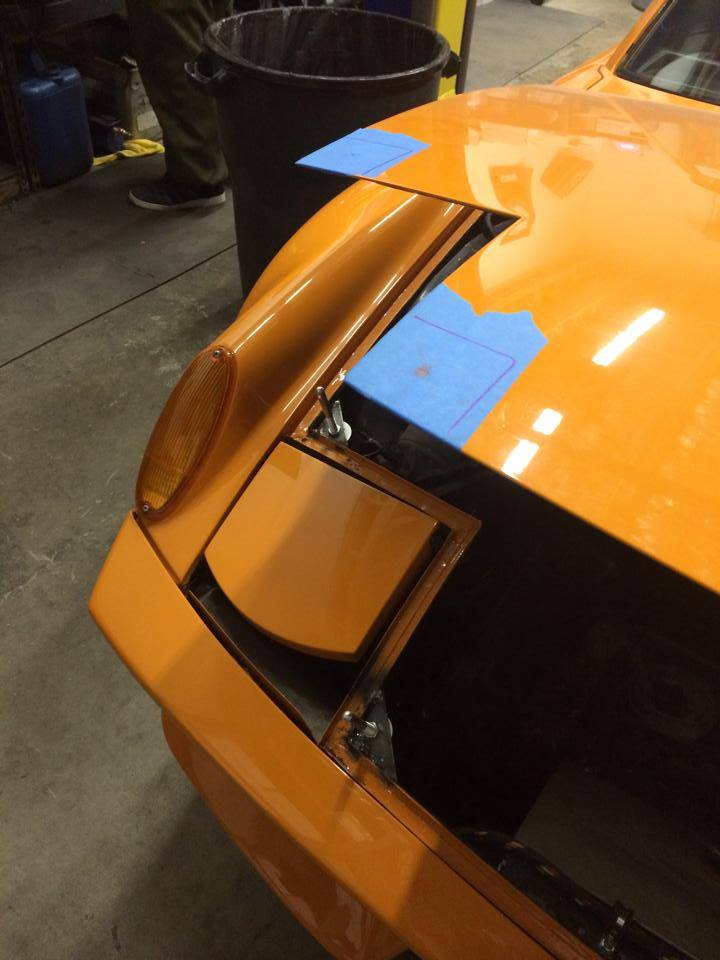
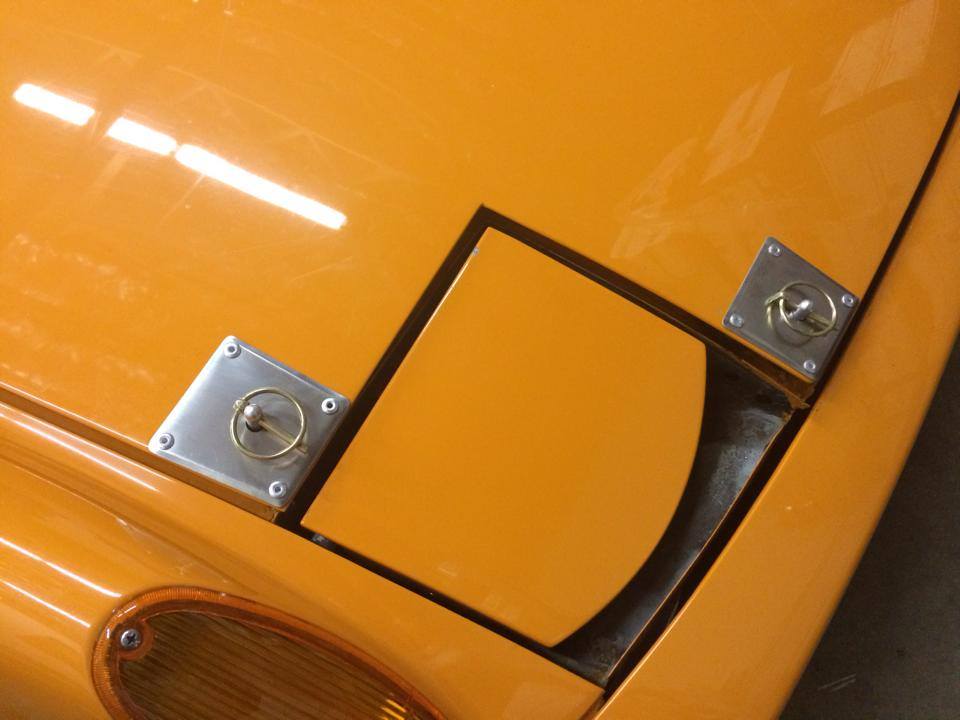
Hood pin time:

IPB Image

IPB Image

IPB Image
ConeDodger
Eric, are you going to sell the hood pin pads? I need them too...
Chris Pincetich
QUOTE(ConeDodger @ Jan 8 2014, 11:15 AM) *

Eric, are you going to sell the hood pin pads? I need them too...

chowtime.gif aktion035.gif shades.gif beerchug.gif
r_towle
Eric should sell a hood pin idiot light.
ConeDodger
QUOTE(r_towle @ Jan 8 2014, 09:16 PM) *

Eric should sell a hood pin idiot light.


Ohhhhh! huh.gif that's just wrong!

But kinda funny.. laugh.gif
rick 918-S
QUOTE(ConeDodger @ Jan 9 2014, 08:26 AM) *

QUOTE(r_towle @ Jan 8 2014, 09:16 PM) *

Eric should sell a hood pin idiot light.


Ohhhhh! huh.gif that's just wrong!

But kinda funny.. laugh.gif


Ya with a loud buzzer. Louder than the engine. hide.gif
ClayPerrine
Hood Pins = Nipple Rings for Cars.

biggrin.gif


This is some nice work!
Eric_Shea
QUOTE(r_towle @ Jan 8 2014, 10:16 PM) *

Eric should sell a hood pin idiot light.


ouch unsure.gif
rgalla9146
QUOTE(Eric_Shea @ Jan 9 2014, 02:02 PM) *

QUOTE(r_towle @ Jan 8 2014, 10:16 PM) *

Eric should sell a hood pin idiot light.


ouch unsure.gif


Had a Baja Bug with only hood pins for the front hood, no safety catch..... easy to forget
hood flew over the roof...... twice......
Could this tragedy have happened to someone here ?
just askin'
Eric_Shea
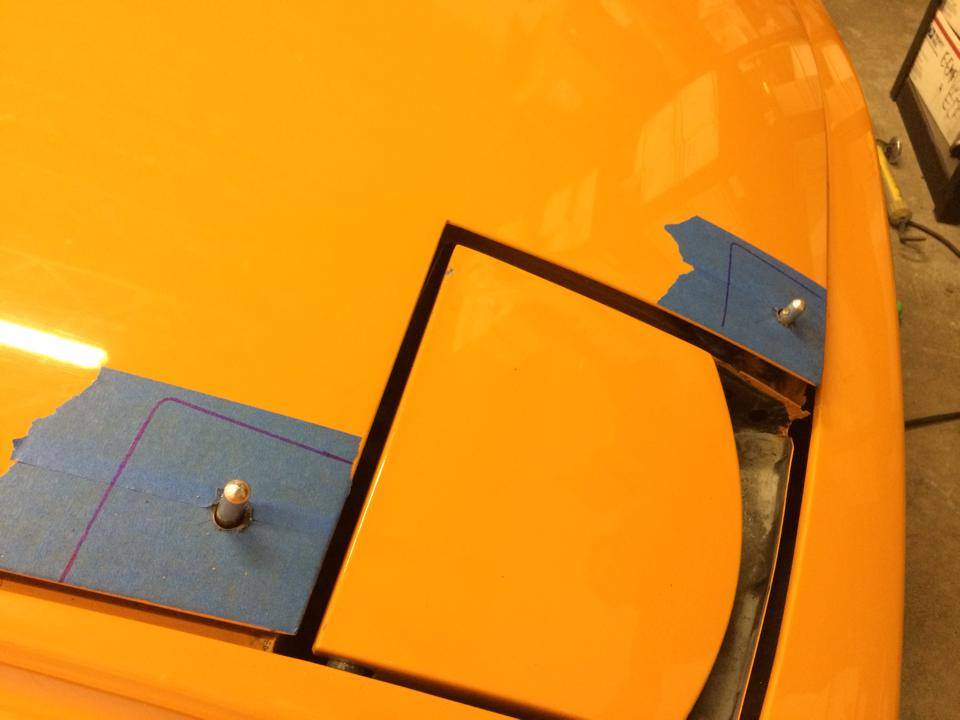
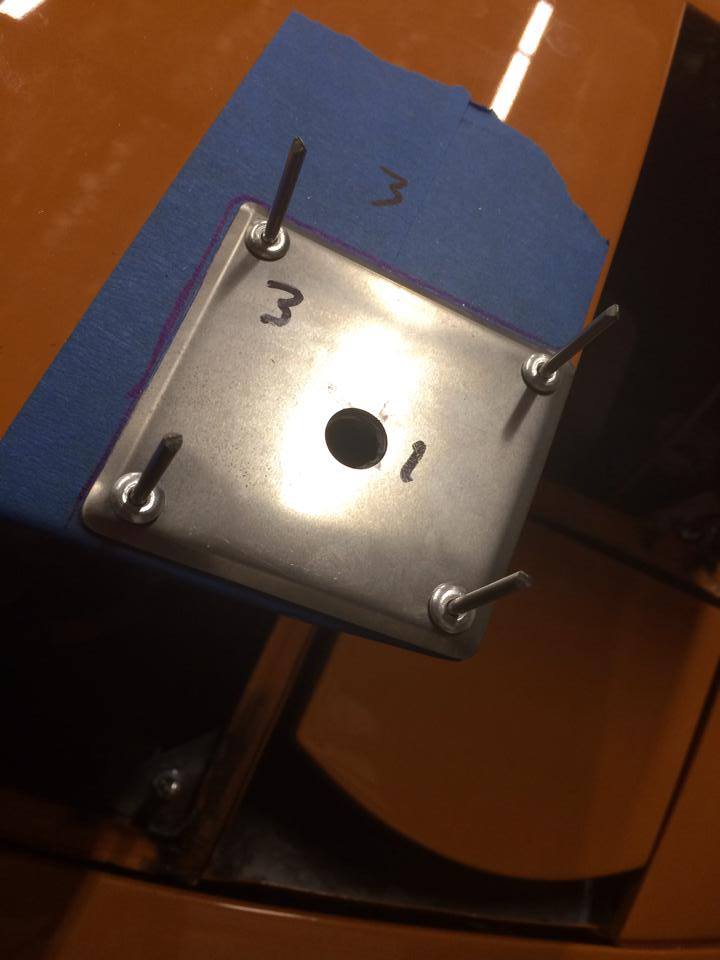
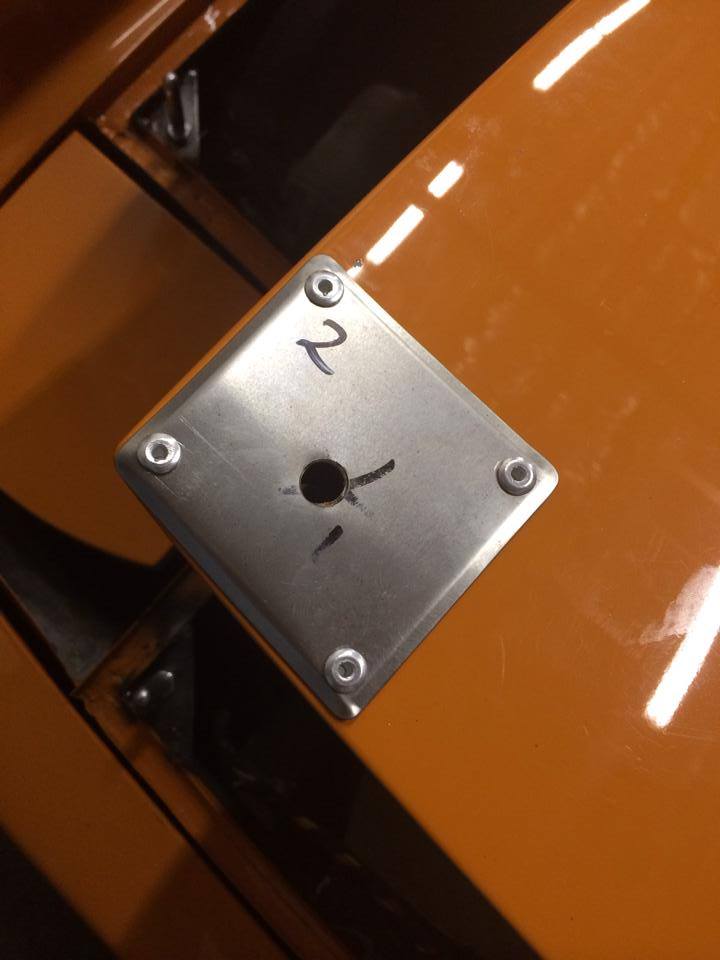
We finished off the pins but I've neglected this thread a tad so, here's a few updated shots:

Pins through:
IPB Image

Prepping the plates:
IPB Image

Rivets ready:
IPB Image

Installed:
IPB Image

Holes adjusted for final fit and pins in place:
IPB Image

Eric_Shea
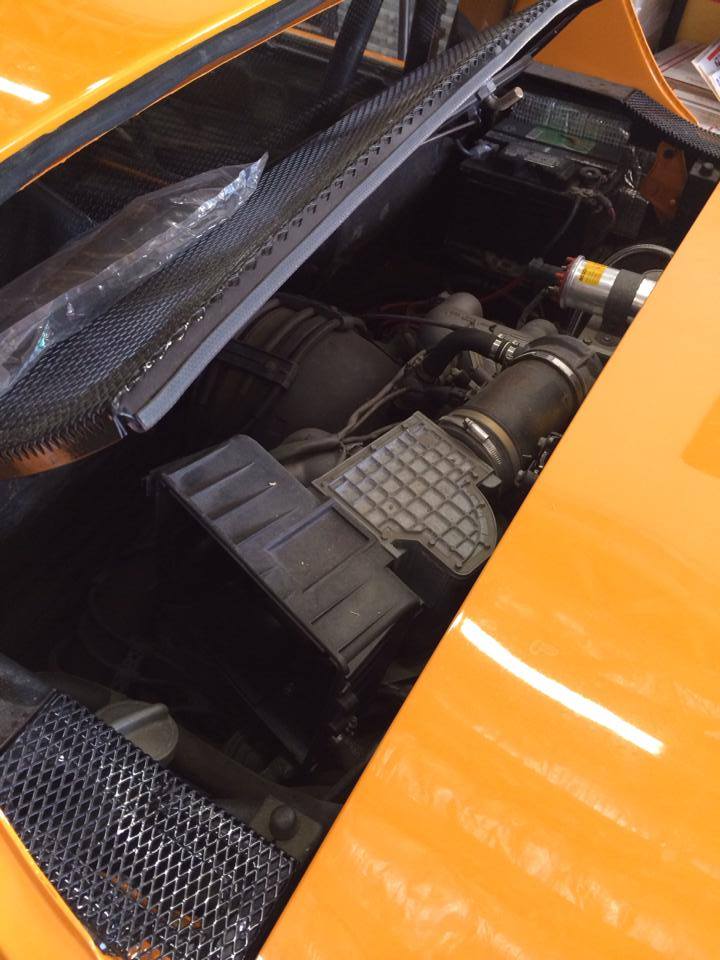
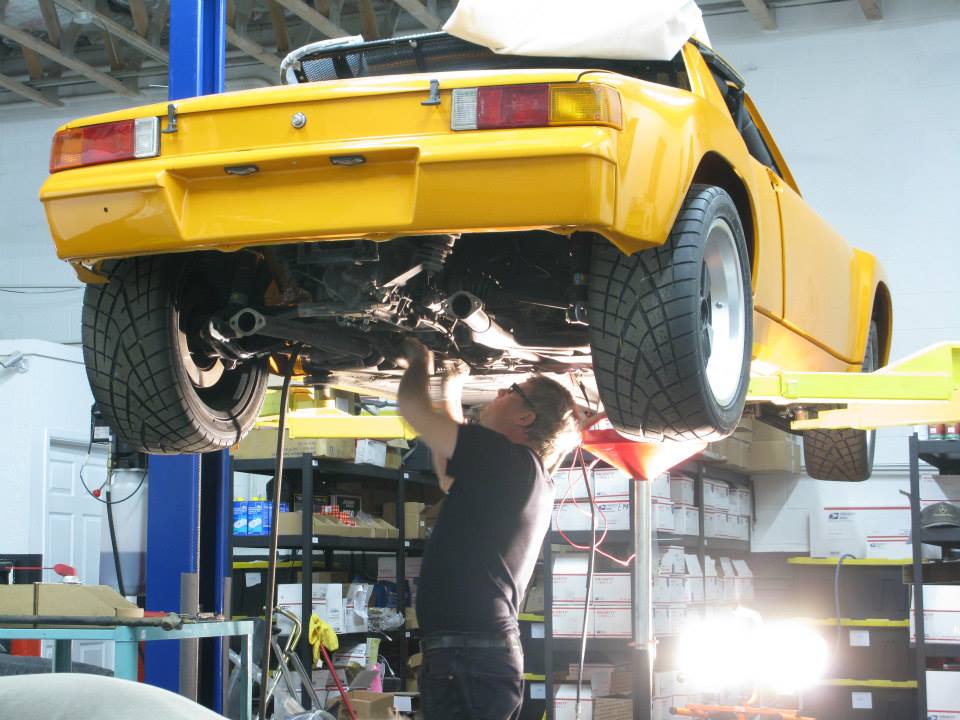
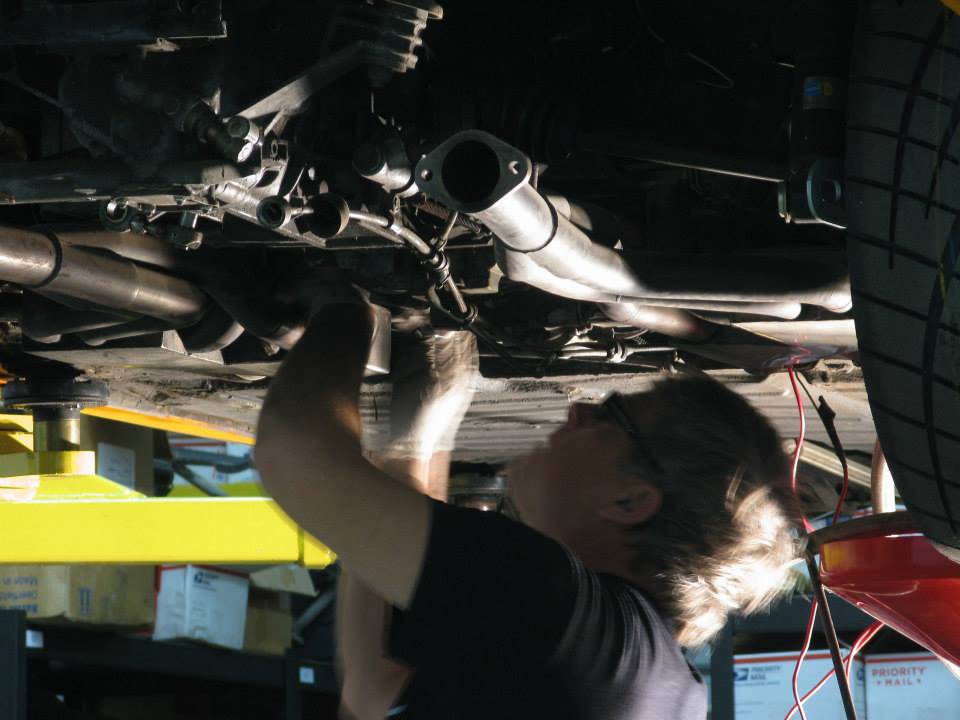
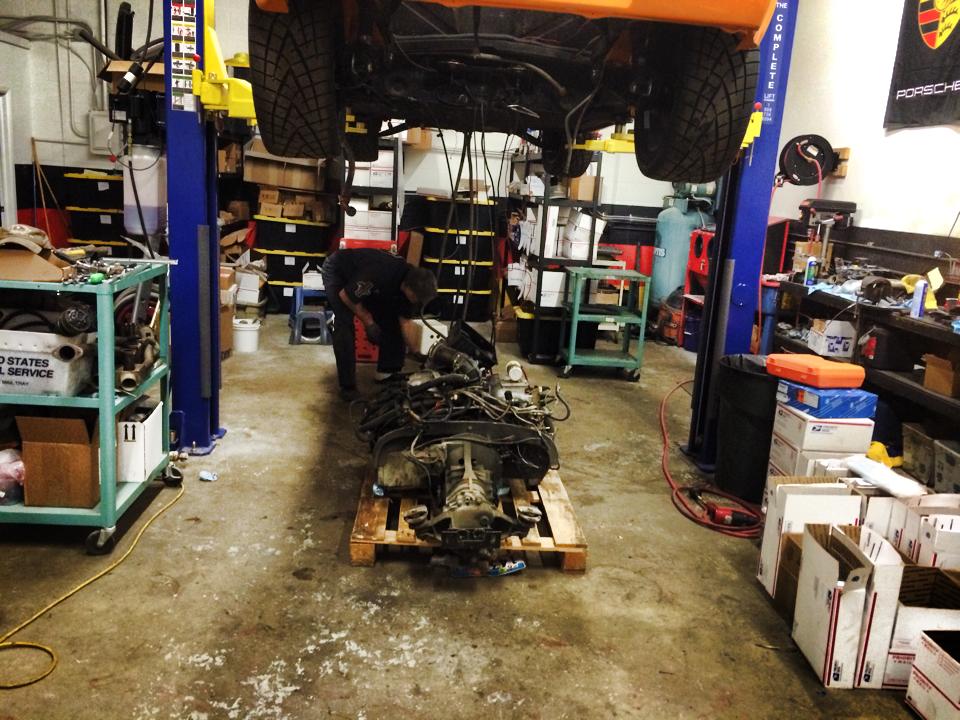
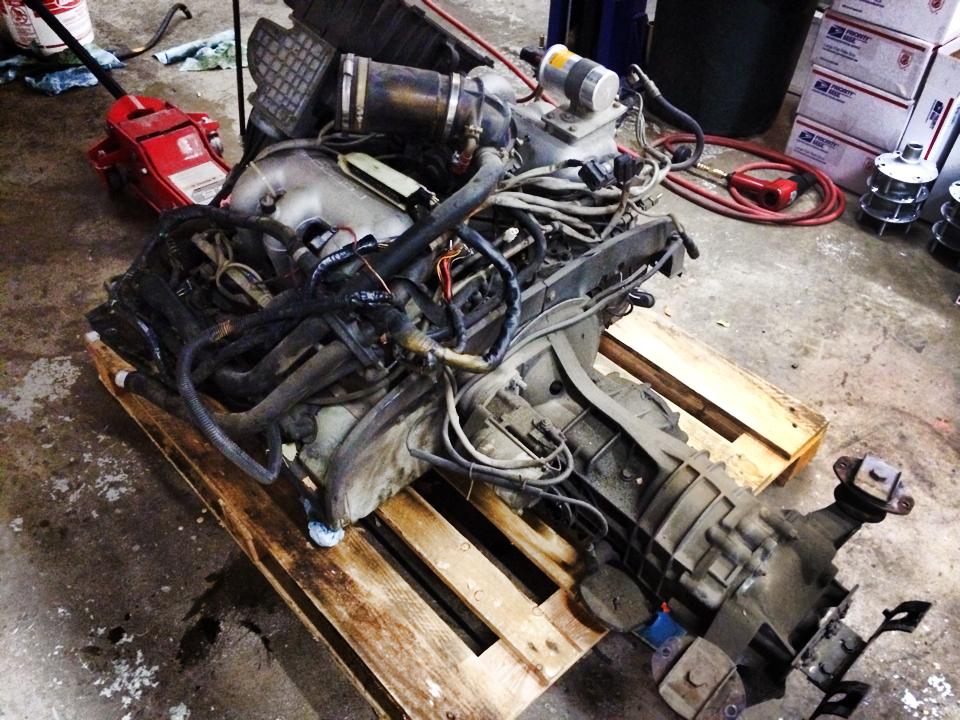
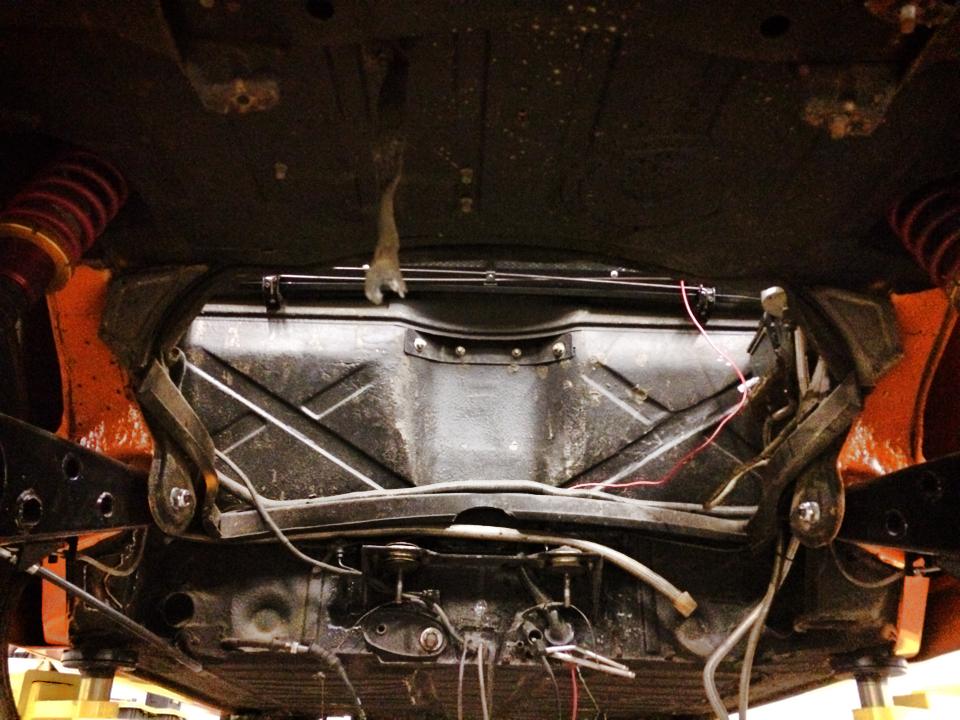
Next, out comes the 3.2 and we get ready to finish off the engine compartment and trunks.

We begin with a little prep work. They installed the BB heat exchangers but retained the longer studs. The studs harden with the heat cycle and can become a real bear, especially with the extra length. W'ell probably install all short studs on the 3.6 before putting it in.

All of the cables, wiring, hoses and linkage is being prepped and removed:
IPB Image

IPB Image

...and, out it comes:
IPB Image

IPB Image

Now to prep the engine compartment:
IPB Image
Eric_Shea
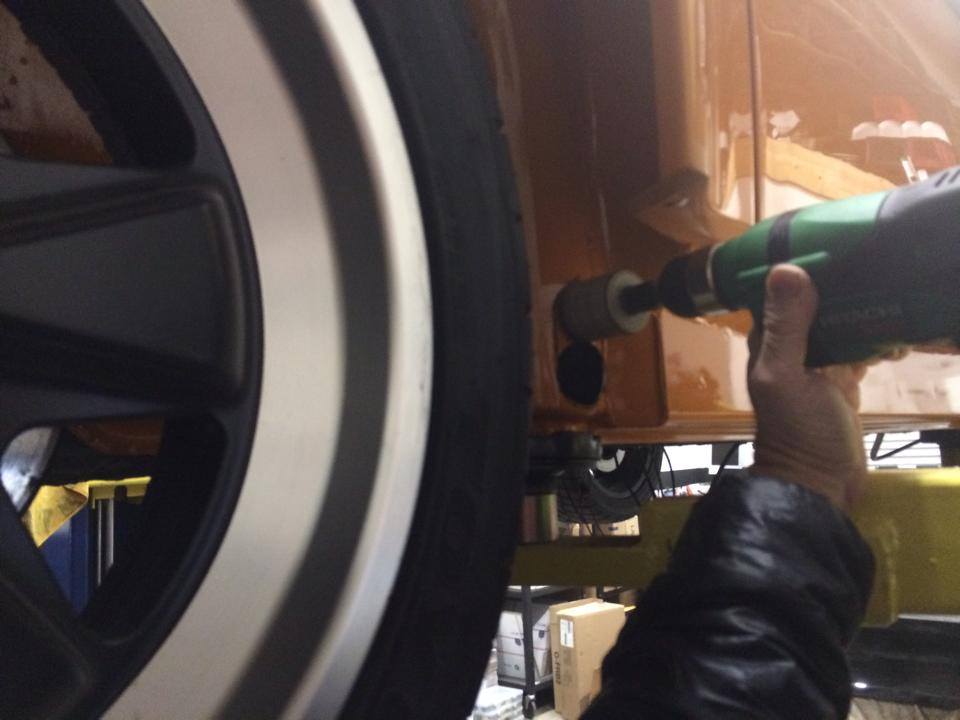
Next is the hard line install. If you recall, the car had it's oil lines (and fuel lines) running under the floor pan. We weren't too keen on either so, factory style hard lines and SS fuel lines in the proper places were the answer.

Drilling out mouse holes:
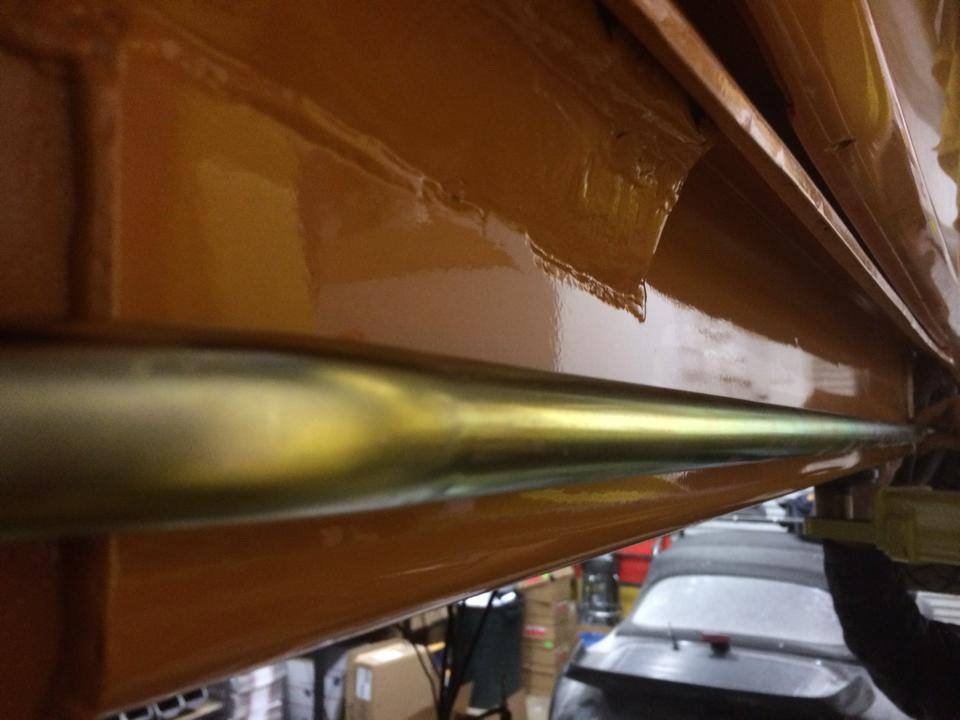
IPB Image

Perfect fit for the line placement:
IPB Image

We have a little work to do with the heater tube before we mount these up but, so far we're "very" happy with the placement.
r_towle
Very nice.
Is that a 914LTD long plate of steel on there, or custom?

Can you please post how the oil lines go all the way up front...for those of us that need heat and defrost smile.gif
Eric_Shea
914ltd kit.

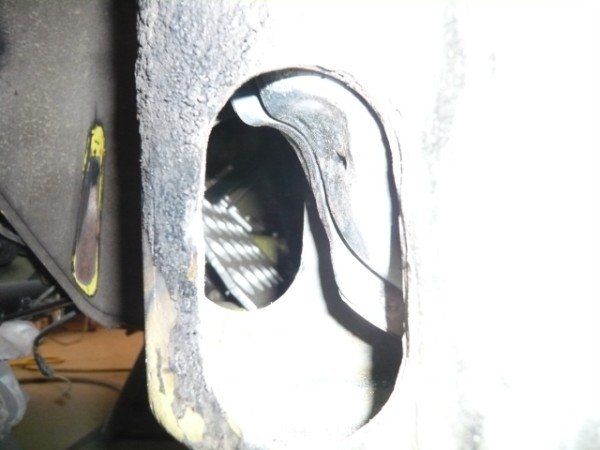
Regarding the lines; not there yet with this build (where I think you're asking about) but once it goes off to the body shop, we'll hit the J-Tube with acetylene and use a large drift to do this:

IPB Image

It's a factory mod we gleaned from looking at a GT with heat.
bulitt
Methinks you have outgrown your shop already?

IPB Image
r_towle
QUOTE(Eric_Shea @ Jan 29 2014, 04:38 PM) *

914ltd kit.

Regarding the lines; not there yet with this build (where I think you're asking about) but once it goes off to the body shop, we'll hit the J-Tube with acetylene and use a large drift to do this:

IPB Image

It's a factory mod we gleaned from looking at a GT with heat.

yup, that is a big part of the question.
The rest, I will wait and see,
Not a fan of hot oil in the passenger compartment, so I will be patient to see what you do....I think I know.

Do you make the oil lines for this application?

Rich
Eric_Shea
I have about 2,000 miles on my car and I can't say as I've noticed the oil lines in the passengers compartment, unless you're talking about a safety issue. We have an order in for a couple 916 steel covers.

Jeff makes these lines. These are steel lines with zinc coating. They are custom made for the application (914ltd kit and no jack posts to worry about). Hard to come by because he has a rather demanding day job.
r_towle
QUOTE(Eric_Shea @ Jan 30 2014, 12:41 PM) *

I have about 2,000 miles on my car and I can't say as I've noticed the oil lines in the passengers compartment, unless you're talking about a safety issue. We have an order in for a couple 916 steel covers.

Jeff makes these lines. These are steel lines with zinc coating. They are custom made for the application (914ltd kit and no jack posts to worry about). Hard to come by because he has a rather demanding day job.

cool, and its not that I would notice them, its a safety issue.
A cover would be nice to see, should not be to hard to fabricate one.

Your pics are of the drivers side??

Rich
This is a "lo-fi" version of our main content. To view the full version with more information, formatting and images, please click here.
Invision Power Board © 2001-2024 Invision Power Services, Inc.