We've been working on this one for a while now and I thought you'd like to follow along. It has a lot of "914" issues to sort through and can be a good piece to show how and why to fix things properly, especially with the value of these cars climbing and the money invested in a car of this quality.
Mike came to us last year after finding us here for a PPI. In this case it was a "Post Purchase Inspection". The car was sold as a rust free (yes, enter your comments here) 3.2 six conversion. It turns out it was anything but. Regardless, Mike was in for the long haul and, he was determined to do things properly. He expressed interest in making the car a wide-body and fixing what needed to be fixed at the time.
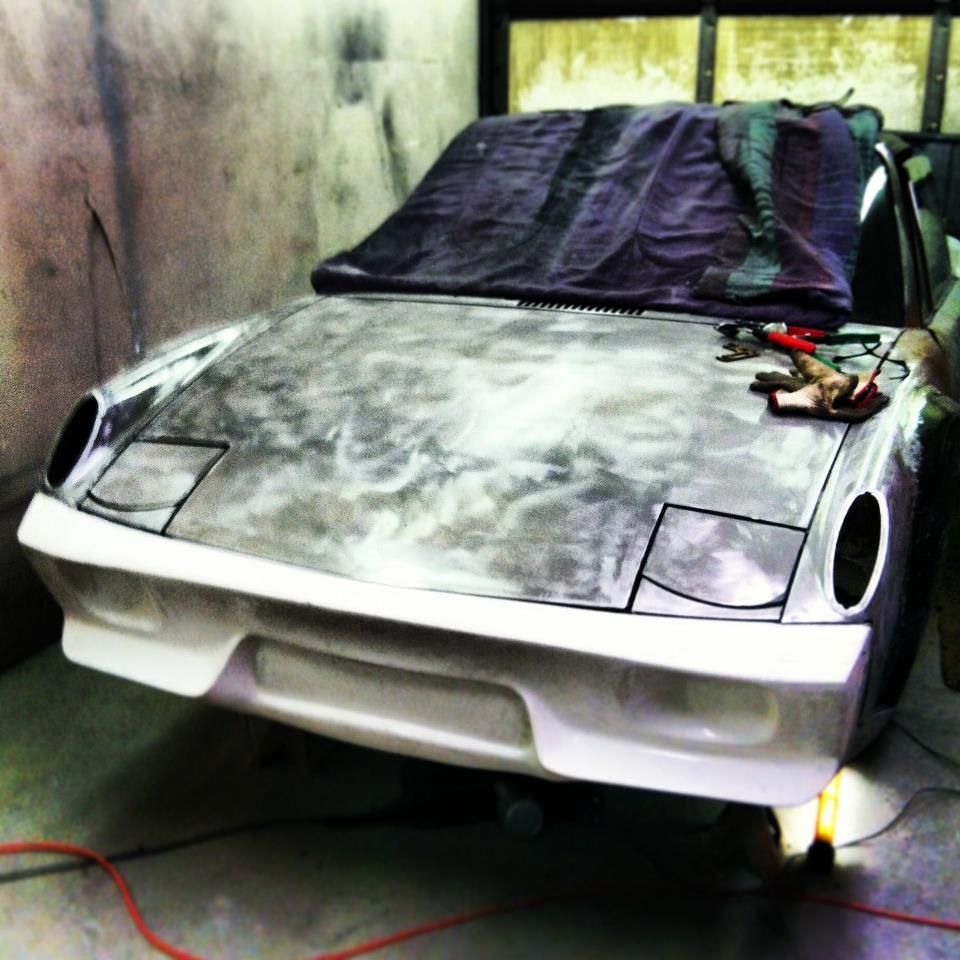
Off the tub went to be stripped and prepped for flares and paint work. Here you can see the "after" shot with the flares on and glass panels being fitted:
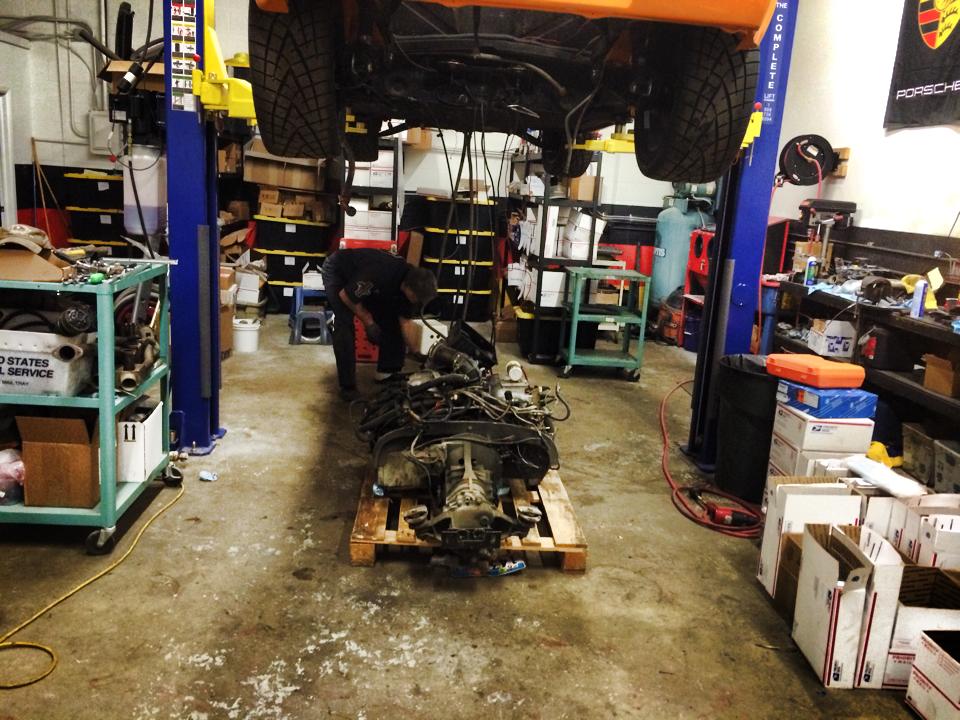
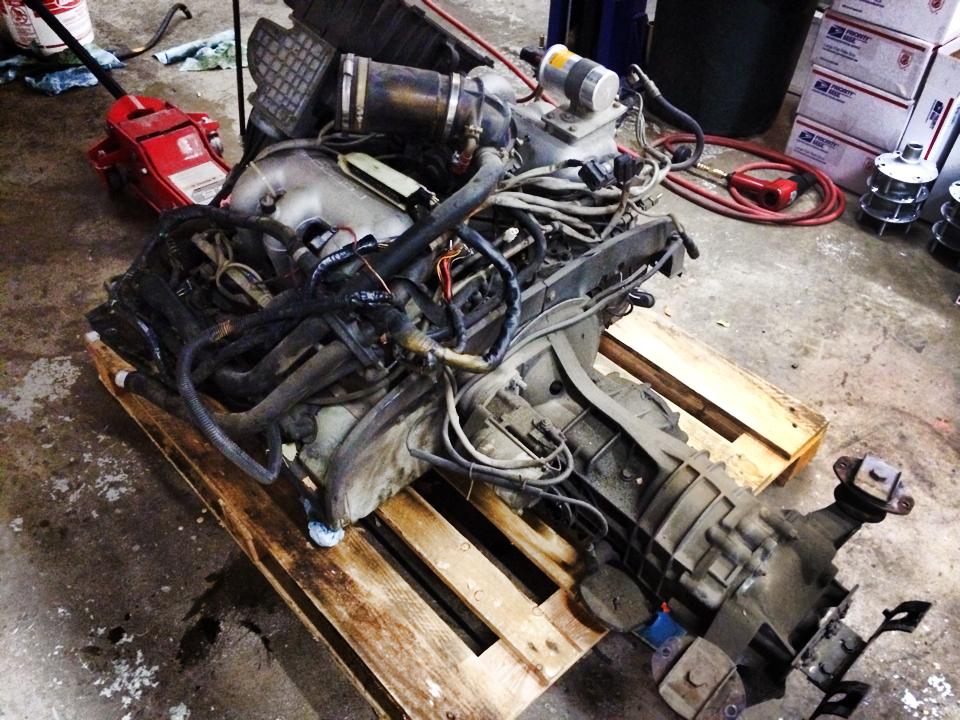
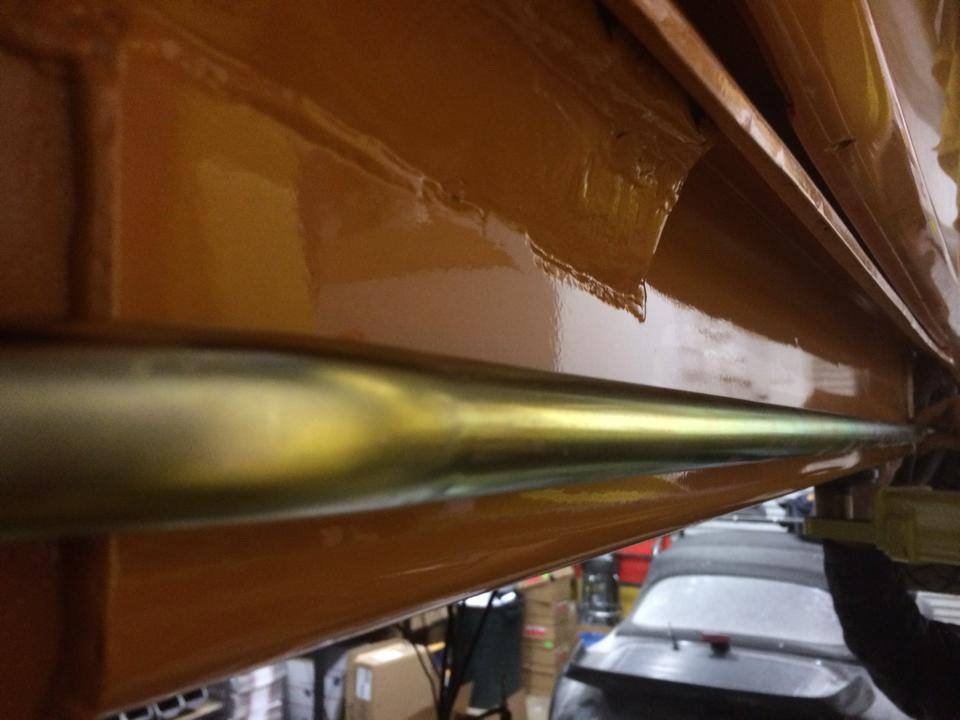
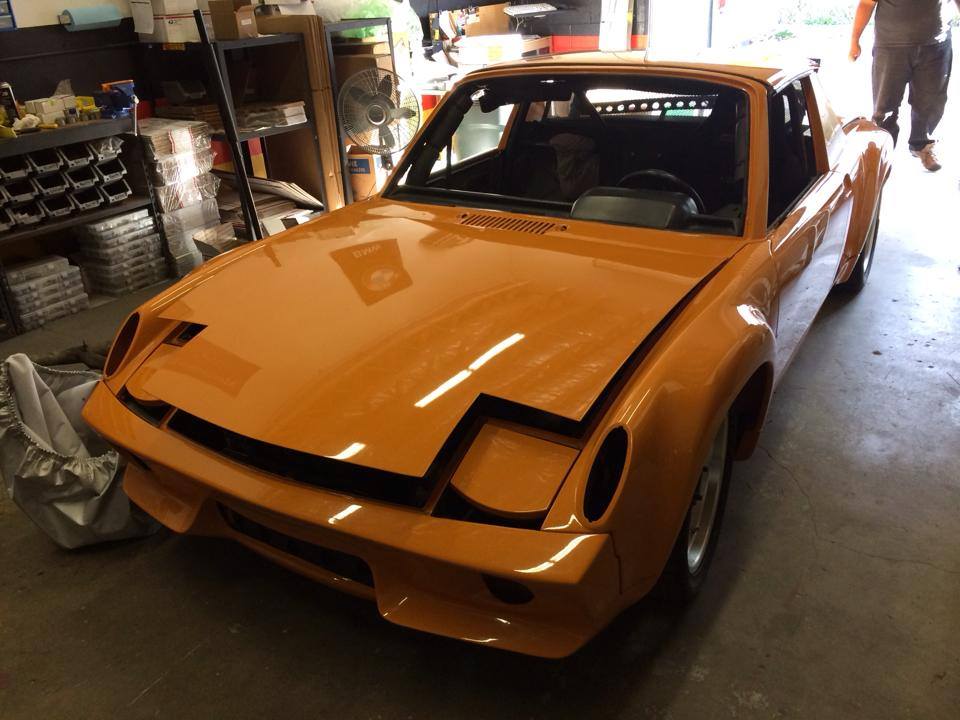
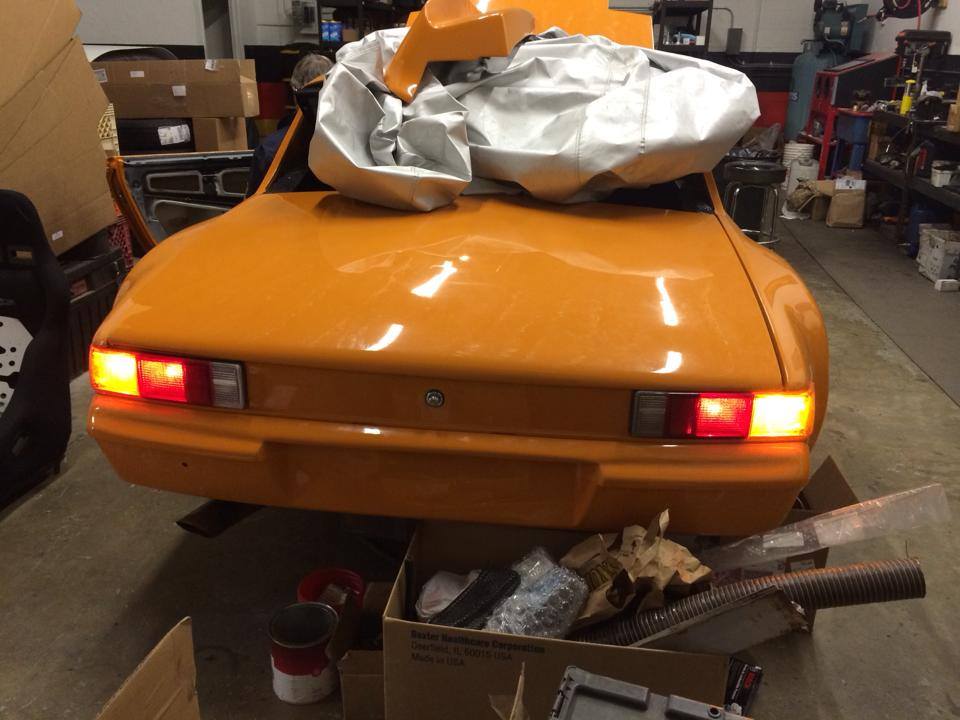
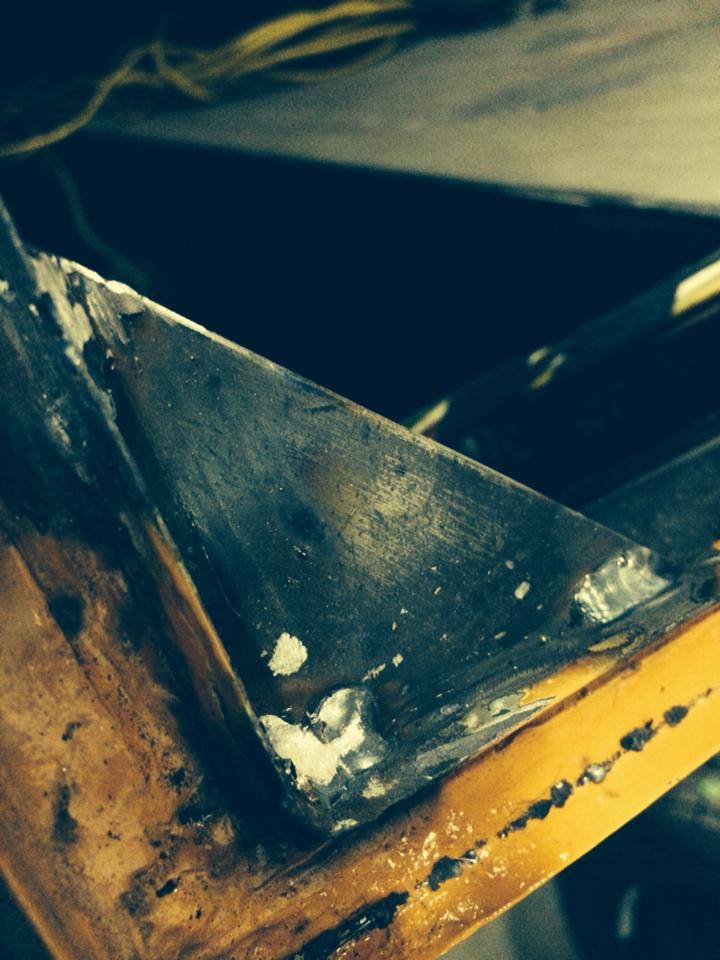
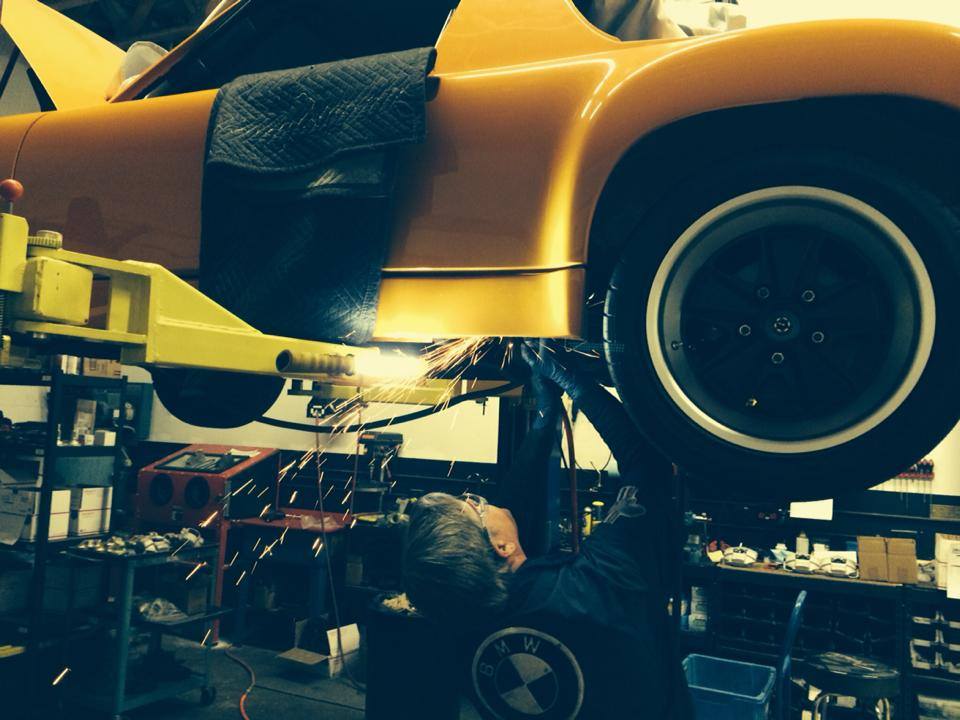
There was a lot of metal work needed as indeed... the rust was free on this one. Before flares could go on, a new quarter panel was needed and various stiffening kits (factory and 914LTD) added to ensure minimal twist with an impending 3.6 install. The car was then painted "Signal Orange" and given back to Mike for some detail installments.
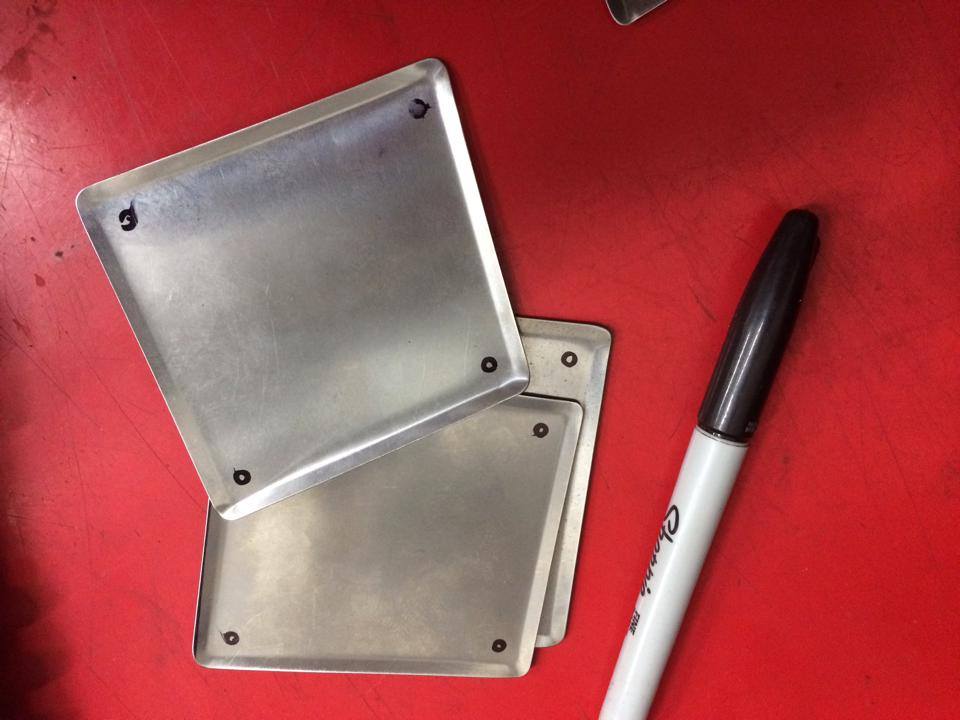
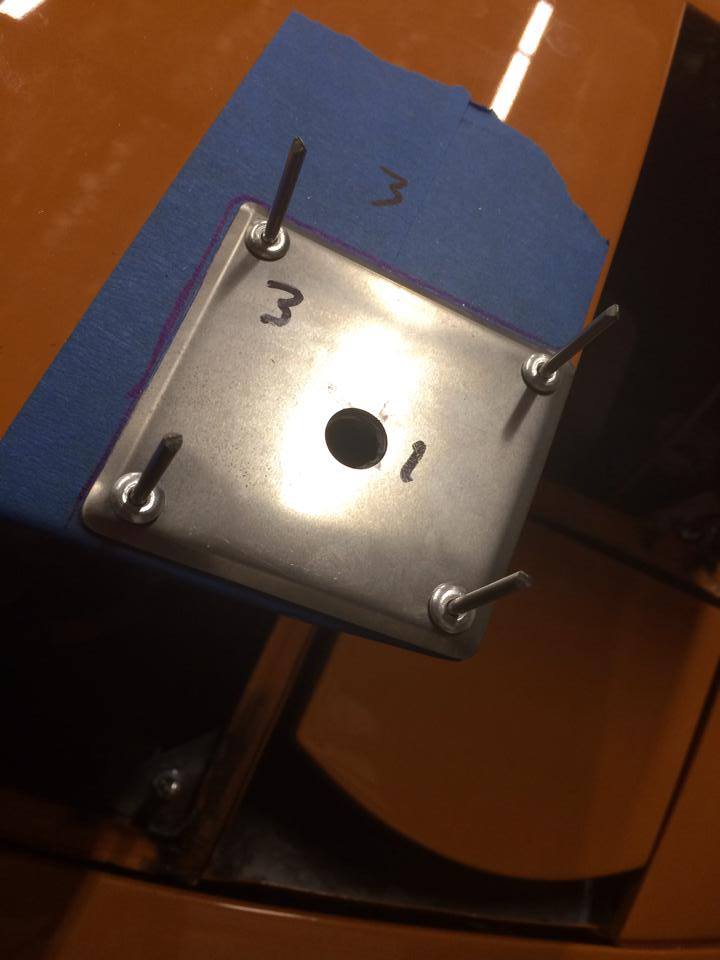
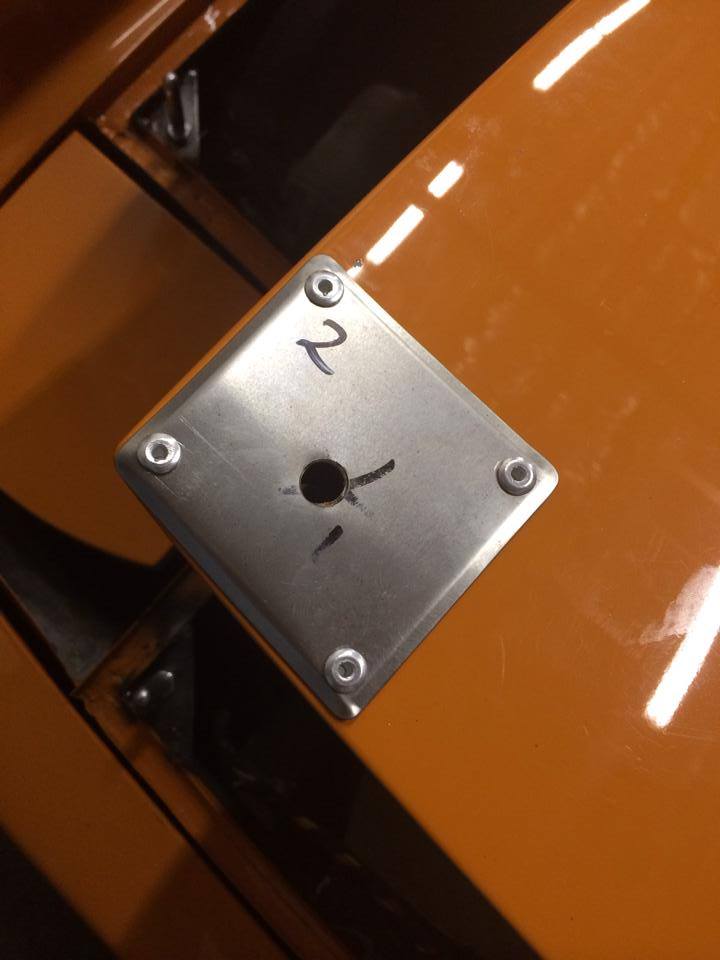
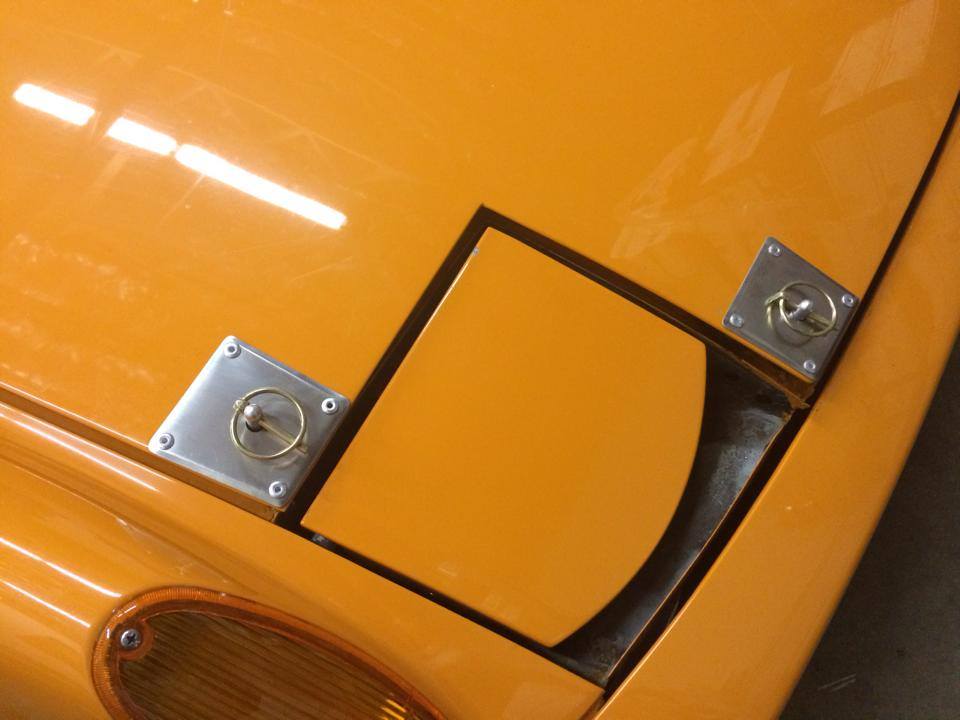
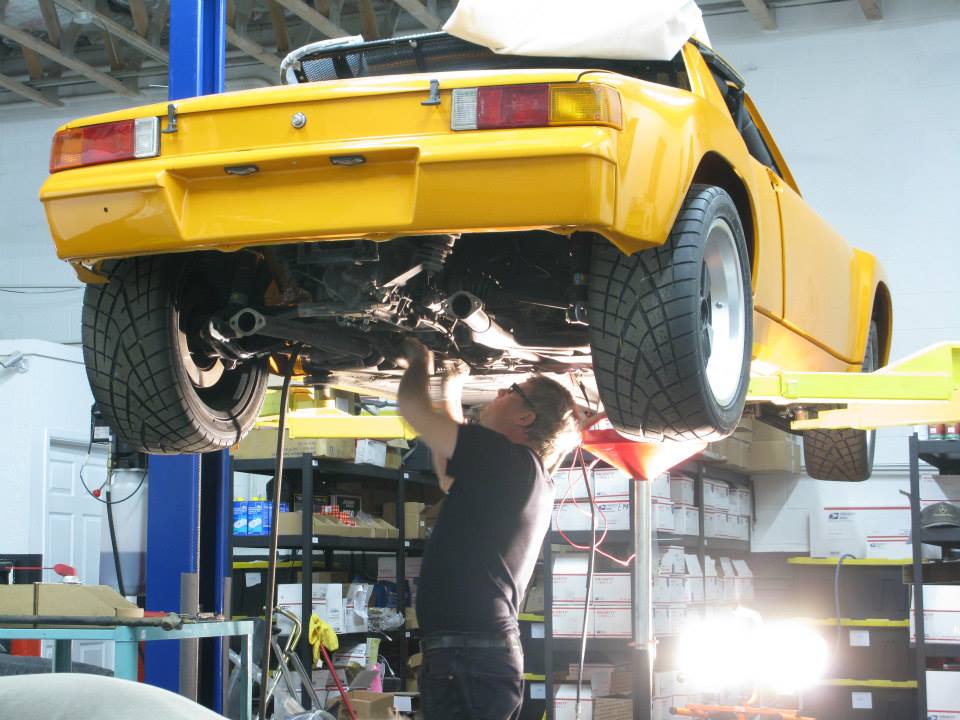
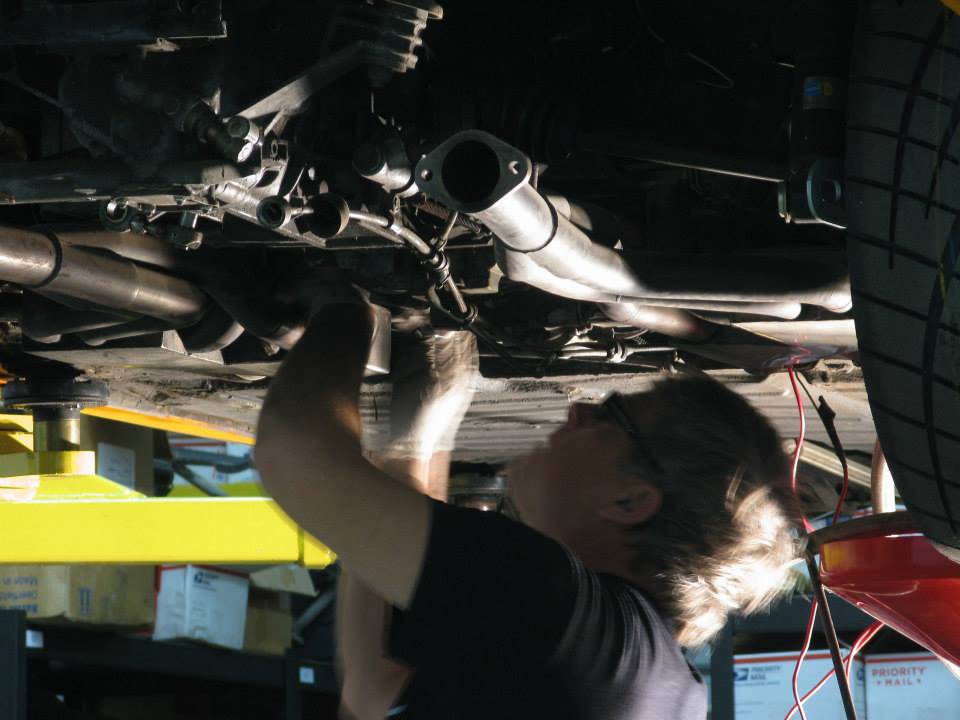
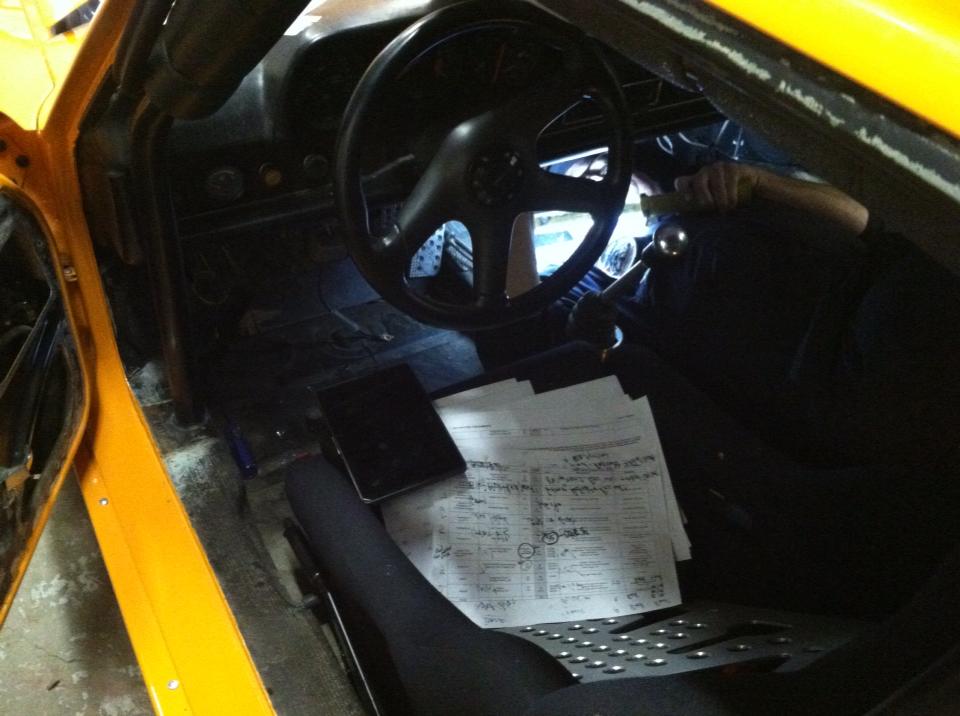
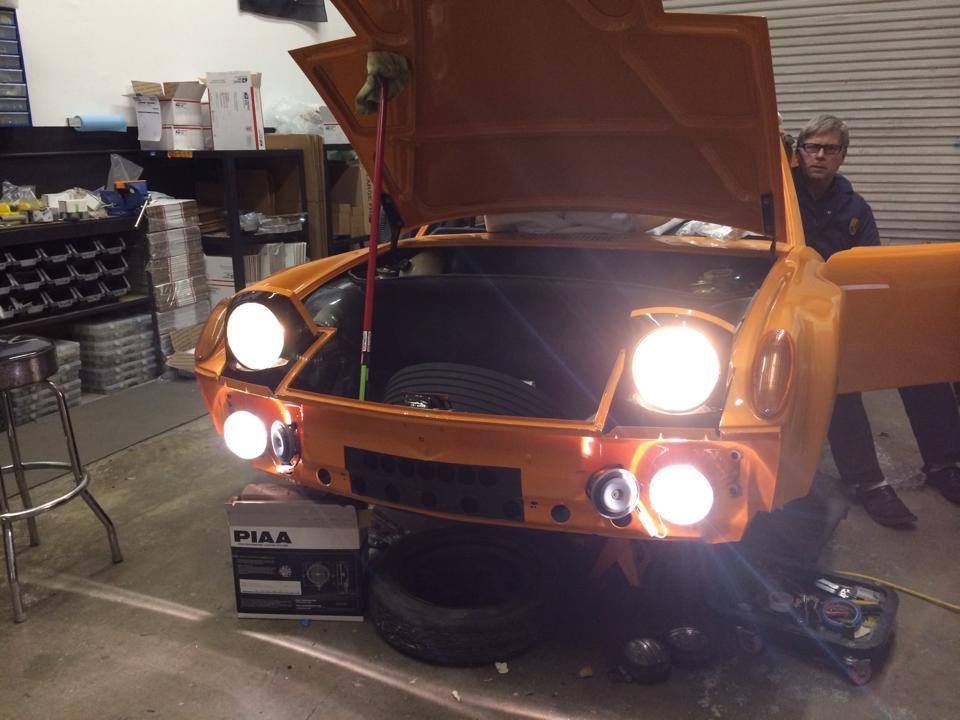
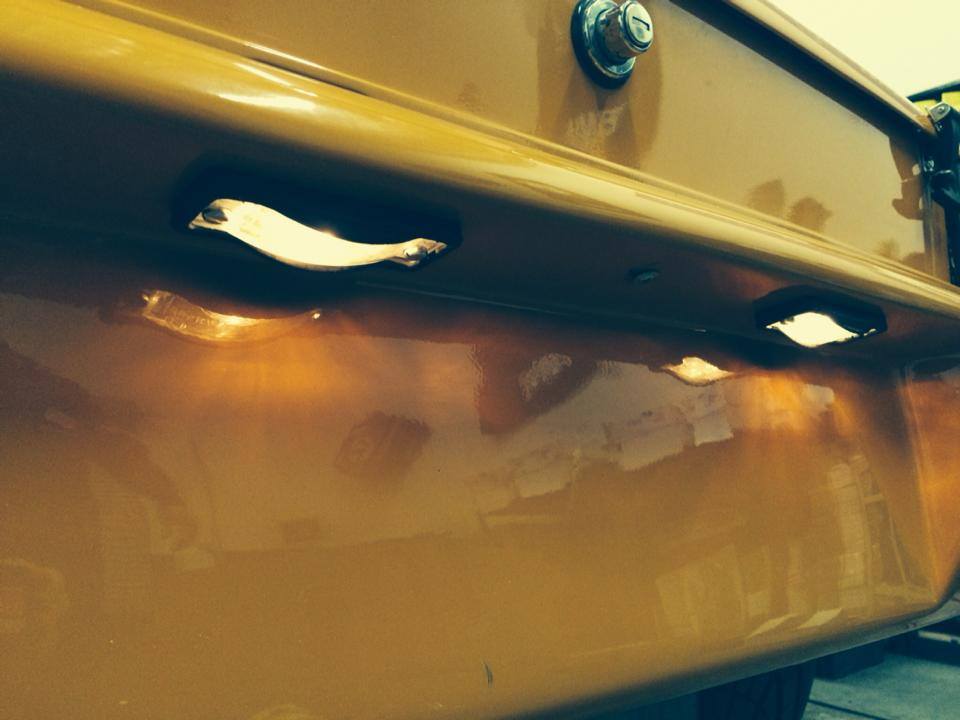
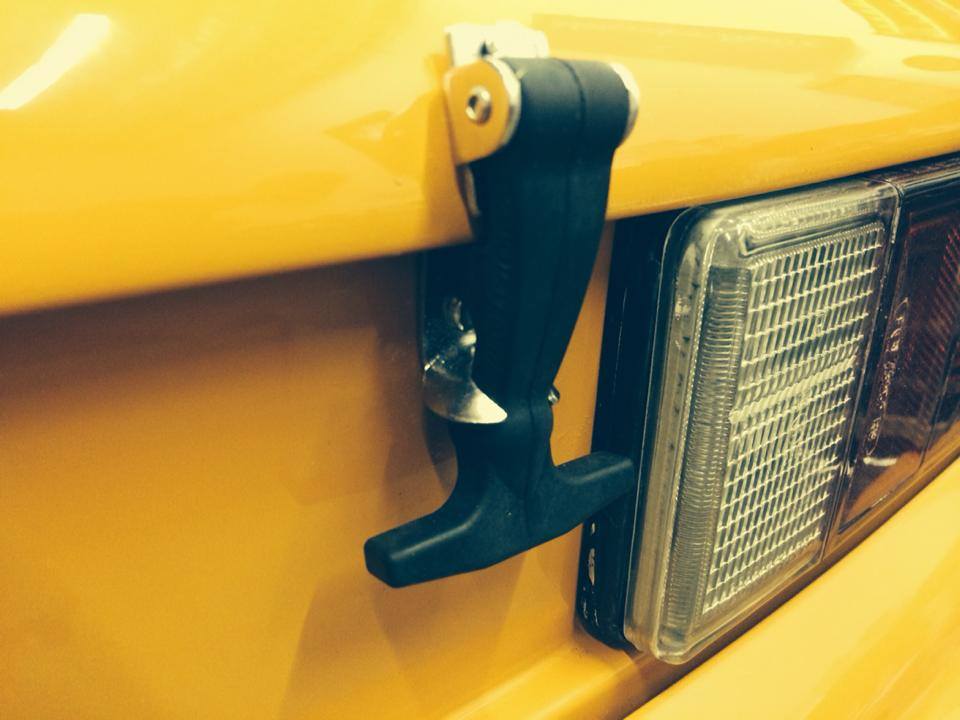
Fast forward to present day. We picked the car up from Mike and began ticking off items on his wish list. Install driving lights, front turn signal buckets, hood lights, hood pins, sway bar, get turn signals working, various trim pieces etc.
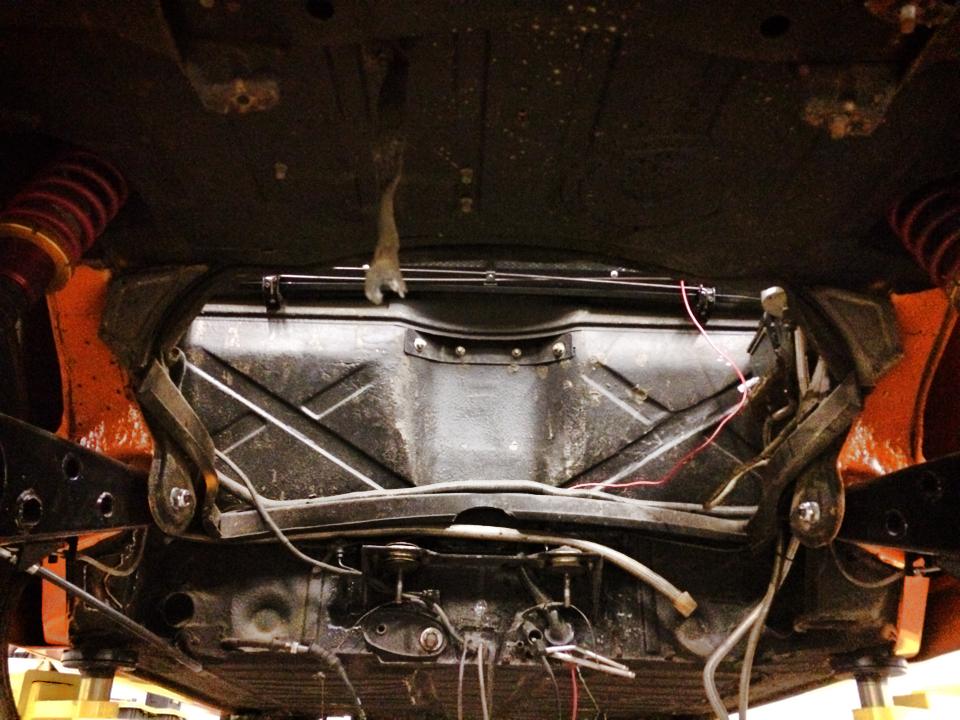
Here's how it it sat when we got'er in the shop:
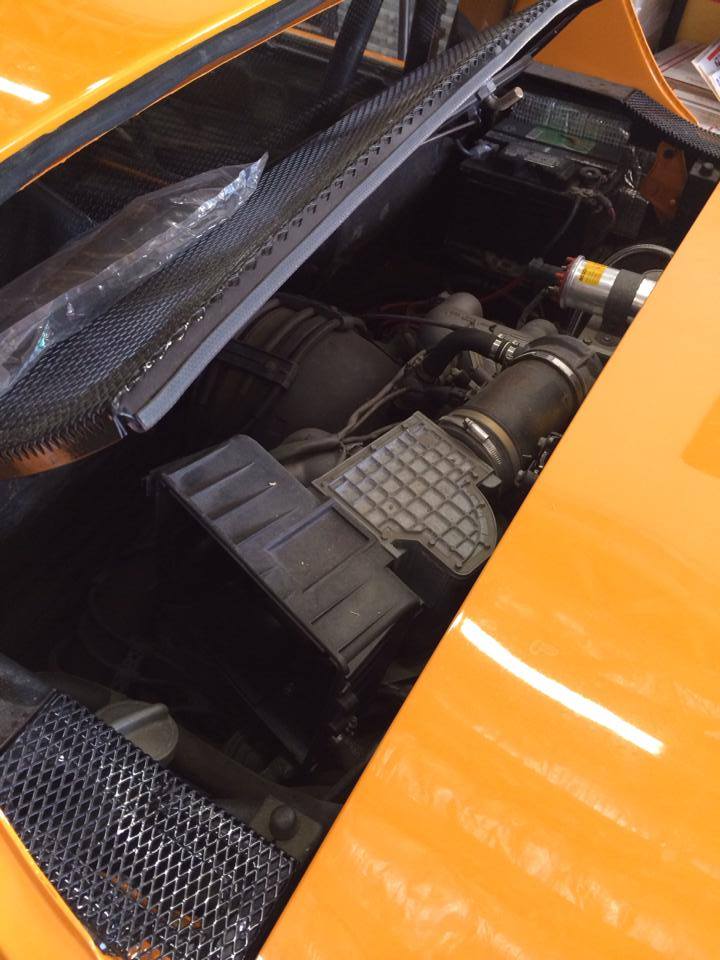
Then the "inevitable" happened. It began to act like any other DAPO 914. She began to show some of her true colors. I actually think the car was talking to us and letting us know about the problems before she burned to the ground in a heap of smoke and flames.
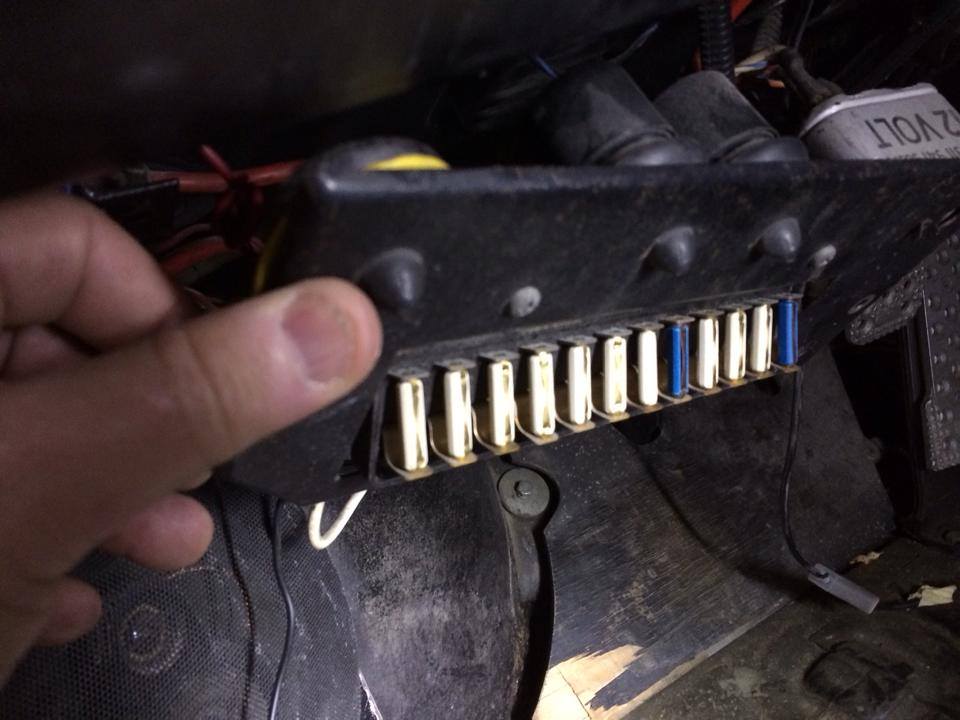
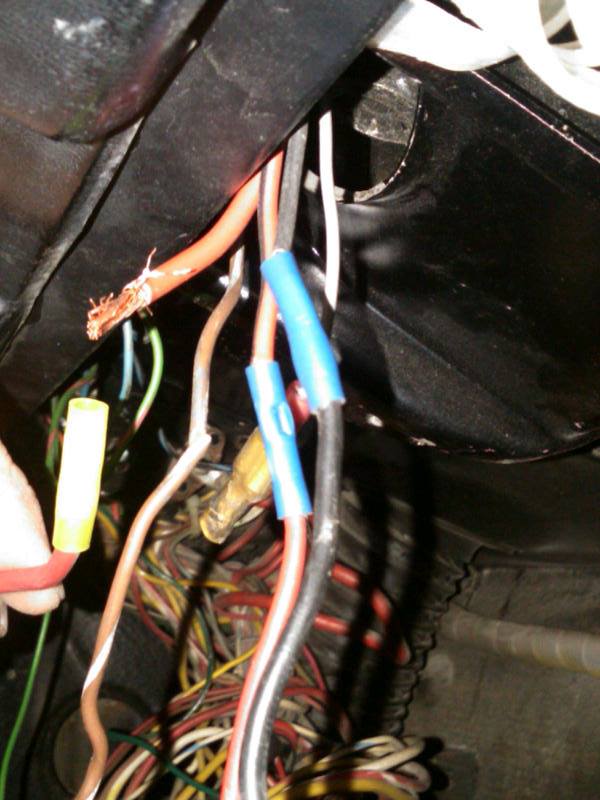
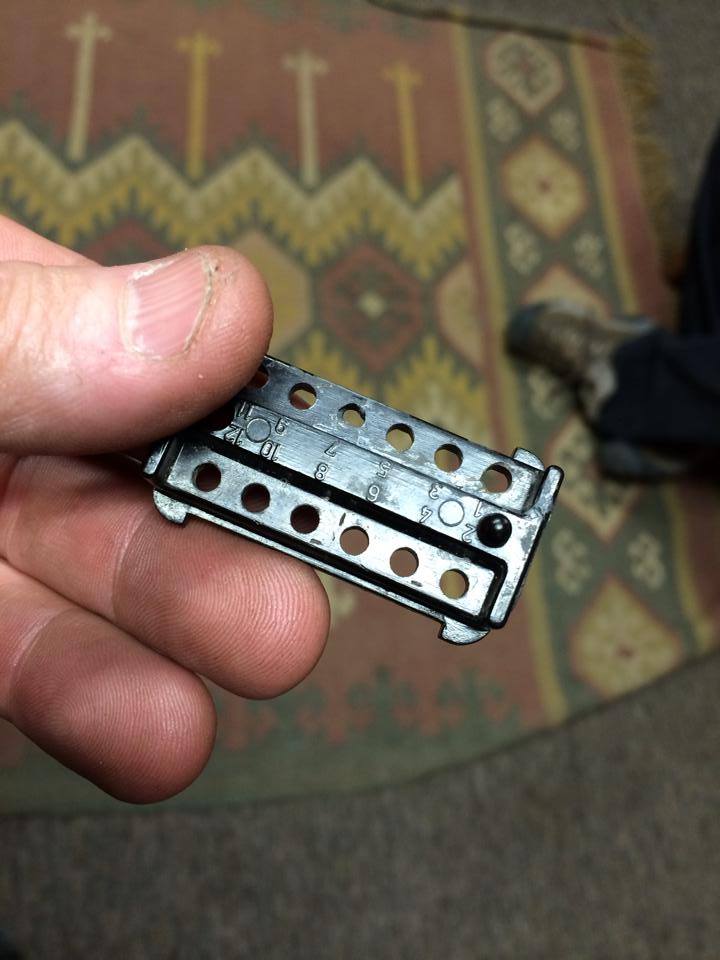
Let's start with wiring because we basically had to re-wire the car. What started as a simple request to "get the rear light buckets working" brought us to a few swapped wires on the install post paint and then... funny smells and blown fuses. When we looked at the fuse block we saw this:
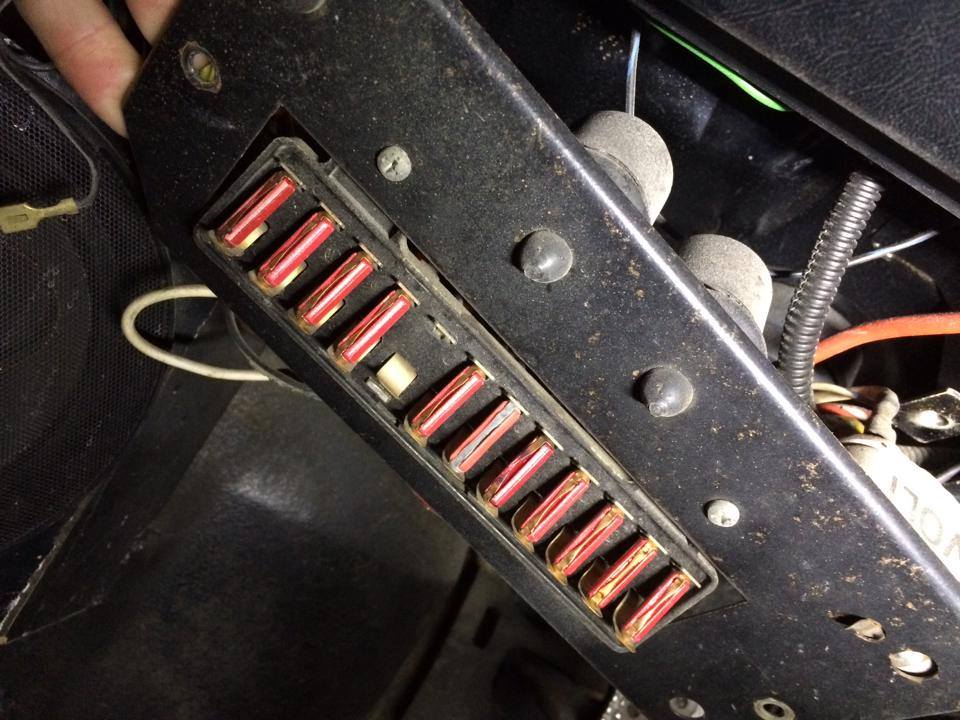
Yes, the blown fuse was also a 16a!! Needless to say, this was one of the first things we did...
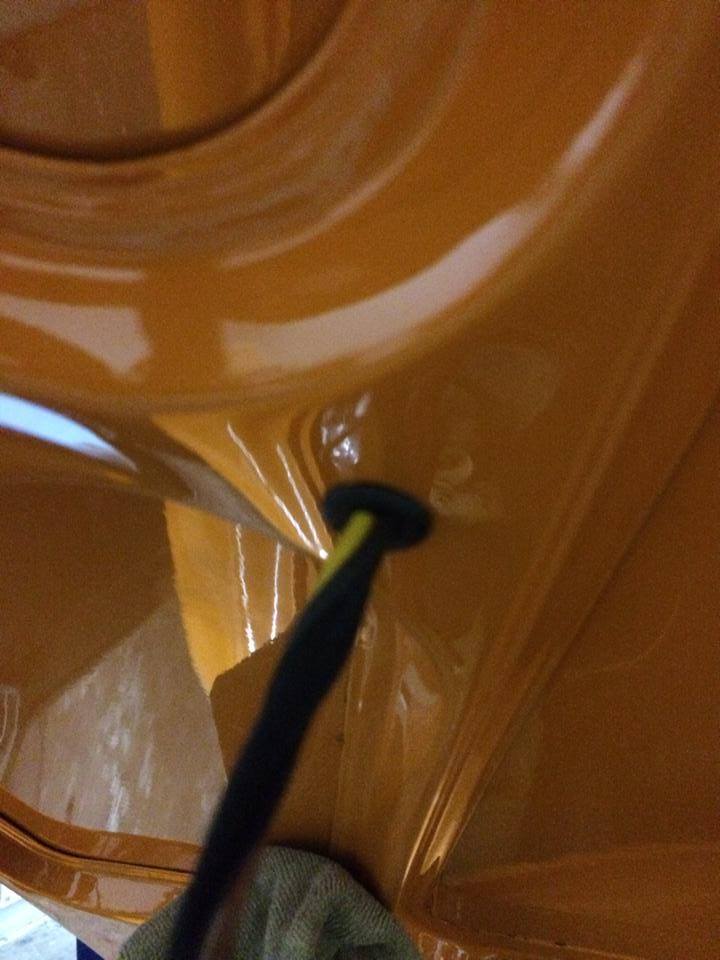
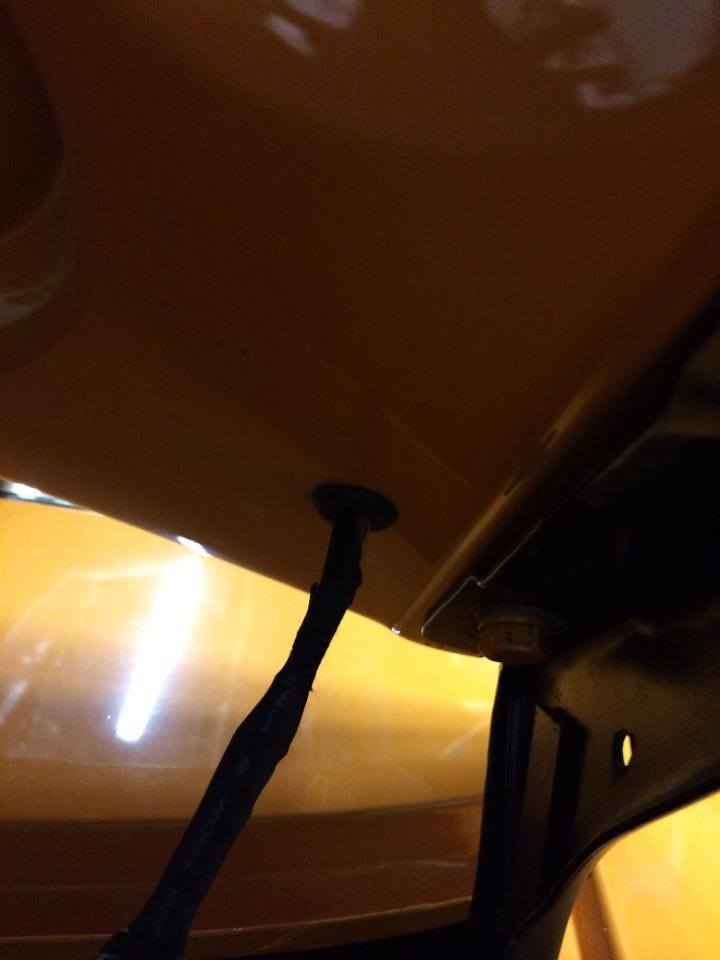
We also found some previous melted wires that could have been catastrophic:
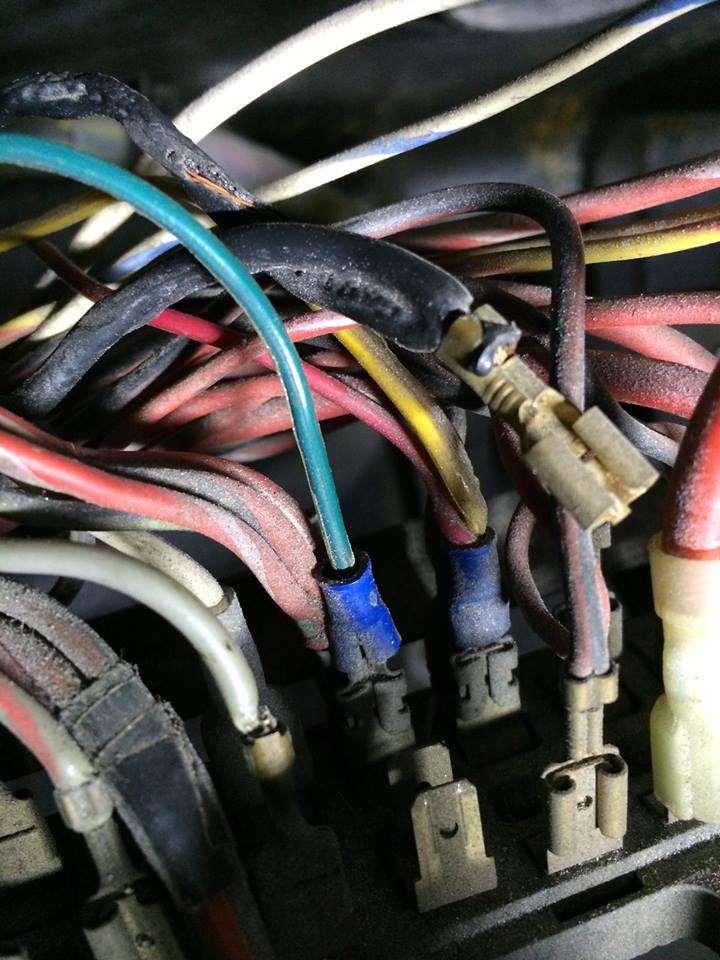
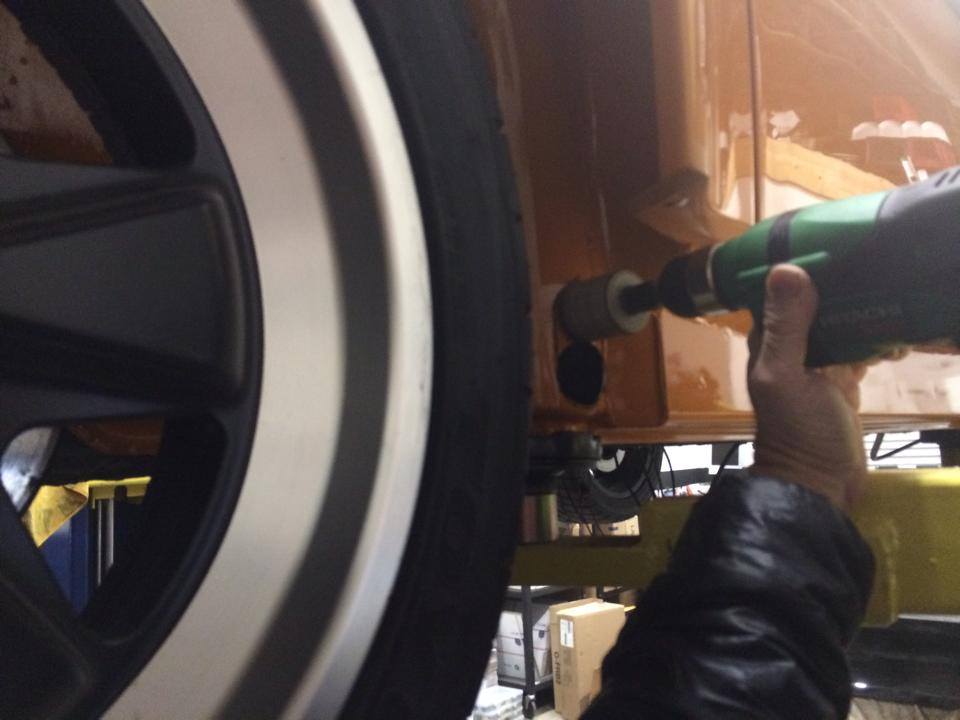
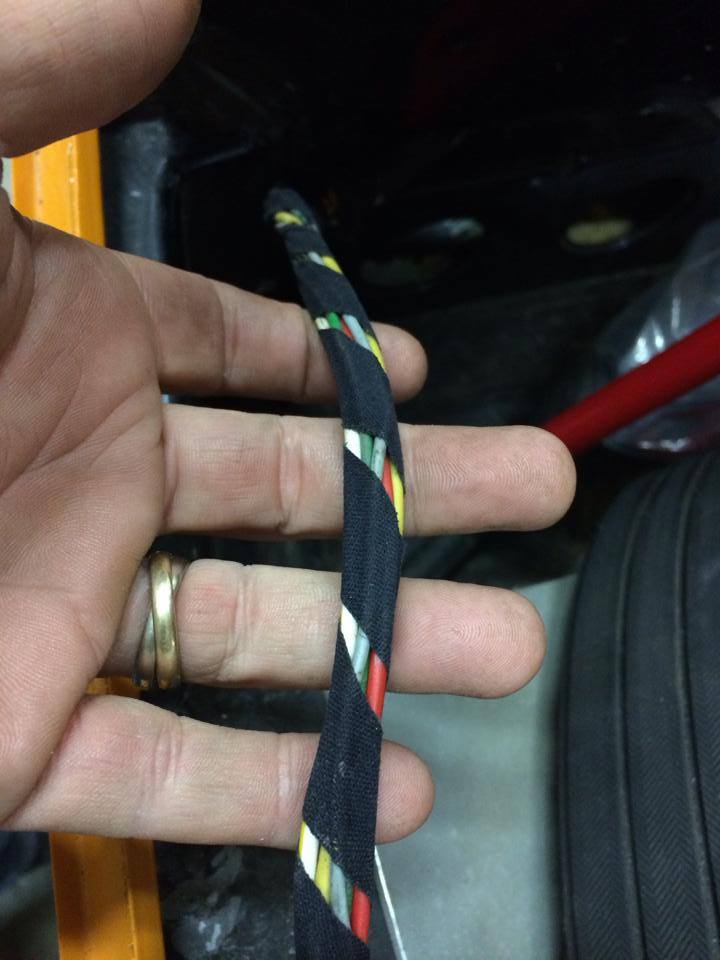
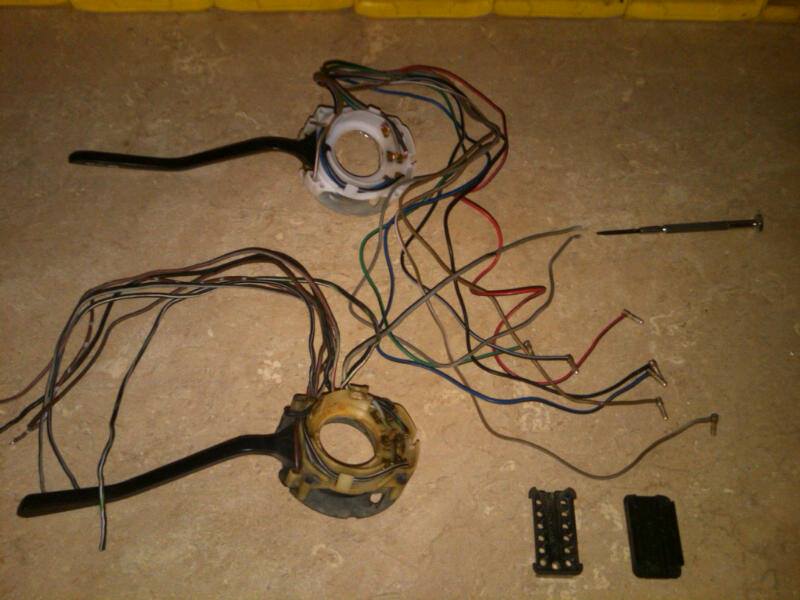
This caused us to start at the front and completely go over all of the wiring. Fix and replace with proper factory colored wires from a donor harness and wrap everything back up with the early cloth tape loom.
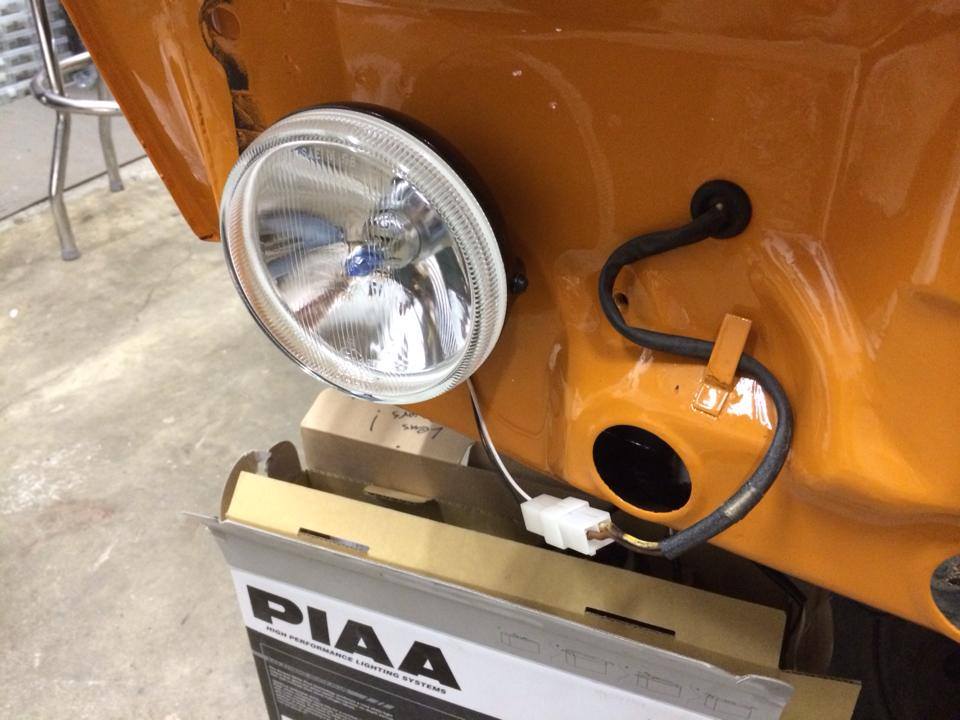
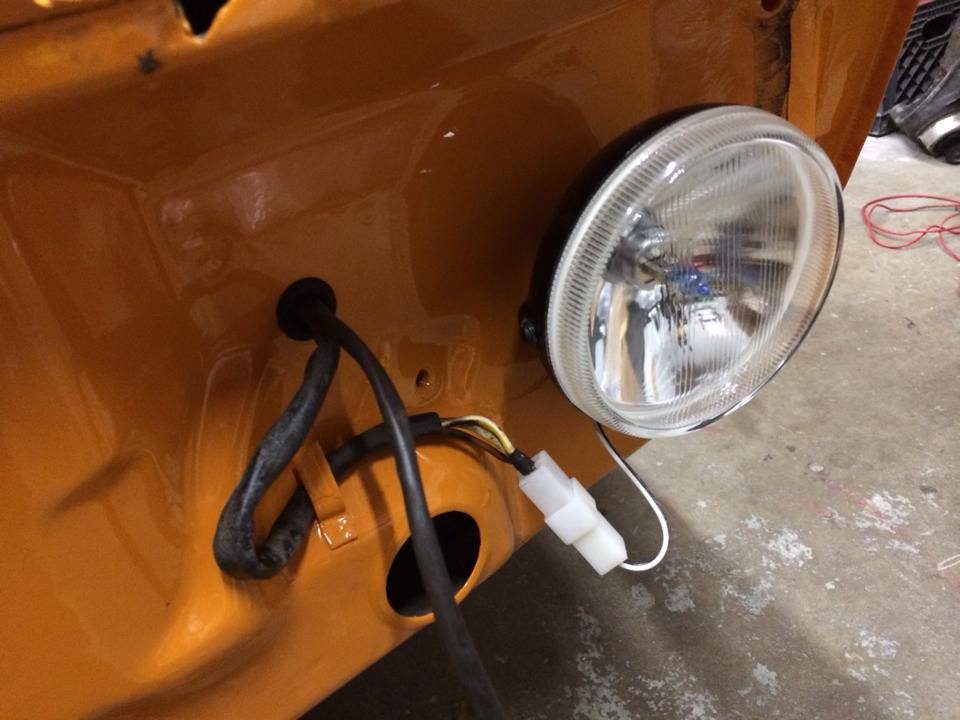
The factory driving light harness was cut and crimp on ends were all that existed in the apron. We went into the harness and soldiered in new leads and used factory sheathing to bring them through the grommets in the front apron. Mike wanted these PIAA lights so we then soldiered the PIAA ends on the factory wires and inserted them back into the connectors for a clean, clip-on installation:
Next we did the same thing while repairing the horn leads. Removed the crappy blue crimp on connectors and went full factory with the protective sheath. We also ran a second lead over for dual tone horns.

Here's a shot of Mike's new harness:

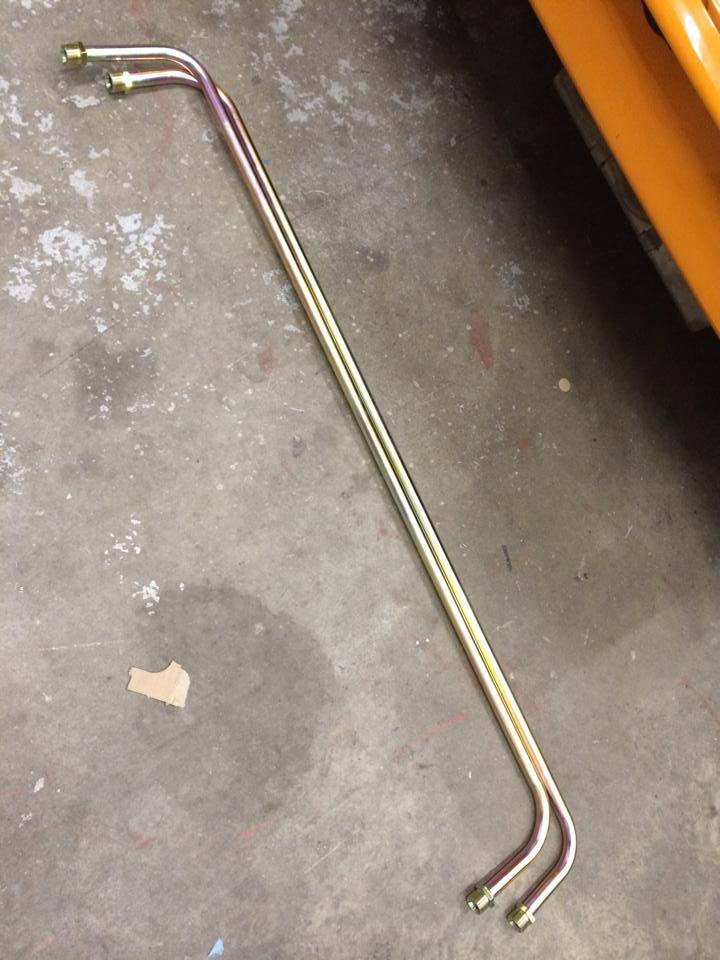
 ... A 964 or 993 install? If I had to guess, 964 ..oh wait. 993 with webers -
 Tell Brown E he does wonderful work
  (more on that in our next build thread). Thanks for the good metal!!
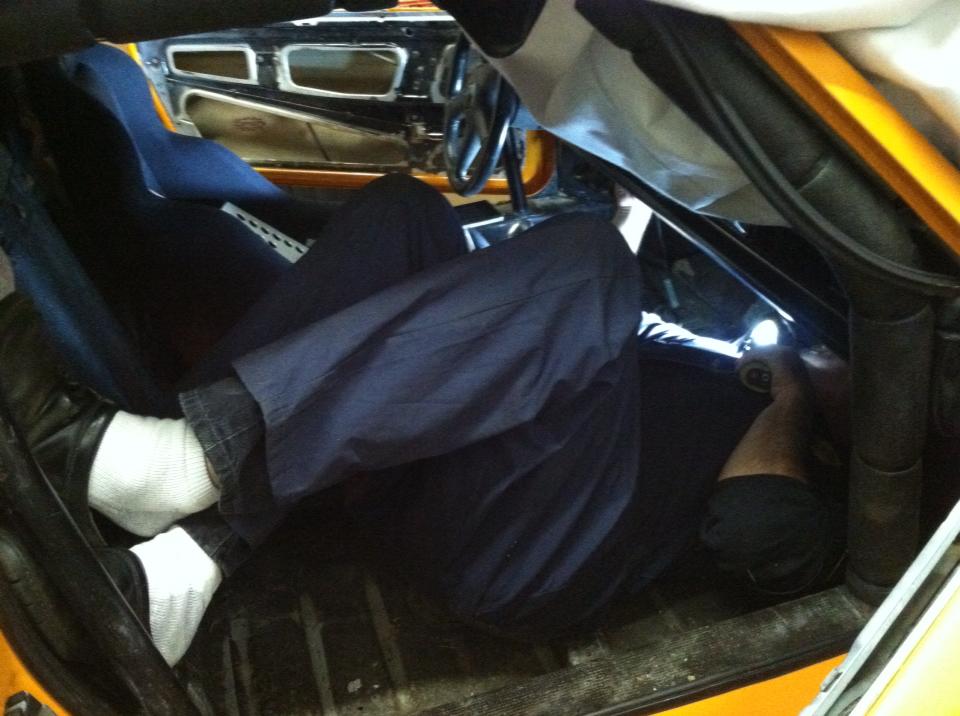

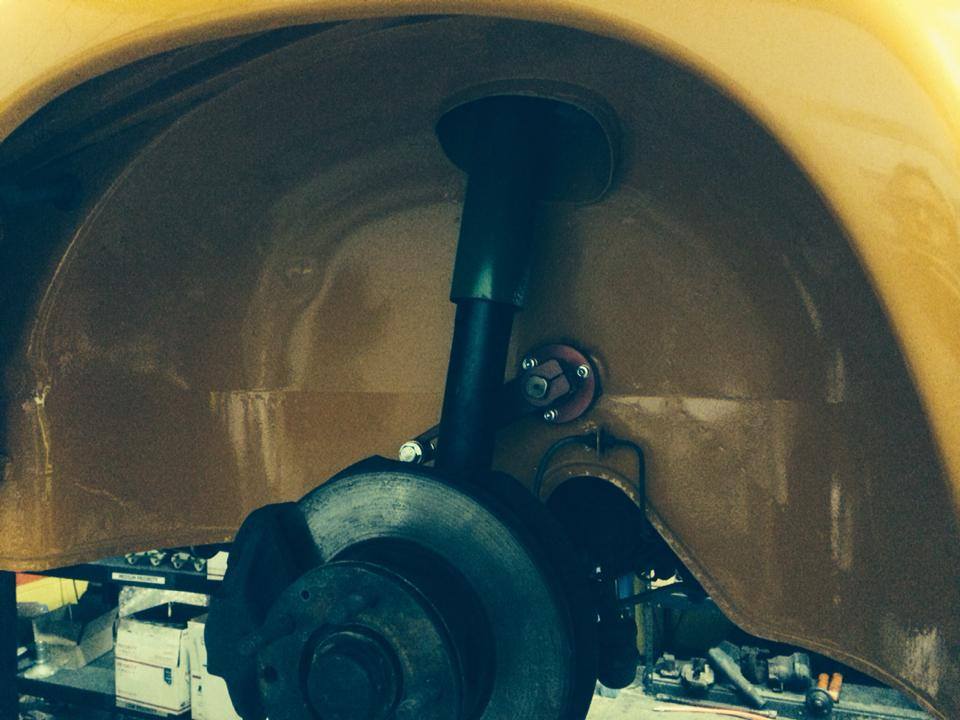

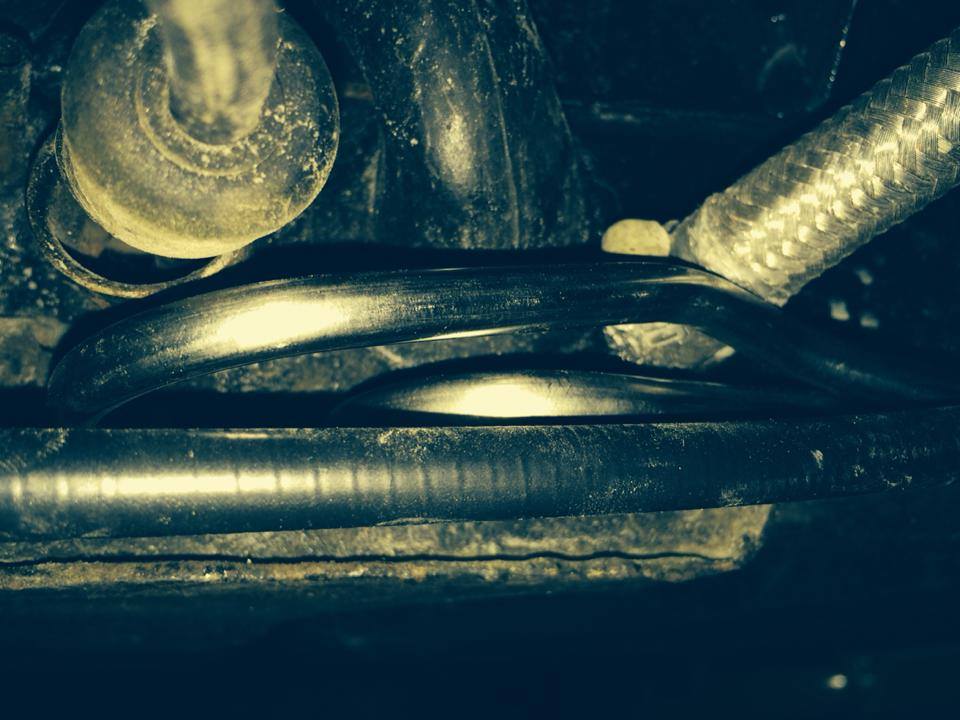
 is up with those front brakes man
  . Those fronts do not look like PMB work
  . Get your rebuilt calipers on & a nice fresh rotor bud. Thats just embarrassing
  Too much rotor, too heavy. The idea is to find a nice set of S-Calipers and 20mm rotors and remove the odd "front" bias valve. Phase 2.


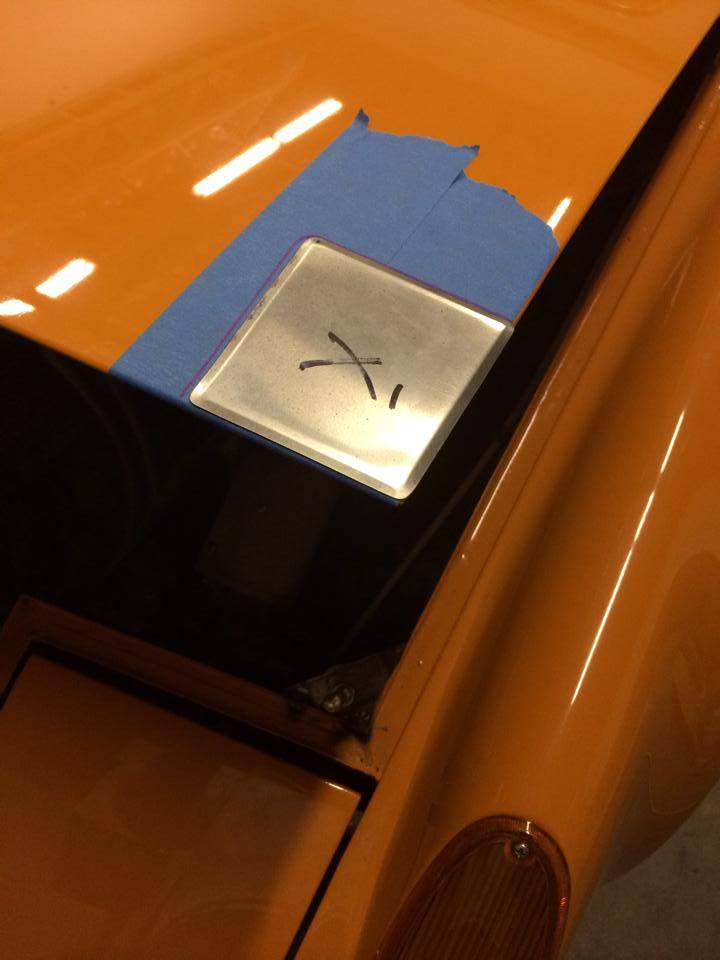
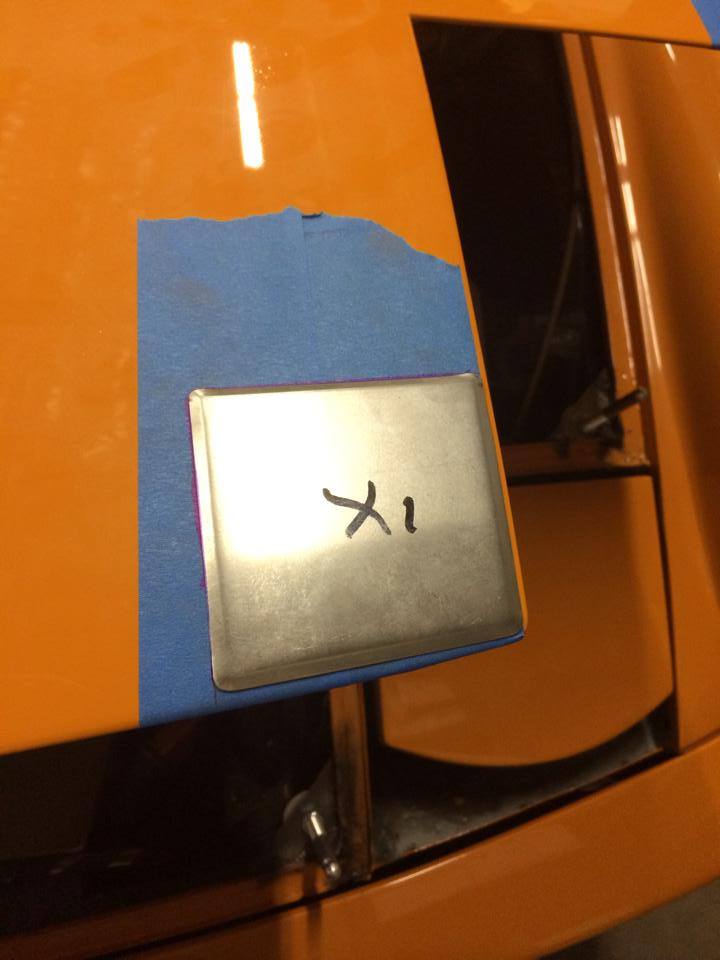


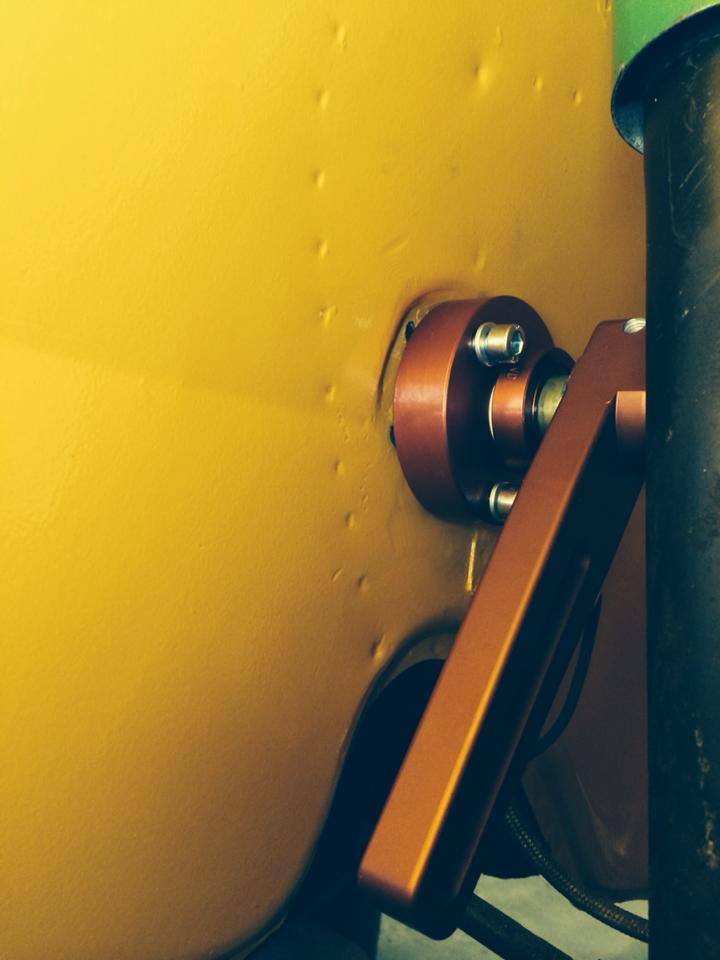
 that's just wrong!