OK - made some small progress lately.
So the general plan is this (since I'm working on this car with NO garage). Phase 1 is as follows:
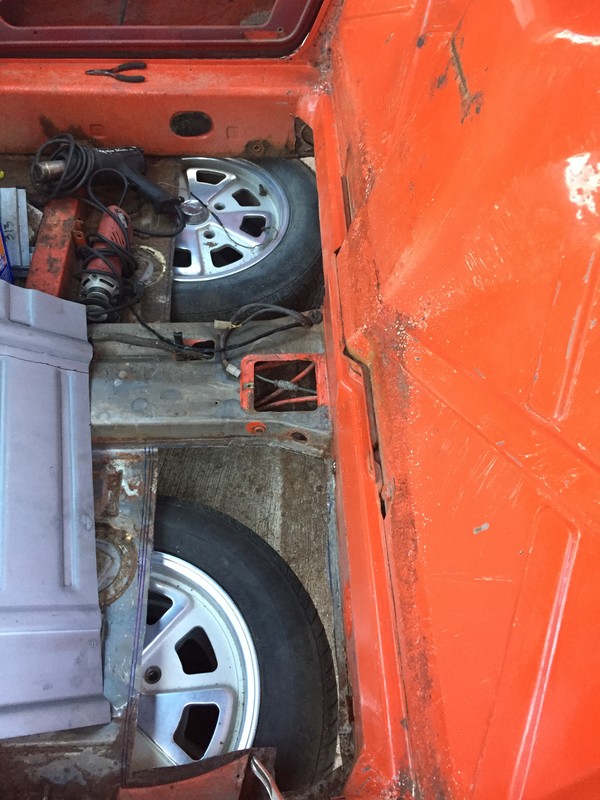
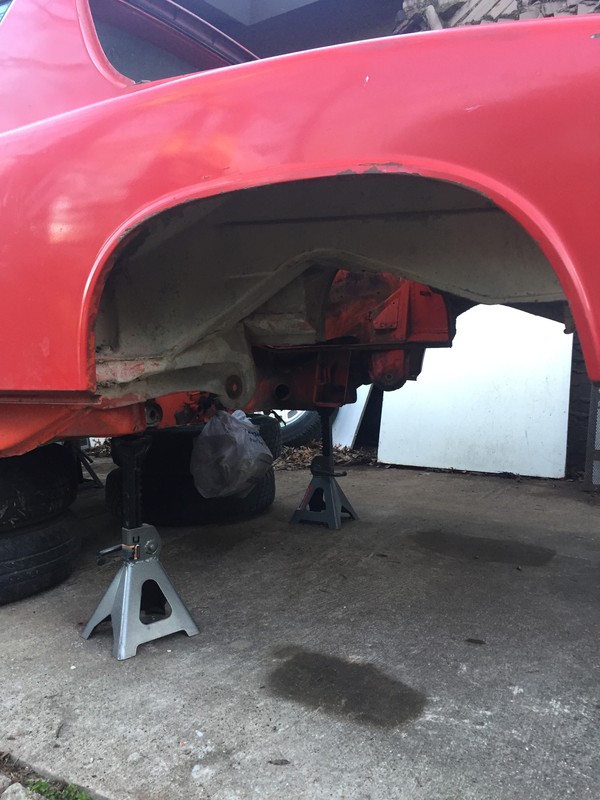
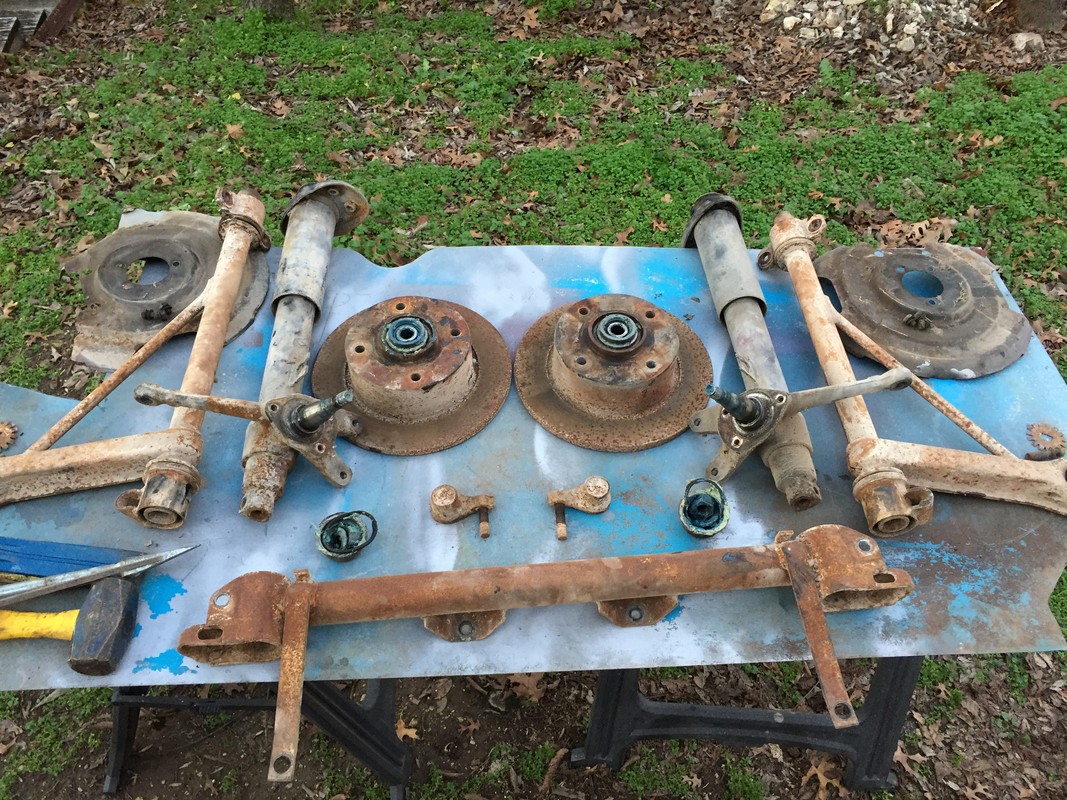
1) pull and restore all the suspension.
2) weld in new floor areas & interior firewall sections.
3) remove dash
4) prime interior
5) address the entire underside of the car, wire wheel, prime, paint, etc.
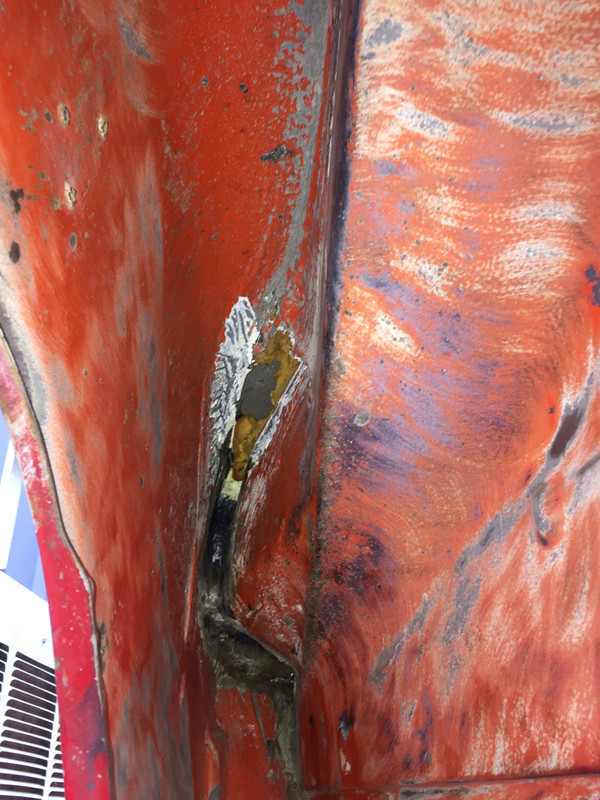
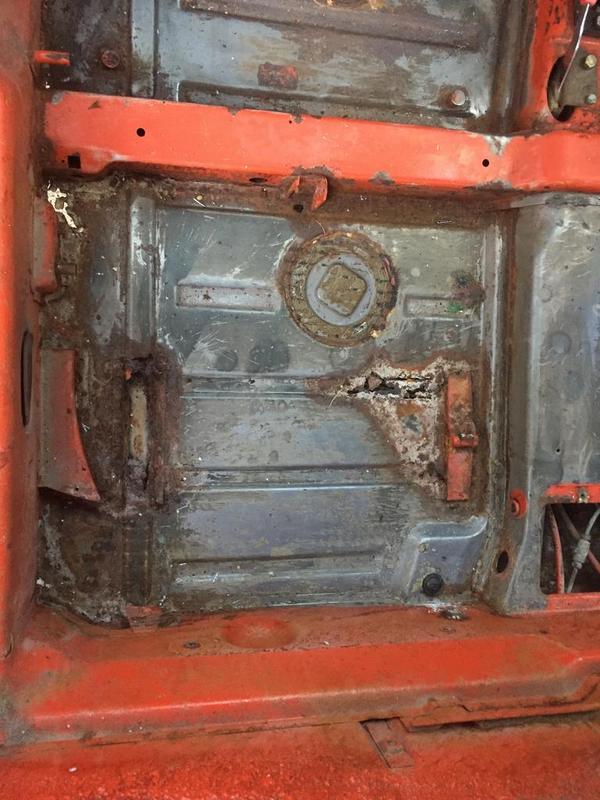
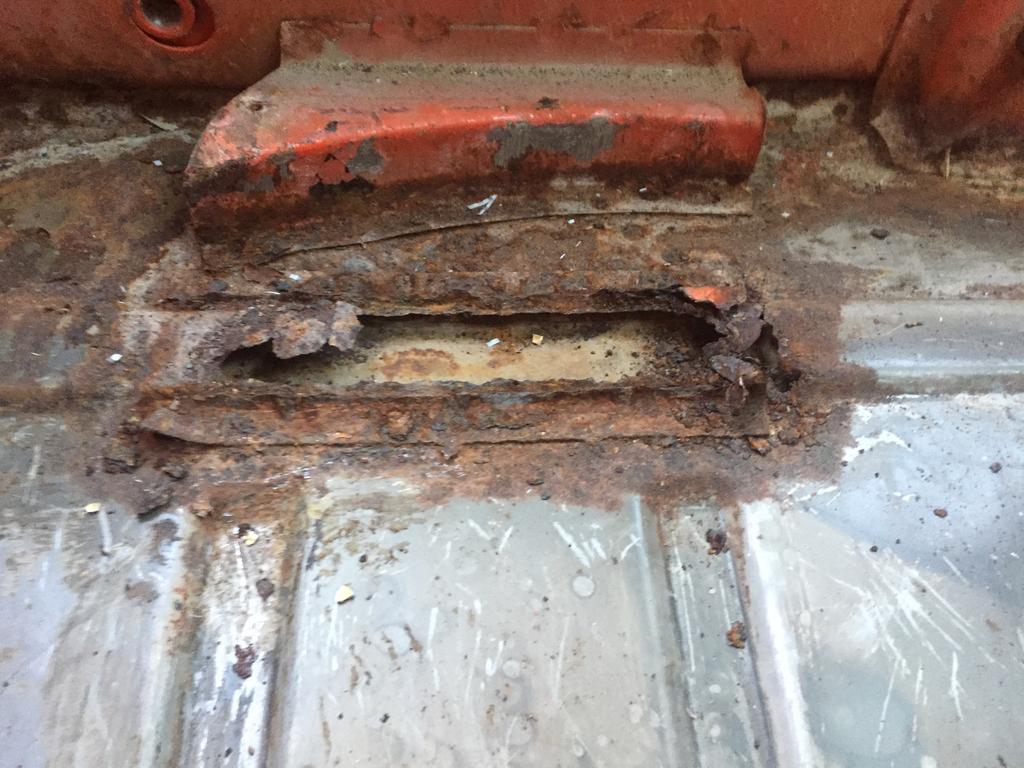
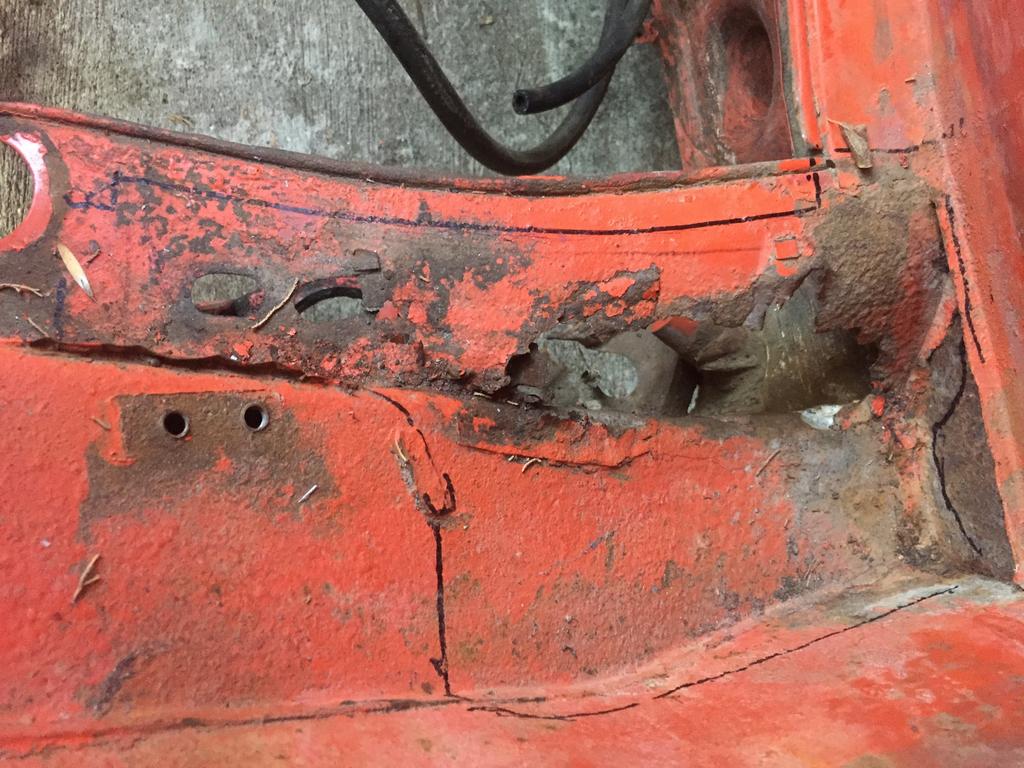
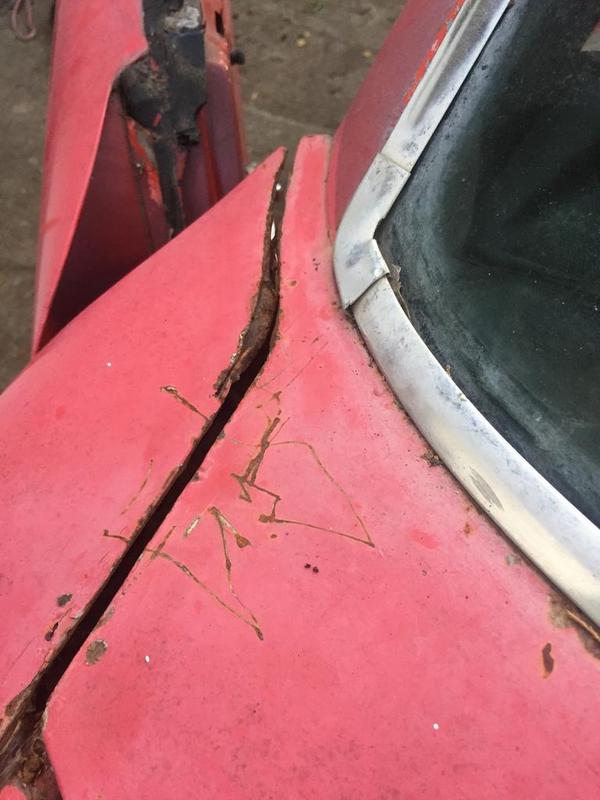
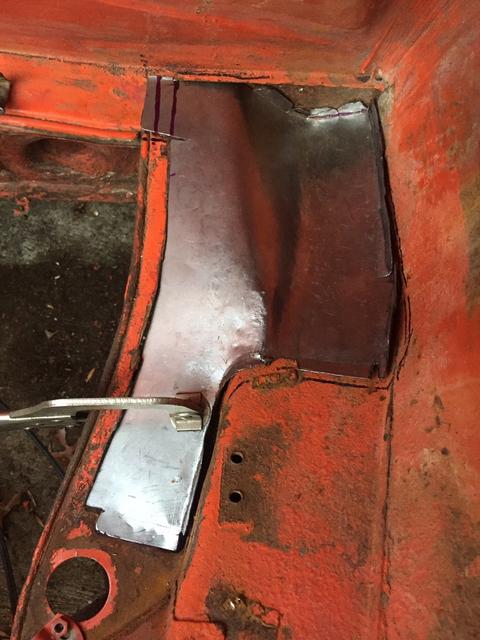
6) repair: hell hole, damage to shifter hole & clutch cable hole - in engine compartment.
7) prime engine compartment.
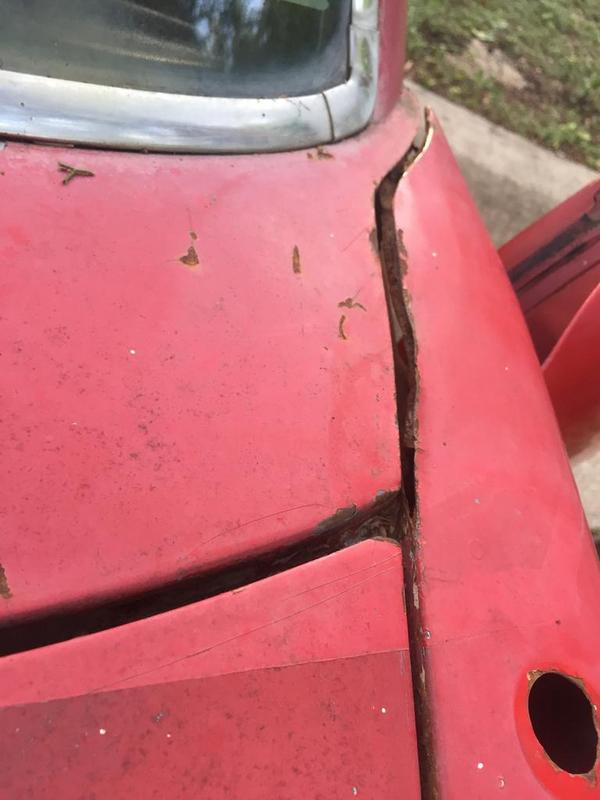
8) address the front trunk including to cut out area for A/C condenser.
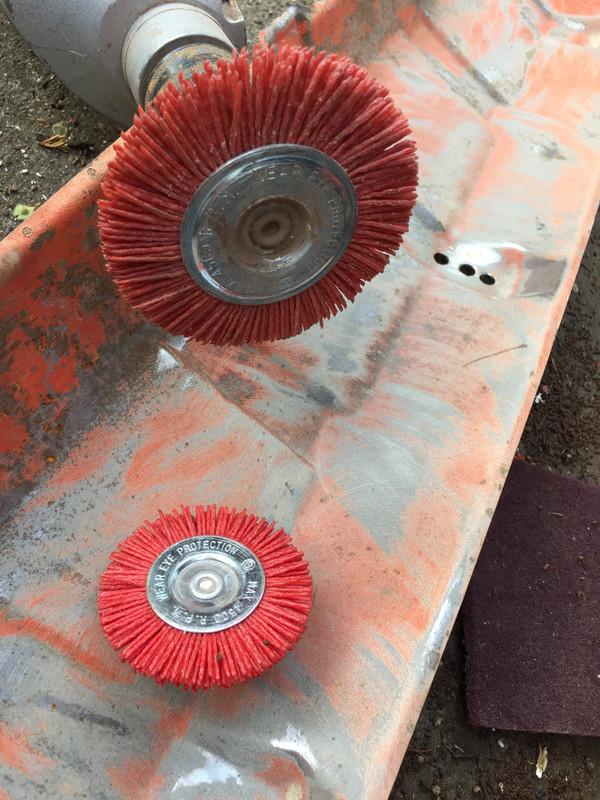
What I've been working at lately is.. getting the area under the rear trunk scrubbed down with a nylon 'wire wheel'. I really like the nylon wheel for this because it lasts forever, stays cool, is cheap and leaves an 80 grit texture which is good for the epoxy primer that'll be coming next (I will not be taking this all the way down to bare metal - not necessary). Here's the nylon wheel:
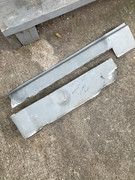
..AND one of the major hurdles has been removing the muffler heat shield (so I could get above it for rust treatment and paint. They'll tell you it's only spot welded in, but mine also had small strips of edge welding - I'll be bolting it back in:
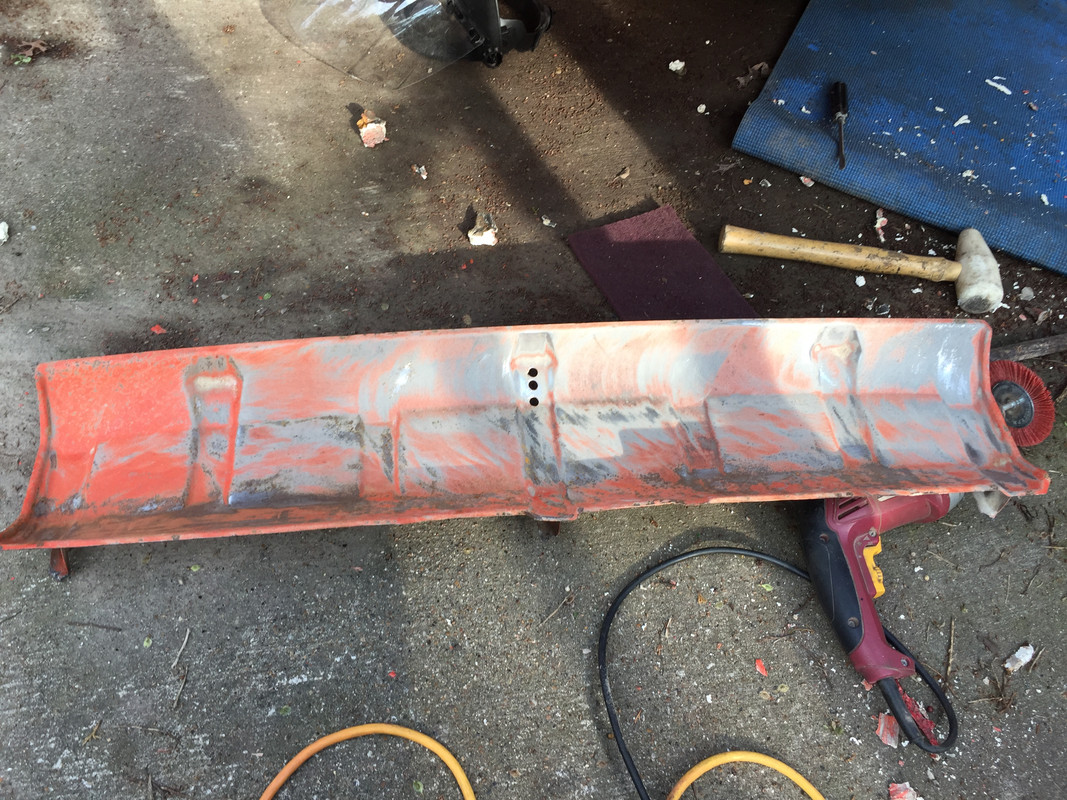
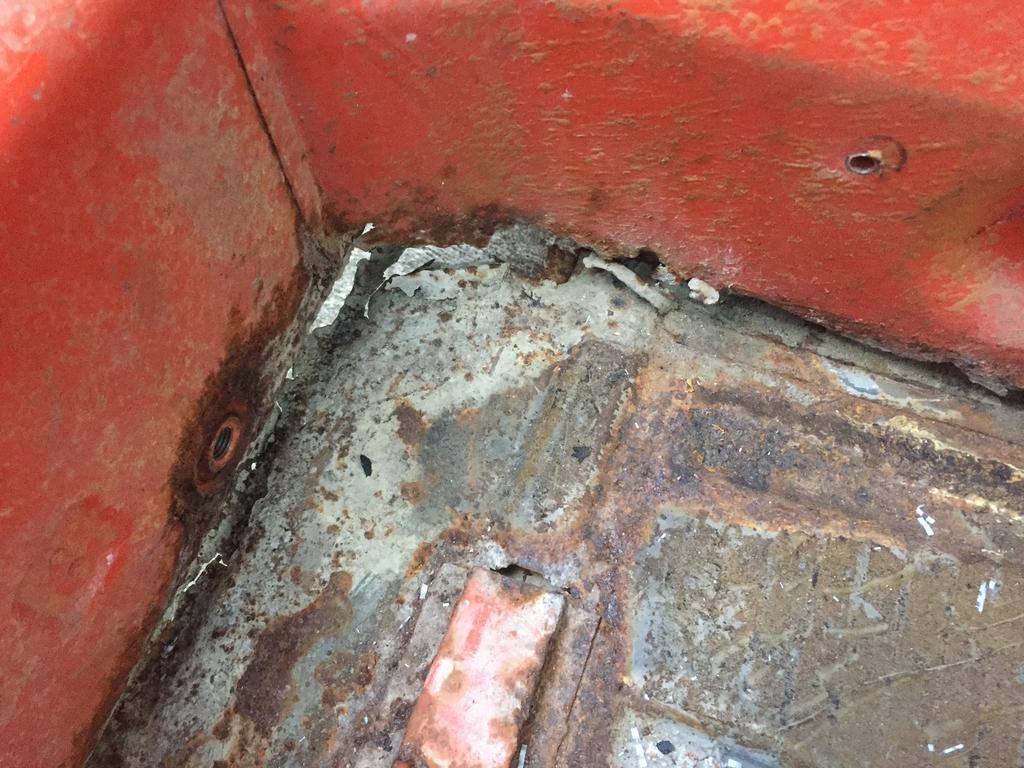
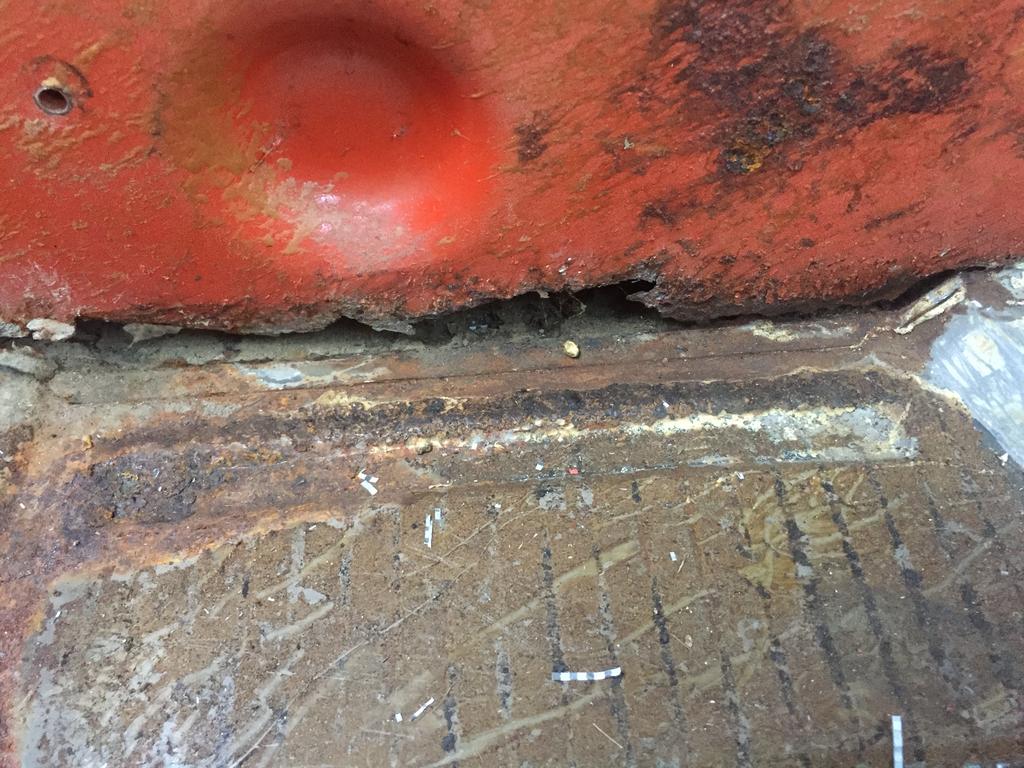
..Here's a shot showing under the trunk floor after nylon wheeling it. I'll be scuffing all the nooks and crannies with maroon scotch-brite pads and phosporic acid solution before epoxy primer.
BEFORE:
AFTER:

Also I've gotten up inside the fenders/wheel wells and removed all of the foam that's known to eventually cause rust. Mine look pretty good at this point. The job sucks but glad I did it, and got it out of the way:
DURING
REMOVED:

 . Here's a shot of it:
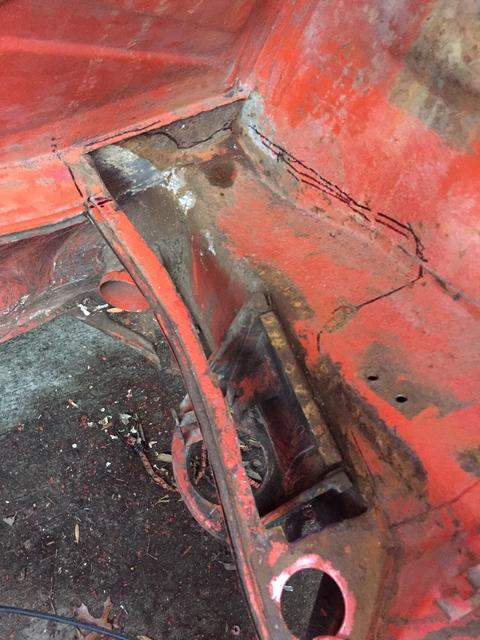


 ). Still, I'd like to have it painted before summer. Here's part of the fence I've been building, and that's been taking up my spare time:
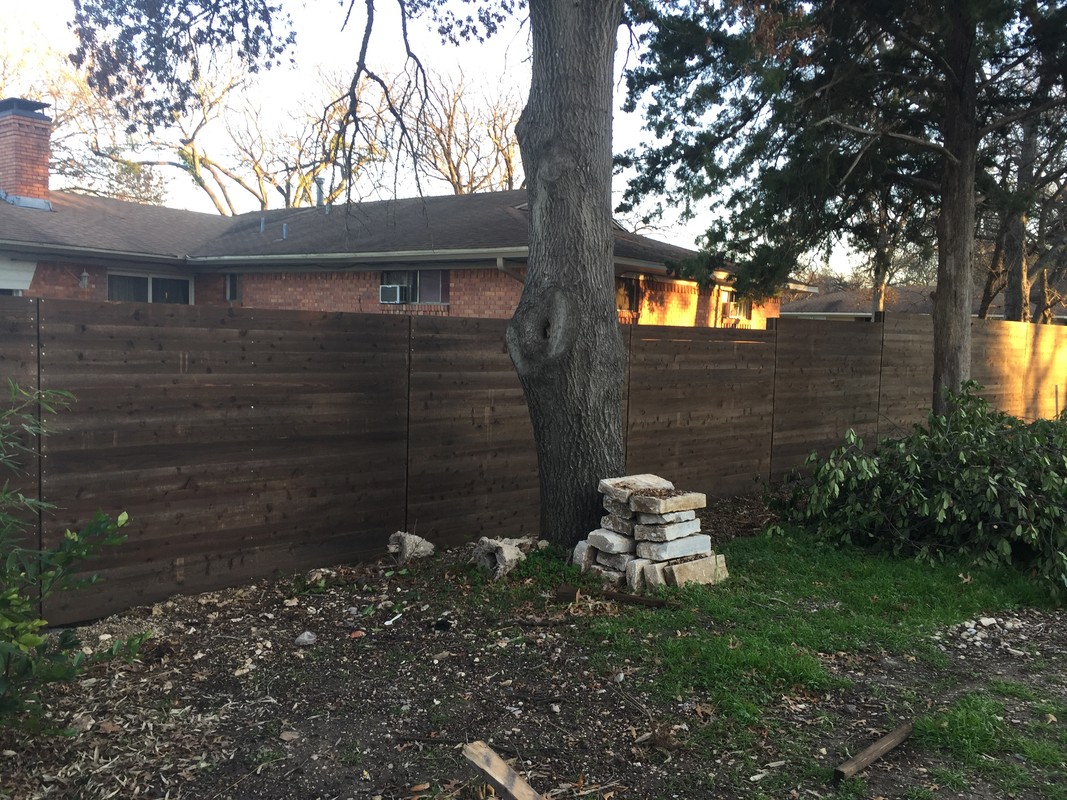

 (I have a plan believe it or not)
 . Couldn’t really even manage to get anything clean enough for consistency. Had hot slag dripping on me and trying to dress the welds with a grinder between me and the car felt really dangerous.
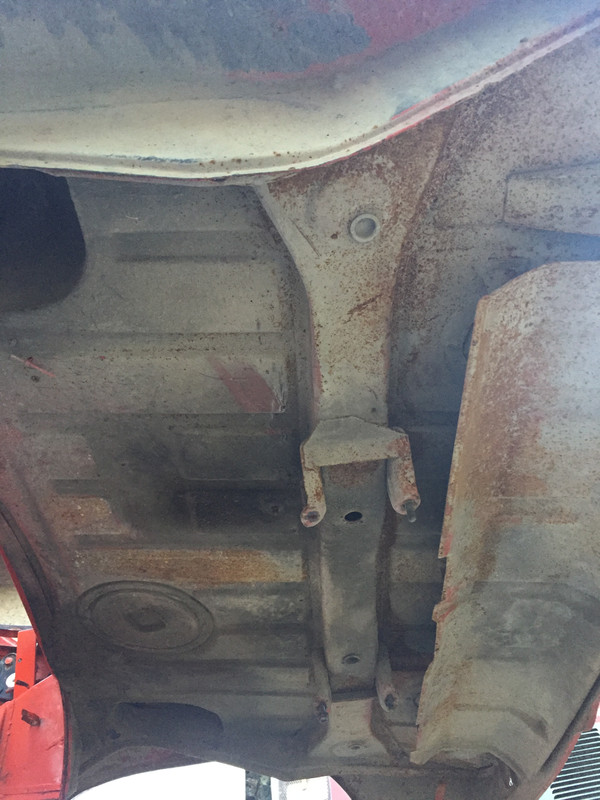
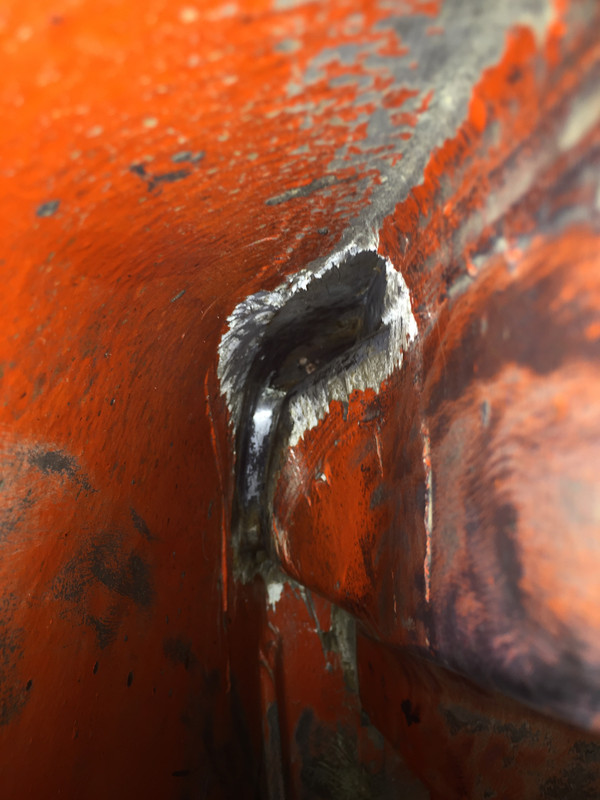
 . This way is much more thorough but also helpful because my clutch tube needed securing at the firewall as well as some repairs needed to the area around the throttle cable tube (see last pics):
 and the host I use will not make the photo any larger than a thumbnail, so my apologies for the viewing angles. Maybe it’s the apple phone as I never had this issue with my android, just sayin’.