QUOTE(Solo914 @ Jan 11 2009, 04:52 PM)

QUOTE(J P Stein @ Dec 26 2008, 05:03 AM)
Go to the SCCA website and read the rules on helmet clearance to the top of the cage.....otherwise known as the broomstick rule.
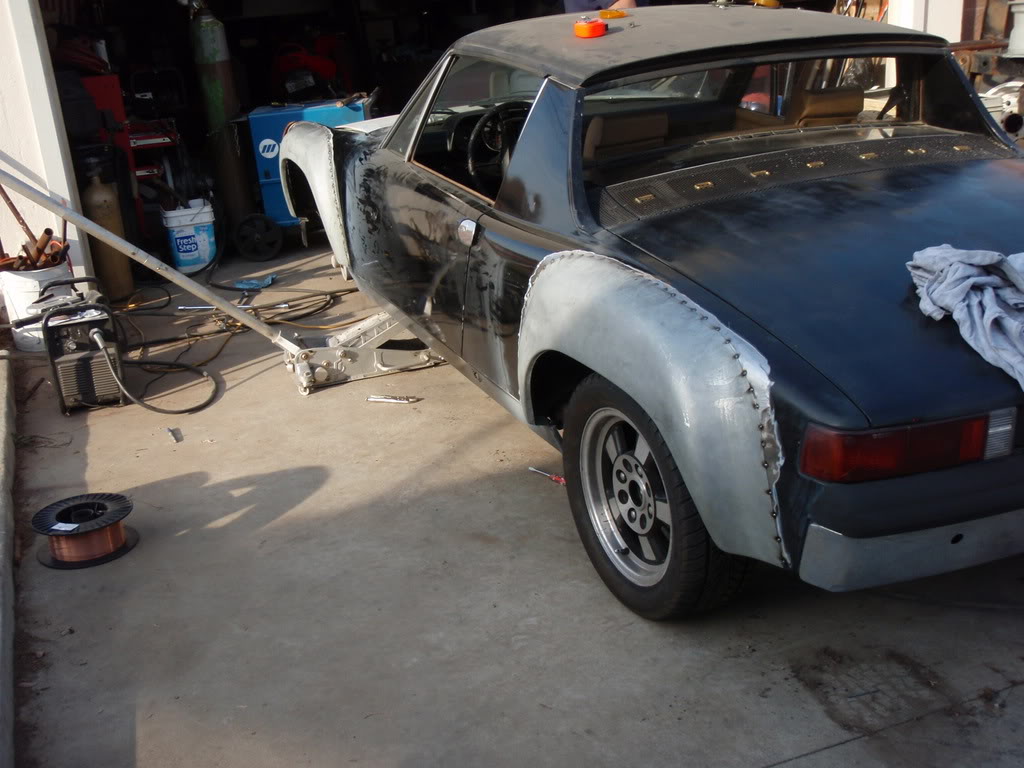
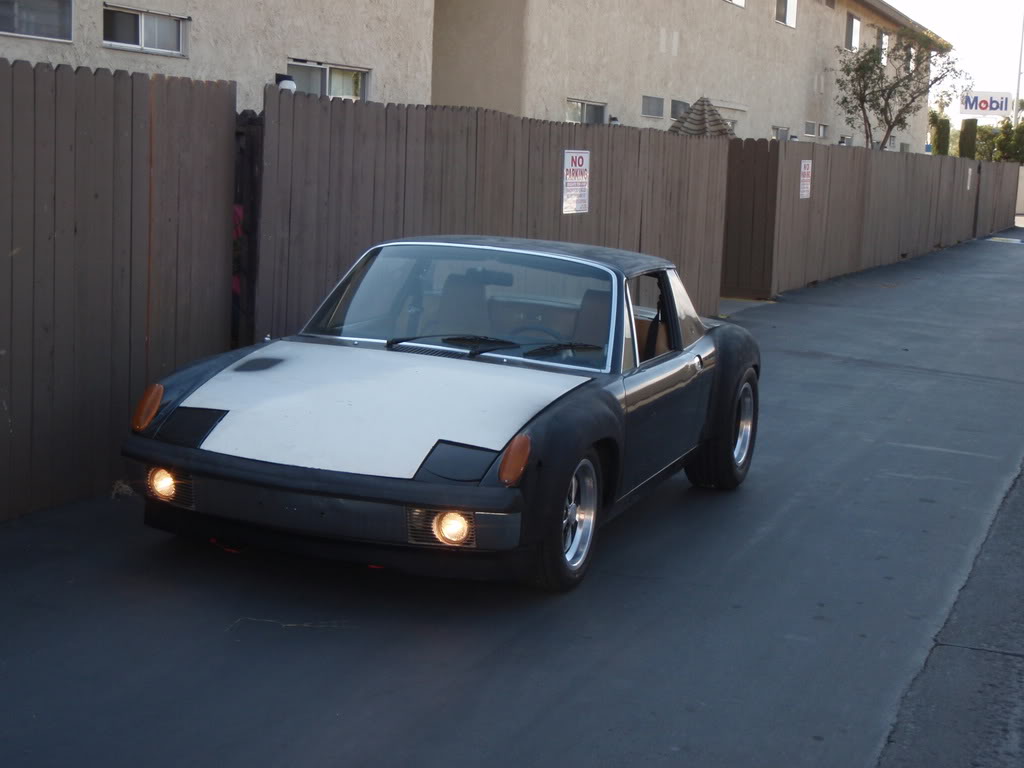
This cage has really come together....keep it going!!!
Where are you going to move the car if the Association won't let you work on it there?
JP,
Just to clarify for others, isn't the SCCA helmet clearence rule/broomstick rule for open top cars running without a windshield? Basically if you lay a broomstick on the front dash bar to the main hoop the driver should have 2" of clearance to his helmet. I do not believe that this applies to enclosed cars or cars running with a full interior cage. When I built my Spec Miata and was poring over the GCR I did not remember this being the case. Or is their another clearance rule that I don't remember?
Kyle
You are right, the broomstick rule applies to open cars, but......
18.4.1. Main and Front Hoops
A. Main Hoop: The main hoop (behind the driver) shall be full width of
the cockpit. The main hoop shall be as near to the roof as possible
on closed automobiles and not less than two (2) inches above
the driver’s helmet on open automobiles, with the driver seated
normally and restrained by seat belt/shoulder harness. Low front
hoops shall be cowl height, or at a minimum, a straight line drawn
from the top of the main hoop.
It also goes on to say that the top of the drivers helmet cannot extend past a straight line from the tops of front & rear hoop in a caged car.


![yellowsleep[1].gif](http://www.914world.com/bbs2/style_emoticons/default/yellowsleep[1].gif)


![popcorn[1].gif](http://www.914world.com/bbs2/style_emoticons/default/popcorn[1].gif)


 I know holy shit huh.....


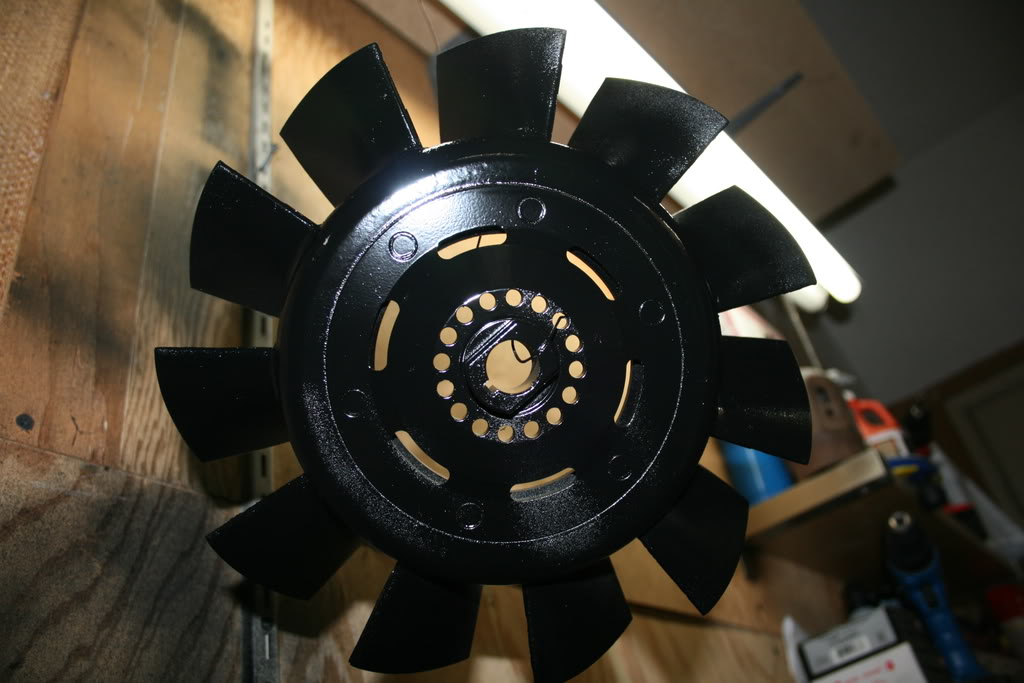
 ... Enjoy...


 Now only if the Car and Engine Could all look this good in One night....Tomorrow night is the cracking off of the Heads


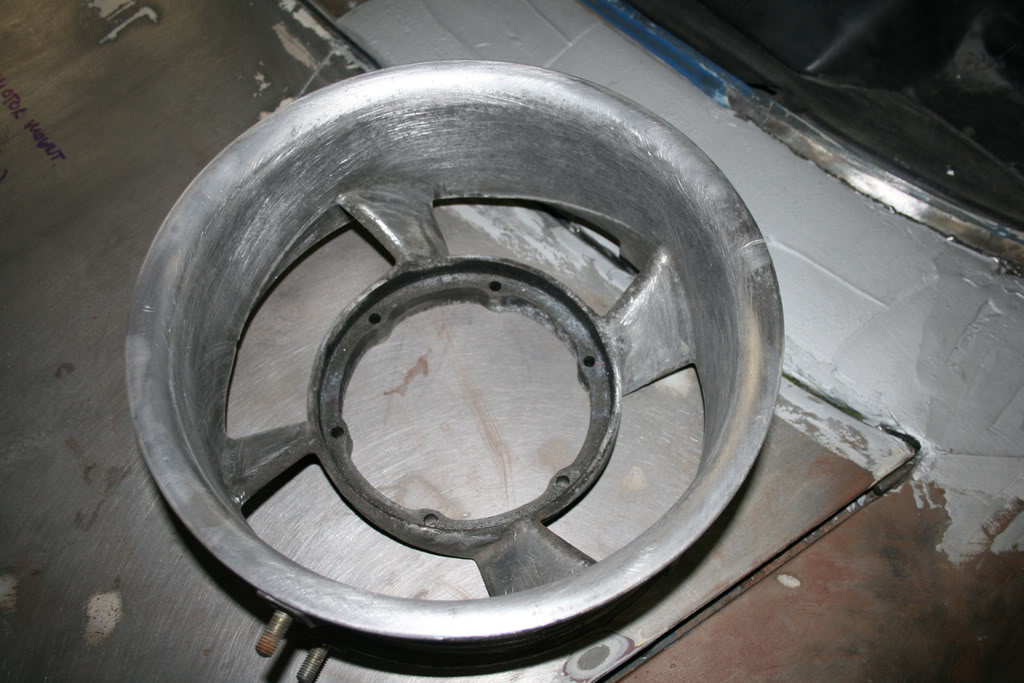
 After I had to heat up the Cam Nut and clamp some vise grips on the sprocket and deadblowed it...