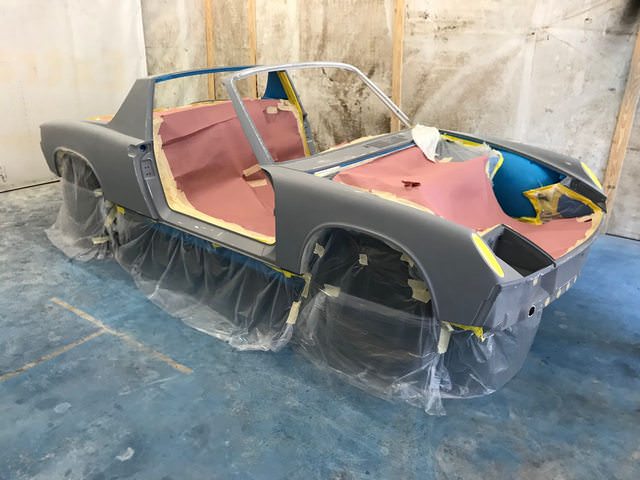
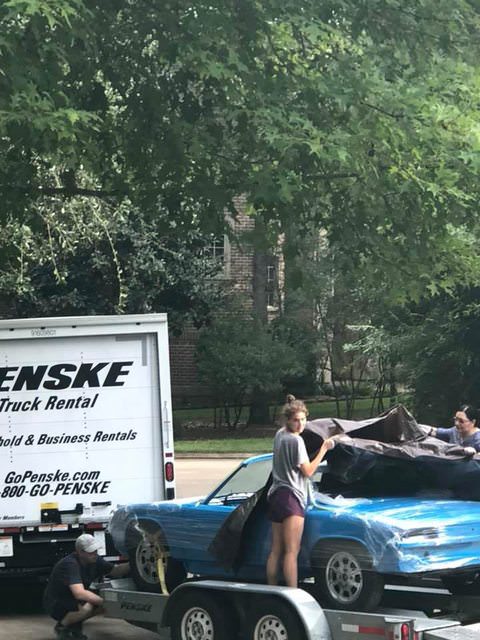
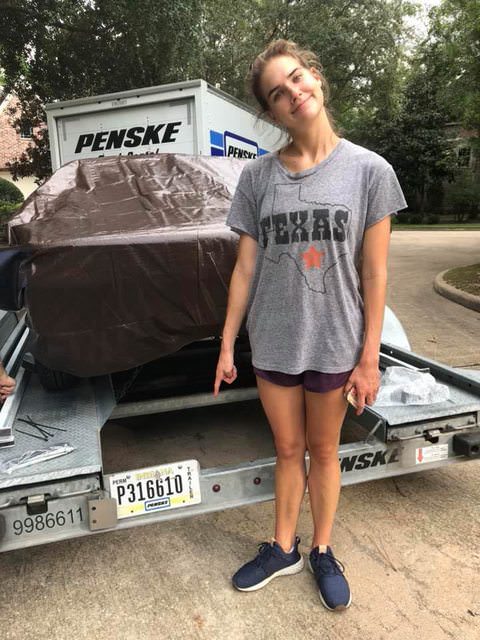
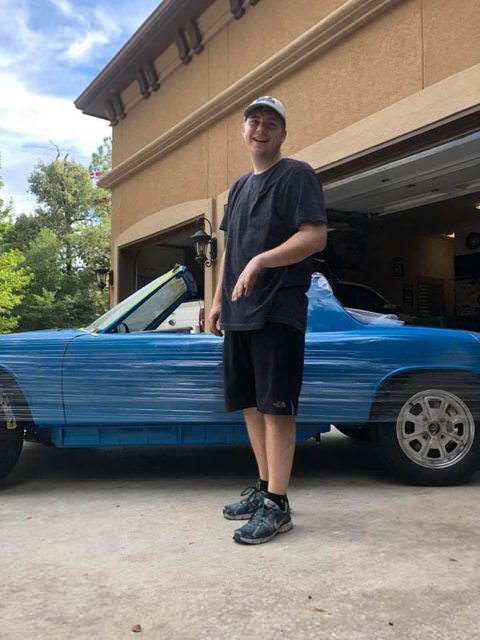
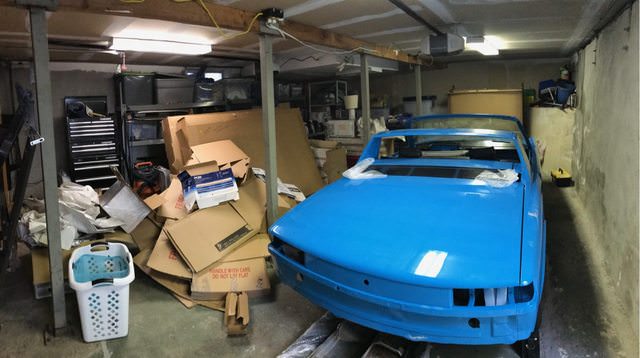
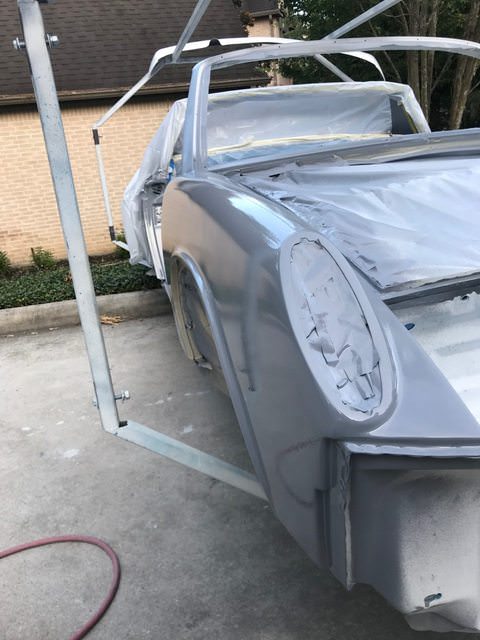
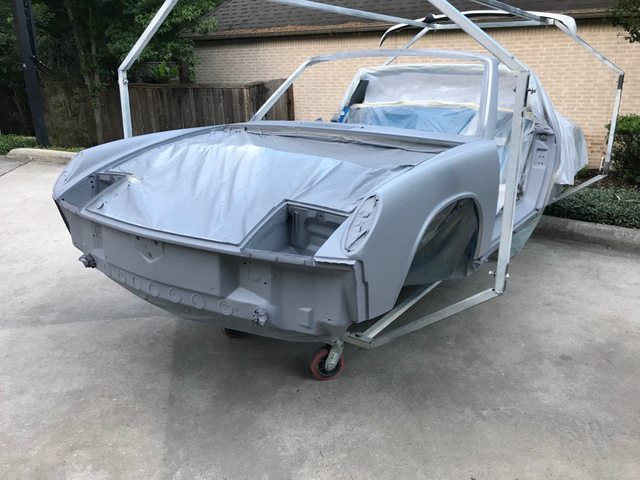
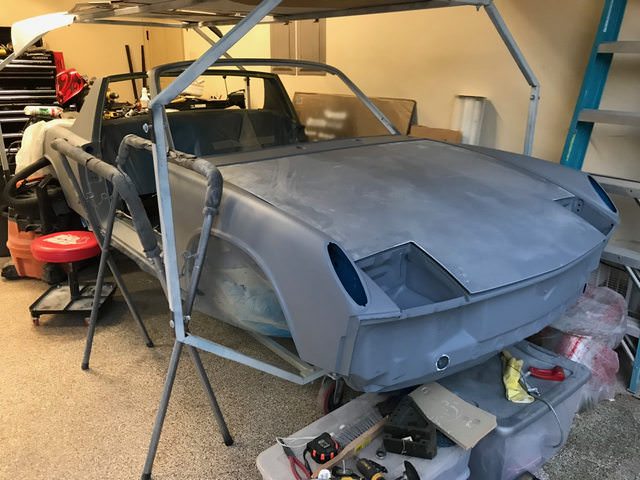
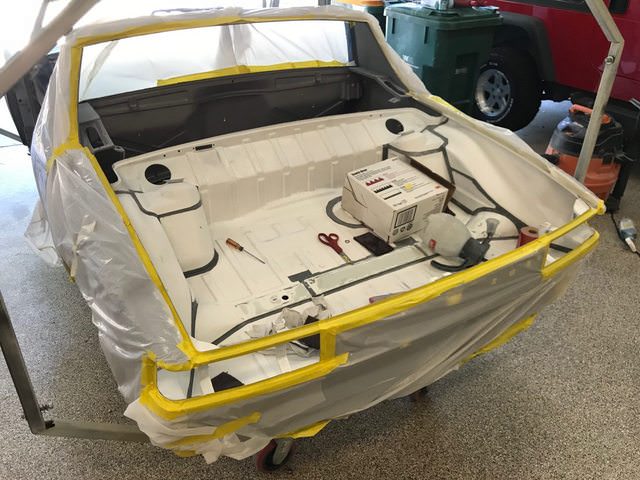
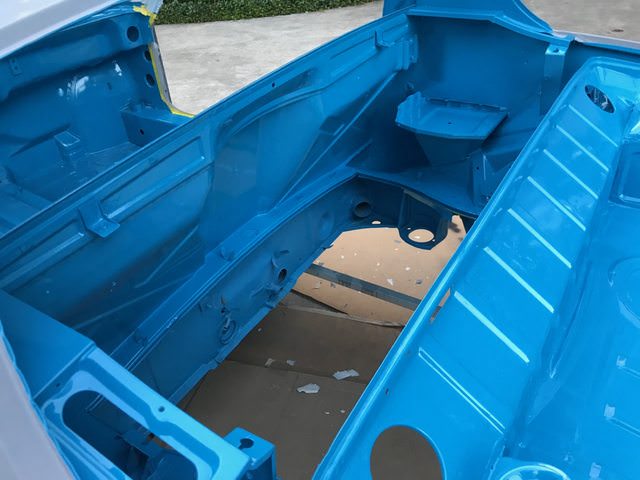
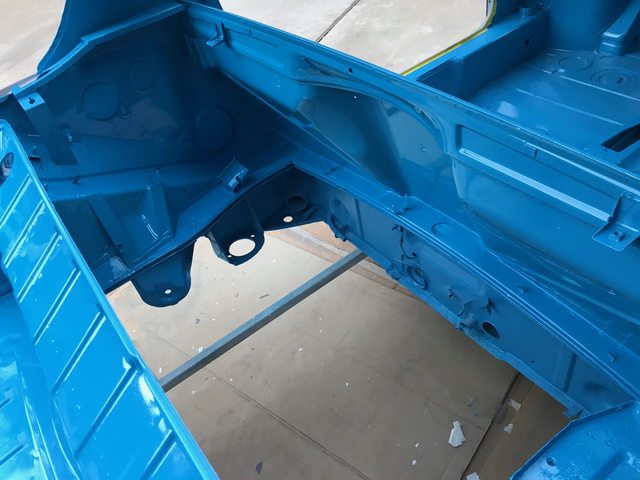
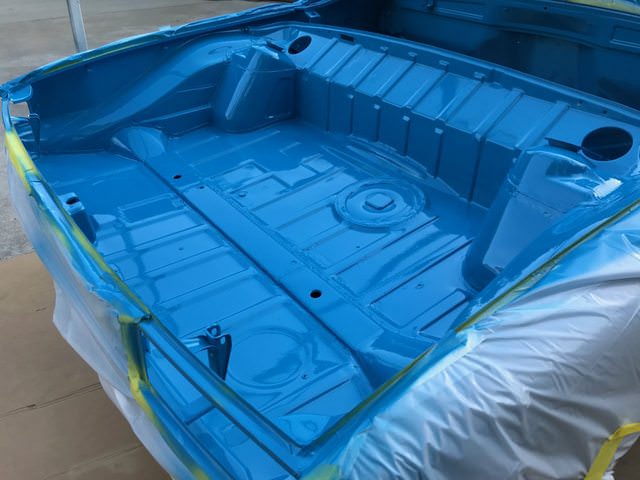
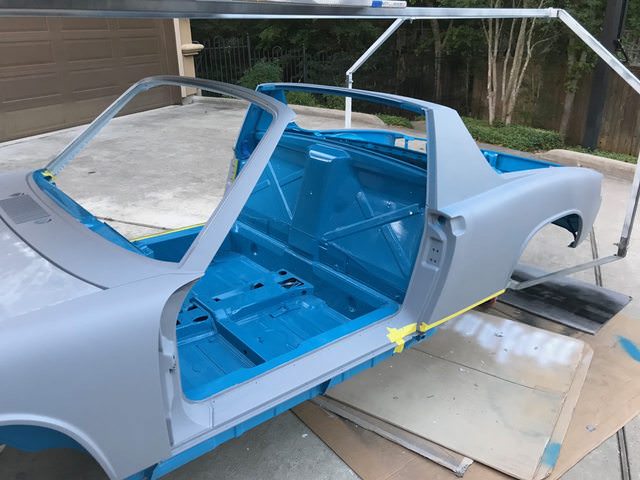
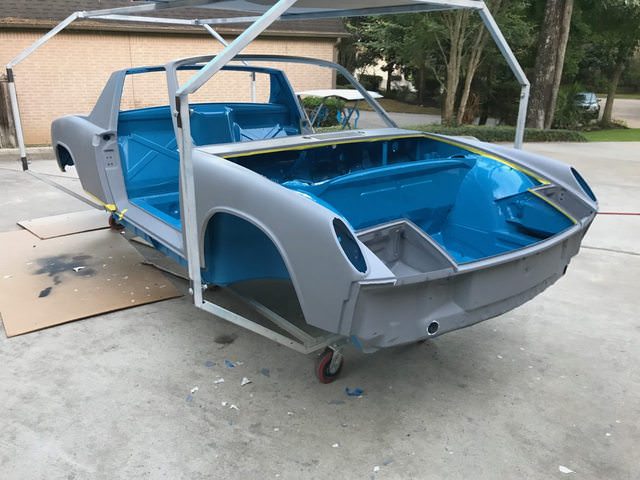
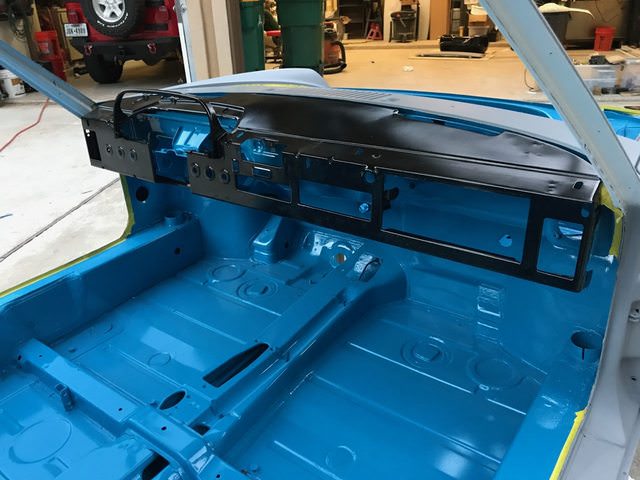
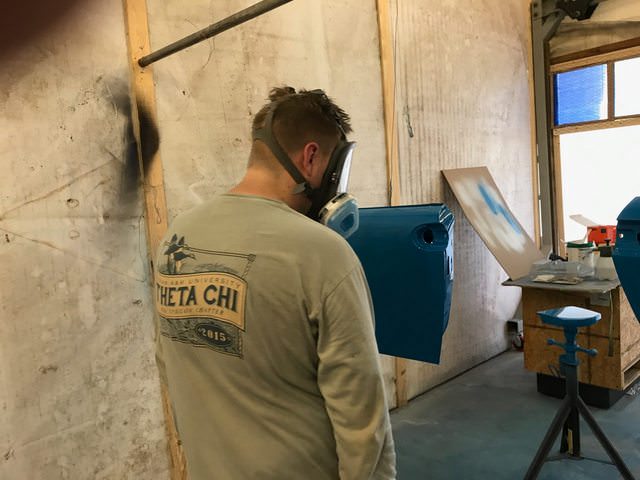
Hello world! Back with a pretty big update this time as I continue to prep the car for paint and for my cross-country move here in a few weeks.
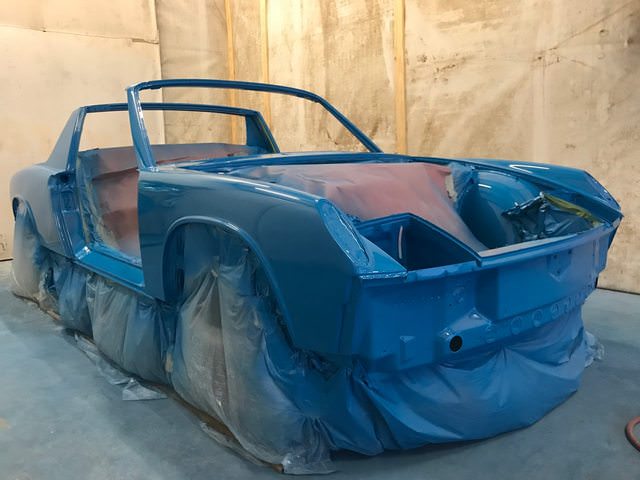
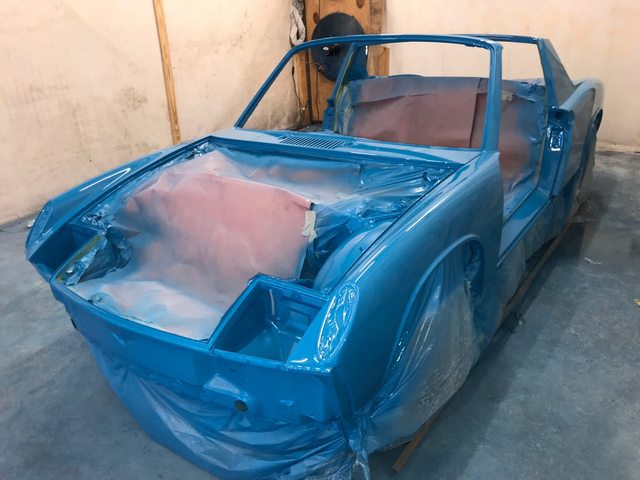
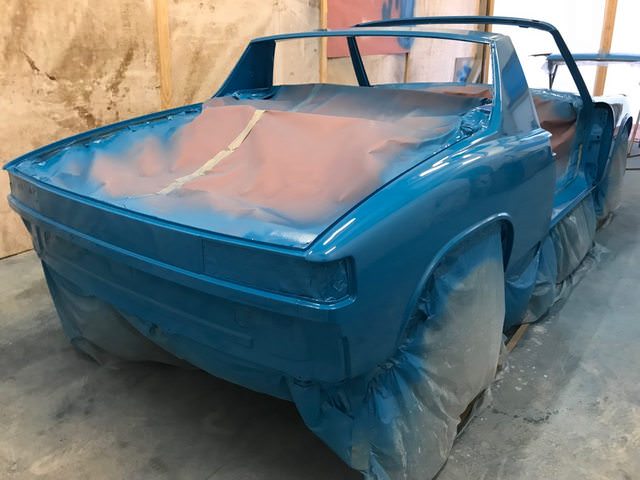
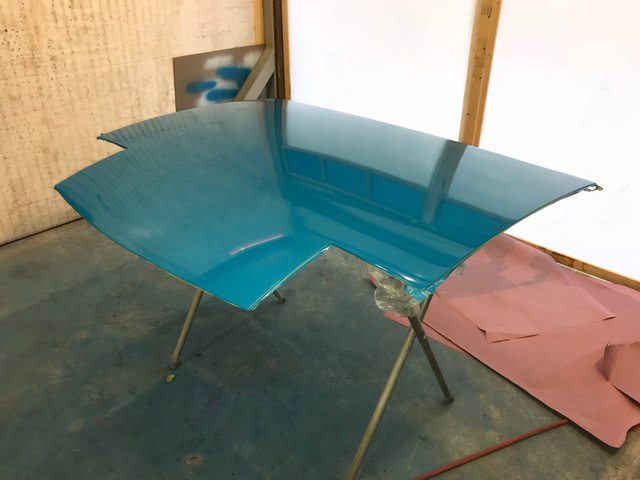
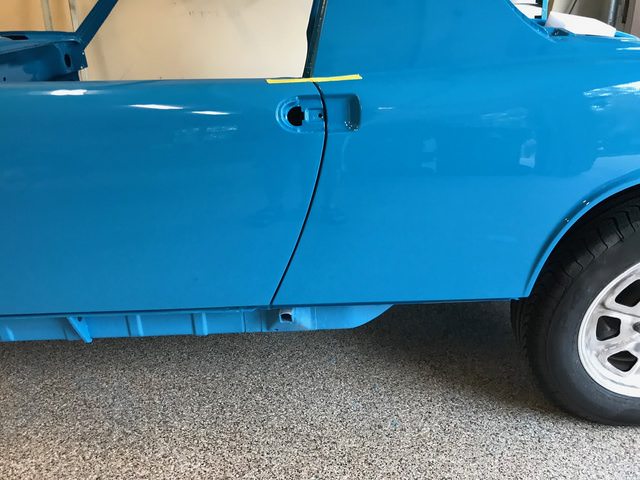
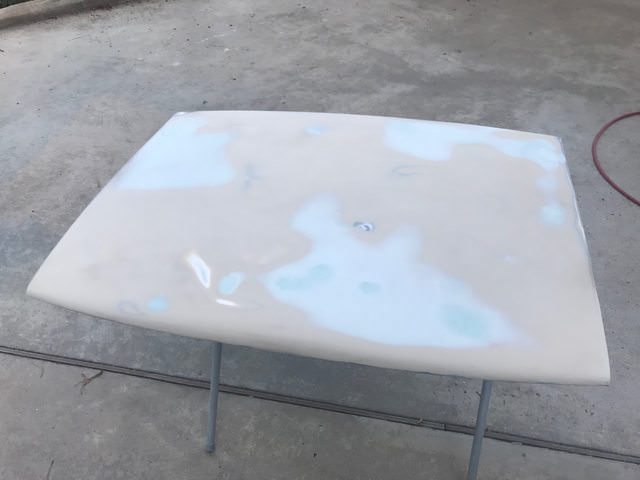
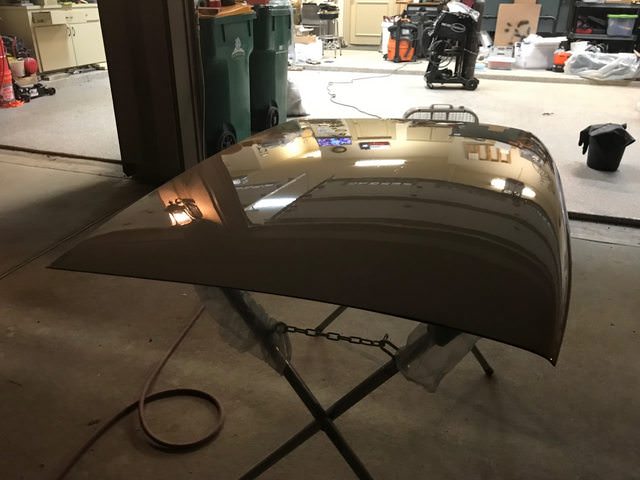
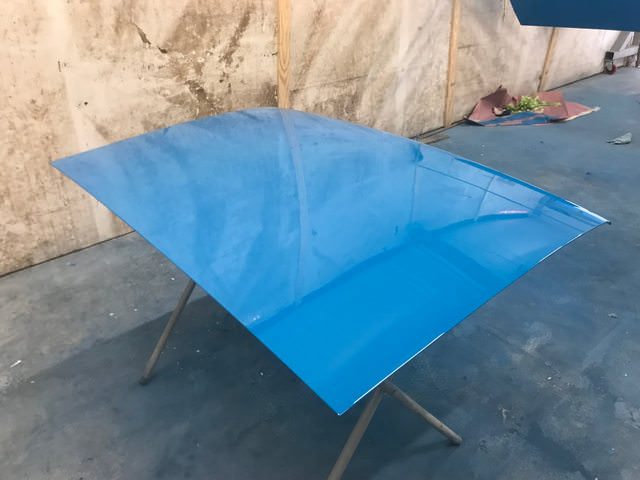
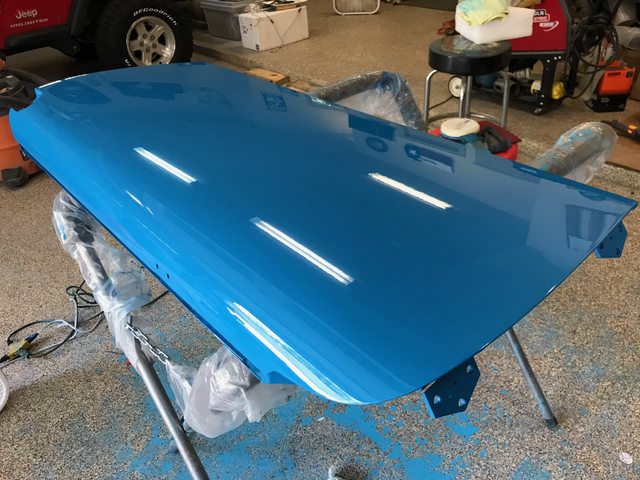
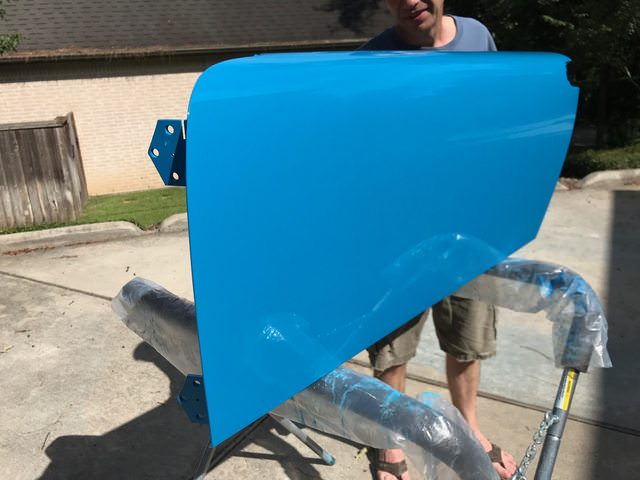
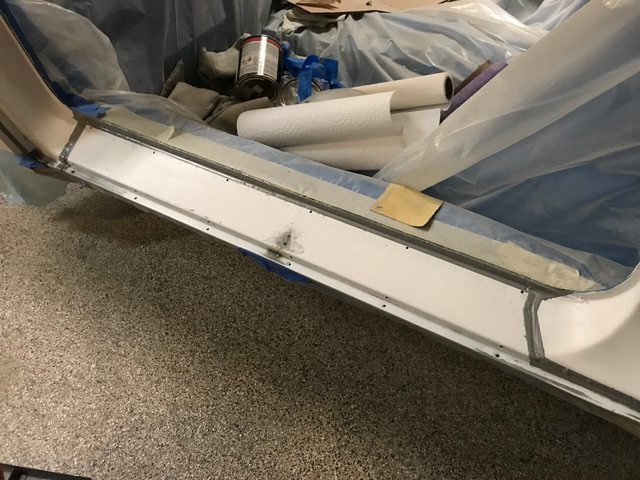
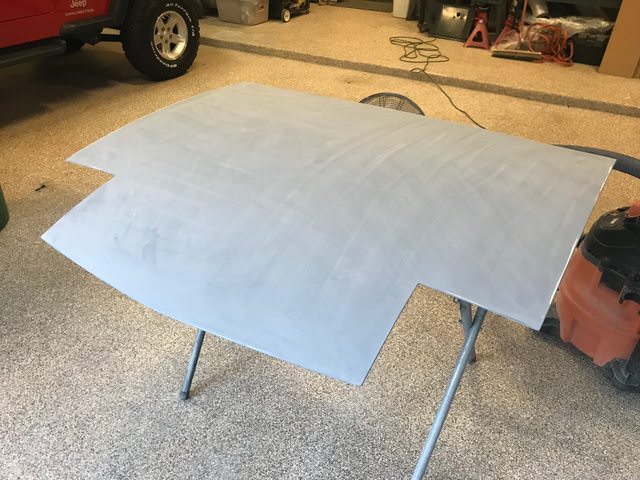
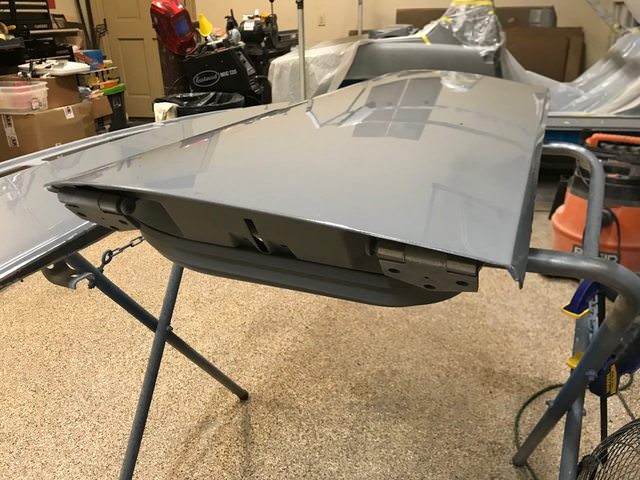
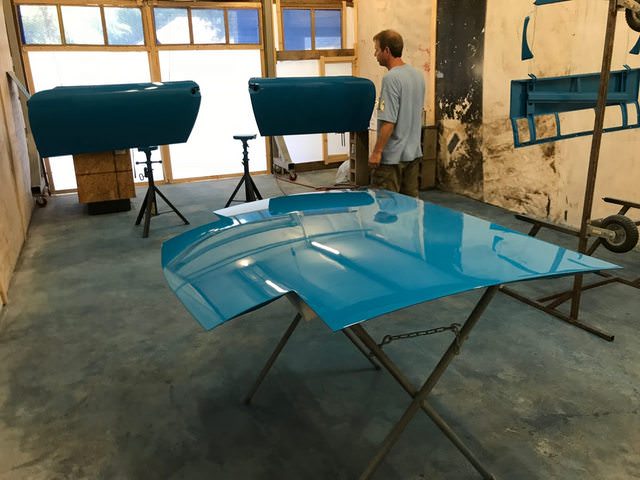
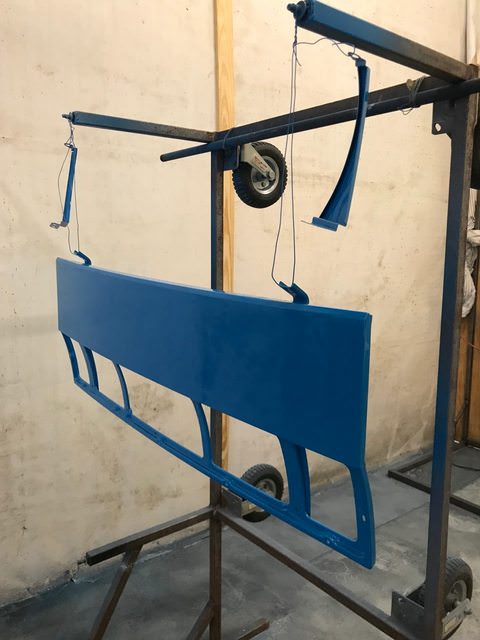
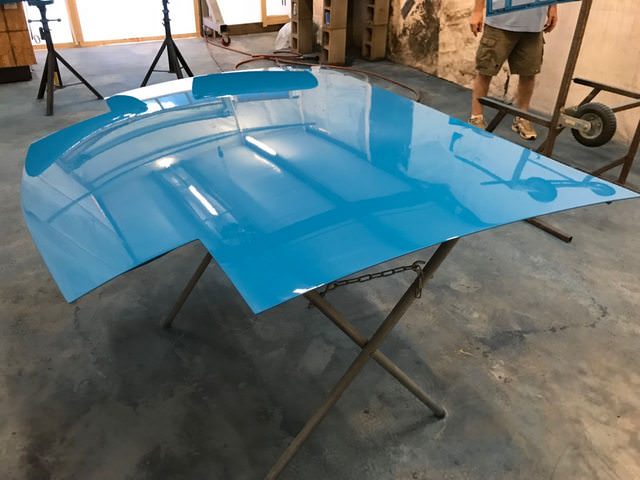
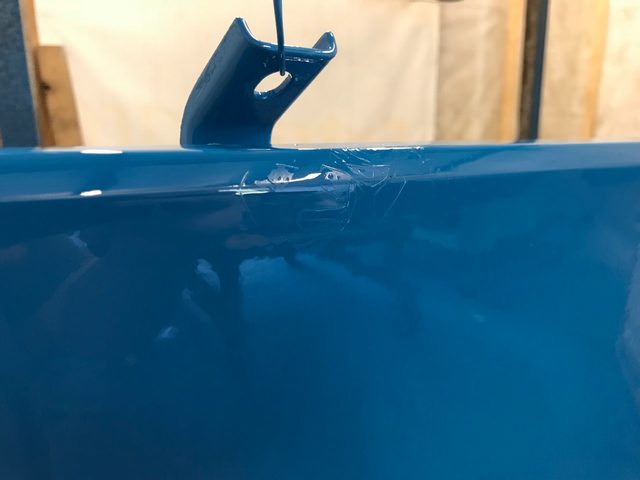
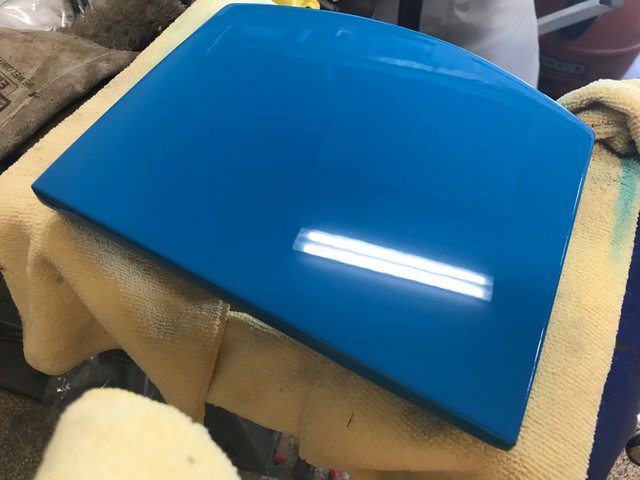
First, an update on the paintwork from my last post. Overall, everything looks great. Unfortunately, there are some mistakes I made as a new painter that I'm going to have to deal with. The front hood ended up having solvent pop in several places. I think I didn't allow enough time between coats of color. So, I will be sanding it back down flat with 600 grit and spraying the hood again. The decklid has one single fish eye on it, and I may try to fill it with some touch up paint and see if I can sand it smooth and polish it out. If that doesn't work, I will have to re-spray the decklid also.
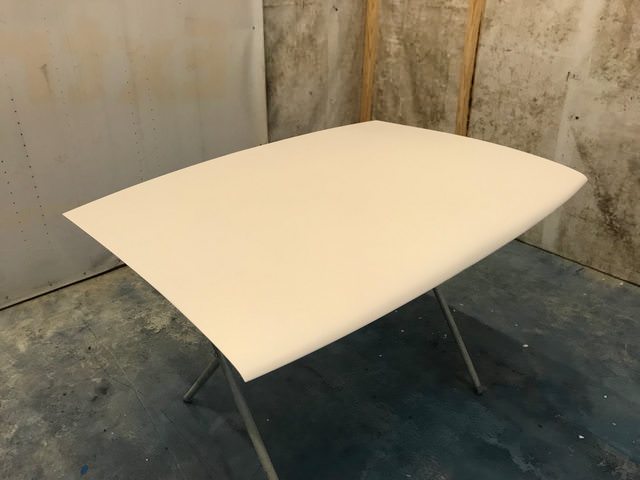
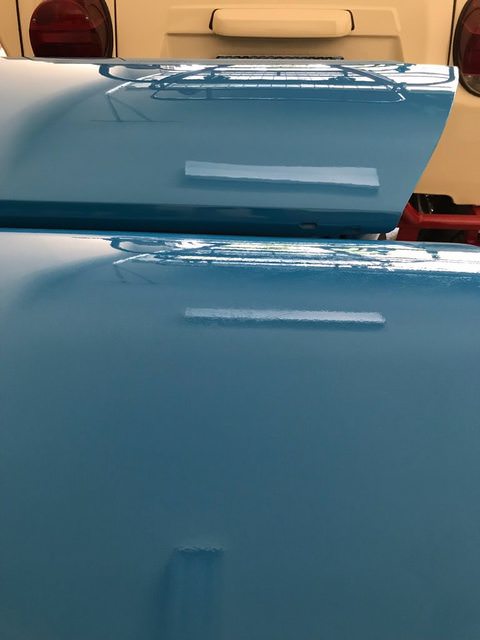
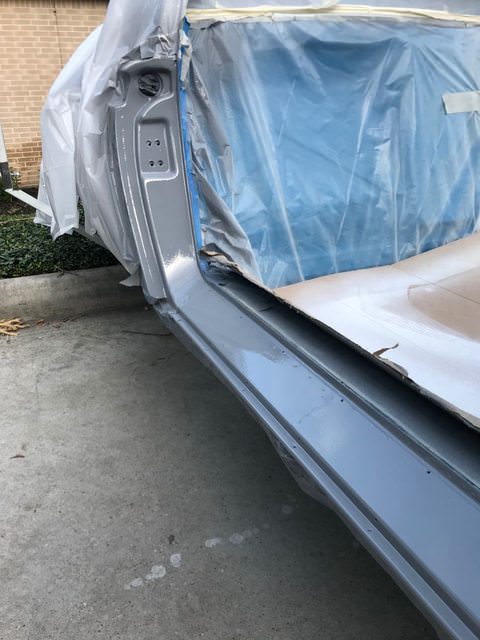
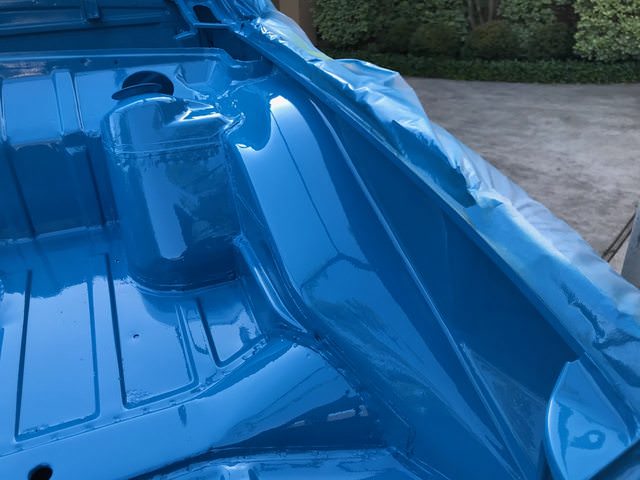
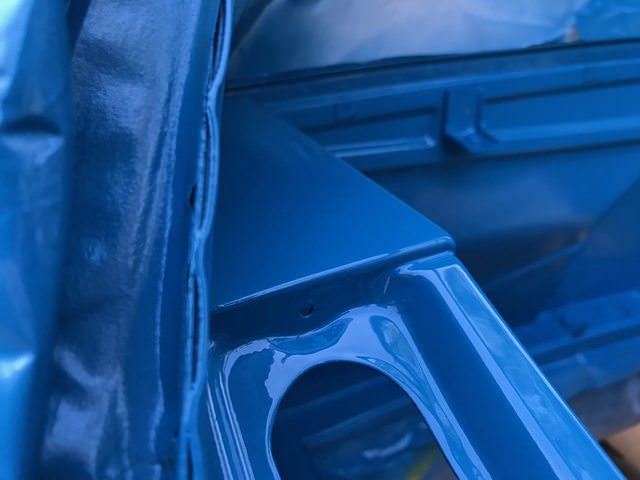
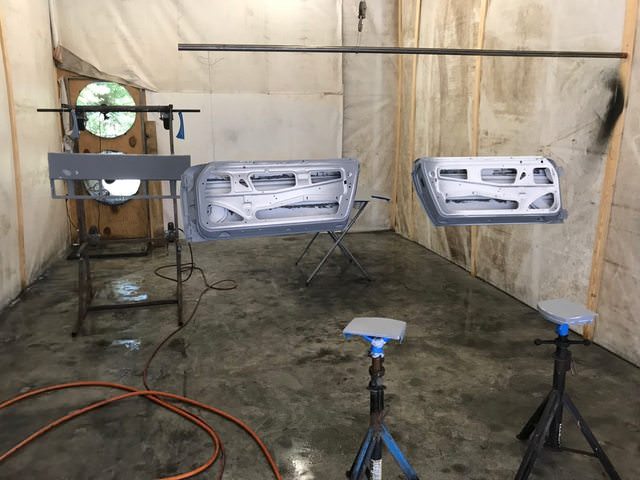
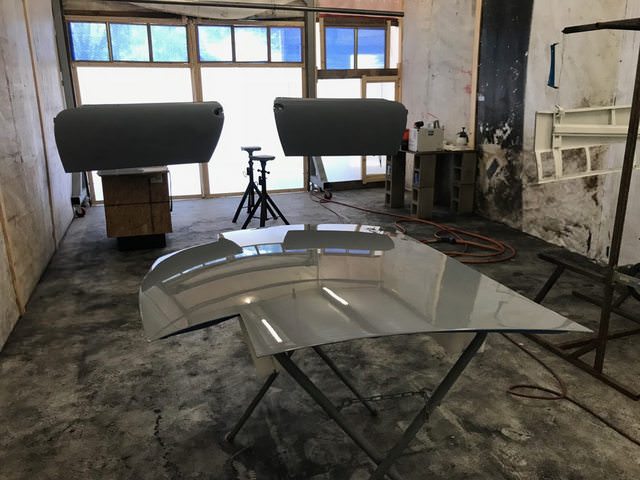
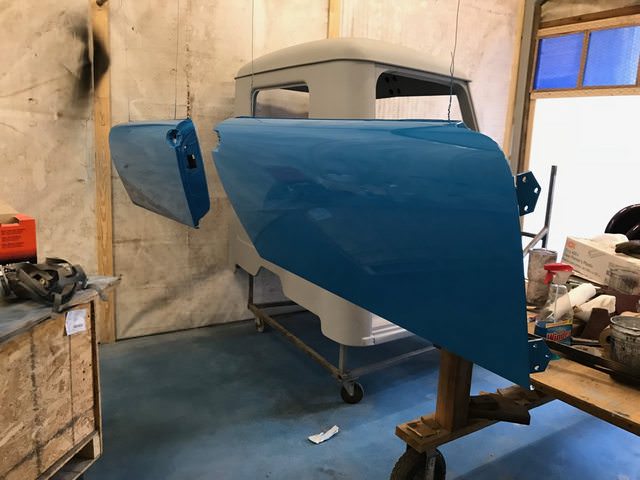
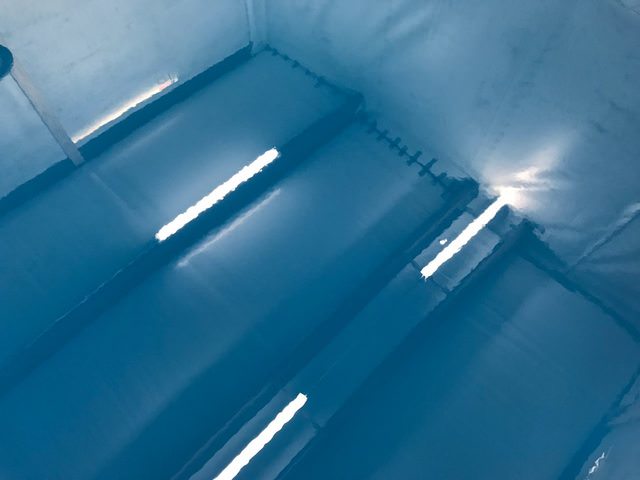
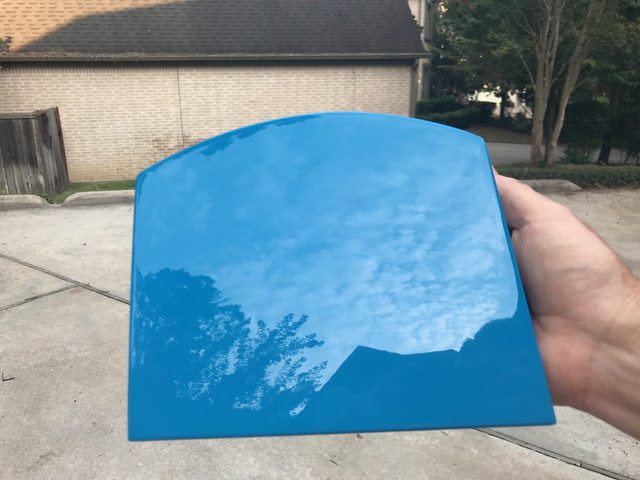
The doors turned out great. I color sanded them with some 1500 grit then 2000 grit to knock down the orange peel. Here are some reflection shots after sand, compound, polish and jeweling the paint.
In this shot, the door on the bottom has not been color sanded (look for orange peel) and the one on the top has:
----
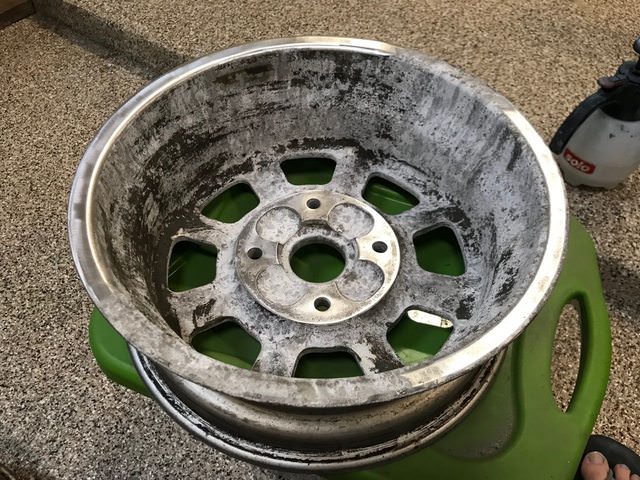
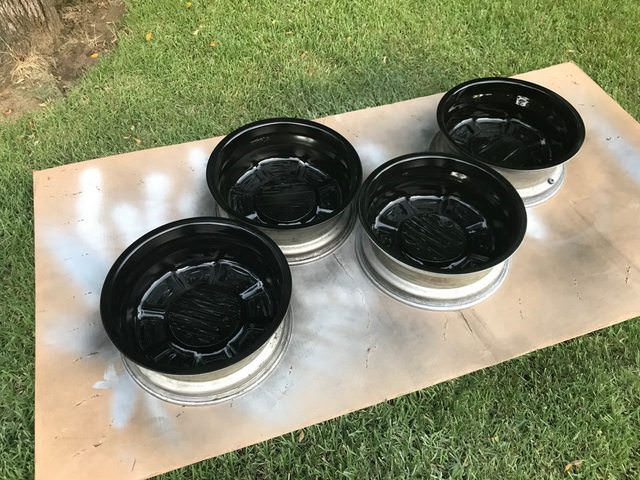
Next up was getting my fuching wheels to a point where they could accept tires and be used to transport the car. In a perfect world, I would have finished restoring these before tires ever got mounted. However, I'm on a serious time table here and I just don't have enough time to do them right before I move. So, I decided to get the backs cleaned up and the lips polished knowing that I could mask tires and access the rest later on. I'm planning on painting the centers black and leaving the petals polished.
I needed to strip the anodizing off so I coated in oven cleaner and let them sit. In retrospect, I left the cleaner on way too long. I ended up having to wire wheel and scotch brite these things clean. It was a huge PITA.
Before:
Cleaned:
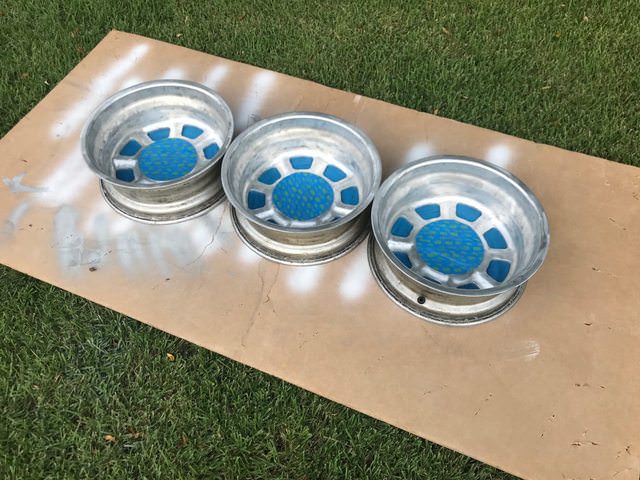
Etch Primed:
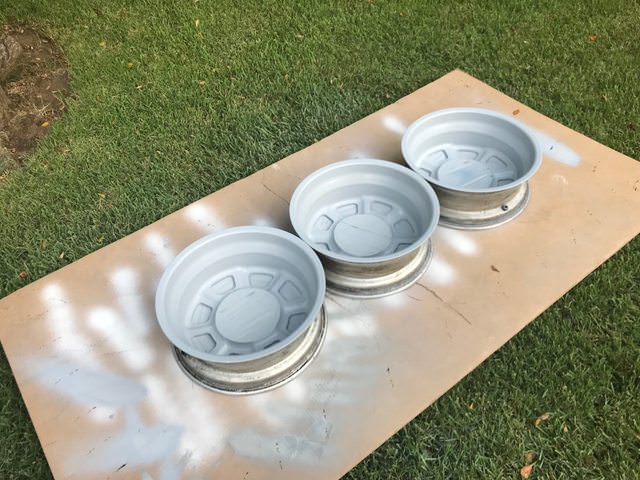
Satin Black backs:
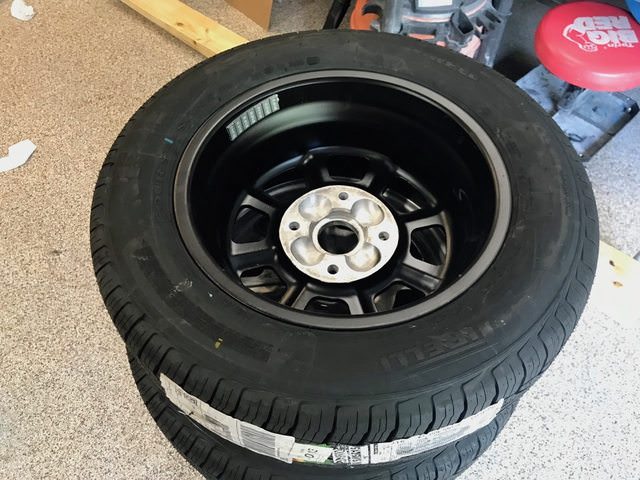
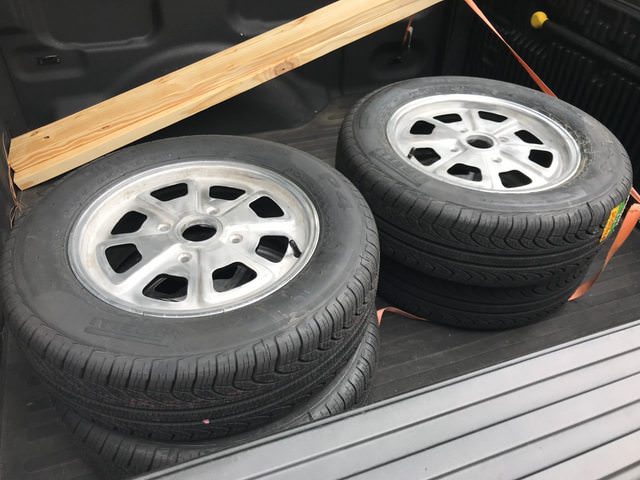
I chose Pirelli P4 all season 195/65/15 tires. They seem to be a pretty decent tire and after a rebate I will get these for under $75 a corner, installed from discount tire.
Tires mounted:
----
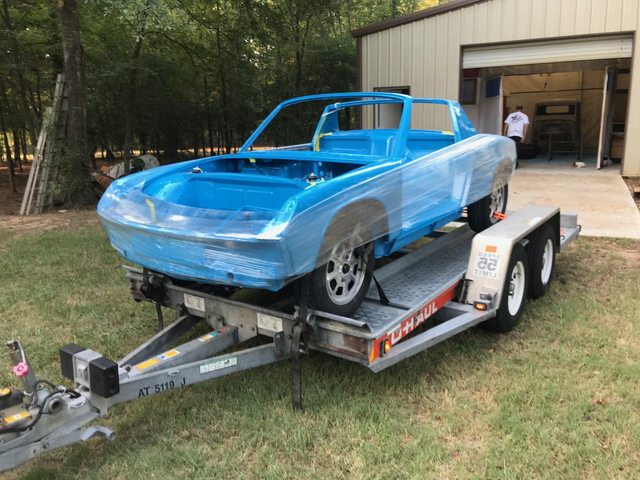
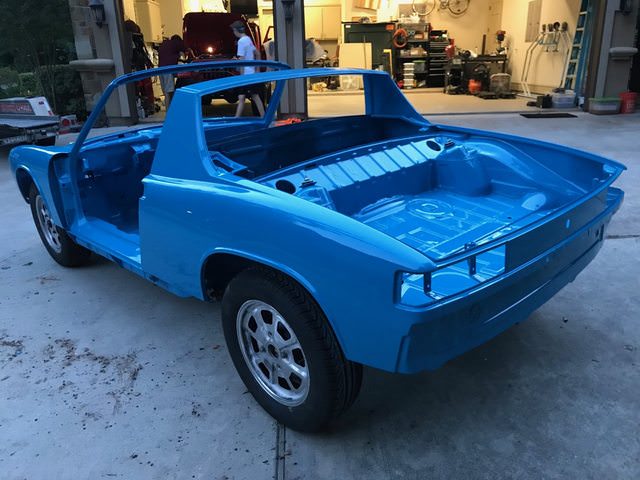
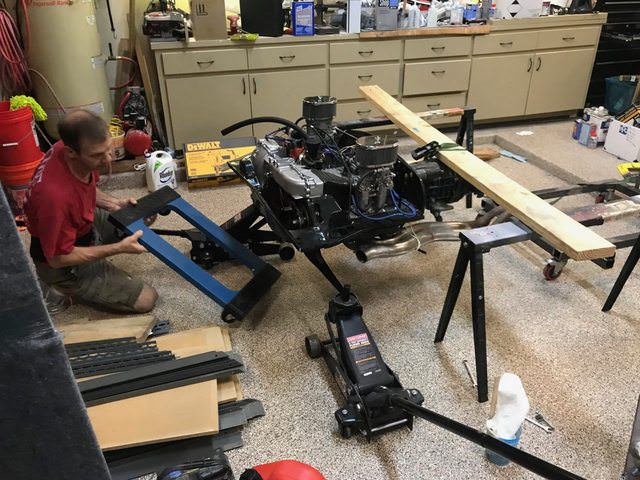
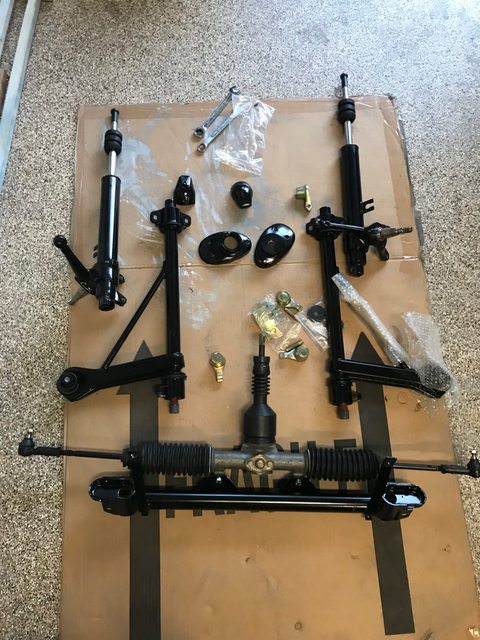
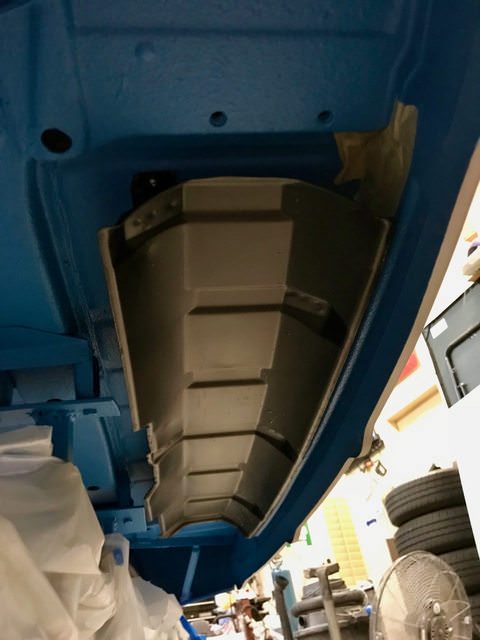
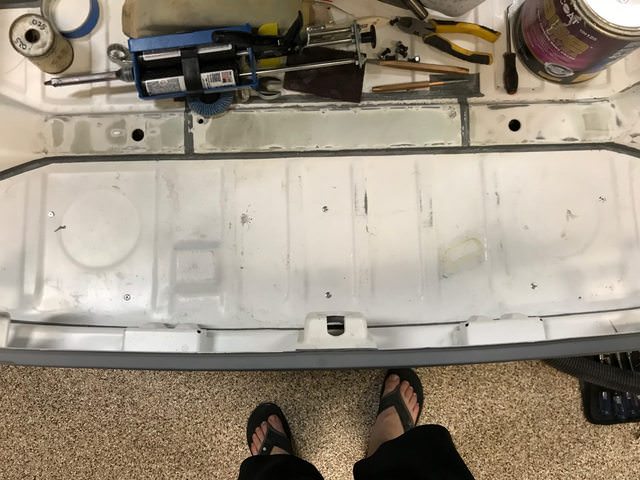
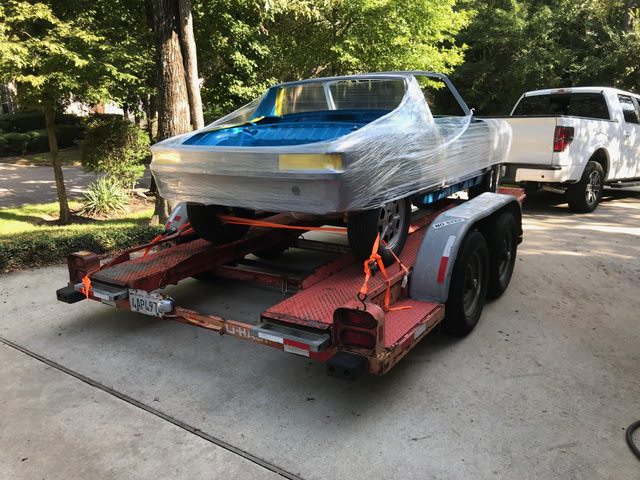
Now that I actually had something to mount on the car, I could start thinking about re-installing the all new suspension underneath the car. The big reason behind getting the car back down on all four wheels is so that it would be easier to trailer to the "paint booth" I've been using.
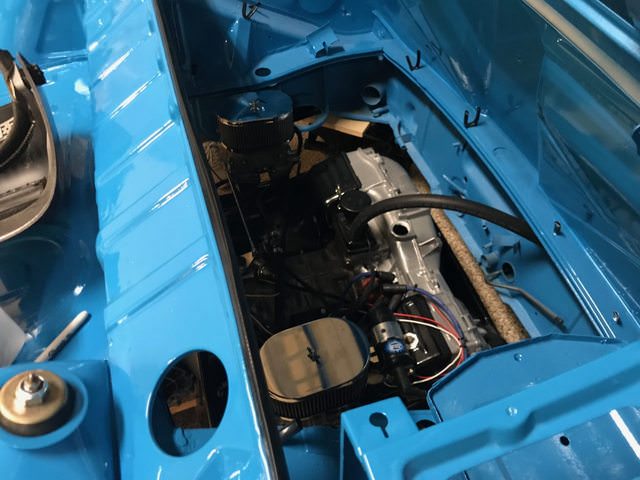
Here's a list of everything "new" on my car:- All OE parts blasted and powder coated satin black
- All OE hardware re-plated in yellow zinc
- All "mission critical" bolts , washers & nuts replaced with new 10.9
- New Front 914rubber A-Arm bushings
- New Front Lemfoerder ball joints
- Rebuilt OEM steering rack w/ new bearings
- New Lemfoerder turbo tie rod end kit
- New 914rubber steering "hockey" puck & shaft bearing
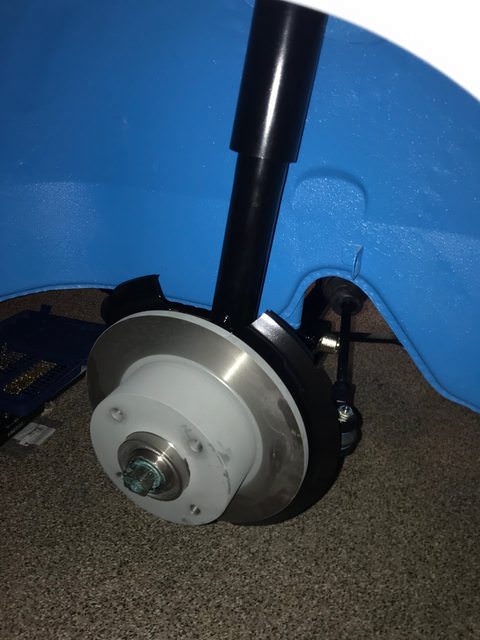
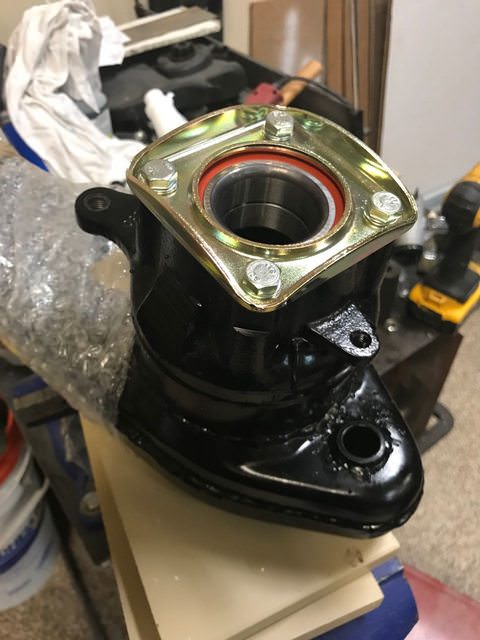
- New Front FAG wheel bearings
- New Front Sebro Rotors
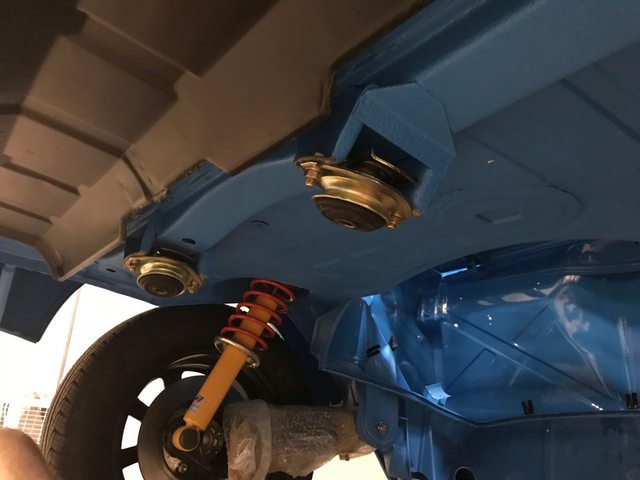
- New Rear 914rubber trailing arm bushings & SS pivot arms
- New Rear wheel bearings
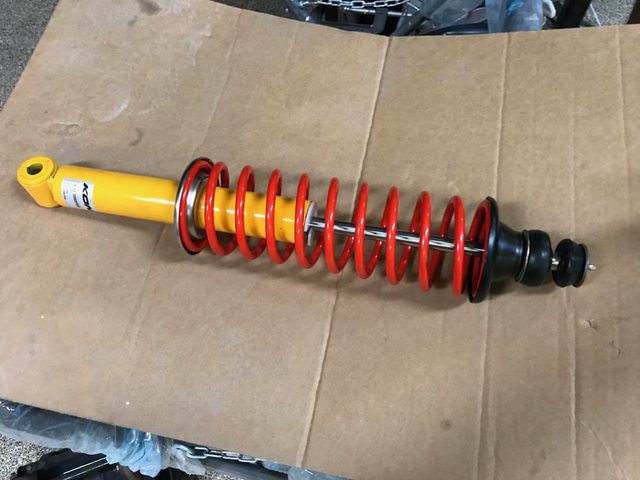
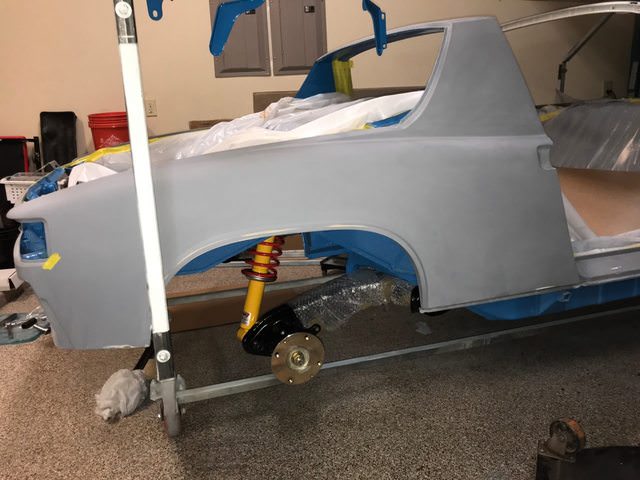
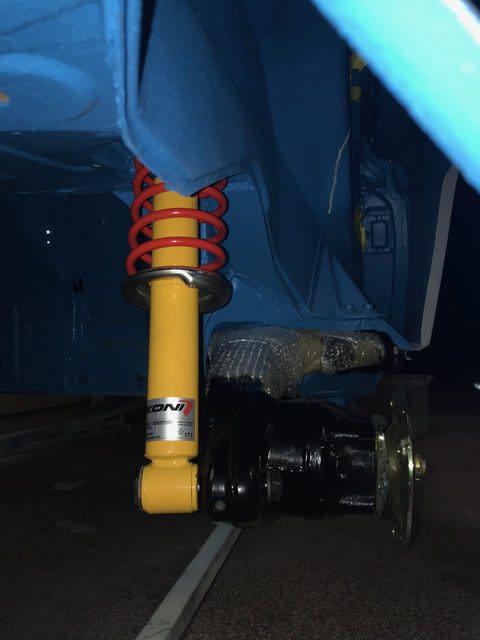
- New Rear Koni yellow adjustable shocks
- Re-used Koni springs, powdercoated red
- New Rea 914rubber shock mount bushings
- New Rear Sebro rotors
Here are some of the parts laid out:
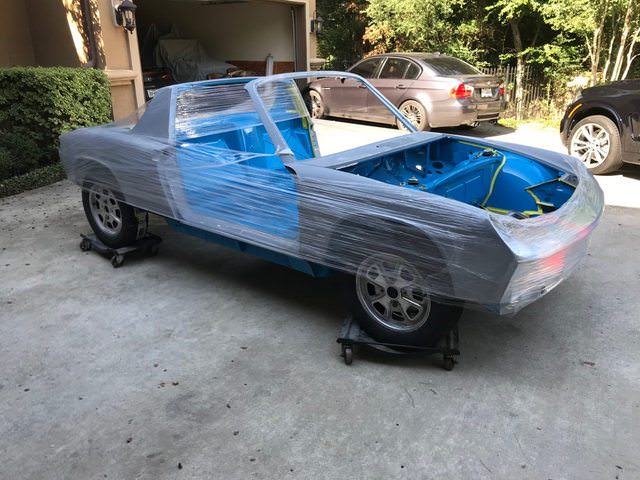
We planned to assemble the car in stages and this required creating a sequence to get everything installed properly and also to get the rotisserie disassembled and out of the way. Once the car was up on jack stands (and taking up both garage bays) there would be no coming down until everything was assembled and wheels were mounted.
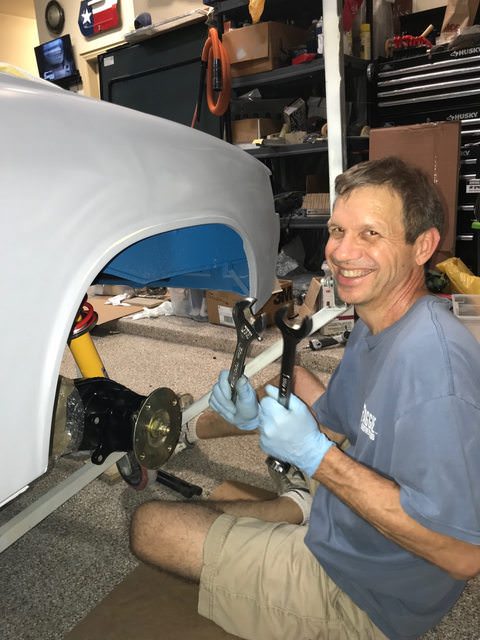
With that in mind, the rear was the easiest place to start as the rear suspension components do not interfere with the rotisserie stand. We started with the rear trailing arms and then the shocks followed. The only tough part about the rear end was getting a 22mm wrench to fit up in between the fender and the outer mount for the pivot nut. I couldn't remember which adjustment shims were in the car, so I started thick but will have to change anyways when it comes time for alignment.
Here's Dad helping out:
Had to make sure the Koni labels faced out:
Next was getting the car up in the air so that the rotisserie stand could come off and allow access to the front suspension mounting holes. We used (2) 2x6 boards under the donut jack points for the car and raised with floor jacks. We went ahead and mounted the rear rotors and wheels while we were at it.
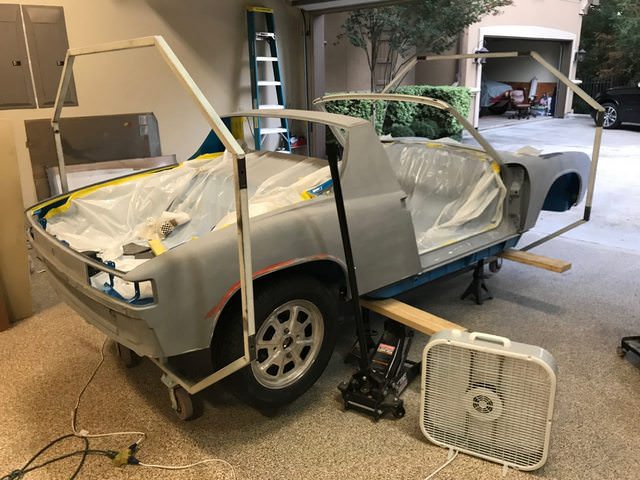
Then we disassembled the rotisserie and took everything off (rear hoop still on in this picture):

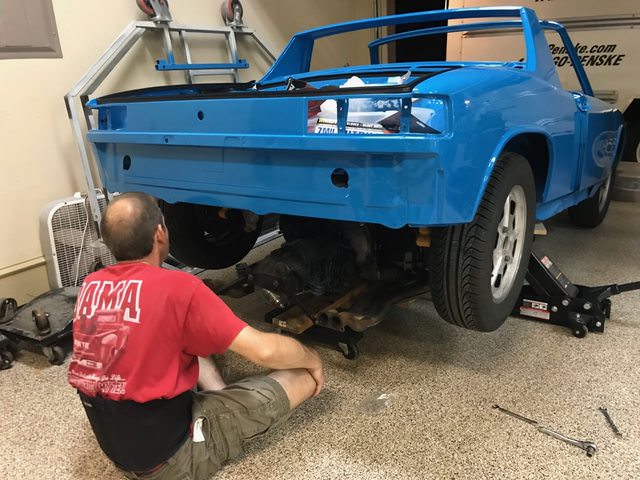
Now, it was time to start on the front end. Reassembly of the front suspension is considerably more work than the rear. I was hoping to do the front in one night but ended up taking two nights after work to complete. We got stuck in a couple of places, needing to tap and clean out holes and "re-learn" how everything goes together. Lots of referencing the parts catalog and diagrams. Finally, it seemed like everything was coming back together.
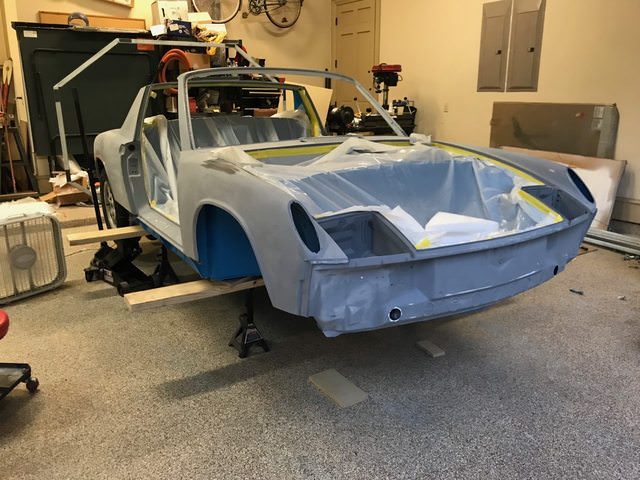
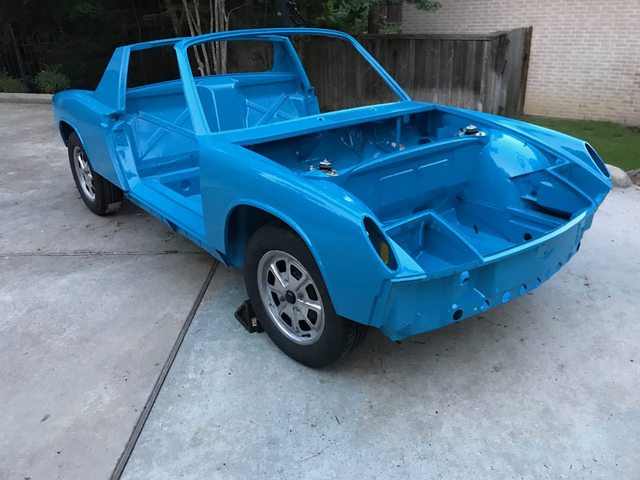
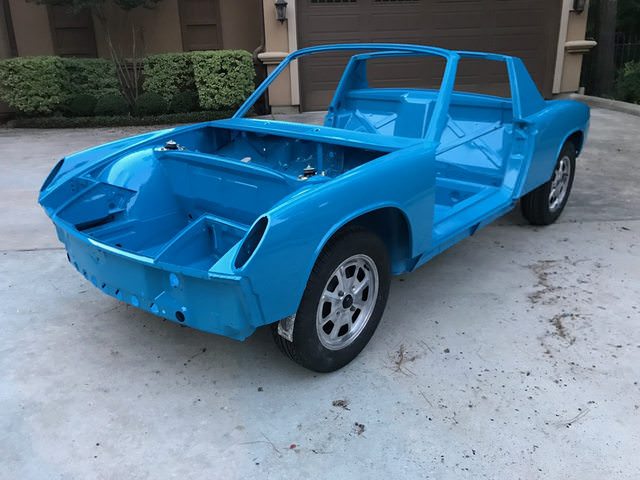
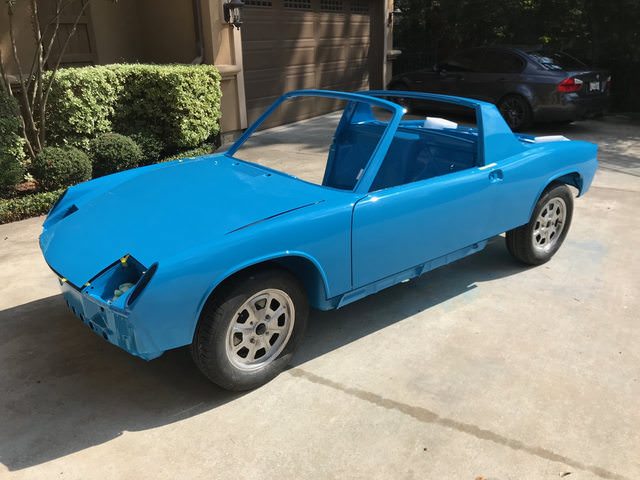
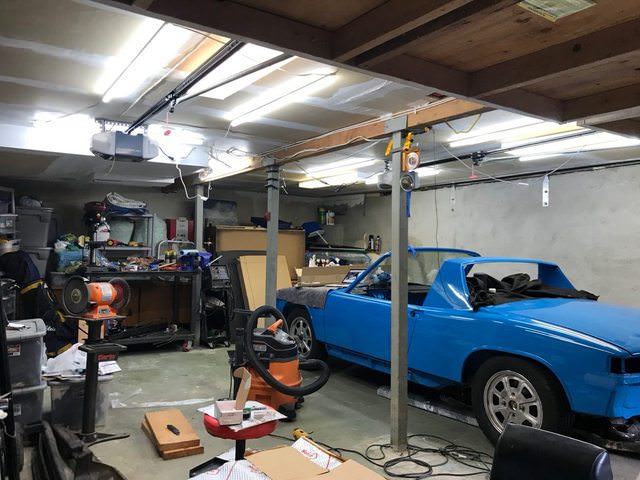
Wheels are on!
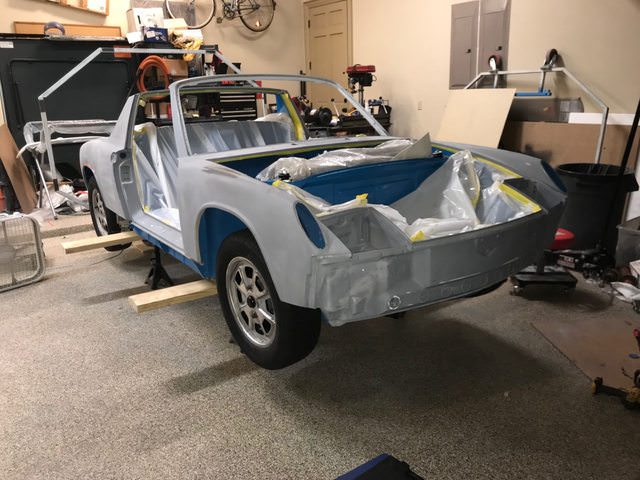
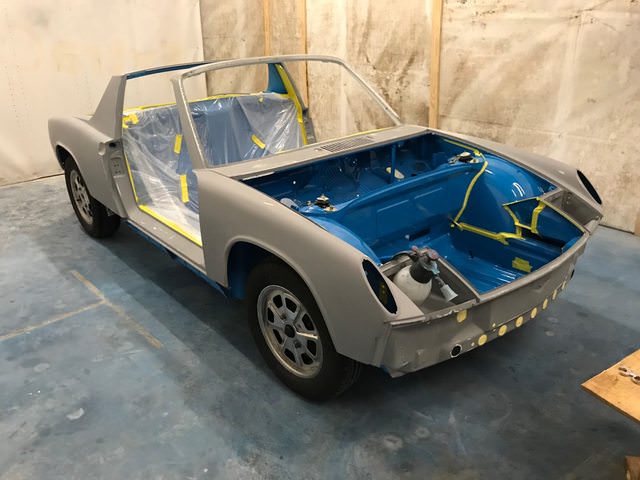
Time to go back down…. for the first time in almost two years!
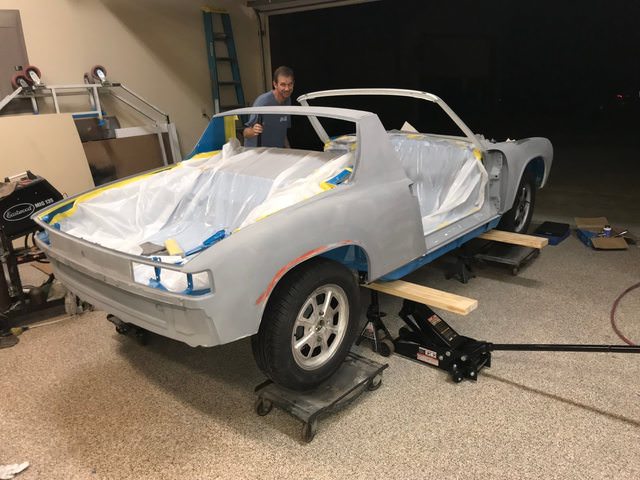

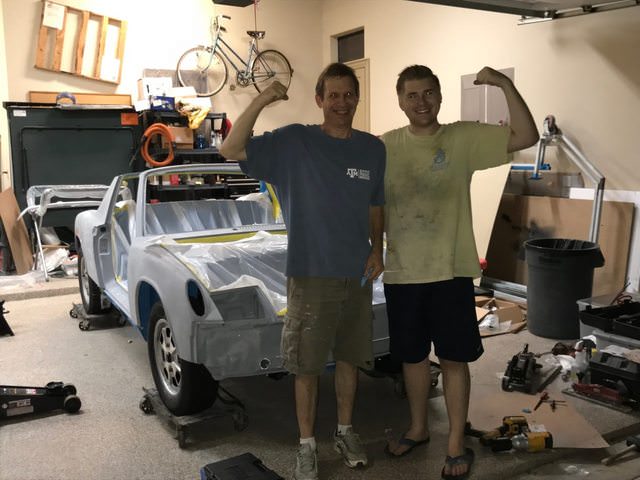
Obligatory goofy pic with Dad:
Man, that was a lot of work in about a week's worth of time. This "hobby" has turned into a second full time job for me as I race the clock. I'm shooting for paint this weekend, but still have some final sanding prep to do. Hopefully, I'll have another update for you all soon with lots more Mexico Blue!
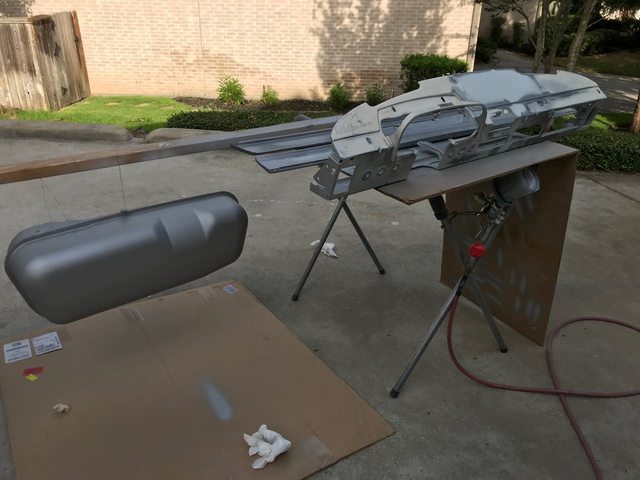
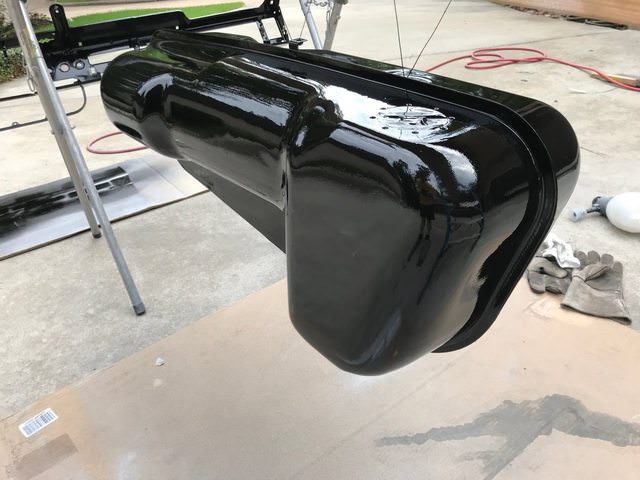
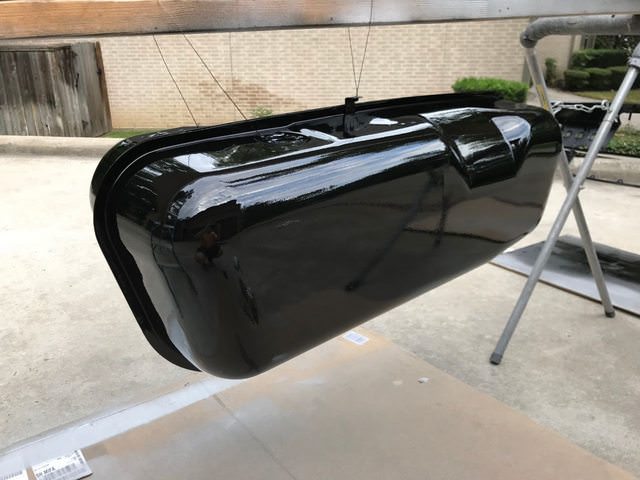
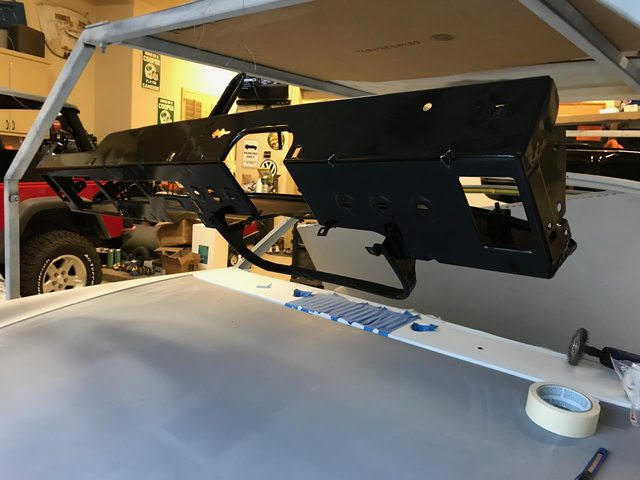
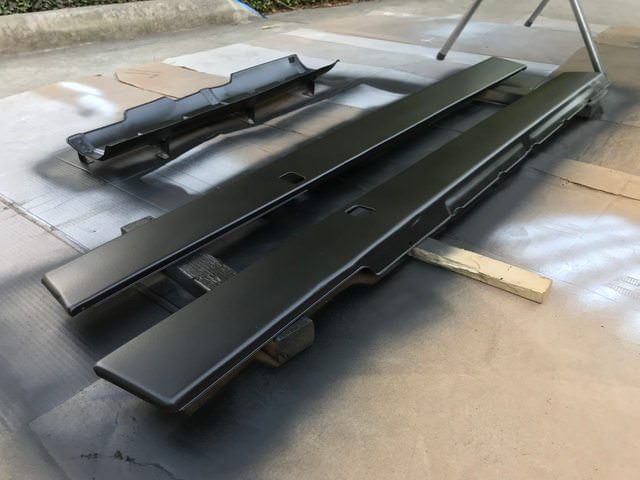
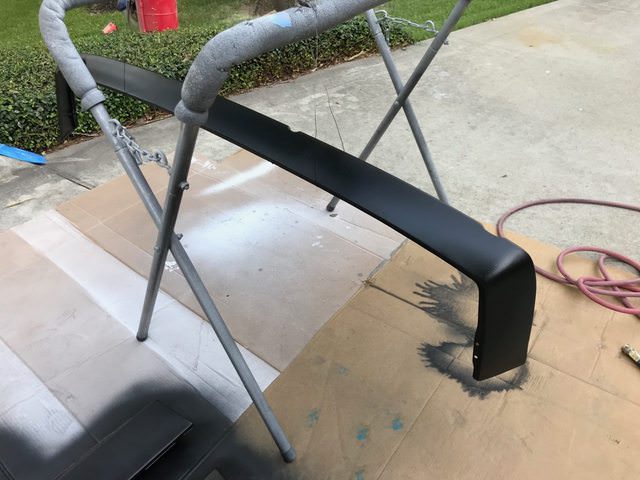
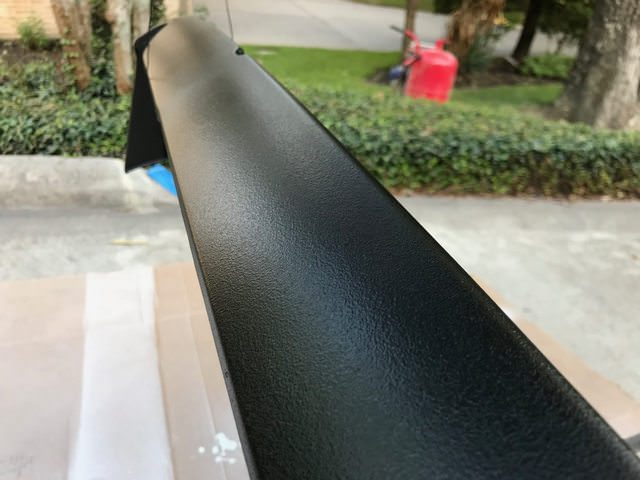
 . So, I decided to tackle a few different pieces laying around the garage to get the finished and put them up out of the way.


 , what a great time to be alive. Keep posting. Mike Kelly
 No state tax in TX but you pay for it back in higher utilities, tolls, double property tax and flights going back home.


![popcorn[1].gif](http://www.914world.com/bbs2/style_emoticons/default/popcorn[1].gif)