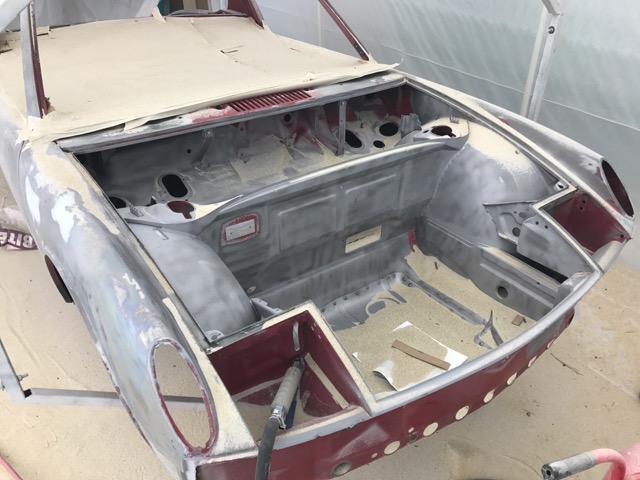
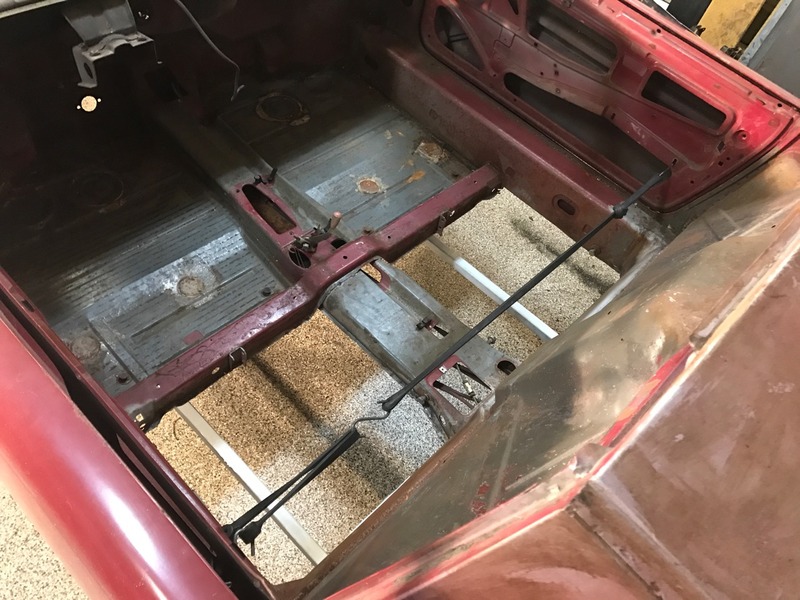
Well, this will be a pretty big update. After spot blasting areas of the floor it was clear that there were quite a few holes and a couple of the seat mounts were looking pretty crusty. There were a few holes in the lower firewall that seemed to grow as well. At that point, we decided it was best to order a rear floor half from Restoration Design.
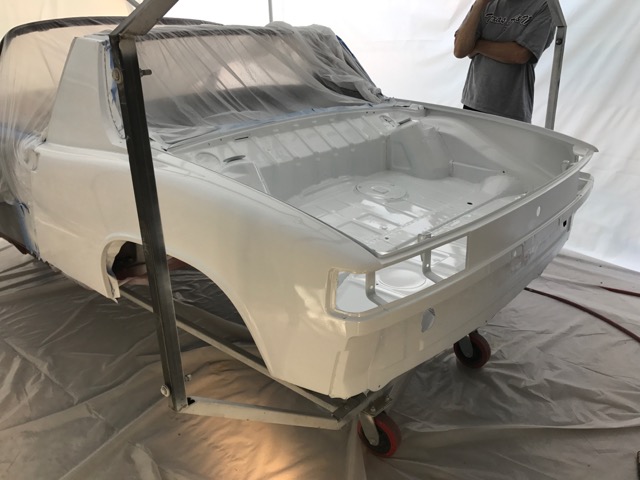
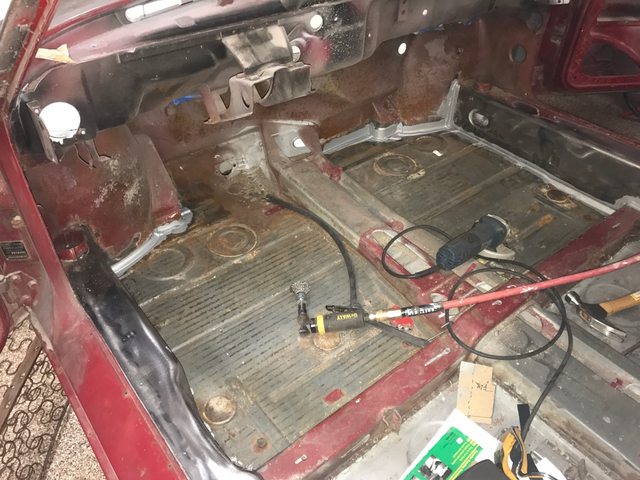
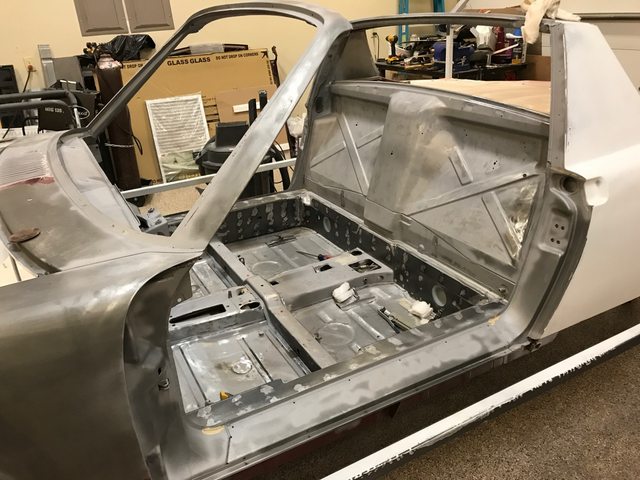
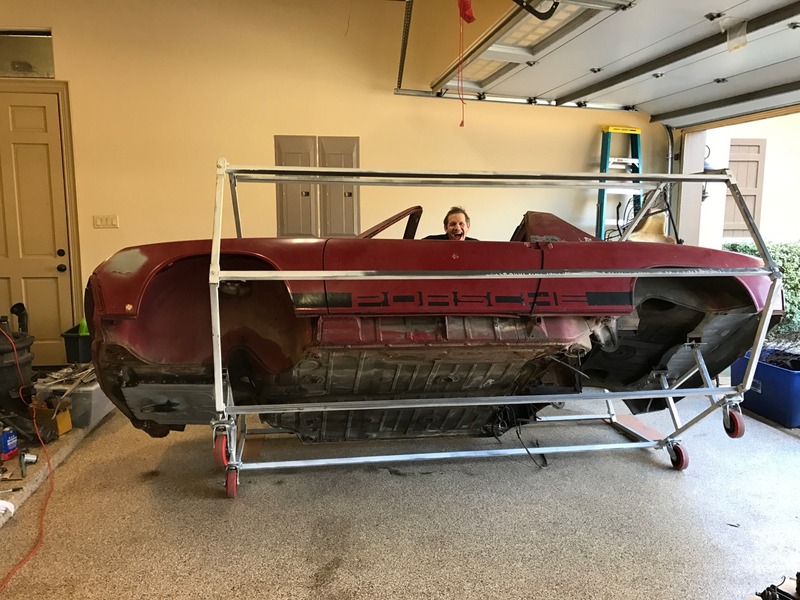
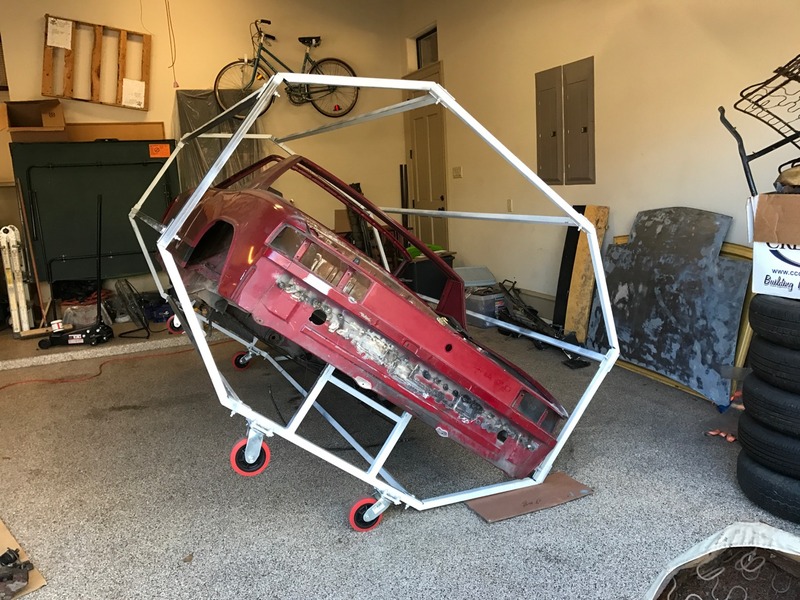
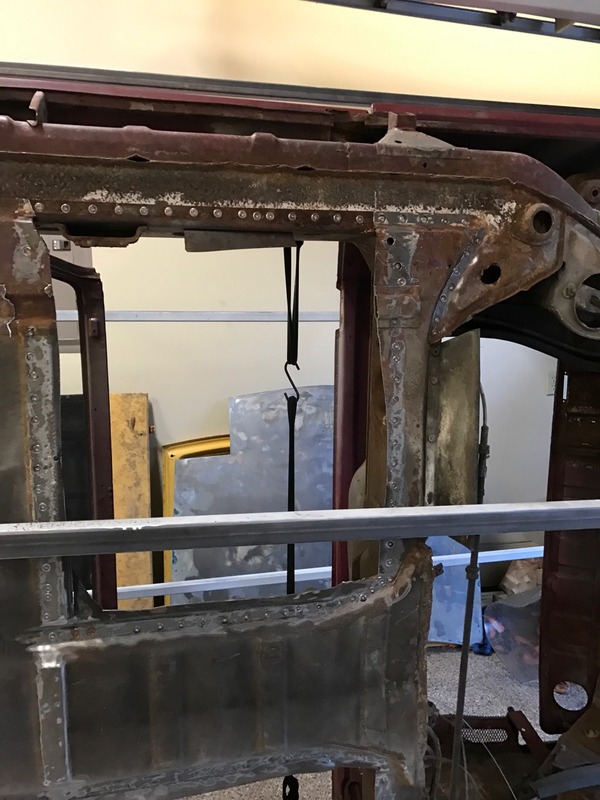
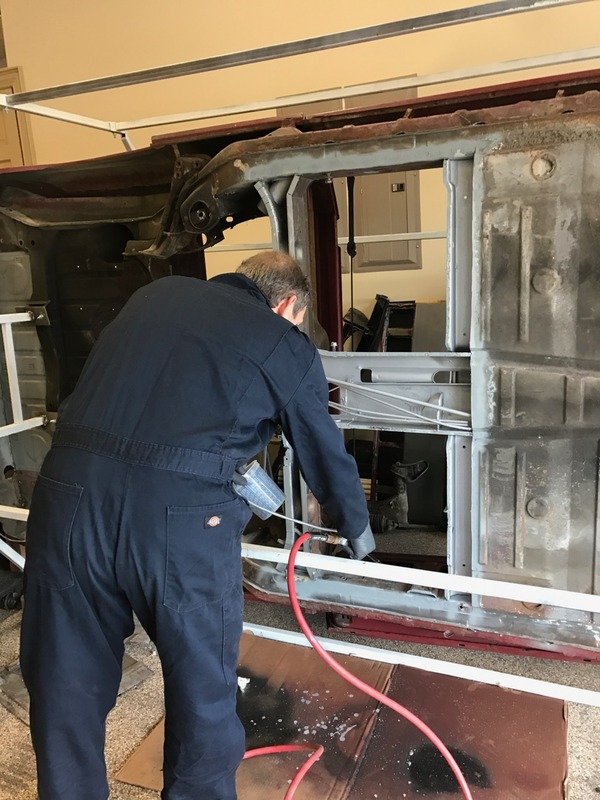
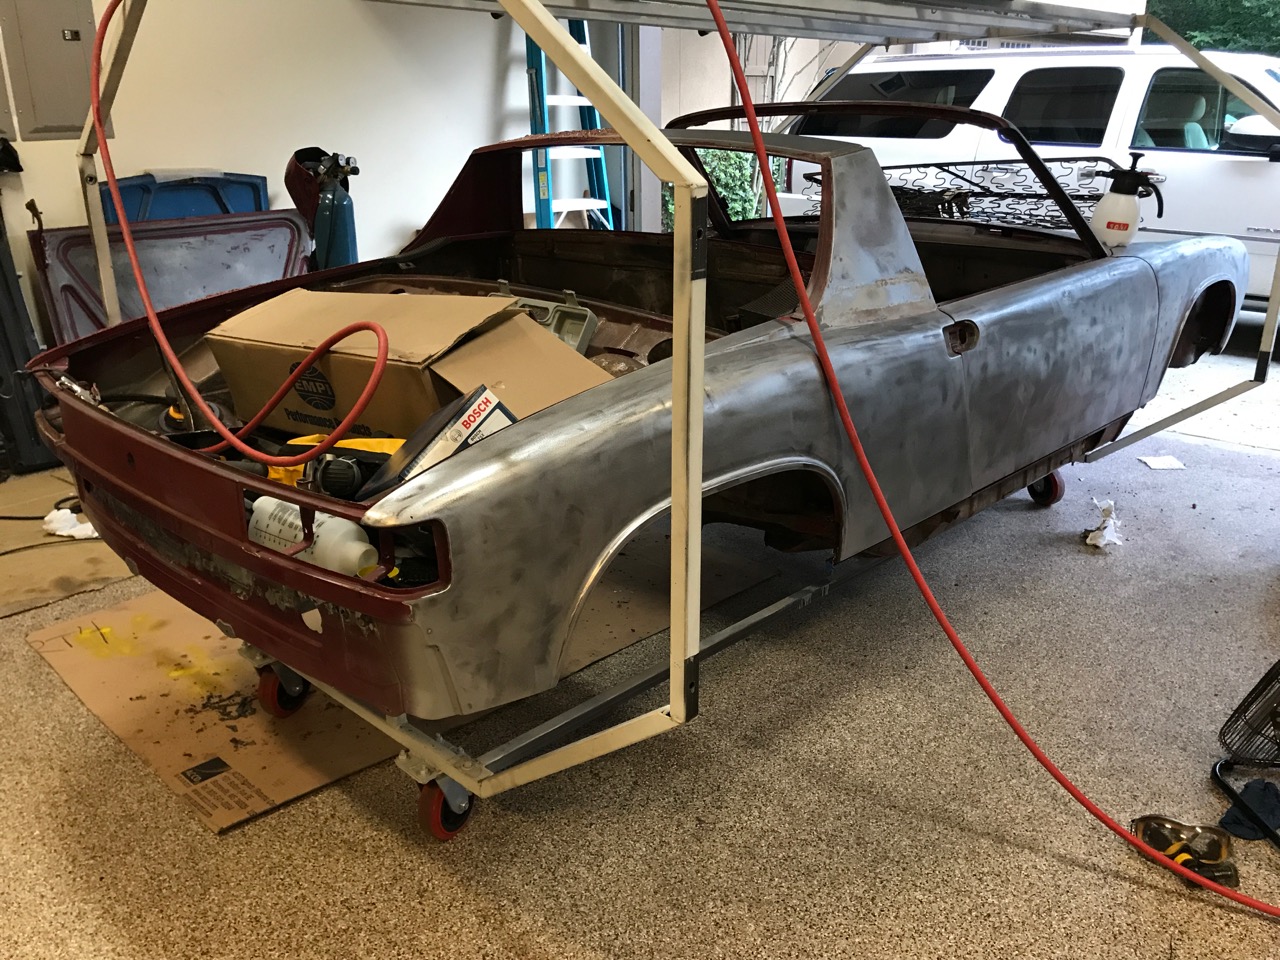
In the mean time, we got started taking out the old floor and cleaning up the leftover spot welds. In order to do this... the car needed to go up on its side, so it was the perfect chance to test out the rotisserie stand!
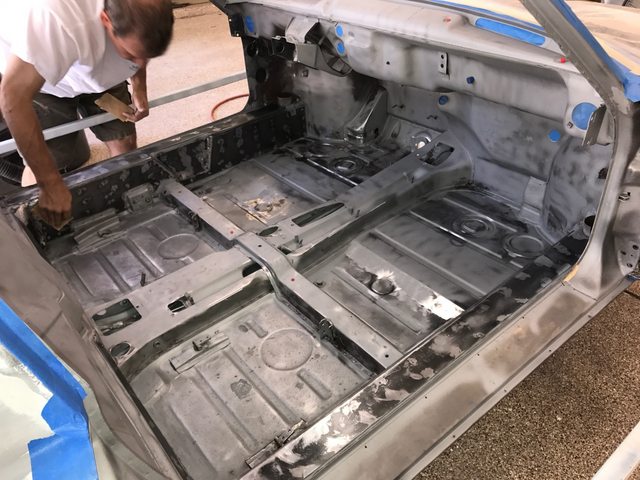
After much much much drilling, the old floors started to come out:
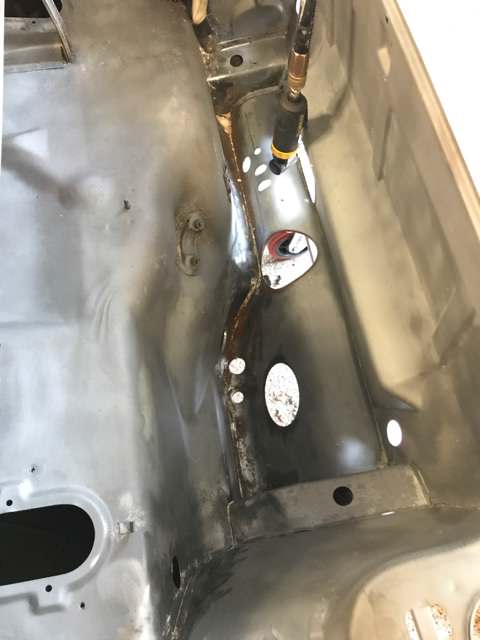
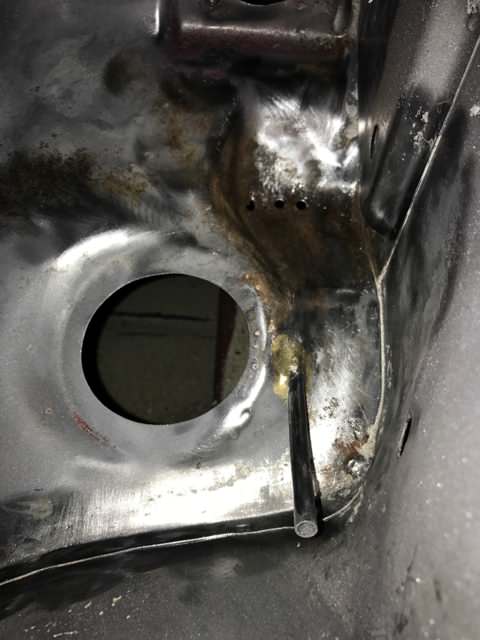
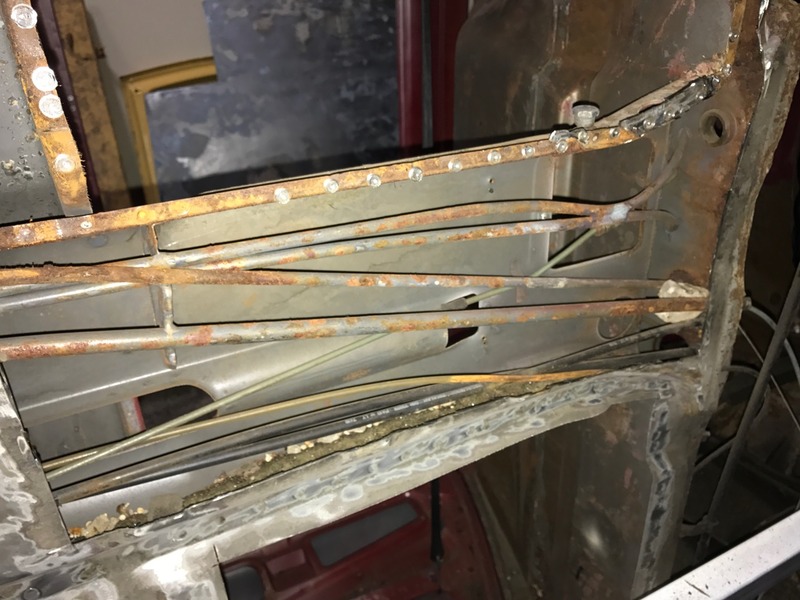
Inside of the tunnel, mostly clean. But if you look closely there are three fuel lines - one is the original plastic line and there are two other black rubber lines that were added later on. Of course, this means one of the PO's added another hole in the back of the firewall.
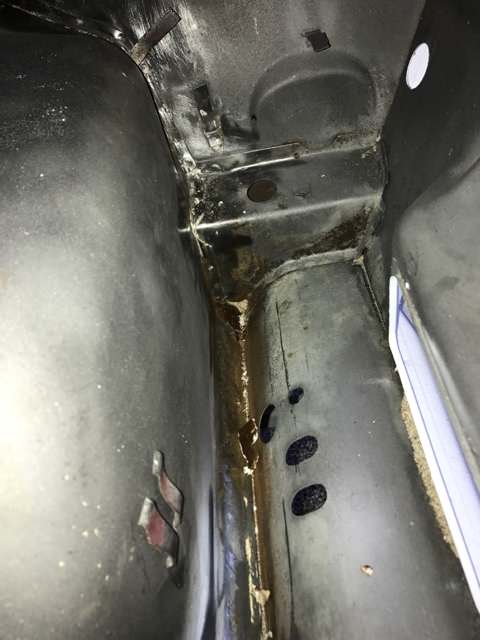
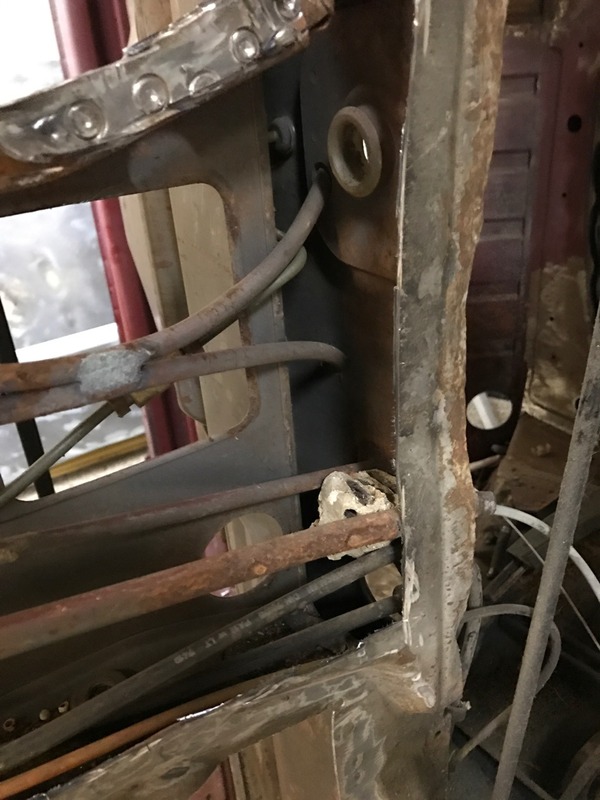
Mud dobber nest hiding away in the tunnel:
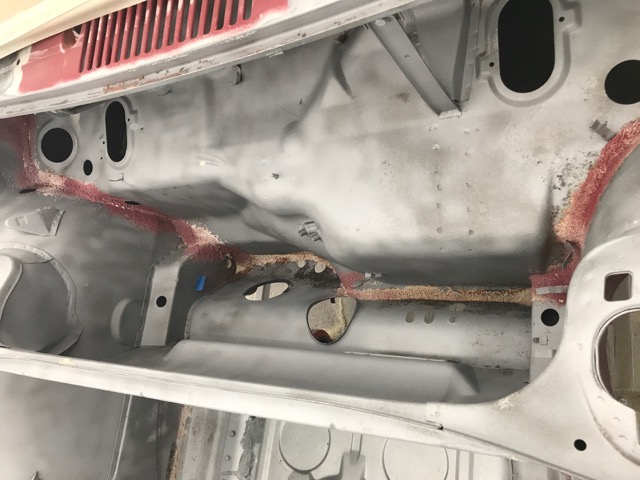
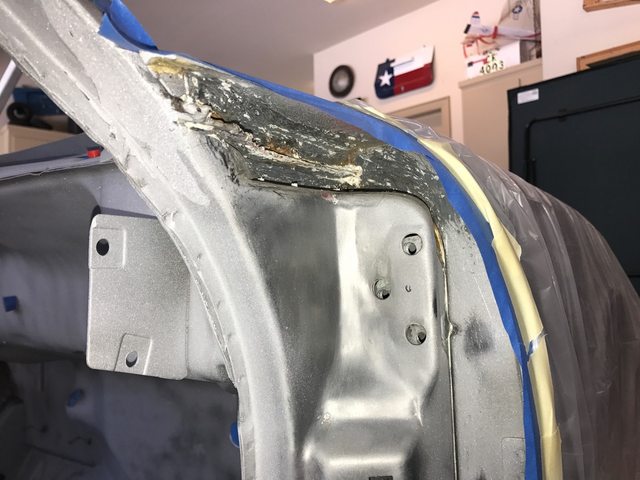
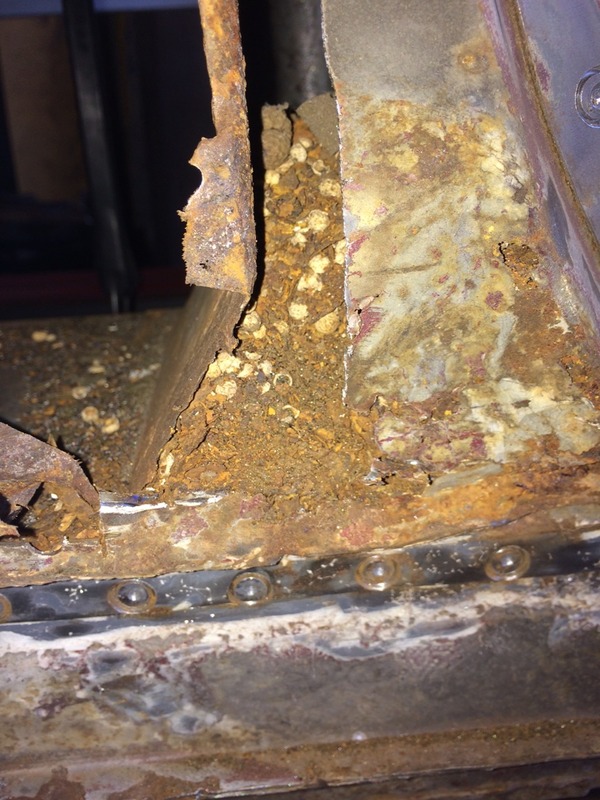
Of course, once the floor came out and we started cleaning around we found more and more rot. It became clear that I would need to make some serious patches in both inside and outside corners of the firewall. Here's some of the carnage:

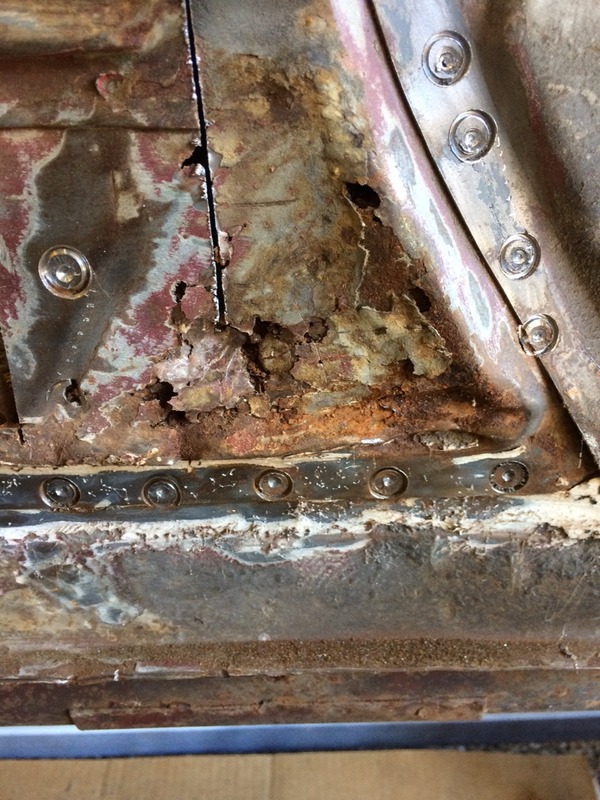
Note all of the junk that is on the floor that fell out of the inside of the firewall:

Close up:
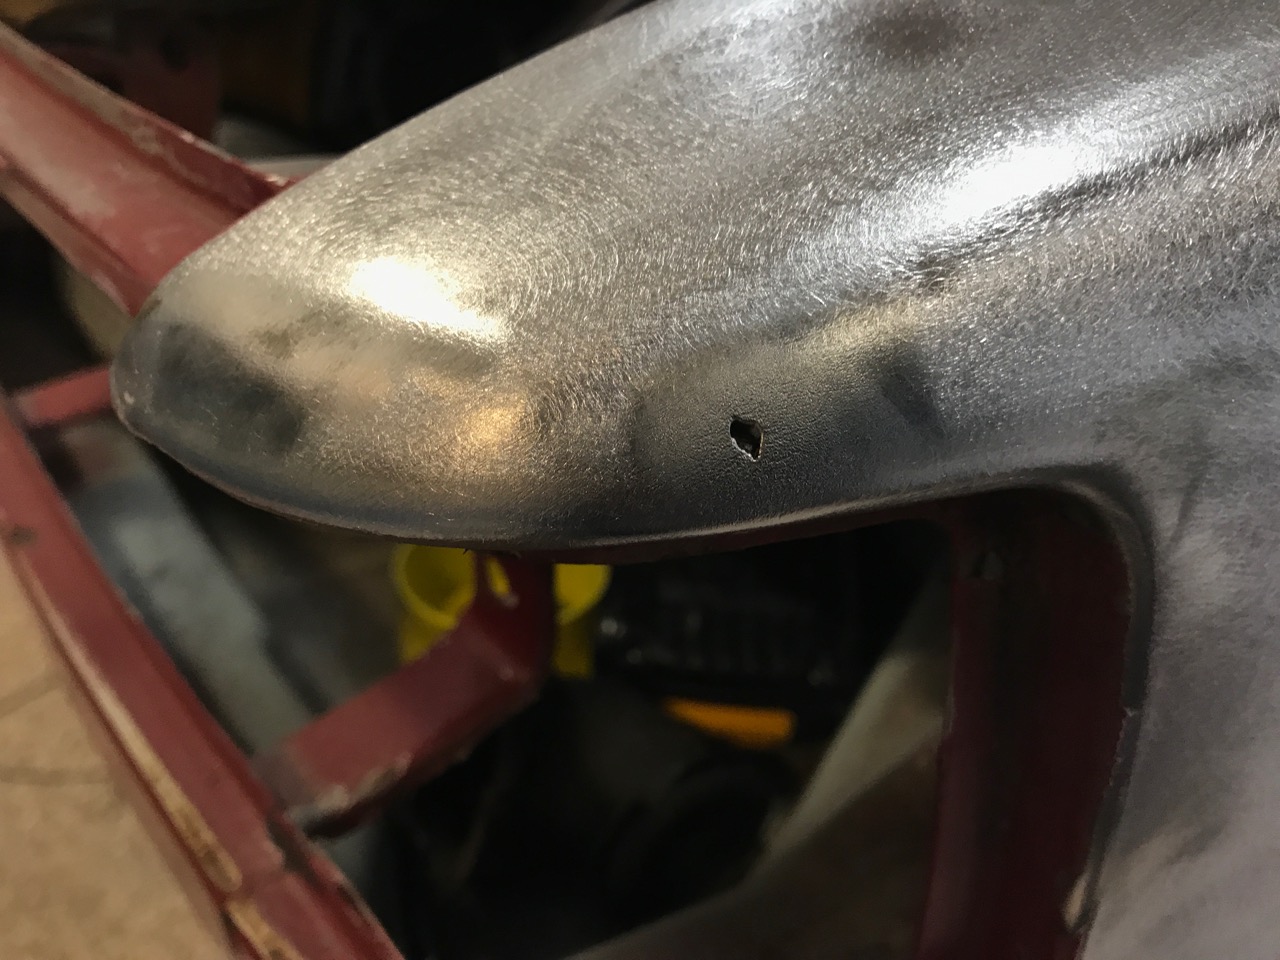
More holes discovered on the engine side:
Look how thick the white sealant from the factory is! Easily 1/2"

While examining the firewall, there was a small section of the long that seemed too soft for my liking. I cut it out and made a patch to go in its place:
Weld-through primer:
Repaired and ground down:
Here's the first patch I made for the driver front side of the firewall. I flanged around most of the edges to try and get a better flush fit using rosette welds. This worked ok, but still ended up having to do some stitch welding.
The old crunchy on top, replacement on bottom:
And another patch for the driver backside of the firewall:
Backside patch in place:
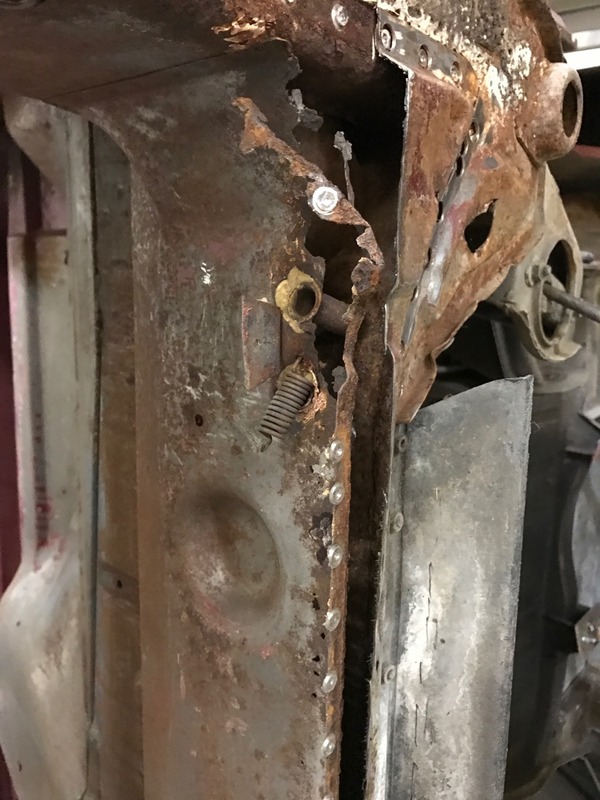
Both patches welded in, and tubes for parking brakes repaired and back in place:
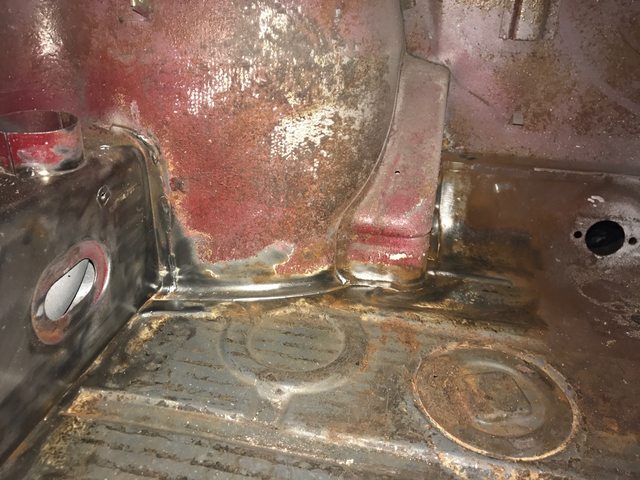
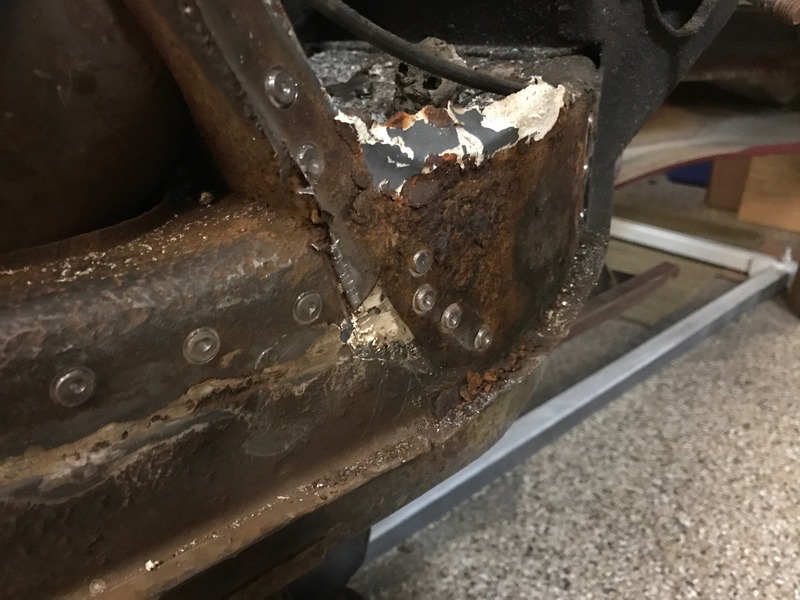
Cut out the bad metal from the passenger inside firewall:

Some rust hiding out under the passenger side jack point support plate:
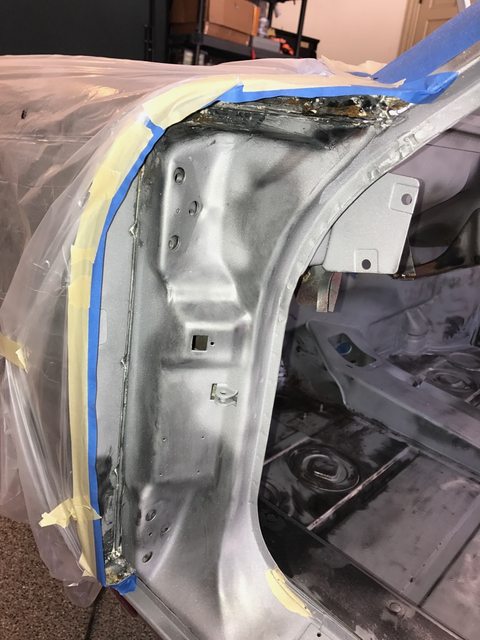
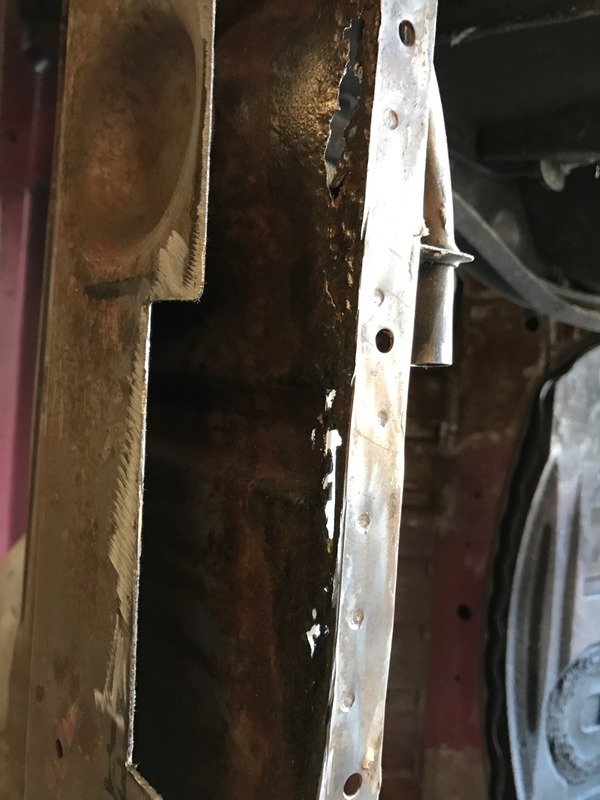
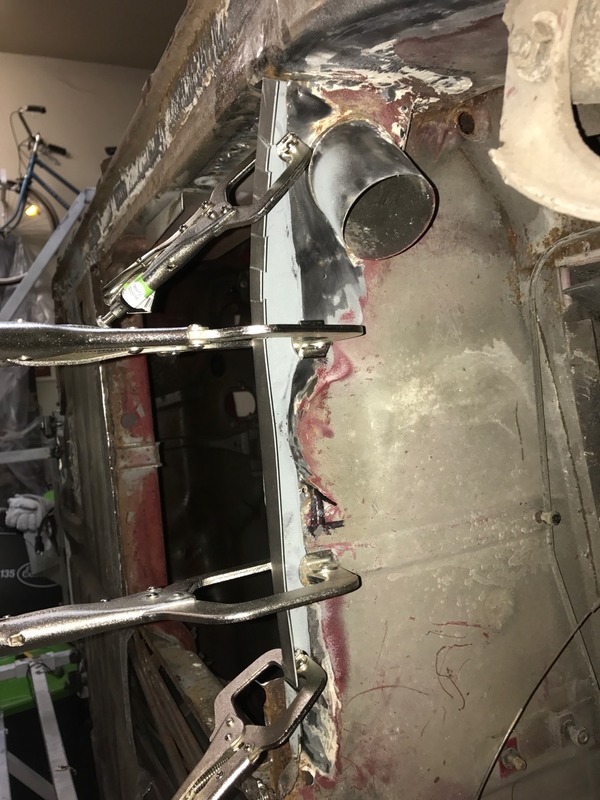
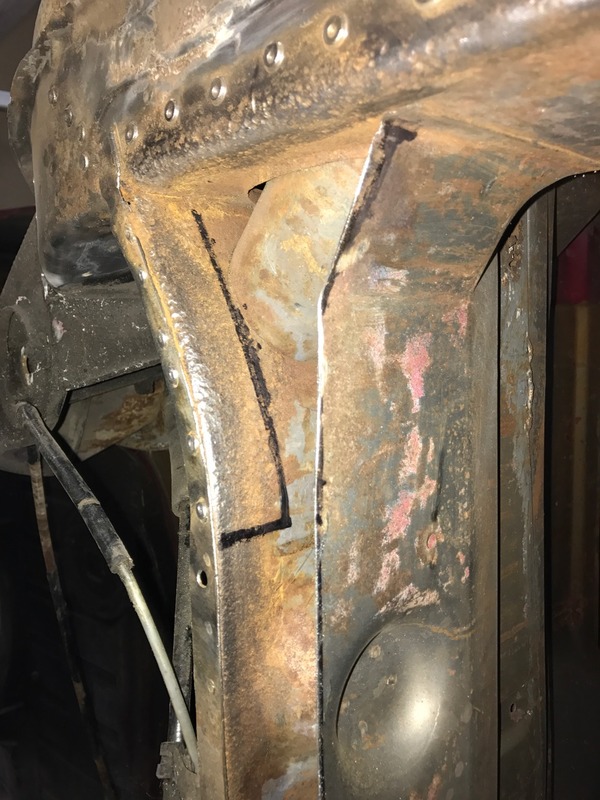
I was hoping to be able to save the passenger outer firewall, but no dice. So this is my mark for what to cut out and replace:
Outside patch welded in and fitting inside passenger patch:
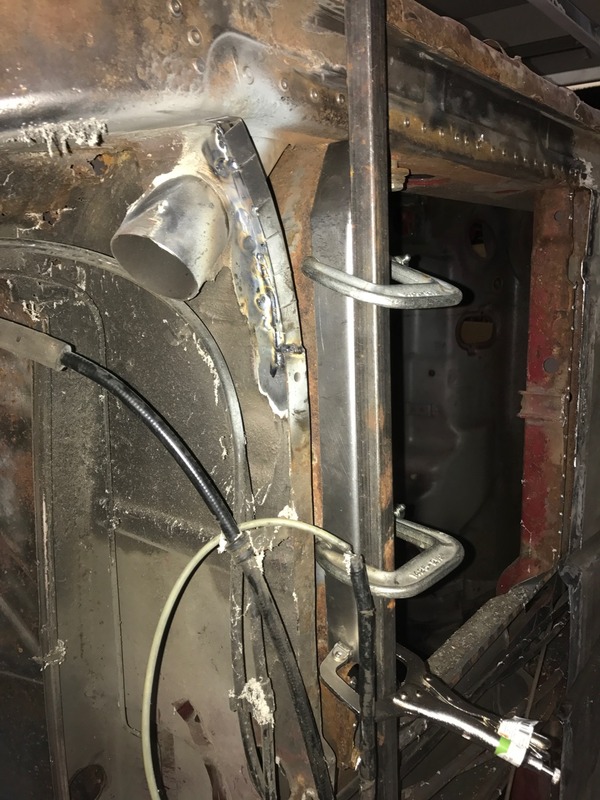
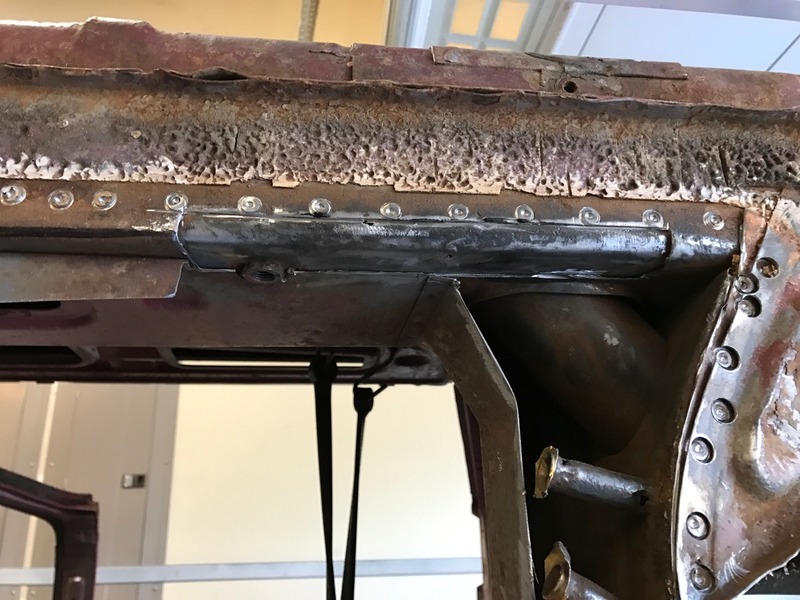
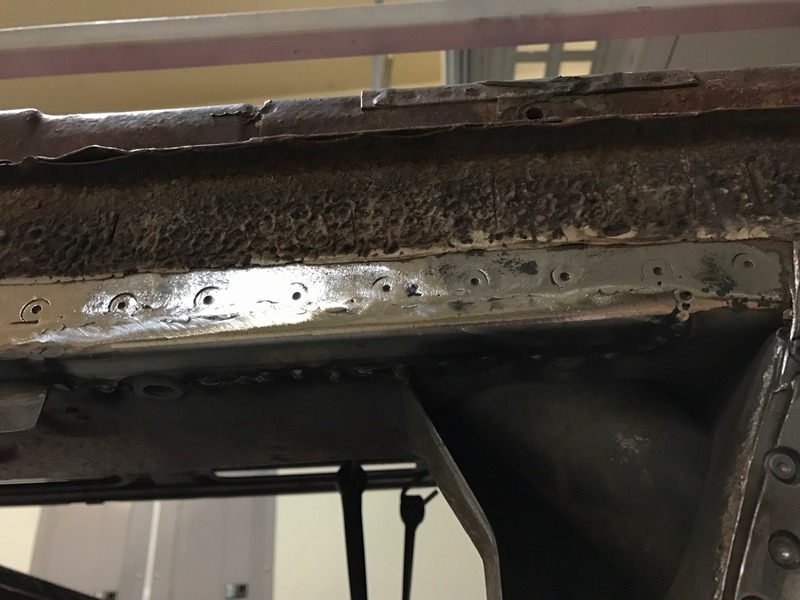
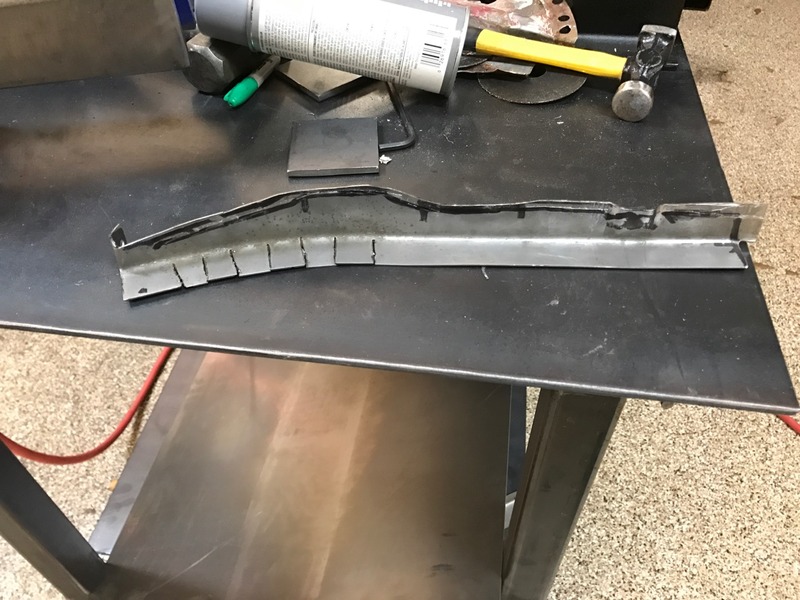
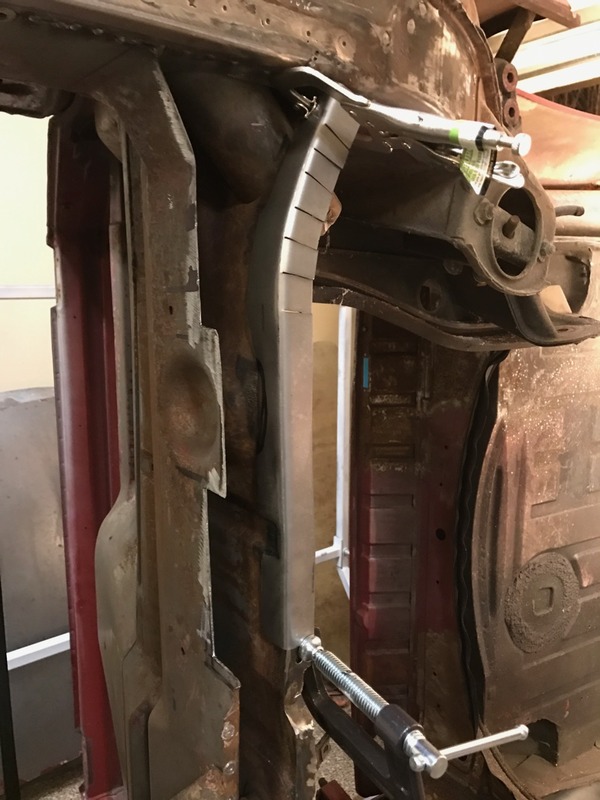
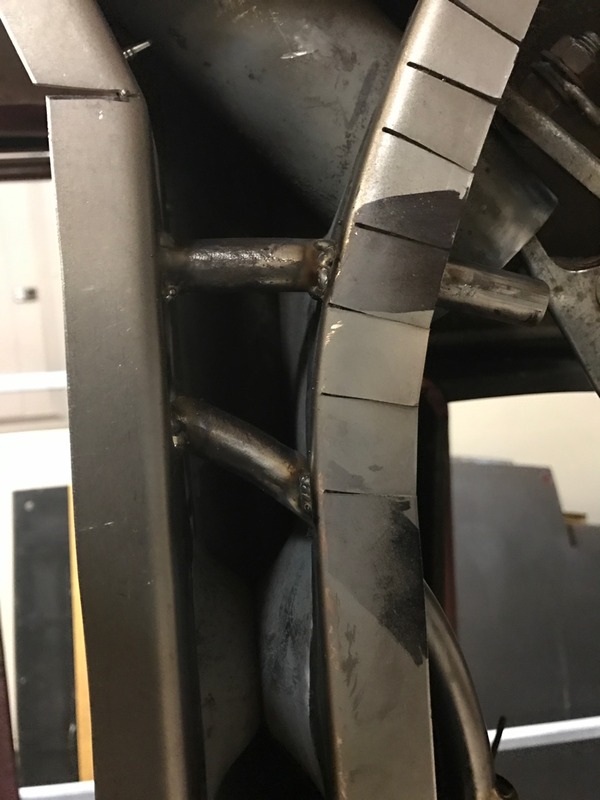
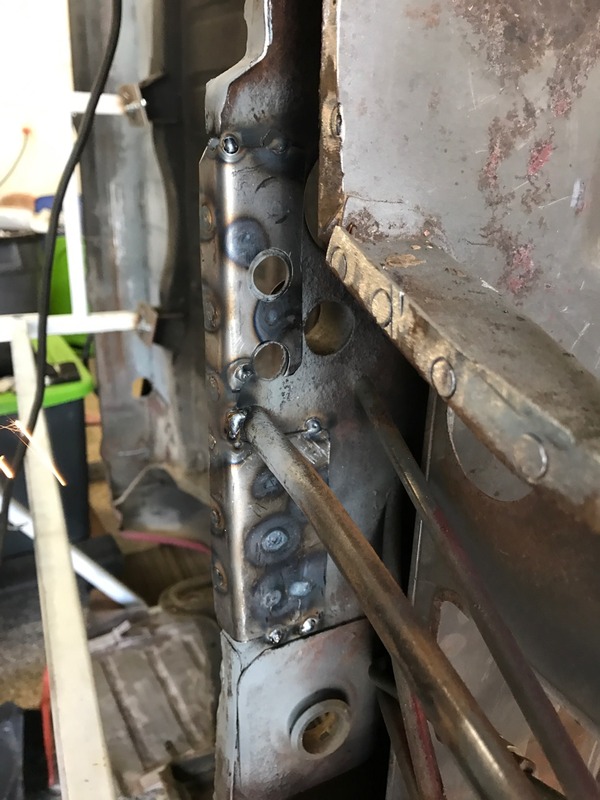
While I was there, I decided to see if there was a good way to add a doubler around the clutch tube as I've seen some other cars with metal fatigue / failure here. I also discovered some more history... it looks like the car had driven over something pretty hard that put a good bend on the middle of the firewall. I made some relief cuts and worked to flatten it back out. This picture is after re-shaping and with weld primer in place for the doubler:
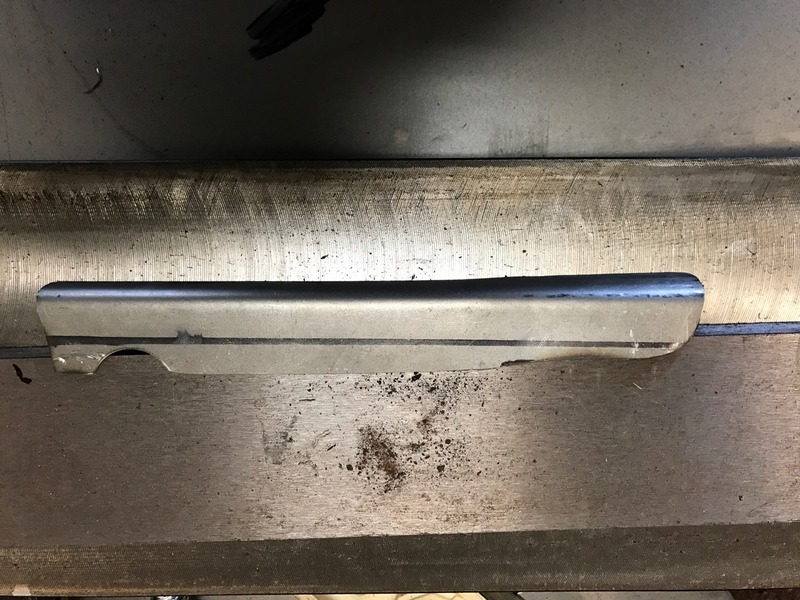
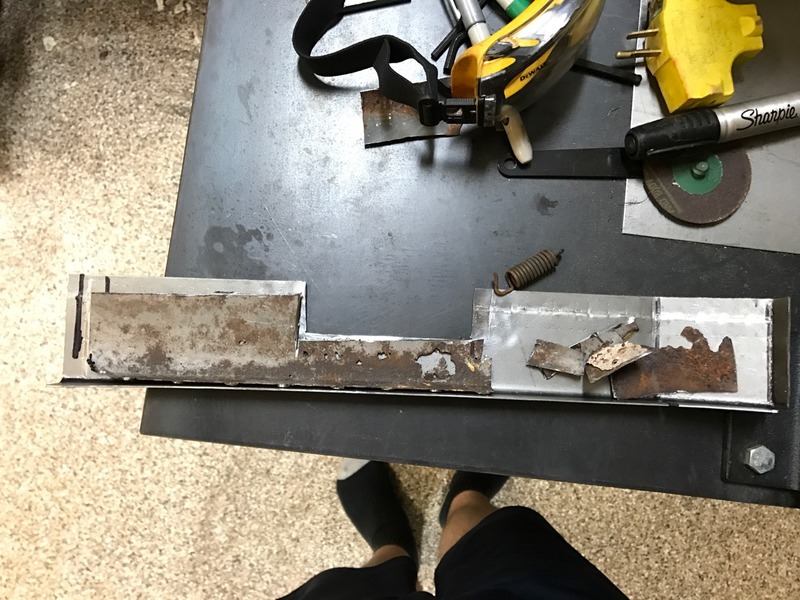
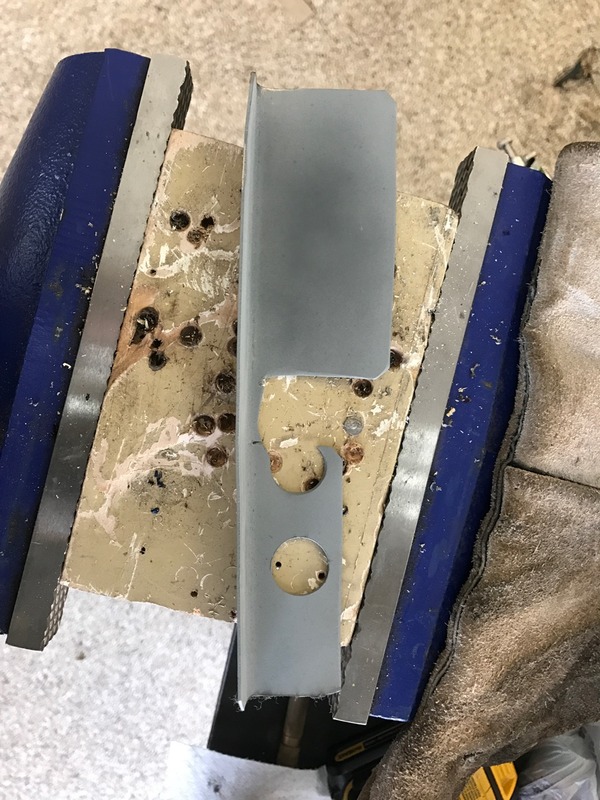
Here is the doubler I made:
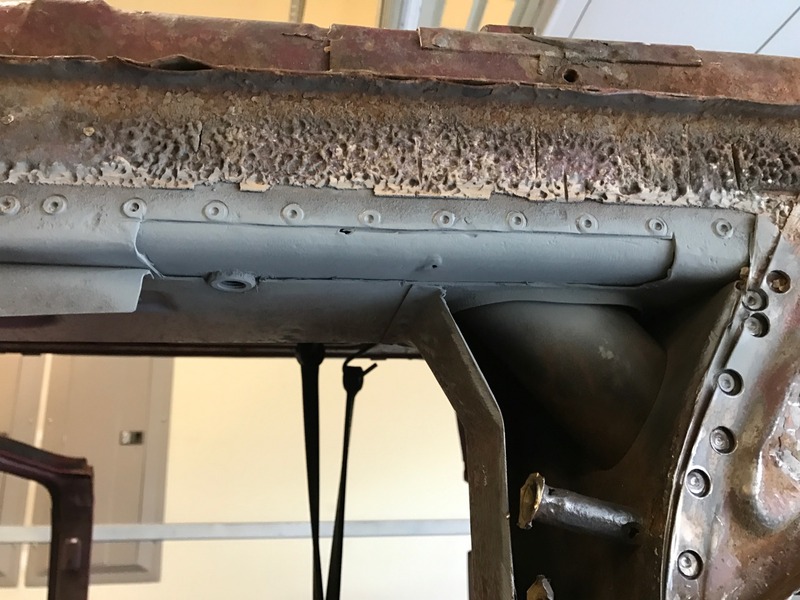
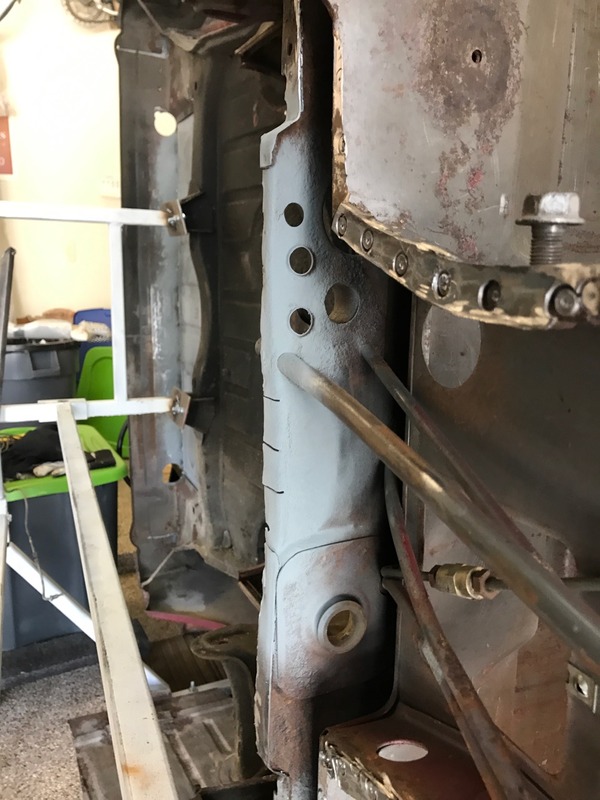
Welded in place:
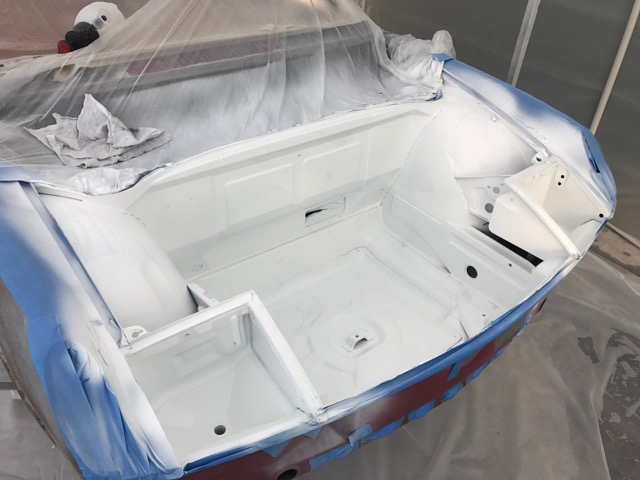
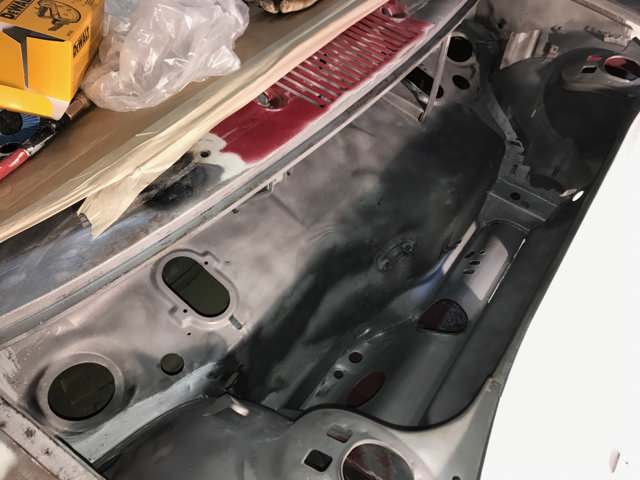
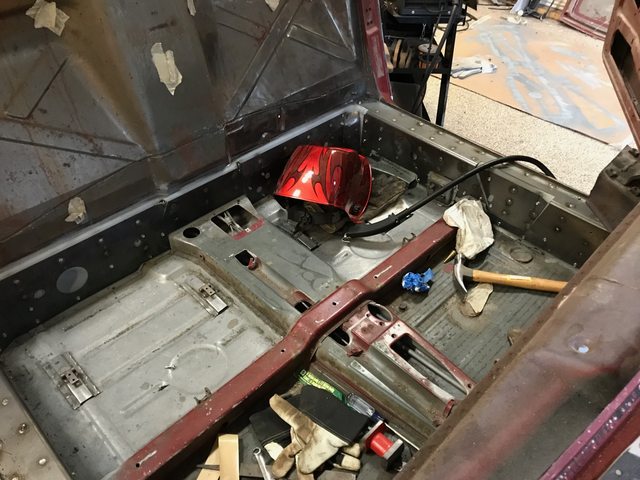
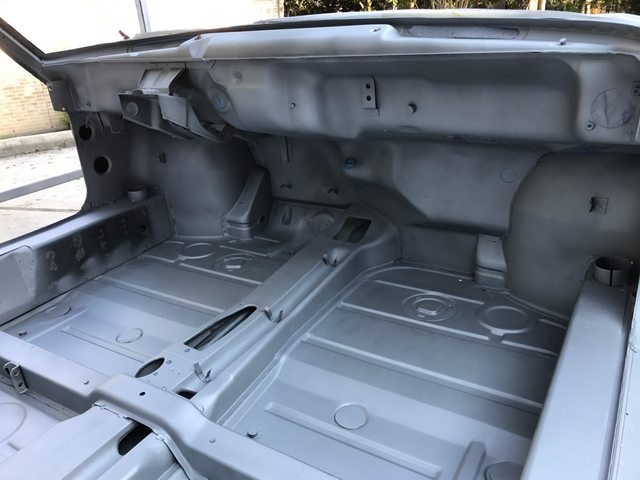
After all of the firewall repairs were made, we finished grinding and preparing the flanges for the new floor. Prior to closing up the bottom side, I wanted to do some extra rust prevention measures for the future. We shot master series inside of the tunnel, firewall cavity, crossmember cavity, and into the longs.
All coated with MS & weld primer on the flanges:
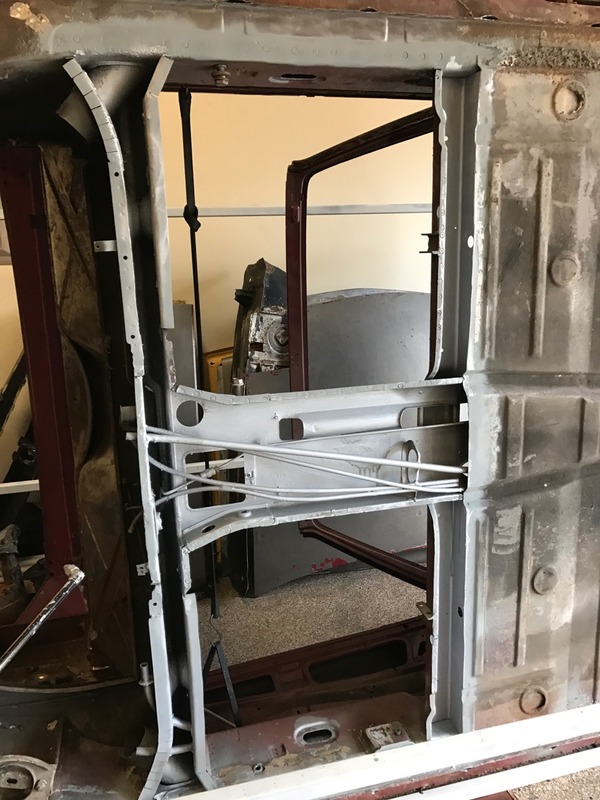
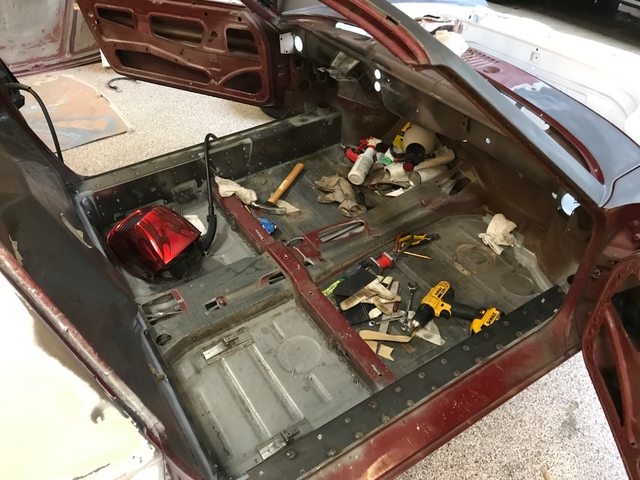
Kind of a wild shot with no floors:
Next up was test fitting the replacement floor from RD. Overall, a really quality piece that required minimal fitting for my application. Here is a rough overlay to determine what needed trimming:
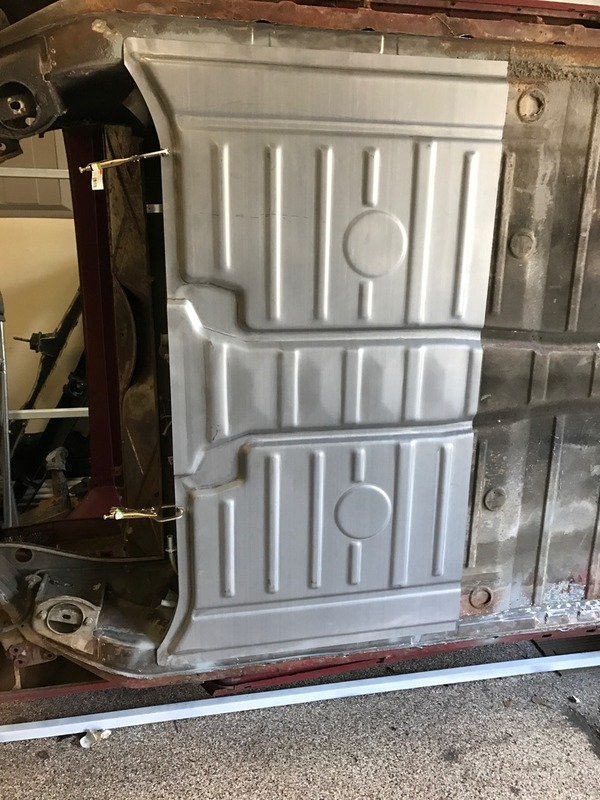
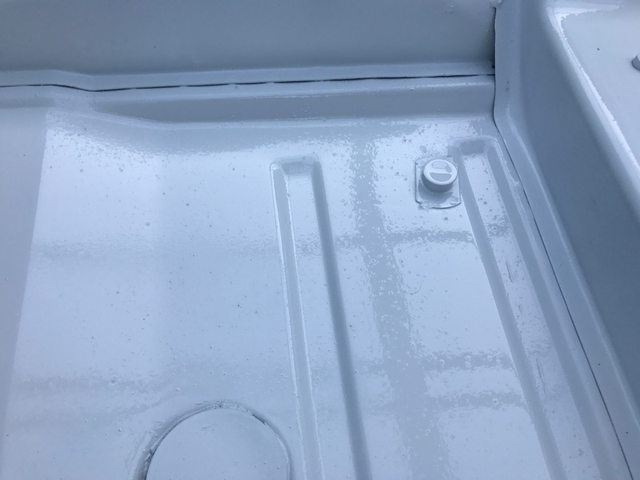
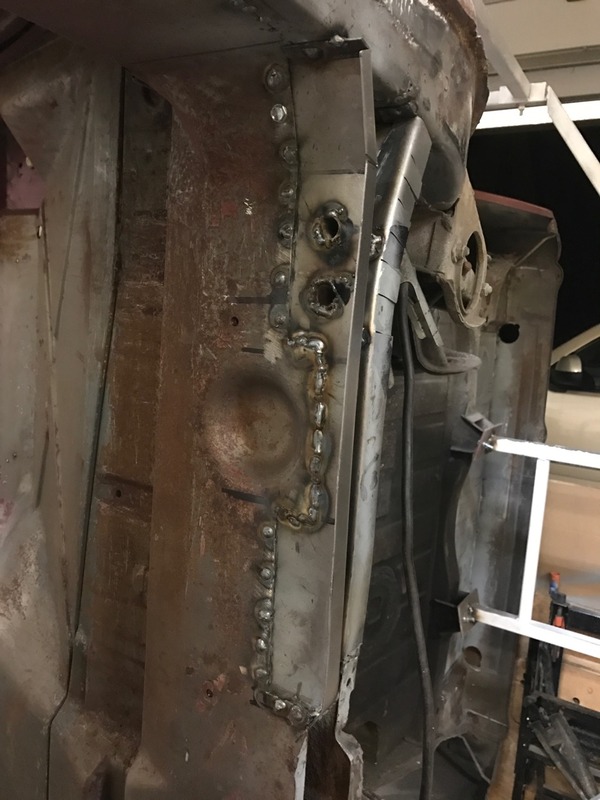
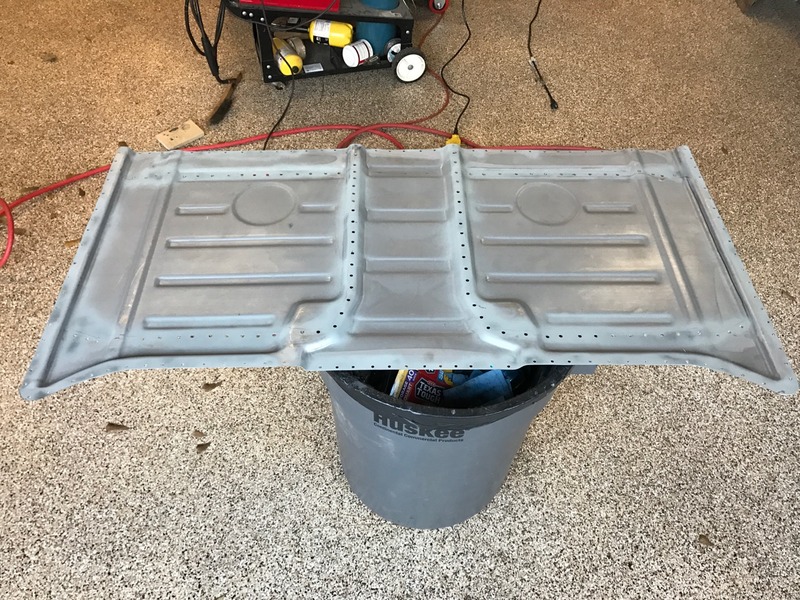
We decided to flange the new repair on top of the existing floor at the front edge of the crossmember. This will effectively leave three layers of metal spot welded together at that point. The entire piece was rosette welded into place. Here is the piece with all holes drilled and weld primer on top:
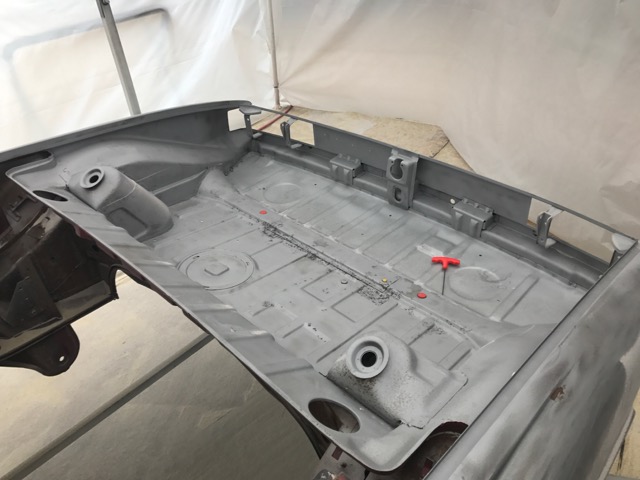
Here it is screwed into place with self tapping screws:

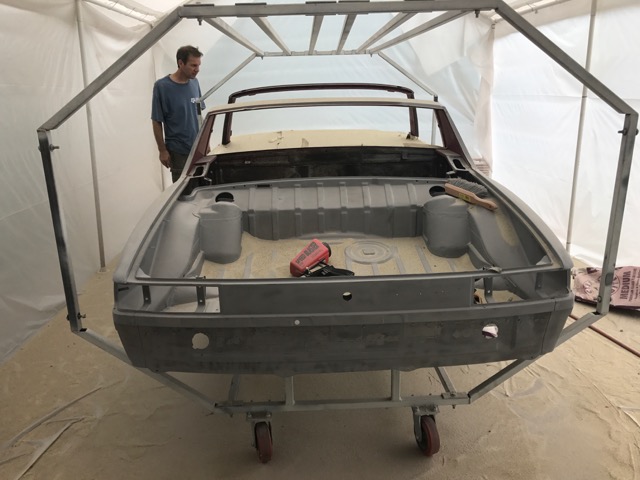
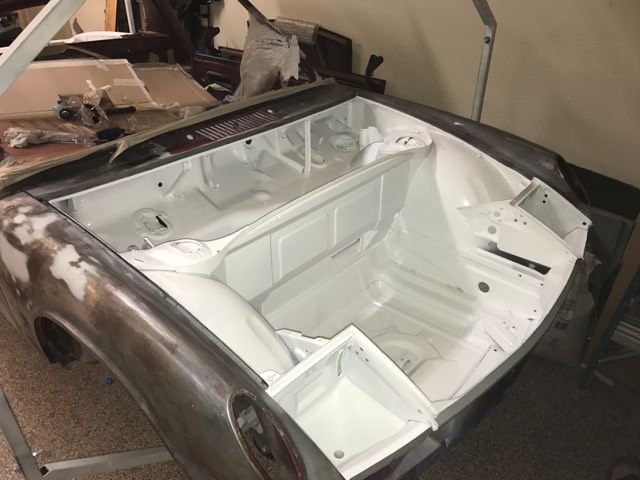
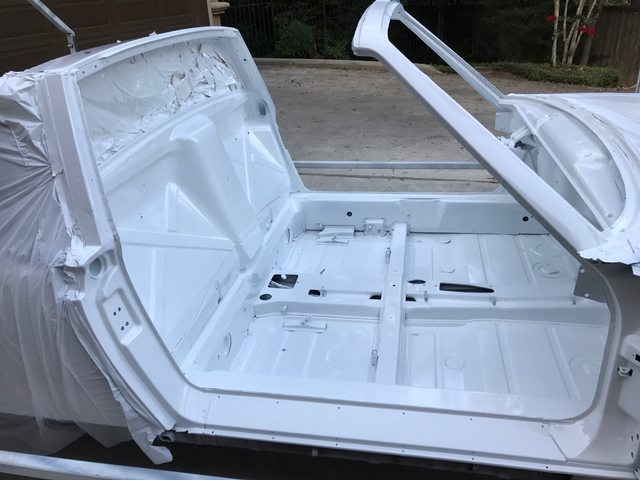
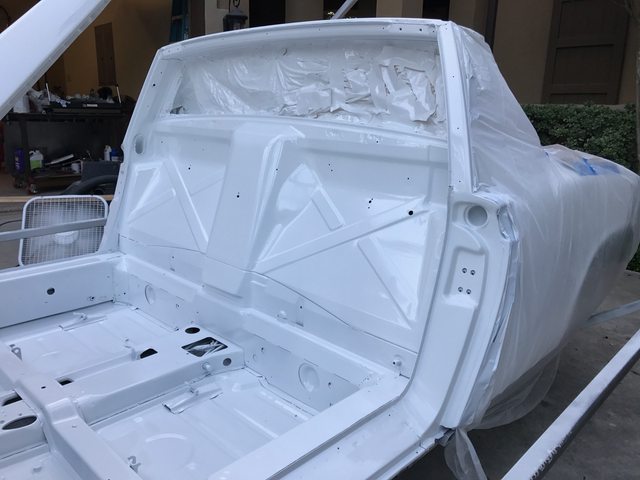
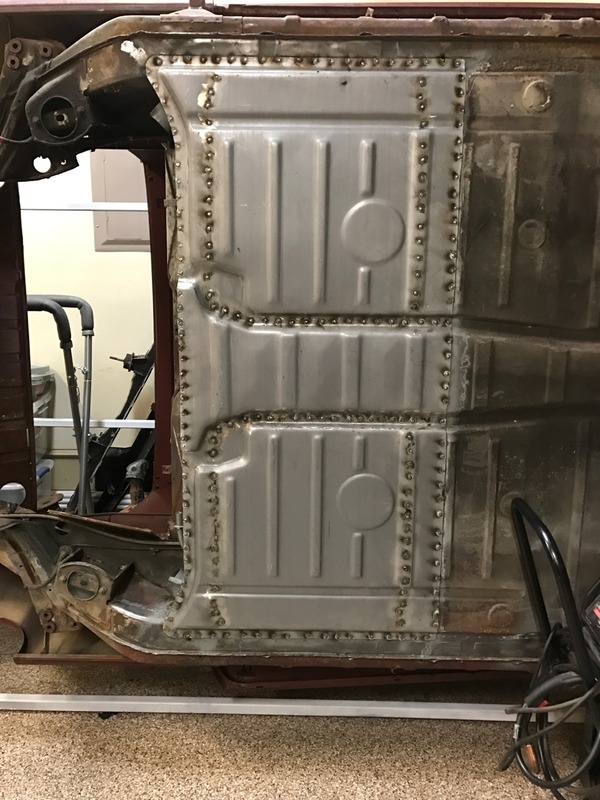
And finally, after a good two hours of rosette welding, here is the new floor firmly in place. I have new support rails and hinge mounting plates for the seats from RD that will go in next.
Unrelated #1, but after quite the fit I also managed to separate the rusty crusty pedal assembly:

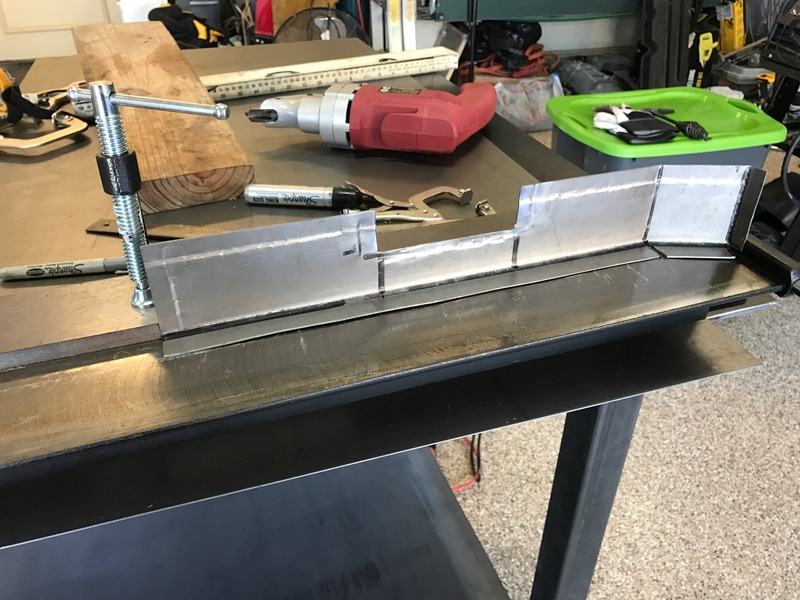
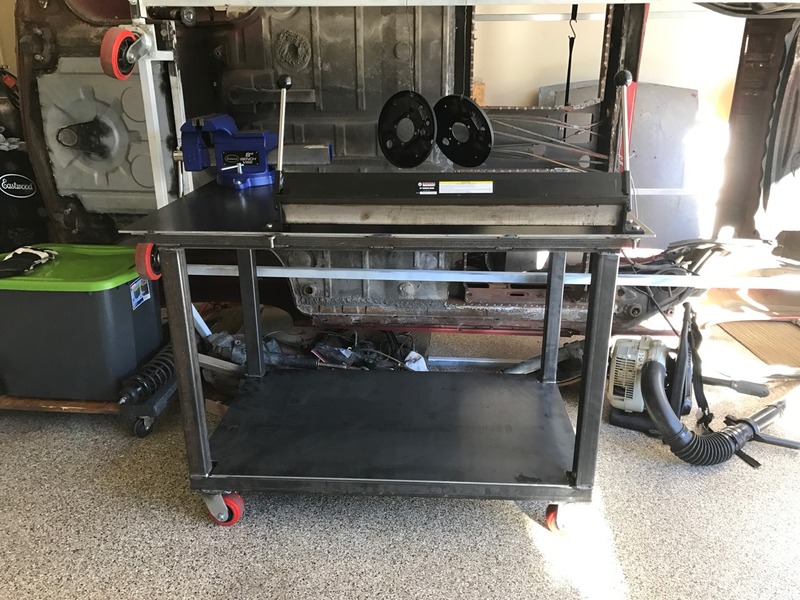
Unrelated #2, spent a weekend building a nice metal shop table to house a vice and a break for all of the metal work:
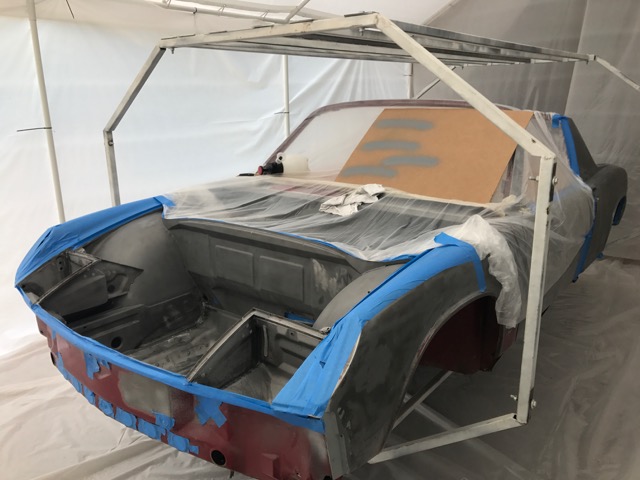
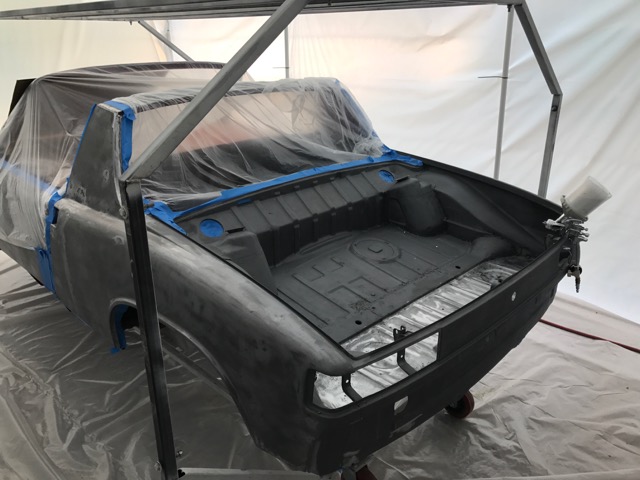
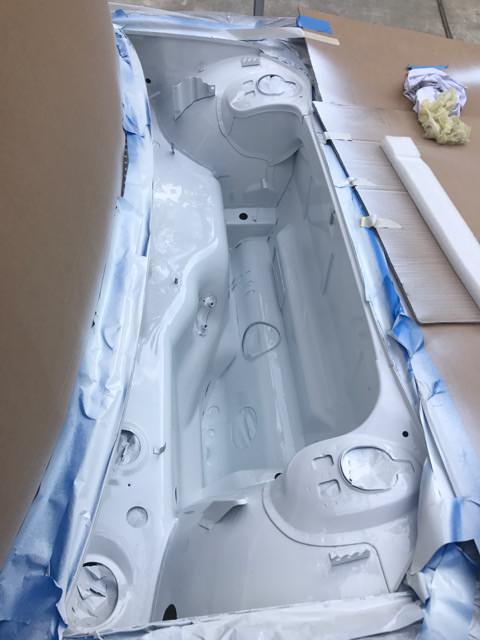
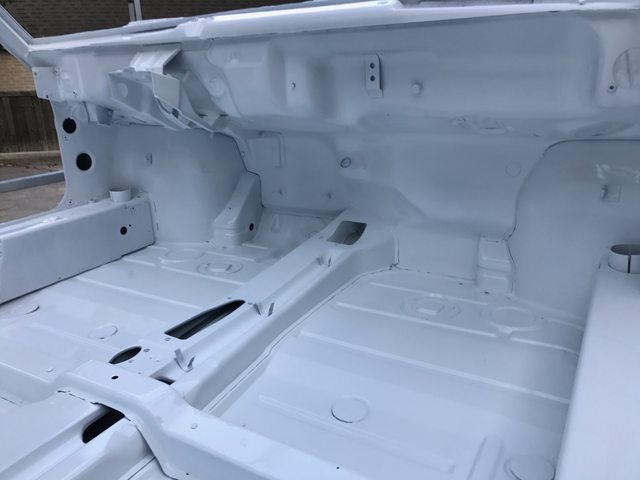
Phew, that was a long update. The remaining metal work includes two patches higher up on the firewall where it is single layered, a portion of the engine shelf, and adding back the battery box. After that work is completed, I'll shift my focus to blasting the bottom of the car, coating with epoxy primer, seam sealing, and top coat of paint to match bedliner.
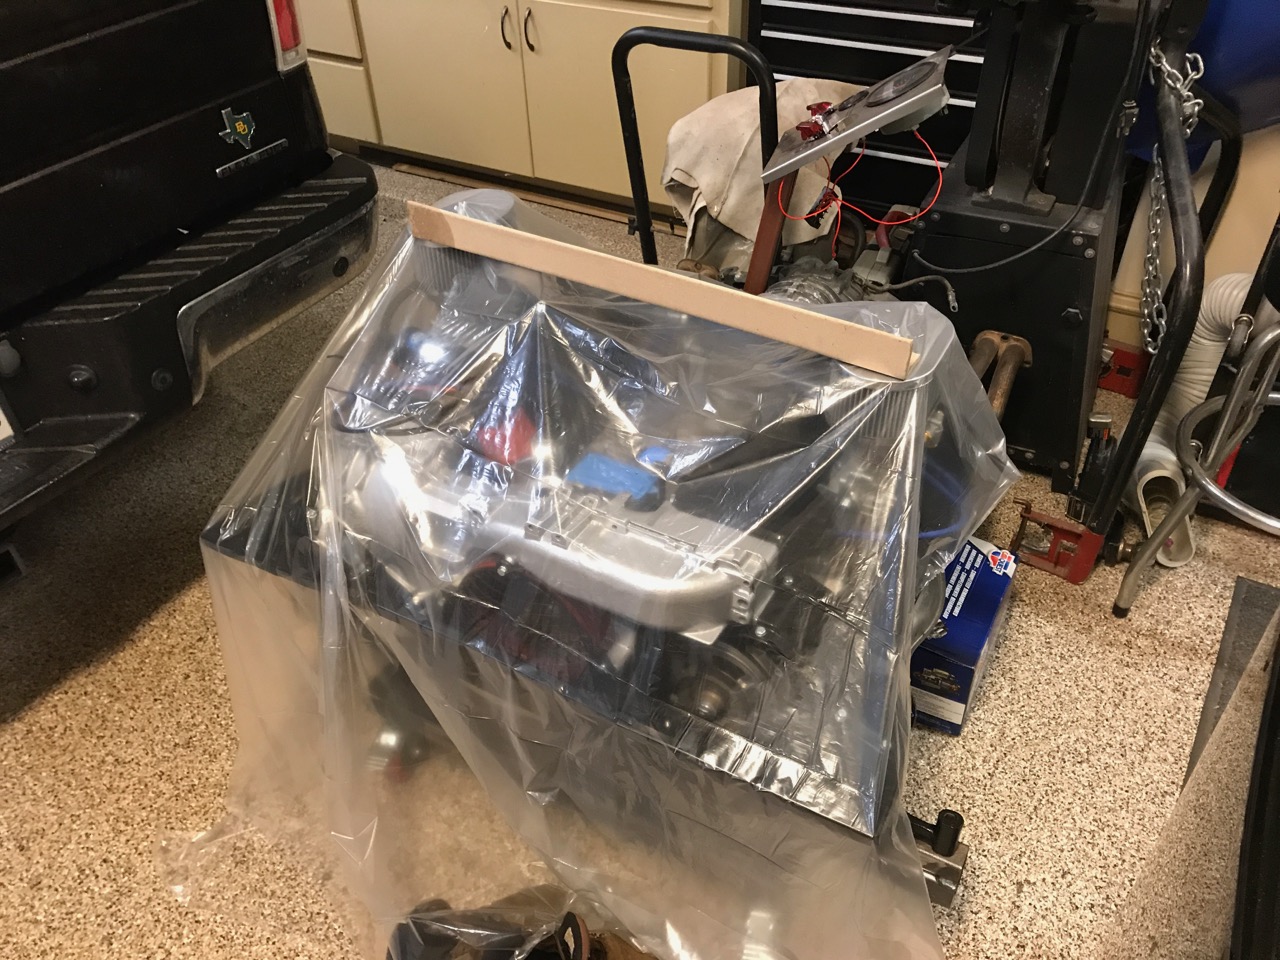
I just dropped off another load of parts for powder coating and visited an upholstery shop to get some ideas for a slightly custom interior. In mid-March I'm planning to get started with the engine. I'm making pretty good progress and really pushing to have this teener driving in 2017.


![popcorn[1].gif](http://www.914world.com/bbs2/style_emoticons/default/popcorn[1].gif)
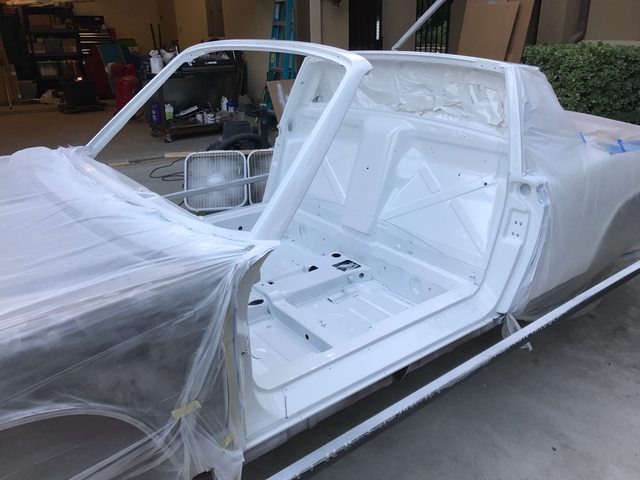
 Next will be the long patch and engine shelf. I can't wait to close this back up.

 !
!


 Oversight on my end.


 . I knew I was going to have to make a switch, so now using IMGUR to host pics. If for some reason my previous pictures in this thread don't load, blame the greedy bastards at photobucket.
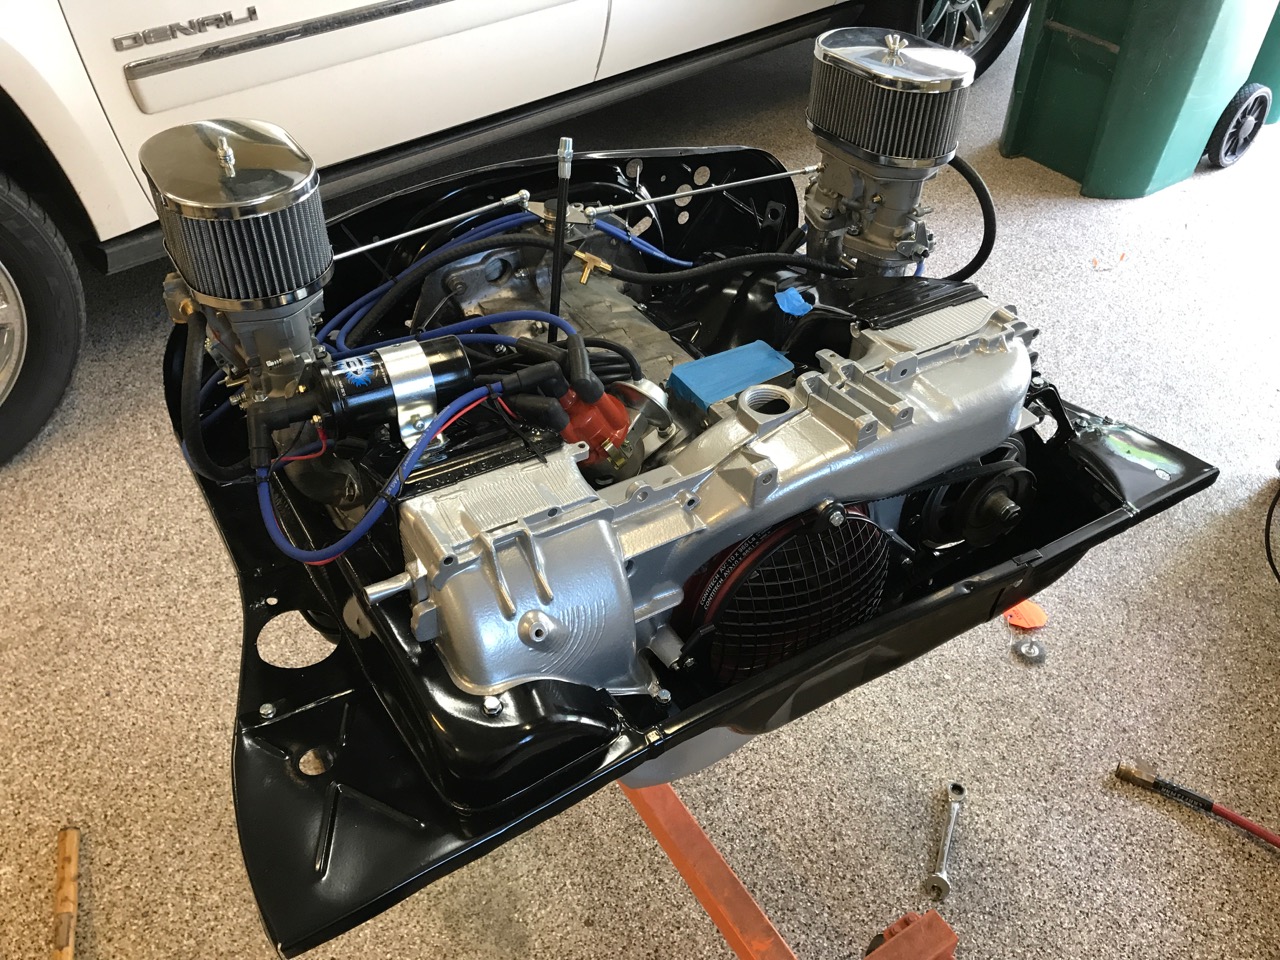

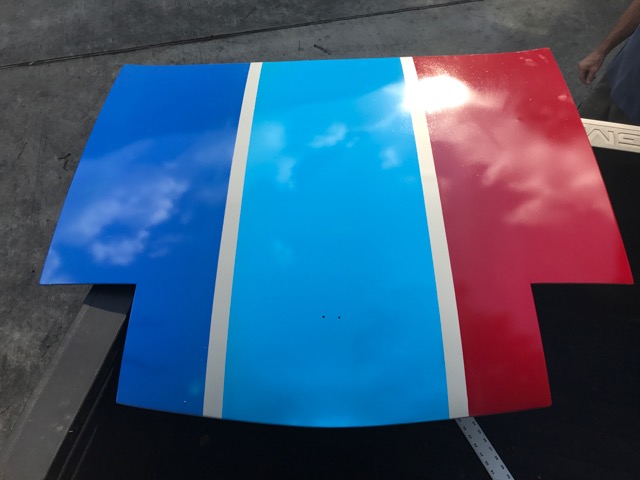
 ) and I am now between Adriatic Blue and Mexico Blue. I love the way Adriatic looks when in the sun, but in the shade / inside it definitely gets darker. Mexico Blue is simply a fun color. Not going to be an easy decision...