QUOTE(J P Stein @ Oct 13 2014, 10:31 AM)

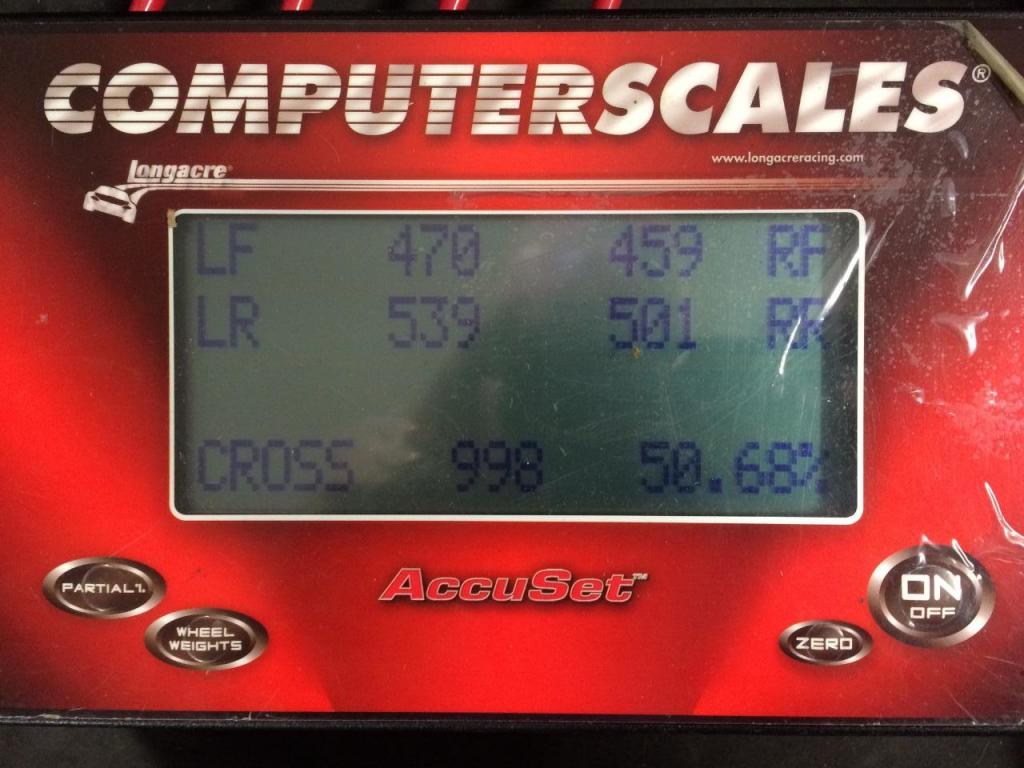
>I'm going to add 75 lbs. to each front corner and see where that lands.<
If that is not the worst idea I've ever heard, it has gotta be close.
Suspension tuning will take care of the perceived weight problem....I say perceived because because 914s are NOT a 50/50 car.
I carried less weight on the front than that.... with a 6 cyl in back and a boat load of tubing to stiffen the chassis.
It came in at 1726 wet. You should be able to make aleast 100 lbs less than that.
Corner balance is WAAAAY over rated. It is useful to correct any gross errors in construction only, IMO. BTDT, it had no effect on times.
Overall weight is another issue.
Click to view attachmentYikes, you don't mince words JP.
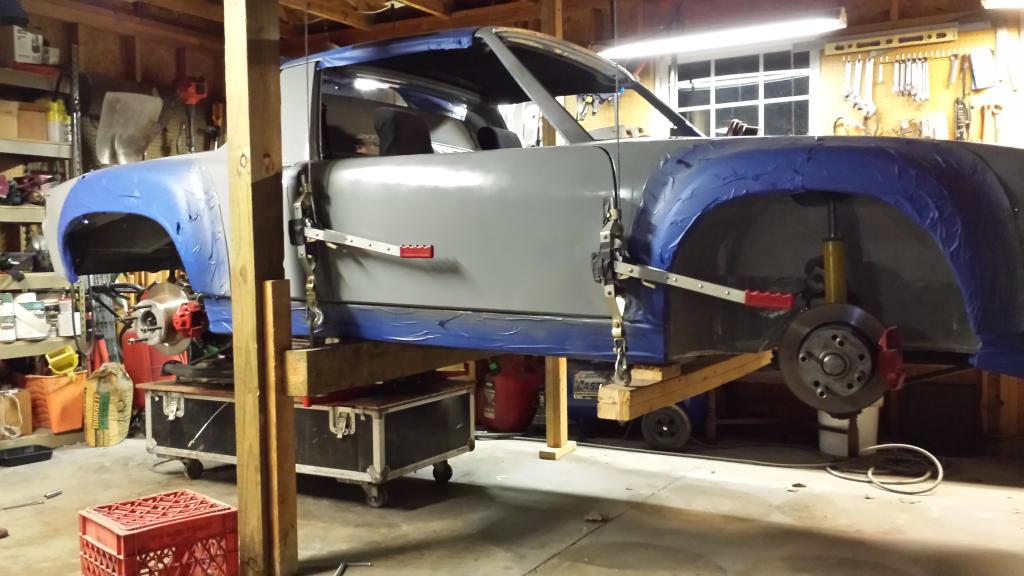
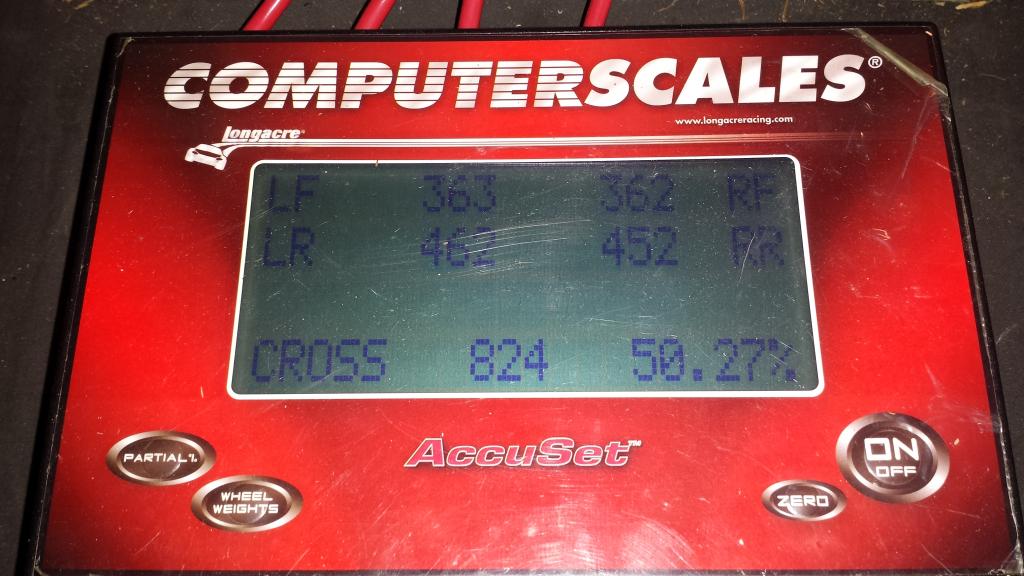
In my following post, we re-weighed on the alignment rack, added 120 lbs. on the passenger floor board, with me in the drivers seat, we were REALLY close to class weight for the displacement/valves. It was mostly an exercise in getting a base figure moving forward. I'm not sure this car will see any SCCA Championship Tour events in the near future anyway. That's when it will get weighed for tech/impound, not at regional events.
You also bring up a good point on the roll cage. I do plan on a simple cage (much like the Tangerine kit). That will certainly add weight and then there's other undetermined performance goodies. So it's a fluid situation for the near term.
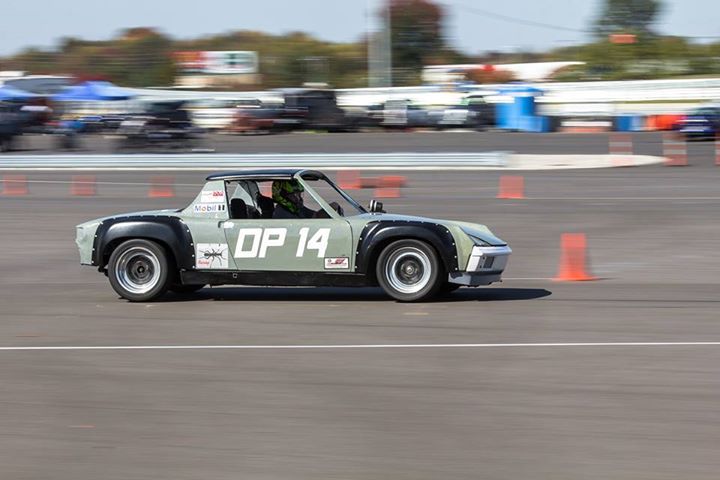
It certainly felt good last Sunday which was my VERY FIRST autocross in a 914. I pushed it harder each run trying to find the limit of grip (Hoosier scrubs with 30+ runs) and was able to make it over-steer in corner entry. Some mild under-steer in corner exit but manageable. Until I can get my driver inputs smoother, I probably won't adjust front shocks. Also, site surface was less than optimum. Two weeks from now (if the weather is good) the new NCM site will be a superb event to continue evaluation.


![popcorn[1].gif](http://www.914world.com/bbs2/style_emoticons/default/popcorn[1].gif)