QUOTE(Optimusglen @ Apr 27 2020, 08:06 PM)

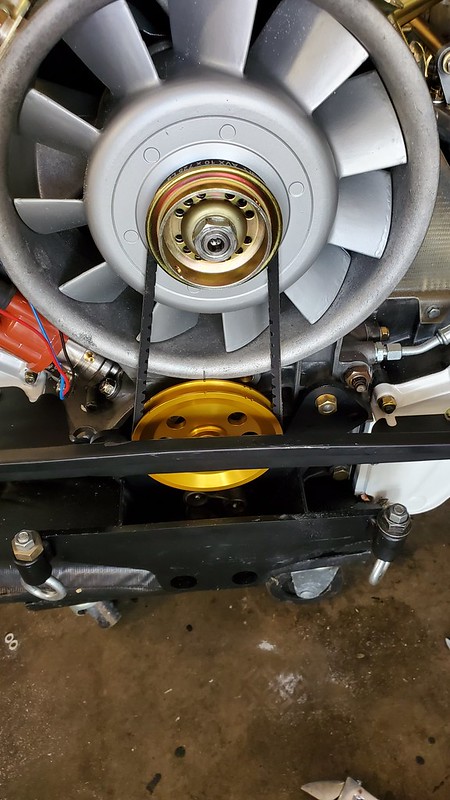
On the down side, yesterday while driving I ran into an issue with it. As a reminder it's a 1.9 built from a 1.7 running dual Weber IDF40's. I got on it a little from a light and after that the problem arose. The car idles way high, like 3k rising to 4k, I shut it down before it went higher. The strange thing is that the throttle pedal and cable are fine, and the throttles themselves on the carbs are closed. Any thoughts or insight is appreciated. I'm going to chew on it a few days before asking officially for help but I'm guessing I'm going to have to yank the carbs and figure it out.
Well, good news/bad news.
I purchased rebuild kits for the carbs, but then just didn't have any time to dig into it. Work is very busy right now. So I had it towed down to Further performance, they did the initial tuning on these carbs when I built it. They diagnosed the carb issue as a broken return spring really pretty quick, but when they started it is when they heard the issue.
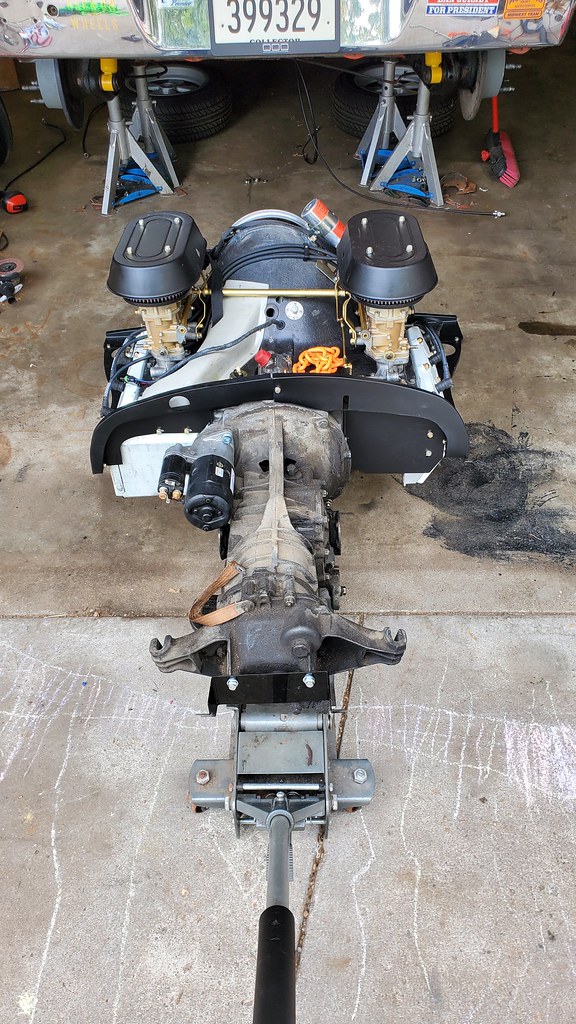
I guess it had the terrible clack-clack that only comes from bad rod bearings. It was able to run but there was no telling how long it would be until the rods exercised themselves from the case a'la the Alien.
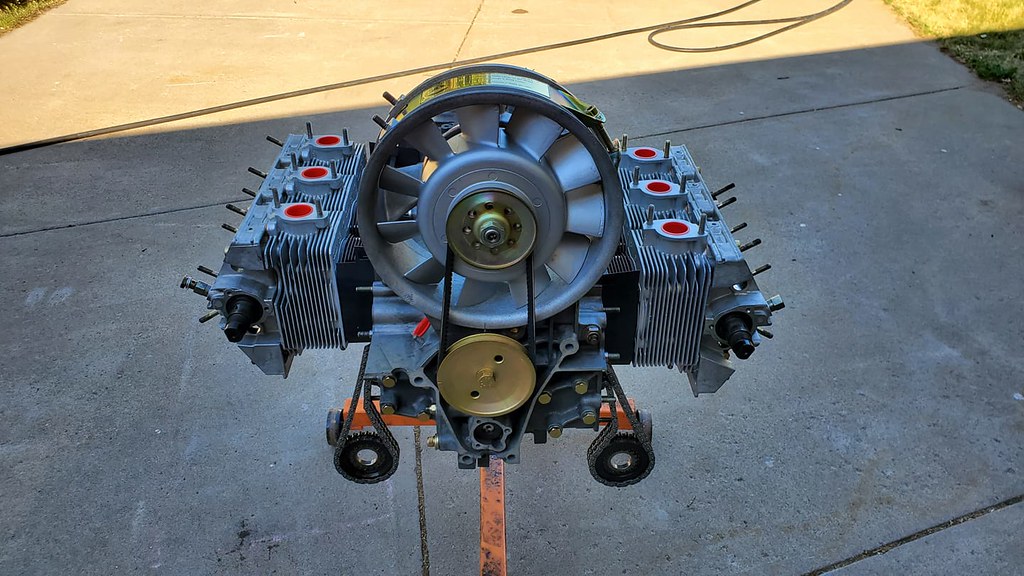
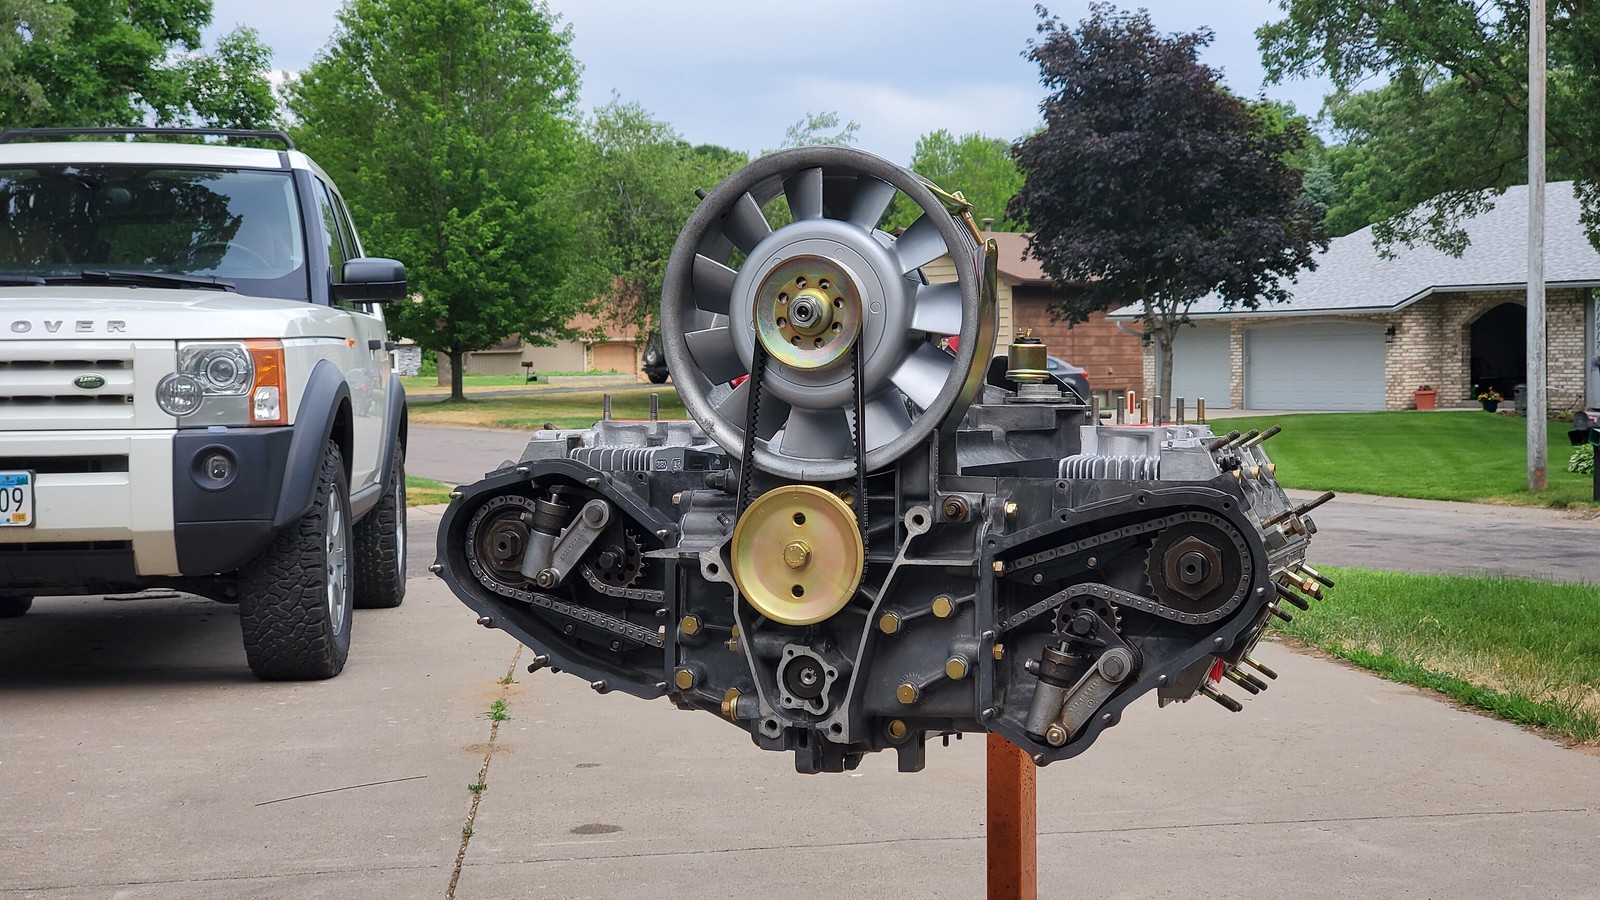
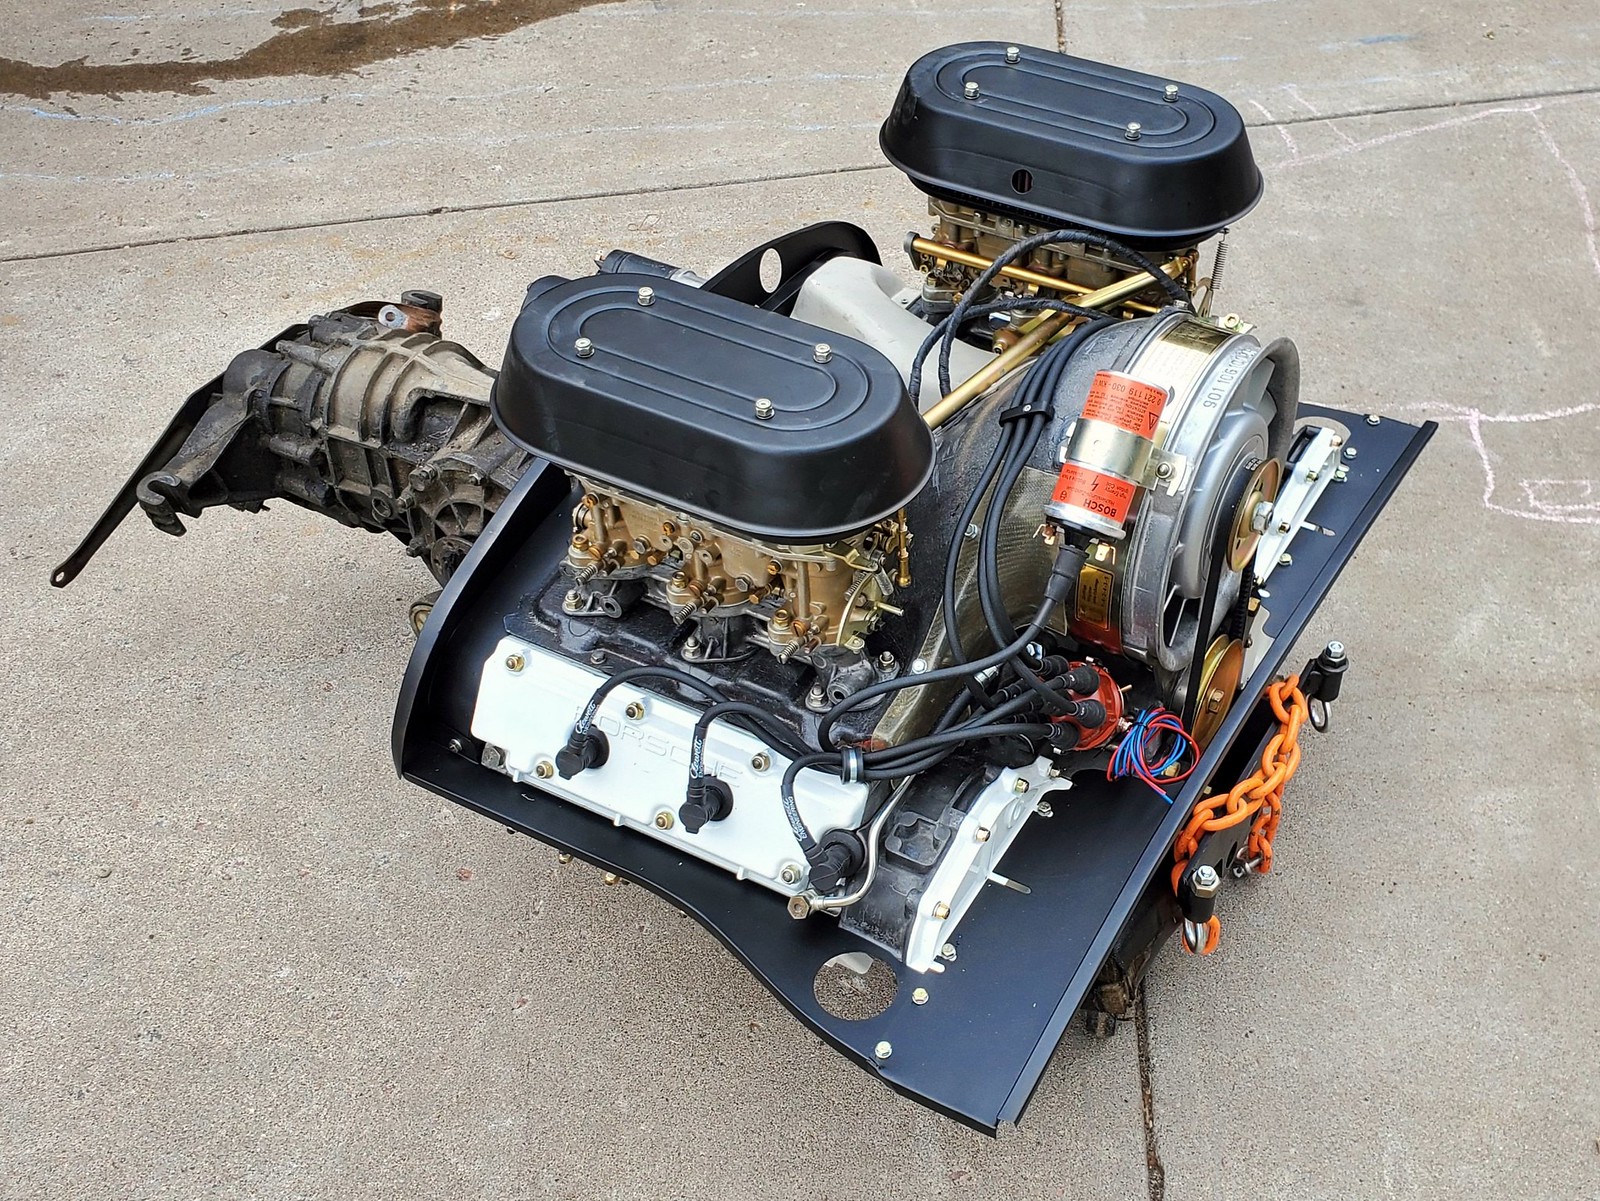
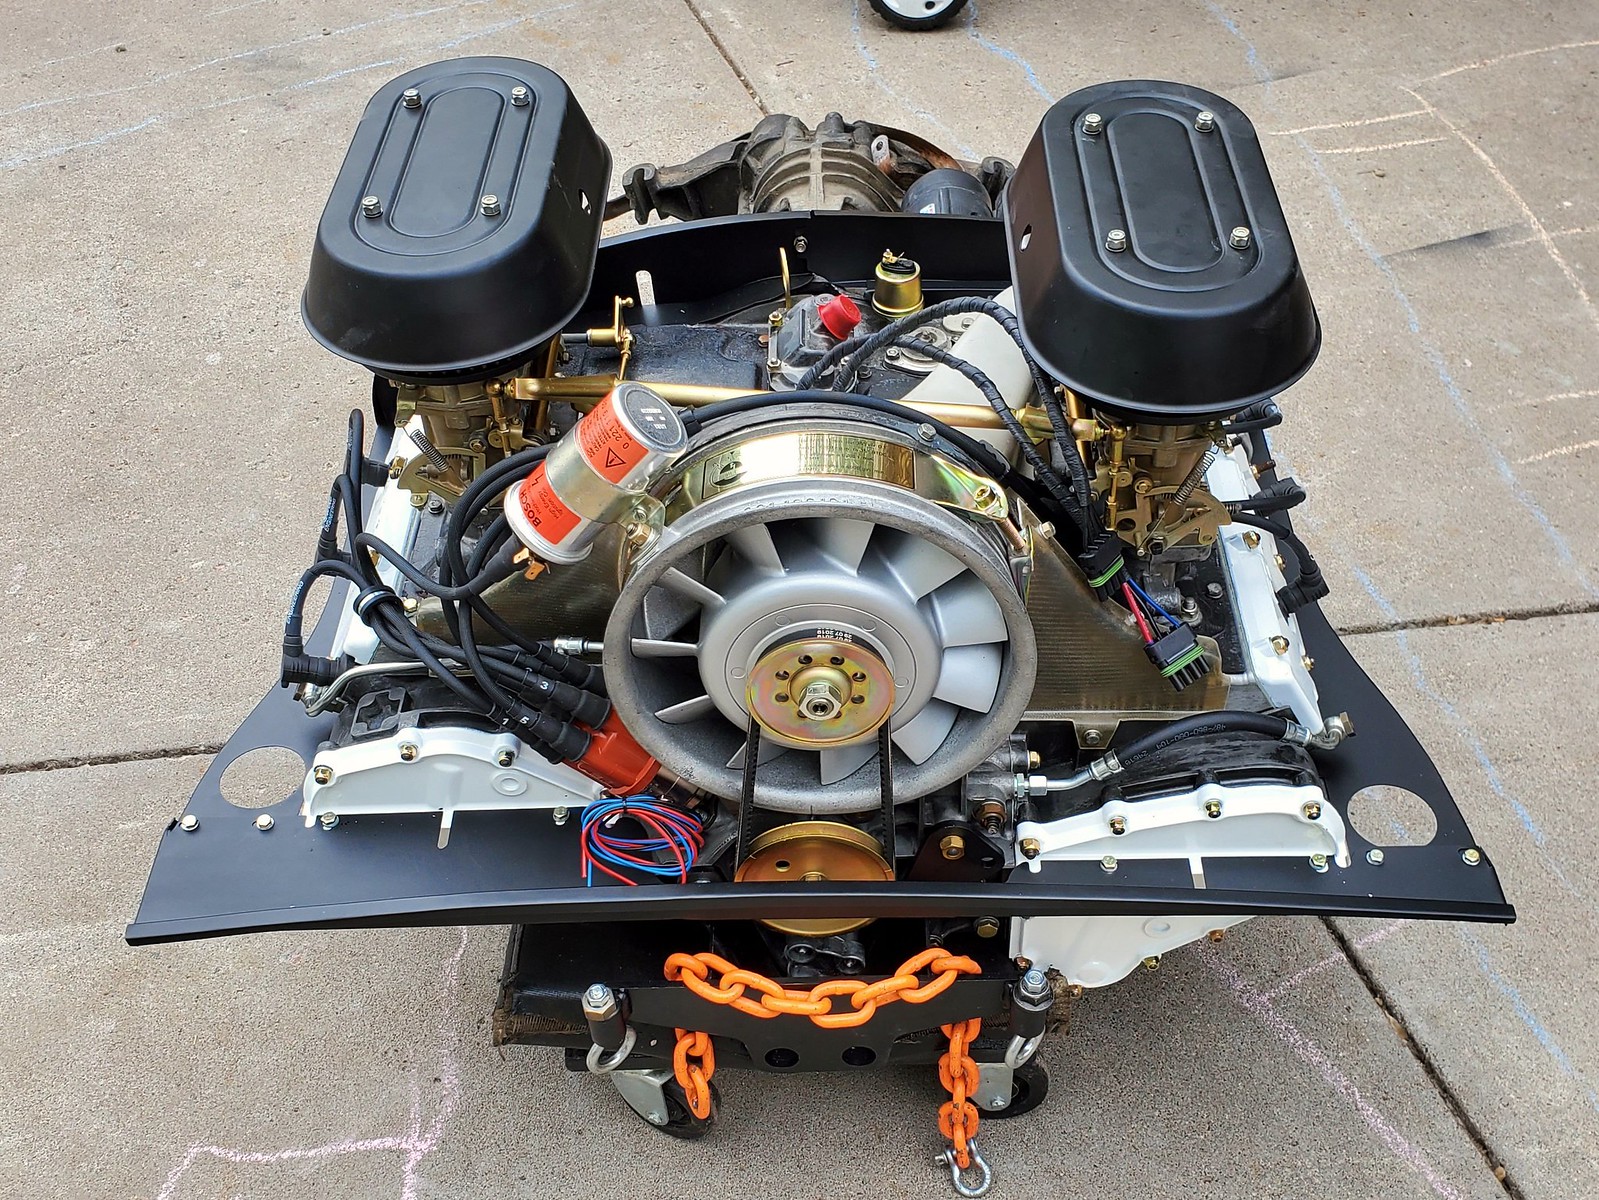
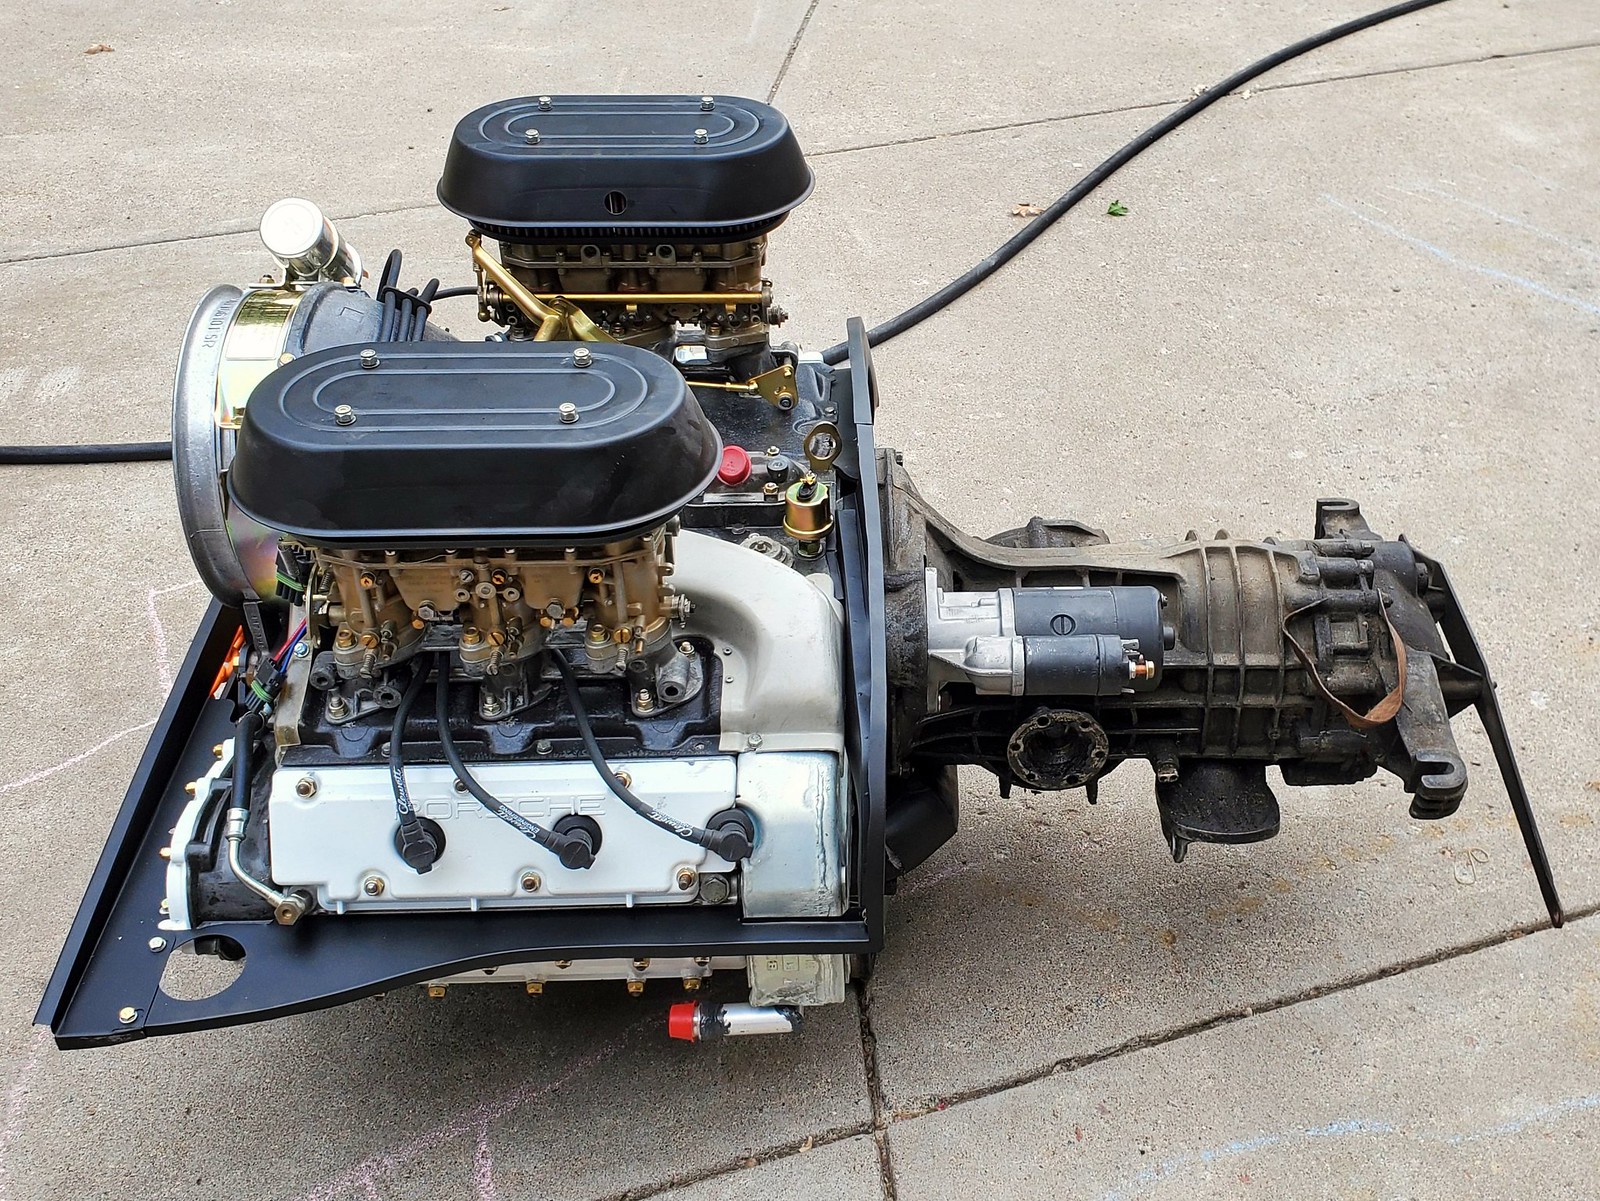
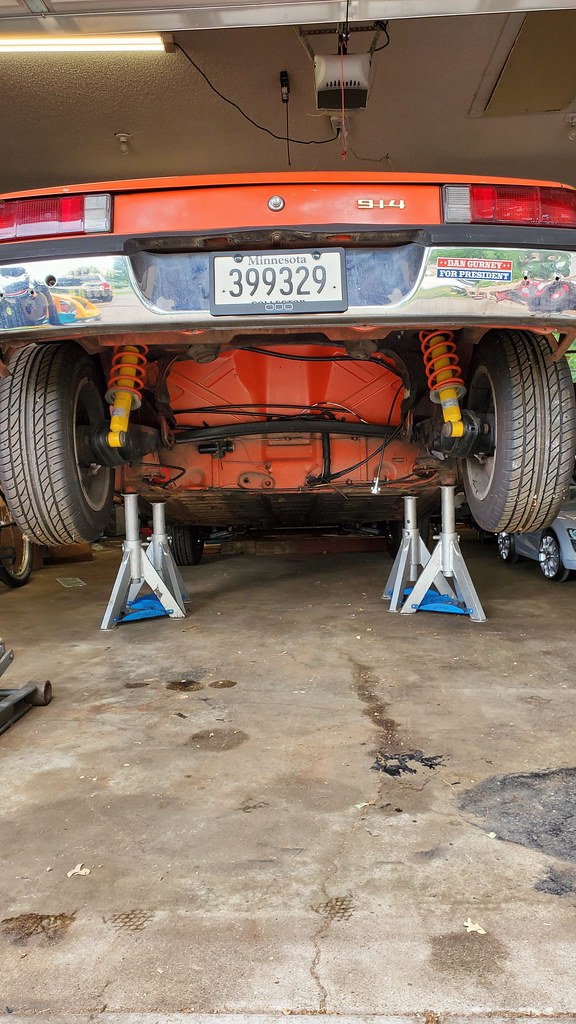
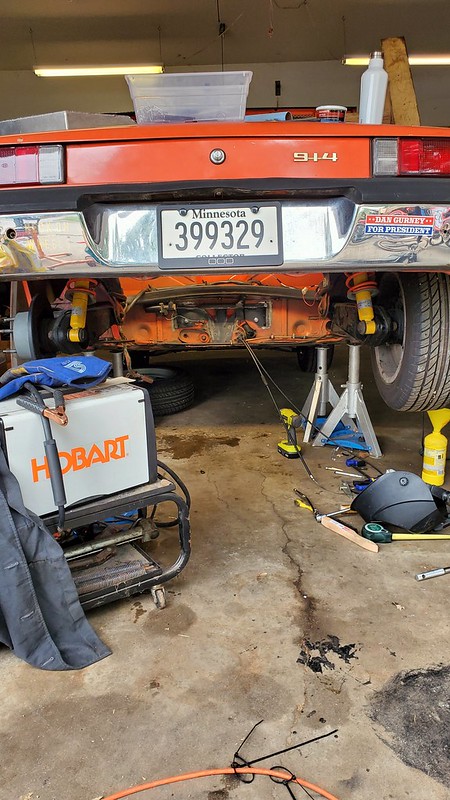
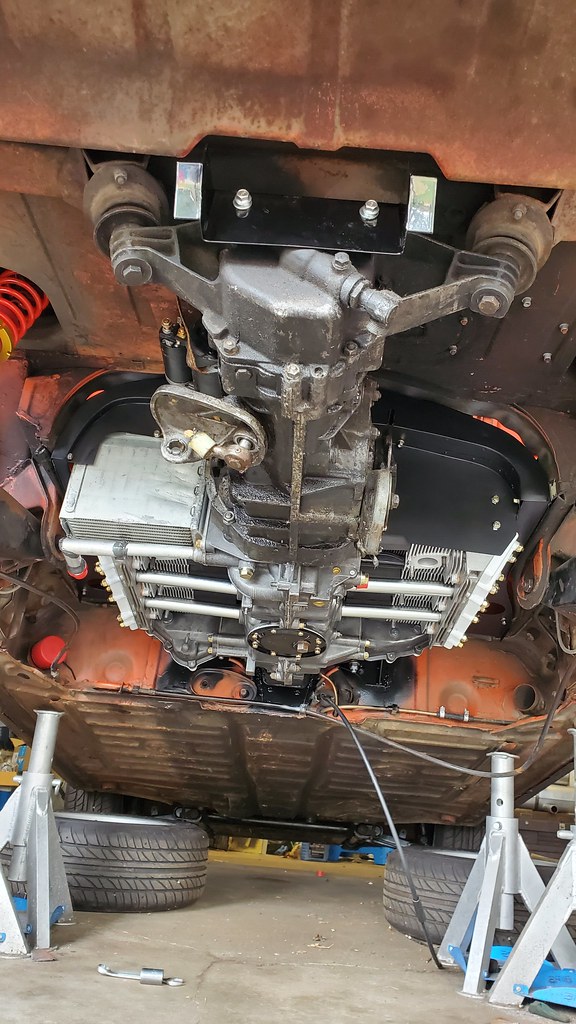
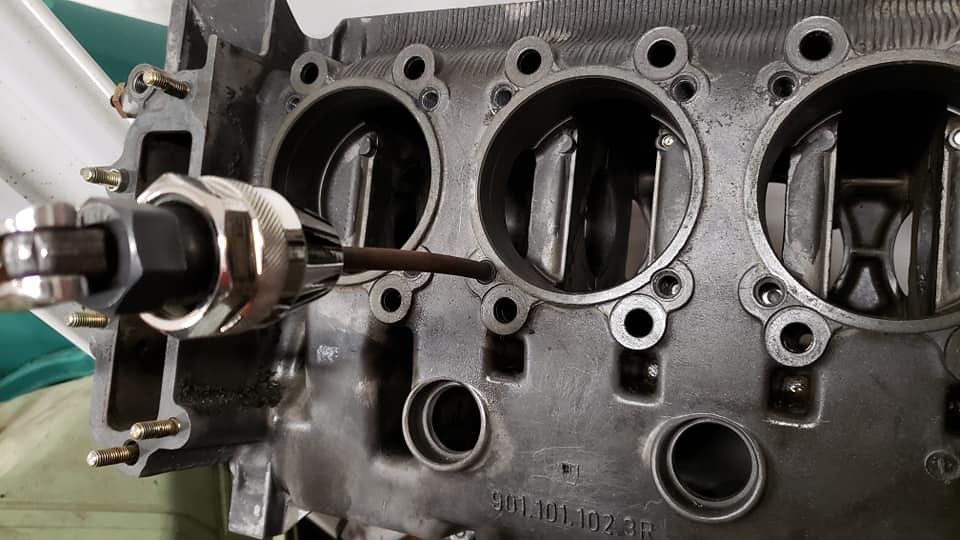
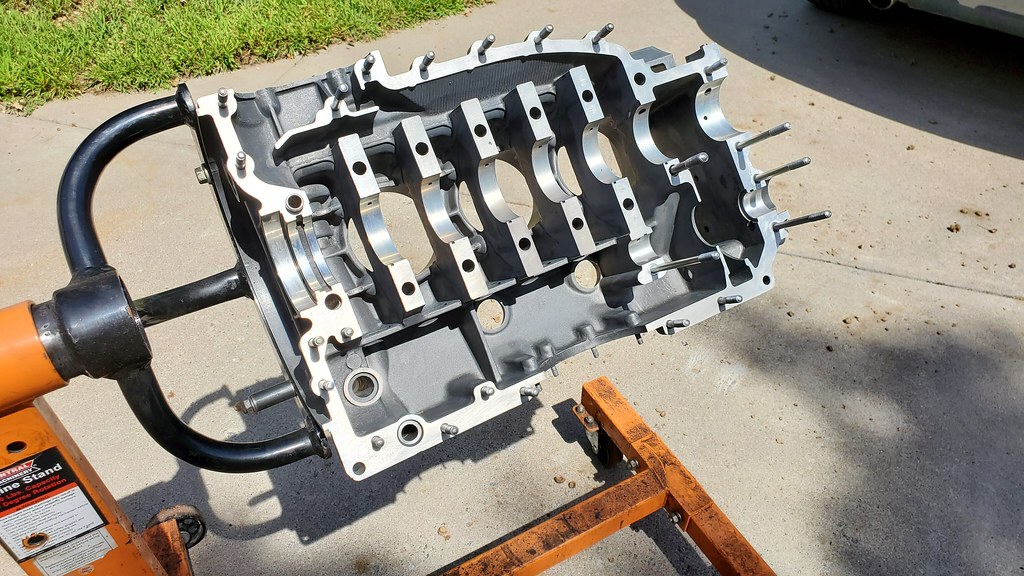
Now, since I have the 6 cylinder case at Ollie's due to be finished up in early July, it just doesn't make sense to put any effort whatsoever into the 4-cyl. This shop specializes in old aircooled VW's and Porsches and they said they could use it as a core, so they pulled it and stuck it on their shelf and I towed the car home sans-engine. They will put the value towards the tuning on the 6 once it's in the car.
The good news in all this is that it kindof forces my hand towards the swap. I had been working towards it but since the 4 had been running fine and it was still a blast to drive, I wasn't going hard after getting all the pieces in place.
The bad news is that it ends my driving season way early, in Minnesota the good driving months are few as it is already. Happy I got a couple good drives in at least.
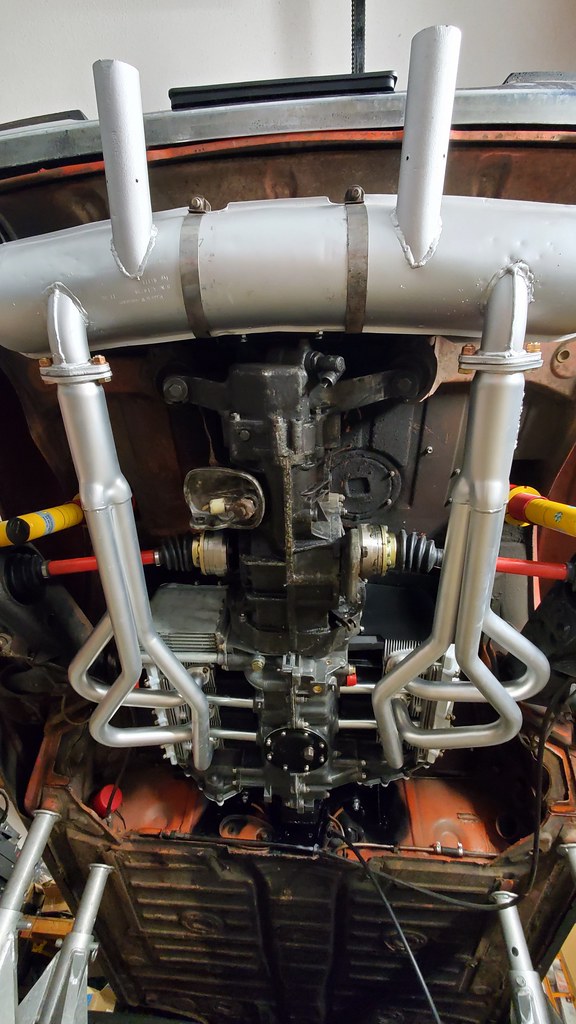
I put together an updated list of the major things I still need to buy or do for the swap, and it's a bit daunting...

-clutch,pressure plate, throwout bearing if needed
-oil tank and lines
-modification to be case mounted oil cooler for 914 fitment. plus cleaning and testing
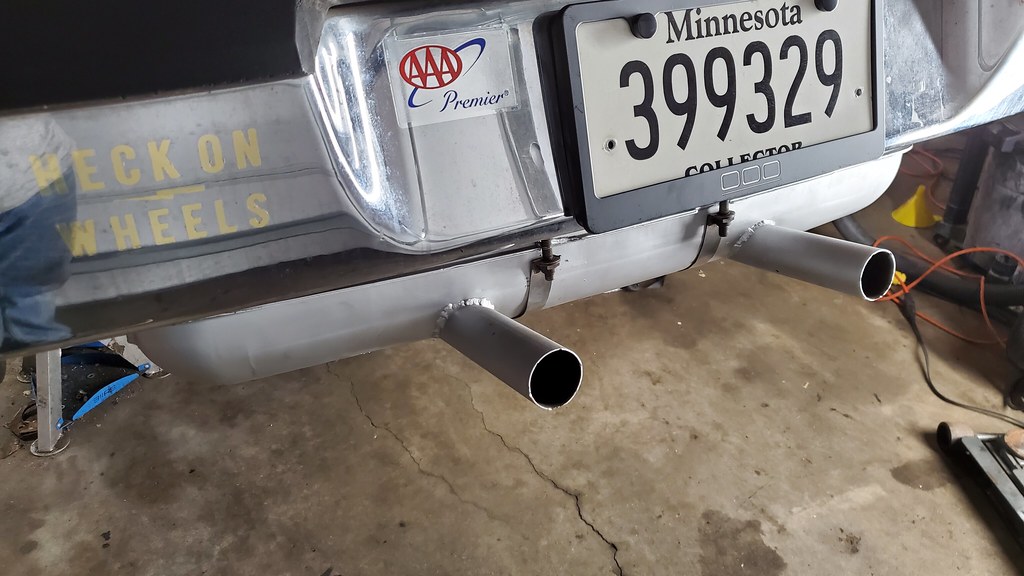
-headers and modification of my muffler that I bought from Ben McFarland
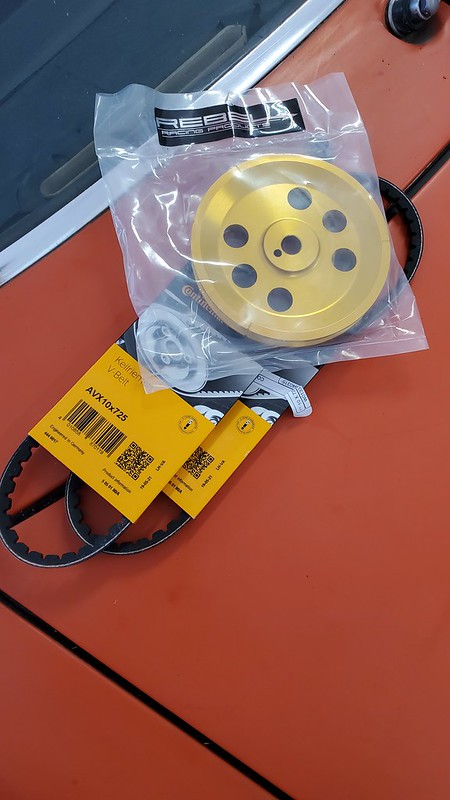
-new alternator
-alternator fan shroud/duct (the inner air guide piece)
-clean/inspect/hone my cylinders and pistons, replace if necessary
-piston rings
-spark plugs,wires,distributor cap and rotor
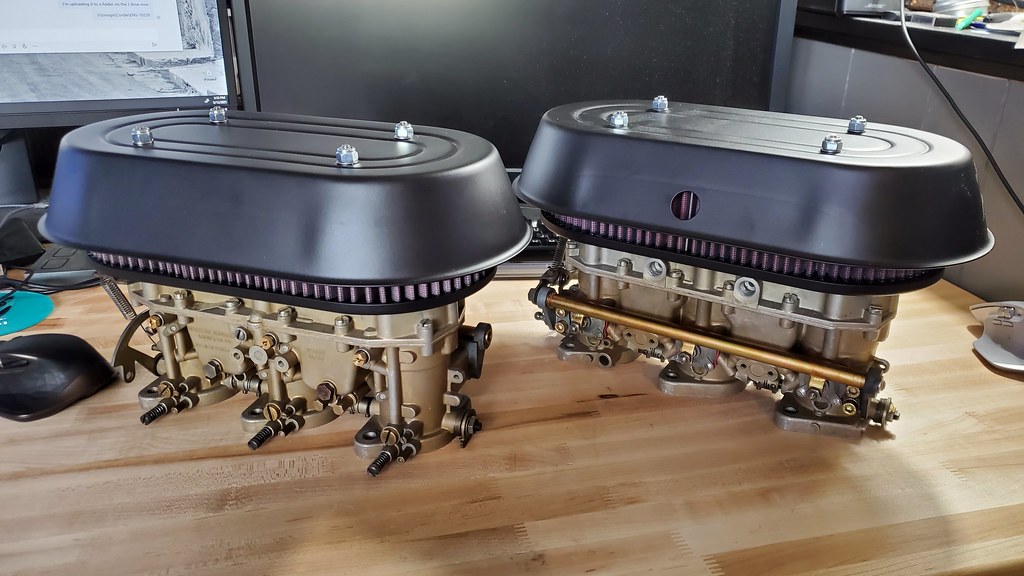
-air filters and hats for the Zeniths
-throttle linkage
-engine tins
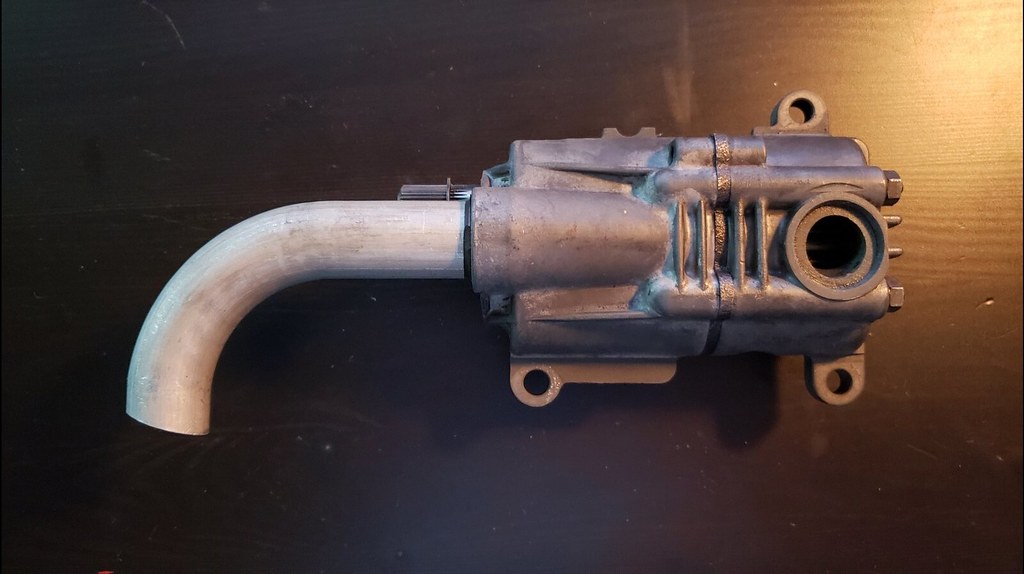
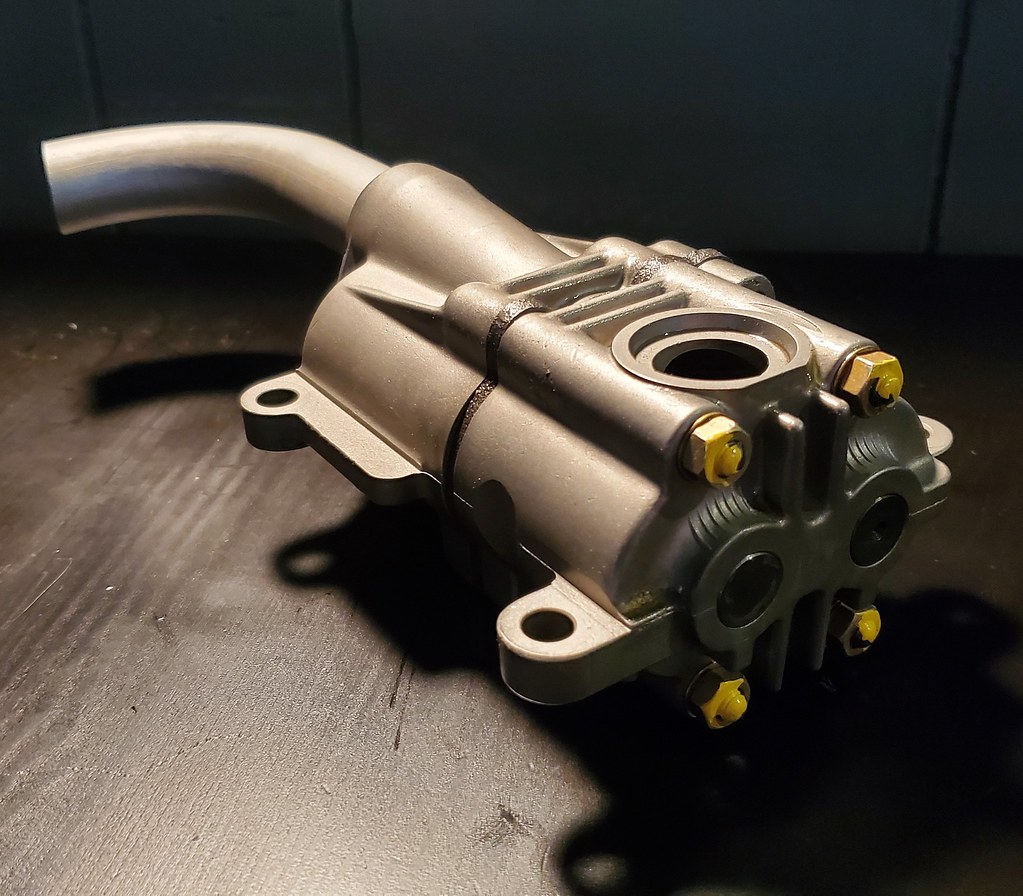
-get my oil pump rebuilt
-weld in my engine mount
-PUT IT ALL TOGETHER
...and on and on it goes.
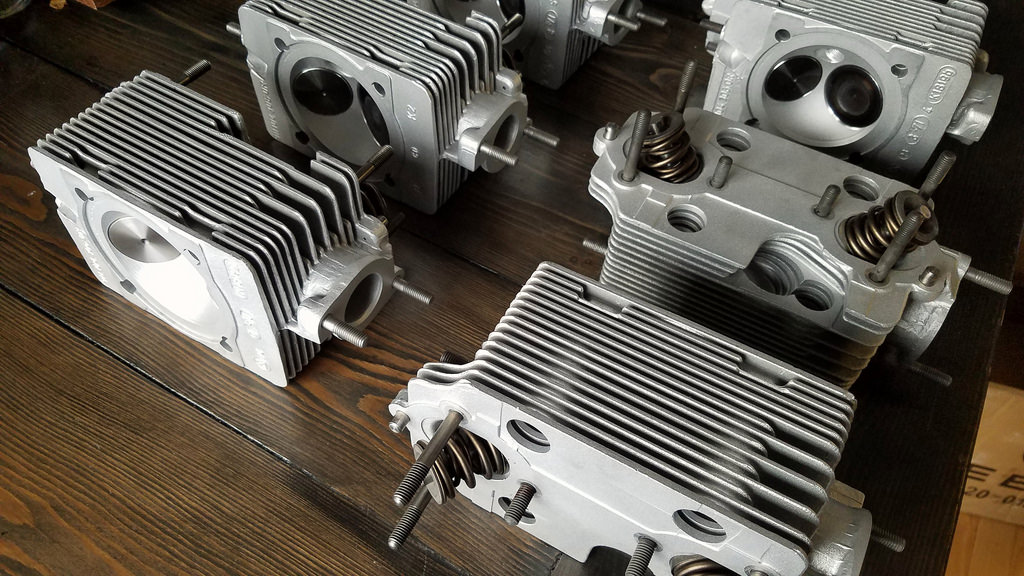

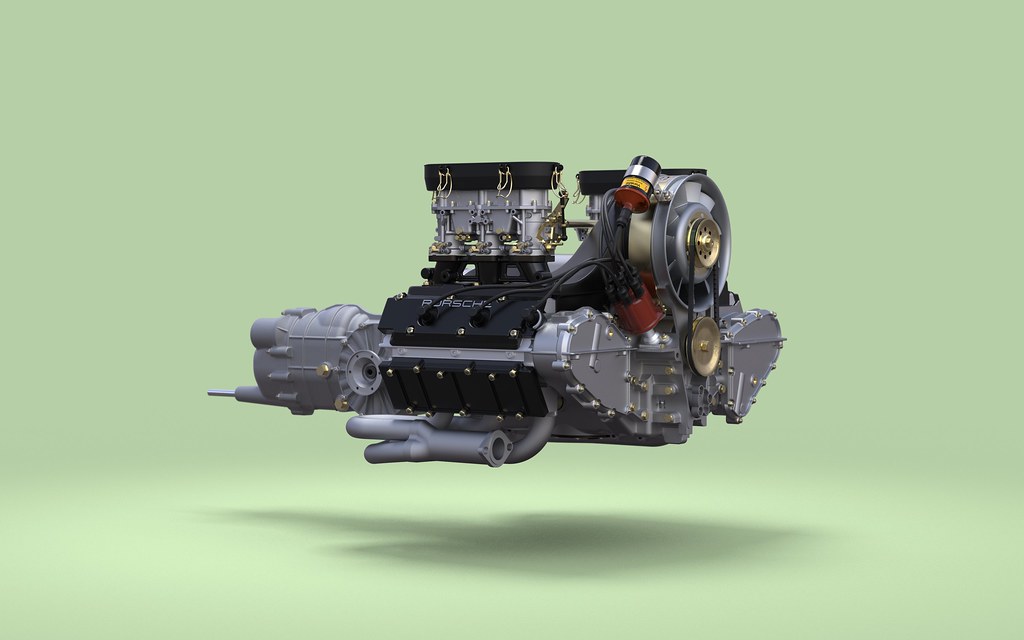
 They look like one of you awesome renderings!
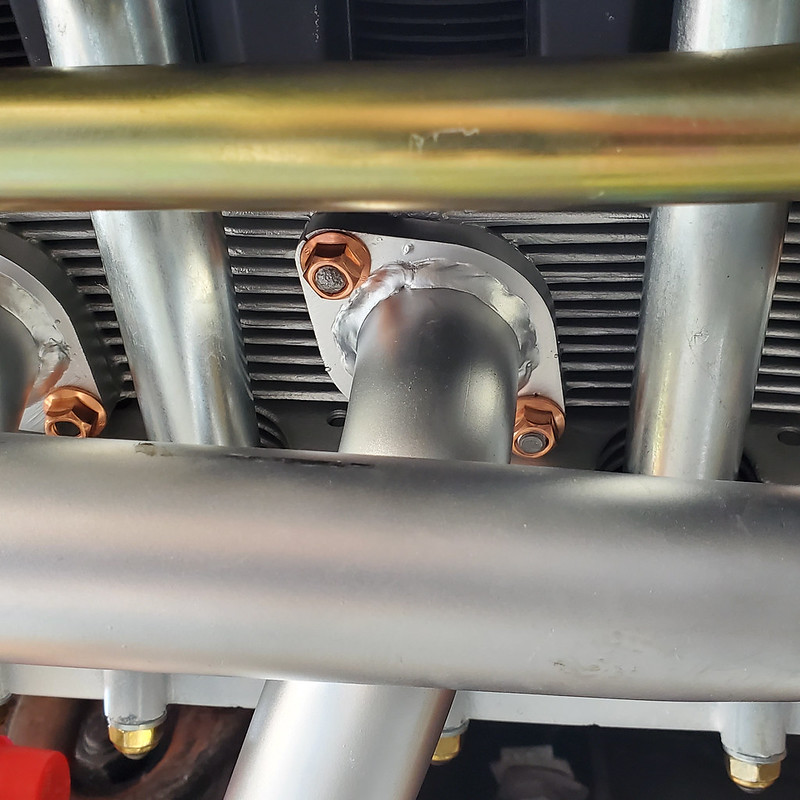
 They are real indeed! I brought them to the best local guy, he has a lot of experience with Porsche heads. Thankfully these were virgin, never touched by anyone other than the factory. New valves, guides, seals. I did buy a set of used springs. He tested them all they they were within spec and perfectly suitable for a stock 2.2T rebuild.

 .
.