It's been awhile so I thought I'd update.
From the previous posts:
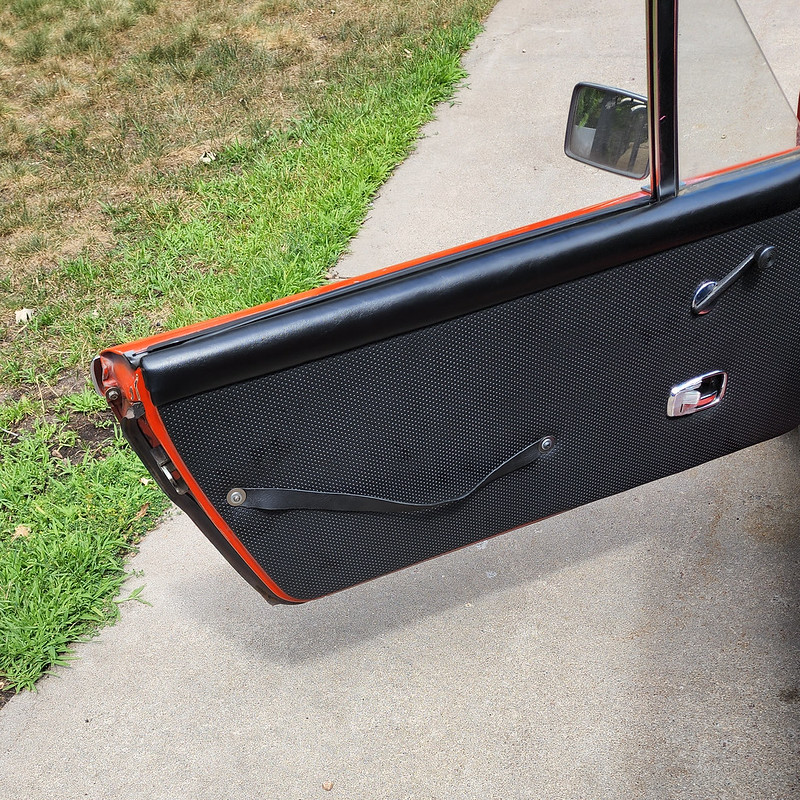
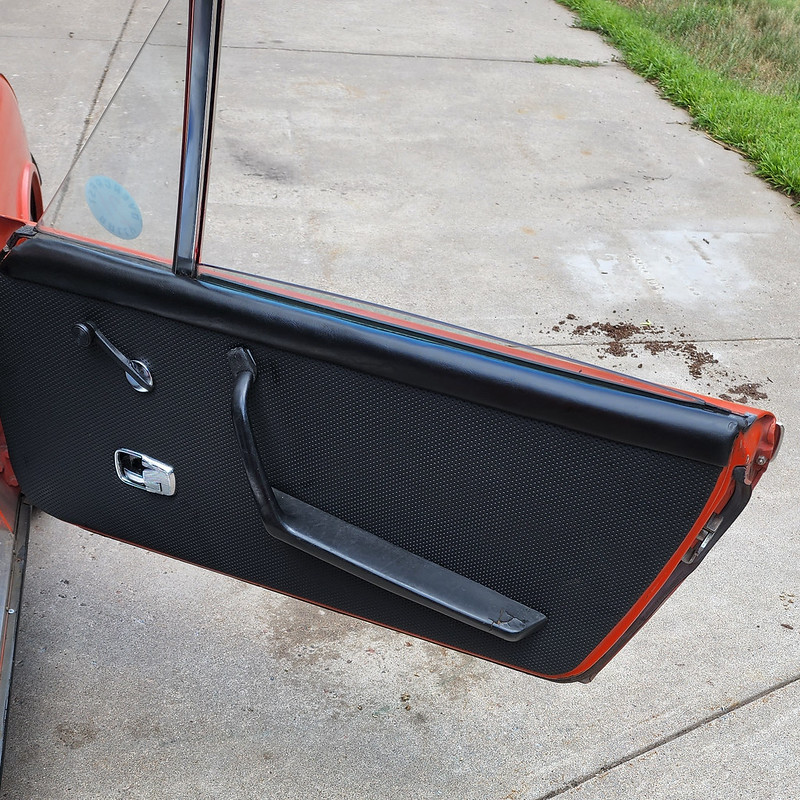
-new door glass was installed with new bits and bobs to keep it in place.
-offroad tire came in, and I mounted it on one of my spare wheels. Looks rad, but will certainly need fender mods to fit.
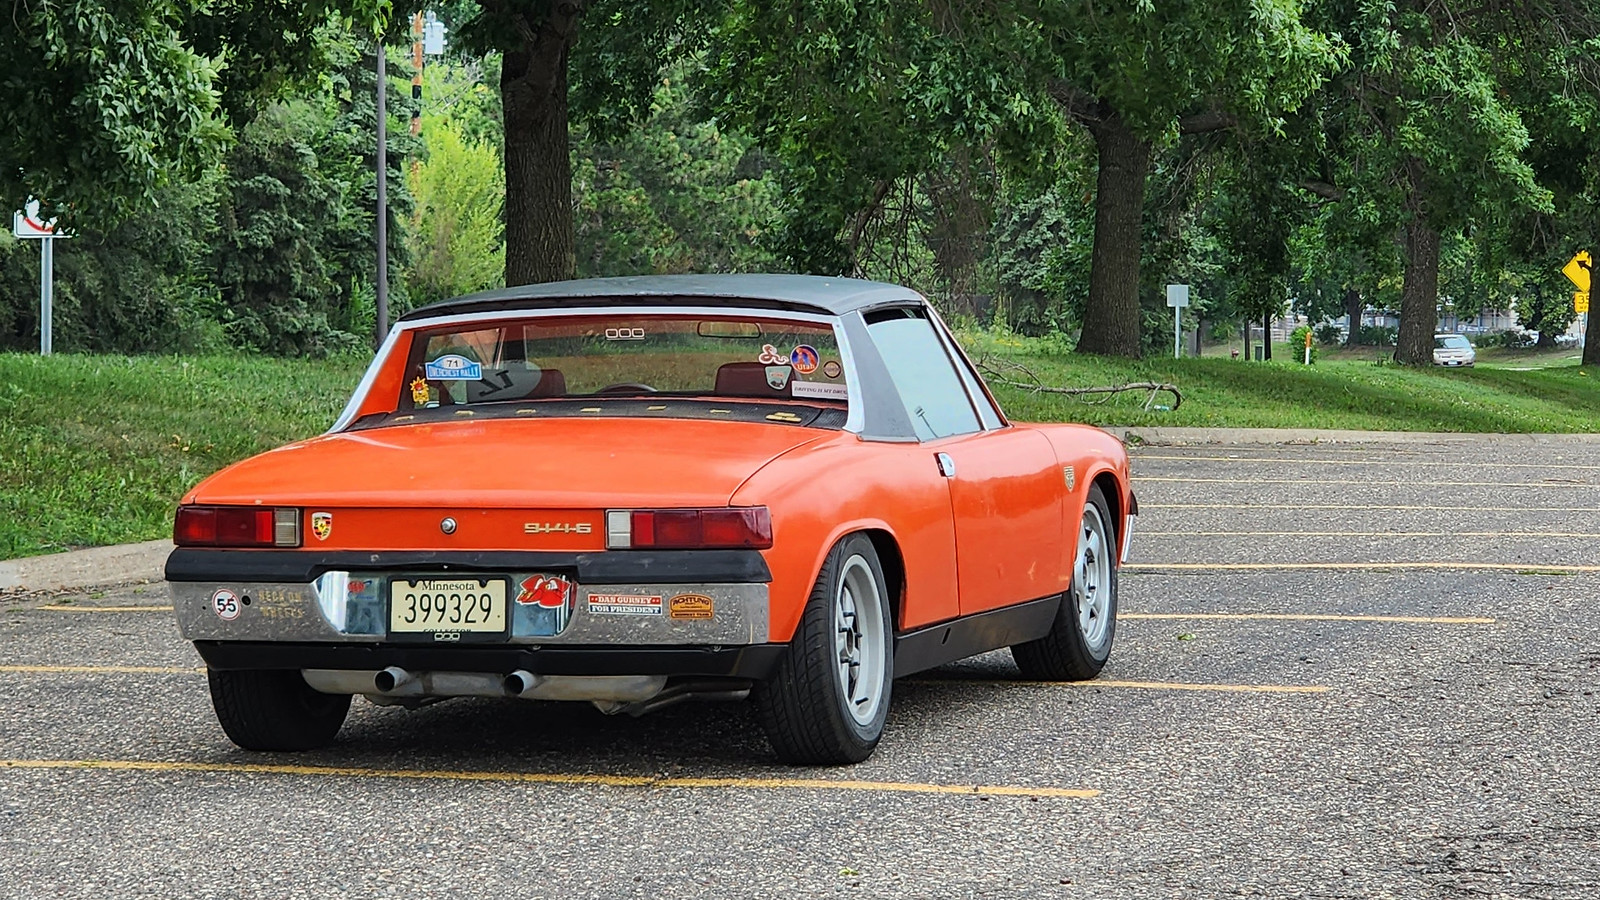
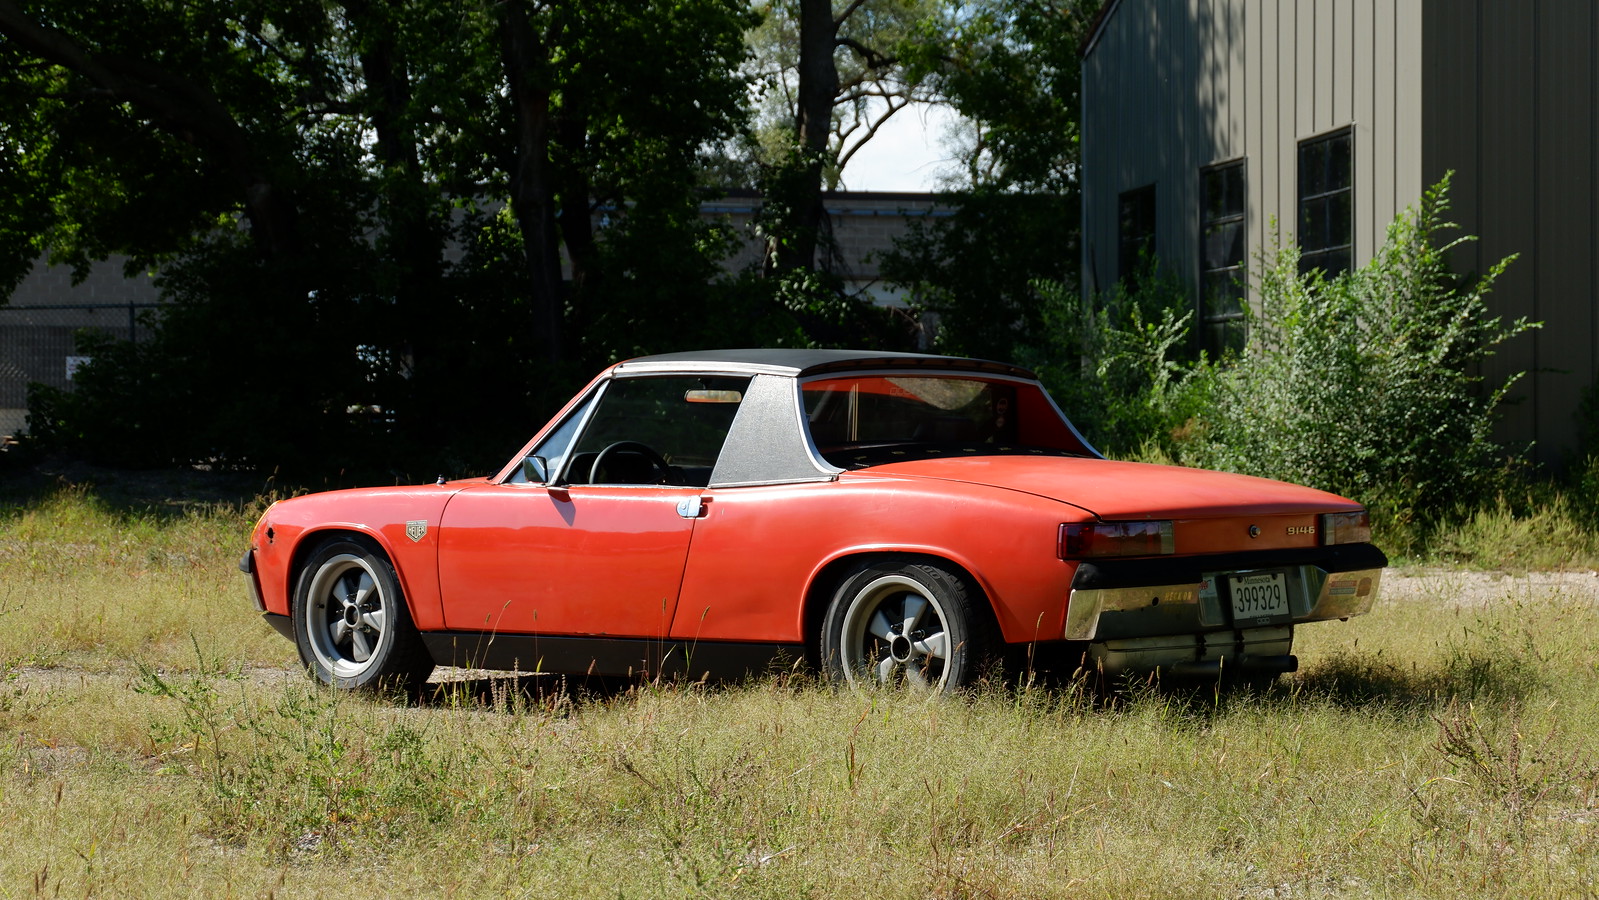
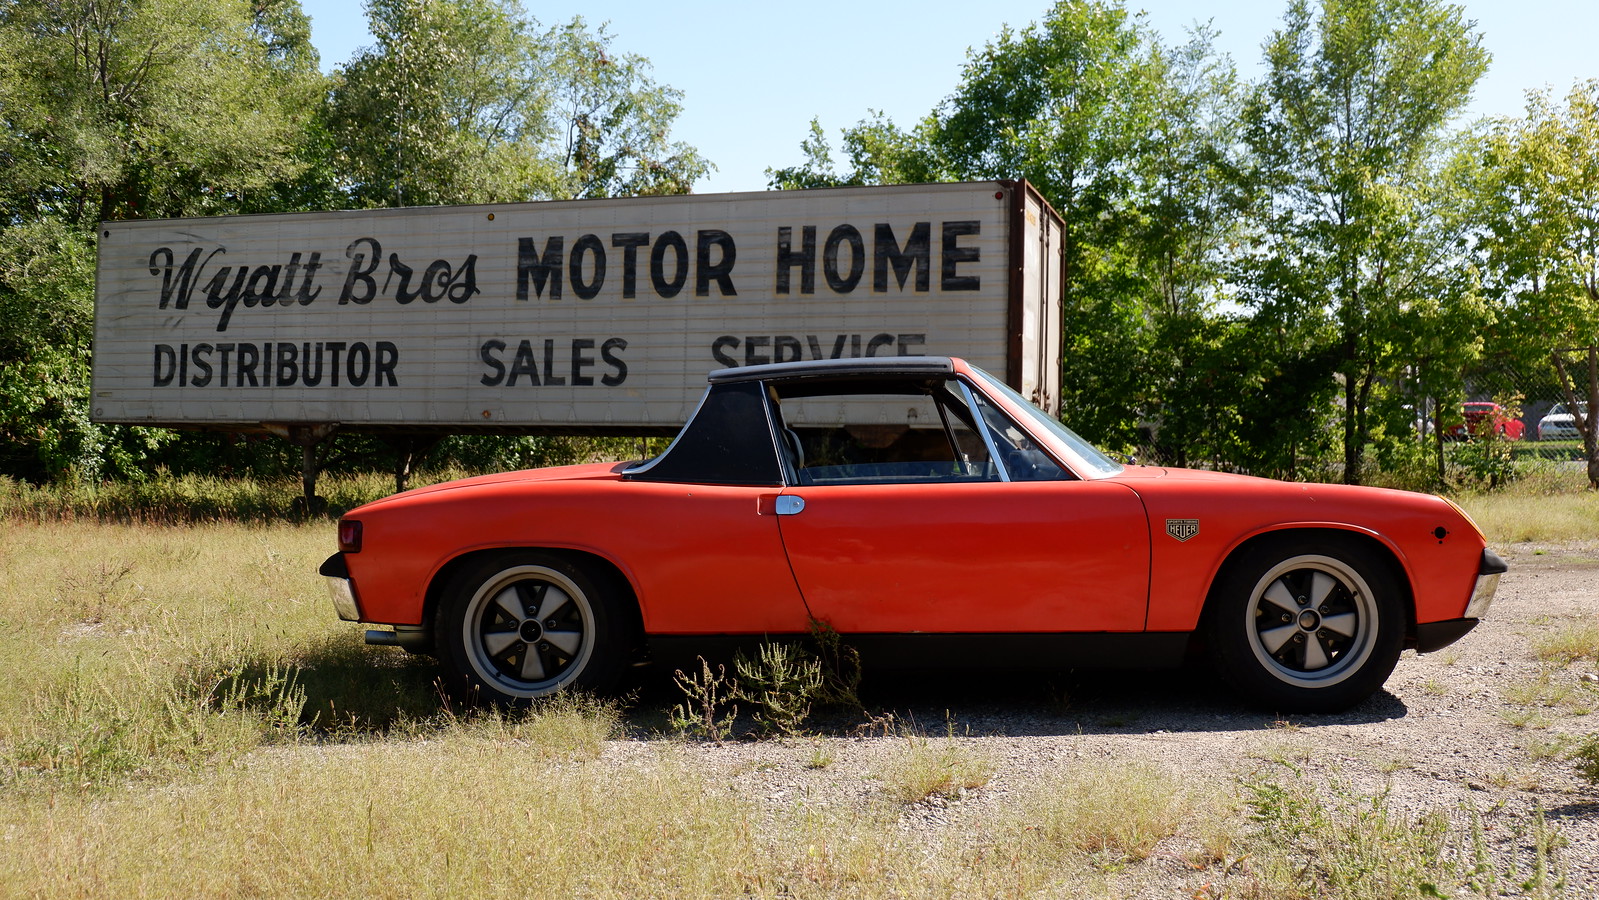
A week or two ago I decided to finally dig into fitting the fiberglass rear valance. Thankfully I just needed to do some cutting and squeezing to make it fit. It's not perfect, but on my car, it would be out of place if it was.
I must say though, once upon a time I preferred all 914s without a rear valance, especially when running a dual exhaust tip muffler. I was talking with
@horizontally-opposed and he mentioned he preferred them on narrow-body cars, but without on flared GTs. Months or years later I came around, I really do like the look of a valance on mine now.
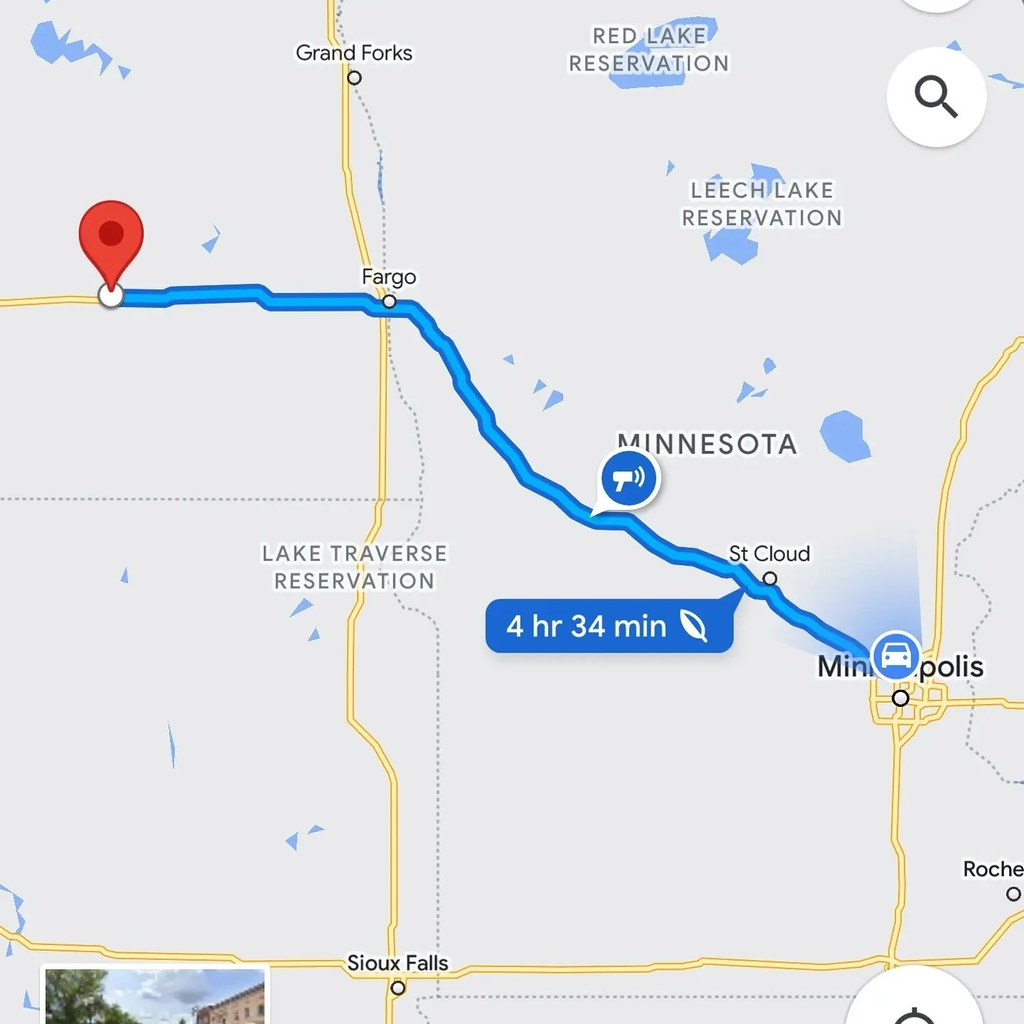
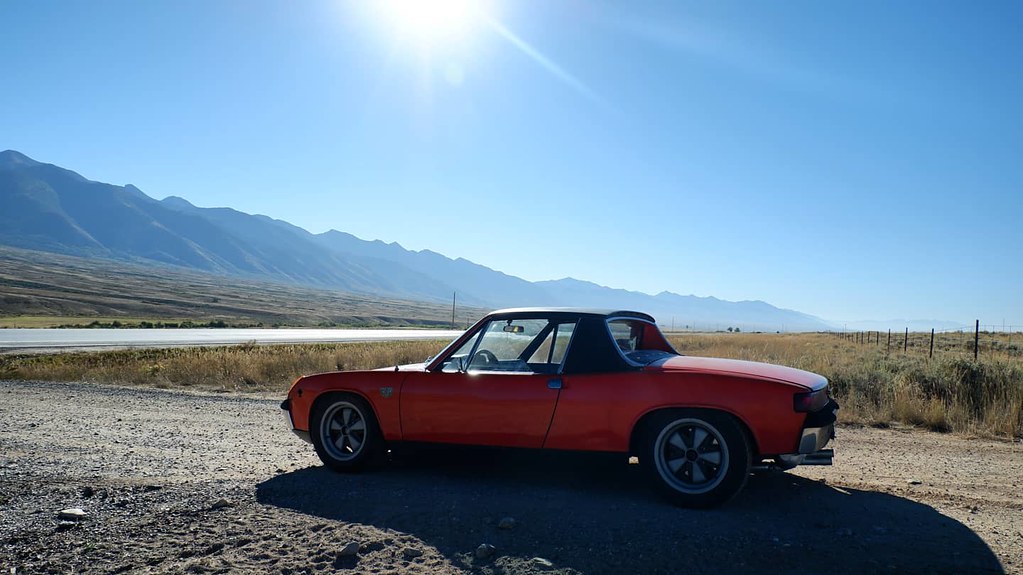
Now, this summer I had some big plans for the 914. I was going to flat tow it out to Maine for a family vacation, and then I was going to flat tow it out to Oregon for the Overcrest Rally. Hit BOTH COASTS in a year! Well... things changed as sometimes they do. My tow rig (2009 Range Rover) has some intermittent air-con issues, and I didn't want to submit my wife and kid to 6 days in a hot car. So we ended up flying out instead.
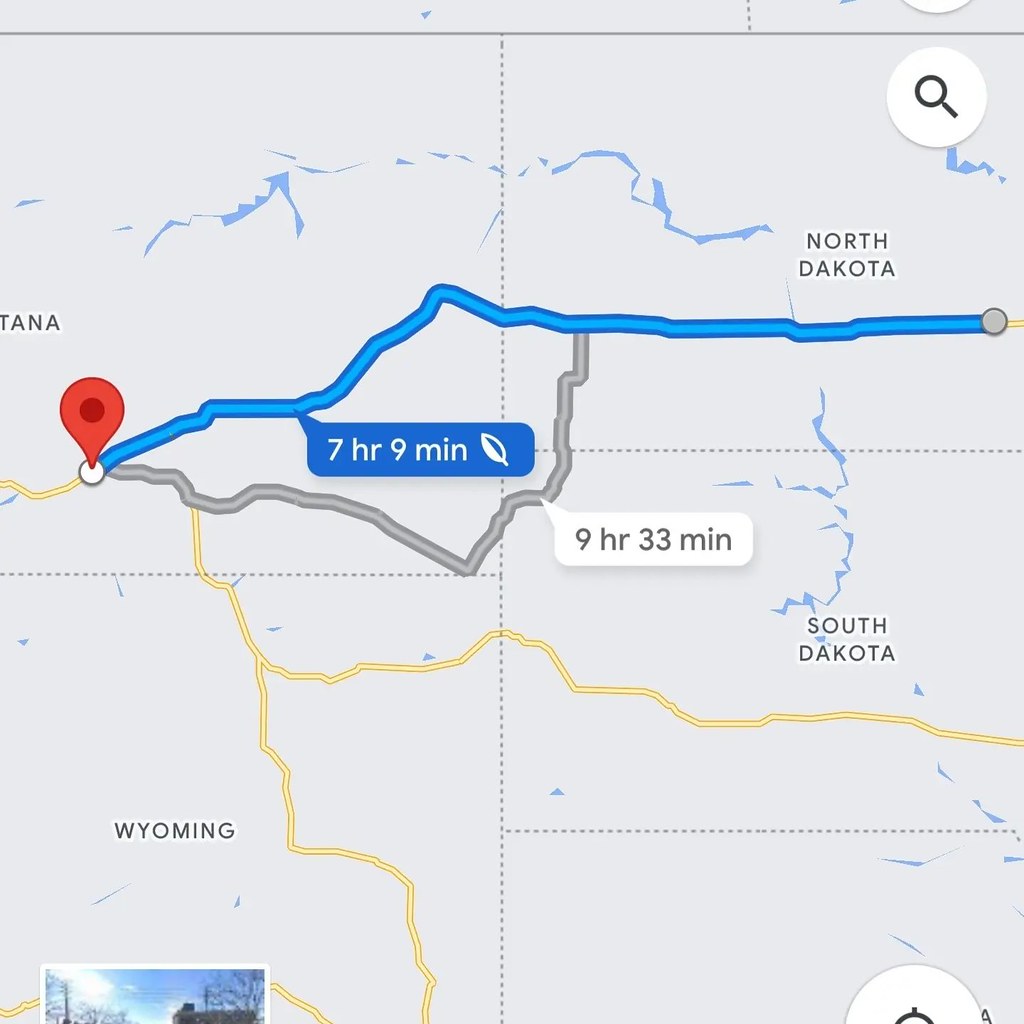
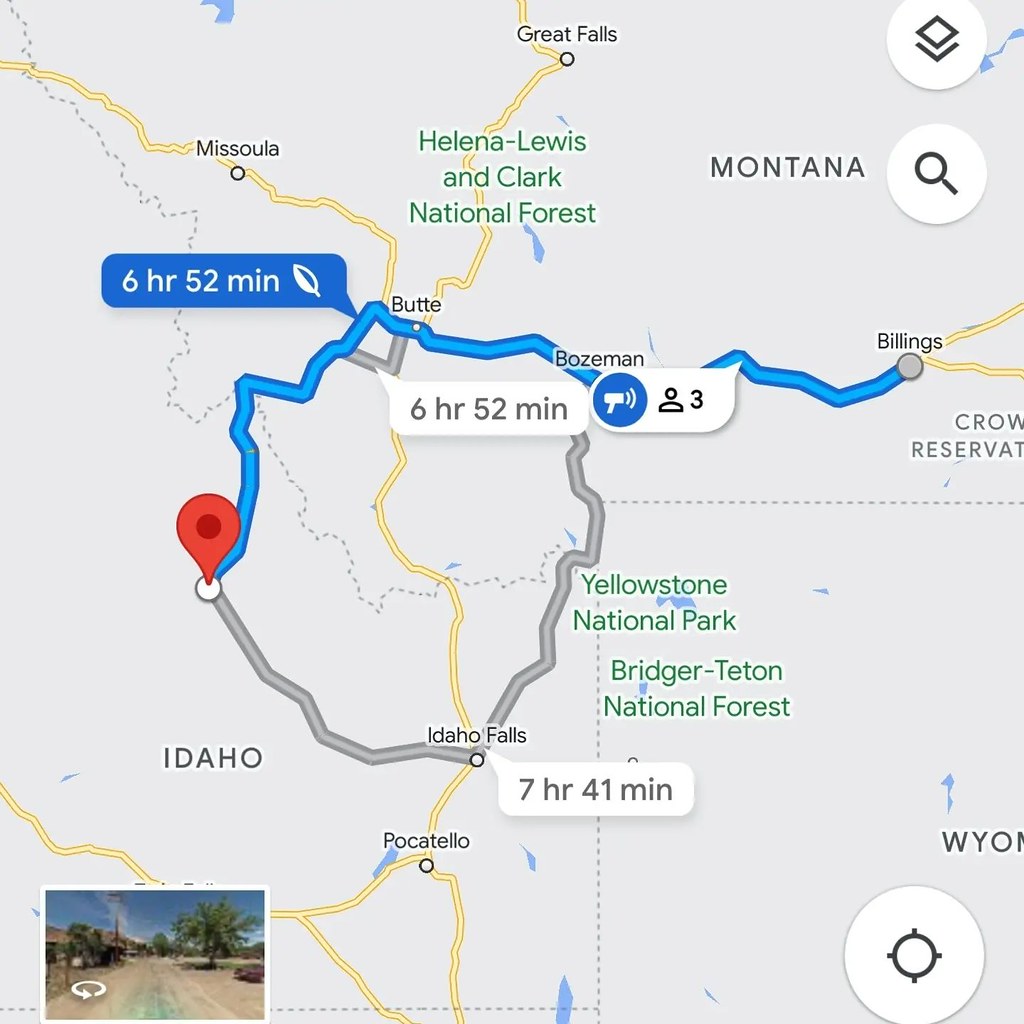
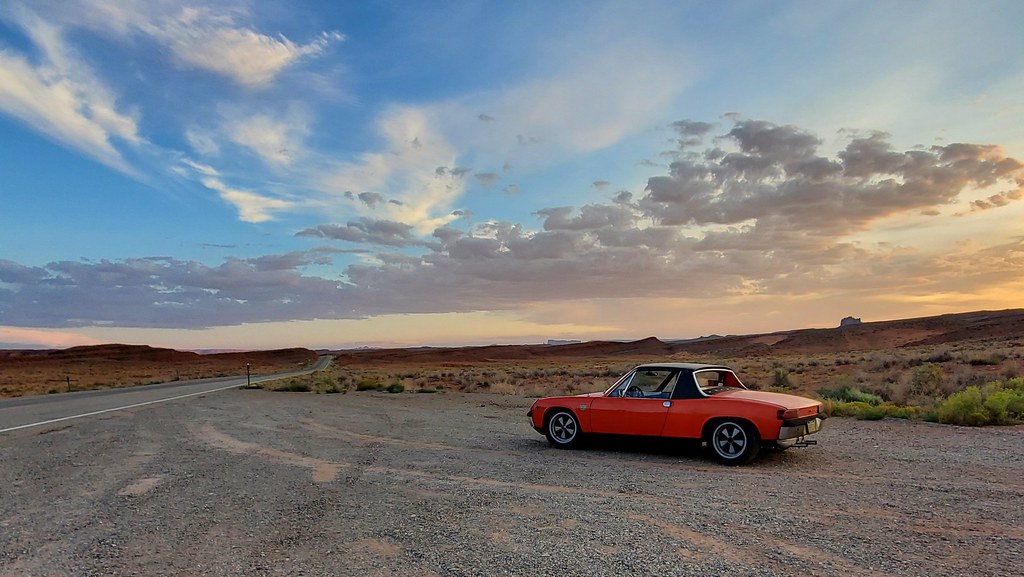
Then I decided I didn't want to drive through the mountains for the OCRally in October, and was going to do a solo trip down to Tennessee and explore that region... buuttttt then I decided to scrap that too and just do Rennsport Reunion.
TL;DR - no big road trips this year
Now, to bring the project up to date.
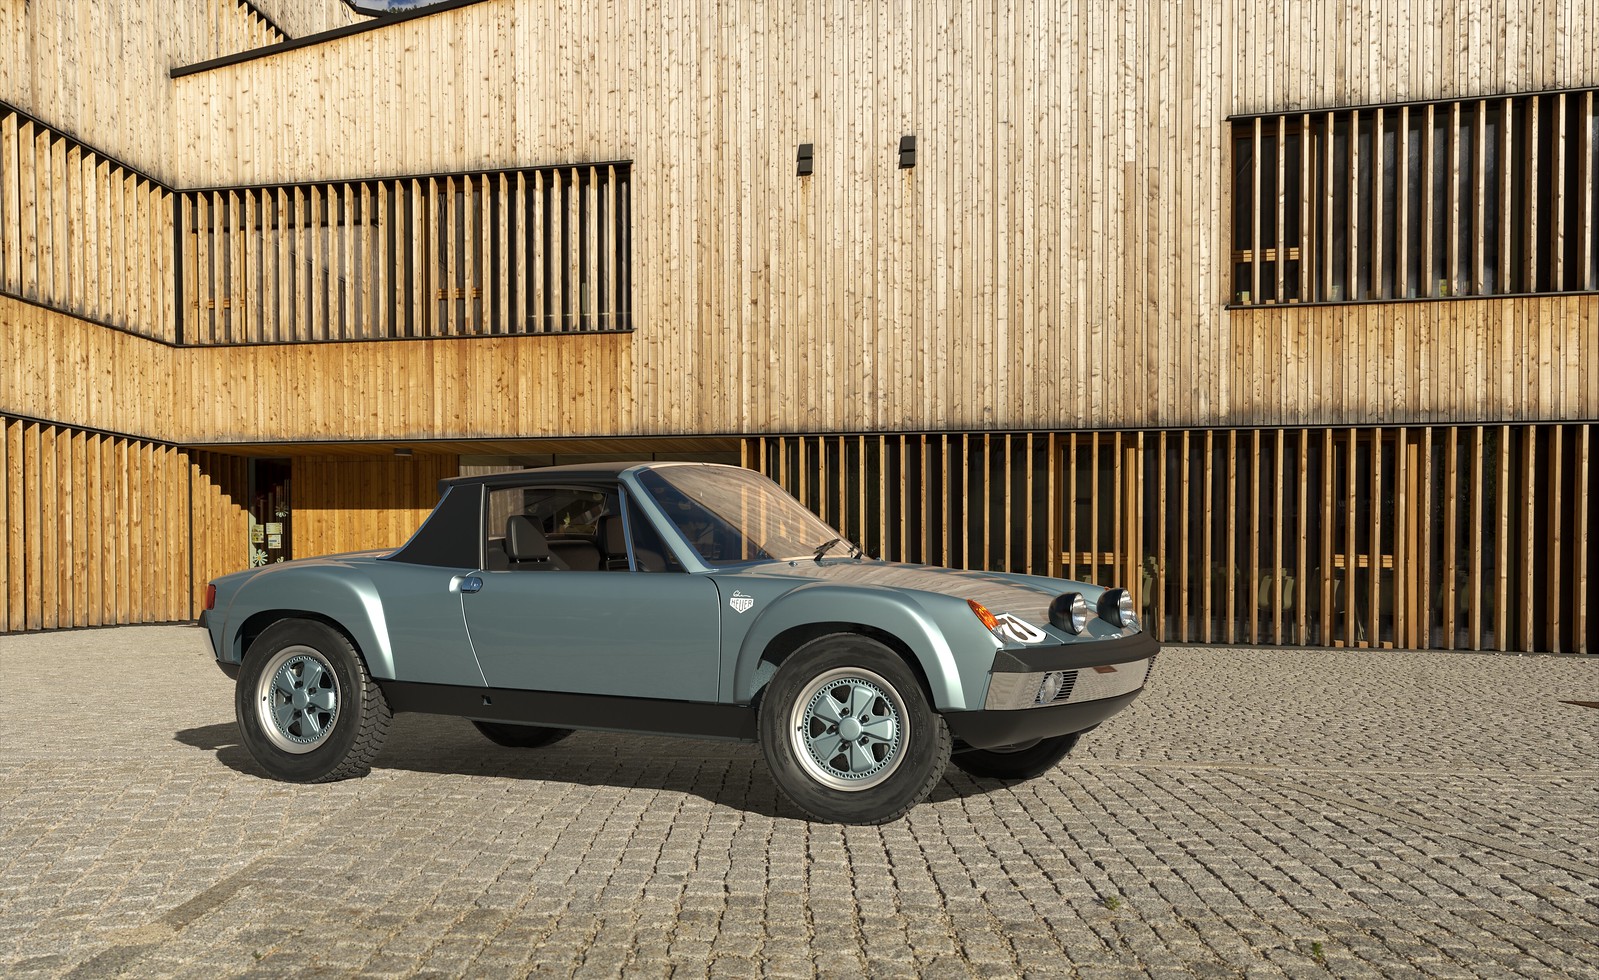
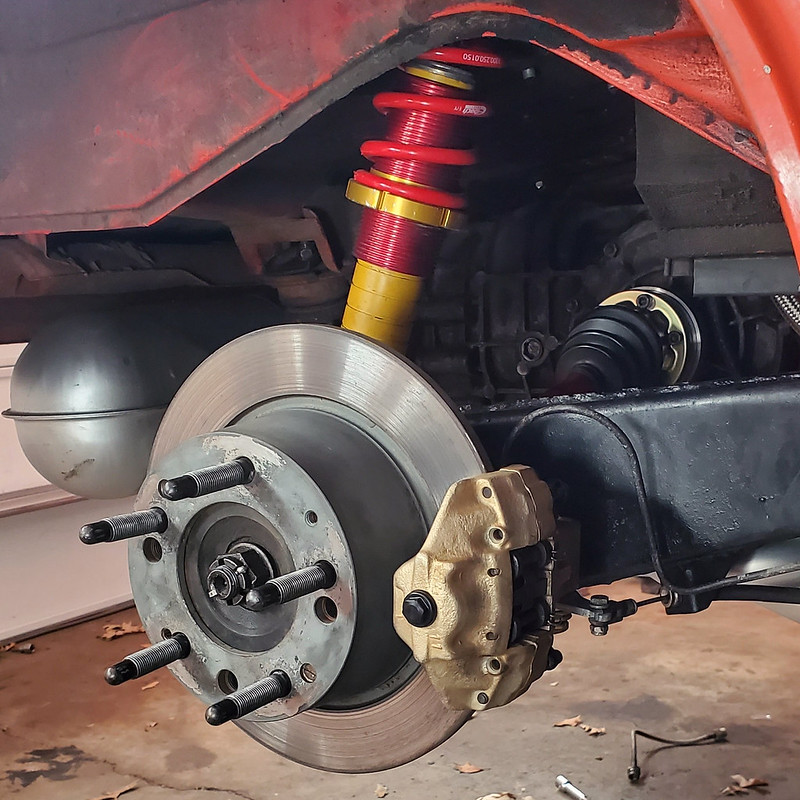
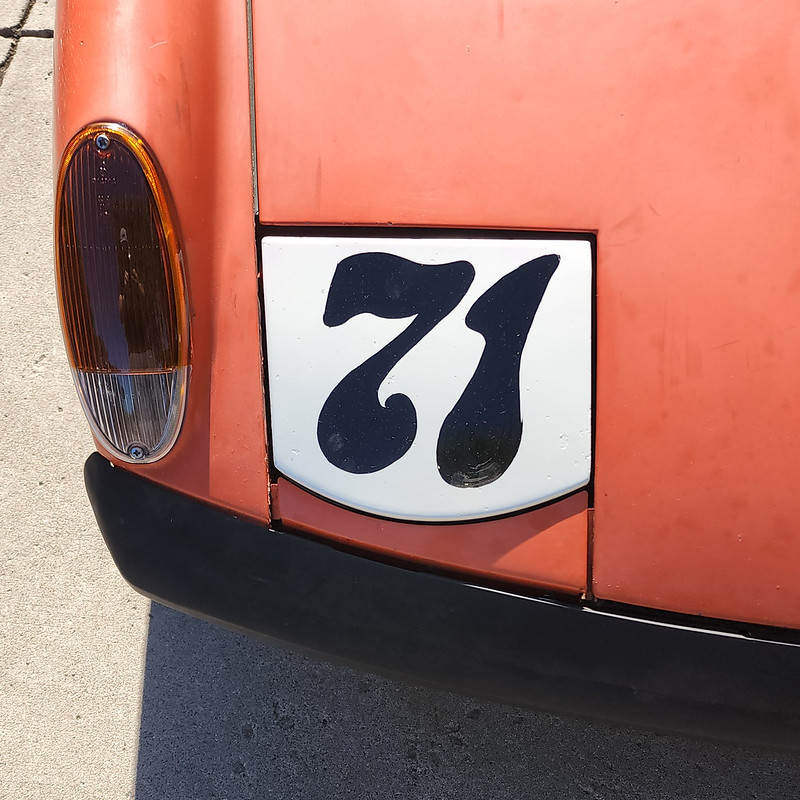
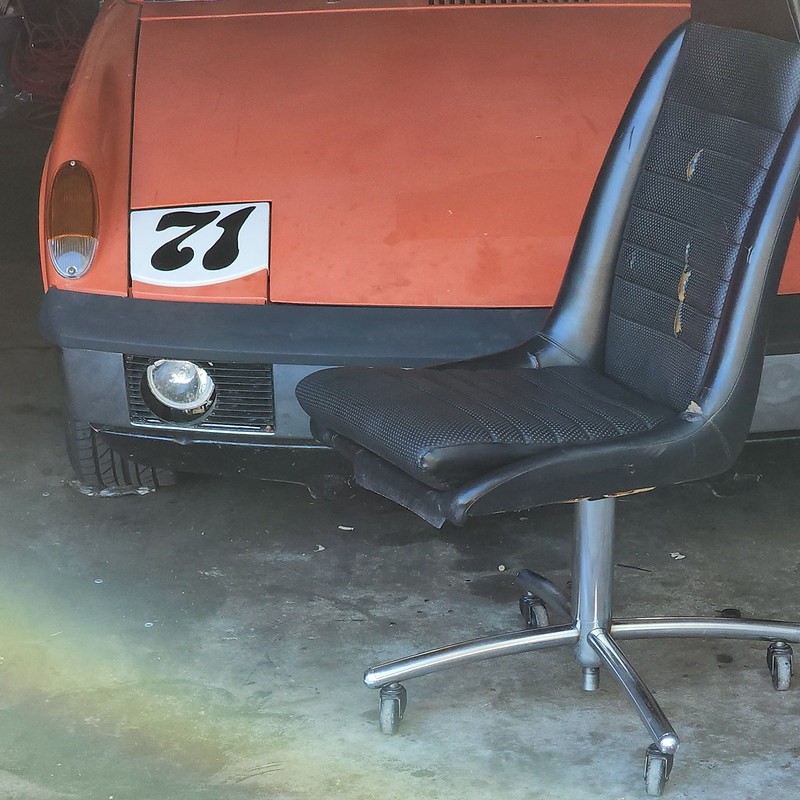
In preparation for the trips I wont take, I installed a flat-tow bracket, LE-style front valance, and while I was in there did 911SC front control arms and subframe to be able to mount an under-body sway bar. This bumped by torsion bars to 19mm from 17mm, a change I haven't really noticed.
I went down a rabbit hole of trying to mount retractable seatbelts in an early car. Purchased the AA ones, they're bad, hot garbage. Took them out and found some from an old Beetle that had an extension bracket. Those almost worked, but my car needed to be on at least a little of a decline or the belts would lock up, so I took those out and put my fixed belts back in.
I noticed that the car was flexing a bit more than it used to, and the drivers door is harder to latch. That long stretch of bumpy dirt road on last years Overcrest Rally did me dirty in more ways than one I fear. Climbing underneath it, there are some spots of increasing concern. So, next year may be a year of bodywork for this old gal. My current plan is to cut and replace any bad metal, clean up anything that can be saved, and re-evaluate once I'm in. If it isn't too terrible I'll do inner long stiffening as well as the metal patchwork. And then since I'll be doing metal work I'll get the flares made and installed, and paint...
So, all in all kind of a bummer of a year for my 914.


 .
.


![popcorn[1].gif](http://www.914world.com/bbs2/style_emoticons/default/popcorn[1].gif)
 Will be corrected next time I drop the motor (likely for my next valve adjustment...)
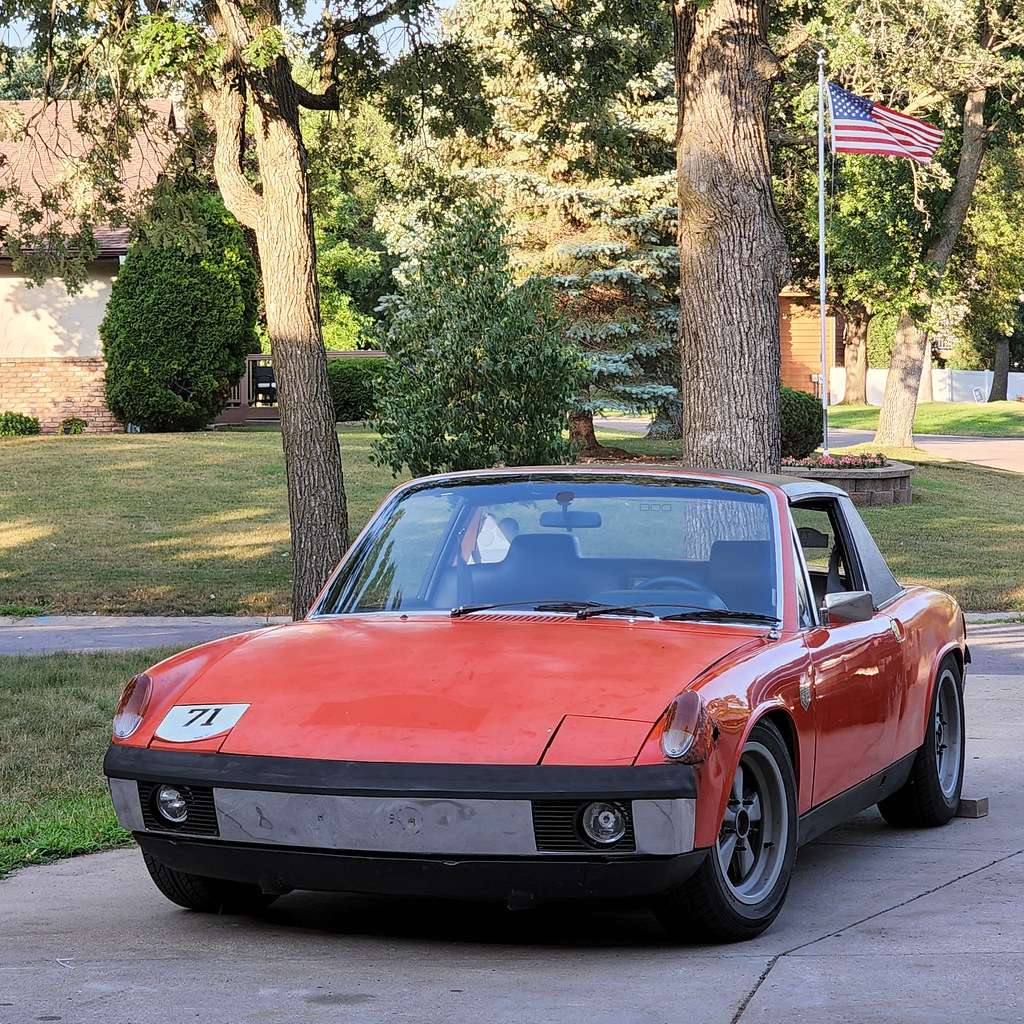

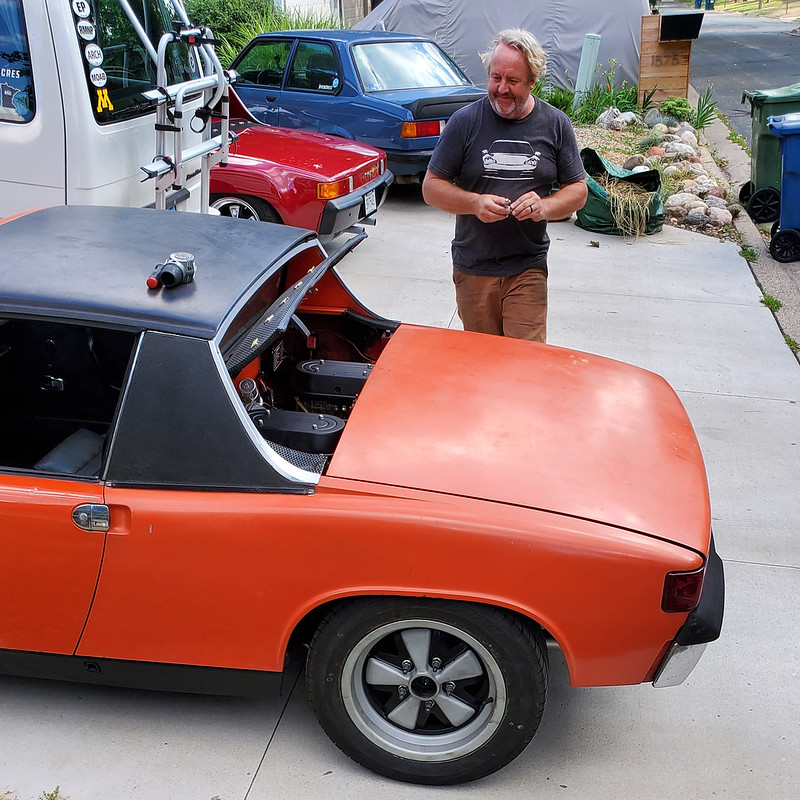
 I love every single 914, every build. But this car is truly one of my favorites, and it helps that Glen takes the time to share his cars story!