That is a nice project.

They look good.

John
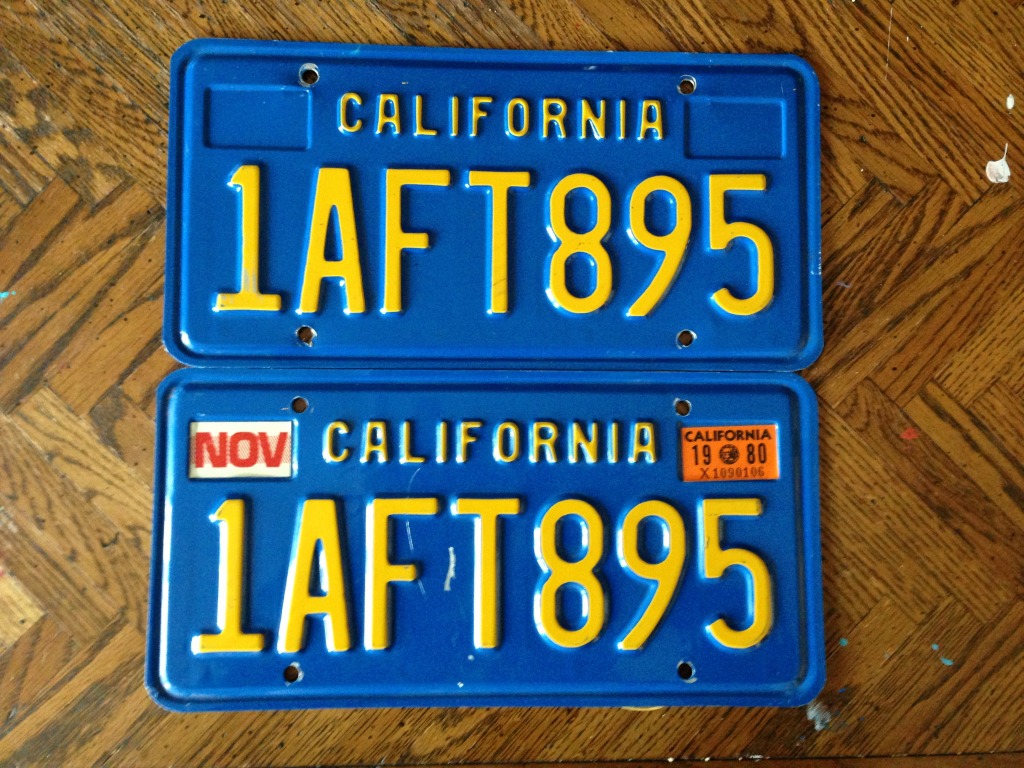
 but only one So I just got reg.
 but only one So I just got reg.


![popcorn[1].gif](http://www.914world.com/bbs2/style_emoticons/default/popcorn[1].gif)


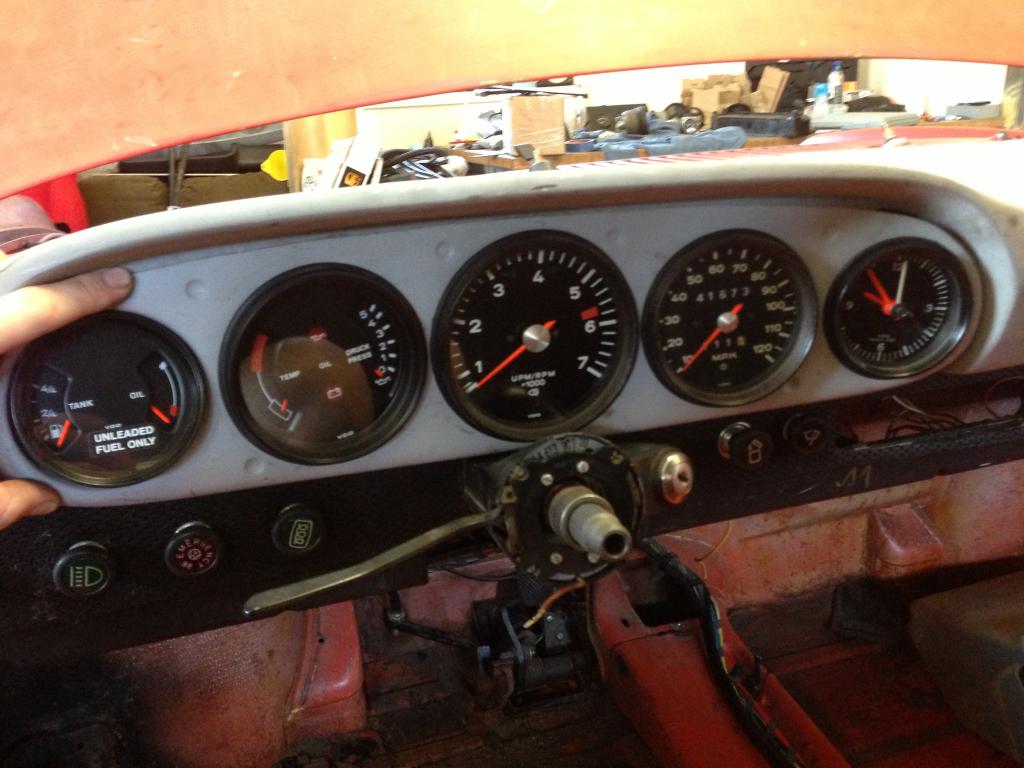

 and welding to make that happen. Either way i need to got through that article since it talks about wiring the new gauges too!! need to know that for sure!! and welding to make that happen. Either way i need to got through that article since it talks about wiring the new gauges too!! need to know that for sure!! and welding to make that happen. Either way i need to got through that article since it talks about wiring the new gauges too!! need to know that for sure!!
 and welding to make that happen. Either way i need to got through that article since it talks about wiring the new gauges too!! need to know that for sure!! and welding to make that happen. Either way i need to got through that article since it talks about wiring the new gauges too!! need to know that for sure!!
 and welding to make that happen. Either way i need to got through that article since it talks about wiring the new gauges too!! need to know that for sure!!
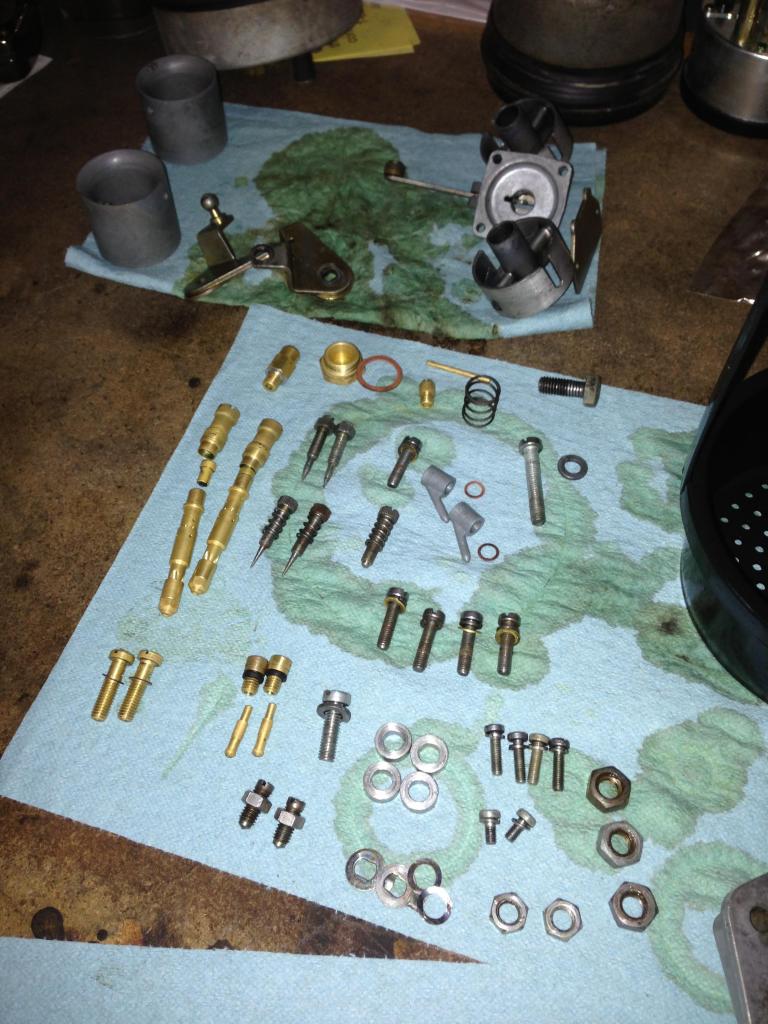


 Ethan came over and gave me a big hand in getting me on my way with the engine, YAAAAAY.


