Help - Search - Members - Calendar
Full Version: Project Time! 71 garage build
914World.com > The 914 Forums > 914World Garage
Pages: 1, 2, 3, 4, 5, 6
dfelz
So today I bought a new shell for my project build, and I am extremely happy with my purchase! The body is in wonderful condition, perfectly straight, clean title, very minimal rust (and the rust it does have can be easily fixed without having to purchase RD pieces), and most importantly it was the right price first.gif

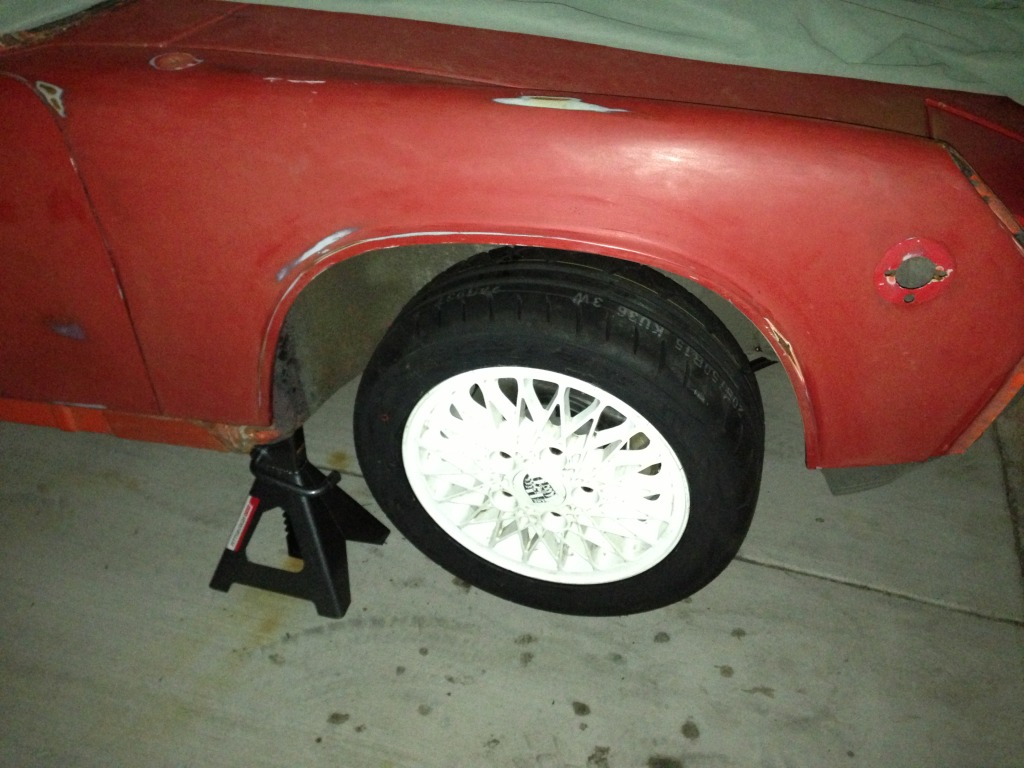
Looks better in person but here are some pics.
IPB Image

IPB Image

IPB Image

IPB Image

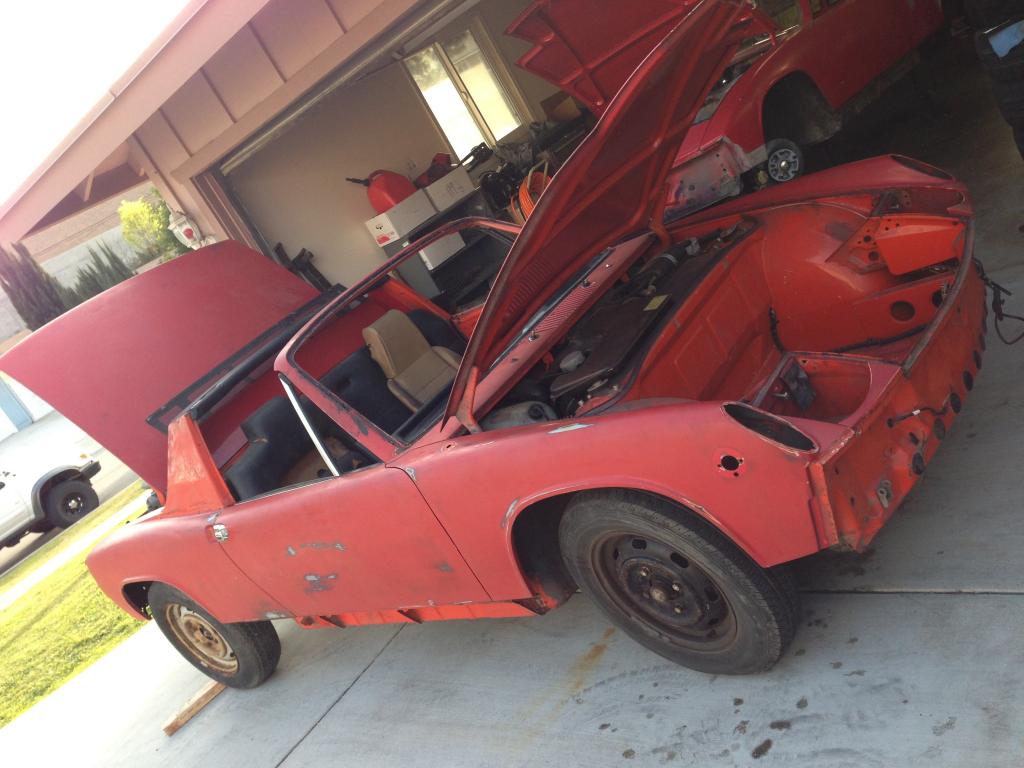
Already swapped on the tail lights from my 72 parts car (the one in the garage)
IPB Image

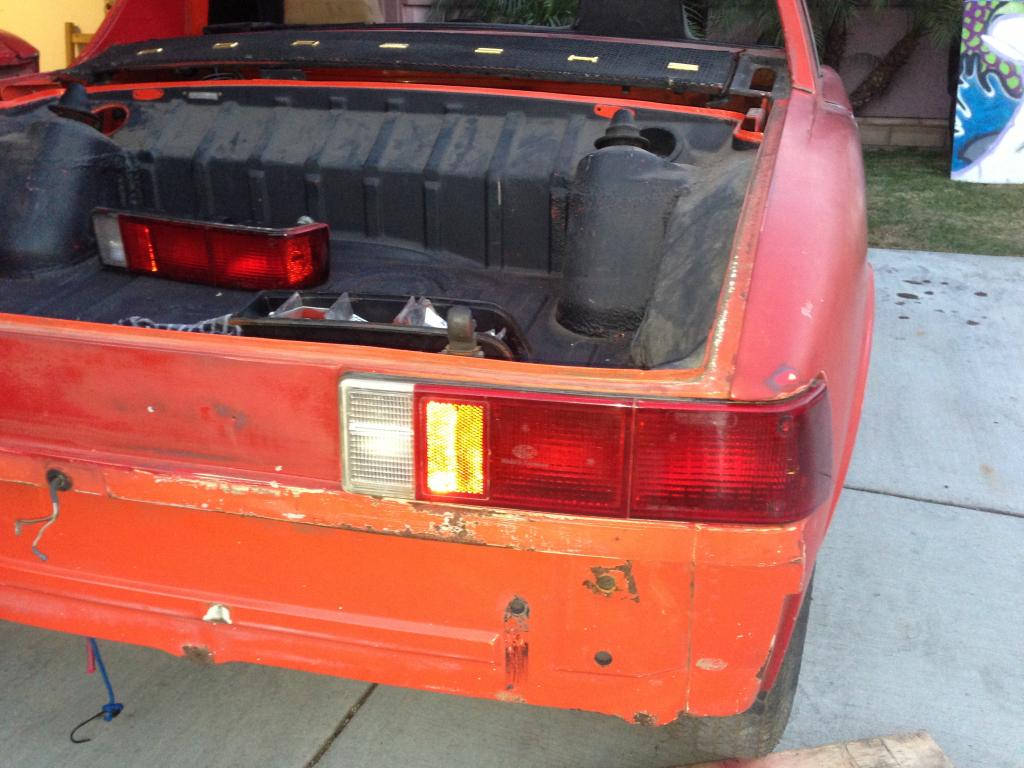
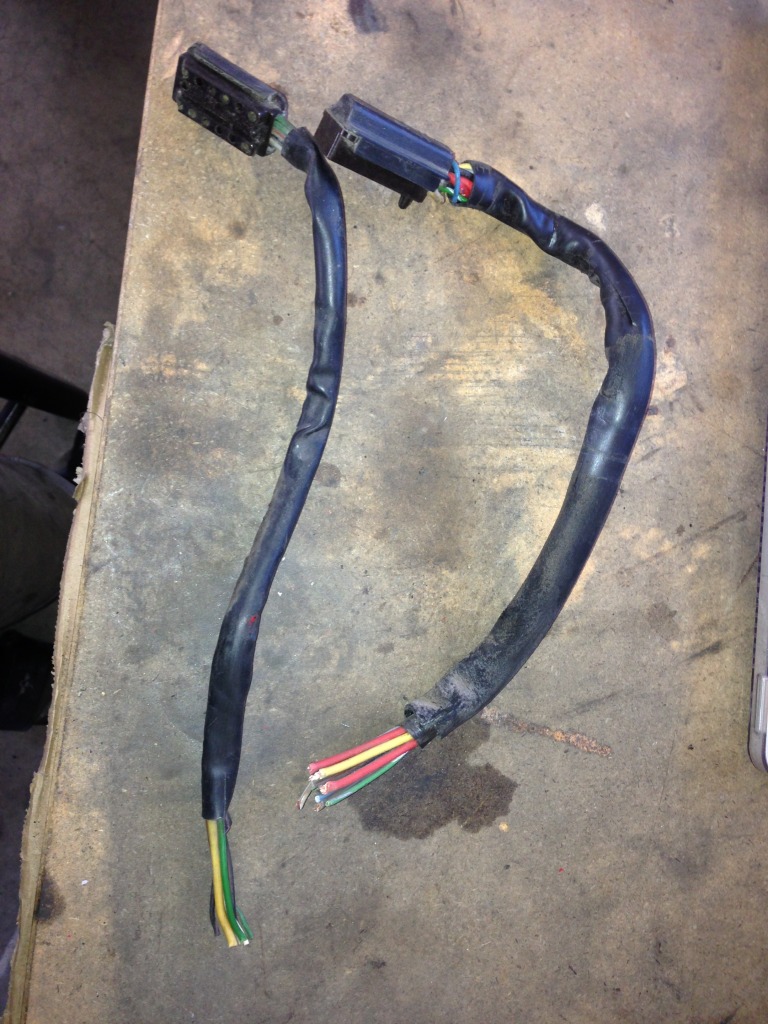
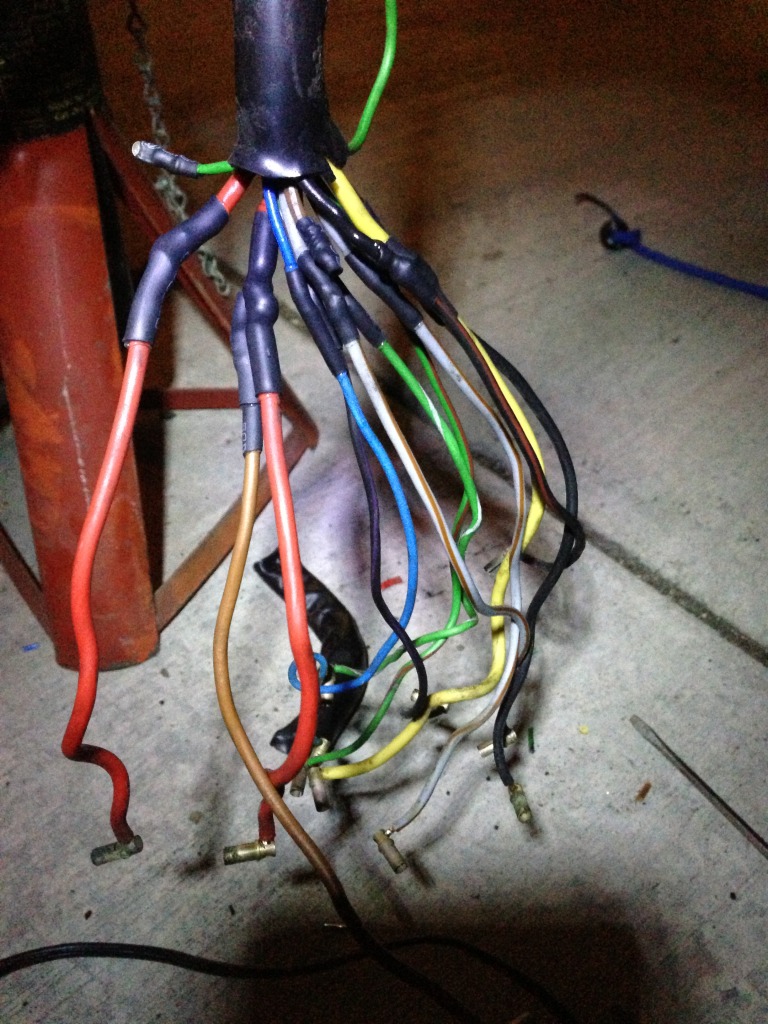
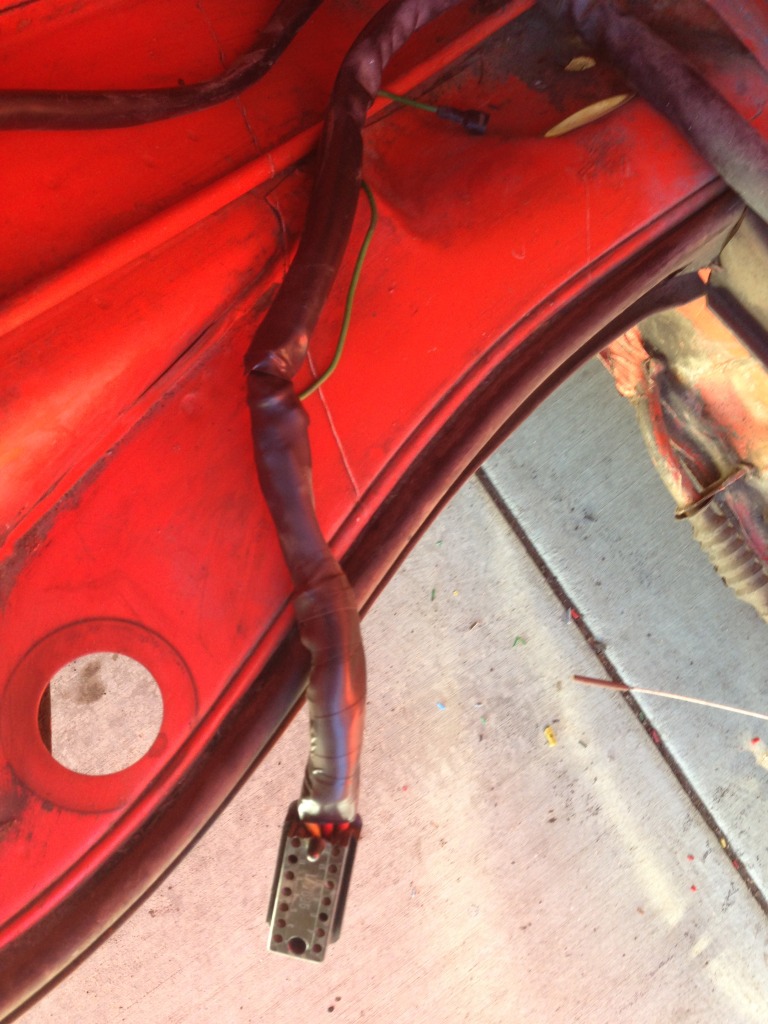
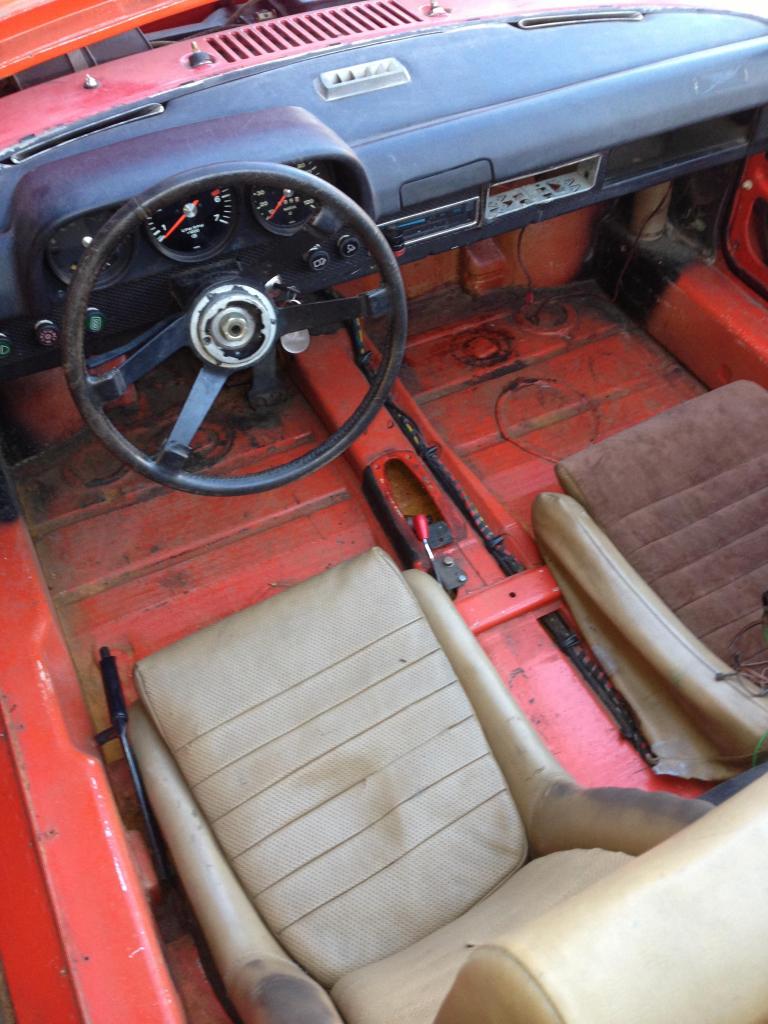
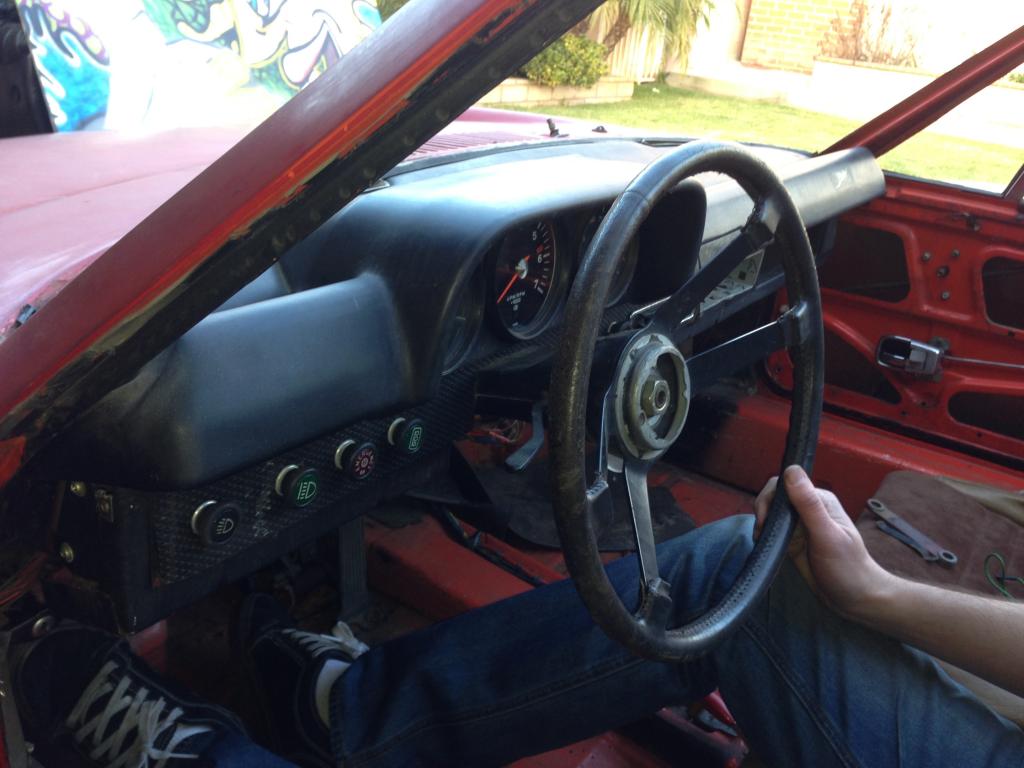
Car has no front or rear windshield or engine/trans, but thats what parts cars are for. The car does have all the wiring in tact and non-molested, yay. So i have all of the parts needed to put this guy on the road plus lots of extras that will be added at a later point (one piece front fiberglass flared clip, rear 7" FG flairs, FG 911 dash with 5 gage pod..etc)

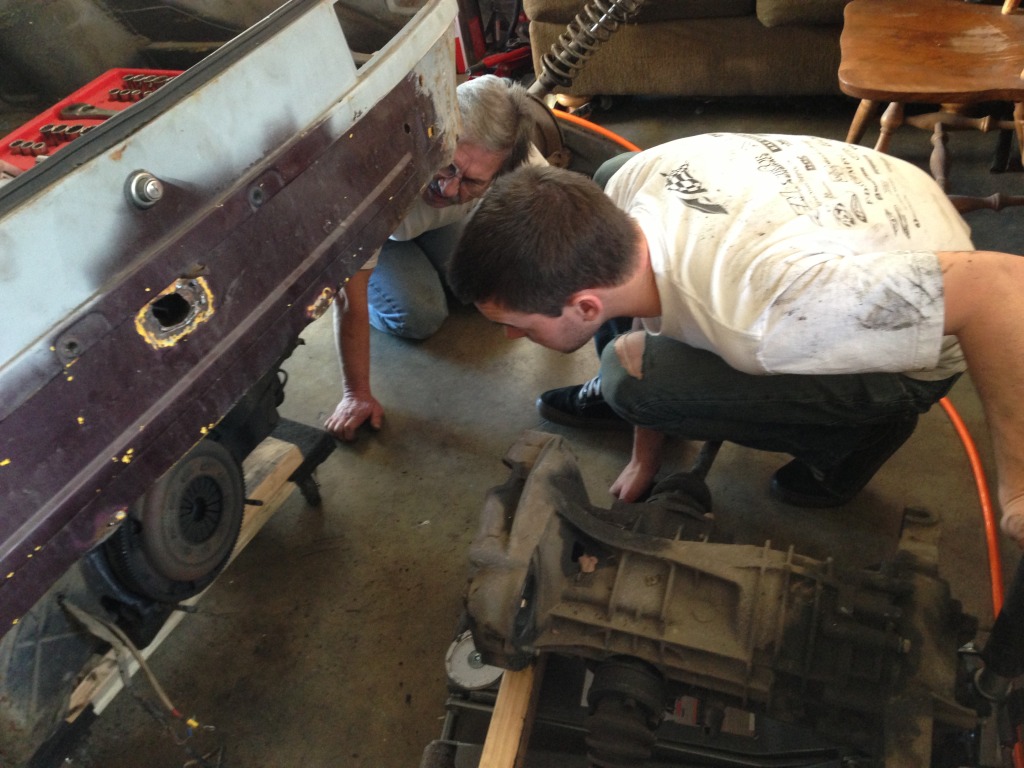
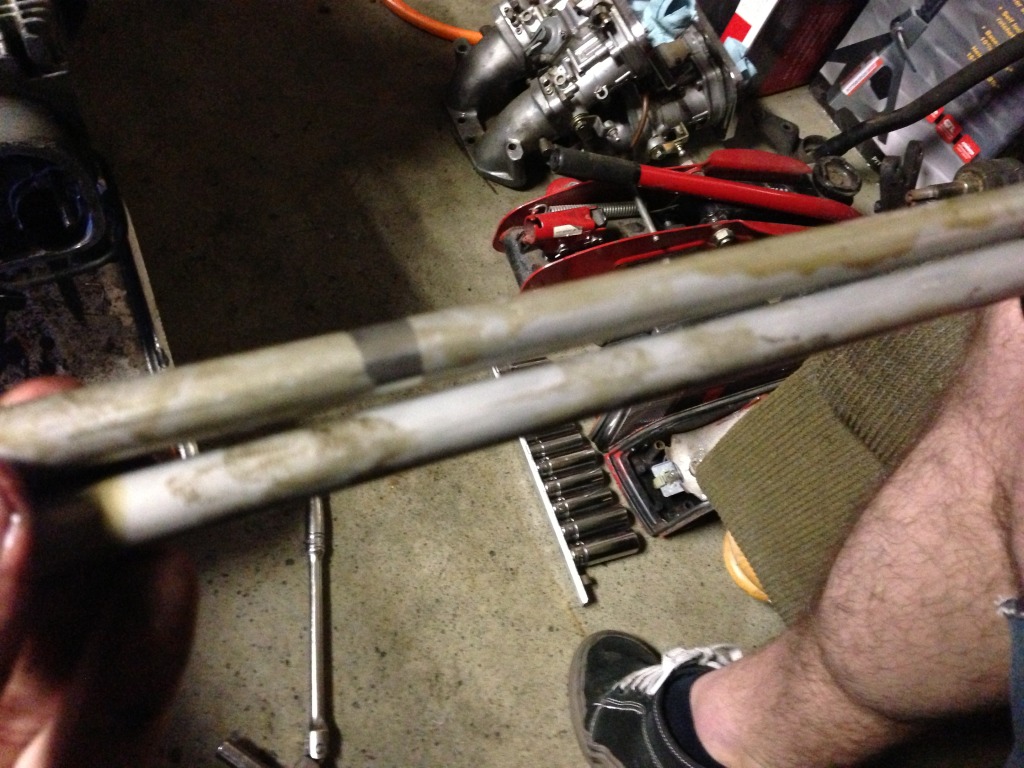
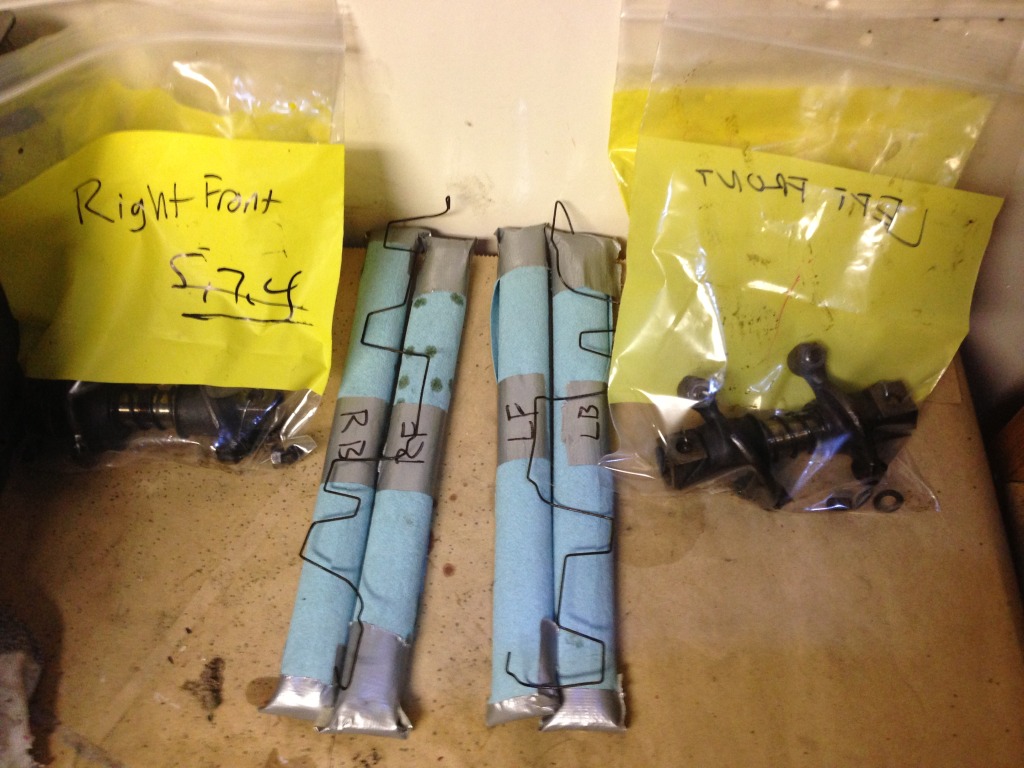
If anyone was watching the thread called 20 year hibernation, you would see that i indeed got the little 1.7 to fire up, and idle nicely too, That wil be going in this beauty. So this week one of the tasks is to drop the engine and pop the top end off and take a look inside, hopefully it doesn't need too much work...

I'm really excited now that I have a "rustless" roller to play with!! piratenanner.gif
mrbubblehead
CONGRATS David. Looks like you got a nice tub. I live in Yucaipa, about 30 minutes from you. If you need a hand with anything give me a shout. I would be happy to help.

Doug
rnellums
That looks swell!
76-914
nice find and the dash looks good, also. your in a good area for support. lots of us sickies all around you. dry.gif be sure to block out some time each day or each week to work on your project. good luck.
dfelz
Thanks for the support guys! I really appreciate the lending a hand offer Doug!

76-914, you don't have to worry about me not putting in time, the cars been in my driveway for 20 hours, I have already put in 7 hours, 8 of the twenty was spent sleeping and the rest was eating biggrin.gif
boogie_man
Was that the car in Running Springs ??? Good looking project and congrats.

Scott
FourBlades

That puts you 75% of the way there! piratenanner.gif

Now you can start on the other 75%! biggrin.gif

(Kidding, I think 75% there is probably right).

John
effutuo101
Great find! Looking forward to watching this build.
dfelz
HaHa, I'm gonna guess the 75% left case, cause I will always want to make it better biggrin.gif

Just put another 4 hours in after i got home from class. Right now my bigest priority is getting the 5-lug suspension on this car and getting the 4-lug on the other so i can have them switch spots and have my new baby in the garage!
So i started by taking off the rear suspension on both cars. I am also switching out the shock bearing pins with the kind that has the ball on the end for a rear sway bar. Although i wont be installing the bar right away it will be easier to do it now rather than later.

IPB Image

IPB Image

IPB Image

So before i started working on the suspension, i took out the relay board from my engine/parts car to clean up and examine. noticed one small problem on the backside of one of the regulator terminals. It pops out when you push the posts on the regulator side in.... hmm, should i epoxy over this void area to hold it in place and protect it from the elements???
IPB Image
euro911
Carefully dig out all that old potting material, VOM all the connections and re-pot it.

Nice find smile.gif
dfelz
QUOTE(euro911 @ Jan 14 2013, 09:43 PM) *

Carefully dig out all that old potting material, VOM all the connections and re-pot it.

Nice find smile.gif


VOM stands for...????
Where can i get the re-potting material, whats it called?

Thanks Mark
mittelmotor
QUOTE(dfelz @ Jan 14 2013, 09:56 PM) *

QUOTE(euro911 @ Jan 14 2013, 09:43 PM) *

Carefully dig out all that old potting material, VOM all the connections and re-pot it.

Nice find smile.gif


VOM stands for...????
Where can i get the re-potting material, whats it called?

Thanks Mark

I think the factory used sun-baked adobe clay, spray-painted black. biggrin.gif They all seem to crack like that. Maybe you could use 2-part epoxy to re-seal. Mark??

Nice solid car there, Dave. And no lack of enthusiasm on your part!
dfelz
QUOTE(mittelmotor @ Jan 14 2013, 10:04 PM) *

QUOTE(dfelz @ Jan 14 2013, 09:56 PM) *

QUOTE(euro911 @ Jan 14 2013, 09:43 PM) *

Carefully dig out all that old potting material, VOM all the connections and re-pot it.

Nice find smile.gif


VOM stands for...????
Where can i get the re-potting material, whats it called?

Thanks Mark

I think the factory used sun-baked adobe clay, spray-painted black.


HAHAHAHA lol-2.gif av-943.gif lol-2.gif
'73-914kid
Clean out the old insulating material, and pour over liquid electrical tape. It's acts similarly as the old stuff. Liquid Elec. tape

BTW, what major are you? I'm surprised we haven't met yet around campus.
-Ethan
dfelz
QUOTE('73-914kid @ Jan 14 2013, 10:44 PM) *

Clean out the old insulating material, and pour over liquid electrical tape. It's acts similarly as the old stuff. Liquid Elec. tape

BTW, what major are you? I'm surprised we haven't met yet around campus.
-Ethan


I'm a fourth year Mechanical Engineering major, so I spend all of my time in building 9! What about you? I know we have a few friends in common though, some from the cpp imports group, like Kyle Graves... I know i have seen your car on campus a few times too. The other day i actually saw two 914s in the same parking lot on the same row, it made my morning. Both i had never seen on campus before either, one was white and the other was a turquoise-ish color.
Thanks for the link on liquid electrical tape!
'73-914kid
2nd year aero major, so i'm all over the place for the next few quarters..haha and yeah, i havent seen Kyle at all this year. I'm always parked right at the front of the parking structure, but ive definetely seen a few 914's on campus every now and then.

dfelz
QUOTE('73-914kid @ Jan 14 2013, 11:35 PM) *

2nd year aero major, so i'm all over the place for the next few quarters..haha and yeah, i havent seen Kyle at all this year. I'm always parked right at the front of the parking structure, but ive definetely seen a few 914's on campus every now and then.


Good deal man, one of my roommates is an aero major, his name is charlie welch, dont know if you have run into him at all, hes technically a fourth year but i think only at junior standing as far as areo goes. I believe he just took aero 301 last quarter.
euro911
You young college kids slap.gif

Volt Ohm Meter Link

Click to view attachment


... or what they looked like when I first started using them laugh.gif

Click to view attachment


Yeah, liquid electrical tape, or Plasti Dip will do the trick.
oldschool
QUOTE('73-914kid @ Jan 14 2013, 10:44 PM) *

Clean out the old insulating material, and pour over liquid electrical tape. It's acts similarly as the old stuff. Liquid Elec. tape

BTW, what major are you? I'm surprised we haven't met yet around campus.
-Ethan


You back in town. Sorry for the (HJ)....
dfelz
HELP

Was taking off the trailing arm and one of the bolts sheared off inside the suspension console!! What do i do!?! headbang.gif headbang.gif
anything besides drilling it out and ruining the threads????

IPB Image
euro911
Before trying to drill out the whole bolt, soak the bore with PB Blaster or Liquid Wrench (for a day or two), drill the center of the bolt with a 1/4" bit and try an easy out.

Looks like all those threads are gonna need chased anyway.
dfelz
QUOTE(euro911 @ Jan 15 2013, 09:44 PM) *

Before trying to drill out the whole bolt, soak the bore with PB Blaster or Liquid Wrench (for a day or two), drill the center of the bolt with a 1/4" bit and try an easy out.

Looks like all those threads are gonna need chased anyway.


Do i have access to those holes from the top?? it looks like there are plastic covers up there, do those just pop off??
mrbubblehead
QUOTE(dfelz @ Jan 15 2013, 09:53 PM) *

QUOTE(euro911 @ Jan 15 2013, 09:44 PM) *

Before trying to drill out the whole bolt, soak the bore with PB Blaster or Liquid Wrench (for a day or two), drill the center of the bolt with a 1/4" bit and try an easy out.

Looks like all those threads are gonna need chased anyway.


Do i have access to those holes from the top?? it looks like there are plastic covers up there, do those just pop off??


Yes they just pop off. Try everything you can to get it out. If you end up jacking it up, all is not lost. Tangerine Racing make a replacement insert to weld in there. Dont sweat it, yours isnt the first to break off in there. I used anti seize and grade 10 bolts in mine.
euro911
I haven't had a rear suspension apart (yet), don't know confused24.gif
Somebody will pop in with the answer (and I'll be watching - I need to rebuild a couple of suspensions myself) popcorn[1].gif

Jeremy and I just got home from our auto shop class and I saw your voice mail. I thought it might be too late to return your call ...
mrbubblehead
If you try the easy out be very careful not to break it off in there. Easy outs are hardened and extremely difficult to get out. If your lucky the broken bolt will loosen up while your drilling the hole for the easy out. I would keep increasing the size of your bit and use the biggest easy out you can get in there. the first hole you drill will be the most important. It's gotta be STRAIGHT thru the bolt. Lots of rapid tap on your drill bits. and like mark said, soak the shit out of it with pb blaster from the top. Maybe pound on it with a punch too to loosen it up. I will be around if you need some help pm me.
dfelz
Thanks guys!! I'll start soaking it tonight!

Mark i left the message so you wouldn't have a missed call from a random number and no explanation. now you have my cell too!

I also have your battery ready to go, charged it today at school. I'm open the whole weekend so when ever works for you is good for me beerchug.gif
dfelz
Got the front suspension all swapped! New five lug is on the car with the turbo tie rods, m-calipers and all.

Old one off in one piece
IPB Image

New one on! biggrin.gif
IPB Image

My question though is about those pressure plates at the upper strut mount. The Haynes book was saying that adjustment of those will alter your steering geometry. So I how do i know it its set up correctly.

Next question is in regards to the torsion bar cap and adjuster screw. Since the car is on jacks right now, its at full droop, so at what angle should those caps start at and should the screw be hitting the top as is or should there be a gap and let it make contact once the car is set down???

I'm going to attempt to get that sheared bolt out of the suspension console tonight, wish me luck!!! smash.gif
euro911
You'll probably want to take it to an alignment shop specializing in P cars, but to get you started, just line the brackets up to where the originals were.
FourBlades

Nice progress man! piratenanner.gif

John

oldschool
QUOTE(dfelz @ Jan 17 2013, 11:19 AM) *

Got the front suspension all swapped! New five lug is on the car with the turbo tie rods, m-calipers and all.

Old one off in one piece
IPB Image

New one on! biggrin.gif
IPB Image

My question though is about those pressure plates at the upper strut mount. The Haynes book was saying that adjustment of those will alter your steering geometry. So I how do i know it its set up correctly.

Next question is in regards to the torsion bar cap and adjuster screw. Since the car is on jacks right now, its at full droop, so at what angle should those caps start at and should the screw be hitting the top as is or should there be a gap and let it make contact once the car is set down???

I'm going to attempt to get that sheared bolt out of the suspension console tonight, wish me luck!!! smash.gif

very cool man..

dfelz
Got some hours loged tonight... did some good things, found some bad, cant complain.
I'll start with the good.
Got one wheel on the front right side. Would have got the left front one on too but then there is the bad, i think one of the lug studs is a little crooked and a tad long, any ideas on getting that situated....?

IPB Image

Next I attempted to get that sheared bolt out of the suspension console, was unsuccessful... eventually drilled out the hole trying to spare the threads enough to go over them with a tap and make all better. Drill wasnt perfectly straight so that didnt work... next idea is drill out bigger and tap to an M12

After i got over that situation i went onto the engine bay, drained the gas through the engine compartment fuel lines then removed the stock fuel pump and fuel filter. Will take out the rest of the stock fuel lines and replace with single tunnel SS line for carb set up this weekend.
dfelz
I would like to drop the engine/tran this weekend but have never done this before so any advice would be appreciated.
Prior to that task i am trying to find out where everything is hooked up and what everything is. so i have taken lots of pictures, but i do not know what this is and it doesn't look completely stock, at least some of the wires dont look original so any one know?? One of the larger gauge wires goes directly to the positive terminal of the battery post if that helps....

IPB Image
(i am referring to the thing with all the cords hooked up to it)

Thanks!!
Kirmizi
Your mystery item is a an add-on starter solenoid, to compensate for a no-start condition when hot. biggrin.gif
Mike
mittelmotor
Looks great, David! I've got the M-calipers on my V-8 car, and they work surprisingly well even with the additional weight. Have to use a lot of leg so I don't icon_bump.gif into another car. biggrin.gif

Check out this thread on engine drop. The safest way is using the furniture dolly method, and as a plus, once the engine/transaxle is out of the car, it's very easy to move around the garage.


http://www.914world.com/bbs2/index.php?showtopic=200610

--Doug

sfrenck
Nice to see you found a shell for the right price without the title issues beerchug.gif Did you get it from that contact you made in San Diego?

I'd recommend getting somebody close to help you with the drop. I've done four now and the second set of eyes and hands are invaluable resources (shout out to Bryan (brenz) and Mark (mepstein)) .
dfelz
Thanks Mike and Scott for the info on my mystery item. Now to the real question, is it needed? i mean i am in SoCal, and it never gets too hott and never too cold.... always just right biggrin.gif Or shall i leave it to just tag along for the ride??

And if i were to not reattach it on the new car what do i do with the wires that are attached, some are coming off the wiring harness.. have those just go directly to the stock starter motor?

Doug thanks for that link, ill look over it tonight!\

sfrenck, I actually picked up the shell from a guy named Glenn in LA, his company is Nine One Four Restorations, he does all 914s, he had about 10 cars on site, some complete some shells, and about 15 motors, ranging in size form 1.7 to 2.8 as well as a buick v6 in his personal toy. He really knows what hes doing, been in the bizz for 30 yrs, when he came over to drop off the car he was the one that got my engine to start for the first time in 20+ years after noticing some wiring errors on my part.
As far as dropping the engine, I have my roommate that is helping me out with the whole project. Oldschool also lives down the street from me and said he is willing to lend a hand (as well as multiple other members) but i think he is busy this weekend so i may have to go without him this time around....
Kirmizi
Ultimately, you'll have to determine if the car will start (or not) after getting "hot". biggrin.gif
Some consider it a "quick fix" to compensate for 40 year old wiring, others say it's cheap insurance.
You can leave it off and see what happens, then go from there.

Mike
dfelz
Ok thanks Mike, I think I will initially leave it off and if the time comes where i feel i need it i can always add it back on.

Next wiring question.
On the 12 pin relay board harness, what is the white cable labeled Aux Air Valve?
There is also a green with black stripe wire separating from the harness near the starter coil wires that was taped down by the PO, and its not on the relay board diagram. Anyone know what that is for?
Shown in the picture are both the wires i am referring to
IPB Image

Thanks!!
Chris H.
QUOTE(dfelz @ Jan 18 2013, 08:11 PM) *

Thanks Mike and Scott for the info on my mystery item. Now to the real question, is it needed? i mean i am in SoCal, and it never gets too hott and never too cold.... always just right biggrin.gif Or shall i leave it to just tag along for the ride??

And if i were to not reattach it on the new car what do i do with the wires that are attached, some are coming off the wiring harness.. have those just go directly to the stock starter motor?

Doug thanks for that link, ill look over it tonight!\

sfrenck, I actually picked up the shell from a guy named Glenn in LA, his company is Nine One Four Restorations, he does all 914s, he had about 10 cars on site, some complete some shells, and about 15 motors, ranging in size form 1.7 to 2.8 as well as a buick v6 in his personal toy. He really knows what hes doing, been in the bizz for 30 yrs, when he came over to drop off the car he was the one that got my engine to start for the first time in 20+ years after noticing some wiring errors on my part.
As far as dropping the engine, I have my roommate that is helping me out with the whole project. Oldschool also lives down the street from me and said he is willing to lend a hand (as well as multiple other members) but i think he is busy this weekend so i may have to go without him this time around....


Yes those solenoids were almost always added to fix a hot start issue that happened pretty frequently on a specific car. I haven't heard of many added proactively "just in case". It's not so much the weather but how hot the engine/starter gets. As Mike said, at least keep it just in case. Like in the trunk smile.gif
Kirmizi
Try looking here for your specific wiring diagram:

http://www.pelicanparts.com/914/914_electrical_diagrams.htm

beerchug.gif
3d914
QUOTE(dfelz @ Jan 19 2013, 01:14 PM) *


Next wiring question.
On the 12 pin relay board harness, what is the white cable labeled Aux Air Valve?

Thanks!!


David, The auxiliary air valve is the cold-start air source. It has a single 12v wire going to it. The air valve is mounted next to the air plenum (box) - forward & slightly left. I'll have to check my schematics to verify wire color. (Verified wire is white and comes from the 5-wire connector at the rear-right of the relay board)

Making good progress. Keep it up.
dfelz
QUOTE(3d914 @ Jan 19 2013, 05:28 PM) *

QUOTE(dfelz @ Jan 19 2013, 01:14 PM) *


Next wiring question.
On the 12 pin relay board harness, what is the white cable labeled Aux Air Valve?

Thanks!!


David, The auxiliary air valve is the cold-start air source. It has a single 12v wire going to it. The air valve is mounted next to the air plenum (box) - forward & slightly left. I'll have to check my schematics to verify wire color. (Verified wire is white and comes from the 5-wire connector at the rear-right of the relay board)

Making good progress. Keep it up.


So if i have carbs and no air box i have no need for this wire correct?
euro911
Correct.

You gonna be home tomorrow? ... I can bring up a motorcycle jack if you want to drop the drive train ...
dfelz
QUOTE(euro911 @ Jan 19 2013, 07:54 PM) *

Correct.

You gonna be home tomorrow? ... I can bring up a motorcycle jack if you want to drop the drive train ...


Mark, that would be f***ing awesome of you! I will be home all day tomorrow, and be up and ready to go by 10am. piratenanner.gif
Lunch will be on me! beerchug.gif
dfelz
Alright! So yesterday i messed around with some of the wiring harnesses. The 71 had the ends cut off so sliced them off the 72 and soldered and heat shrink tubed all the individual wires together.

CUT
IPB Image

PASTE
IPB Image

ORGANIZE
IPB Image

After that hooked it up to the relay board and plugged in the battery to do some minor test. Both headlights were put in and work fine, taillights work, flashers work, fuel sender works (but is week, need to tidy up the solders at the plug), the left turn signal works but the right is not quite working. when i flip the lever up for right turn signal is clicks once and then nothing. If i held the lever in the middle right before it would go to the staying up position, it would stay on.... any ideas.

Now moving on to some more exciting shit, Mark (euro911) came over today and we got the engine out of the 72!! piratenanner.gif

IPB Image

Now me and my roommate are going to pull valve covers off and see if we can find a source of the knocking we heard when it ran for 1 minute last week. if nothing we will proceed to the head and pull that sucker off...
euro911
The new tub looks good so far smile.gif

Don't forget to pick up a triple square for your CV bolts. I don't remember what size they take confused24.gif

If I was a smart feller, I would have brought a set screwy.gif
mrbubblehead
Hey David, I noticed that the heat shrink on your splices have glue inside. The glue is part of the tube right? Where did you get it? Locally?
dfelz
QUOTE(mrbubblehead @ Jan 20 2013, 09:28 PM) *

Hey David, I noticed that the heat shrink on your splices have glue inside. The glue is part of the tube right? Where did you get it? Locally?


Ya they are the best heat shrink tubes, they release an adhesive/sealant when heated up. I got a variety pack/container from HF, only cost about $5 for a 42pc set.

IPB Image
mrbubblehead
Right on. Thank you. Your car is coming along great. I saw you swapped front ends. When your ready let me know and i will come out and help you do a four wheel alignment. I did mine at home by using 4 jackstands and fishing line. It drives straight as an arrow. I did the camber with a protractor. We can aling your car in a few hours.
dfelz
QUOTE(euro911 @ Jan 20 2013, 08:09 PM) *

The new tub looks good so far smile.gif

Don't forget to pick up a triple square for your CV bolts. I don't remember what size they take confused24.gif

If I was a smart feller, I would have brought a set screwy.gif


Thats ok! I need a set anyways, me and grant got the valve covers off and removed the rockers and pushrods, everything in there looked really good, only one blemish on one of the pushrods. Need everyones opinion on it. Its flush with the rest, just dulled in color....

IPB Image

Heres all of the rockers and push rods out, bagged, and labeled. Will do more engine work tomorrow.

IPB Image

Thanks again Mark for the help today, couldn't have do it without you, or at least in that amount of time, and correctly!
This is a "lo-fi" version of our main content. To view the full version with more information, formatting and images, please click here.
Invision Power Board © 2001-2024 Invision Power Services, Inc.