Yesterday was a great progress day and we had a lot of fun in the process.
Greg installed the new crank position sensor with the new mounting bracket. Fits nice and looks proper too.
Then we installed the MAF sensor, it fits nicely, but I need to order a couple new clamps from RM European to wrap that up.
While Greg ran to the dentist I took the opportunity to clean the engine compartment for the eventual motor installation. It was not really bad, but it cleaned up nicely. Now, maybe in a couple weeks the motor will be in its new home.
While cleaning the engine compartment I remembered I still had the 3rd brake light flasher module installed that was living in the engine relay board area. I had turned it off about a year ago because Greg's wife saw it flashing when I applied the brakes and said, "Oh, that's annoying". I looked at it and realized she was 100% correct. I had originally bought a flasher module that would flash the 3rd brake light 1-2 times when the brakes were applied and then would not flash every time you applied the brakes if you were sitting in stop/go traffic as that would be really annoying. That module, sadly, was lost and another installed when my car was first reassembled. It flashed the 3rd brake light 5 times per application and did not have a stop/go traffic repeat delay. So now that the engine was out it was the perfect time to remove that module entirely- we did.
Then we put the transaxle back where it belongs - with the engine. We replaced the little plastic bits on the clutch fork arm, greased the throw out bearing and it all went together nicely. I was really pleased to see that happen as it means we really are getting close to getting them back in the car.
Then for a break in the action, Greg had 2 new 911 door-check pins sitting on his counter. He told me my pins, (plain looking steel with a hole for a pin to secure them) were loose and that was why my doors "clicked" when I opened and closed them. The new 911 pins were installed and my doors are nice and quiet when opening and closing. Sometimes it's the little stuff.
My headlight dimmer reostat was not working properly; it was more of an on/off situation. I sourced another early headlight switch and we swapped the old one out and the new one in and now everything works as new. It's not like I dim my dash lights, but it bugged me that the switch was not functioning properly.
Next Greg tackled the wiring for my oil cooler fans. We previously installed the Setbrab in-line thermostat for the fans. I wanted the fans to operate automatically - let's face it I am old and don't want to forget having to turn them on when the oil gets hot. But, I also wanted a manual switch to turn them on too. So we repurposed my rear window defroster switch, (the rear defroster did not work anyway) for that function. Greg is a terrific electrician technician (of course) and made this look simple aside from the contortionist positions required to get up under the dash as he is 6'3".
Our next tasks will be to sort the engine vacuum lines and hopefully start getting the electrical for the engine figured out so we can get the DME mounted in the car and get the wiring from the dash to the engine done. We also still have to make the idle control valve pipe so we can mount that where we want instead of the stock 993 location.
My brother and I are planning on attending the Diablo Region Wash 'n Shine at the Danville Livery (Sycamore and San Ramon Valley Blvd.) on Monday (Holiday). Greg has entered his Willow Green 914-6 GT. If you have not seen that beauty in person- I recommend trying to make it. It is always a well attended function. Now, I mention that event, as I really hope someone with a '95 993 in stock form is there too. We need to look and take pictures to sort my stuff. So I have my fingers crossed!
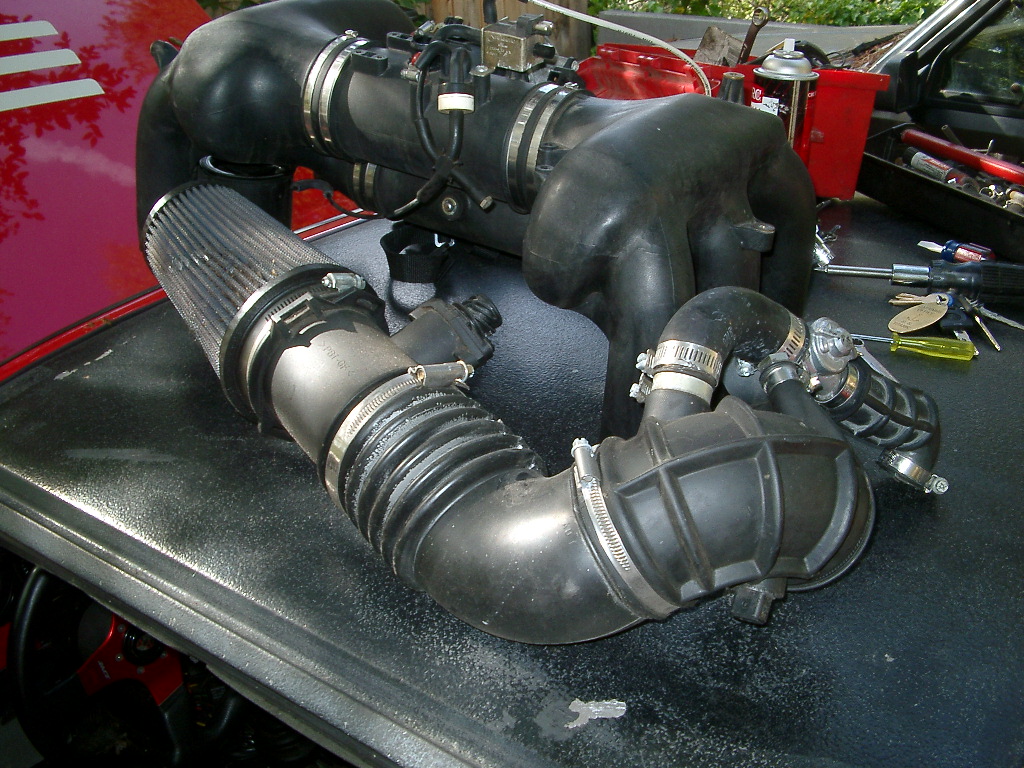
Click to view attachmentClick to view attachmentClick to view attachmentClick to view attachmentIf you notice that little square black module (above) with the 3 wires, that is the 3rd brake light flasher we removed.
Click to view attachmentClick to view attachmentClick to view attachmentClick to view attachment


 . The PMS boot which replaces the stock 993 boot has ports for "things". I doubt those are for the MAF sensor. I googled '95 993 3.6 Porsche MAF sensor and I don't think anything like that came with the engine as received. I will have to look into this on Tuesday when Greg and I next meet to work on this. And Clay, thanks for staying tuned in on this swap. I appreciate your expertise.
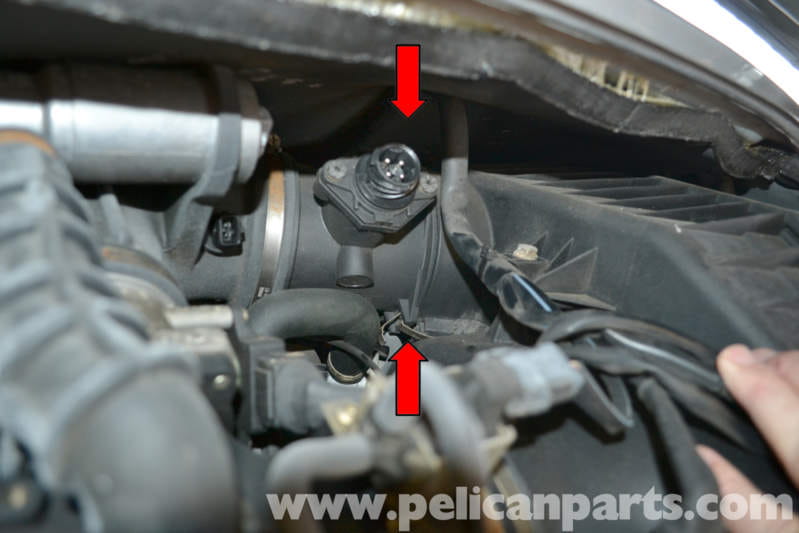


 Workmanship look great.
