QUOTE(bkrantz @ May 17 2020, 11:18 PM) 
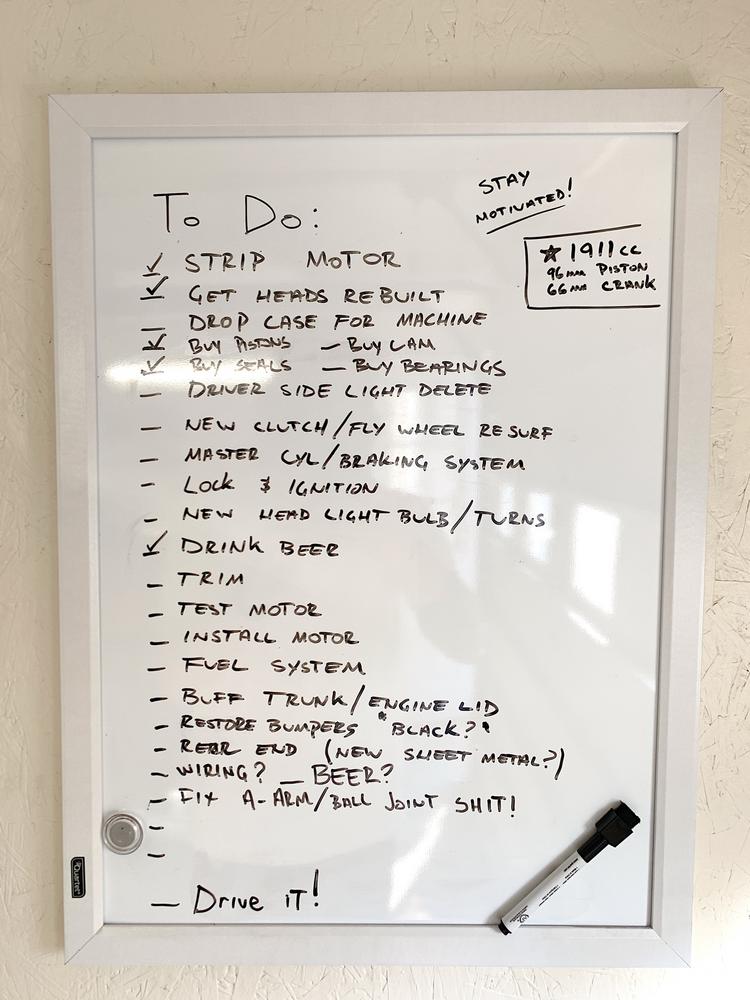
Give us another photo of your white board!
@bkrantz I was thinking the same and already snapped a photo!
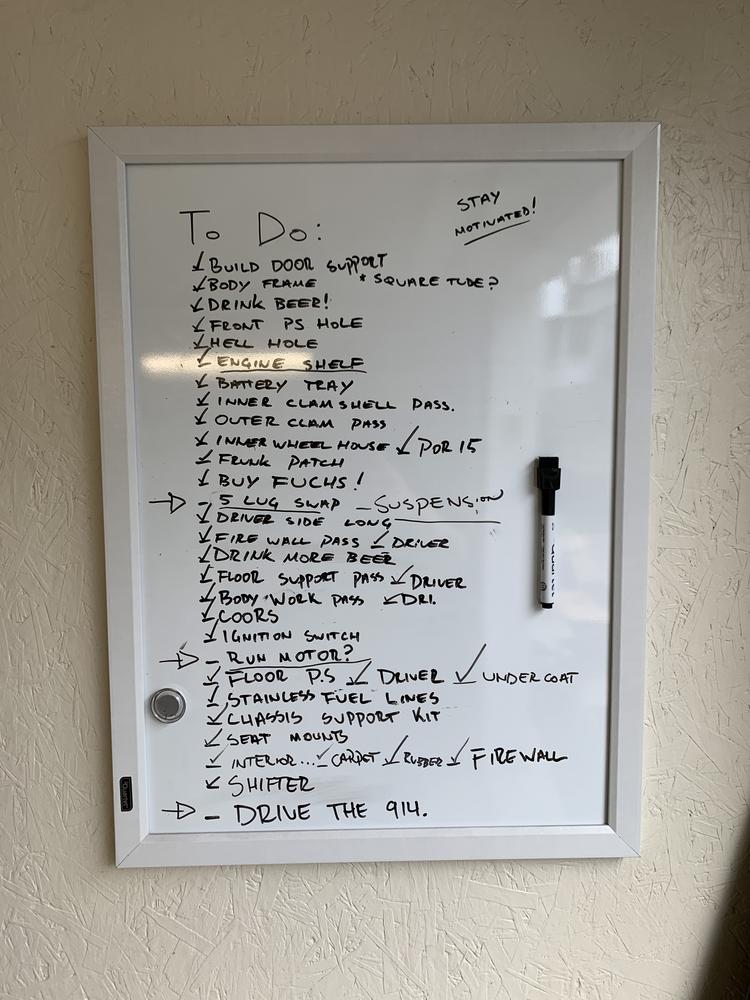
To be fair, I should probably make another one, there will be a decent sized list of engine stuff, little linkage, soft fuel lines, brake lines, master cyl, adjustments etc. Great to see so many checks though.
QUOTE(ndfrigi @ May 18 2020, 01:44 AM)
Thanks!
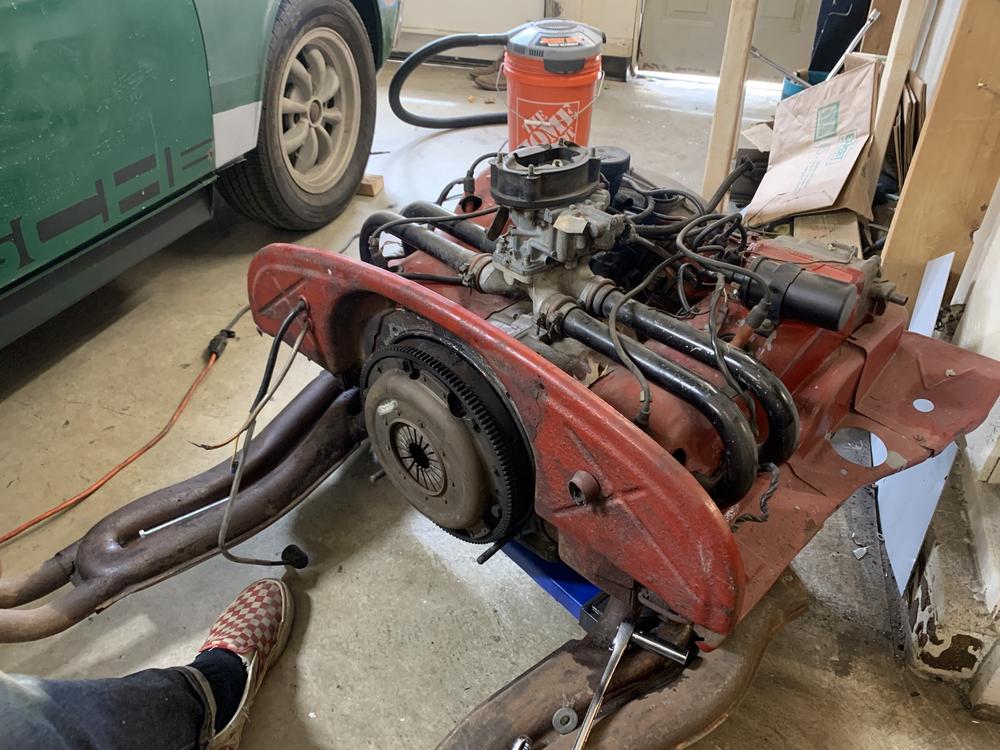
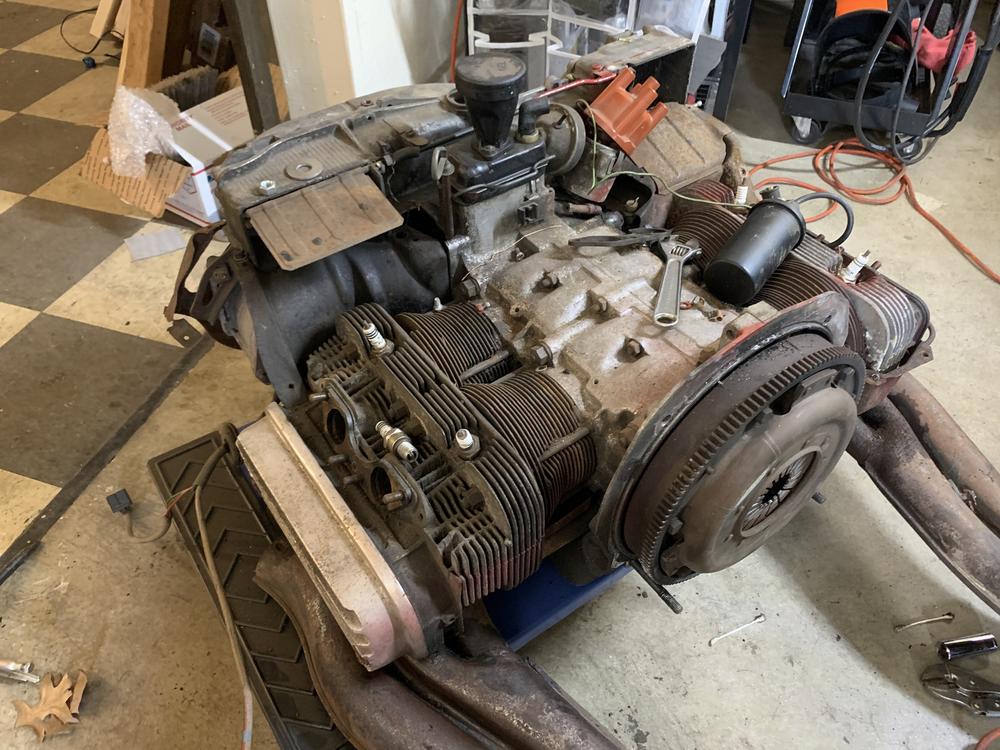
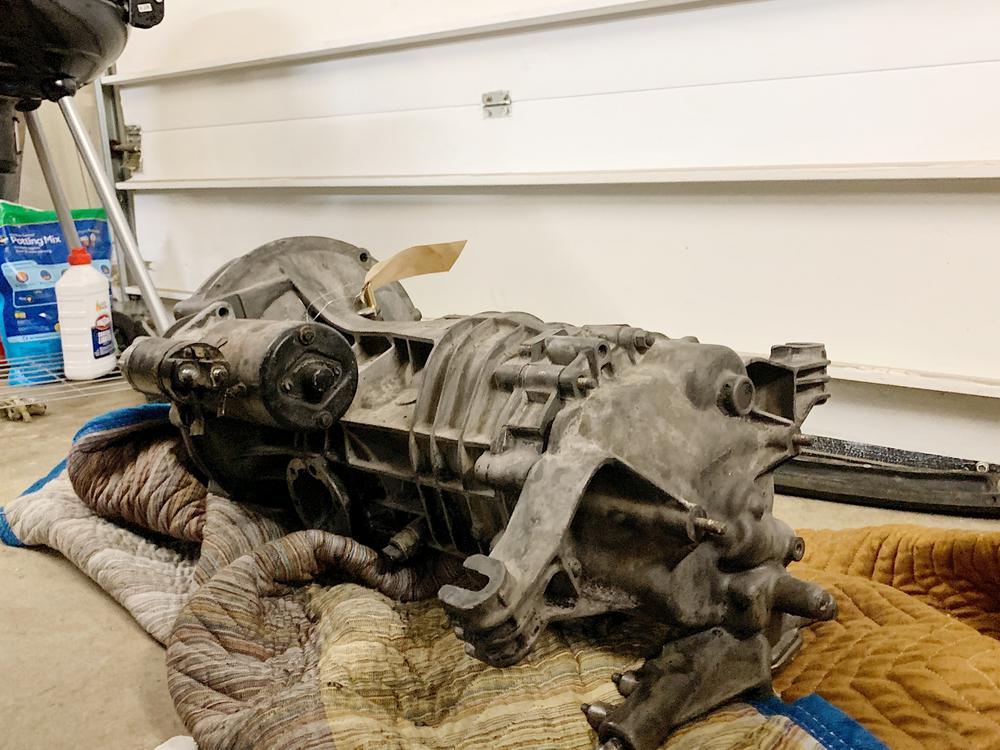
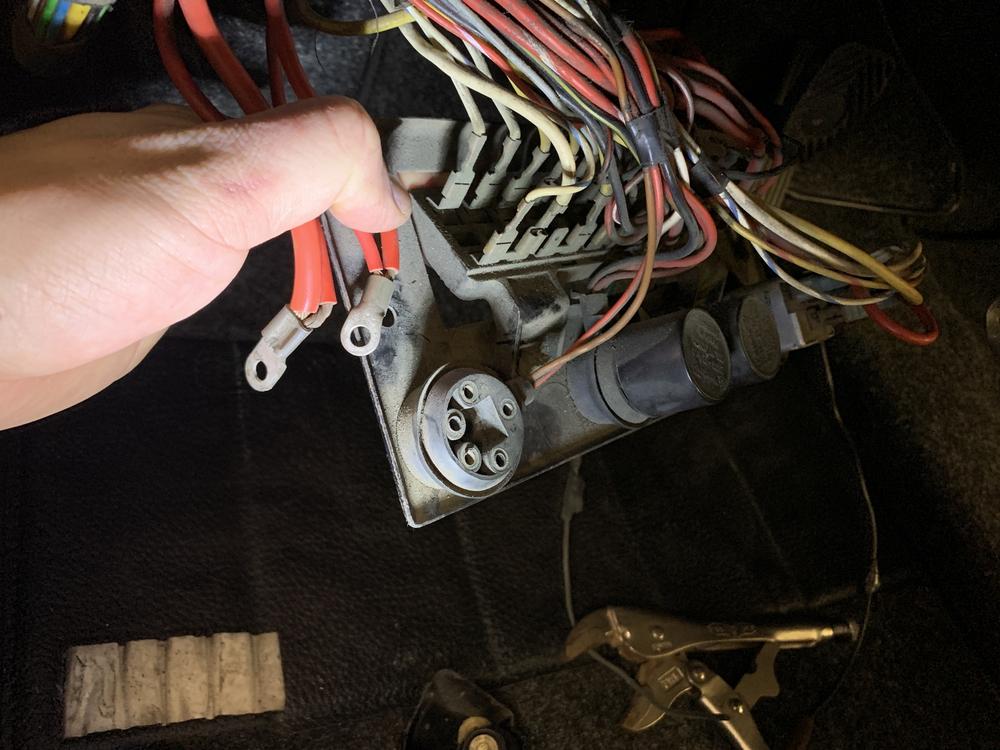
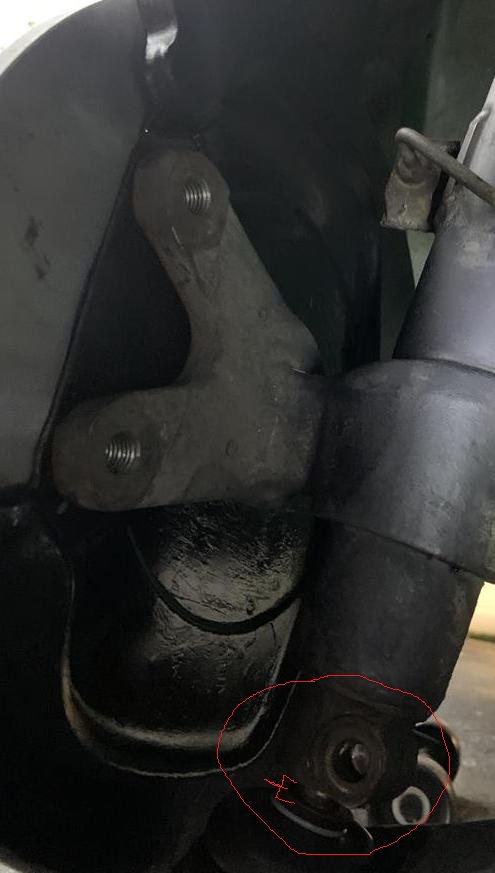
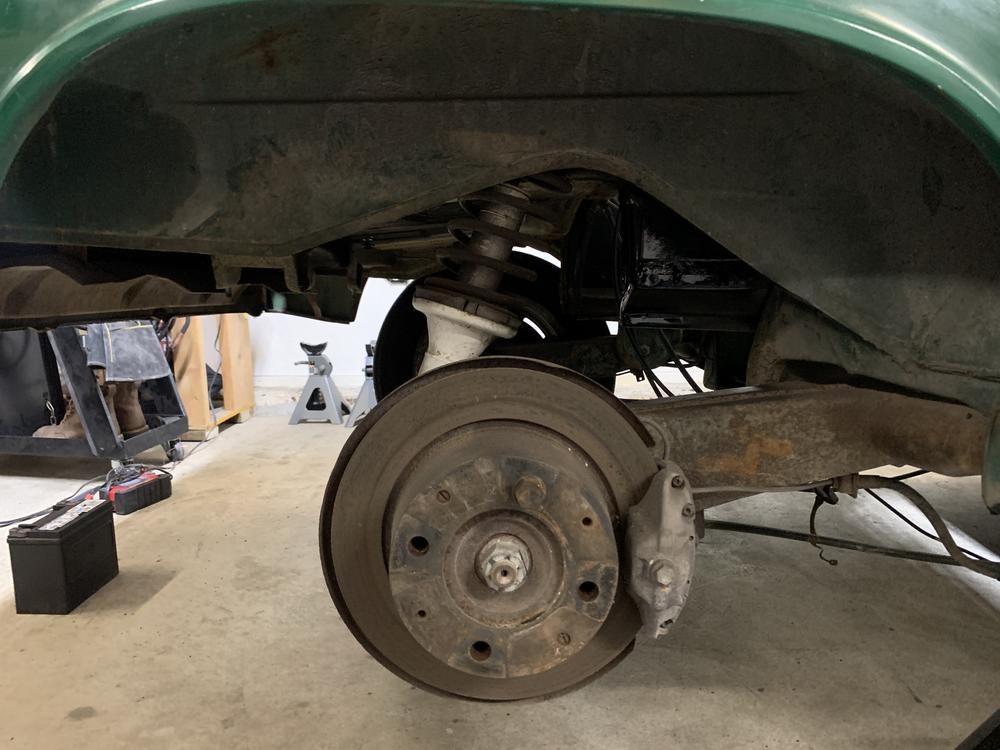
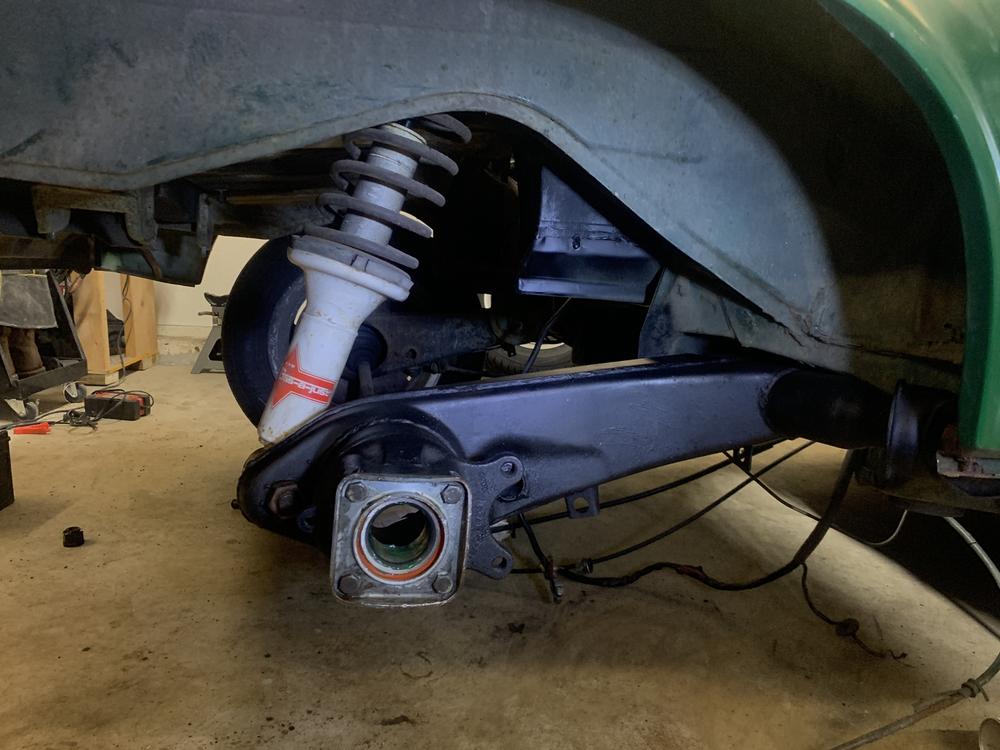
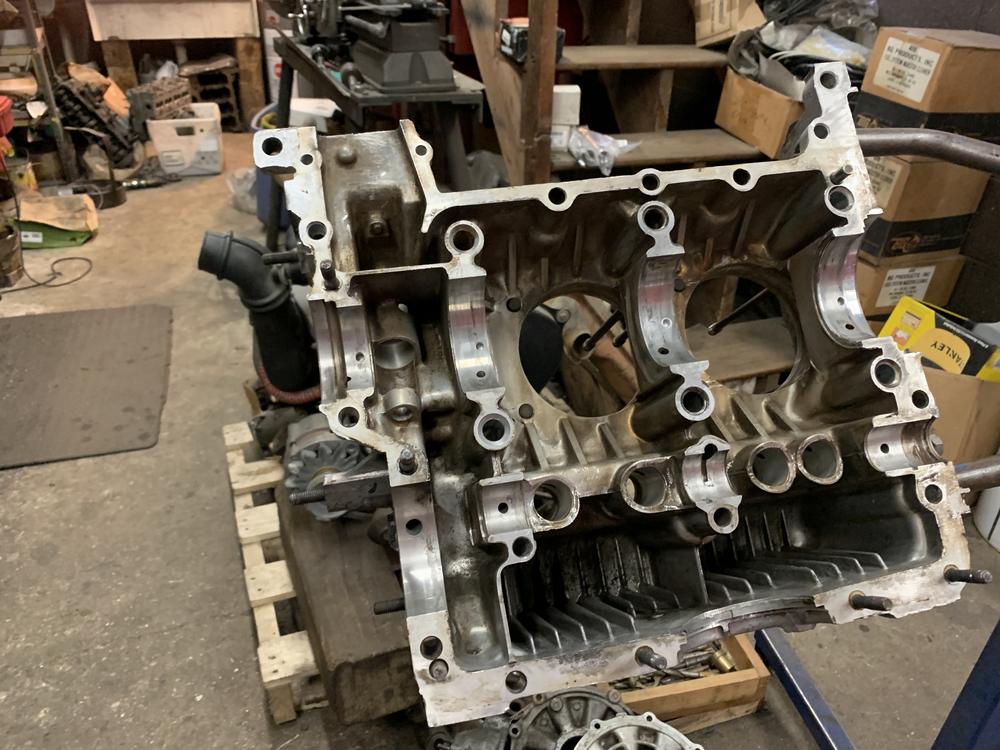
Regarding the engine mount bar, are you keeping that tranny mount instead of the stock bracket type? bdstone or 914rubber has them.
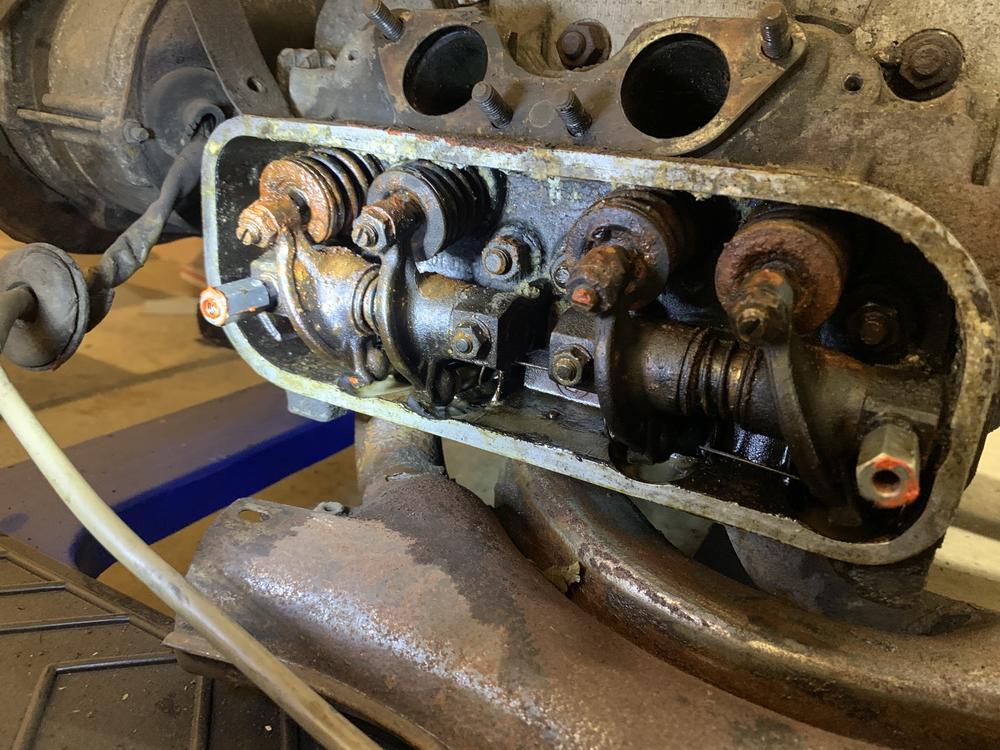
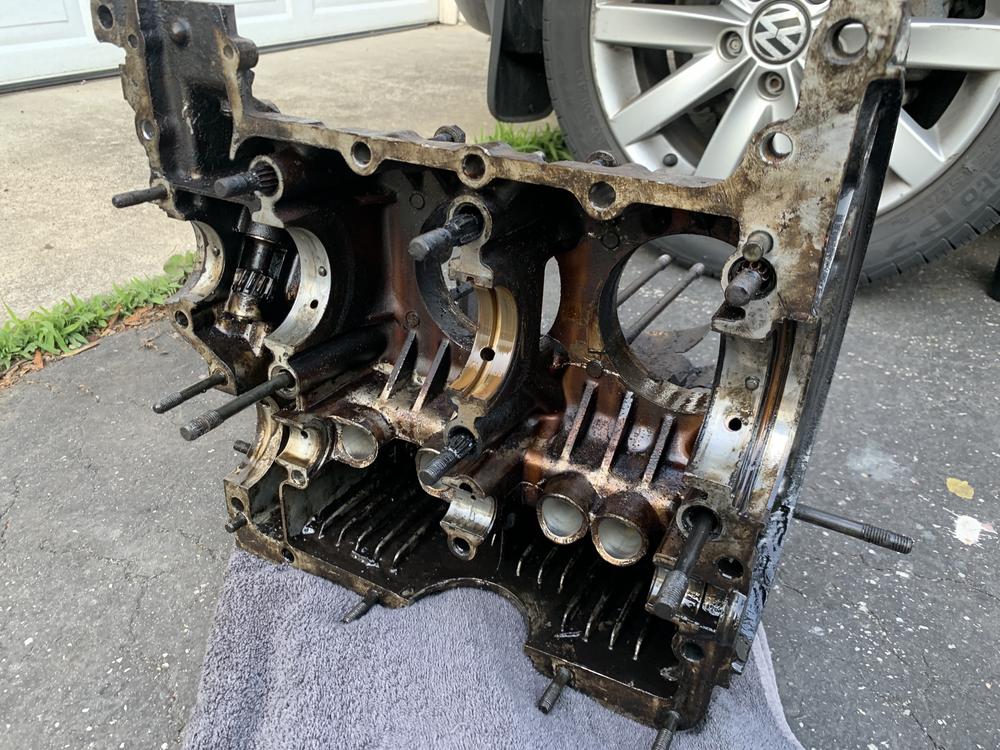
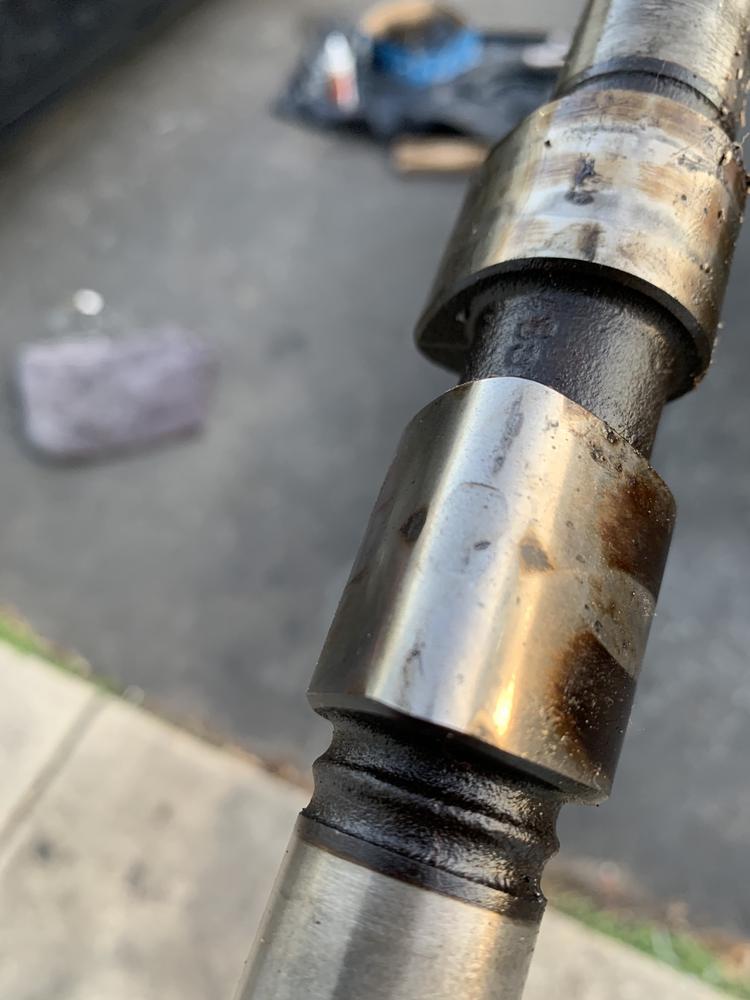
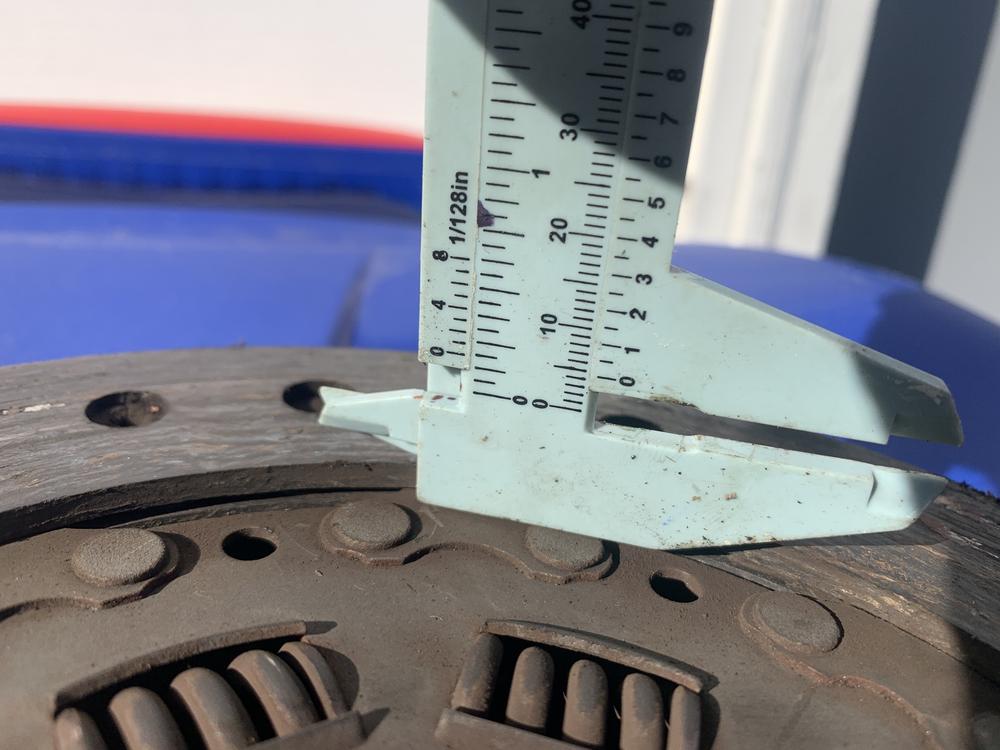
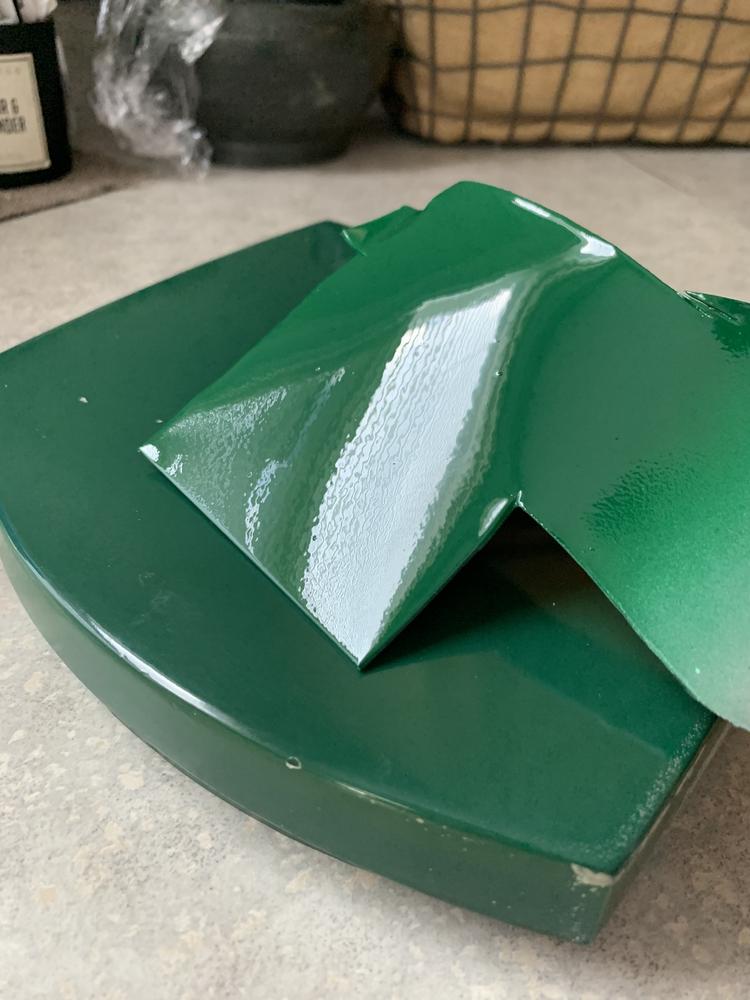
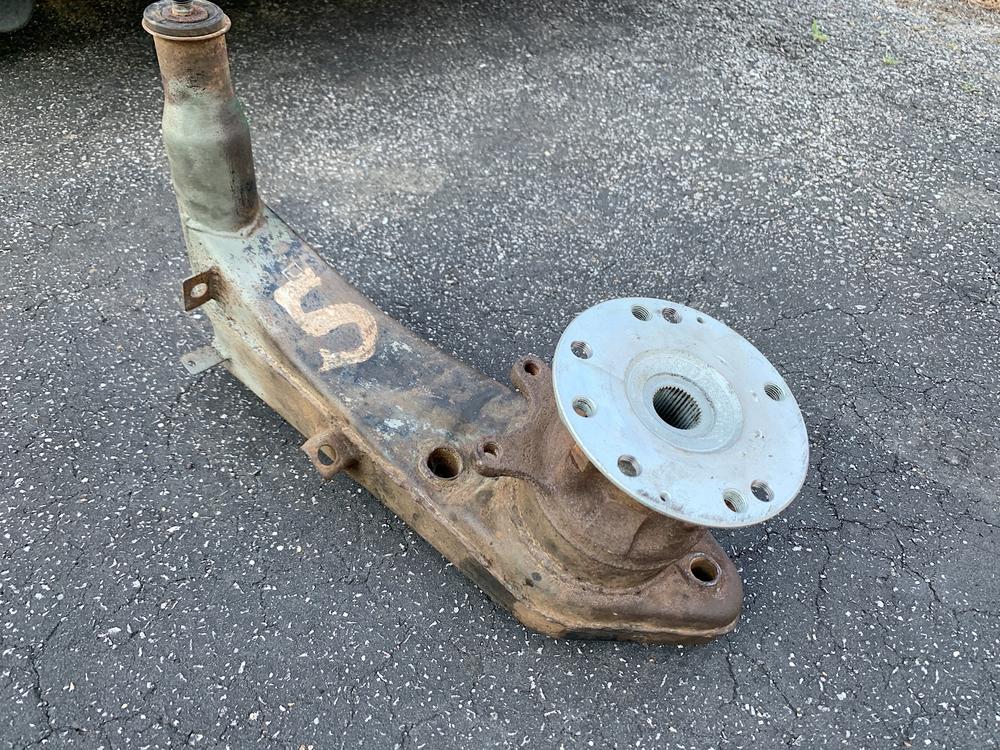
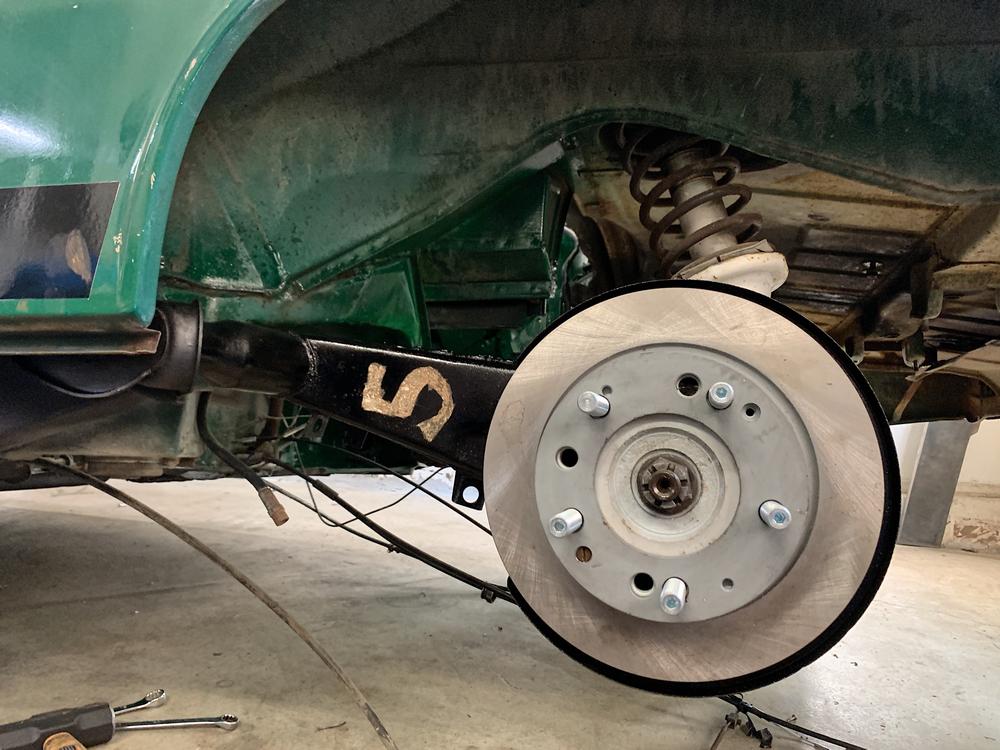
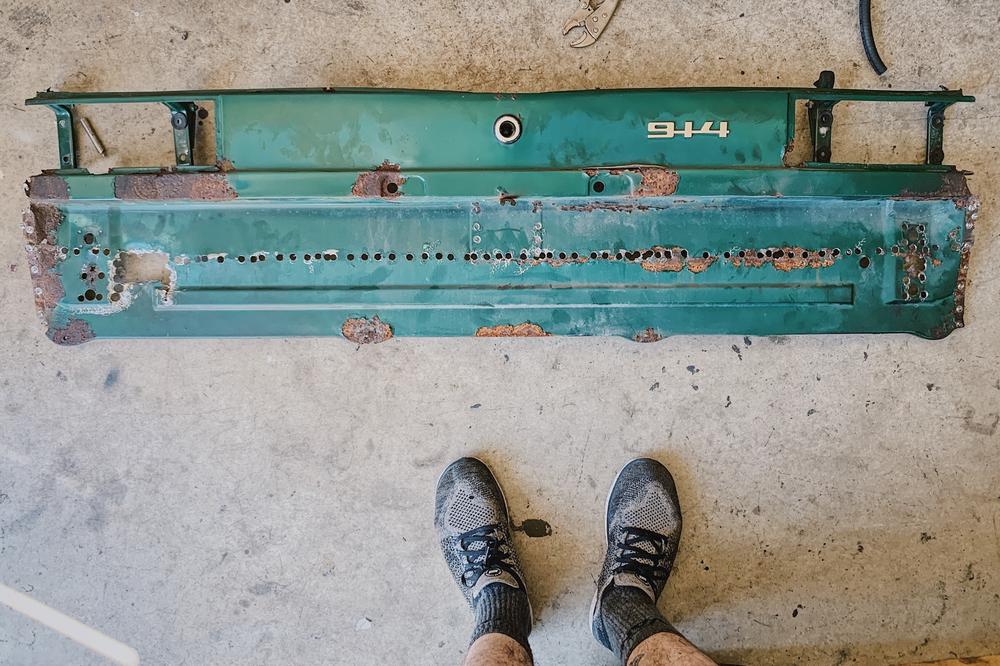
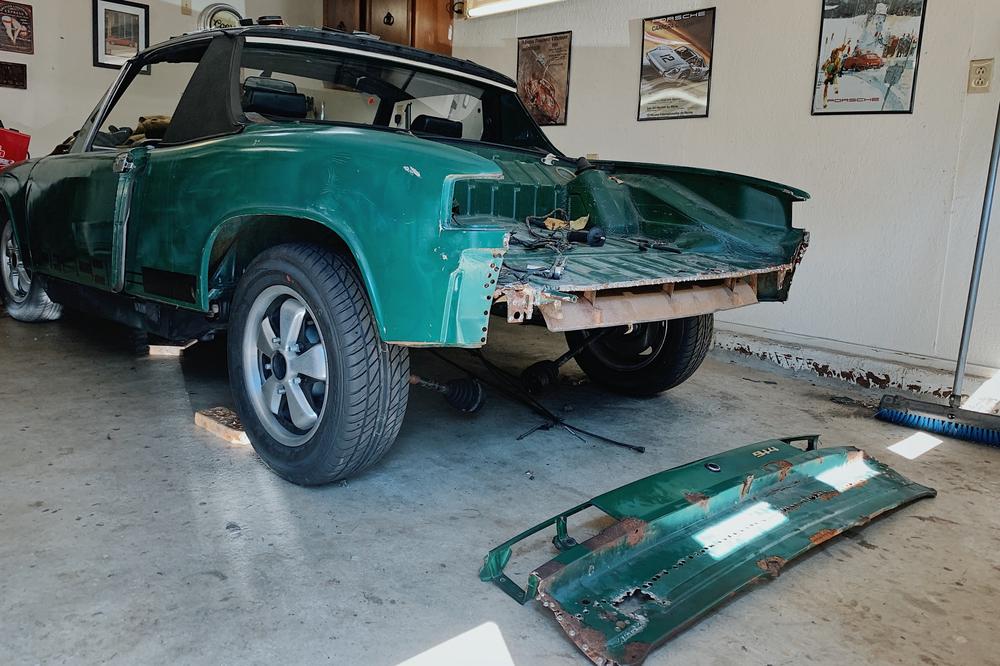
Click to view attachment
Click to view attachment
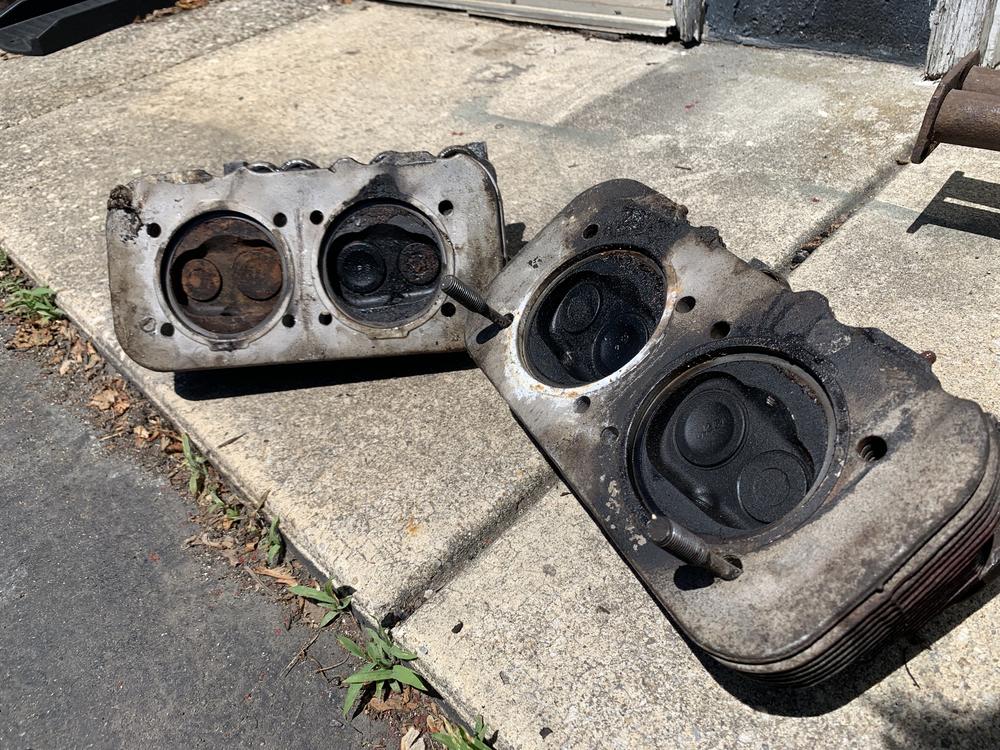
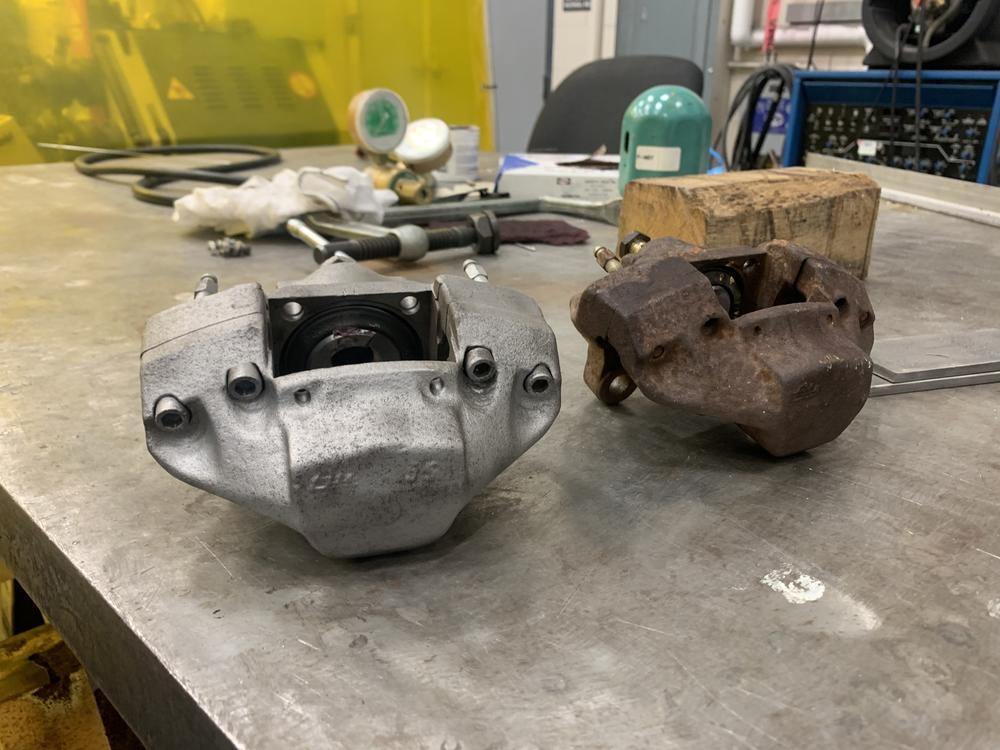
I have to say I am a bit confused here @ndfrigi , do I have the wrong mount here? If it should be the straight bracket type you have pictured, I'll make sure to order one and get it in there. Not sure why it would have the wrong style. Seemed to bolt up okay when I removed the motor. Always something to knock out

EDIT: I found a quote from @Dr914 on the samba "the round mounts with the rubber insert that fit in this position are for the 70-72 914-4 models"
So potentially this round style came in early 4 cars.


 - good job. Looking forward to following this one.
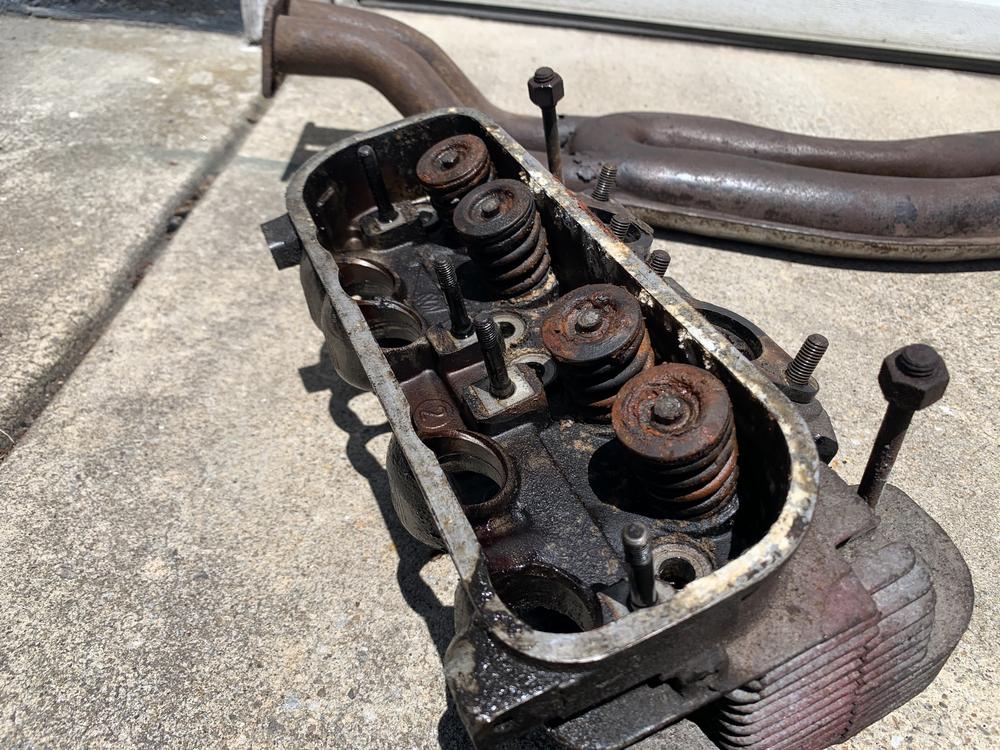


 Remember, that's a recurring task.


![popcorn[1].gif](http://www.914world.com/bbs2/style_emoticons/default/popcorn[1].gif)