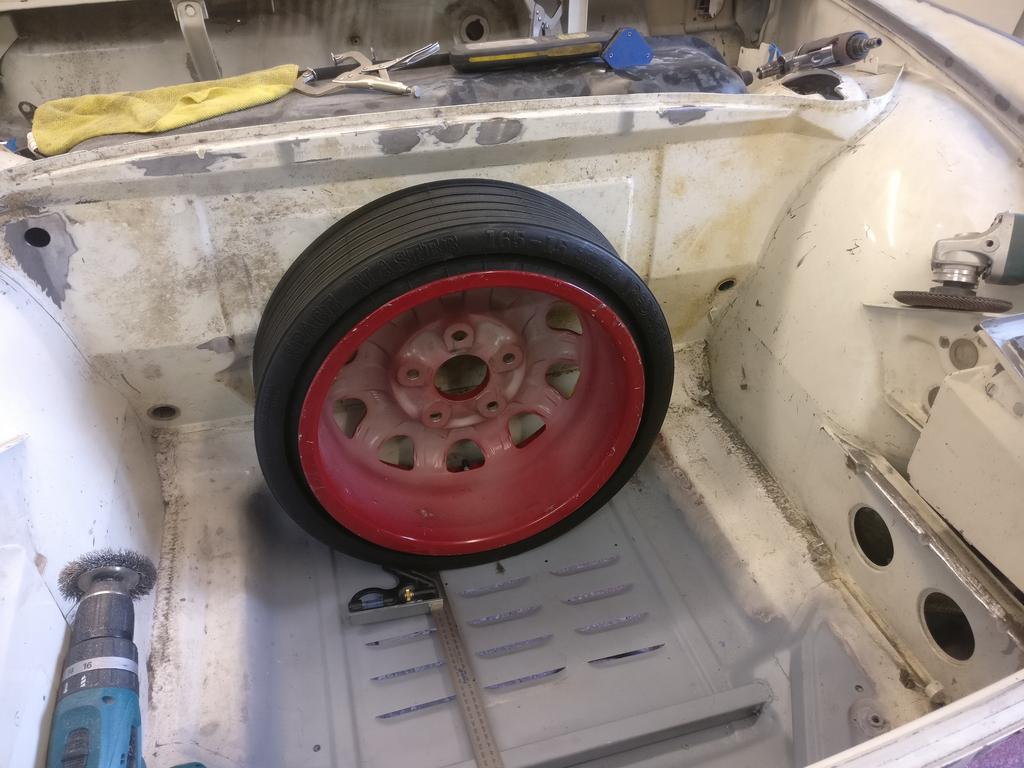
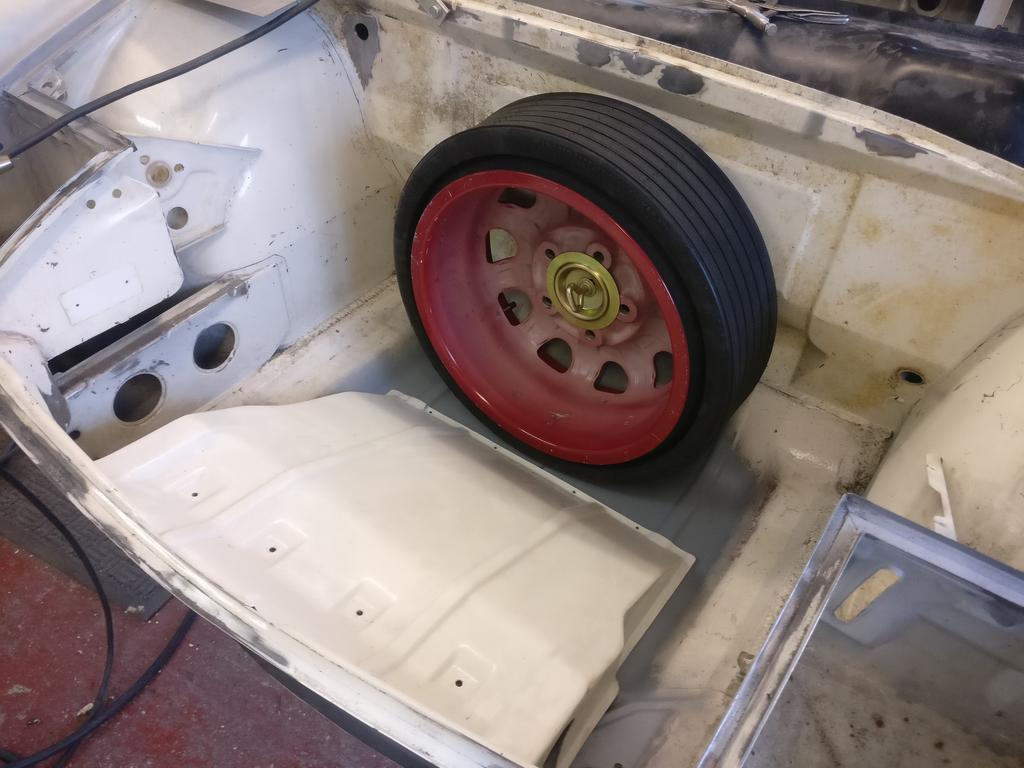
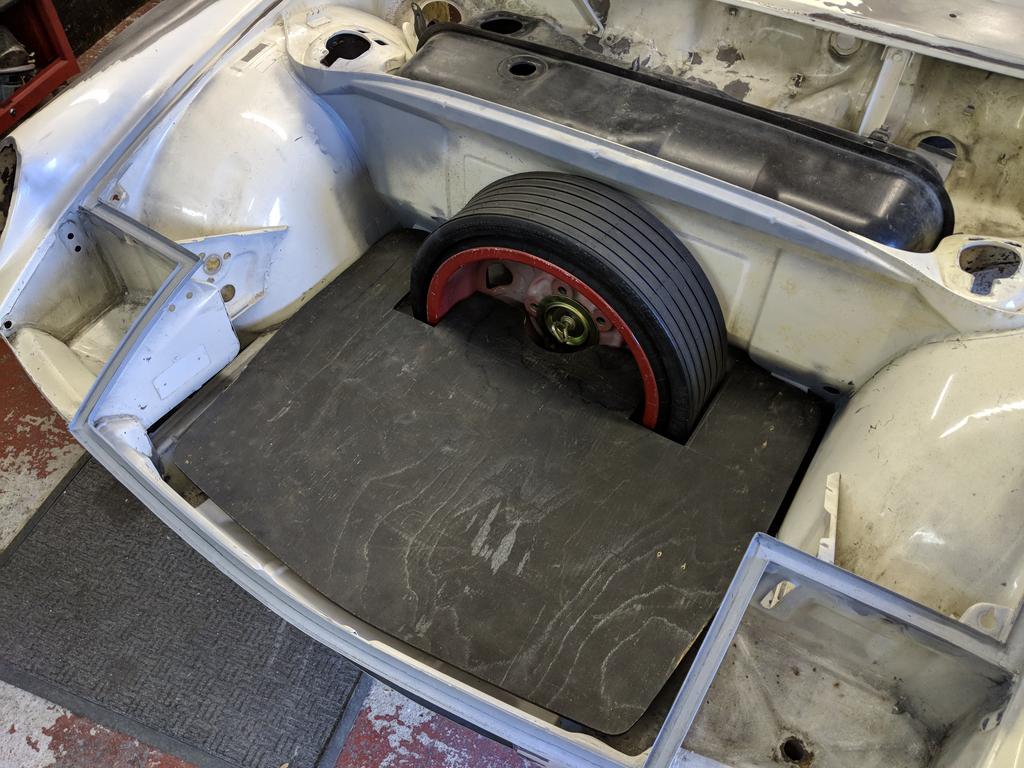
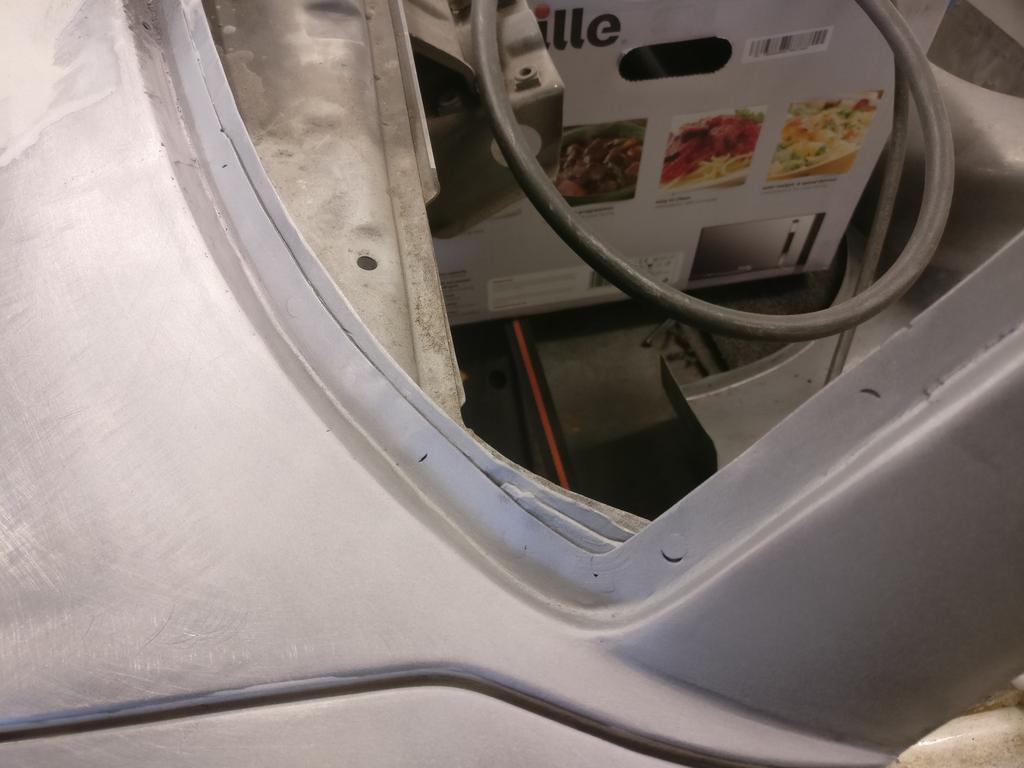
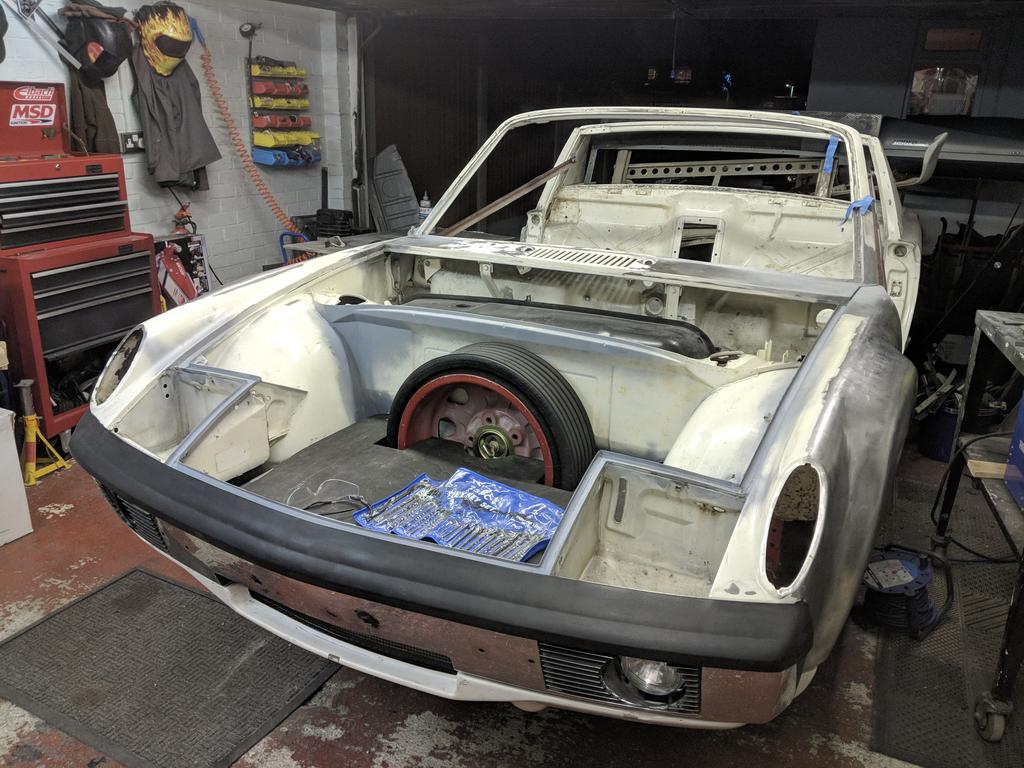
With the oil cooler shroud taking place of the spare wheel well I sourced a collapsible spare tyre and set about mounting it upright.
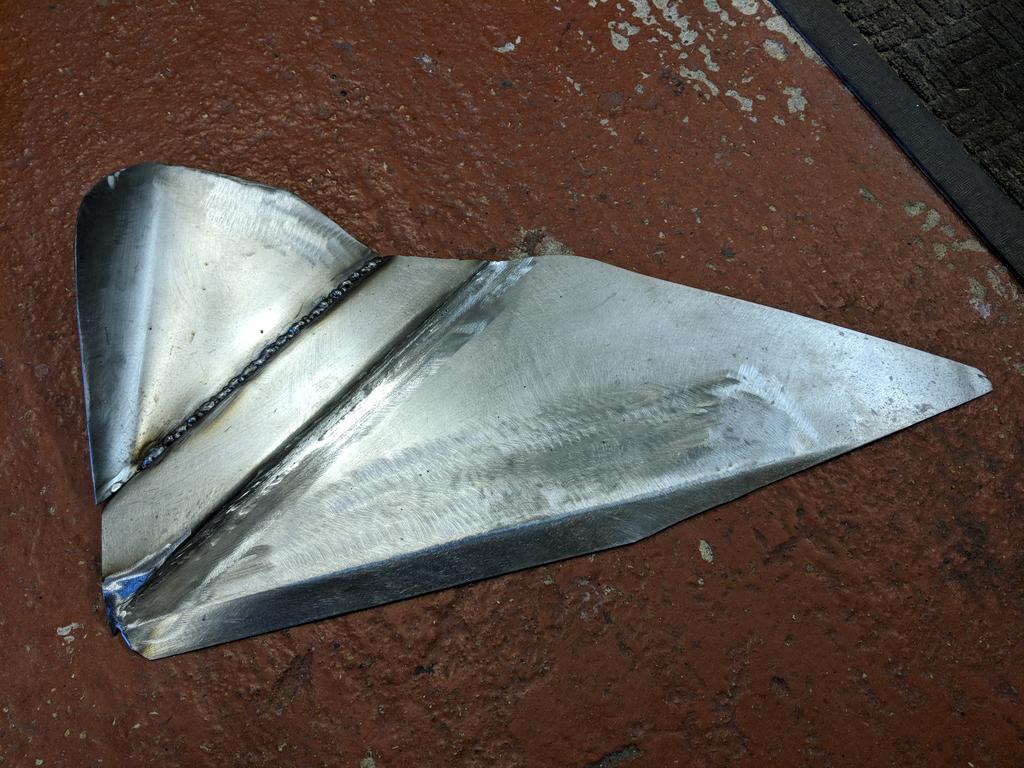
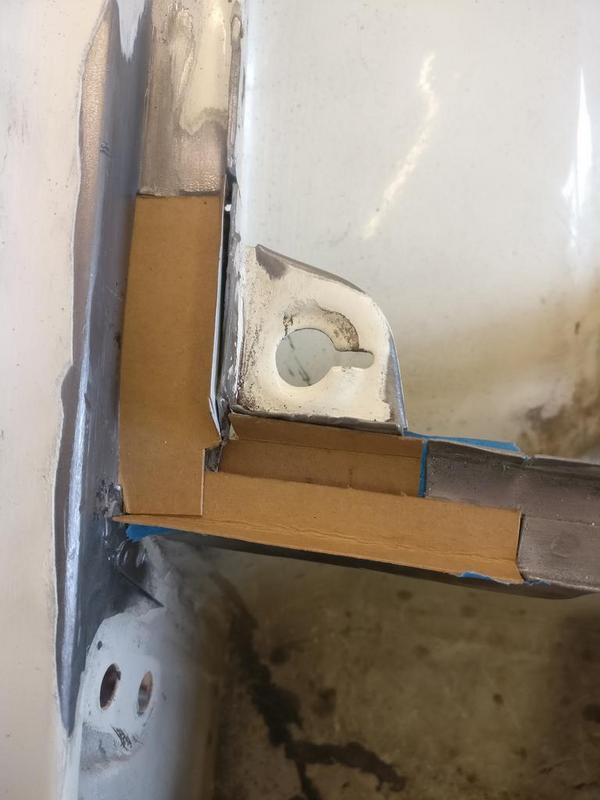
After a few cardboard prototypes I made this bracket to attach the spare.
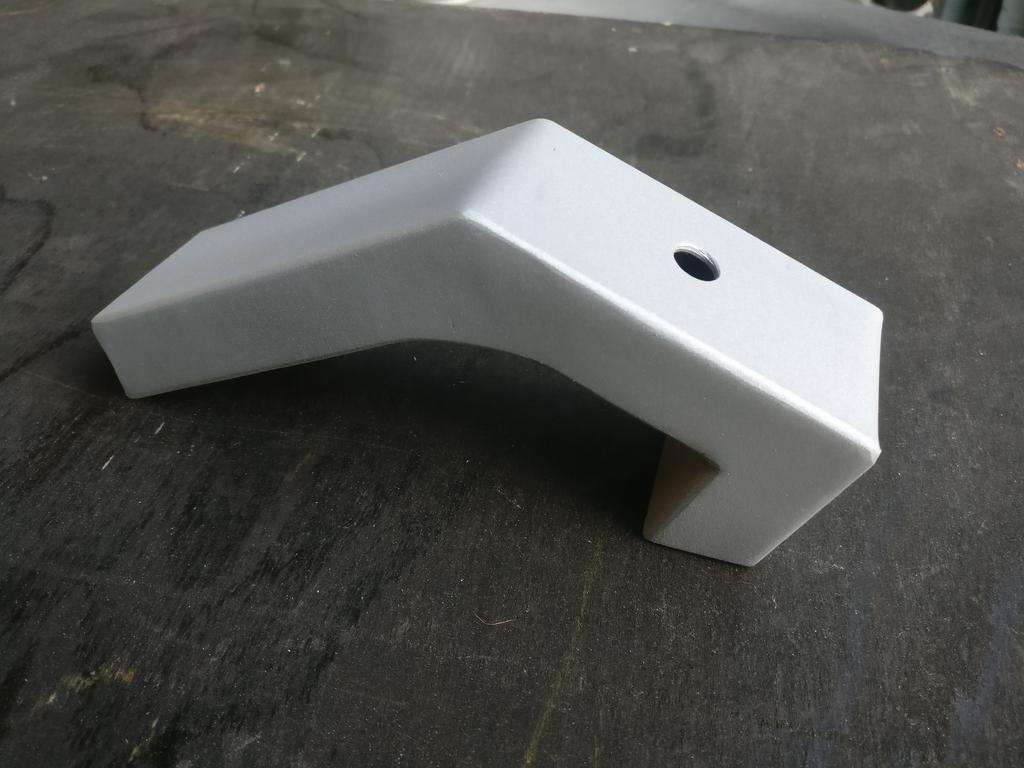
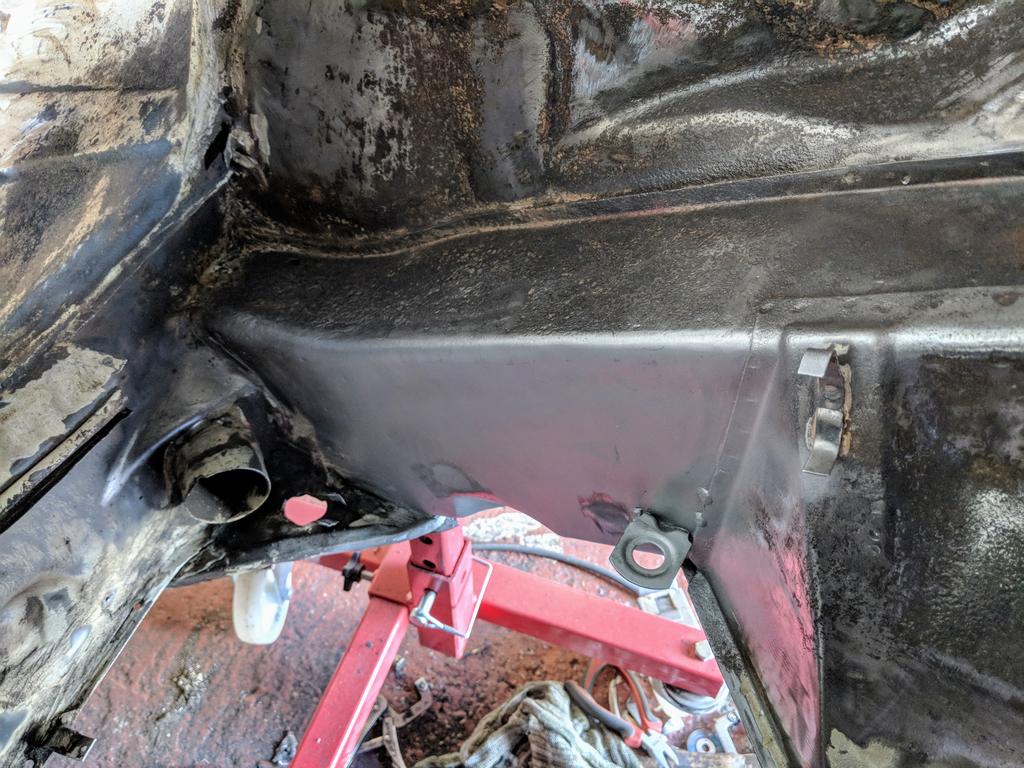
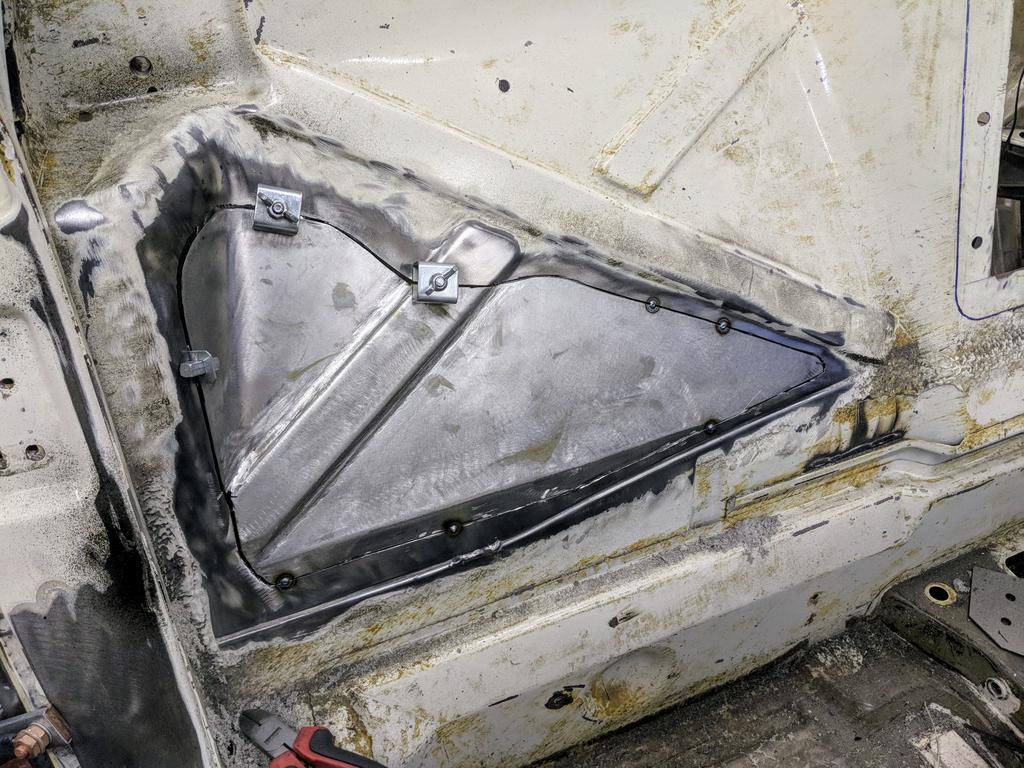
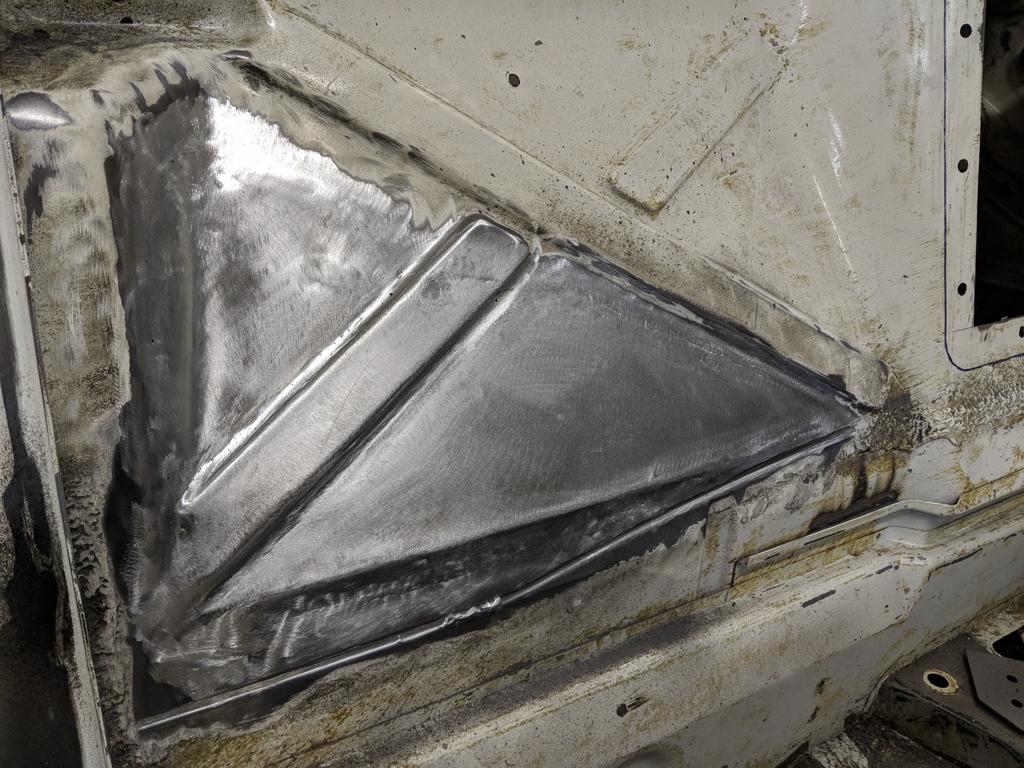
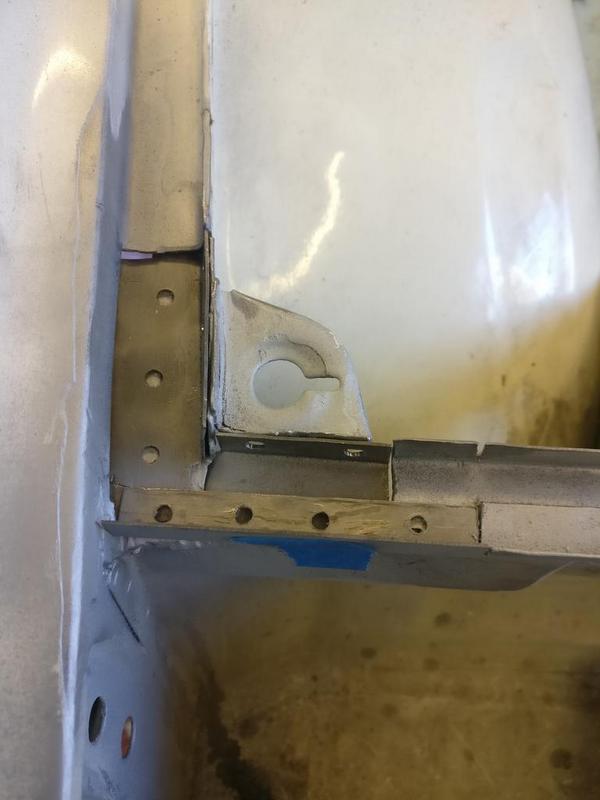
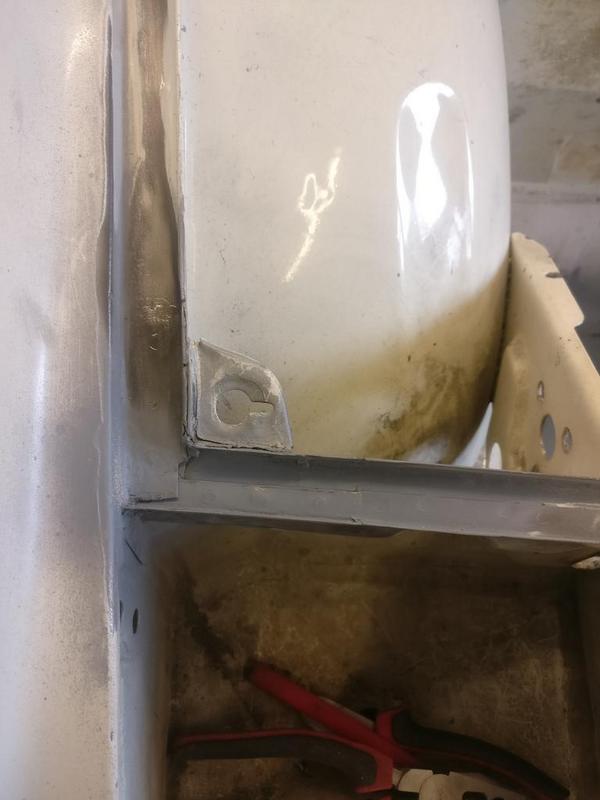
Welded in place it uses the original spare wheel hold down to attach the wheel and leave about half an inch gap under the tyre.
Spare in place.
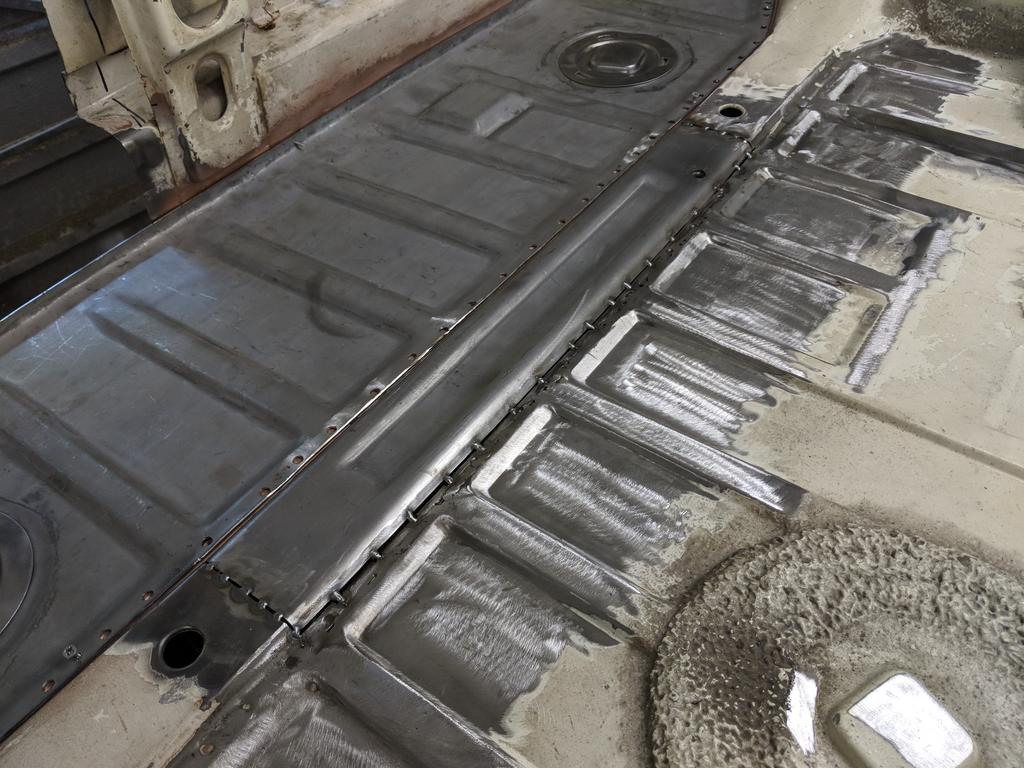
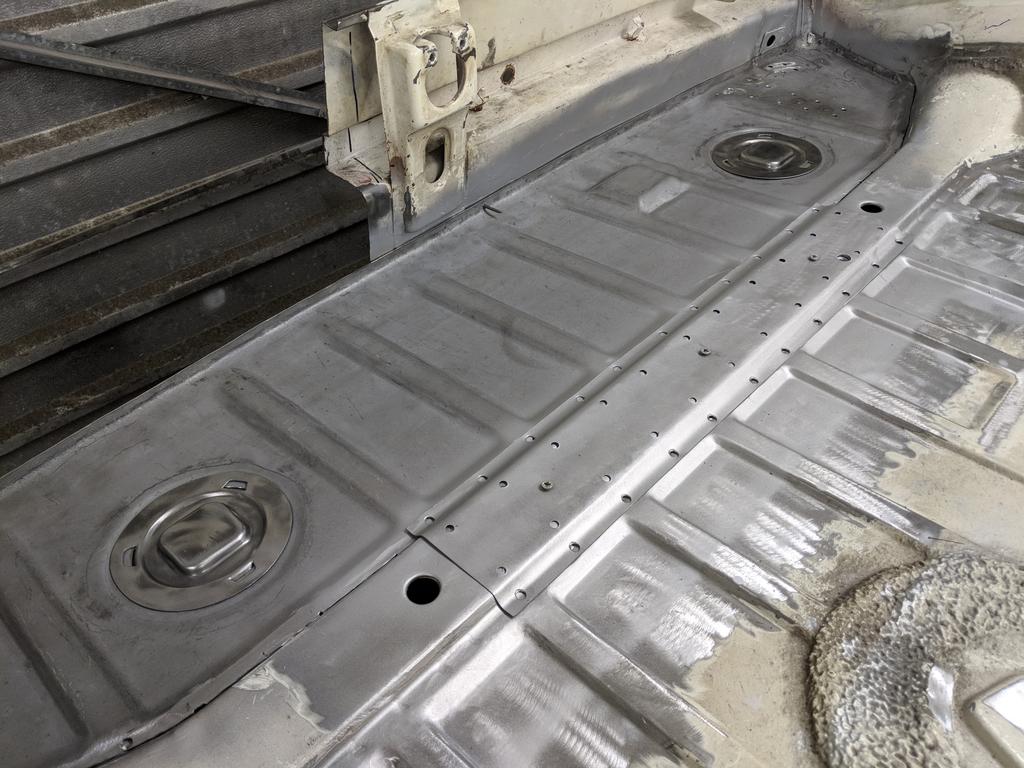
If I was going for more of a race style GT replica I'd have called this complete, but I had in my mind to utilise the original floor board to make two storage compartments. As well as the oil cooler the fuel pump is also going there so I like the idea of a cleaner storage area above. I'd seen this done before on a GT replica at the Nurburgring, just my approach would be a bit different.
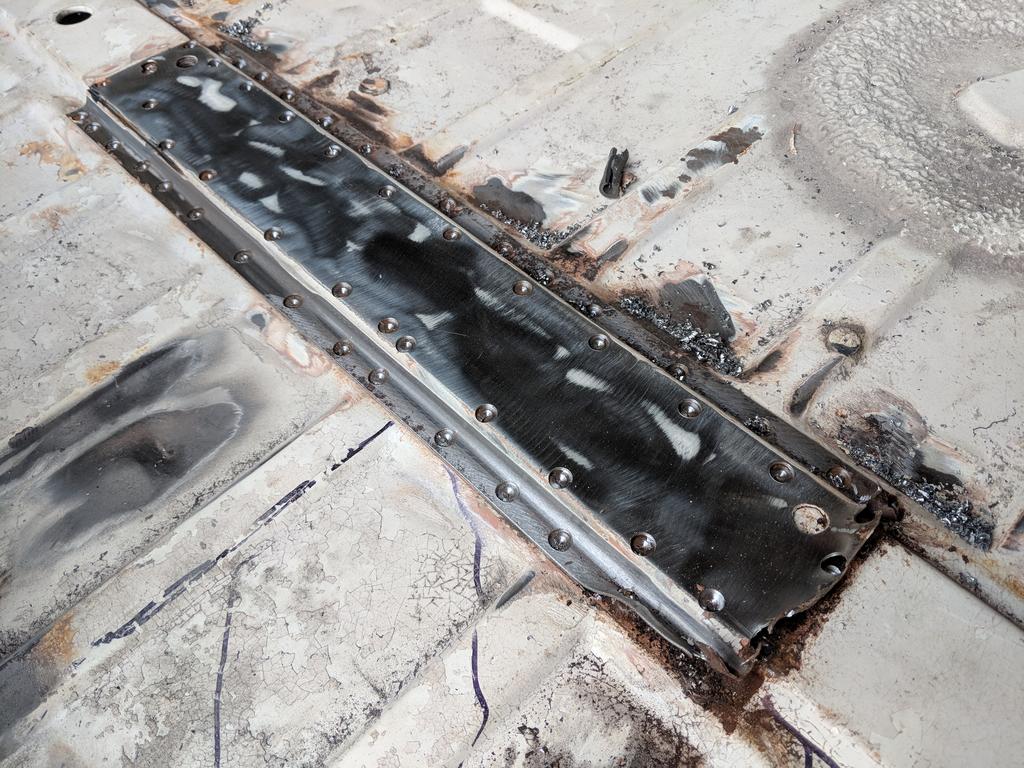
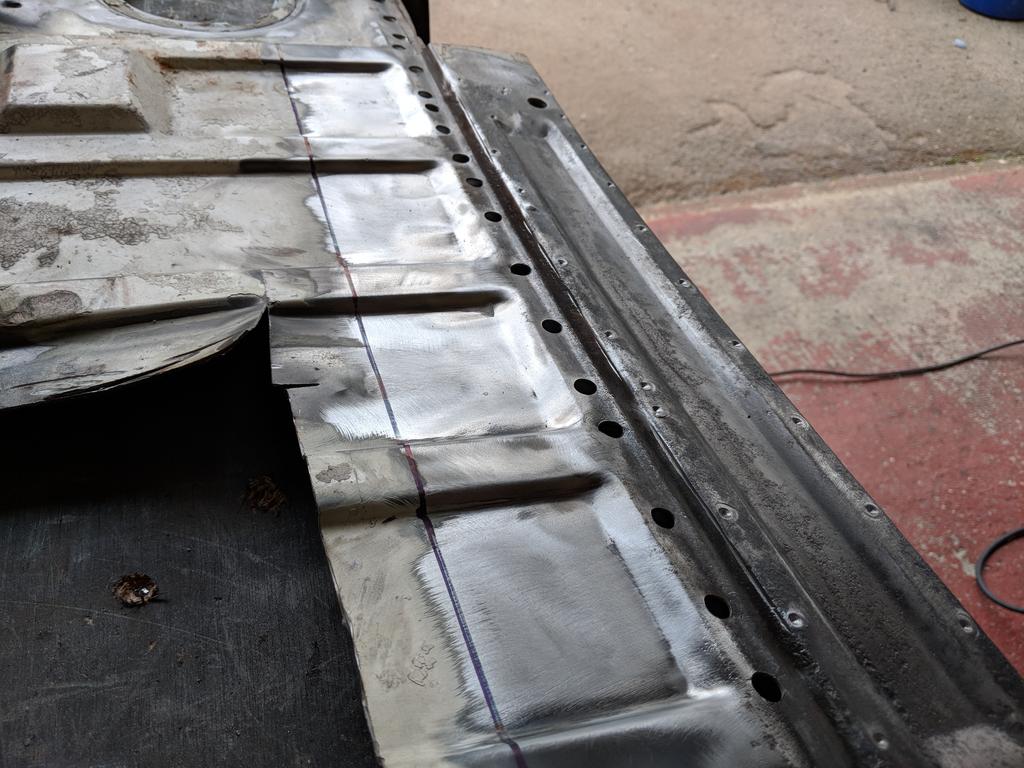
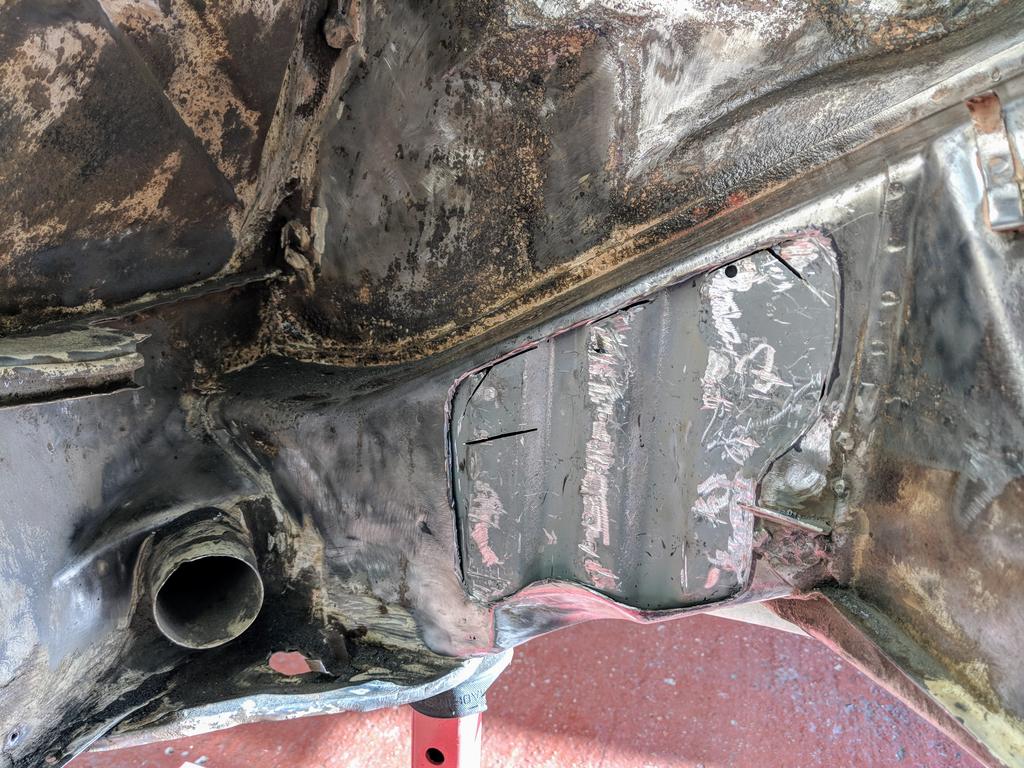
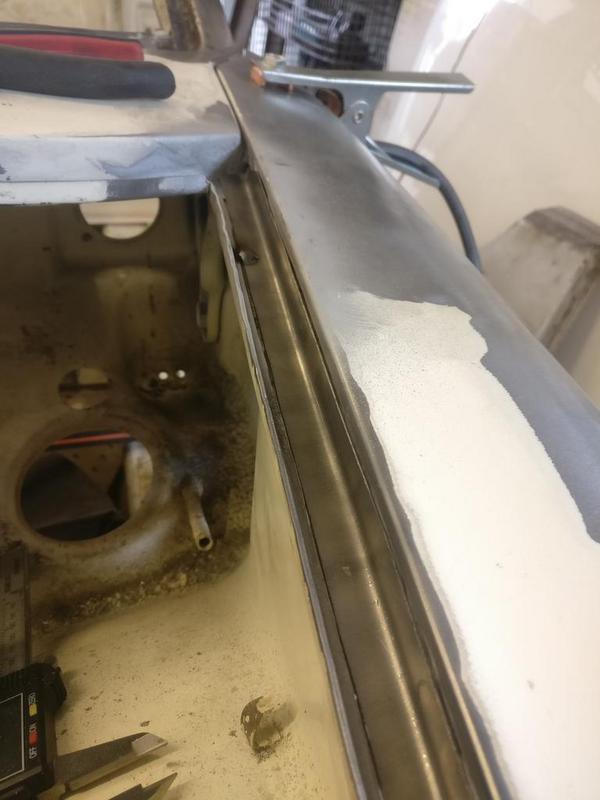
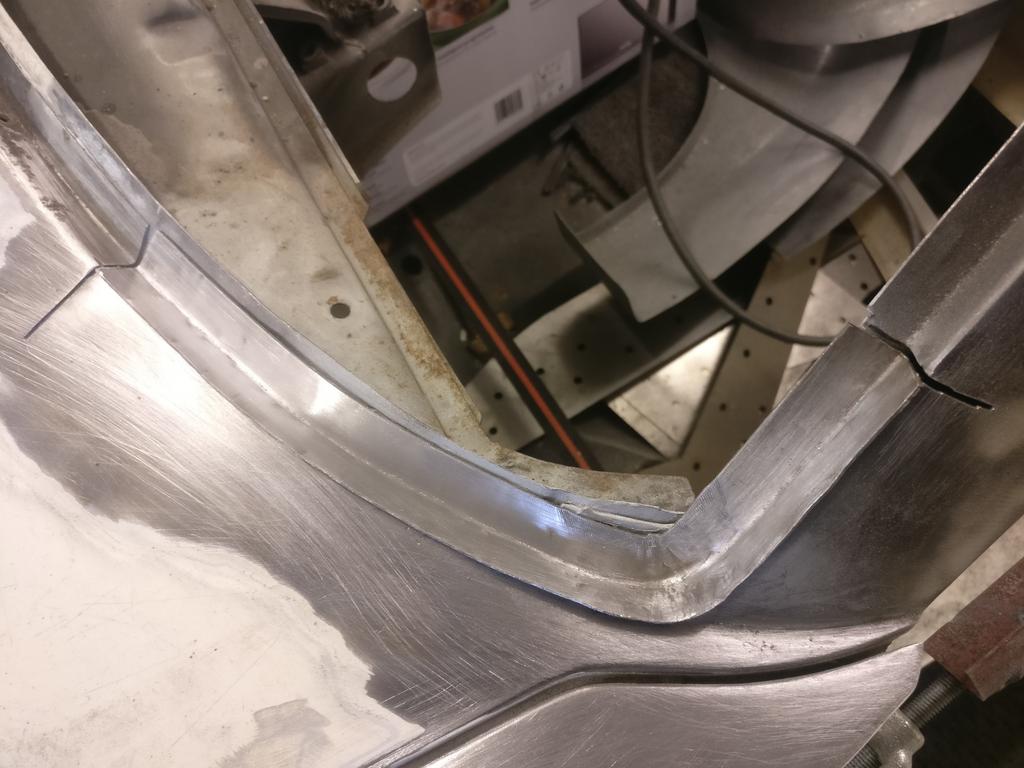
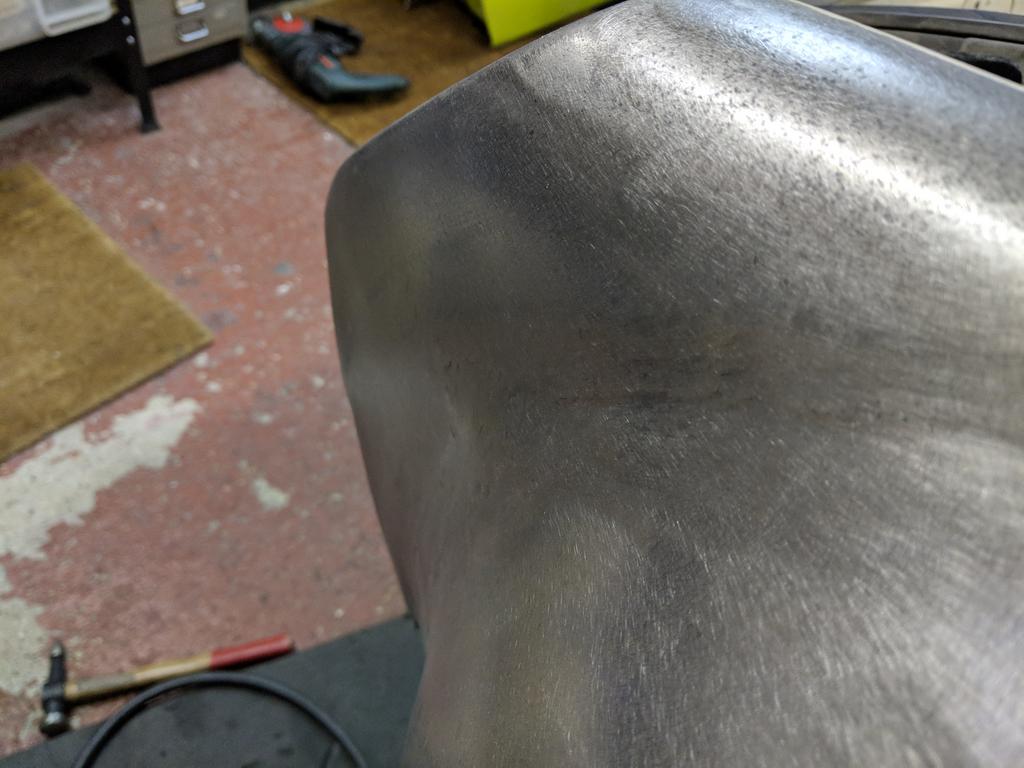
Again after a few ideas I settled with a support bar for the top of the oil cooler shroud and a couple of brackets.
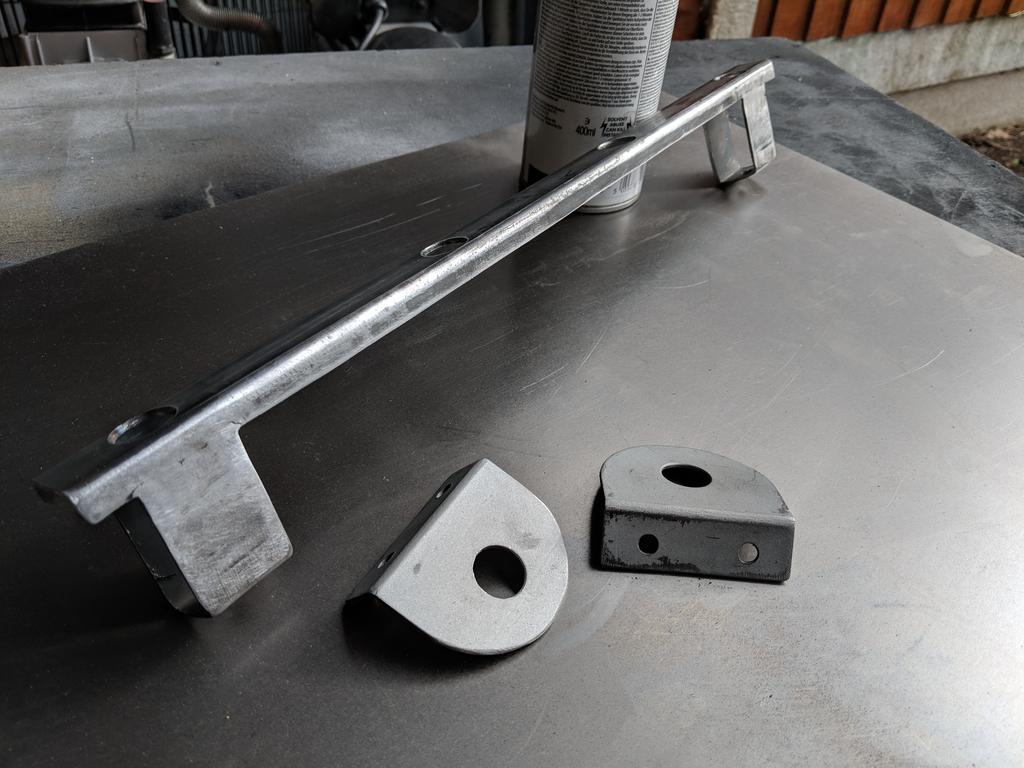
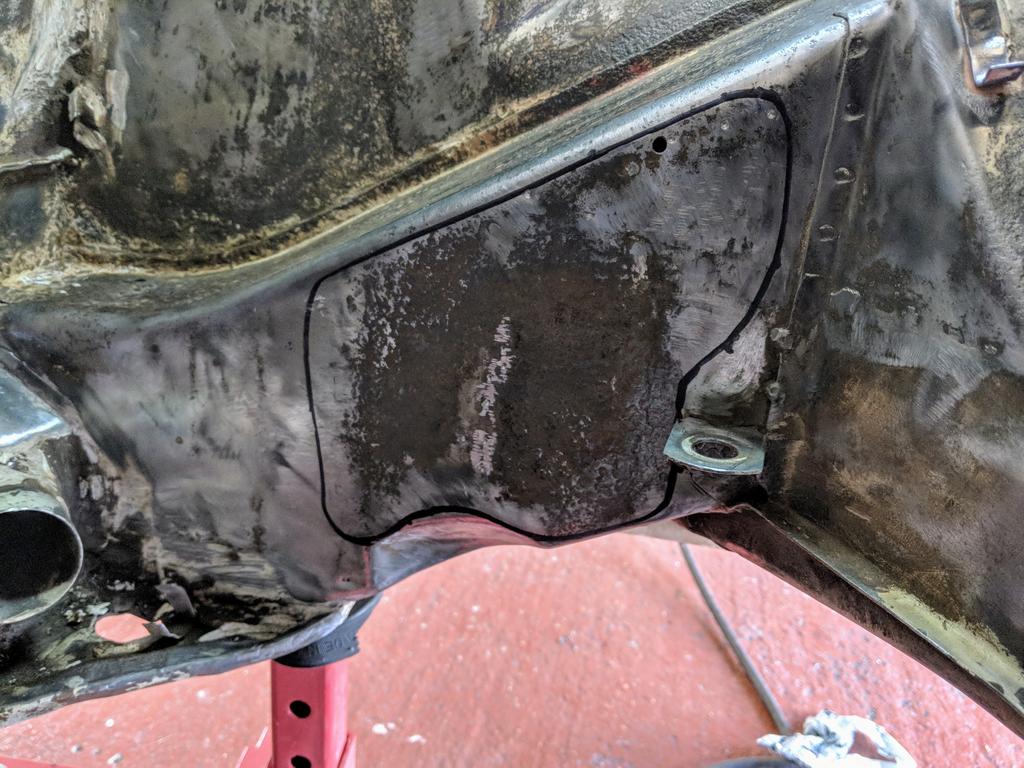
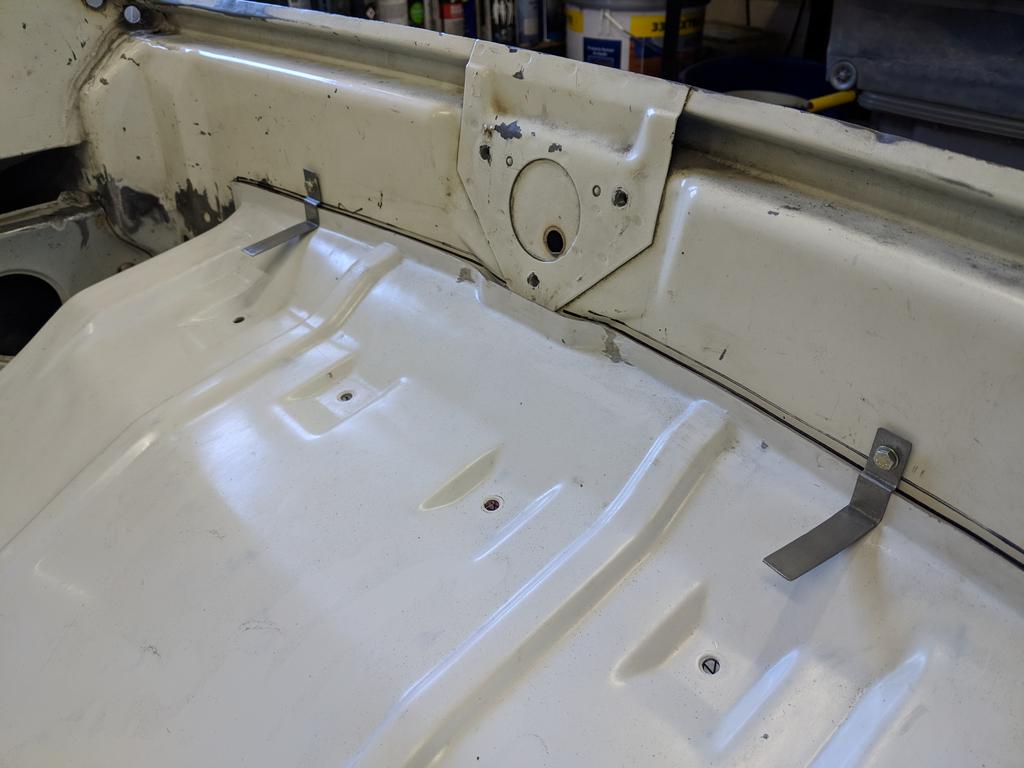
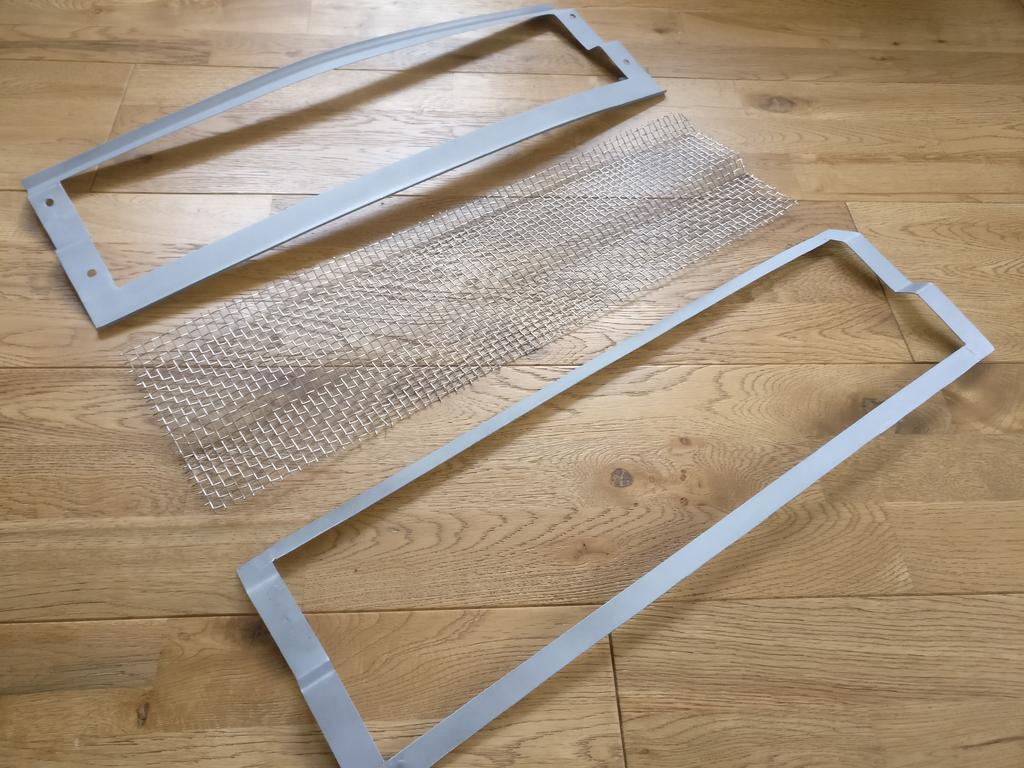
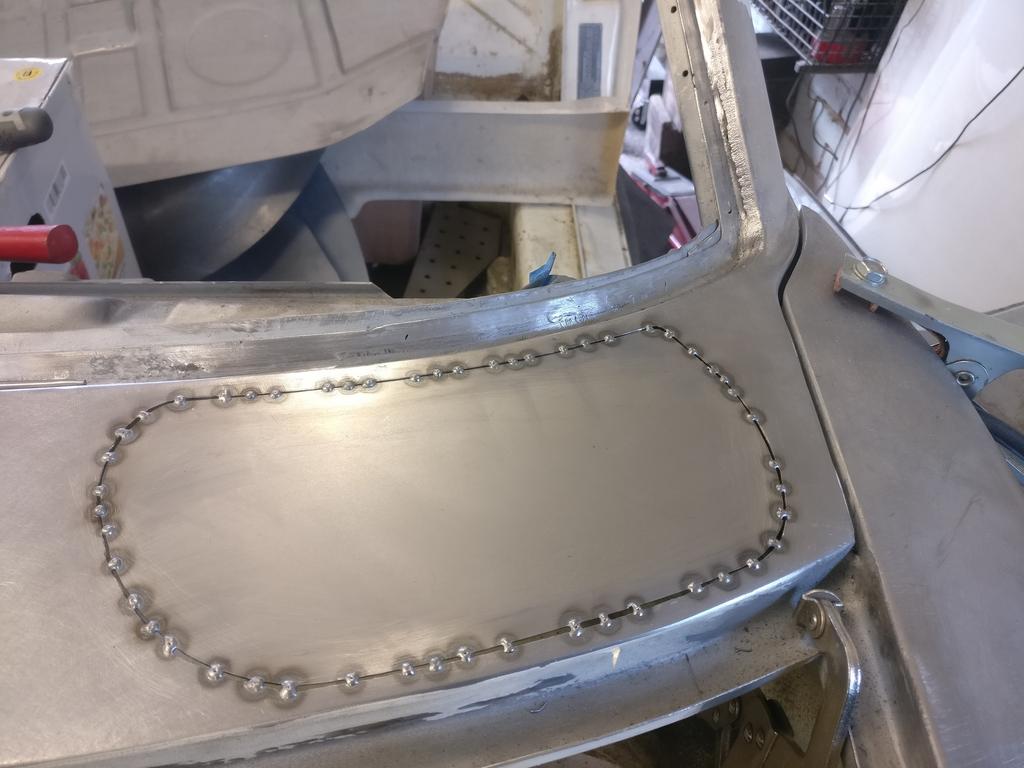
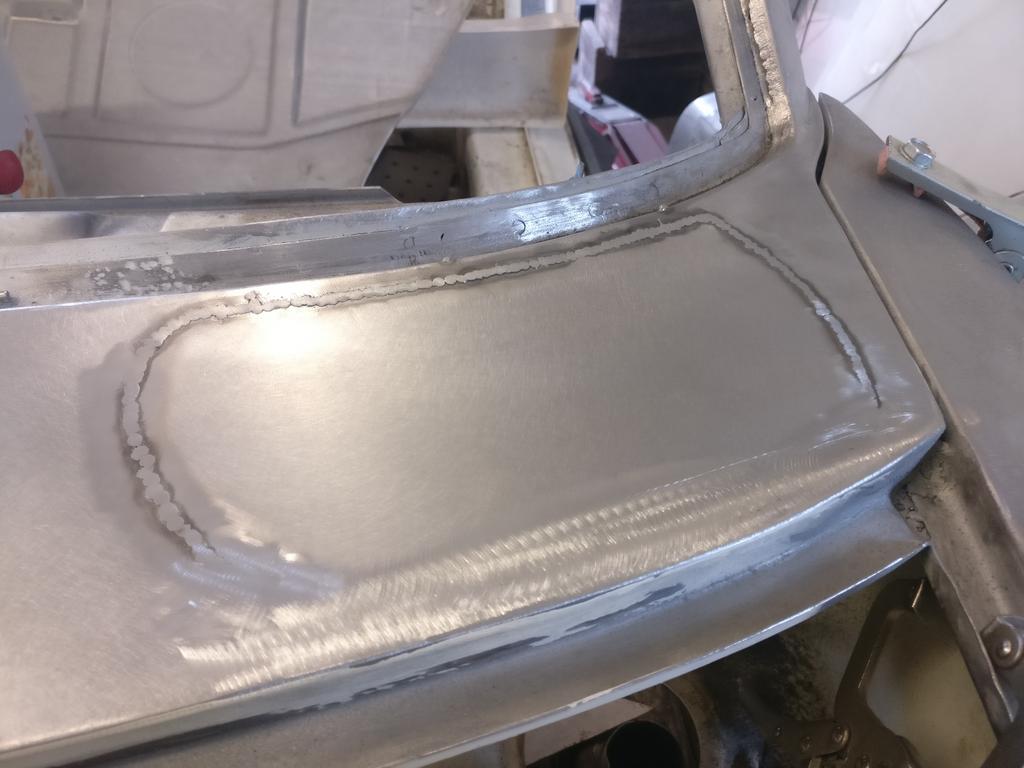
Brackets welded in. The hole in the top are filled with grommets, giving the board something to rest on.
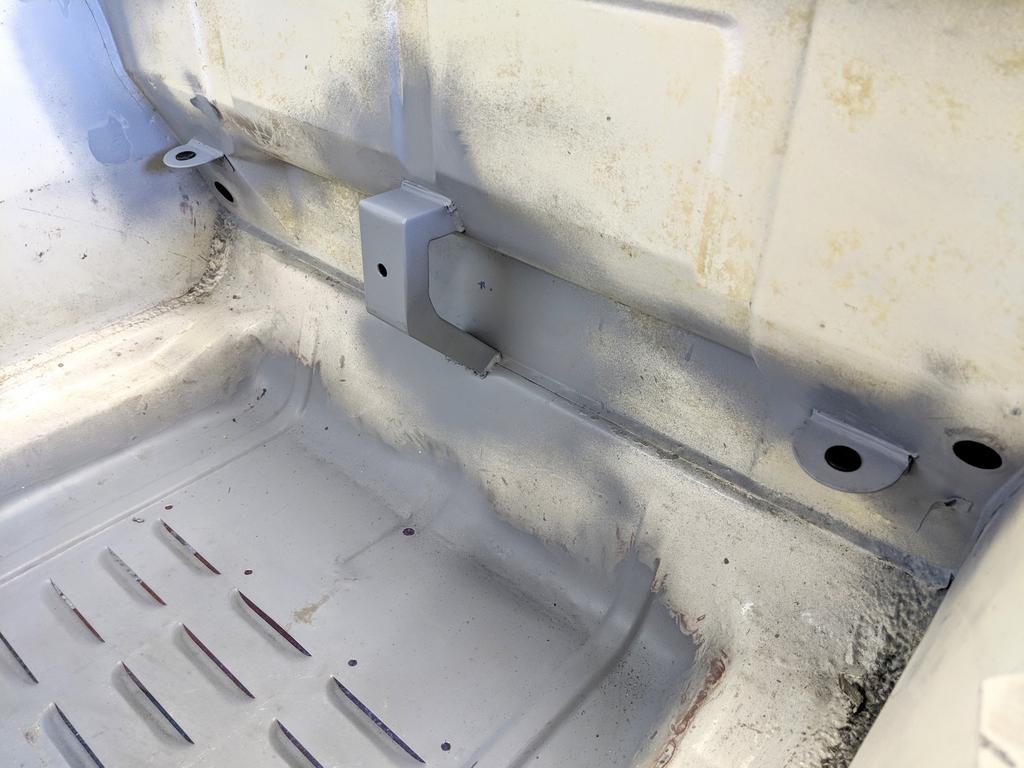
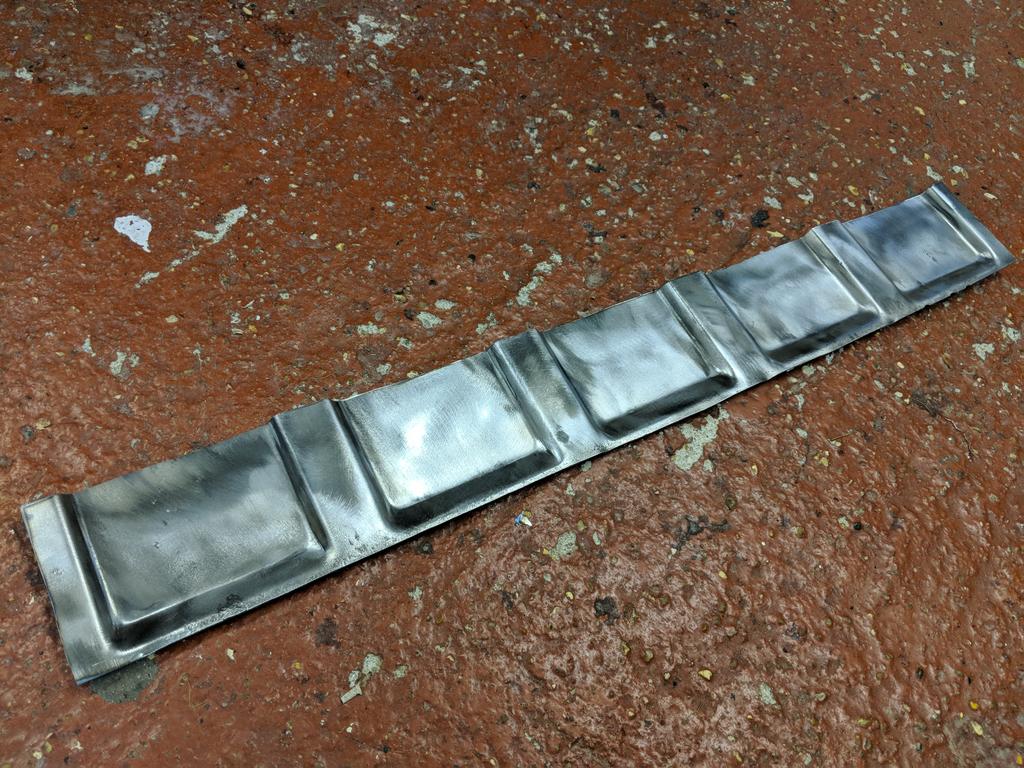
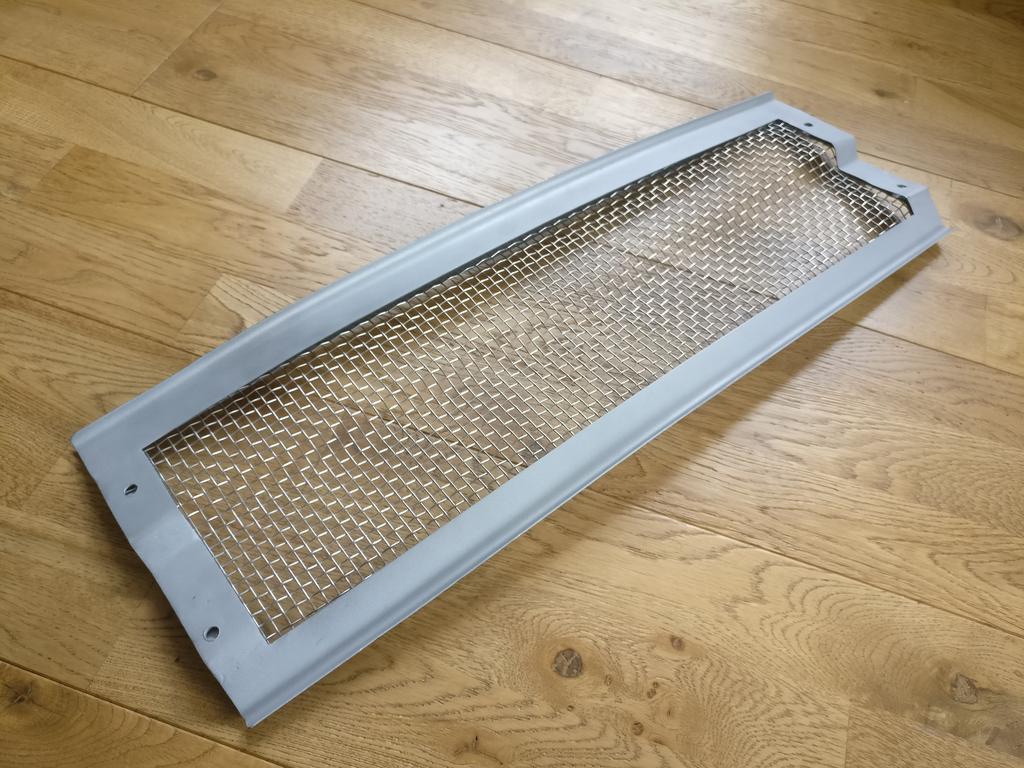
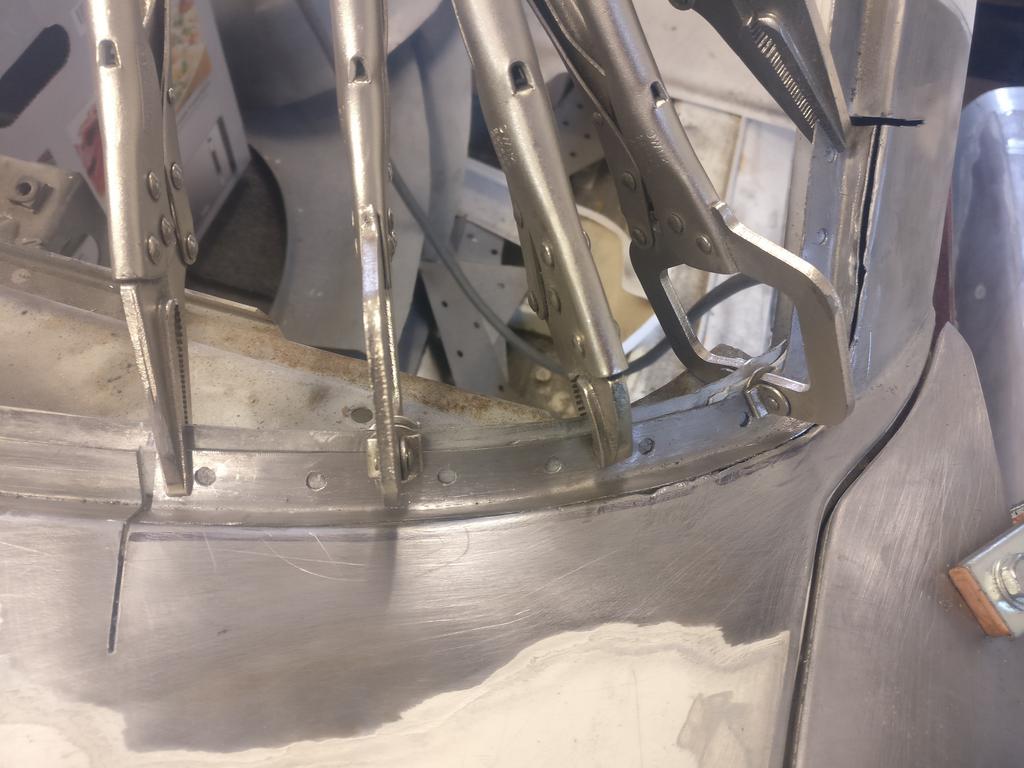
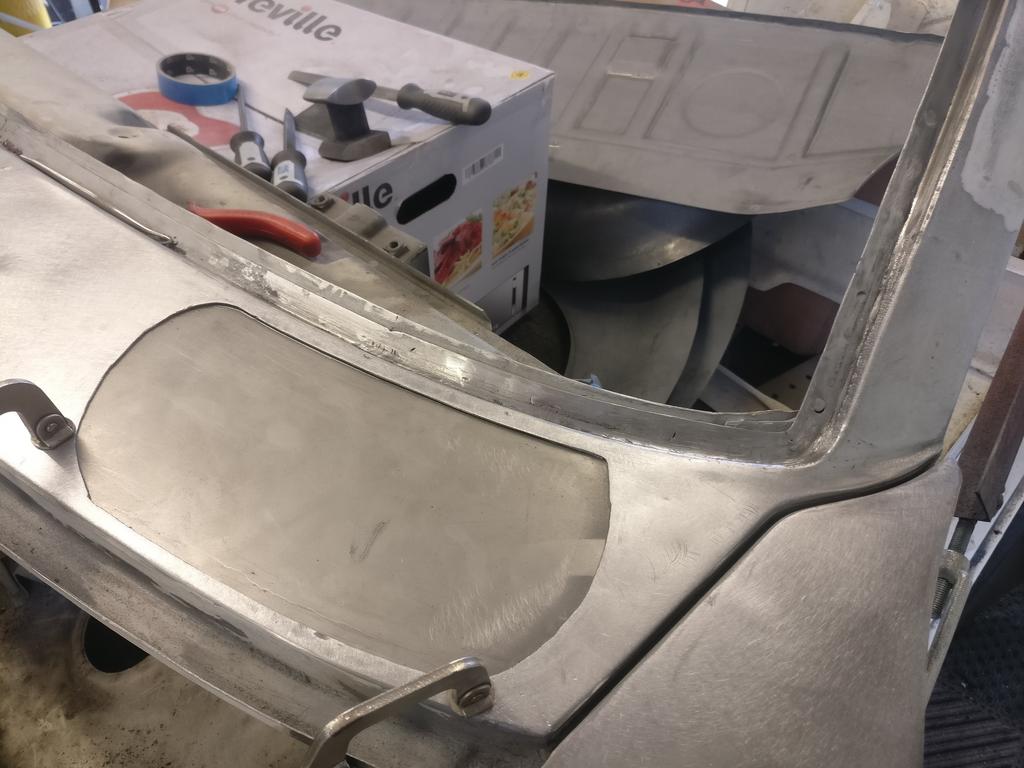
Oil Shroud support bar painted and in place. The two open grommets allow for pegs on the base of the board to slot in place and stop it from moving about.
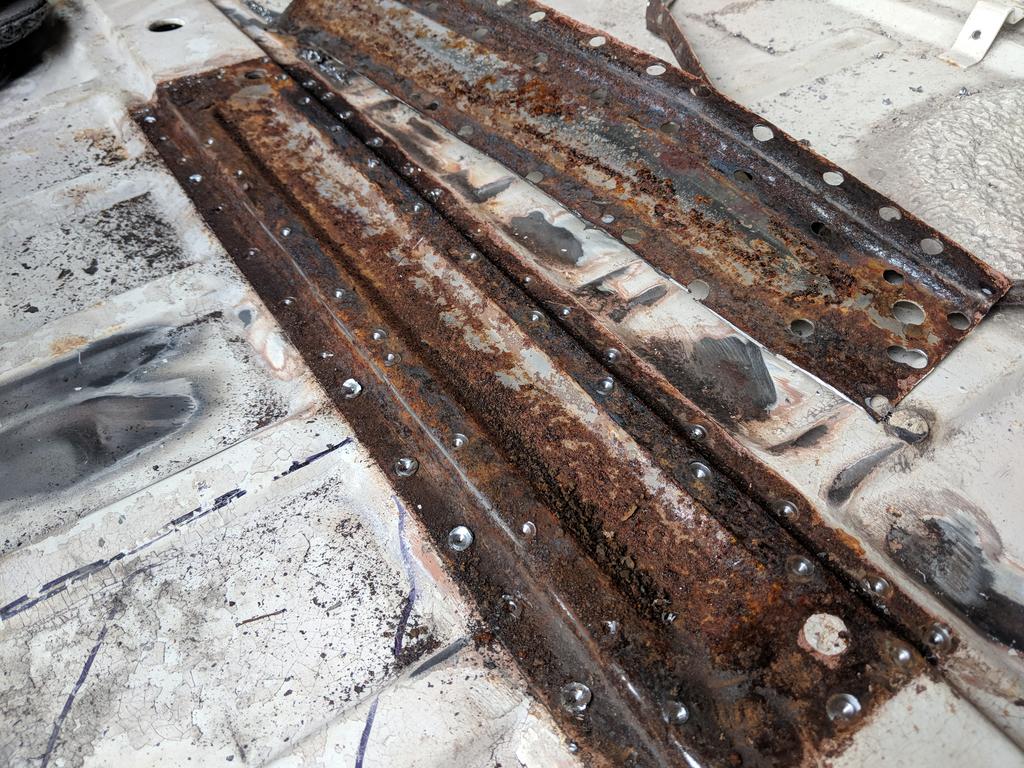
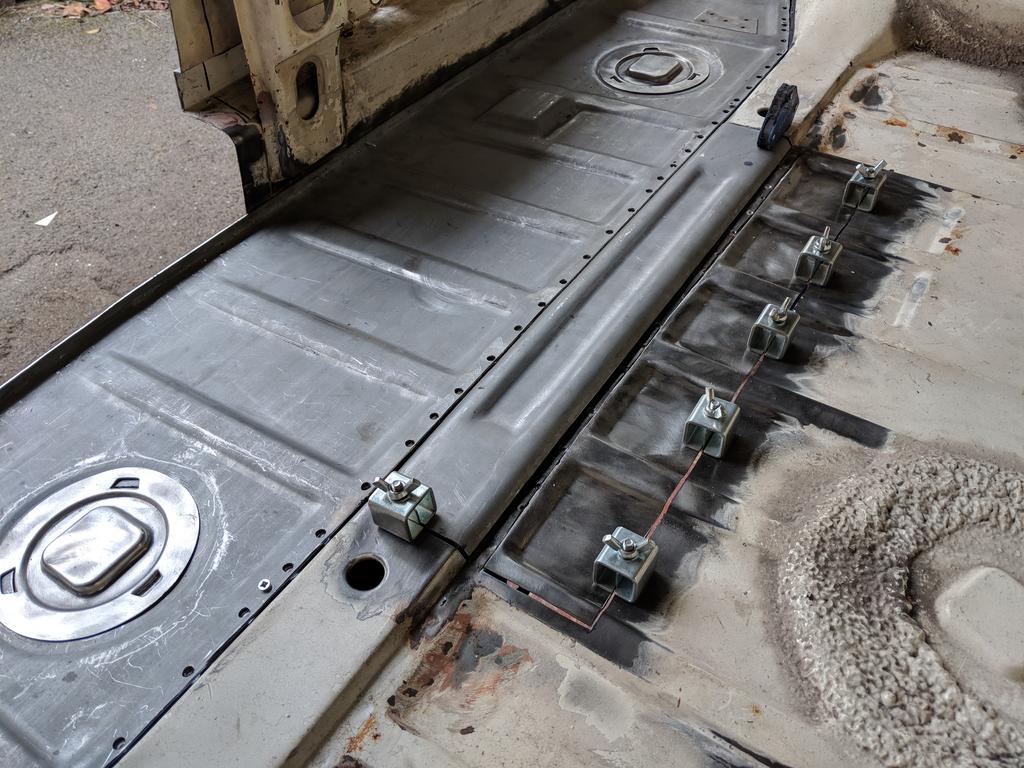
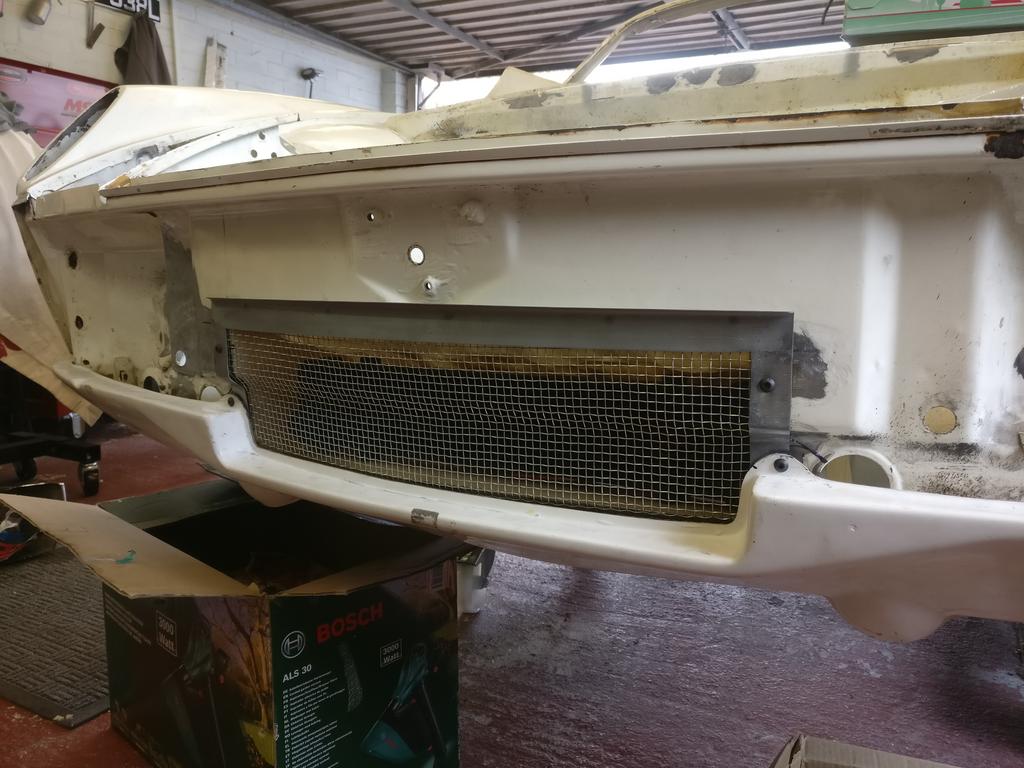
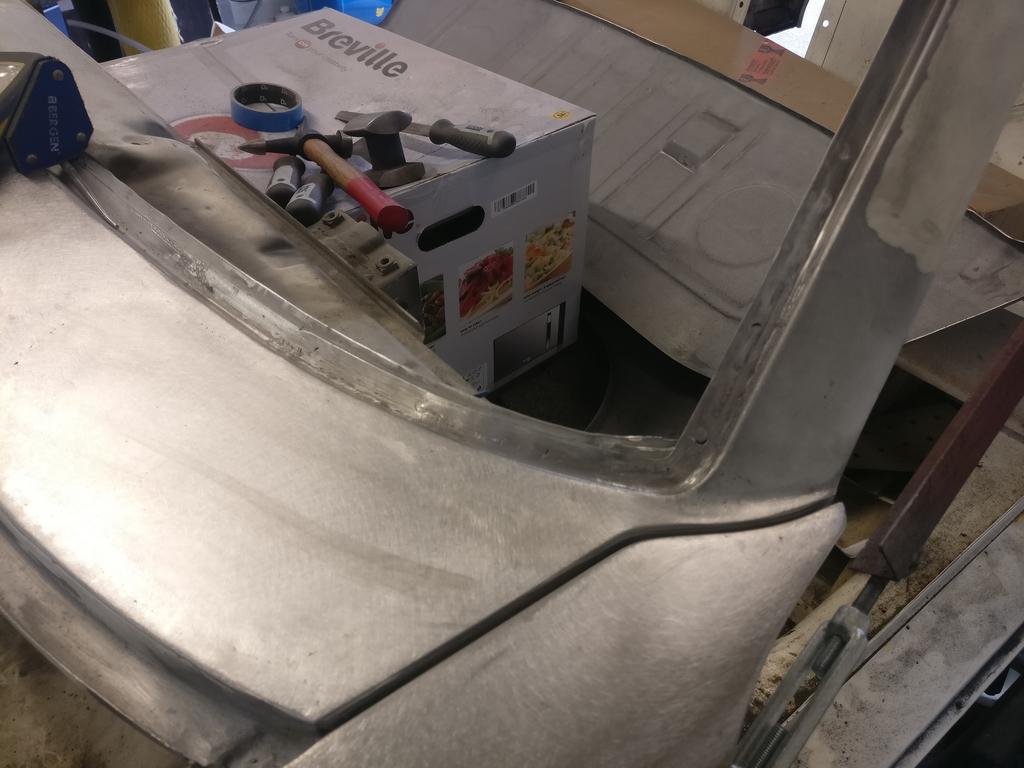
Floor board in place. Eventually this will be recovered in Perlon as per the original.
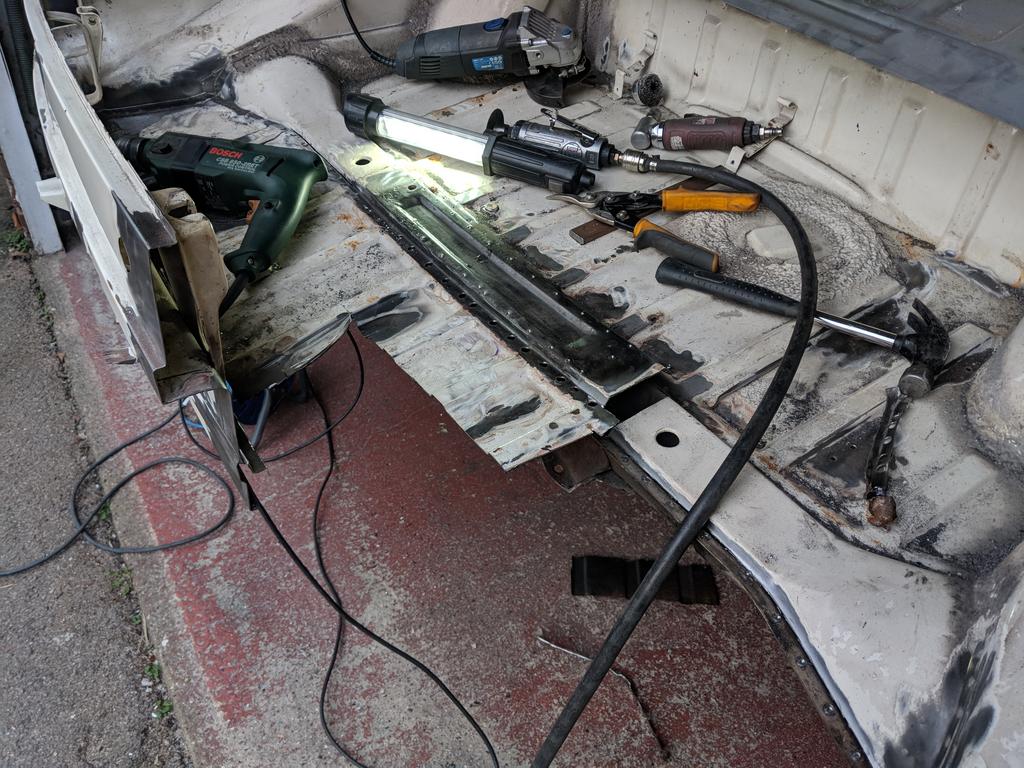
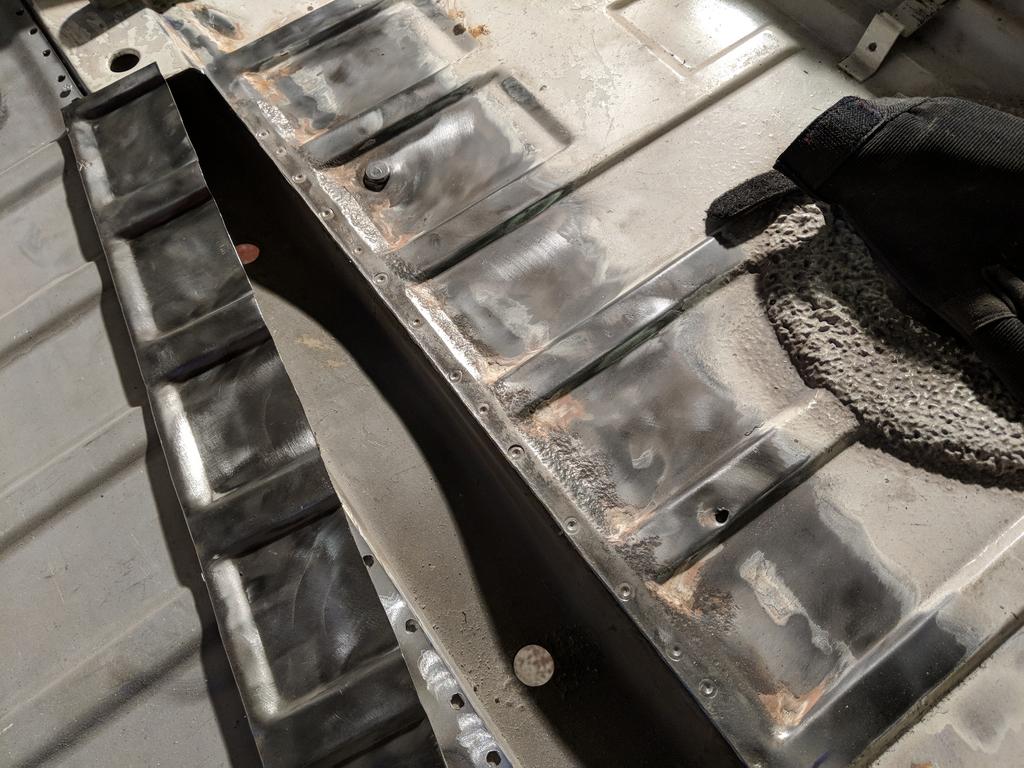
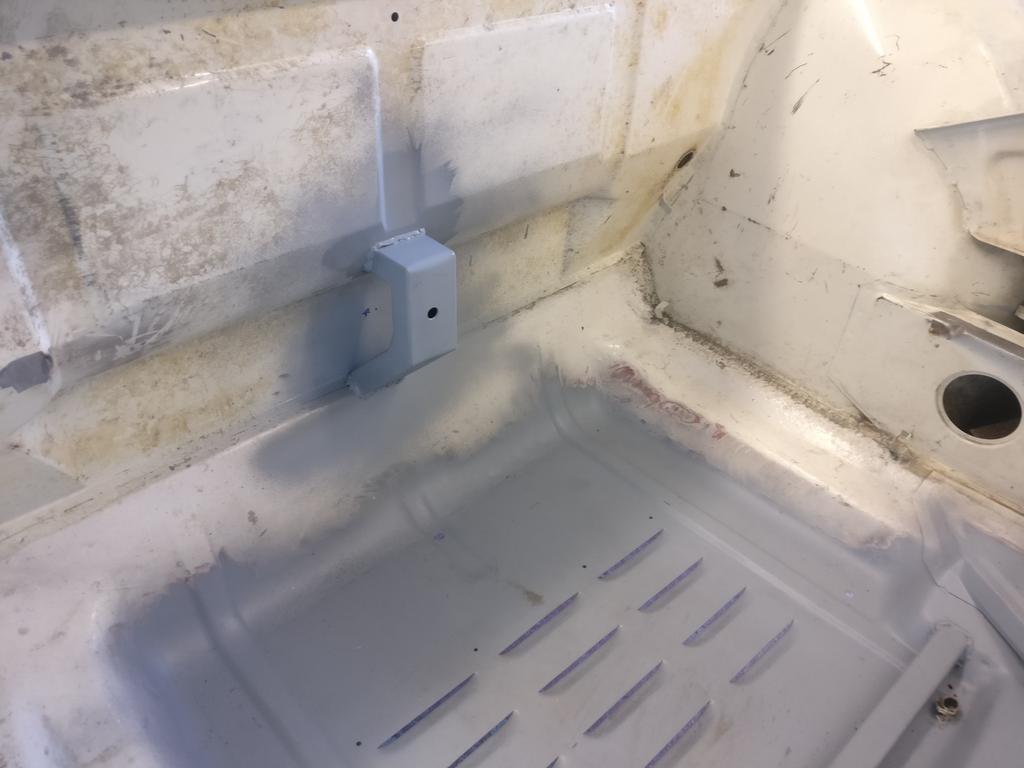
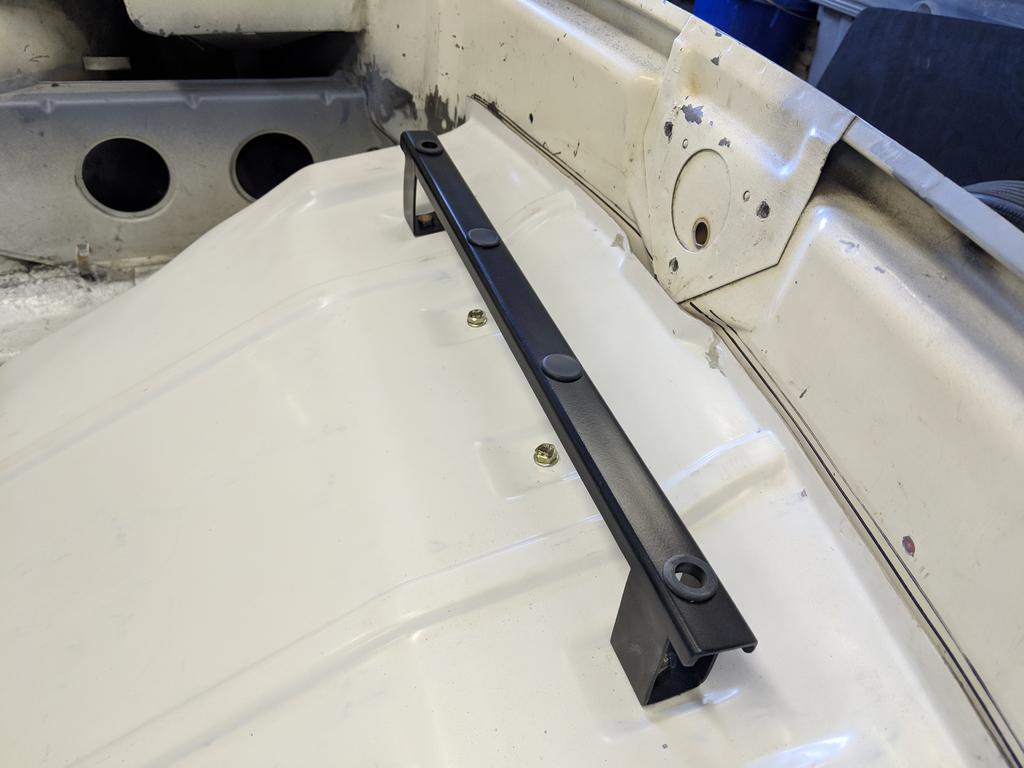
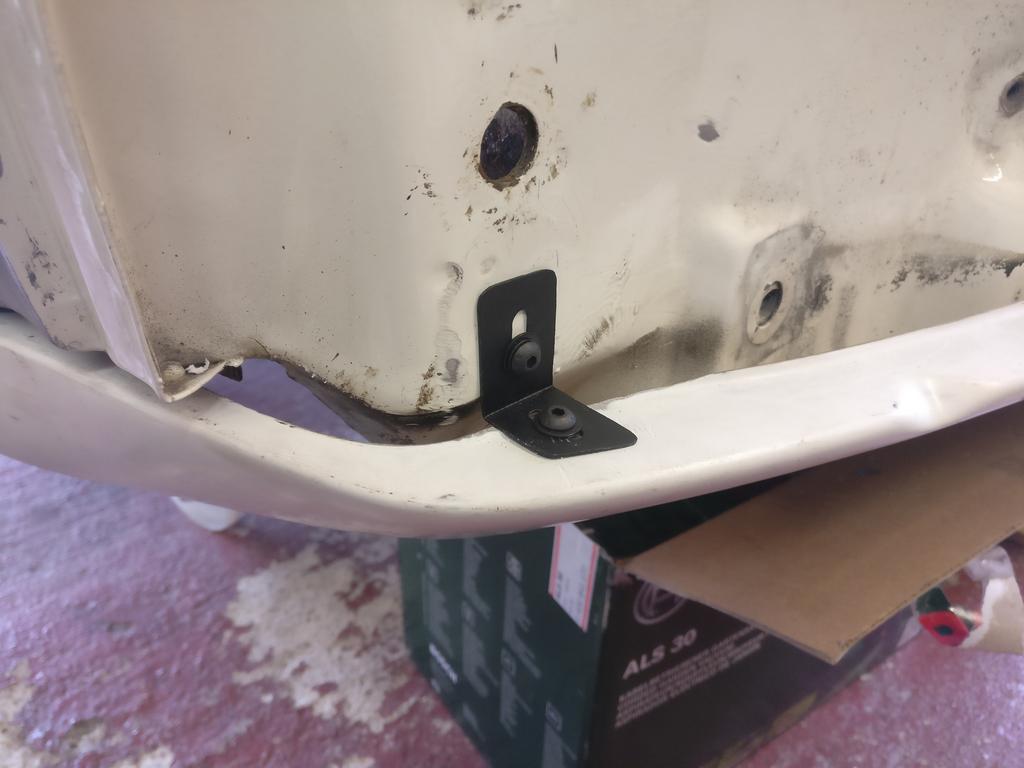
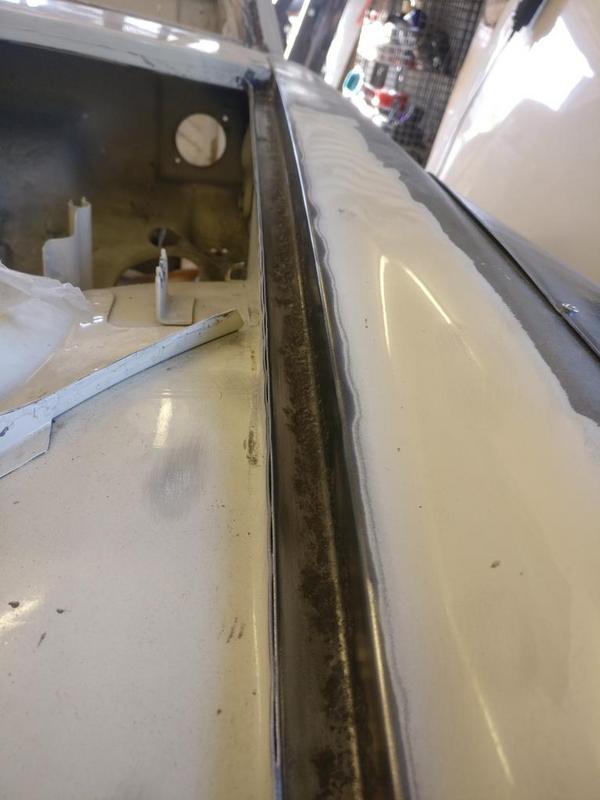
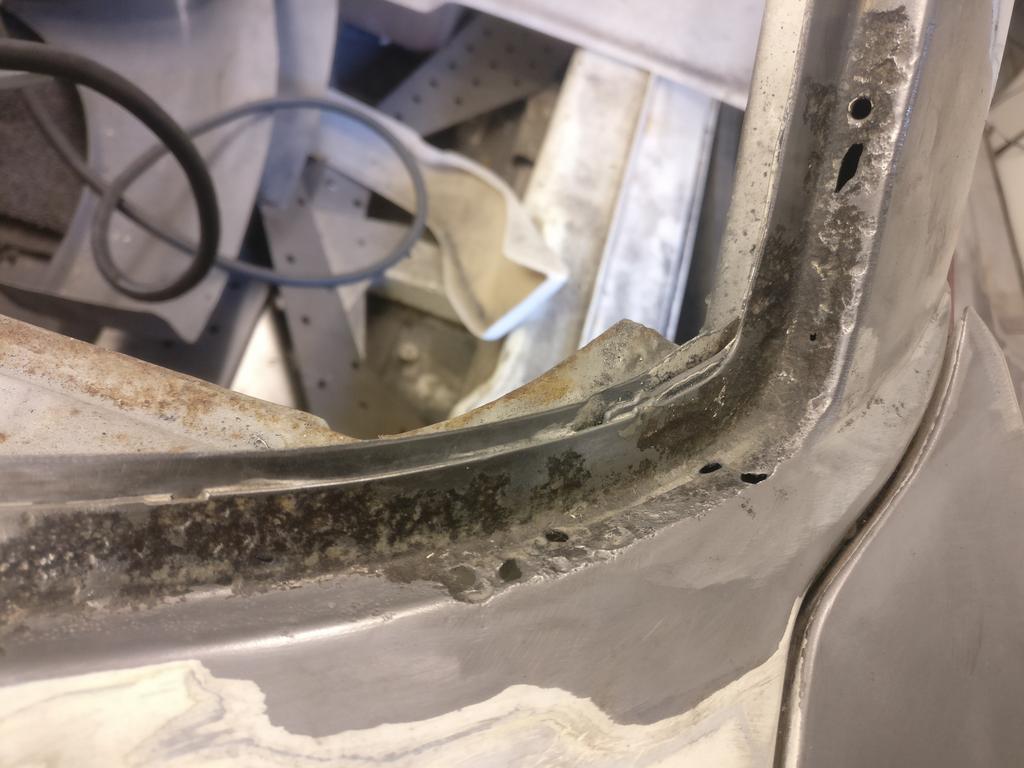
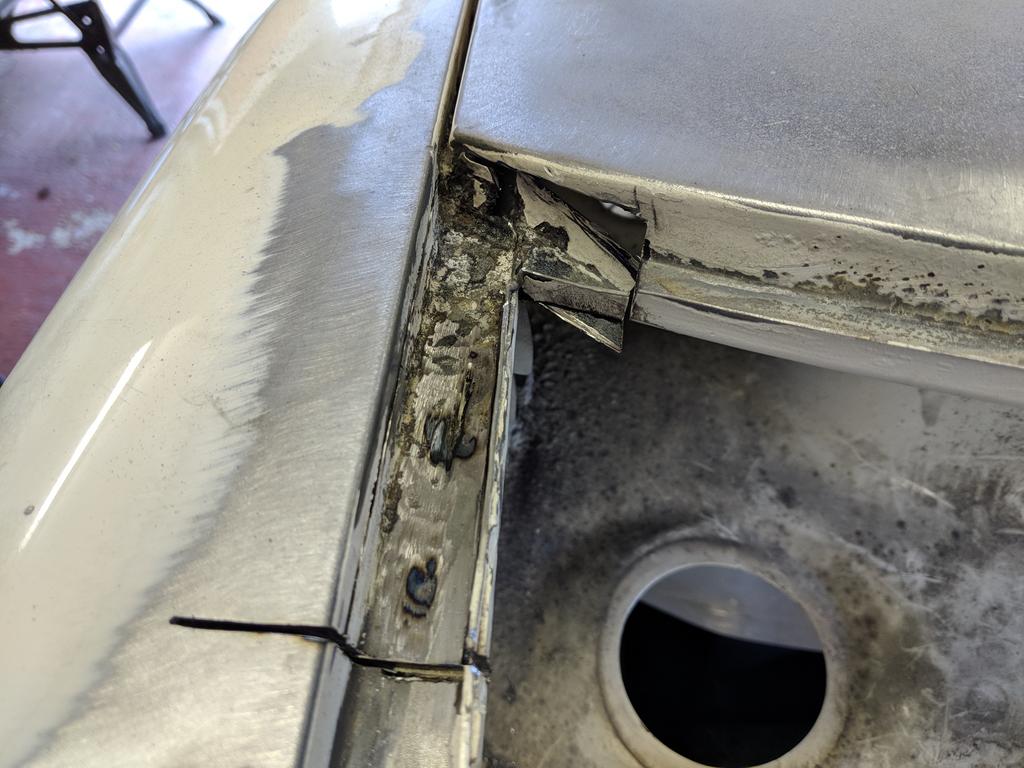
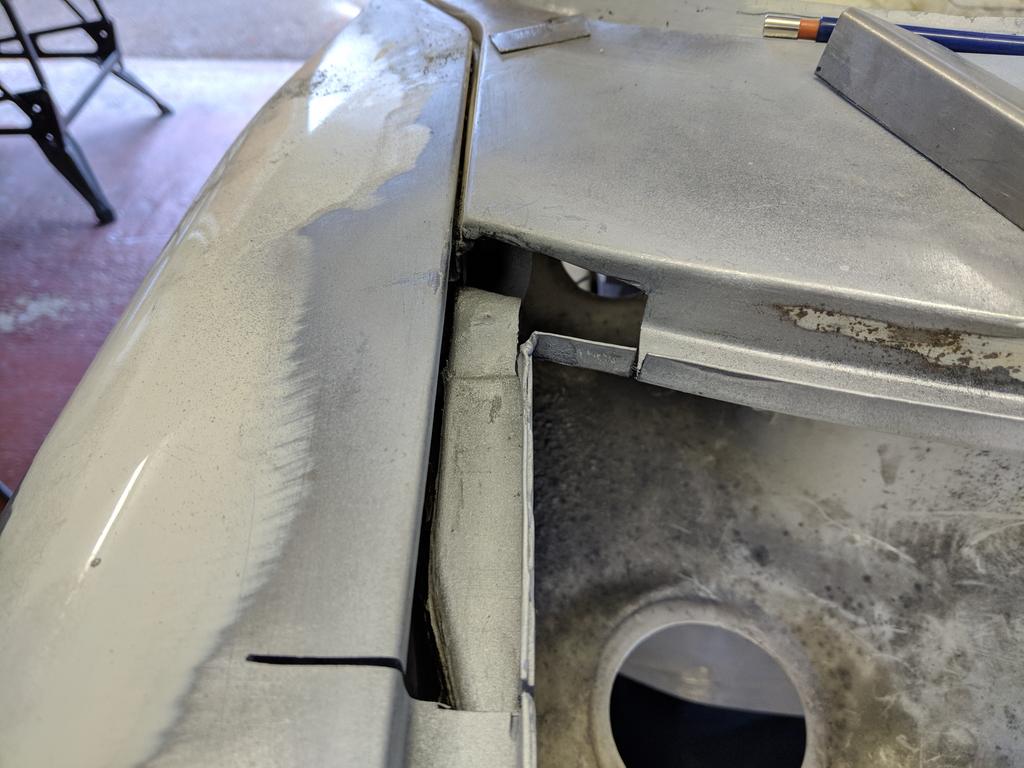
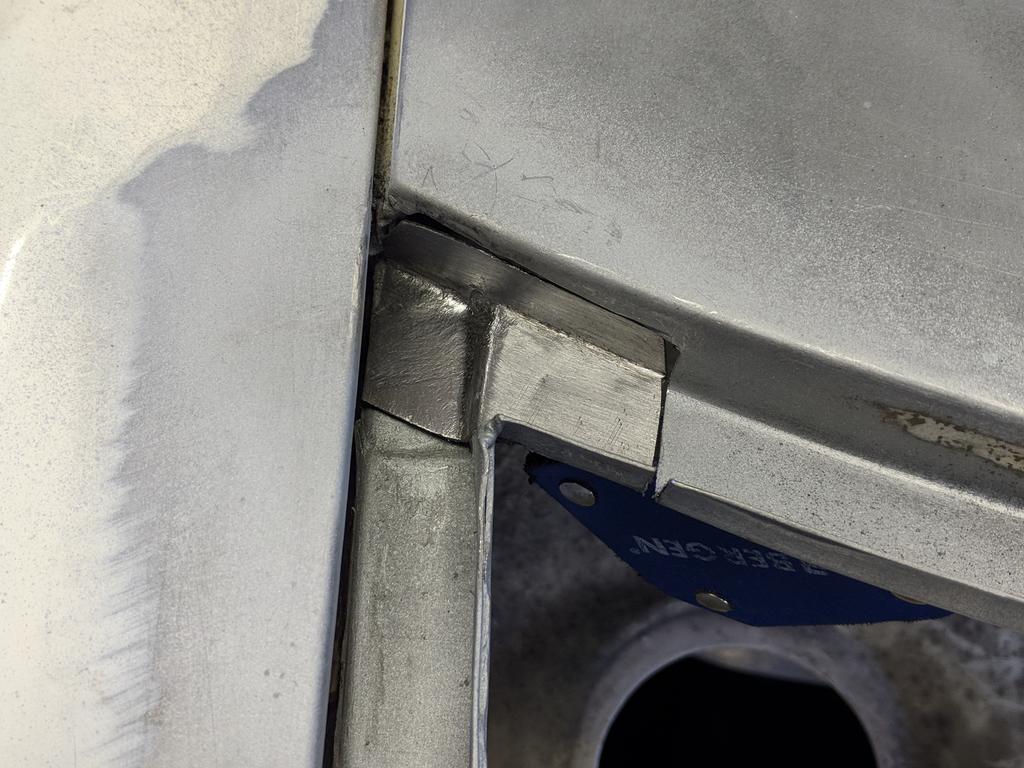
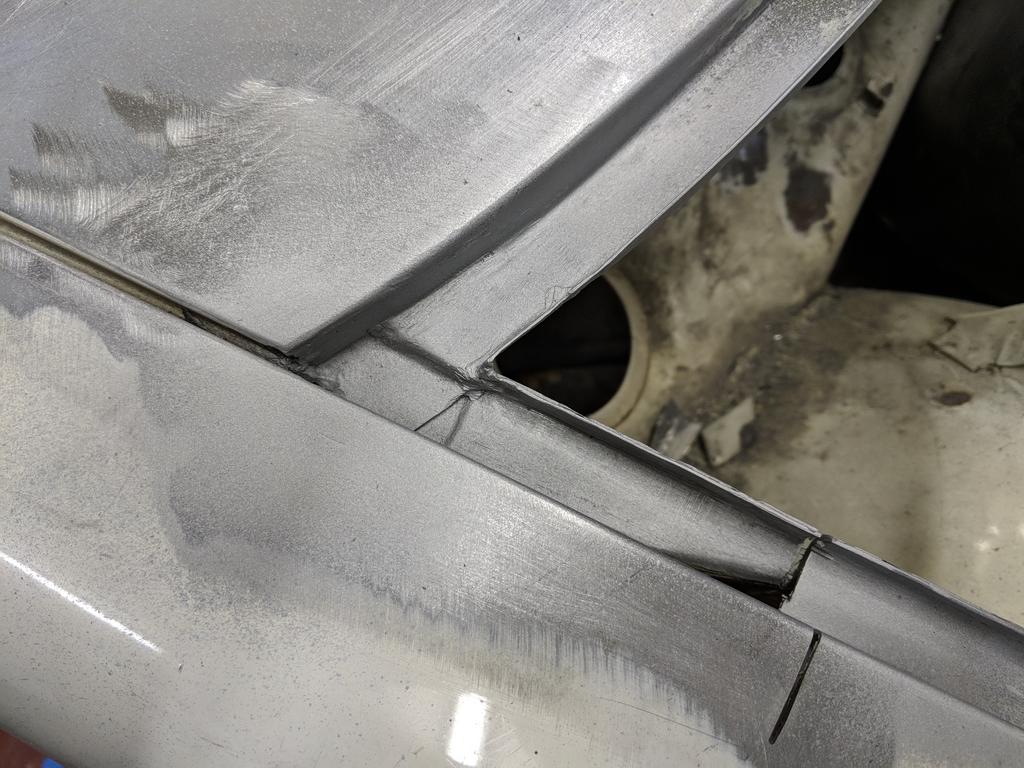
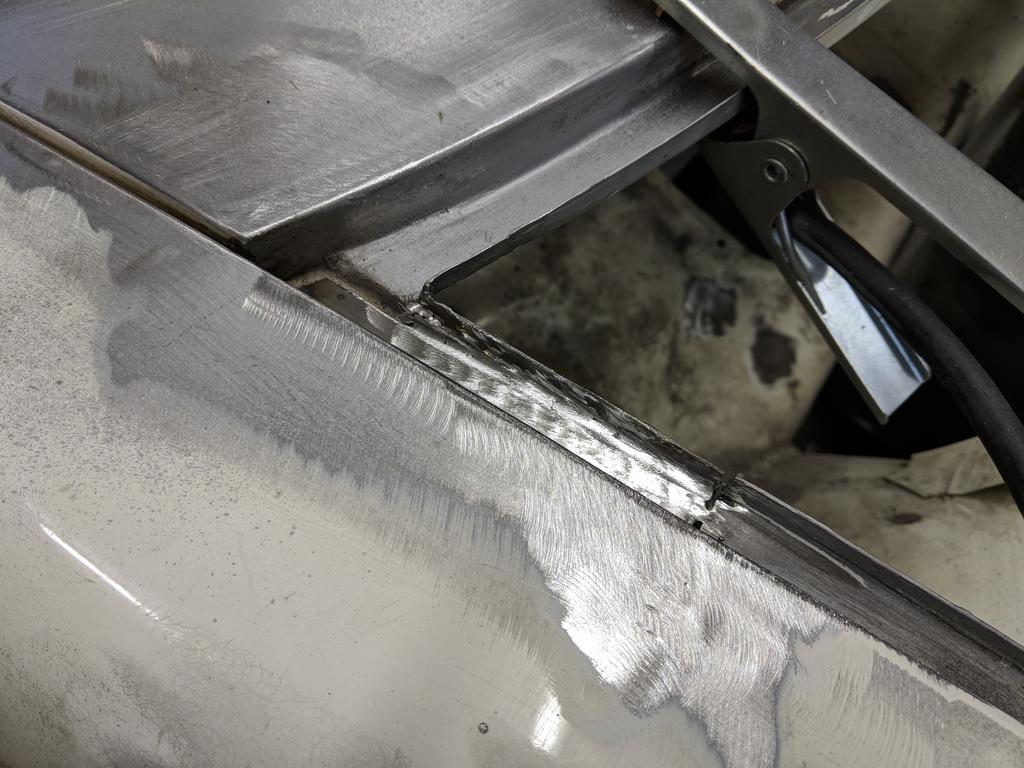
With the oil cooler shroud in place the wiring loom will now run across the top of the shroud. The tyre board is short enough not to interfere with it but I wanted a solution to tie the loom in place. Copying the style of all of the wiring loom metal tabs welded on the body I made these to both hold the top of the shroud in place and bend around around loom.


 Keep up the good work it will be worth it.
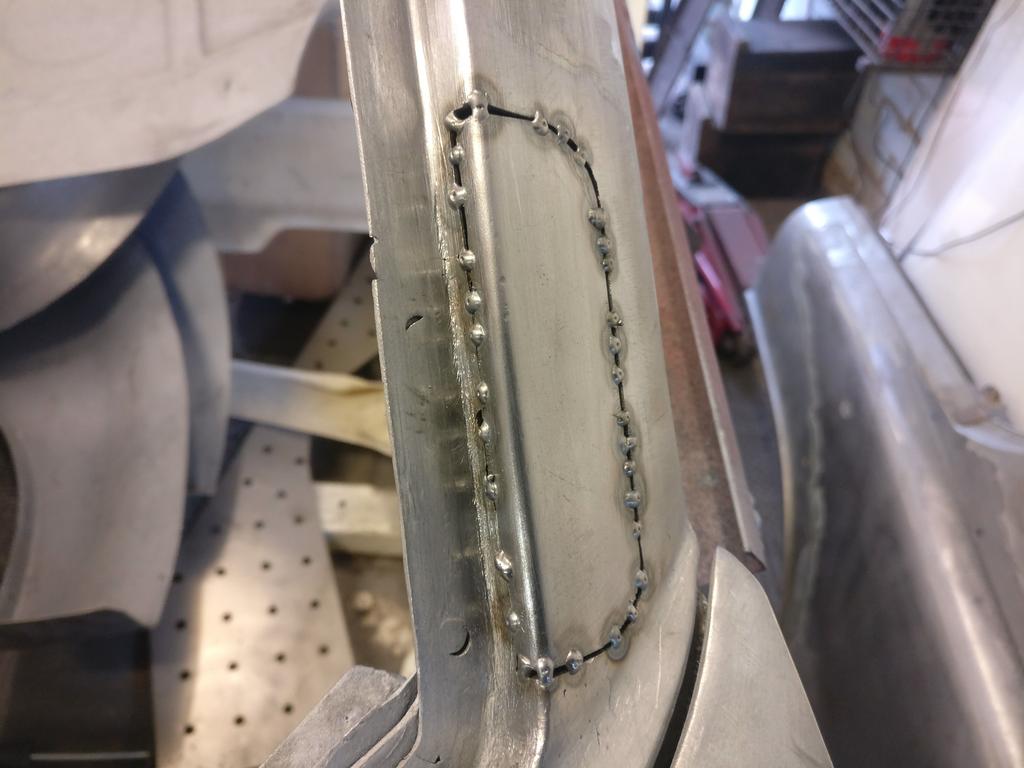

 .
.