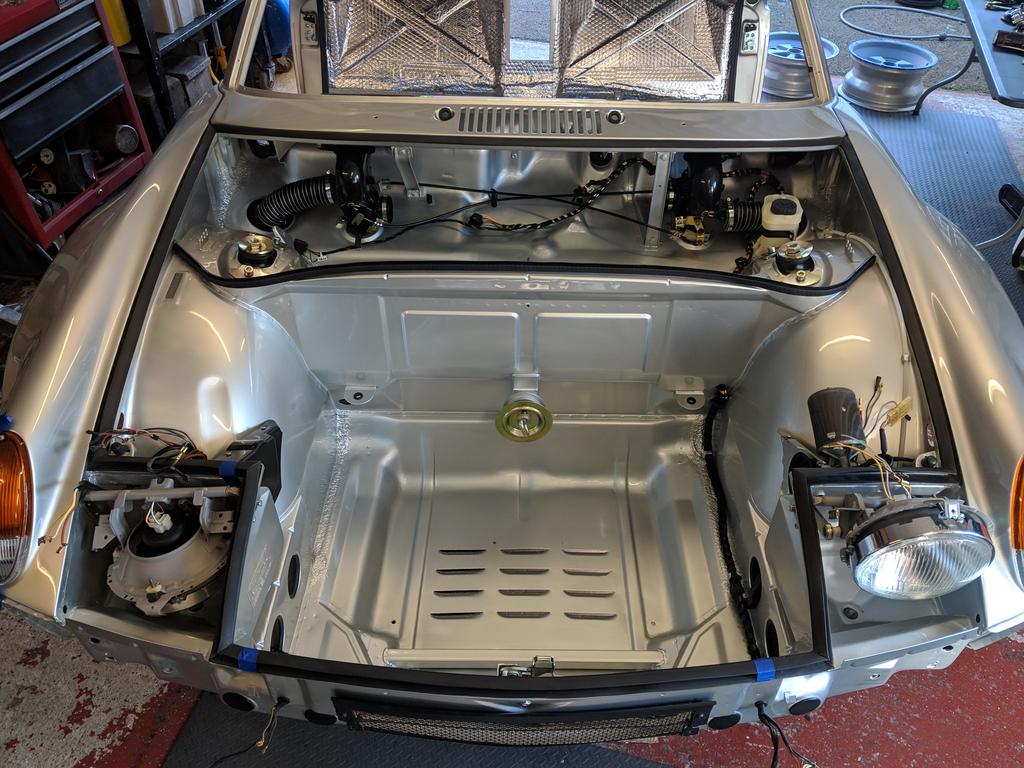
I'm not ashamed to admit I struggle to comprehend the prices of Fuchs these days and for a while I pondered over what direction to go. Most people go for 15x7 and 15x8 on their GT replicas but the combined Porsche, 911, and RS tax was too much for my wallet. Finished the way I wanted I'd be looking at paying something very close to what I actually paid for the car!
I've always liked the 16" Fuchs finished in the earlier style and they were a bit closer to my budget. What I ended up with though turned out to be a bit of a bargain.
Euromeister came out with a pretty convincing 16" replica Fuchs and they were gaining popularity in the 914 community. The only problem being that after much searching I couldn't find a distributor in Europe. At the time they were being sold by Ecklers in the US and I noticed one day they were having a 50% off site wide sale. $400 for a set of wheels? Yes please! Postage was a killer, as you can imagine, and the woman on the phone I spoke with when placing the order thought I was mad, however they were still a bargain after they'd arrived in the UK.
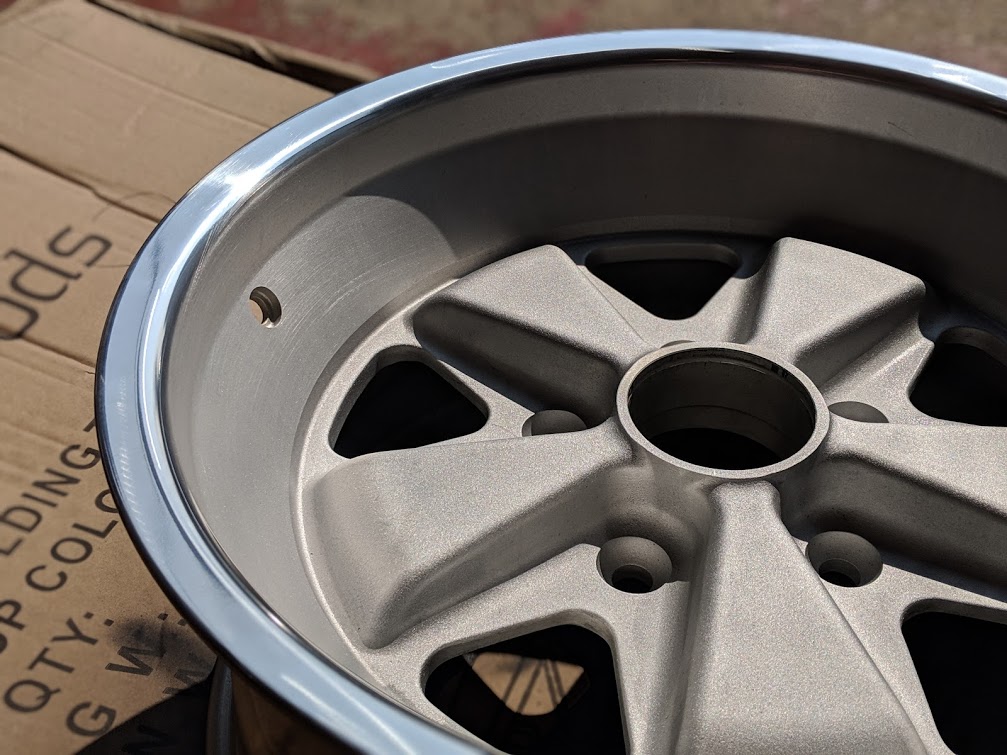
This is them when they arrived a while back.
Not the look I wanted so it was off to the media blasters with them.
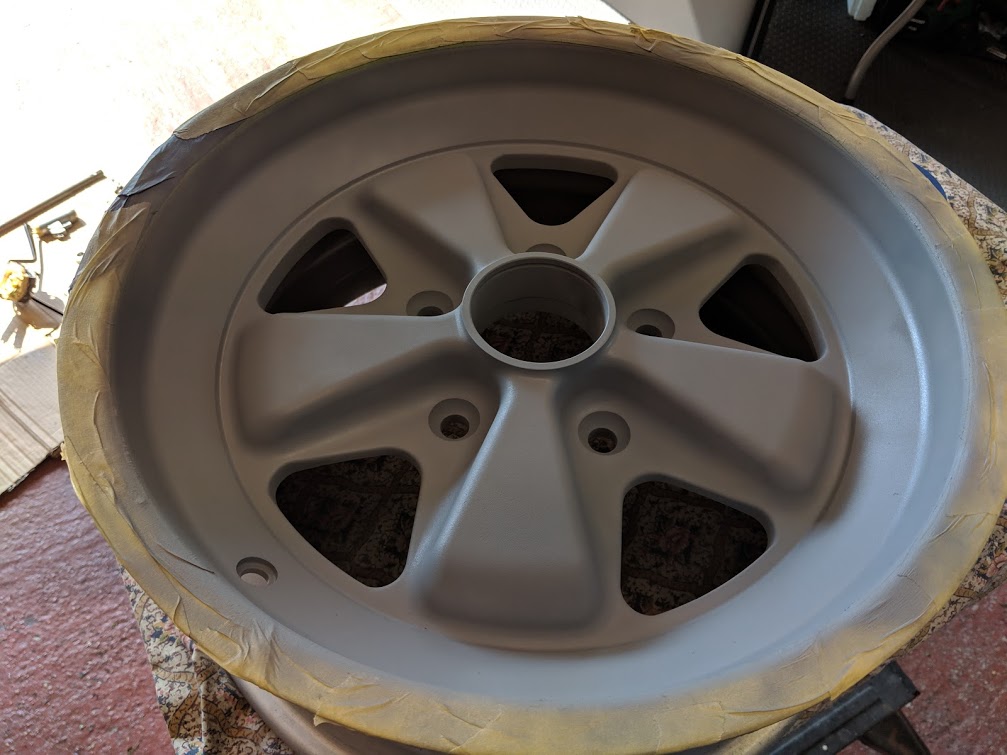
With a blank canvas I could set about giving them the look I was after.
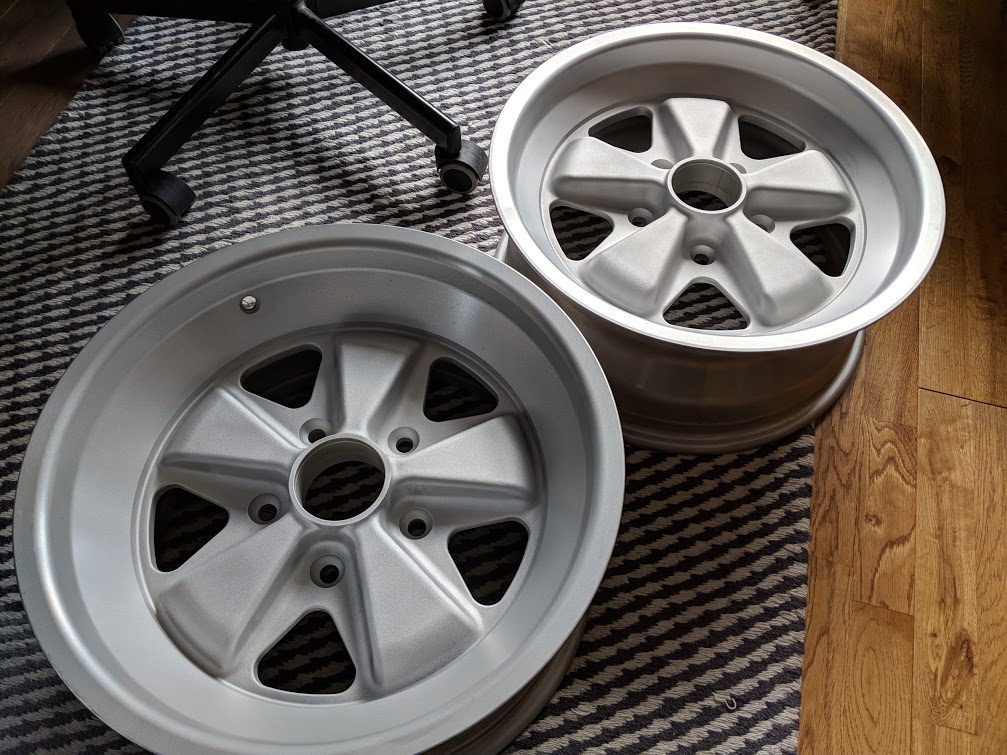
First off, polishing the lips.
Masking for etch primer and silver.
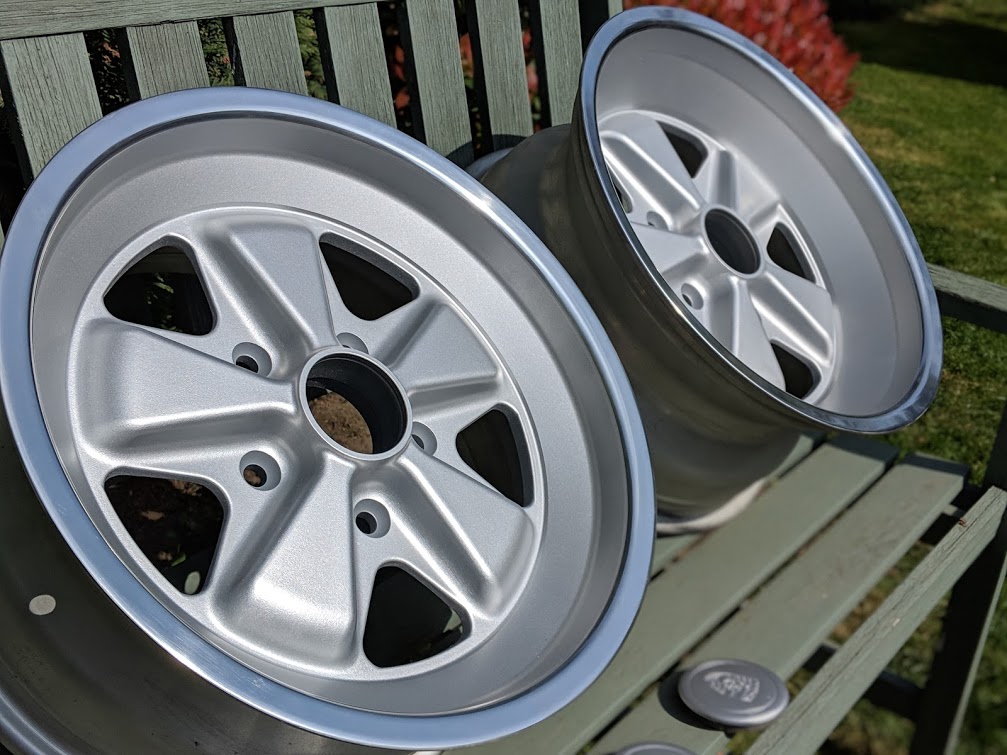
Whilst I had the silver I painted the caps too. I've been buying the odd one here and there on ebay. Took a risk with a couple that had been painted so many times the Porsche badge was almost filled in.

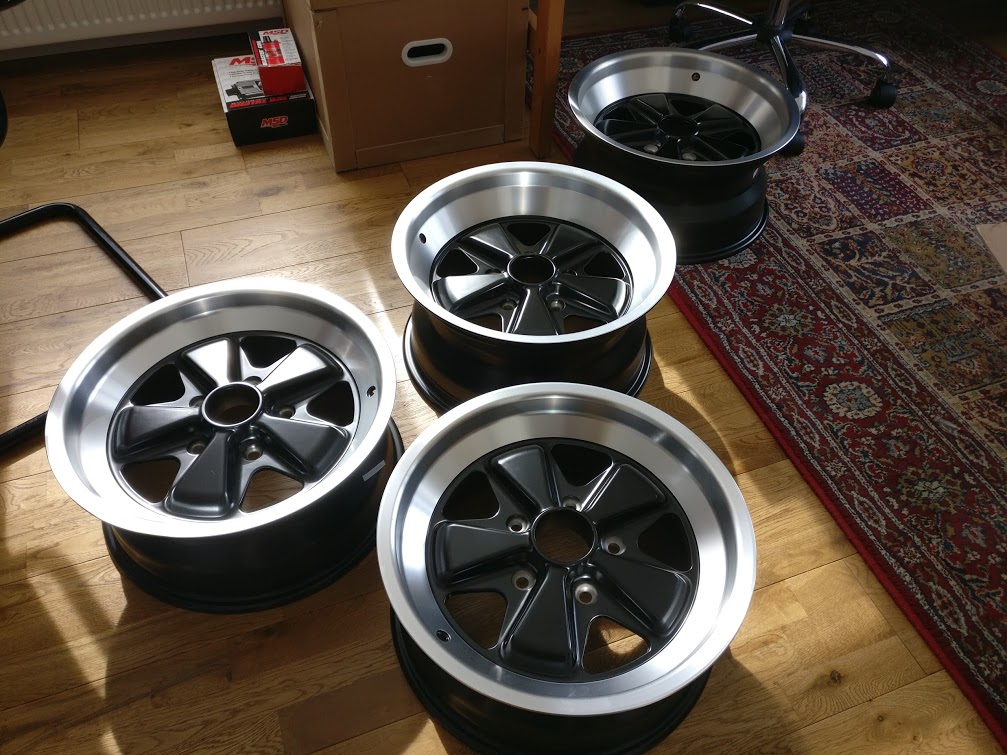
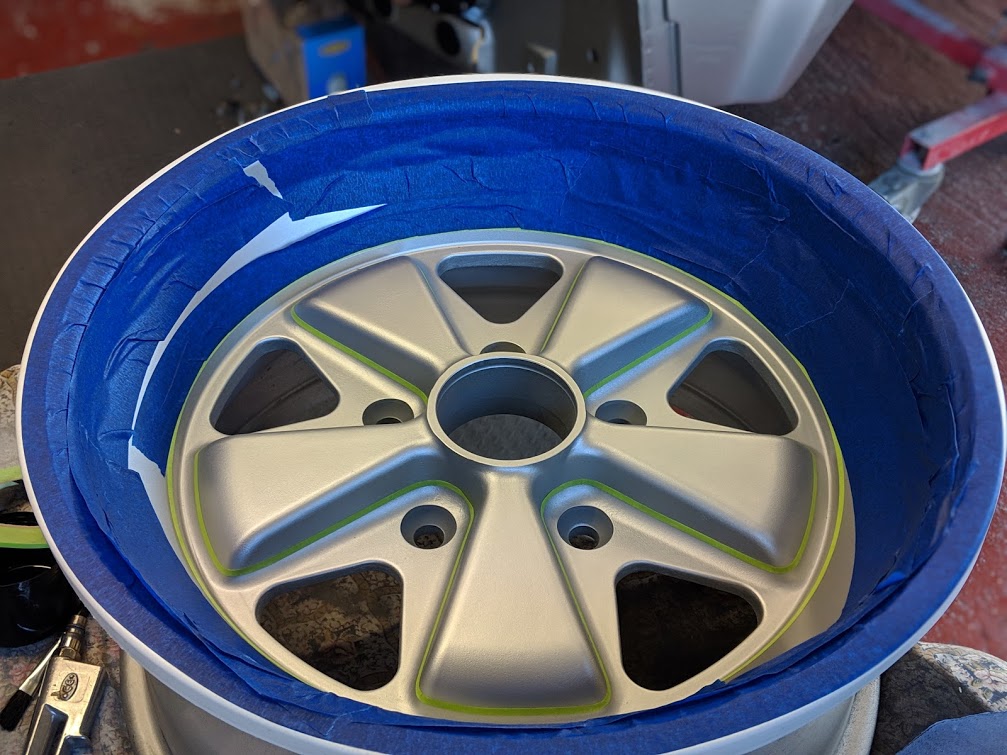
Masking for the black. The thin green masking tape is essential to get around the edge of the petals. It's fiddly but doable easily enough.
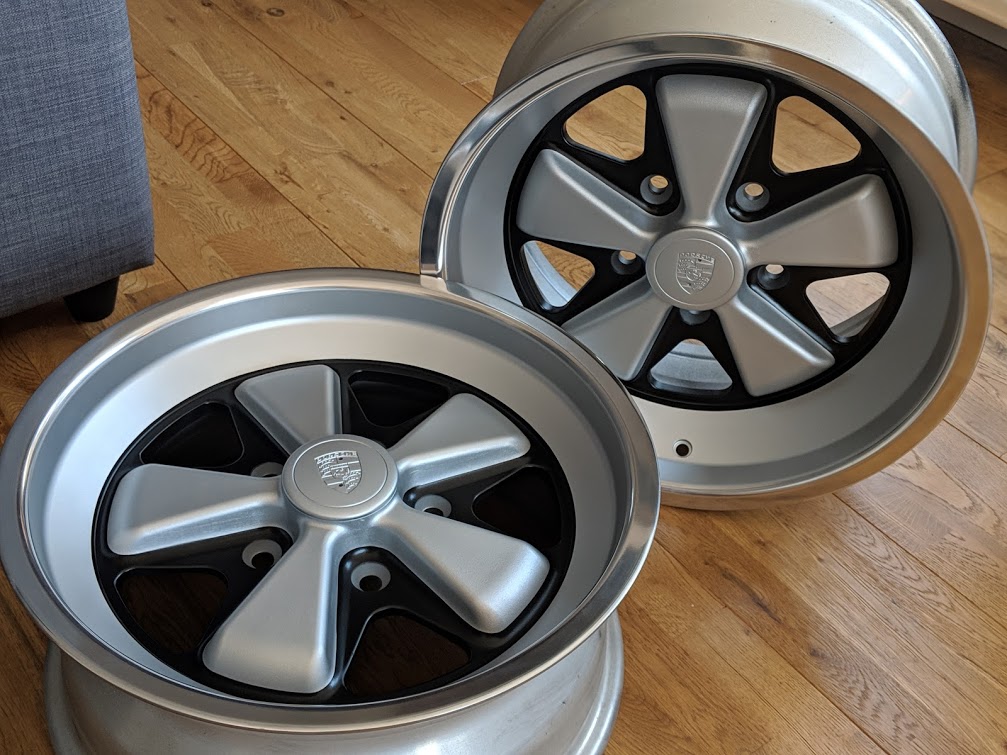
Job done... Homebrew RSR style Fuchs.
Just got the other two to do now :shock:


 .
.


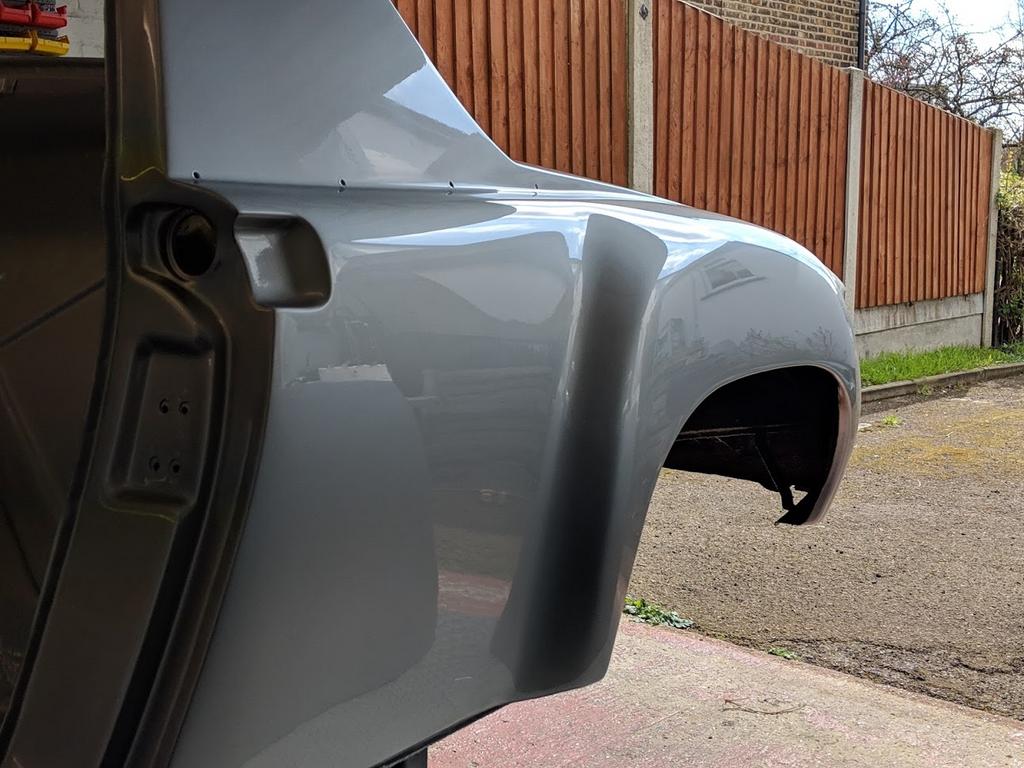
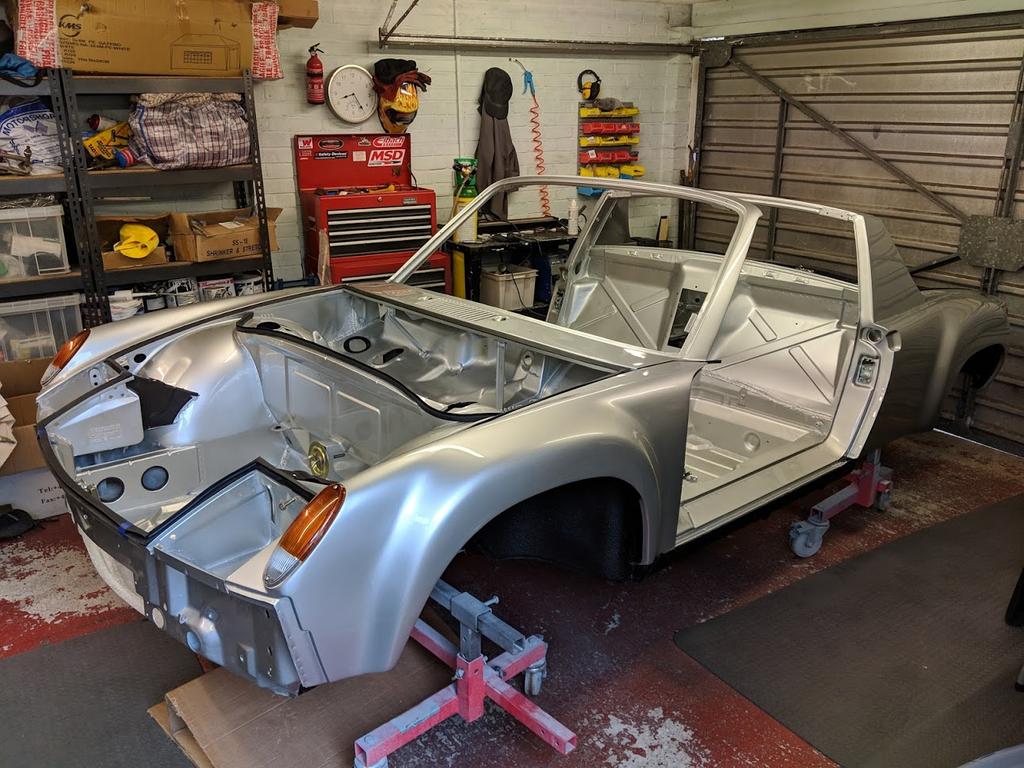
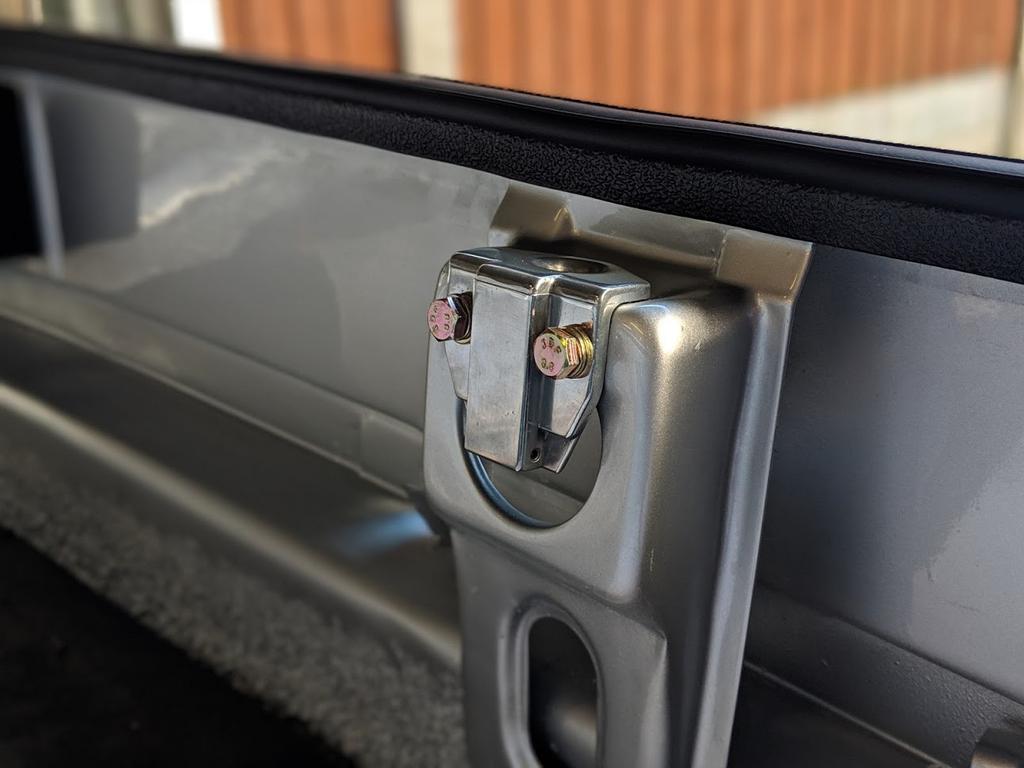
 Sorry about the ding but DAMN son! That car is beautiful.


 You will be driving it soon.
 WOW! Simply WOW! Beautiful work sir.