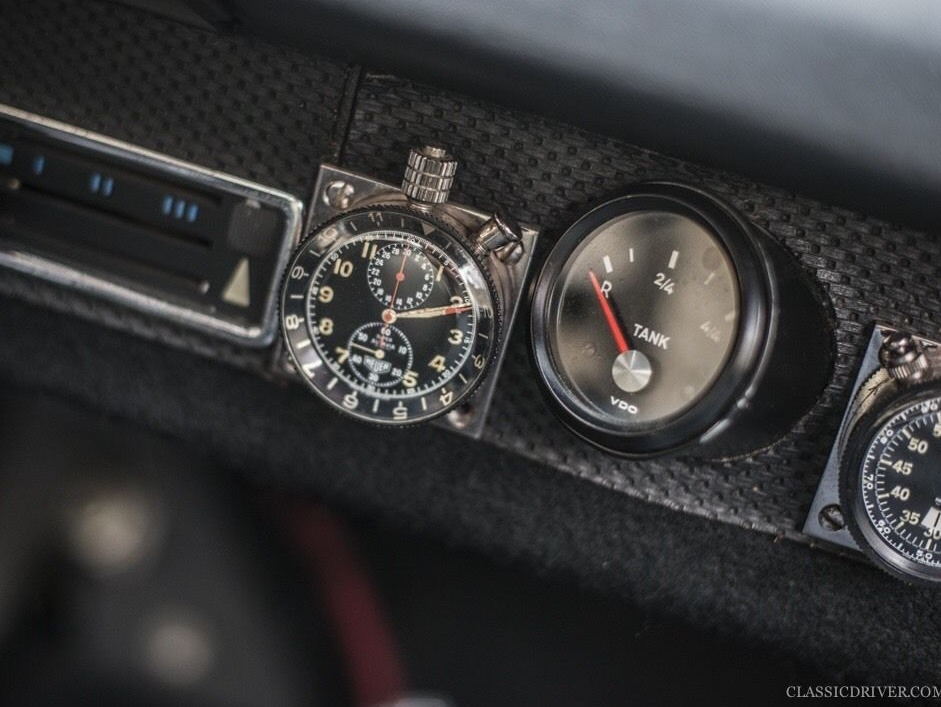
Some of the GT cars had a gauge mounted on the dash in place of the radio. Here's a picture here you can see it's mounted at an angle to face the driver.
The last time I saw one for sale it was for an eyewatering amount. Again I had to get creative.
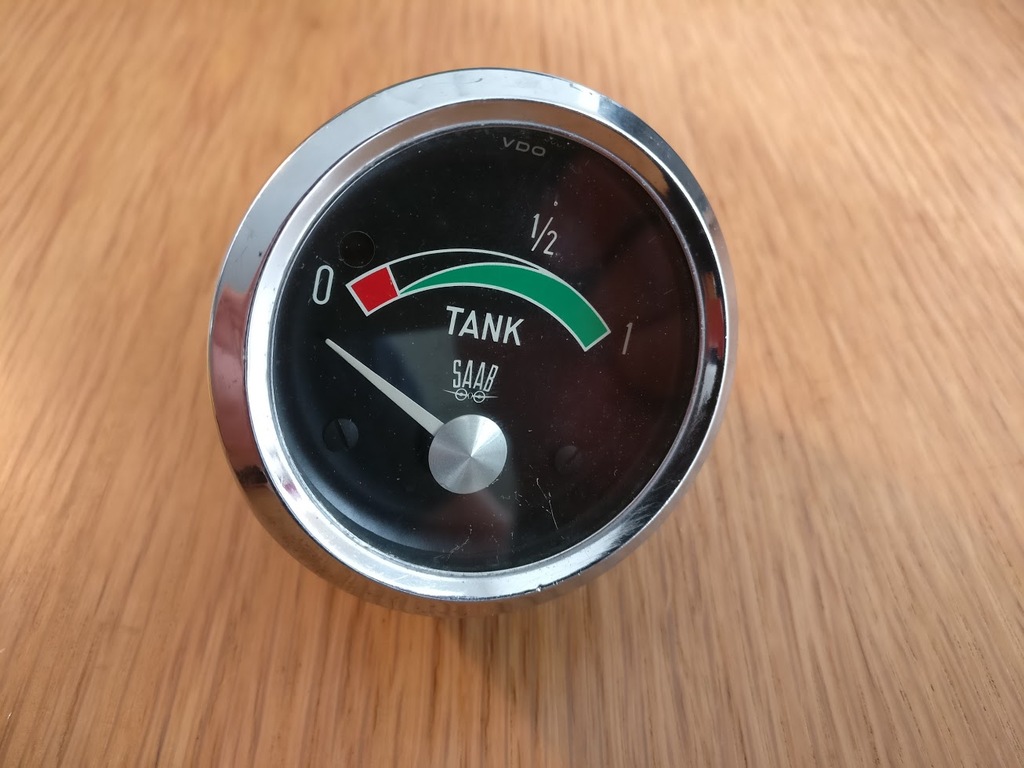
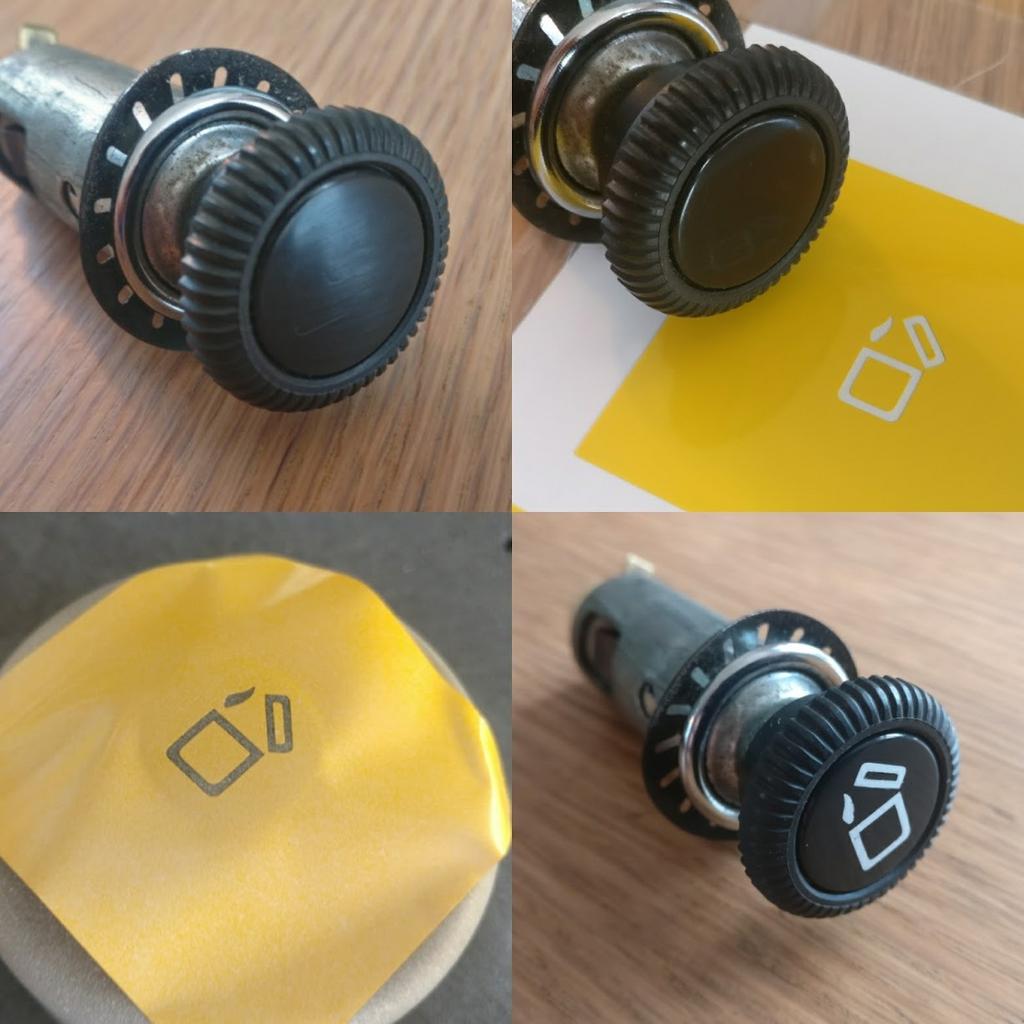
The case of these gauges had a 60mm circumference todays VDO gauges are just 52mm and all have a rather modern look. My first task was to find a 60mm case. VDO has made gauges for many manufactures and in the mid 60's they made this for SAAB.
And look... a lovely silver dot too.
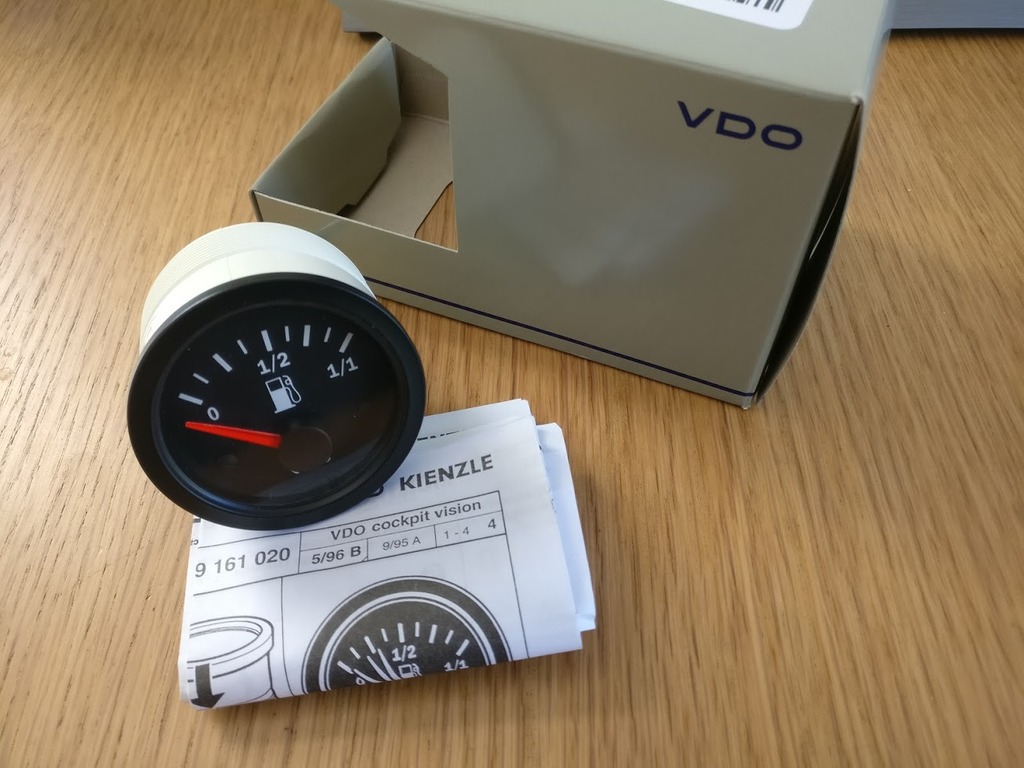
Unfortunately the internals weren't compatible with the 914 sender unit, so for compatibility I got this.
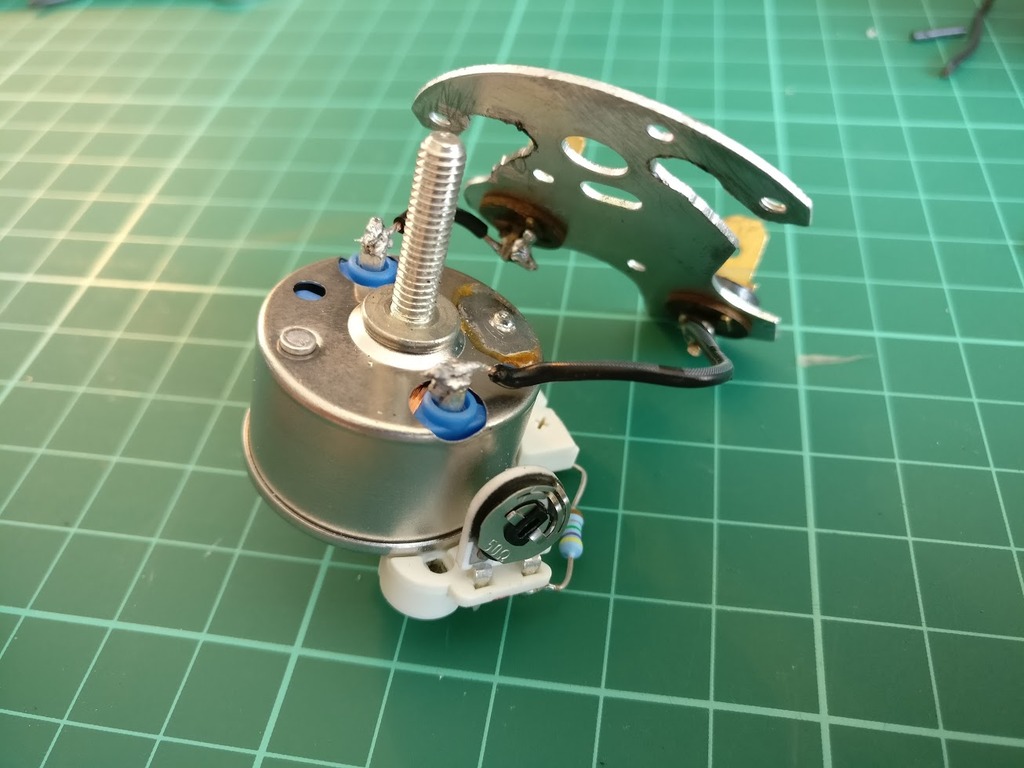
Now it was just a simple case of merging the two together. :shock:
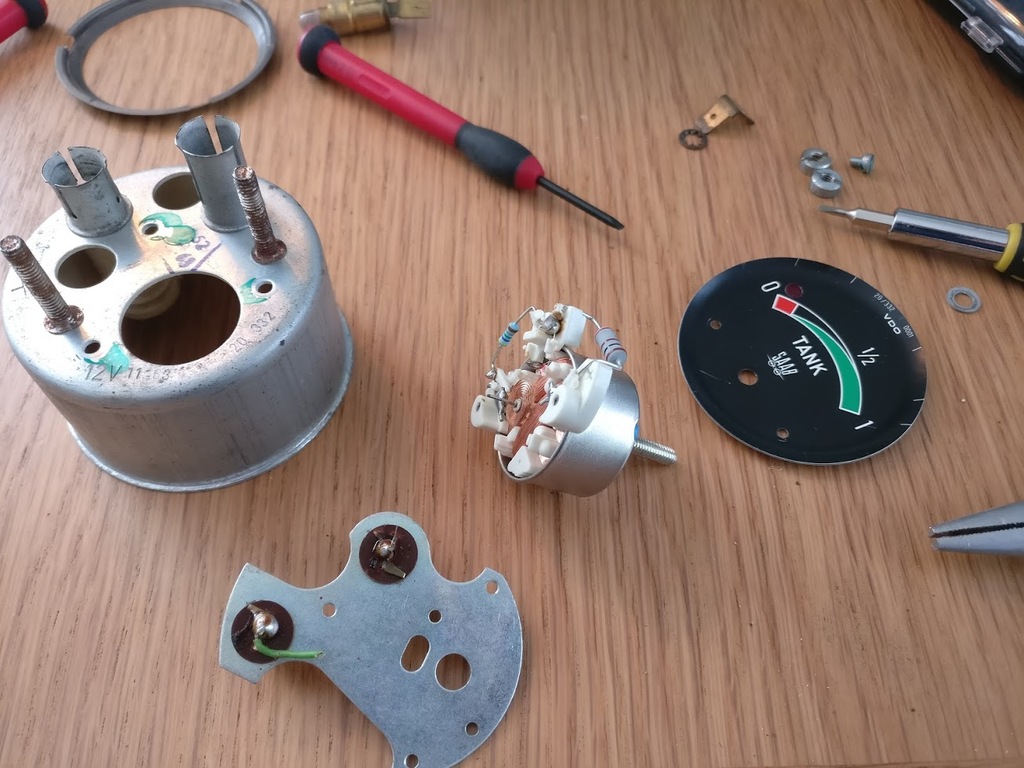
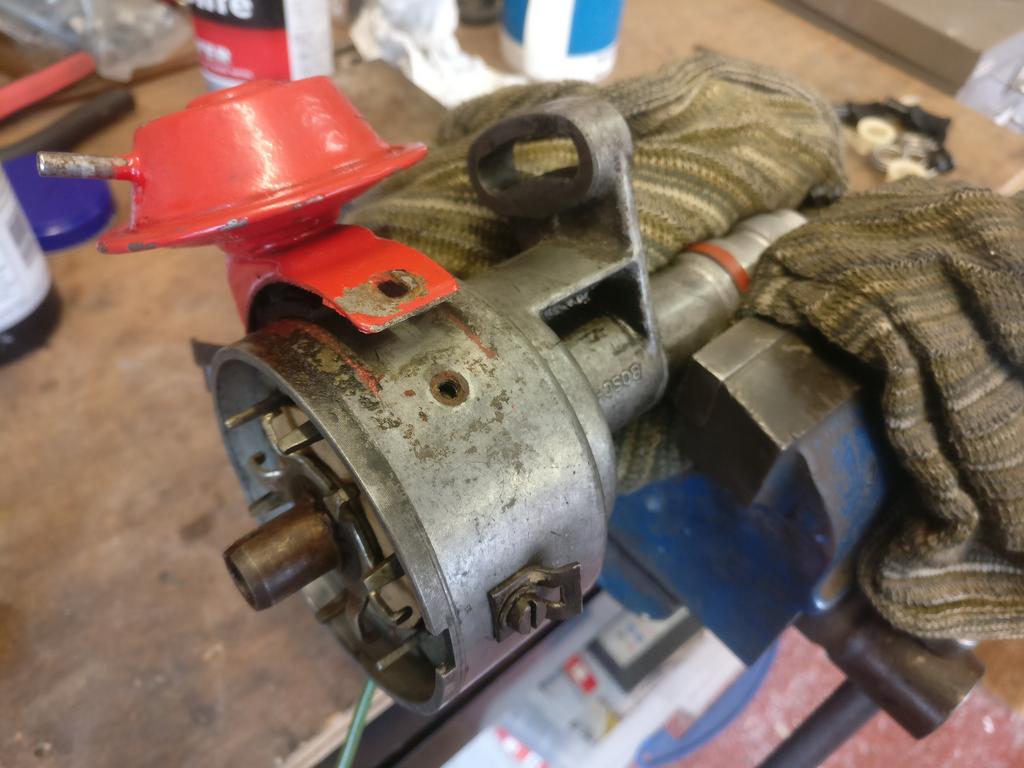
The really didn't want to come apart!
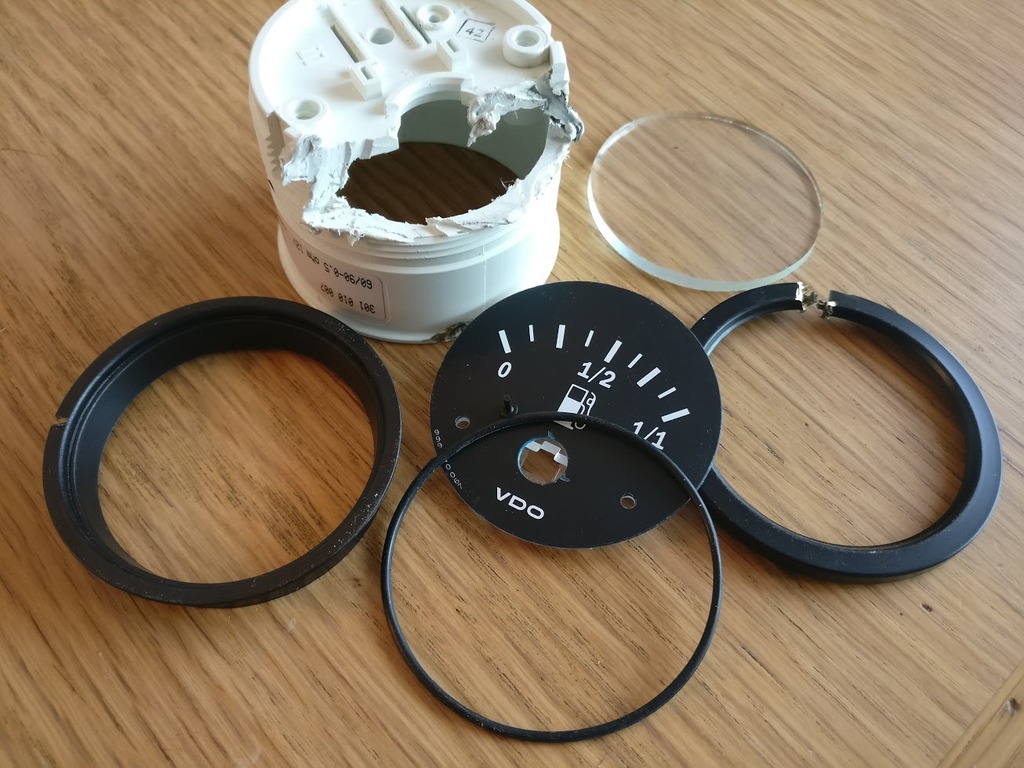
Saab gauge in pieces with the new gauge internals pictured.
I wanted to use the original spade connectors on the back of the Saab gauge so that meant modifying the new VDO gauge to suit.
The needle on the Saab gauge wasn't quite Porsche enough for me and it wasn't quite long enough either, so I went about creating a new needle. This was the final version and it was made from a milk jug
 Yes and milk jug!
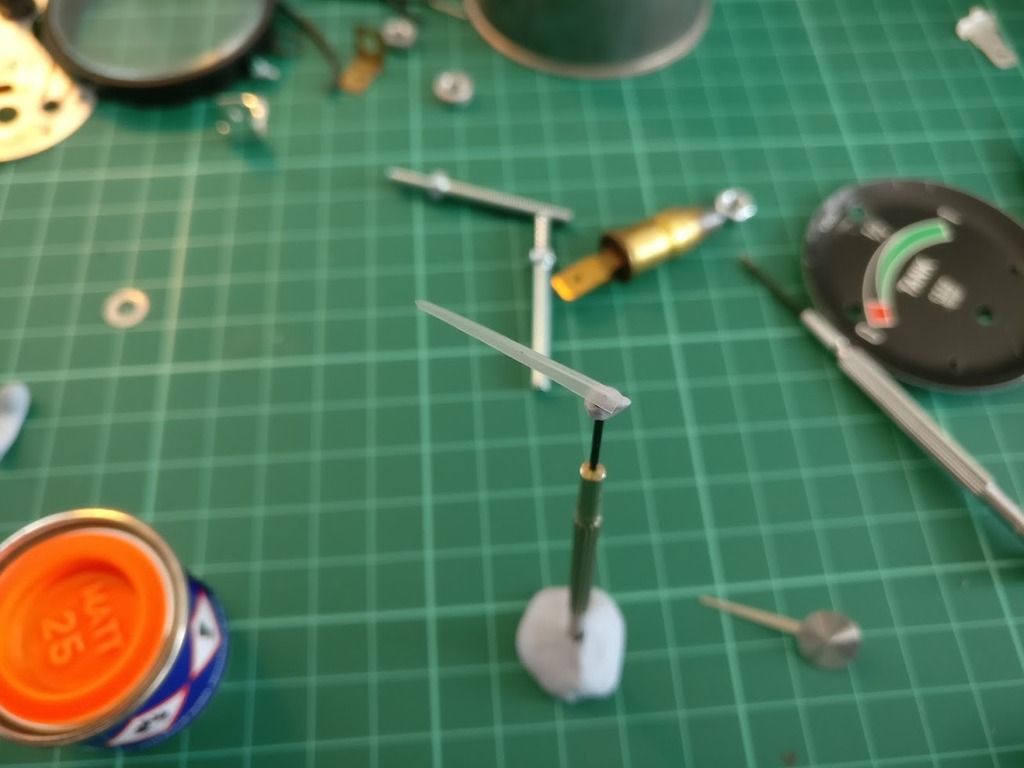
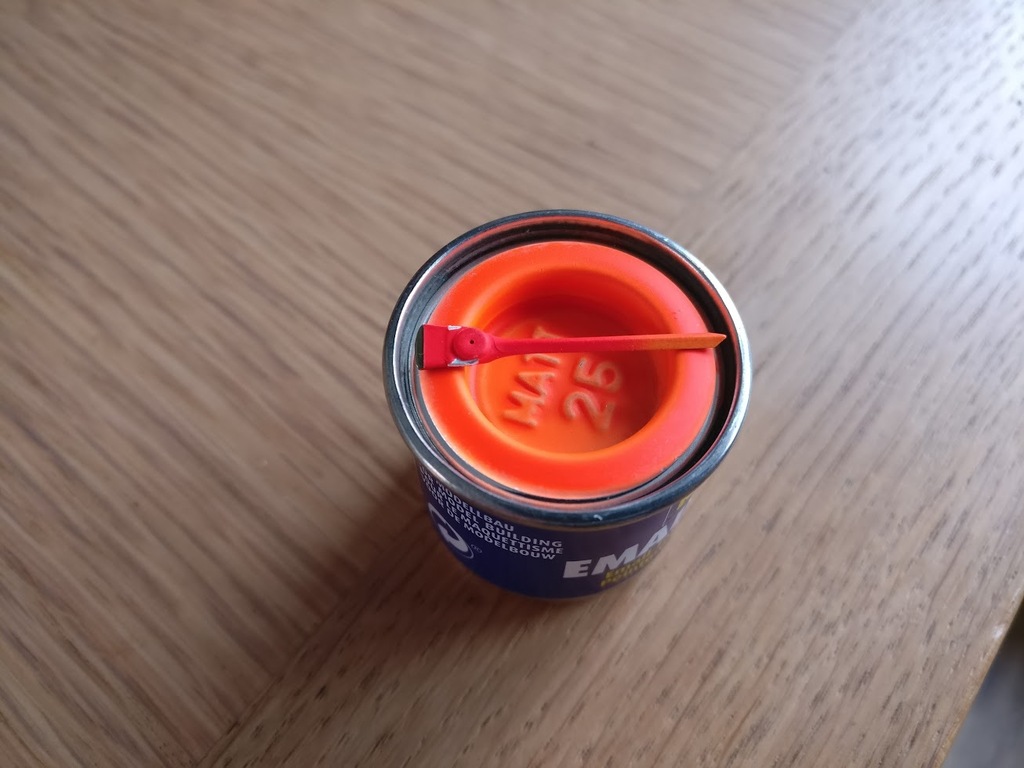
It turns out Revell enamel Matt 25 is a great match for a faded Porsche needle.
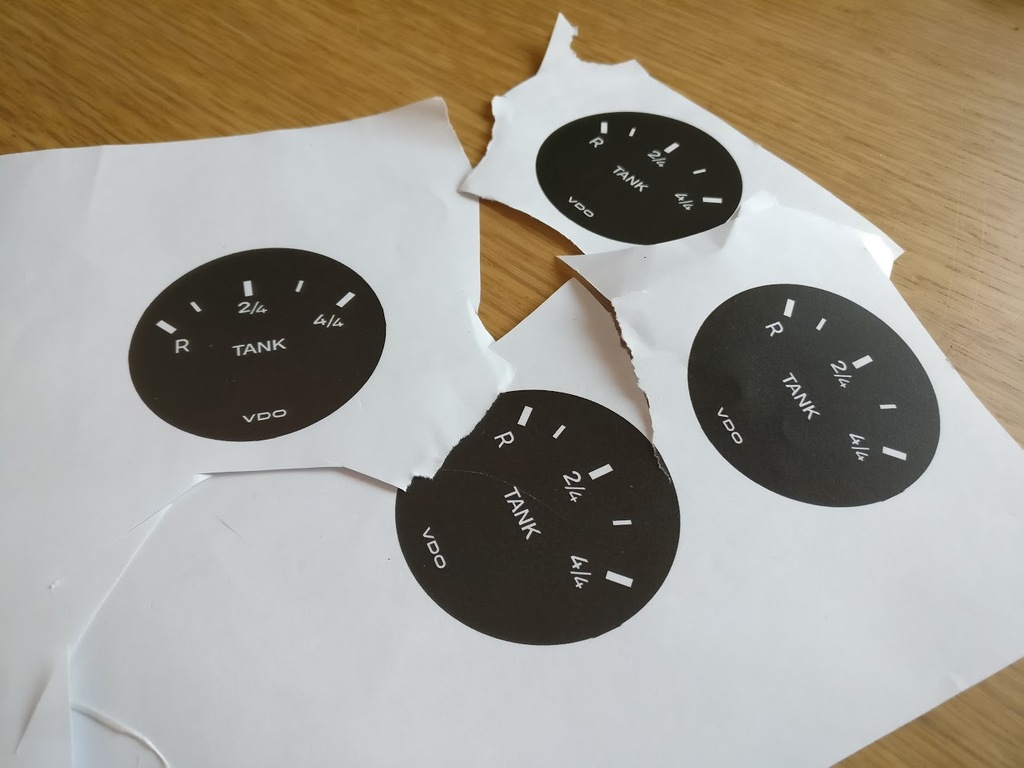
To create the dial I used several images of GT gauges to create a new artwork I could print. These are just some of the early printouts.
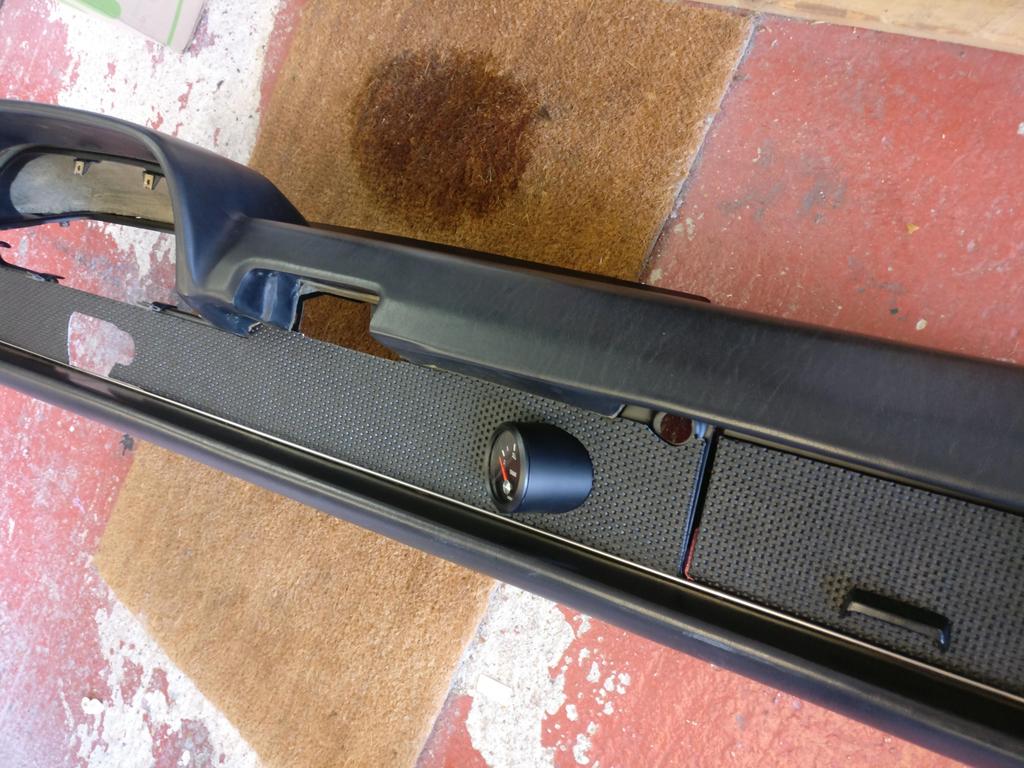
As always happens I forgot to take photos of the build up but here's what I ended up with.
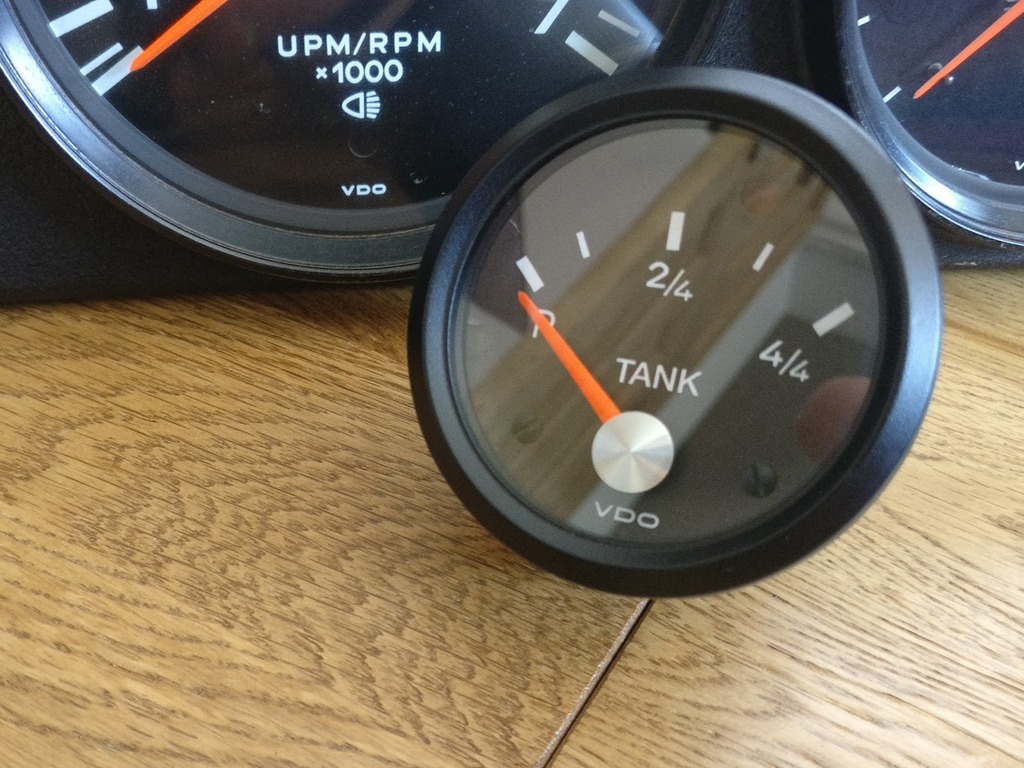
Together with the rest.

Another fun project completed. The last one I saw for sale was advertised for 950 euros. This cost me less than £70.


 Over keep up the great work.
![popcorn[1].gif](http://www.914world.com/bbs2/style_emoticons/default/popcorn[1].gif)


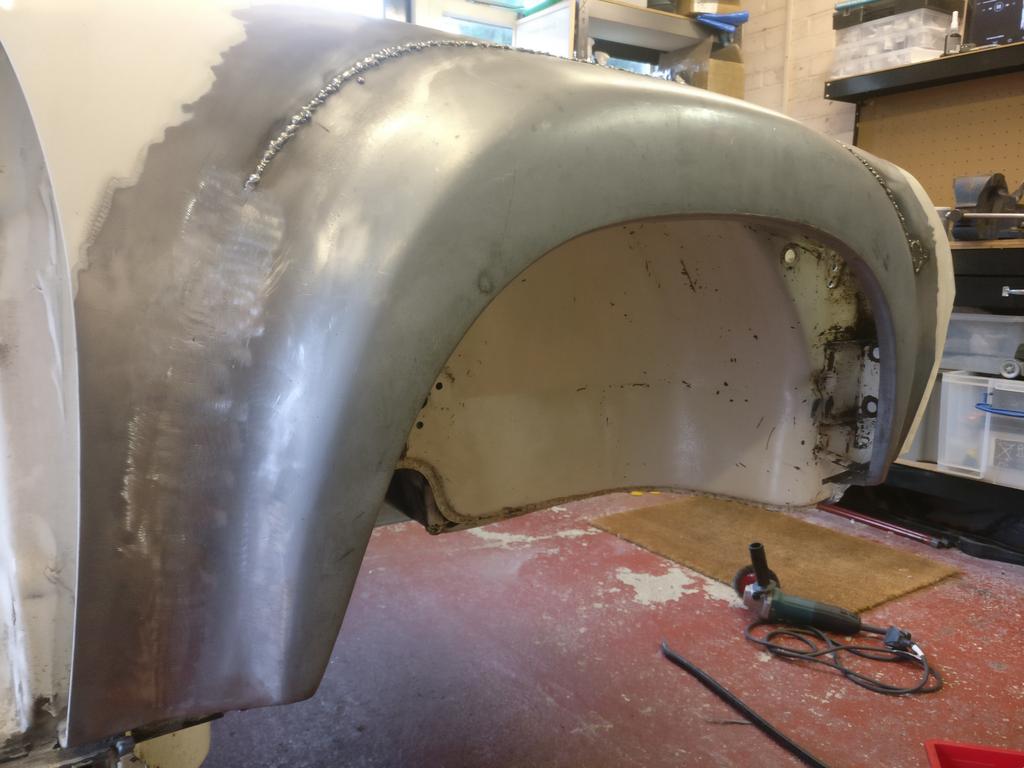


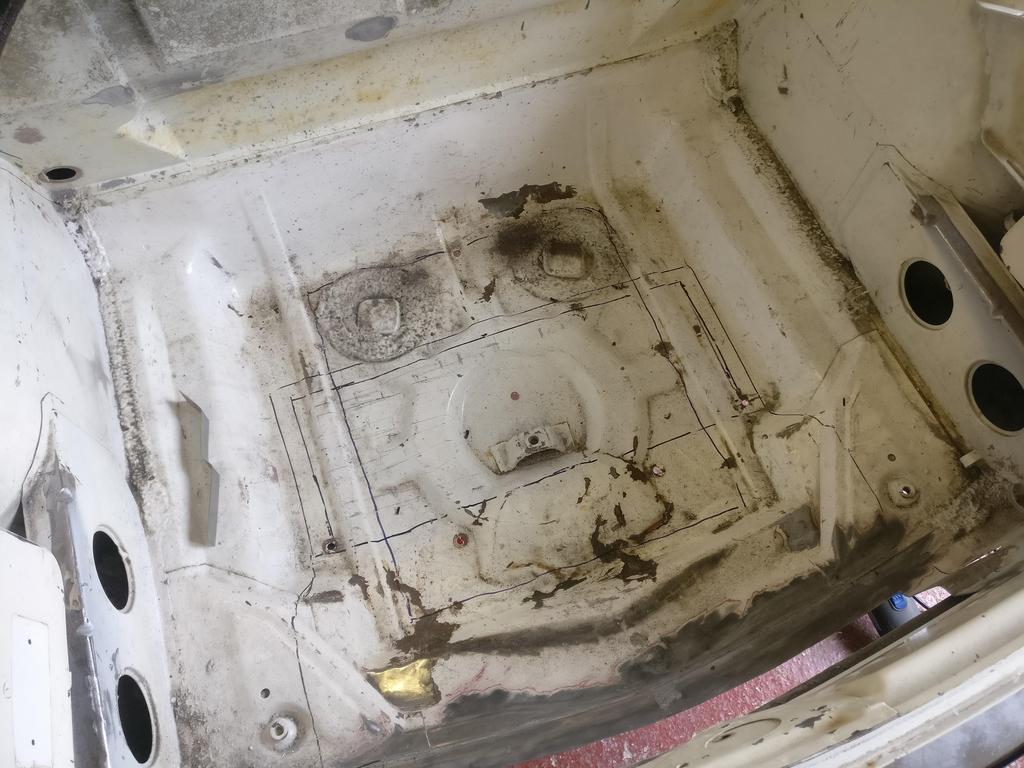
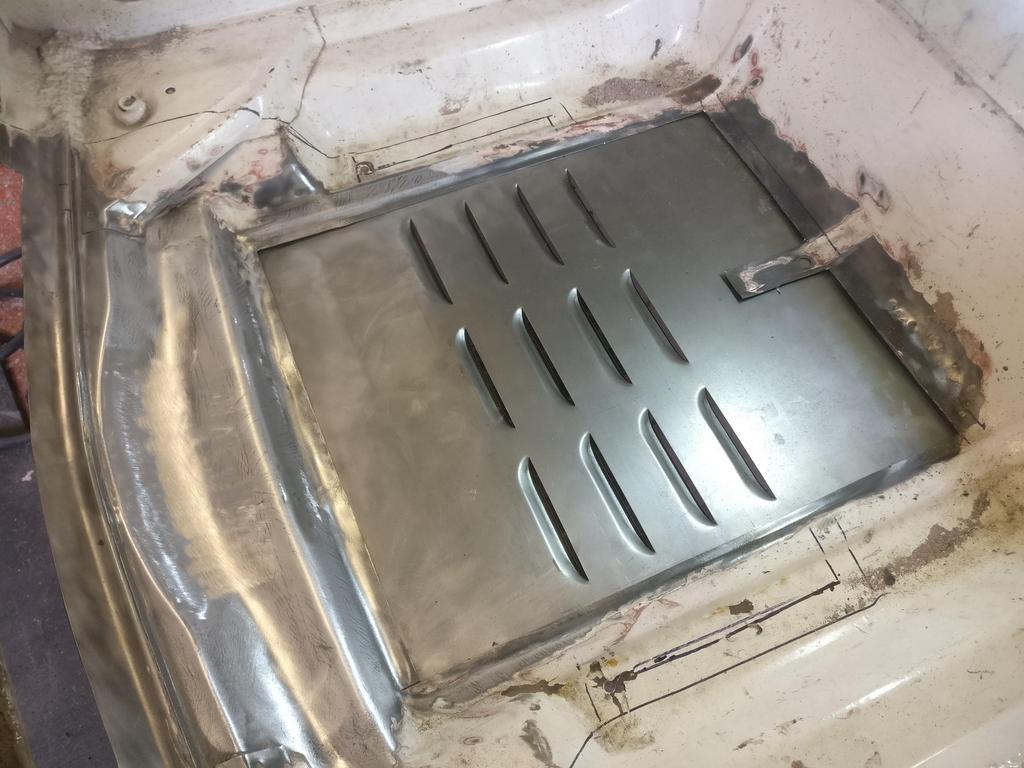
 and welding
  you are doing, seeing it being done as you've shown is great!


