Well it hasn't moved far under its own power yet. :cry:
To start with I had a lot of trouble setting up the throttle linkage. At this point I've got around it with a makeshift solution, that to be honest works perfectly, but it's far from the factory setup so that's something I'll revisit at a later stage.
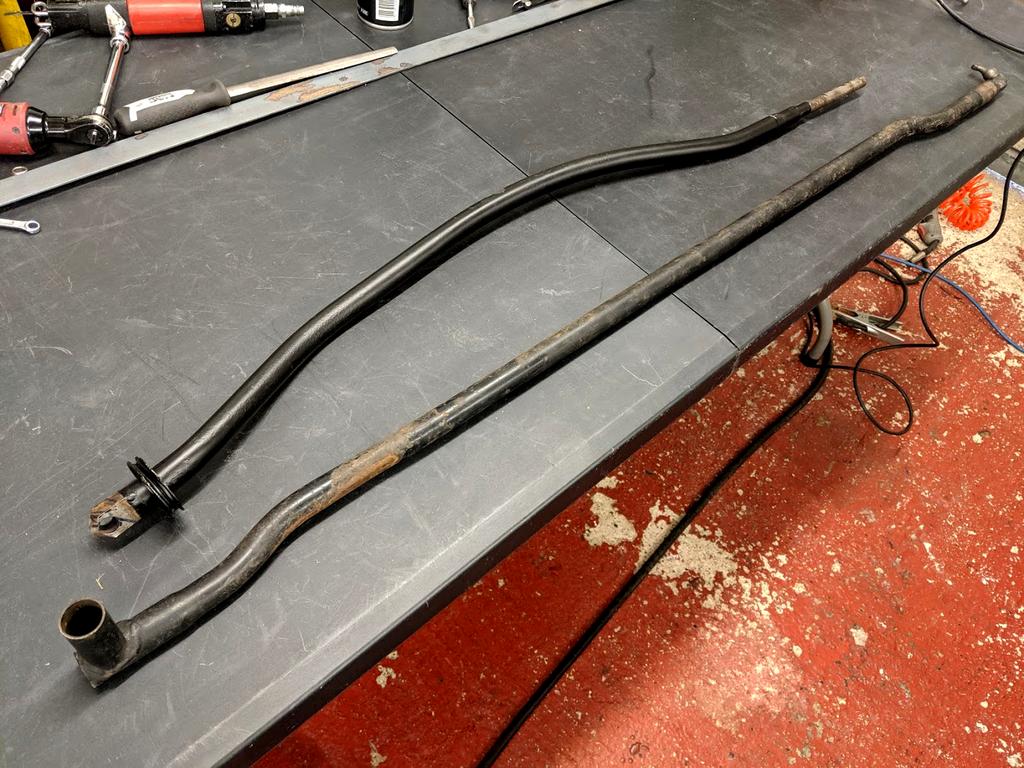
With the engine in the last piece I needed to fabricate was a new rear shift rod. I got lucky a few month ago and swapped a part for tailshift straight rod. Along with my original 4-cylinder bent rod I set about cutting them up and making a compatible straight rod that wouldn't fail the block and heat exchangers.
Original 4-cylinder bent sideshift rod top, early tailshift rear rod bottom.
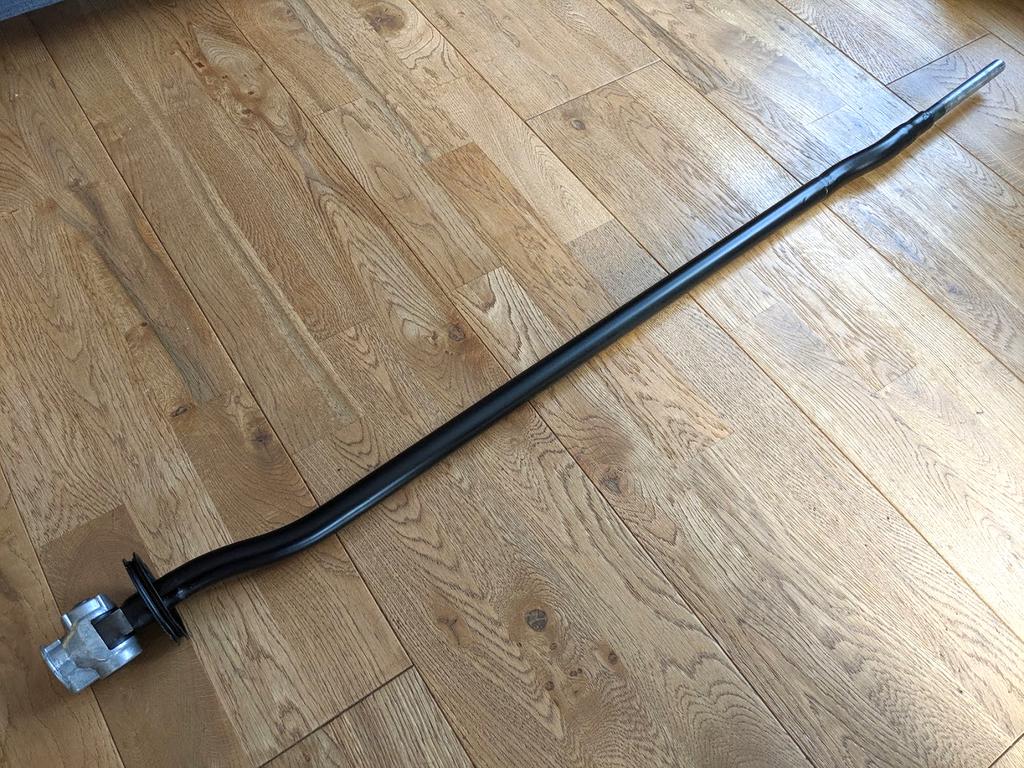
I won't document the process as it's been done many times before and partly because I forgot to take any photos

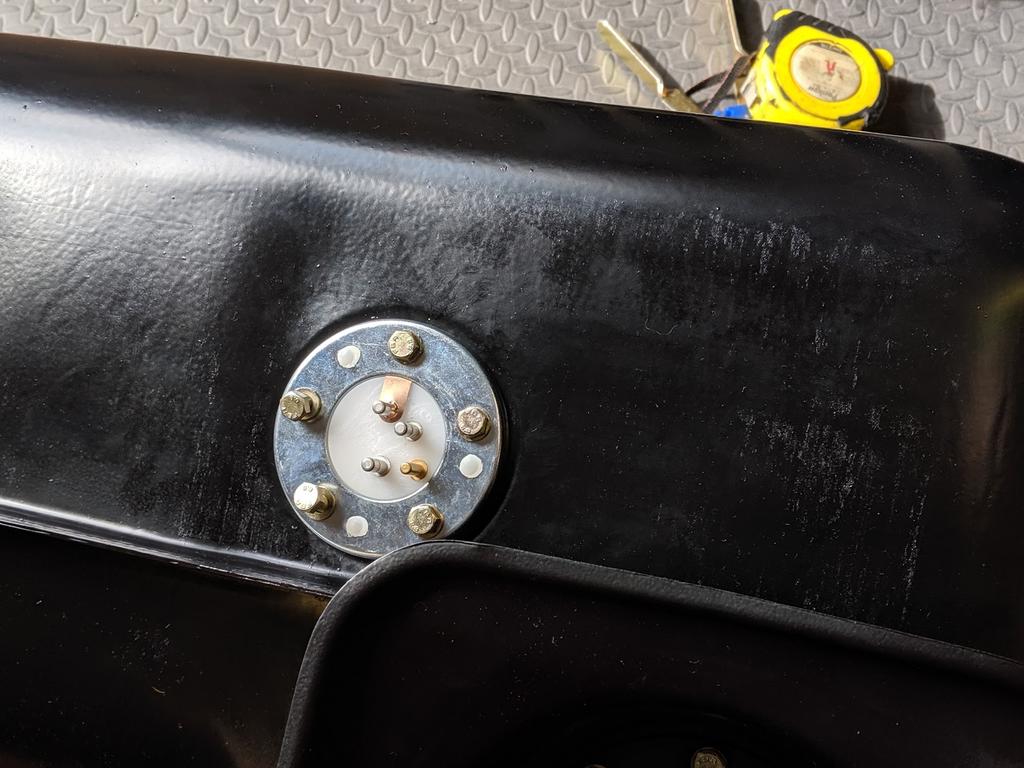
Here's the finished article.
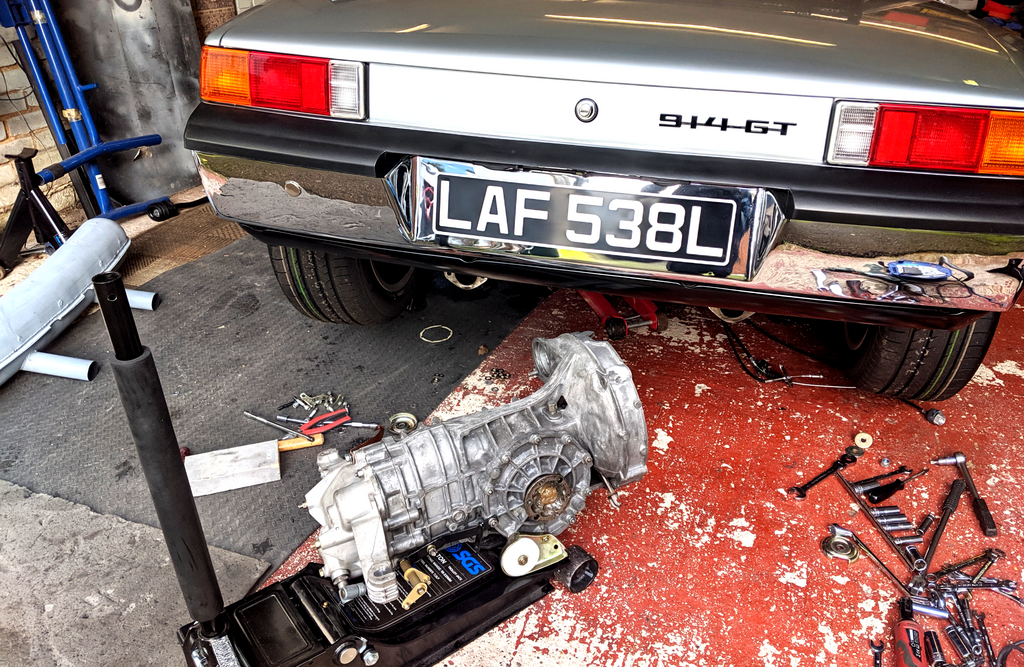
With the rod completed it should have just been a case adjusting the shifter and go out for a test drive. Sadly it didn't end up that way and after hours of trying to find all the gears I came to the conclusion that I need to adjust the clutch more. However that wasn't going to happen as there was no adjustment left.
So it's time to add a washer under the pivot ball of the clutch arm. Hopefully a simple fix, but it obviously means removing the gearbox.
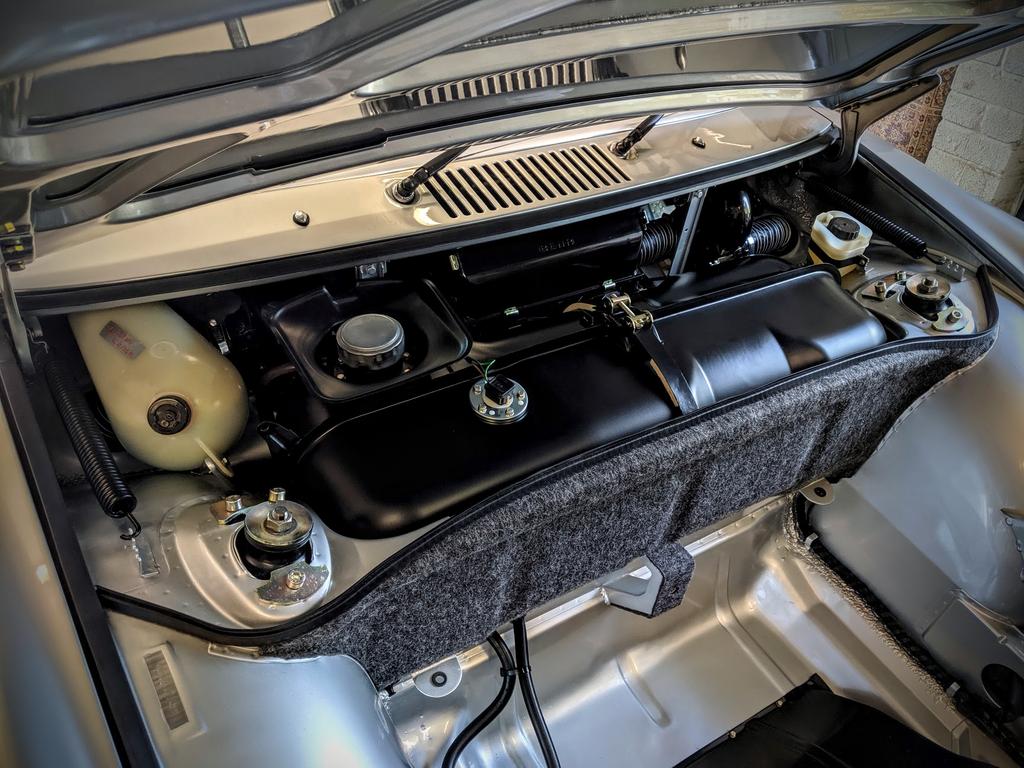
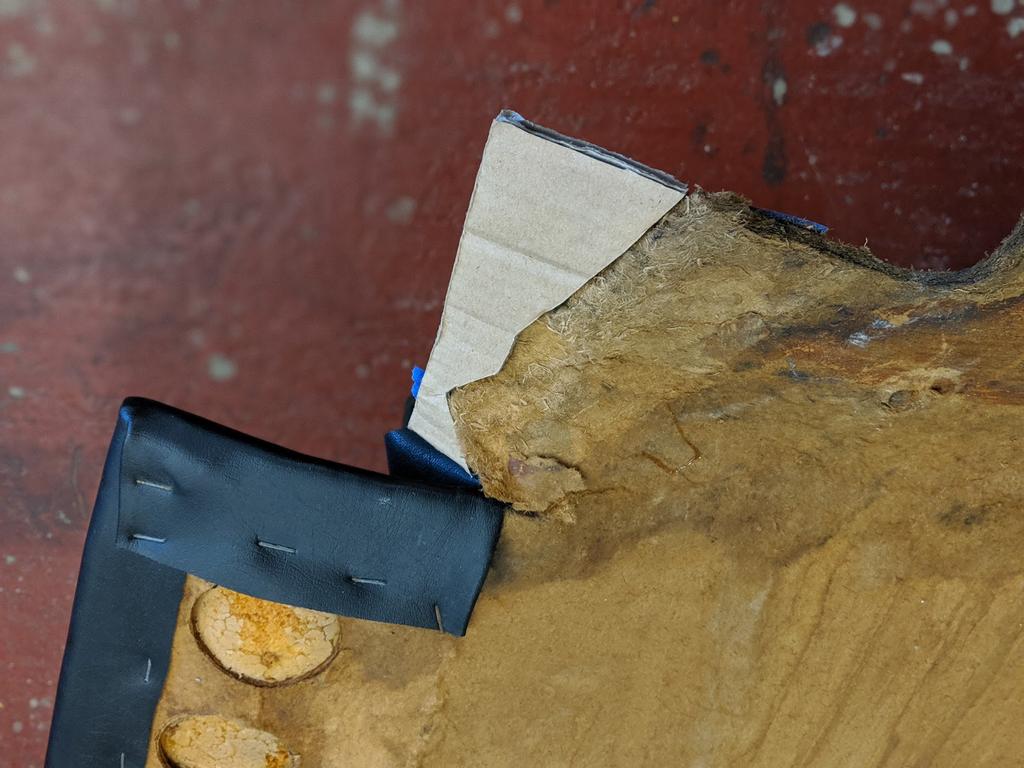
This is where I am now as of this morning. I managed to rip both cv gaskets so I need to pick up a couple before I get it all back together which should hopefully be later next week.
That's not a tiny gearbox, it's just a stupidly larger jack!
Still have my fingers crossed a can get a few shakedown miles done this year as well as a rolling road tuning session.


 . Lots of inspiration and ideas for my own project!!


 Happens to the best of us.
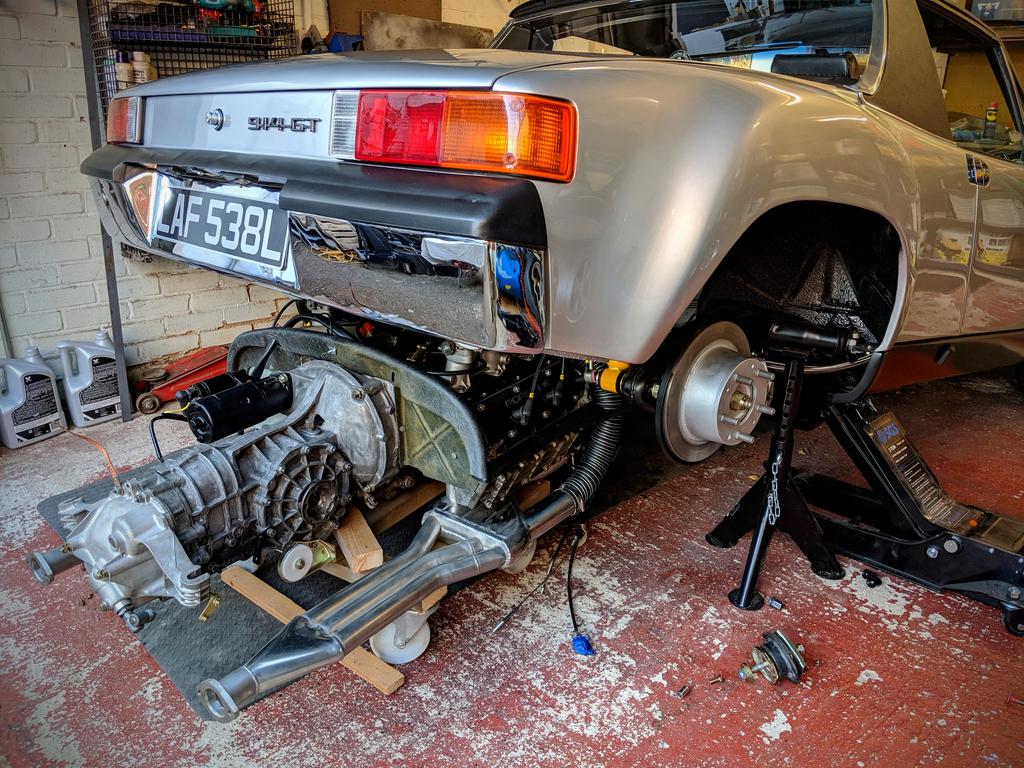
![popcorn[1].gif](http://www.914world.com/bbs2/style_emoticons/default/popcorn[1].gif)