Some of the earlier posts are a few months old but I'll repost them in order here up to where I am right now. From there on I'll post simultaneously.
I've had the car now for coming up to 11 years. It hasn't had much use in the last few years due to personal circumstances but I've always wanted to do a flared six conversion, the dream I know a lot of guys share here. At the end of last year that dream started to become a reality

I tentatively put feelers out for an engine. Barely a week later I'd done a deal on a rebuilt 204bhp 3.0SC engine that was now fitted with PMOs. Exactly what I wanted.
I intend to do as much work on the car as possible, sure I'll need professional help down the line, my welding skills are limited. But I'll be giving it my all and I hope my perfectionist nature helps me achieve the results I'm after. The only part I know I won't tackle is the paint, that part will be done by a professional.
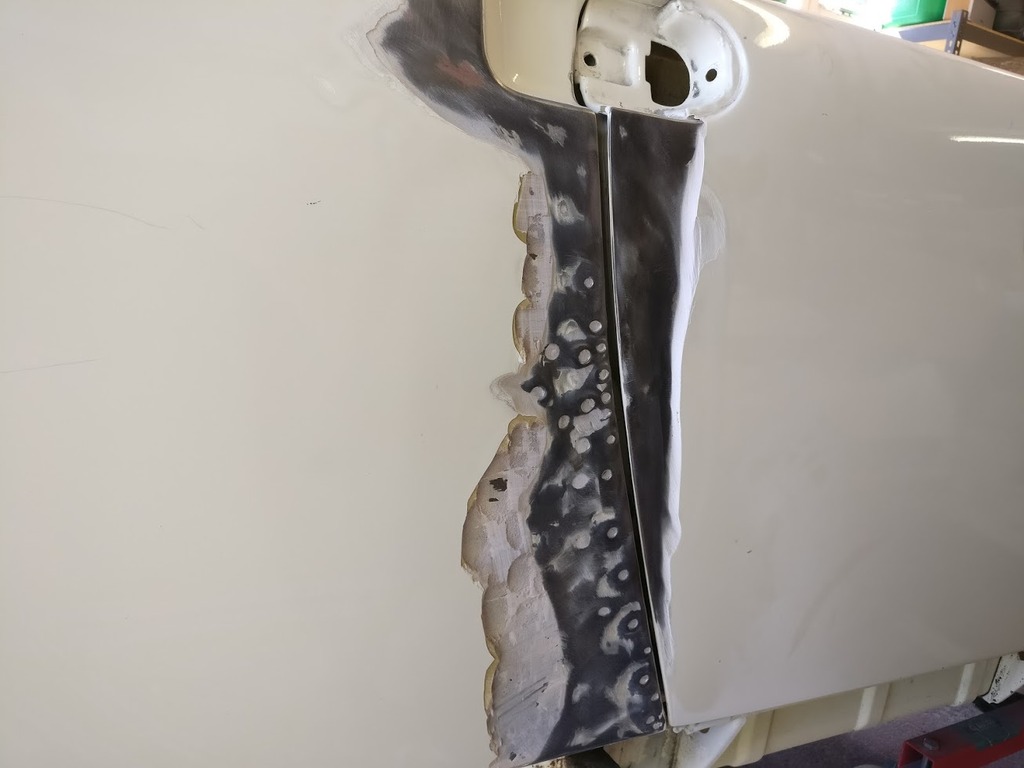
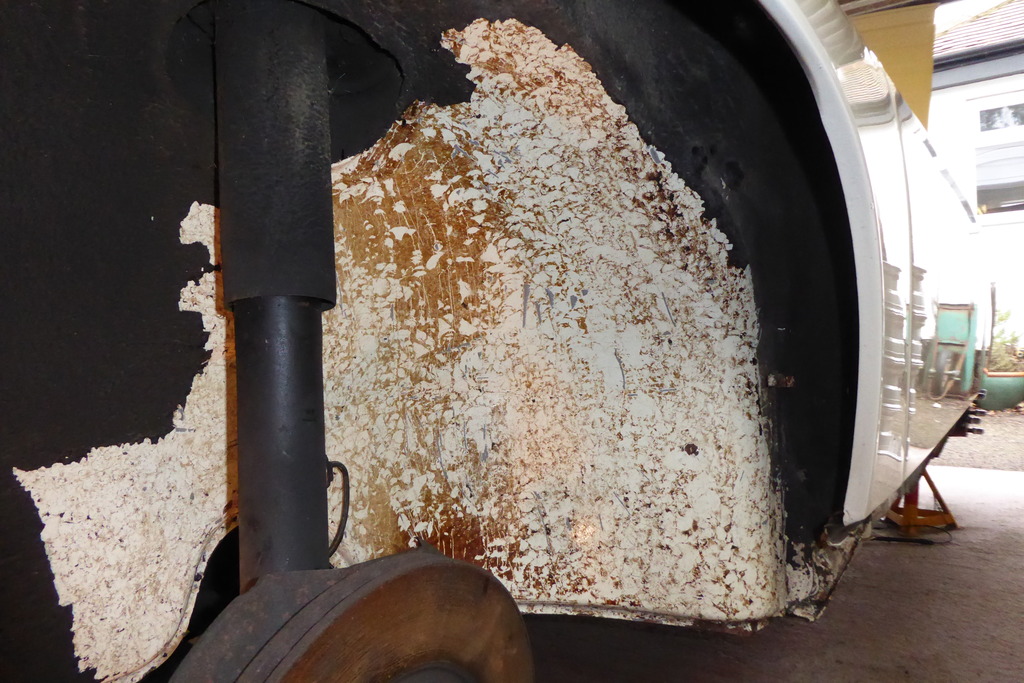
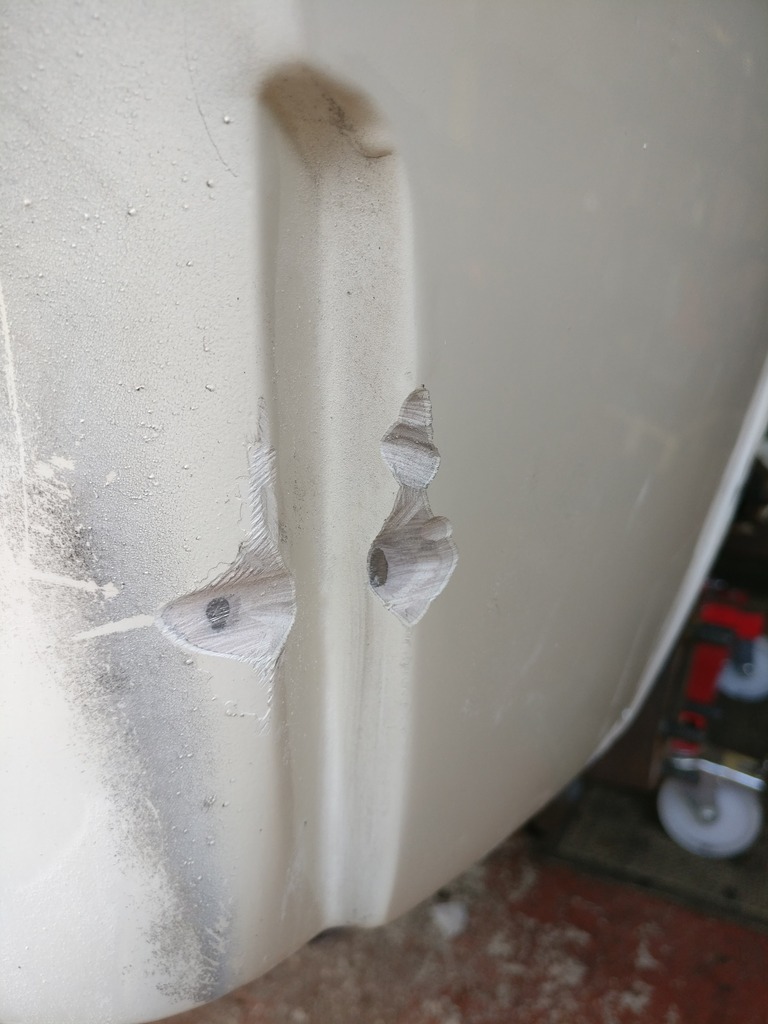
As a reminder this is how the car looked. It's a good car, not perfect but a very clean, solid example that had paint about fifteen years ago, it had also been converted to carbs many years back. There was a couple of small bubbles here and there but so far after further investigation I'm yet to find anything major.

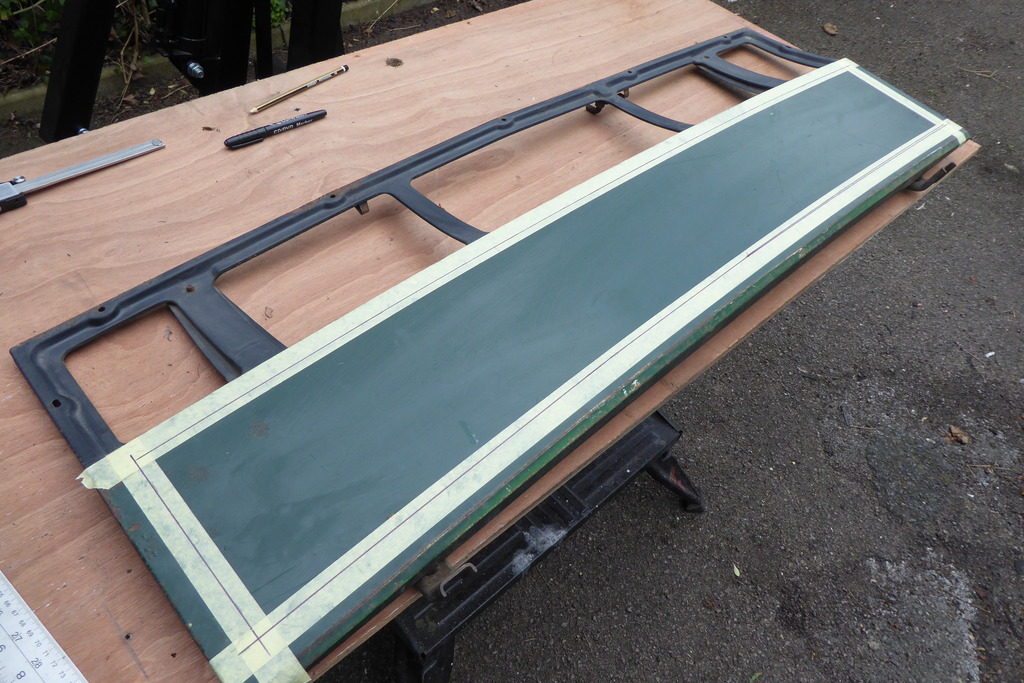
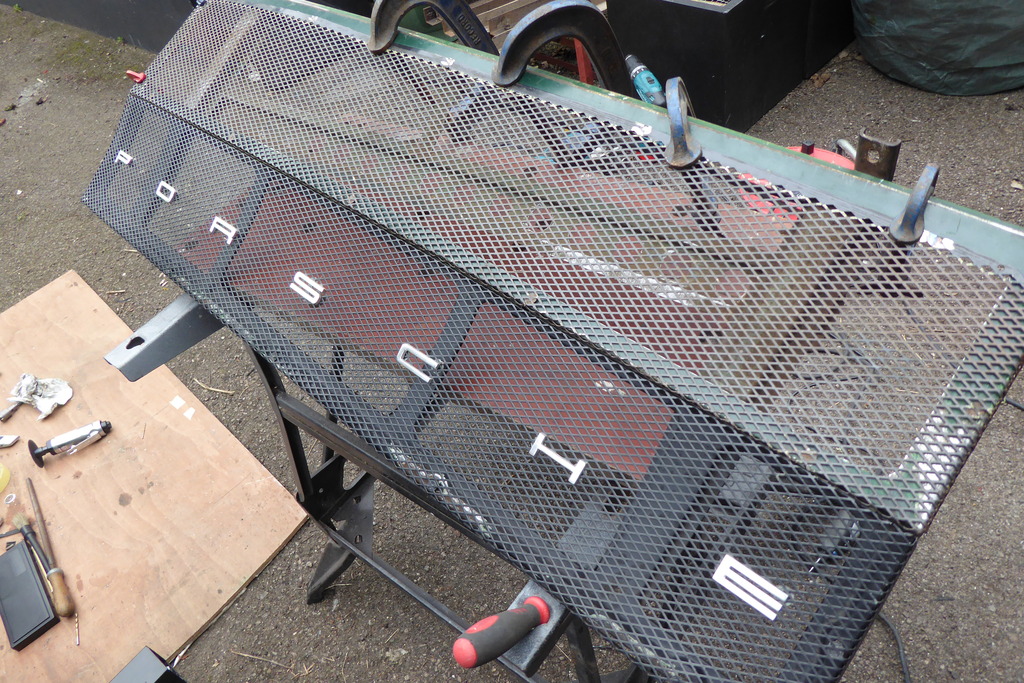
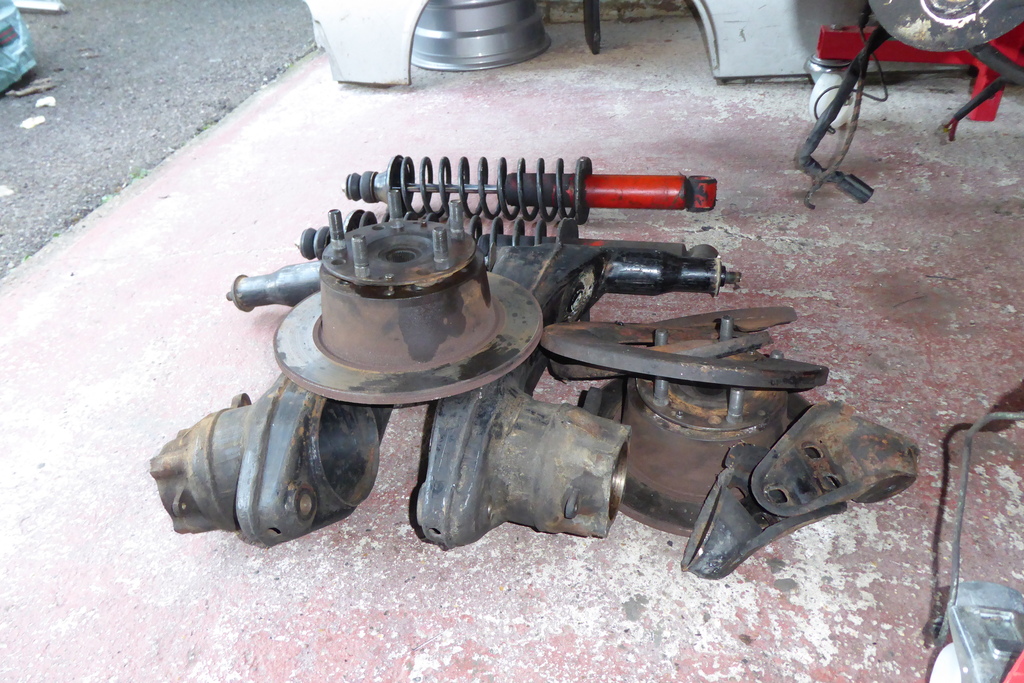
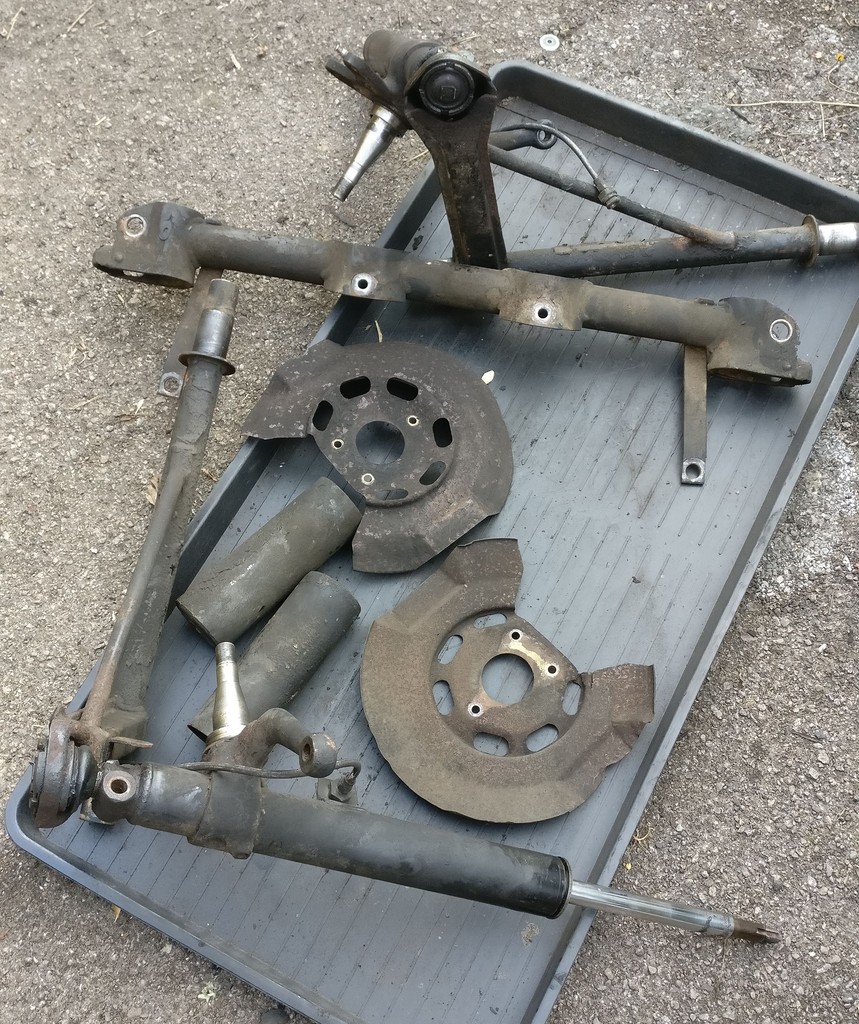
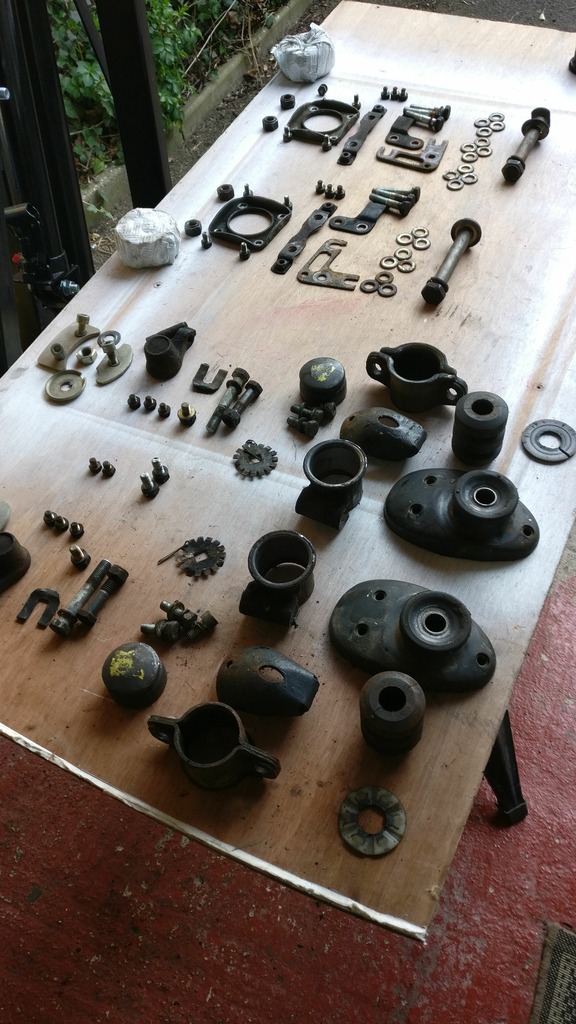
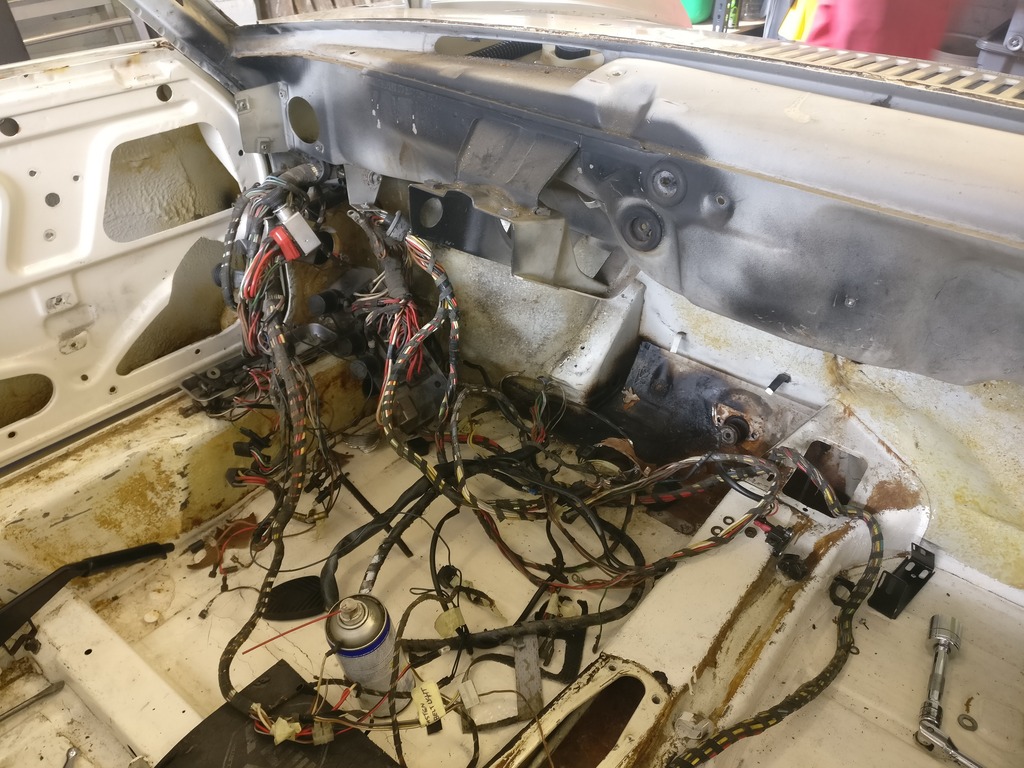
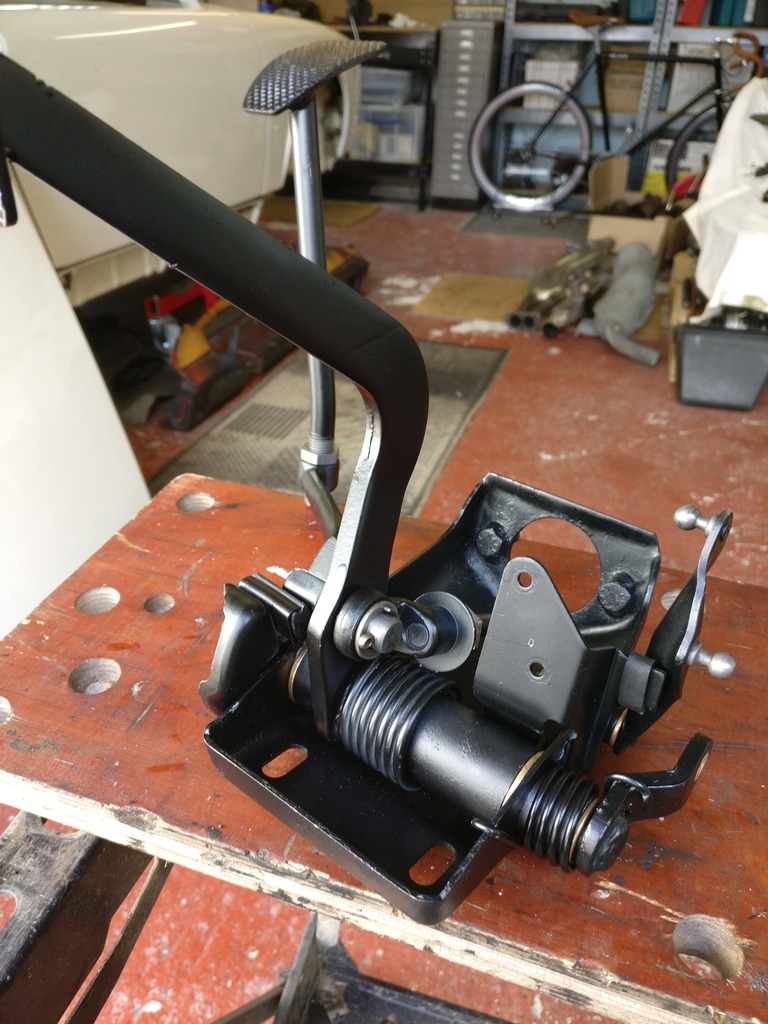
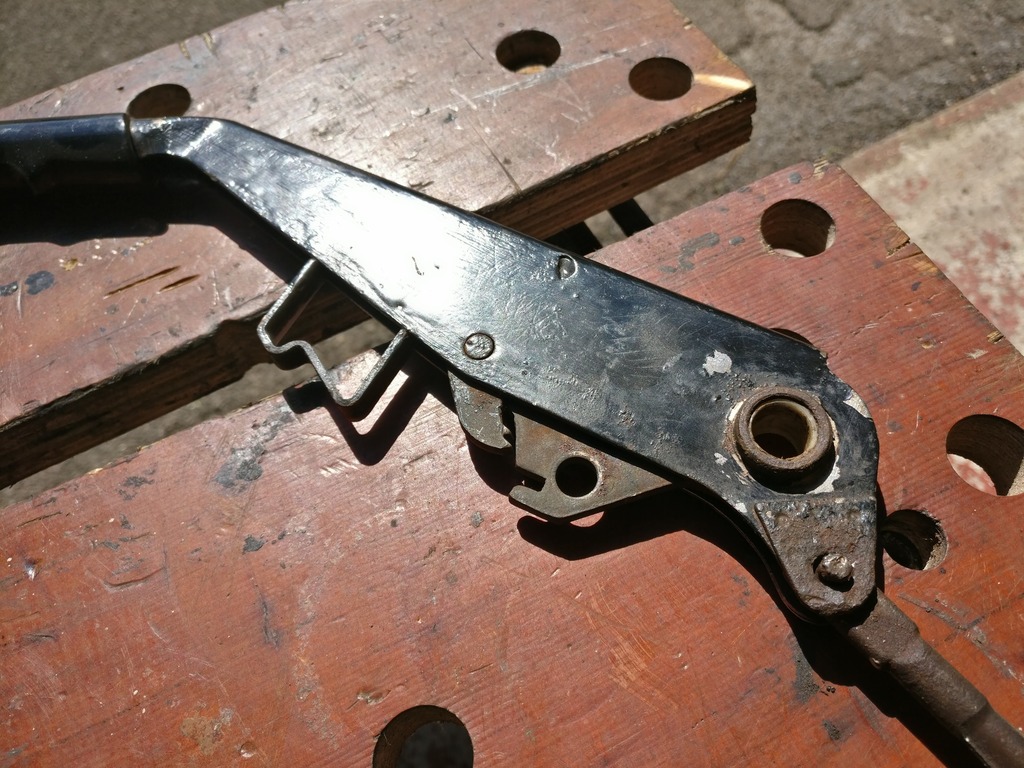
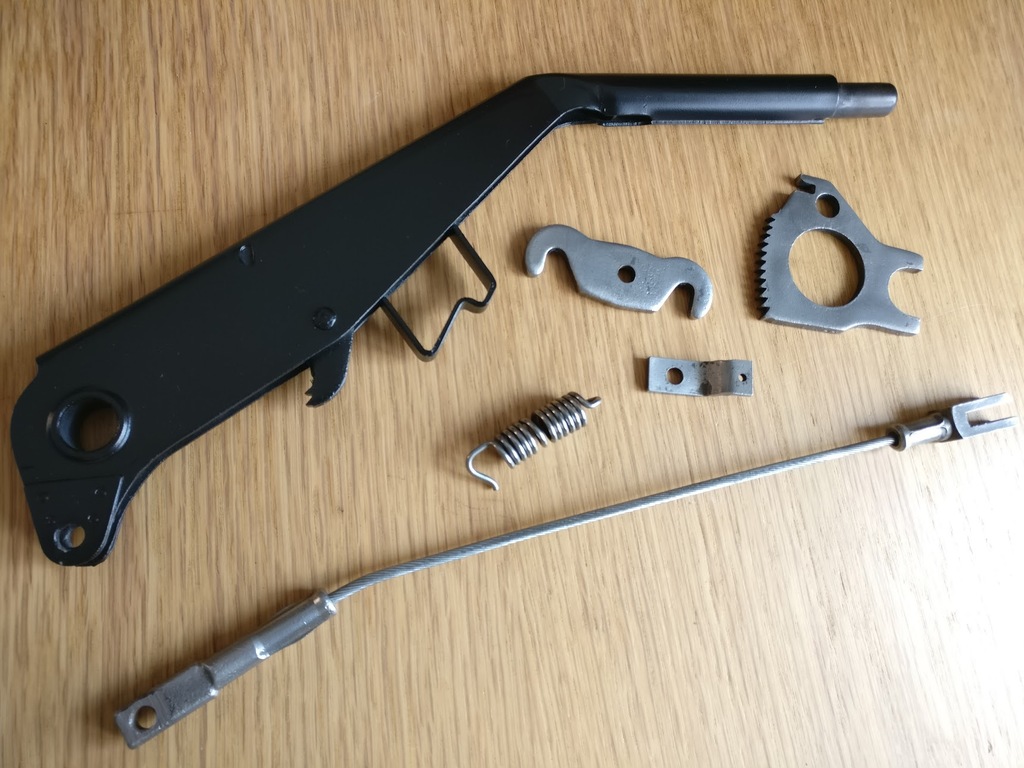
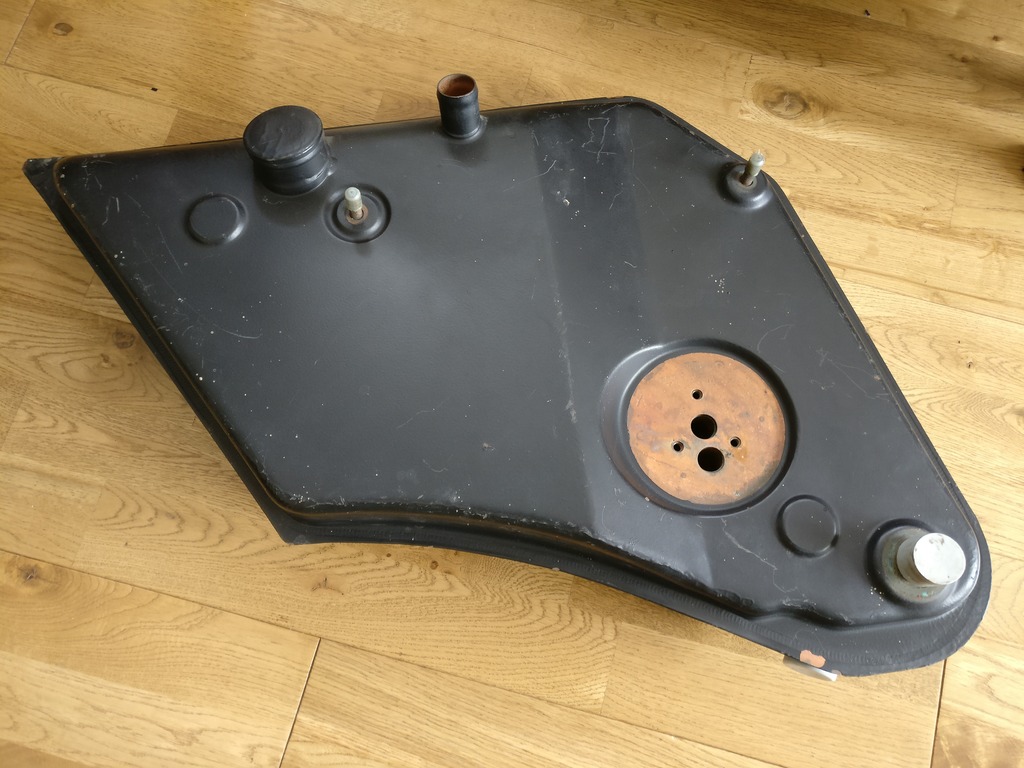
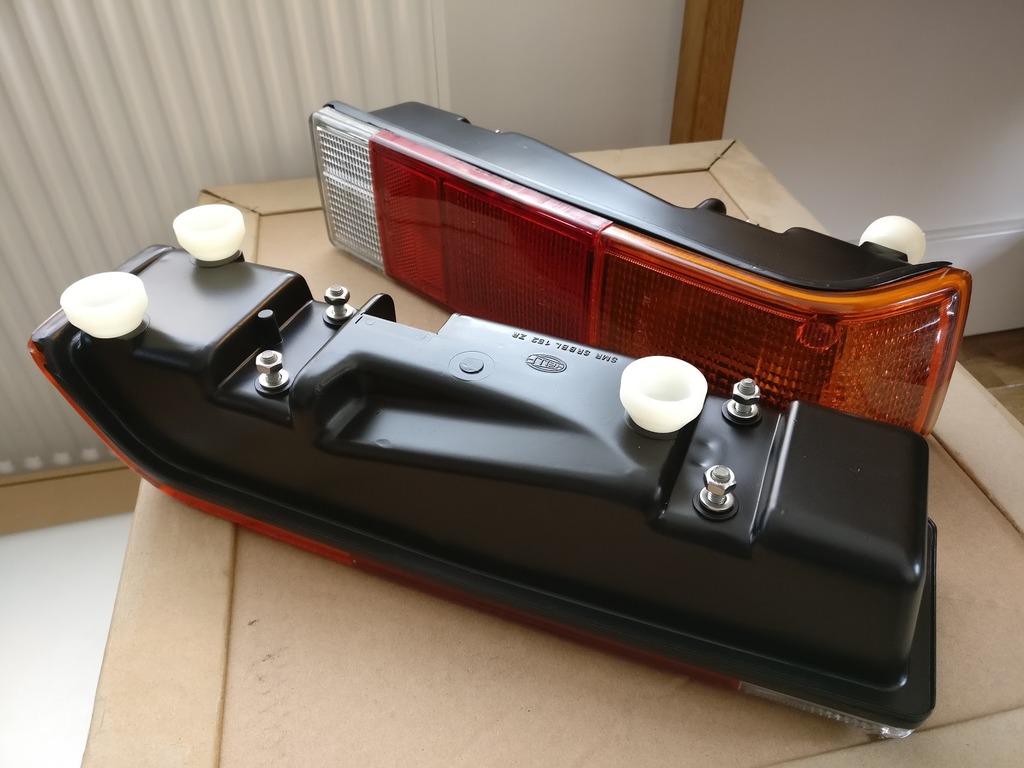
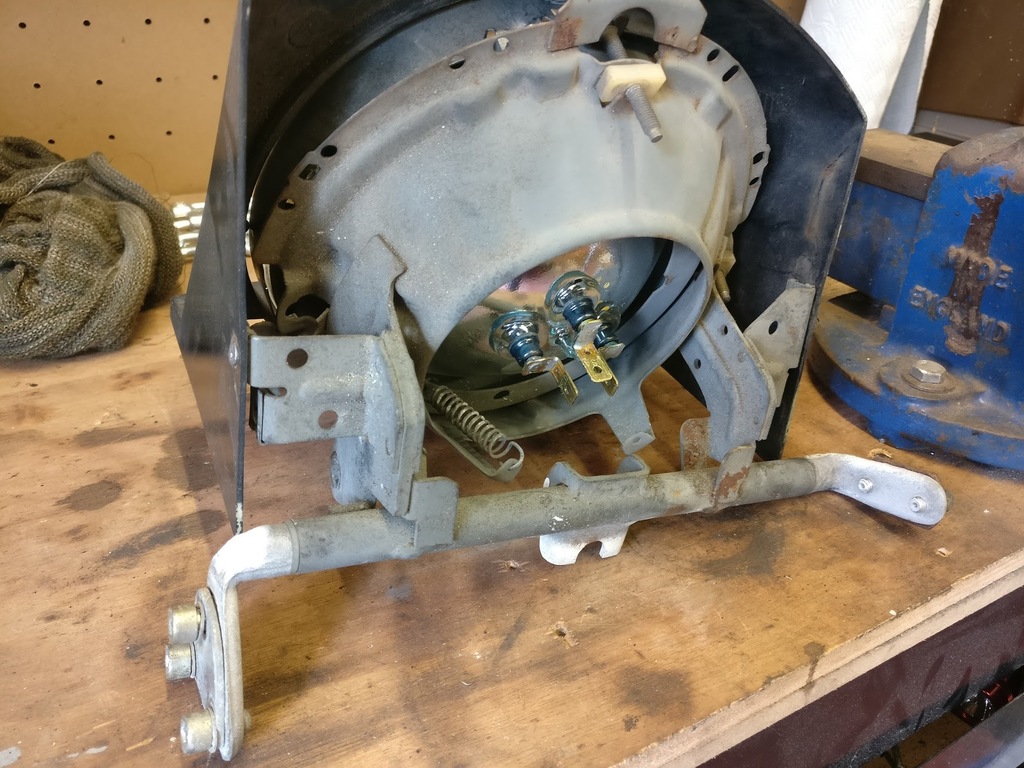
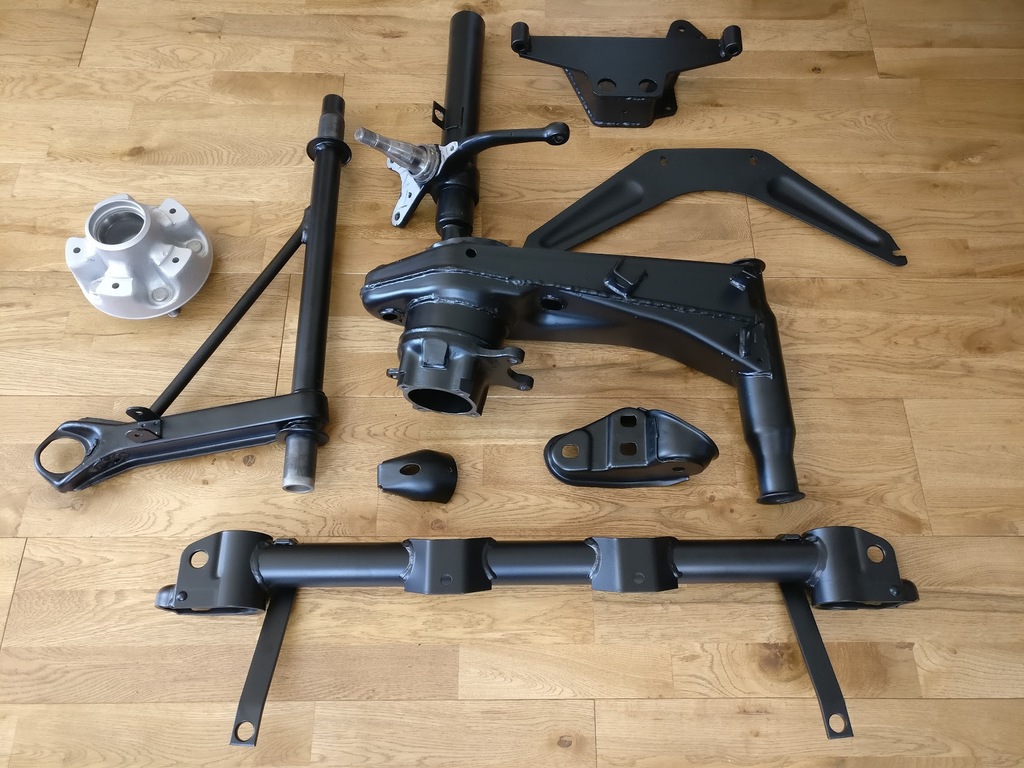
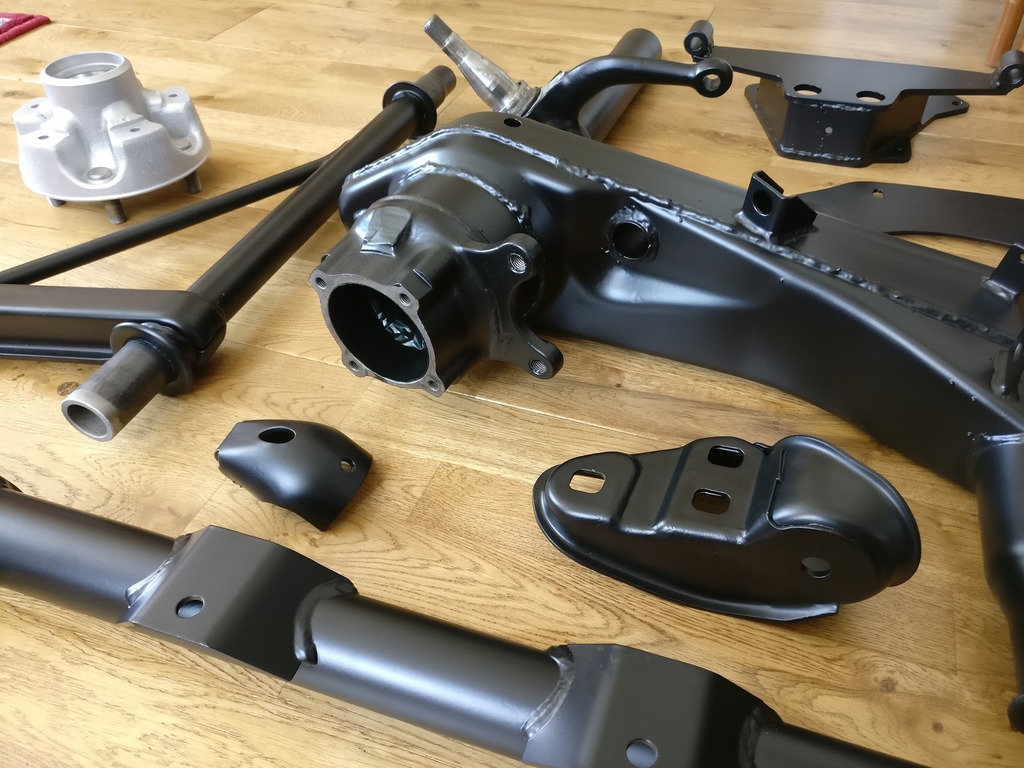
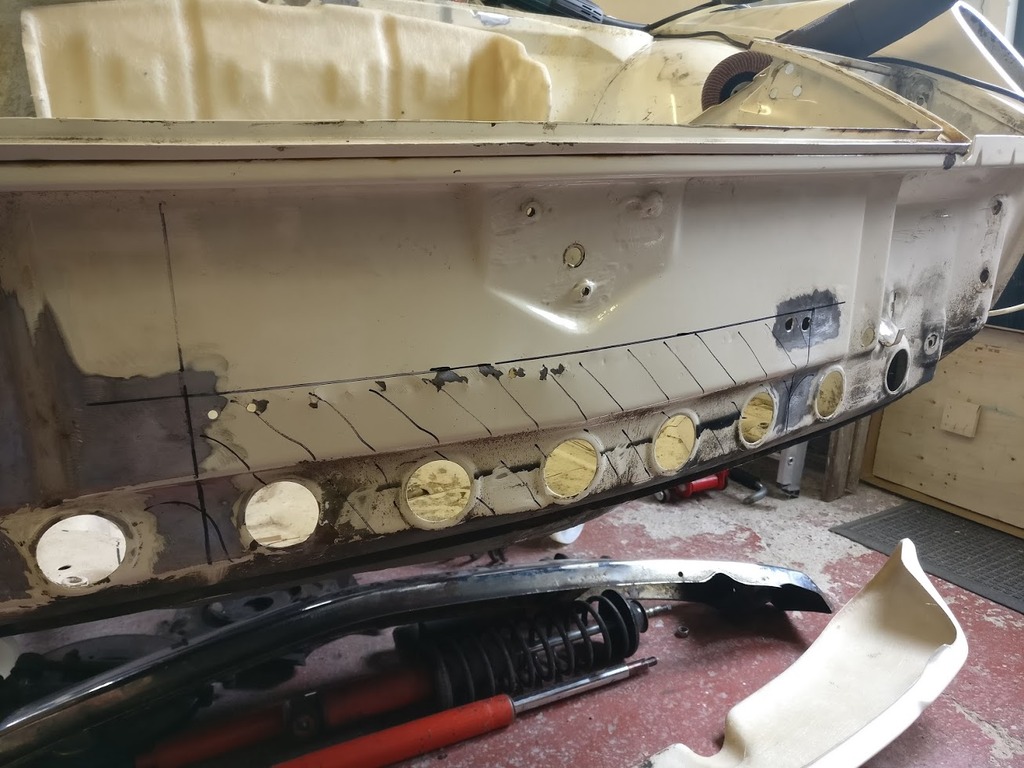
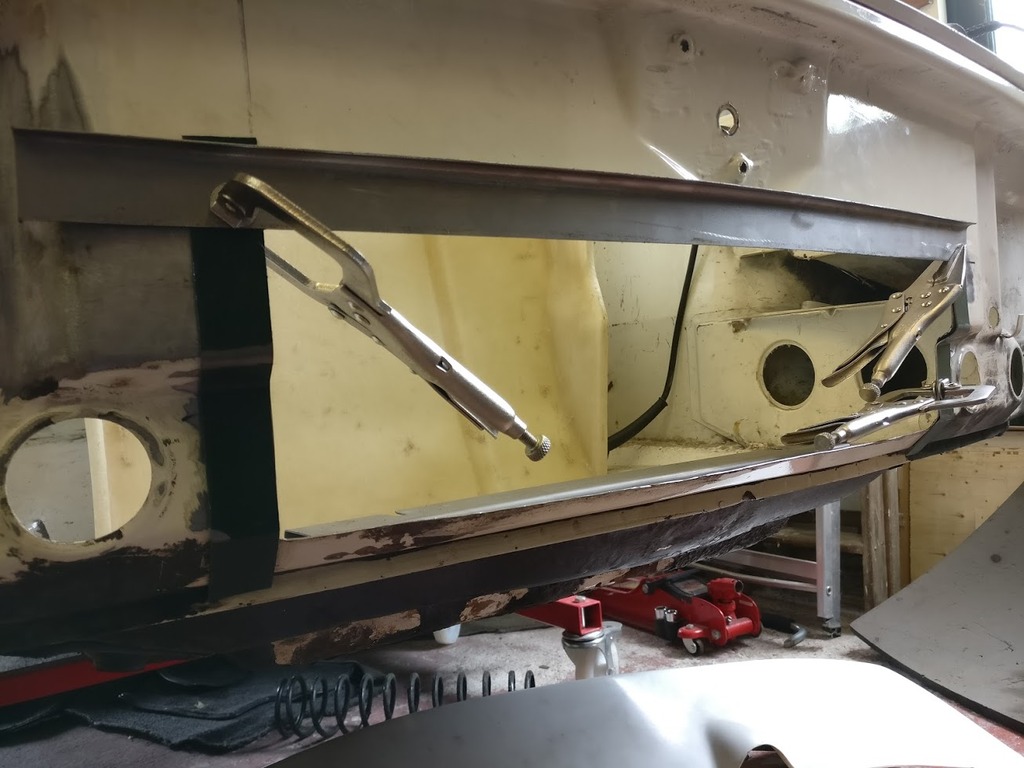
Starting the strip down.

I'm looking forward to the journey and sharing it with everyone.


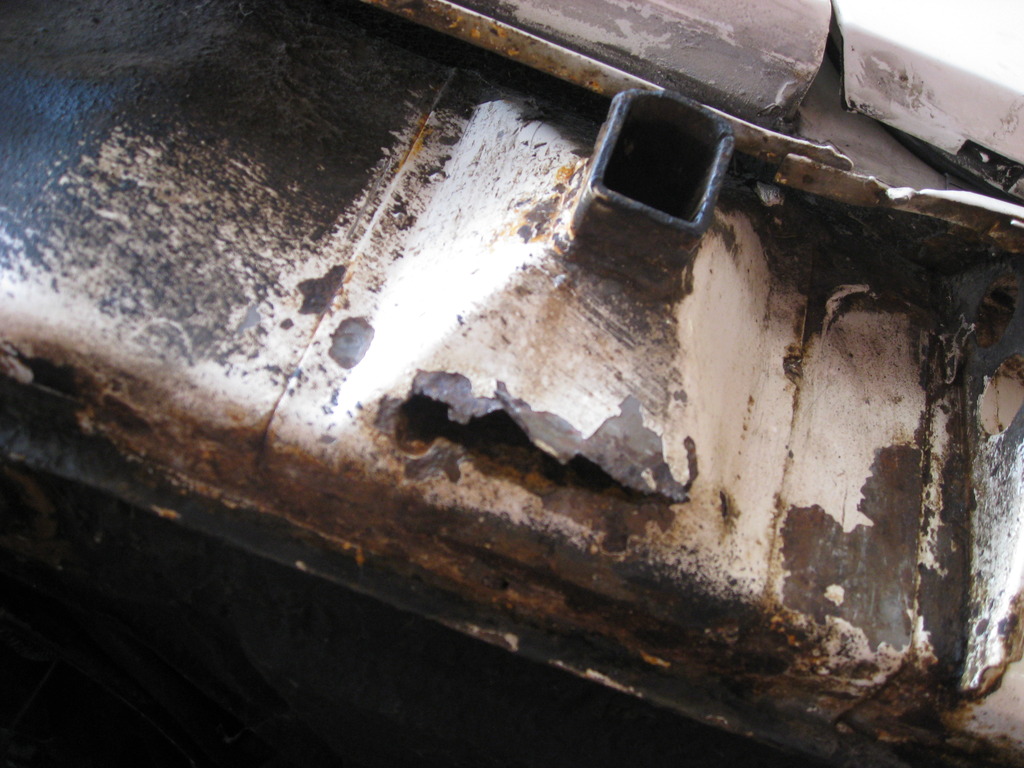
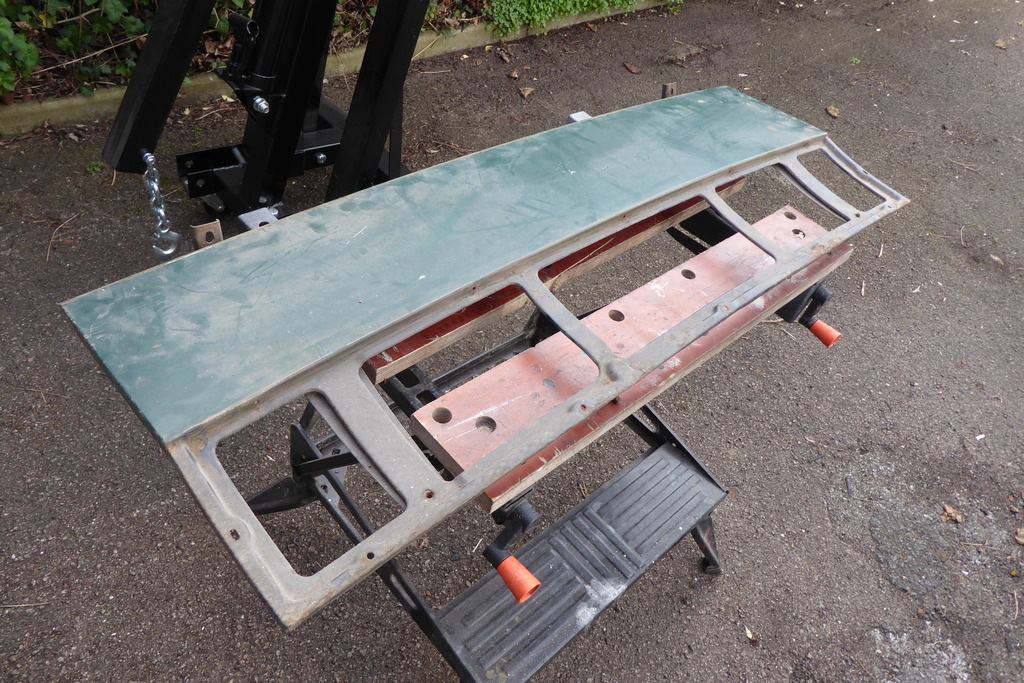
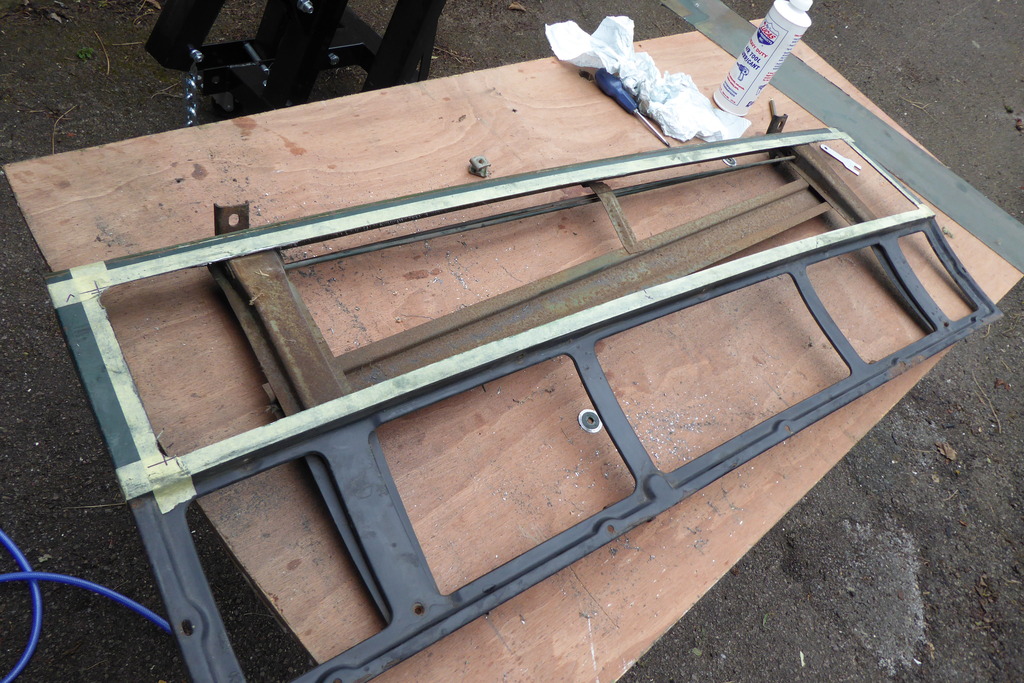
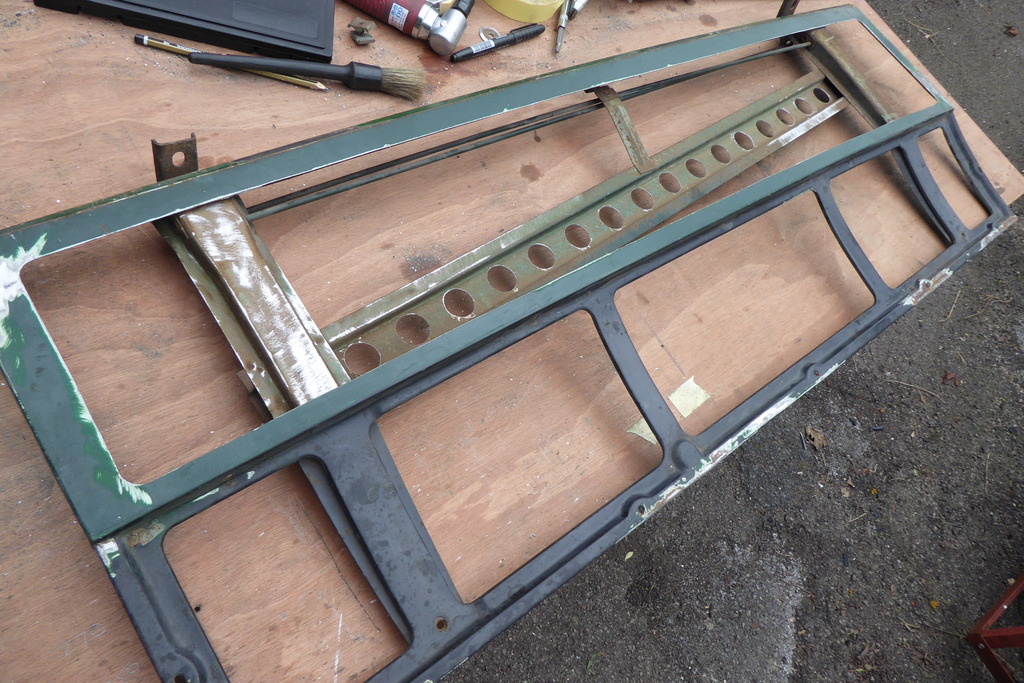
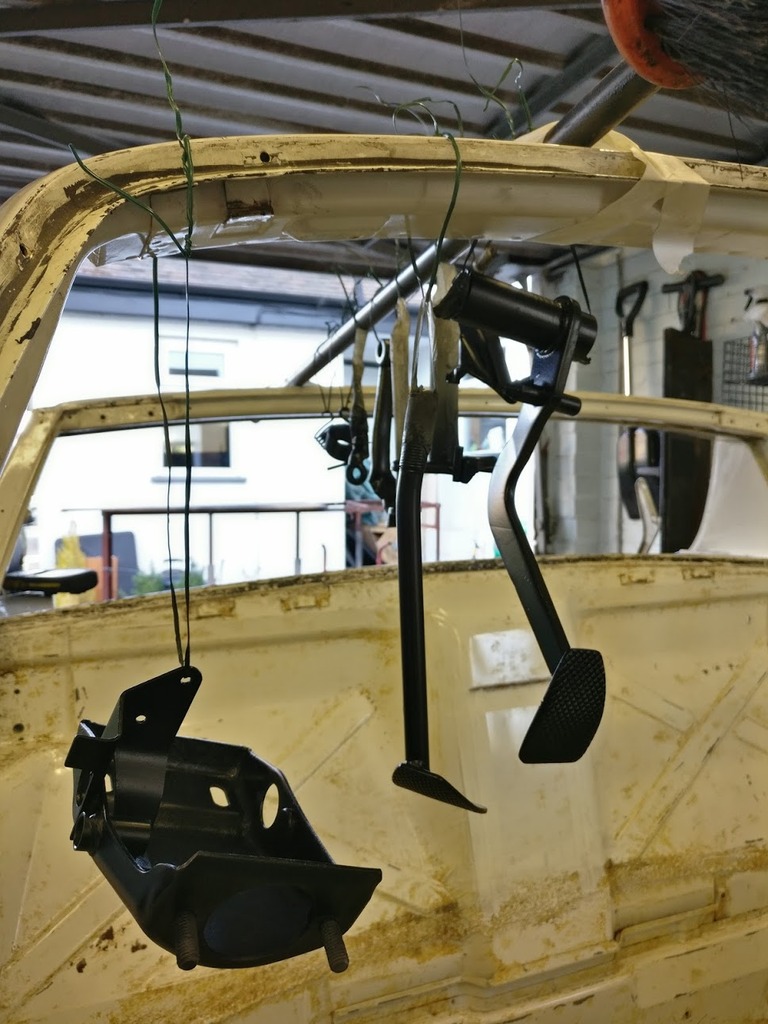


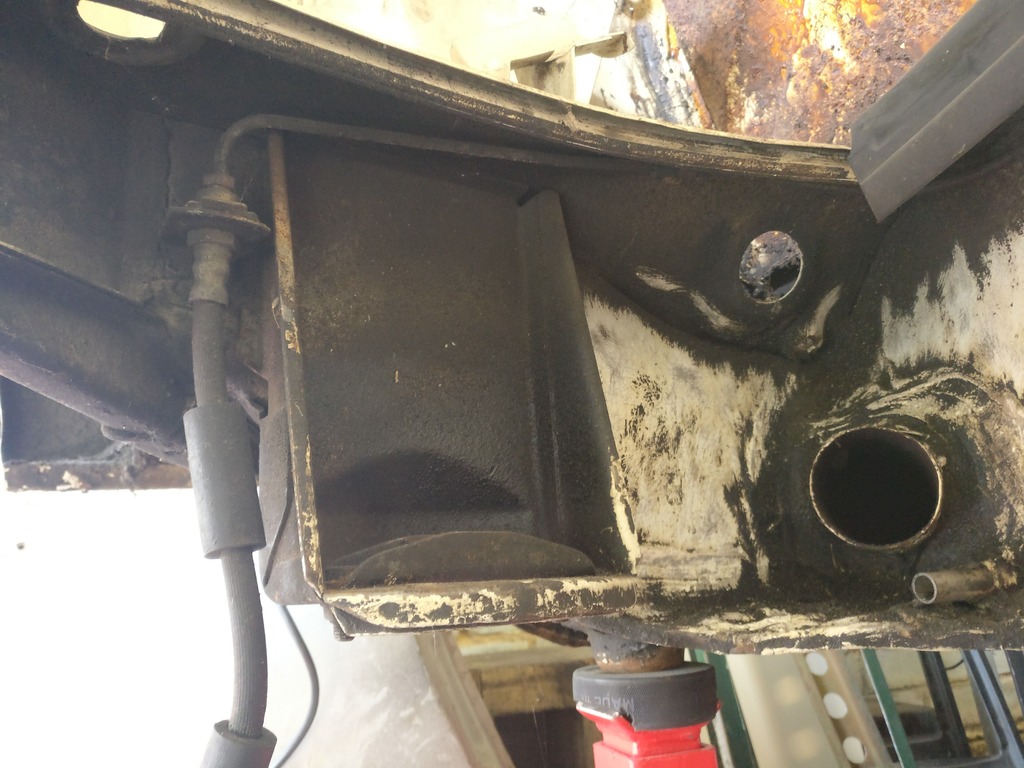
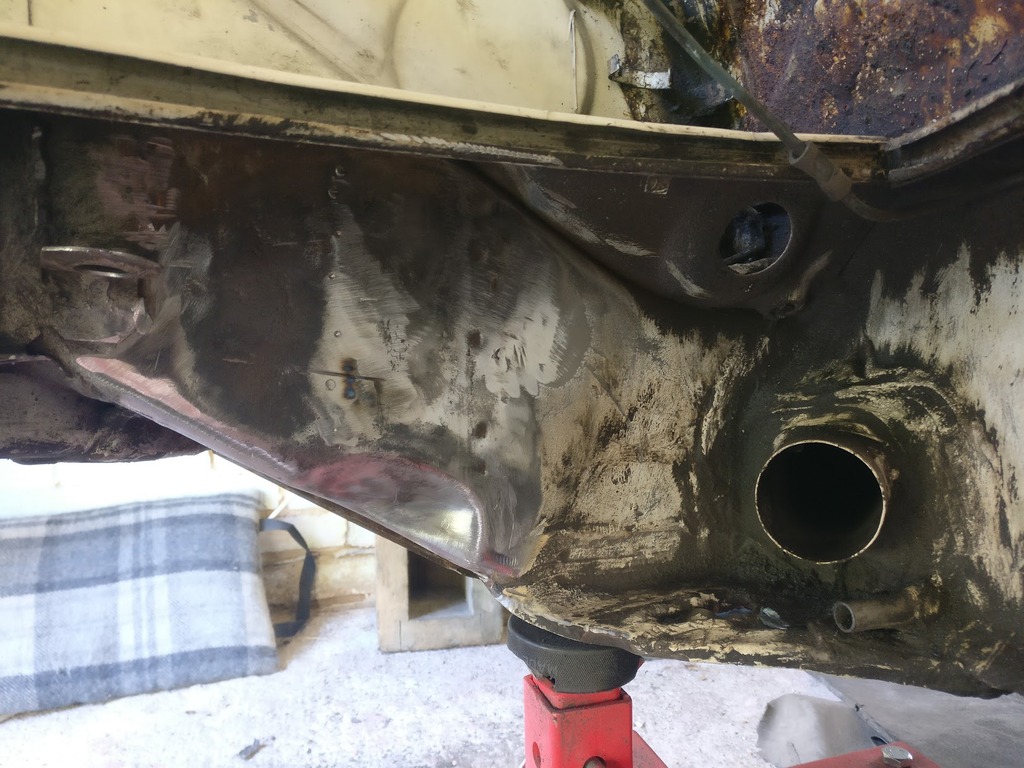
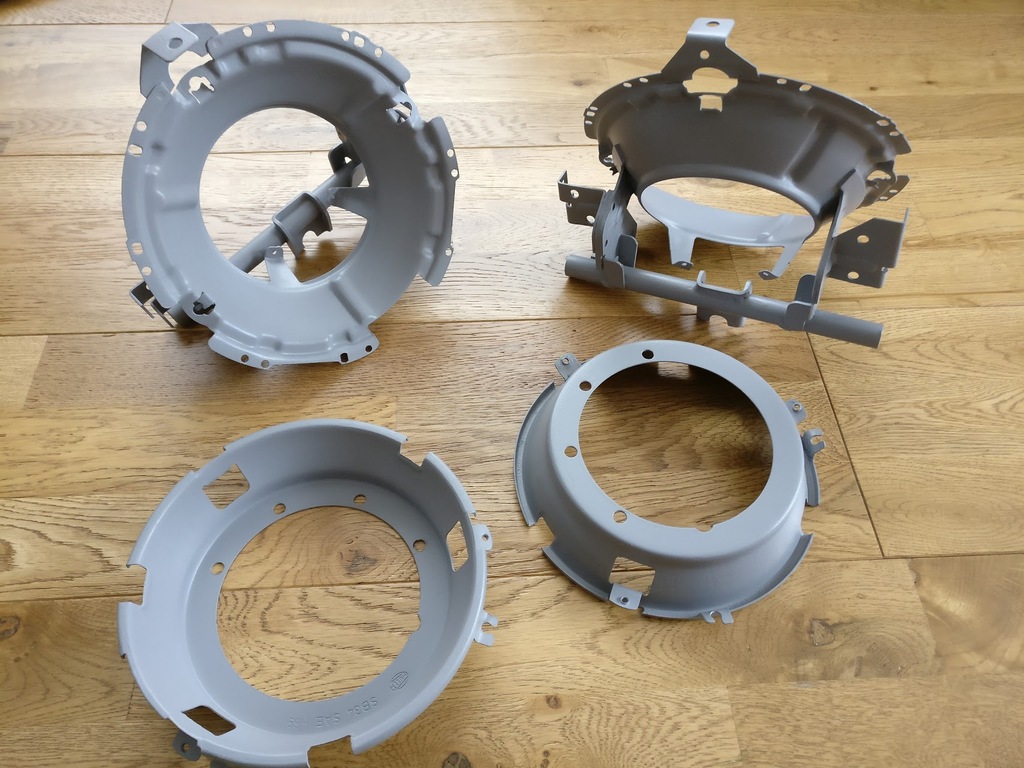


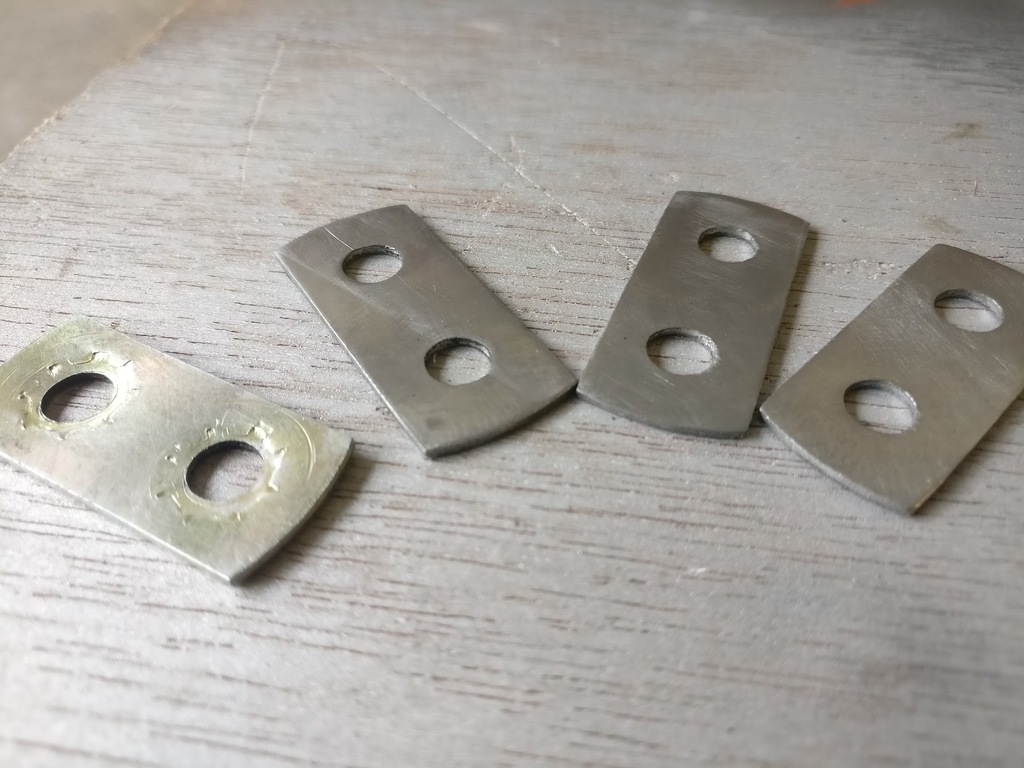


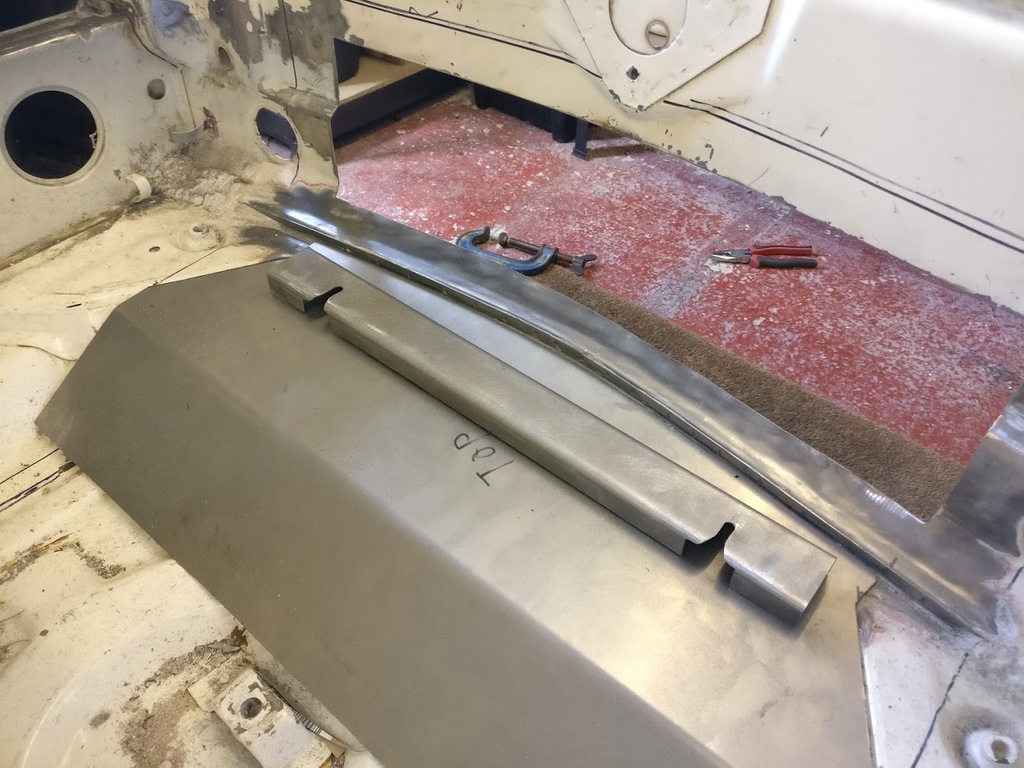
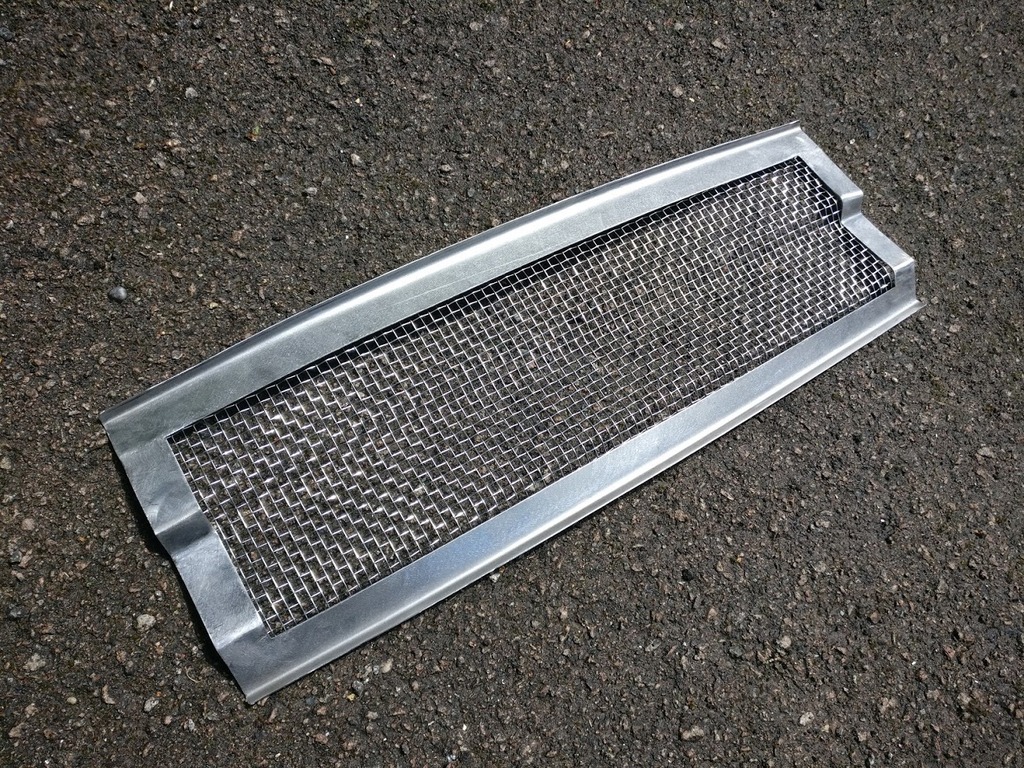
 You can just about see part of it powder coated just above. Once I get the car back from blasting it'll be time to weld in the other part.


 .
.