GT FUEL GAUGE SHENANIGANS (continued. S1 Ep2)SO you may recall my attempt to replicate a fair copy of the ultra-rare 914/6 GT fuel gauge - based on a white-face NOS VDO 60mm fuel gauge I got for very cheap:
Click to view attachmentLast time I got to the point of modifying the casing to add the EMPTY indicator, as well as maintain the gauge illumination.
Some progress was made over the weekend:
1) fascia and inner bezel prepped and painted to match outer bezel
2) electrical testing to confirm operation and compatibility with standard VDO 914 sender (more on that later)
3) drill fascia to allow EMPTY light to shine through; add red acrylic filter
4) new vinyl design to replicate original white lettering on black arrived - yay! (printing cost = $6).
5) all the above items combined together and reassembled:
Click to view attachmentClick to view attachmentClick to view attachmenteh
Click to view attachmentCouple of points: The text came out a bit small but I can live with it. This is for my car which I drive and enjoy, not a 100 point Concours queen; Also, fun fact: I copied the lettering by eye on Powerpoint, and sent it out to get printed as a vinyl sticker. I found the nearest font for the lettering to be "DIN Alternate"; who knew.
So... the issue now is that IN NO WAY does the standard VDO 914 sender match the more modern VDO gauge. Like, at all. The gauge expects:
200ohms - full
100ohms - 1/2
0 ohms - E
and the sender (well mine anyway) kicks out:
0 ohms - full
35ohms - 1/2
75ohms - E
Bugger.
However, I have a cunning plan involving transistors and some electronic design (I used to get paid for this kind of thing in a previous life). A design for a conversion module (
think: tachadapt, only for fuel gauges) was penned over a long cup of coffee, and as a consequence, some electronics parts are now on order.
Stay tuned to see if they work, or if the smoke gets let out...
TO BE CONTINUED....- Tony
PS. The chrome dot was revealed by mounting the black painted pointer in a Dremel drill-bit chuck; then carefully using some abrasives with the Dremel clamped in a bench vise and set to low-ish speeds to reveal a "spun" look on the center. I had to be super careful not to rip the needle off, but it seemed to work really well!

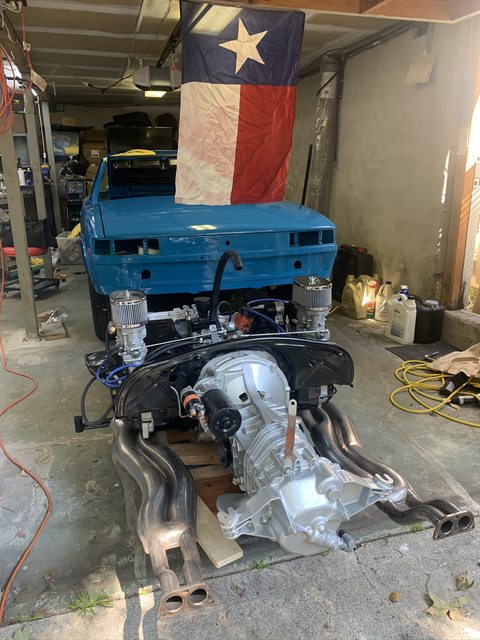
 ... Nice water jet table too


![popcorn[1].gif](http://www.914world.com/bbs2/style_emoticons/default/popcorn[1].gif)
 ... here's something to take up about 90 minutes of that 'spare' time ...


 ,reminds me of the saying "ran when parked up".