No pics, but I got side tracked many times during the day... 2 layers of primer and one tiny spot of old filler apparently didnt have enough hardner, sanded the whole area out and reapplied filler.
Got some 180 grit paper from the store, Its the paper stuff, but it works really good. I want to sand the car down again to make sure I have all the low spots filled before I primer seal it, but im pretty sure its all done.
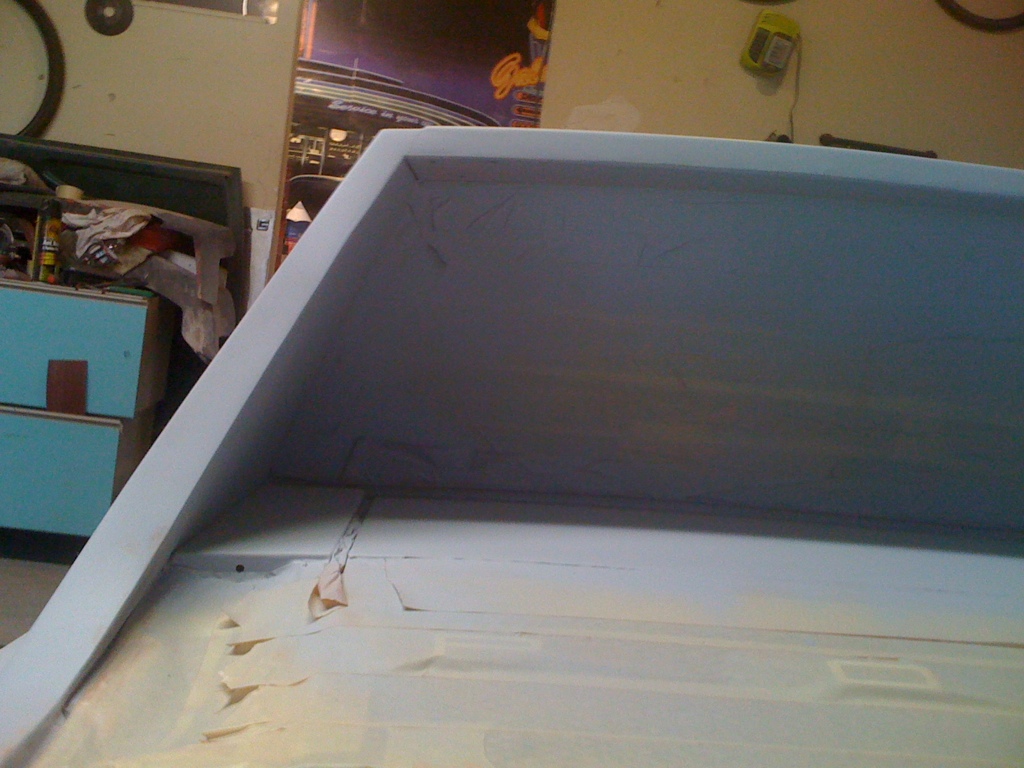
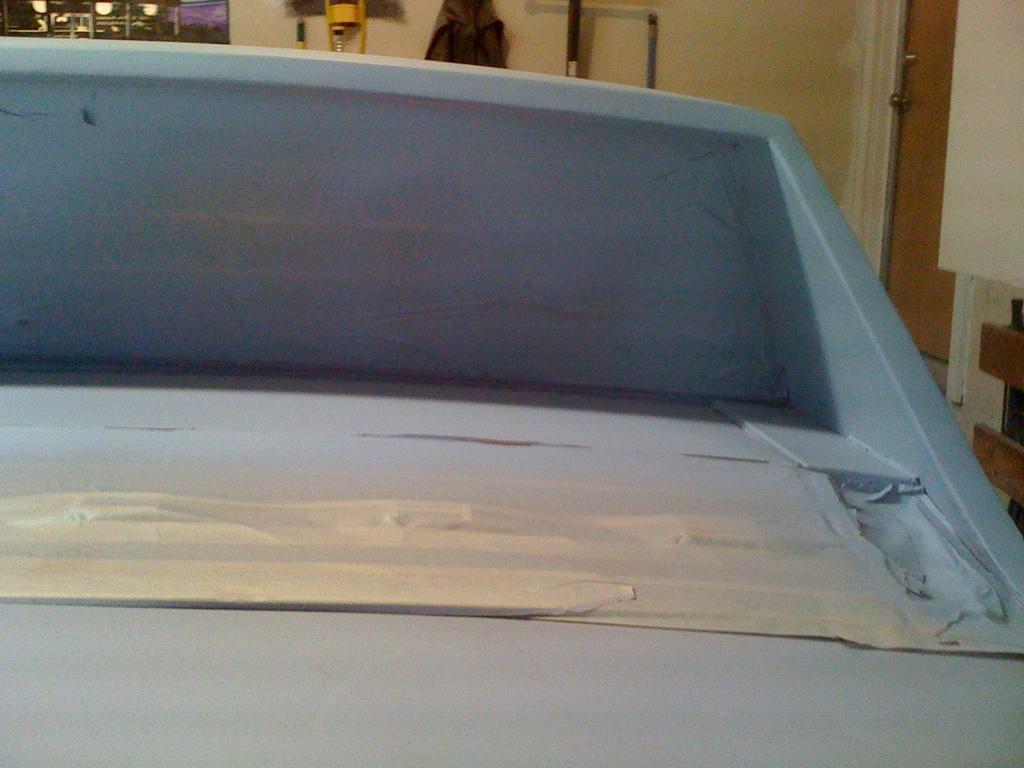
Depending on how much time I have tomorrow, i'll finish the passenger side and commence work on the A pillar, targa bar, engine lid, and front trunk.
Full Version: Andyrews Progress Thread
Nice progress Andyrew but no matter how nice you do the body work, and what color you paint it I will still have no idea how to instruct on an autocross course for a car possessed by the devil! 

Im going to give it a throttle stop and retard the timing so it has less torque and only ~ 200 hp for a while. I want to give it a couple of autox's this season. Still have to dial in the suspension, no clue how my mixmatch of suspension stuff is going to come out like.
Advance it until it almost wont start. That will reduce low end torque and move the HP hogher in the rpm band. Don't be to worried about pre-ignition. A car this light will almost never make a V8 ping.
Awesome progress. Body work and paint is the thing that intimidates me...
Awesome progress. Body work and paint is the thing that intimidates me...
Pics!
Pulled it out and took some pics. (my excuse was cleaning)
Pulled it out and took some pics. (my excuse was cleaning)
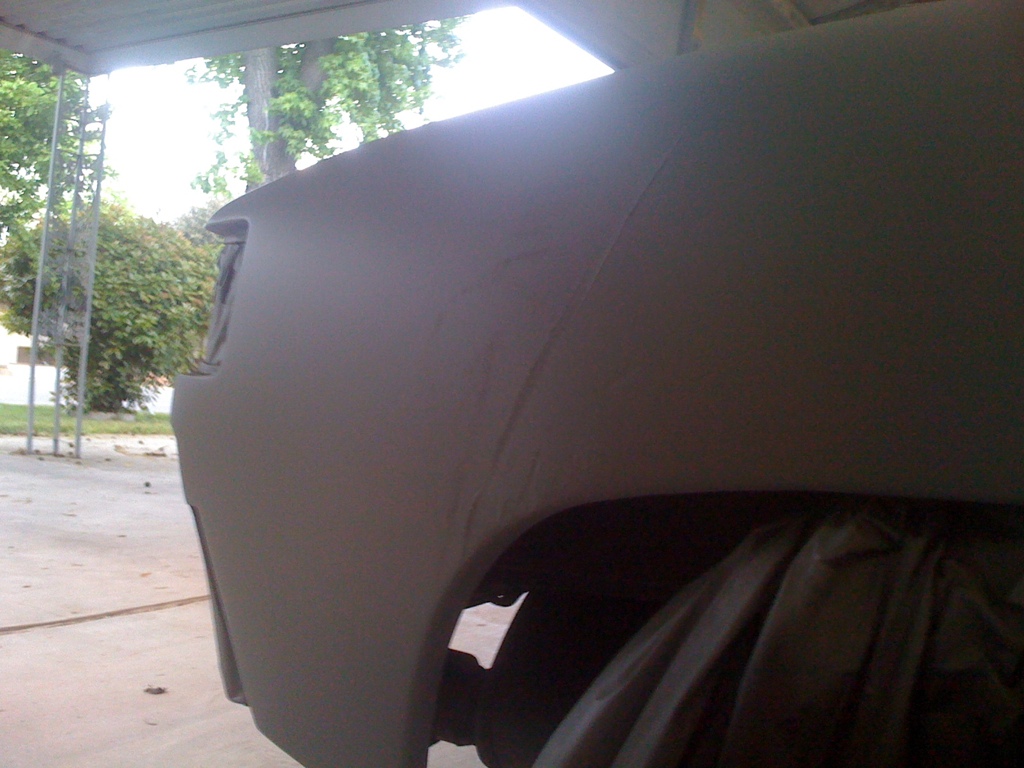
two
three (looks mean, and yes, I know the cutout is crooked. I think im going to open it up some before I put the bumper back on. )
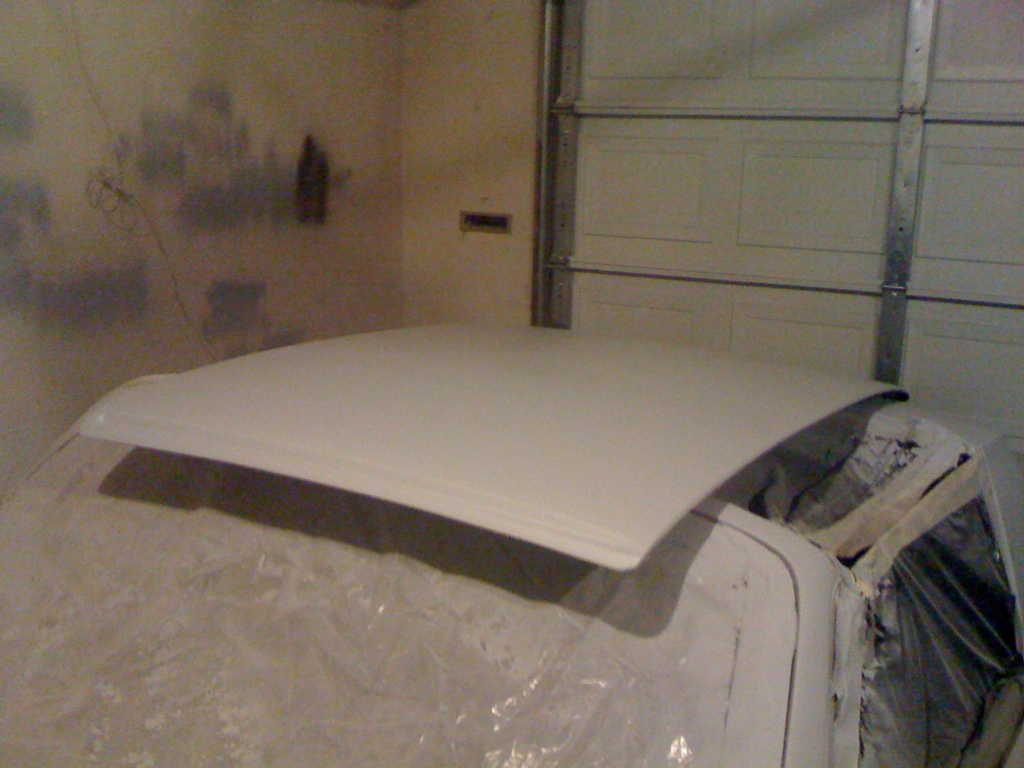
four
Five
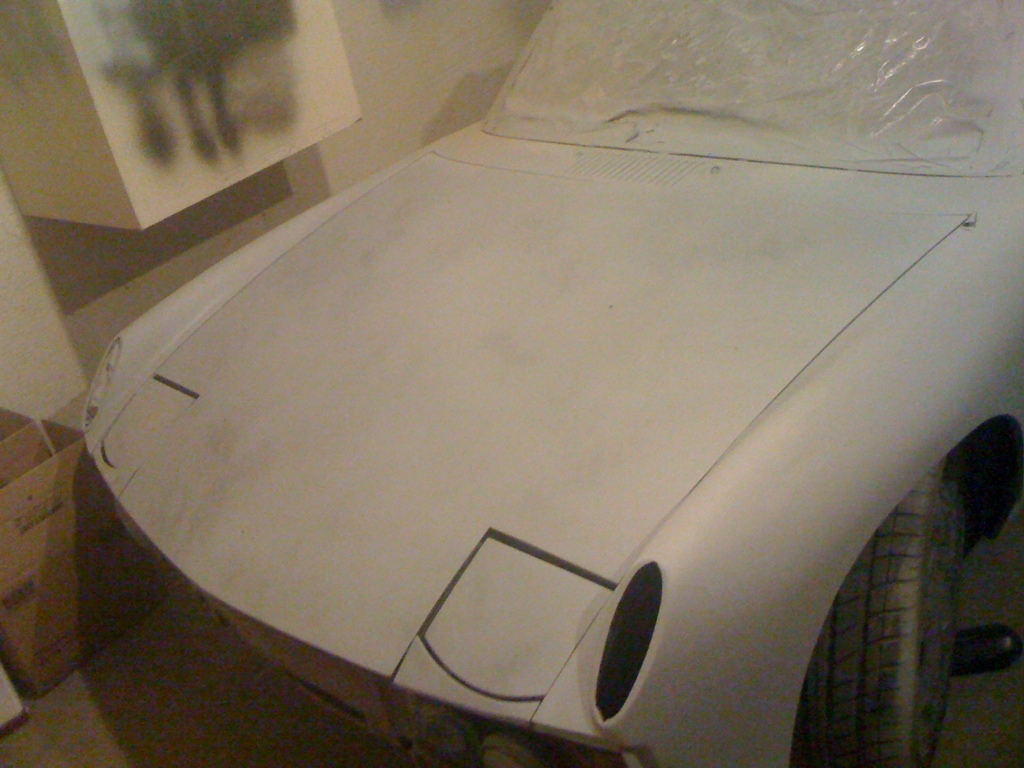
six
Mmm liking that duct.
Mmm liking that duct.
seven
QUOTE(Andyrew @ Apr 17 2011, 11:31 AM) 
Pics!
Pulled it out and took some pics. (my excuse was cleaning)
FYI roll cages made of tape ARE inexpensive and crafty, but I have it on good word they won't pass a tech inspection

Eight
(This is why I use my Iphone.. This is taking forever!!
(This is why I use my Iphone.. This is taking forever!!
LOL scotty!
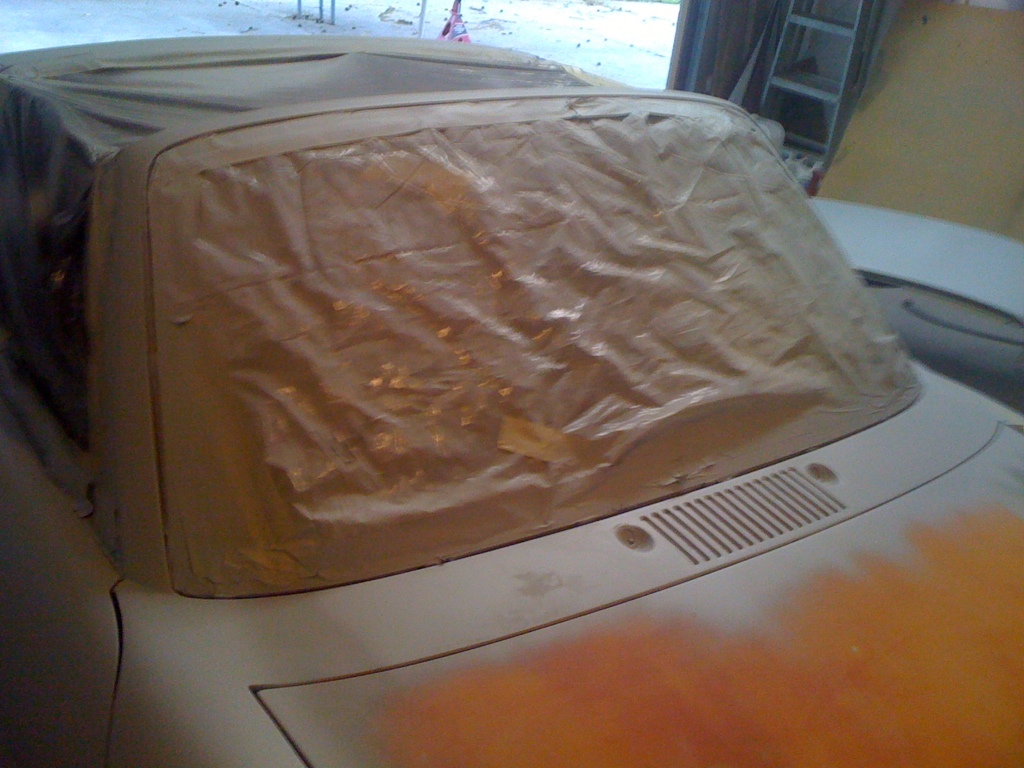
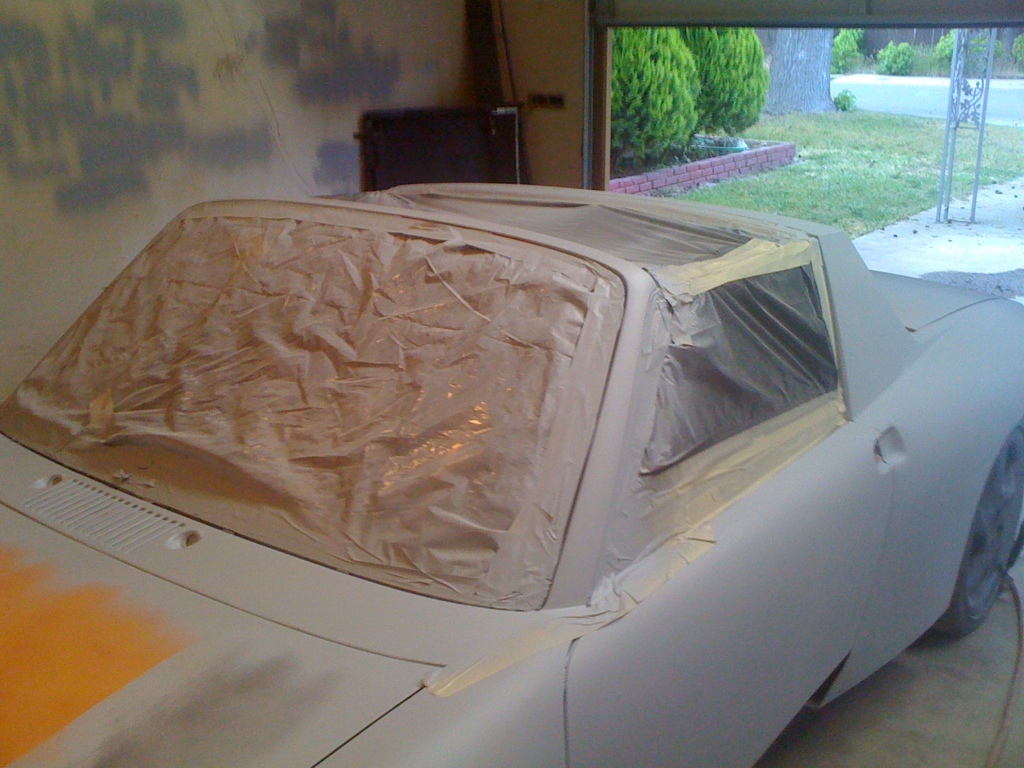
As you know im taping up the a pillar and targa bar so I can start working on those areas.
As you know im taping up the a pillar and targa bar so I can start working on those areas.
I took way to many pics... They just kept looking so good!!
Guide coat on. I need to start sanding now!! Arg..
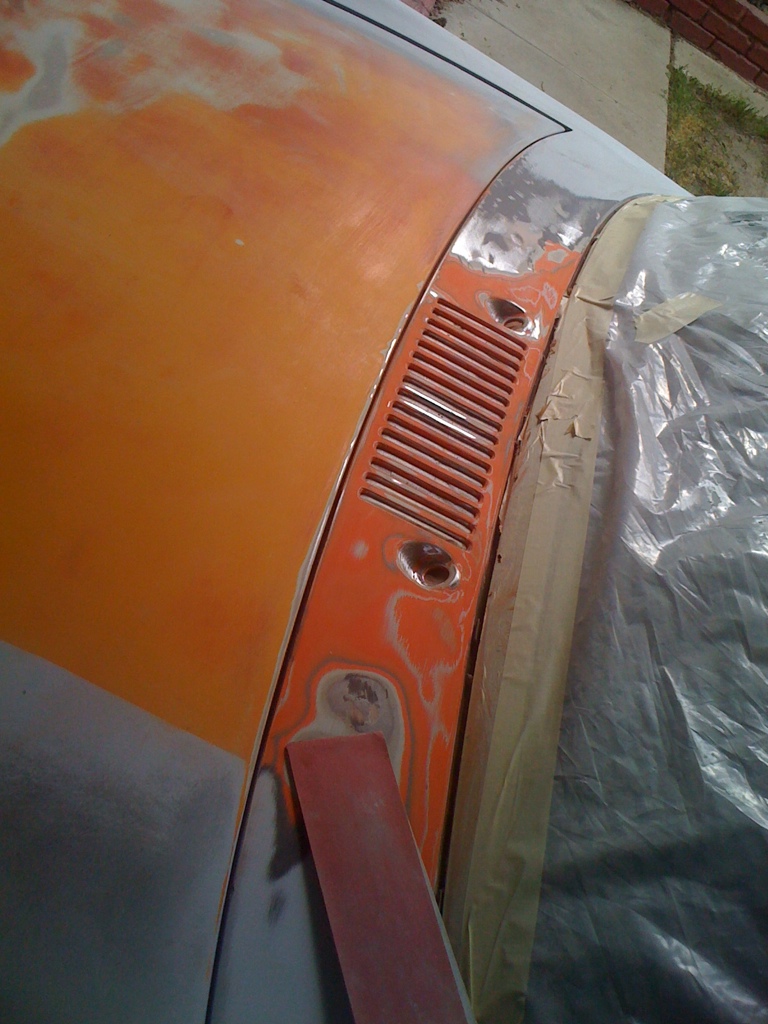
Damn just noticed how much primer went on the pass long... Damn. I'll have to acetone that off. The paint underneath is PERFECT. Factory with NO rust.. Oh its beautiful.
Oh and last pic.
Time to start sanding.
Oh and last pic.
Time to start sanding.
Nice! I see you are already prepared for Santa with all those Christmas lights... 
Im lazy  The Christmas lights are stapled in
  ..
..
The Christmas lights are stapled in ..
Andrew, forget all the timing tweaks etc, just put a block of wood under the pedal  V8 owners drive sensibly.
V8 owners drive sensibly.
1/2 throttle still pushes over 300lbs of tq to the wheels off idle.. Messing with the timing should help push the powerband up
Hows about an update?
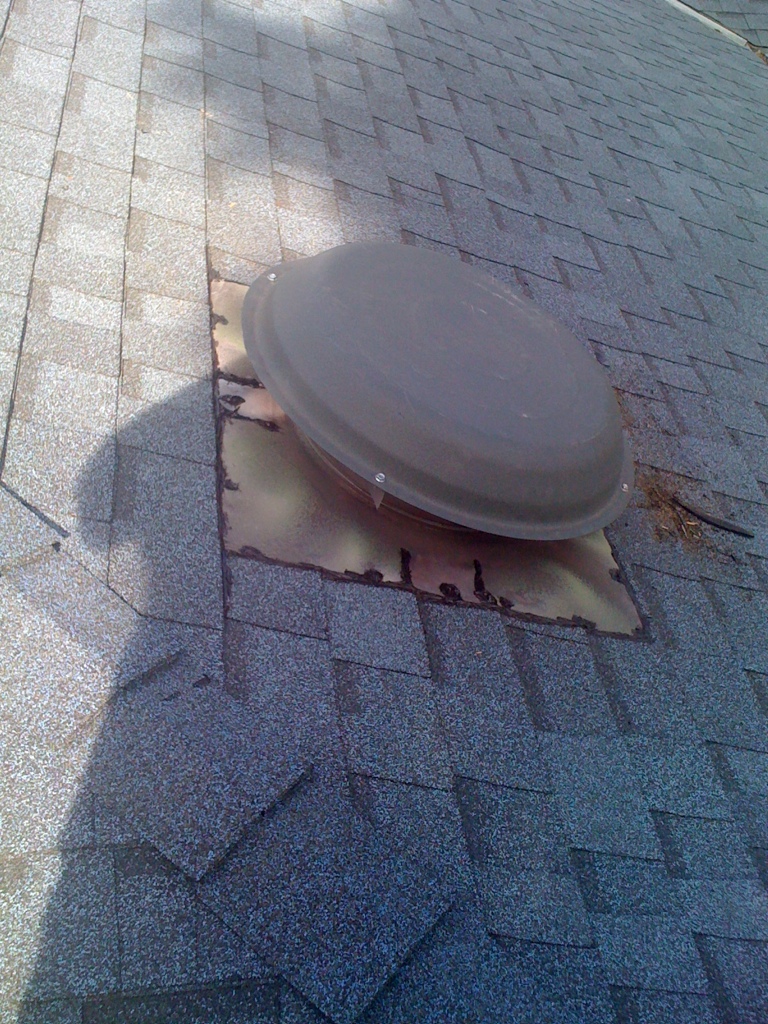
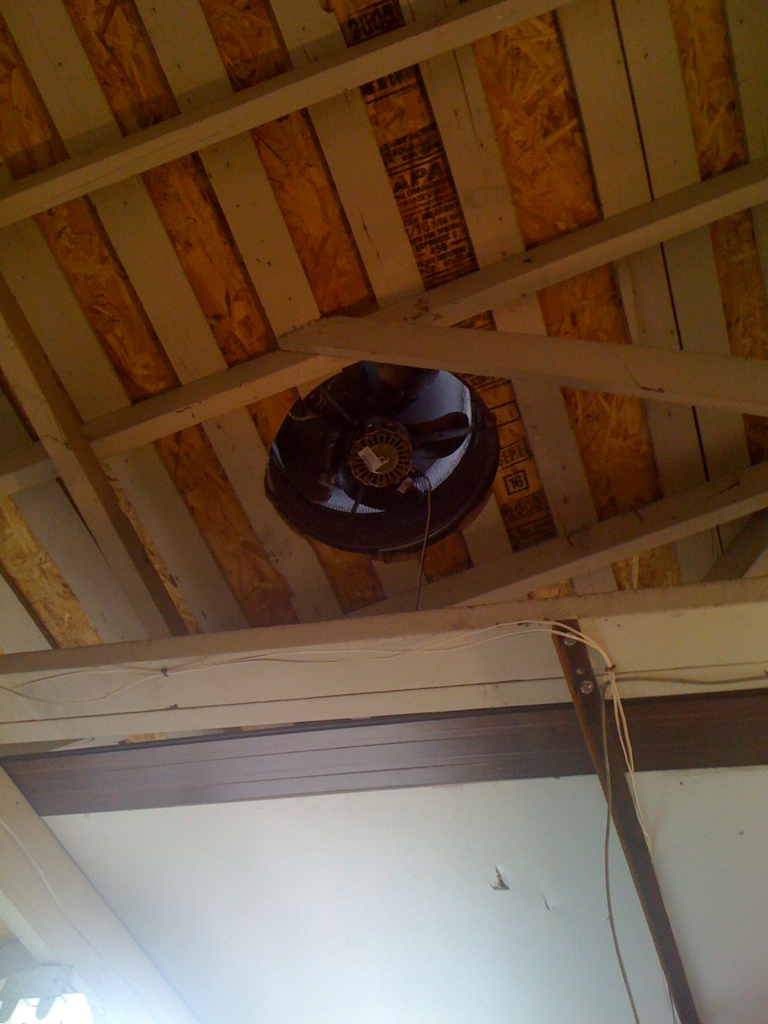
Saturday morning I installed a 2500CFM fan in the garage! Picked it up for $100 from a body shop that decided to stop priming in their main shop. (original price was $260).
Up and running in a hour!
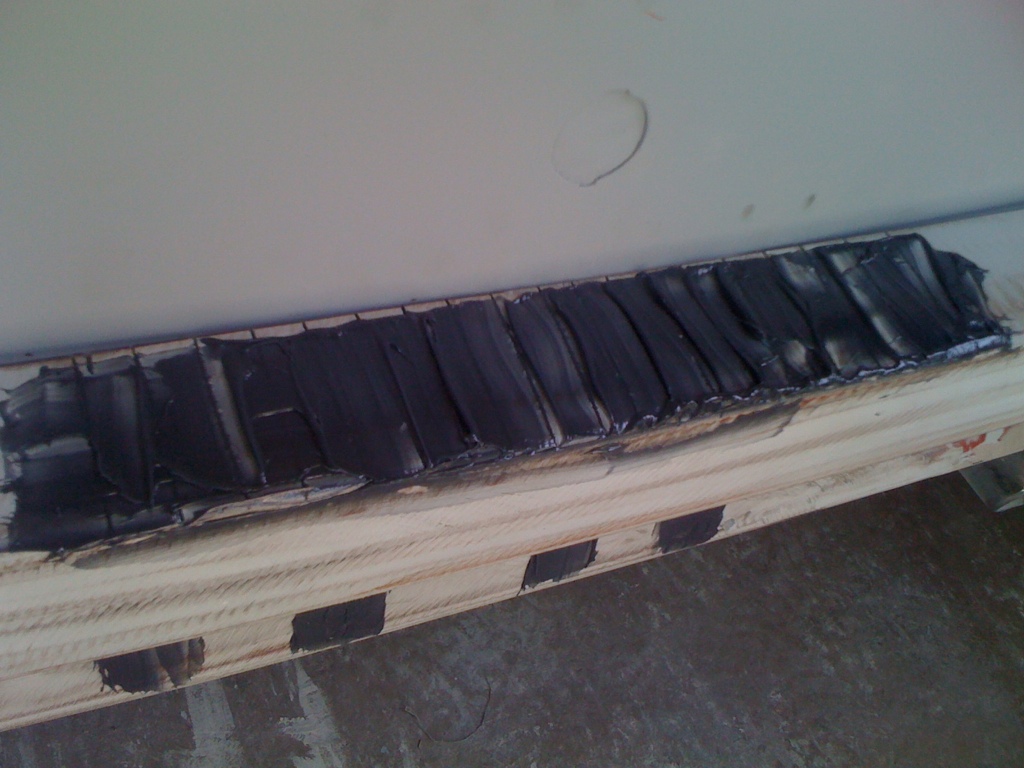
Spent a bunch of time sanding the cowl area (read 4+ hours.. Apparently no one bothers to sand those vent holes and the wiper holes)
Sanded and primed the rear as well
All went well till I went for a second layer of primer on the targa bar..
I was PISSED OFF... This was supposed to be the last final layer of primer on this side.. Damn.
I sanded this all down last night and its ready for a second coat of primer fill on a couple area's. So i'll get the fender and those area's in primer tonight hopefully.
Im ordering paint today FYI.
Saturday morning I installed a 2500CFM fan in the garage! Picked it up for $100 from a body shop that decided to stop priming in their main shop. (original price was $260).
Up and running in a hour!
Spent a bunch of time sanding the cowl area (read 4+ hours.. Apparently no one bothers to sand those vent holes and the wiper holes)
Sanded and primed the rear as well
All went well till I went for a second layer of primer on the targa bar..
I was PISSED OFF... This was supposed to be the last final layer of primer on this side.. Damn.
I sanded this all down last night and its ready for a second coat of primer fill on a couple area's. So i'll get the fender and those area's in primer tonight hopefully.
Im ordering paint today FYI.
Been there done that... at least it wasn't in your clear coat... mine was
Looking good man! That fan should work nice.
QUOTE(tdgray @ Apr 25 2011, 11:07 AM)
Been there done that... at least it wasn't in your clear coat... mine was I was rushing myself.. Not enjoying the process because a friend of mine was pissing me off so I wasnt thinking.
When I spray I will have 2 others in the garage, one on each side of the car. Their whole job is to keep me from either leaning on the car, or keep the hose from touching the car.
Awesome! I want to paint mine Now... 
![popcorn[1].gif](http://www.914world.com/bbs2/style_emoticons/default/popcorn[1].gif)
Paint is ordered.
One gallon of single stage with appropriate reducer and hardner. I also got a quart of primer sealer by direction of my paint buddies, apparently the primer I was using isnt actually a sealer. However he did tell me that what I should do is prep the body with 220 grit and lay down the primer sealer, Then while the primer is still wet (10 mins later), lay down the first coat of paint and then the subsequent layers of paint. He says that it just turns out amazing. I trust him, and I have plenty of paint to be able to make touch ups if I need to.
I sprayed the area's that I needed to finish, so the whole car, minus the front trunk is in final primer. I have some touch up pitting in the targa bar that i'll fix over the next week, and i'll get the front trunk done this weekend.
Once the paint comes in then I think i'll start by test spraying the targa top.
I wouldn't paint over primer that hasn't dried. Non sanding sealer is good for at least 12 hours to recoat. But the data sheet doesn't say anything about painting over it before it dries. When you build up several coats of paint it can take weeks or months for the paint to dry completely. That will be where the shrinkage will show up.
The primer that I bought is supposedly good for wet on wet application, AKA its built for this.
However I cant say that im more than skeptical, which is why I posted this.
This is what I got
http://www.tcpglobal.com/kustomshop/itemde...S+KIT-KEP505-QT
HOWEVER looking at it now I think I got the wrong thing.. This is epoxy primer/seal.. I believe I wanted Urithane epoxy/seal.. aka this stuff.
http://www.tcpglobal.com/kustomshop/itemde...o=KUS+KUP405-QT
Since I went with a urithane paint.. aka this
http://www.tcpglobal.com/restorationshop/i...SP+AU1805-KIT-M.
I was also told to spray the primer with a fast reducer (which I picked some of that up)..
I placed this on Monday, so im going to call and see if I can get them to change the order to urithane primer, not epoxy.
OK so last weekend was a test on my part for painting and setting up the garage for painting. I learned that I need to either do a LOT more prep in the garage to prevent any dirt from getting in the paint and I also need to work on painting vertically as I had more runs than I was comfortable with. I also need to work on gun setup as I think I had to much paint spraying out of the gun, which contributed to the runs.
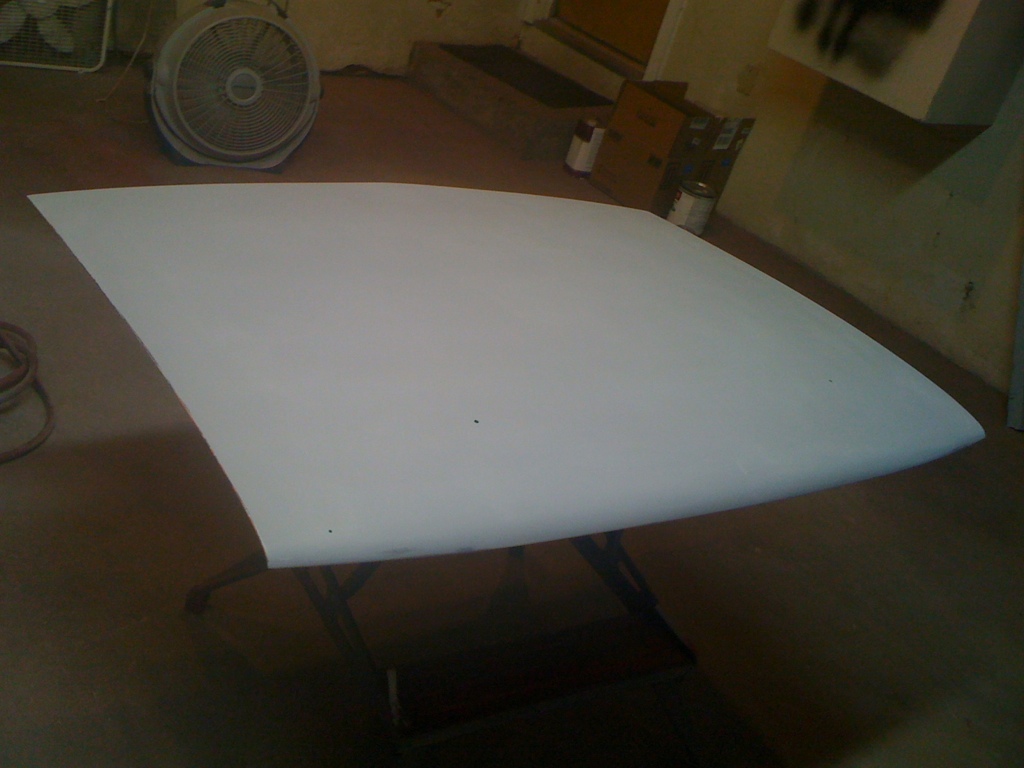
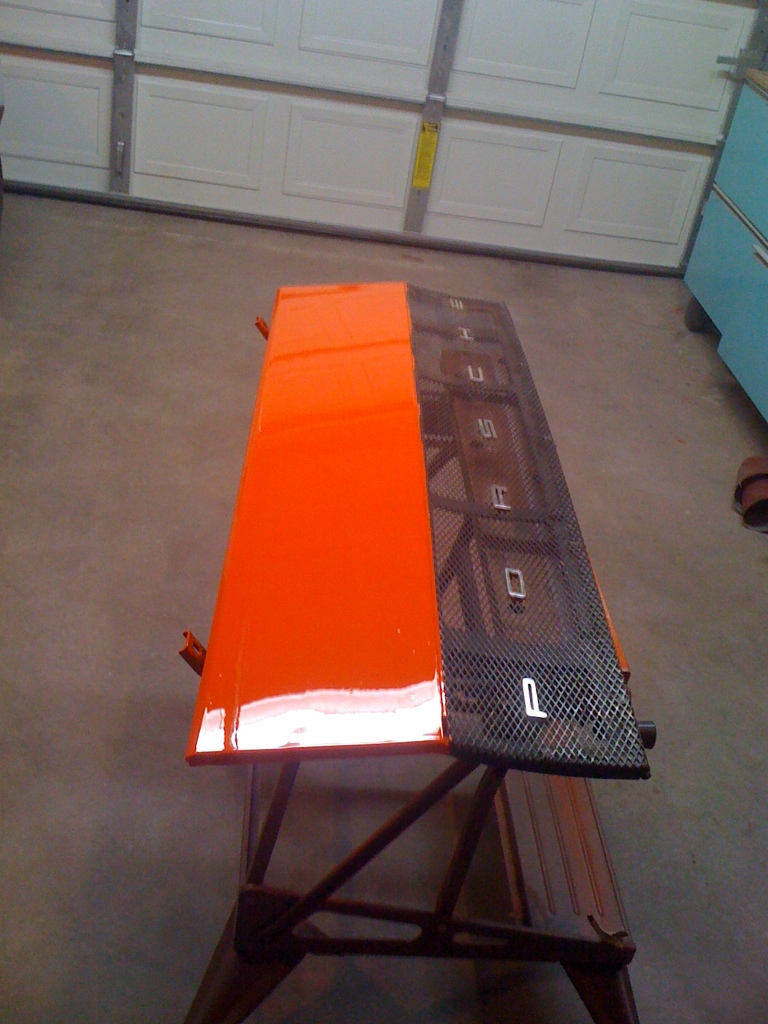
Today I sanded the targa top in 180 and layed 3 layers of primer on it. I am going to sand it down to 400 and practice spraying vertically on it this weekend.
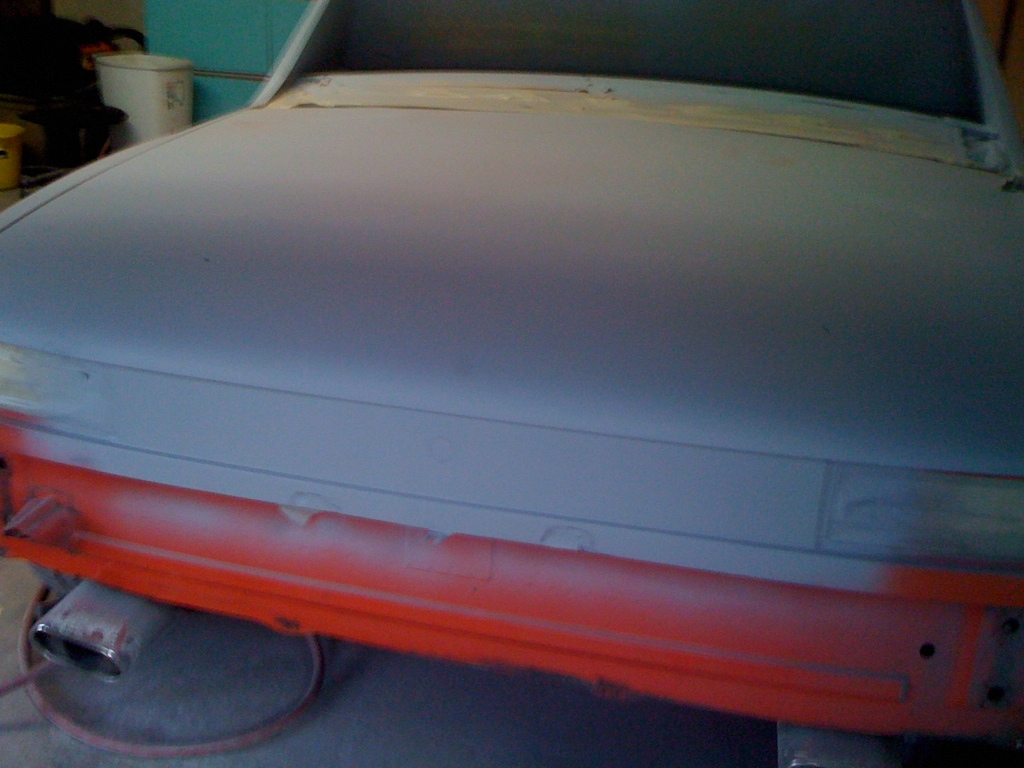
I sanded and sprayed the hood down, but its obvious to me it needs quite a bit of bodywork to be straight. This may take some time. Guide coat went on after.
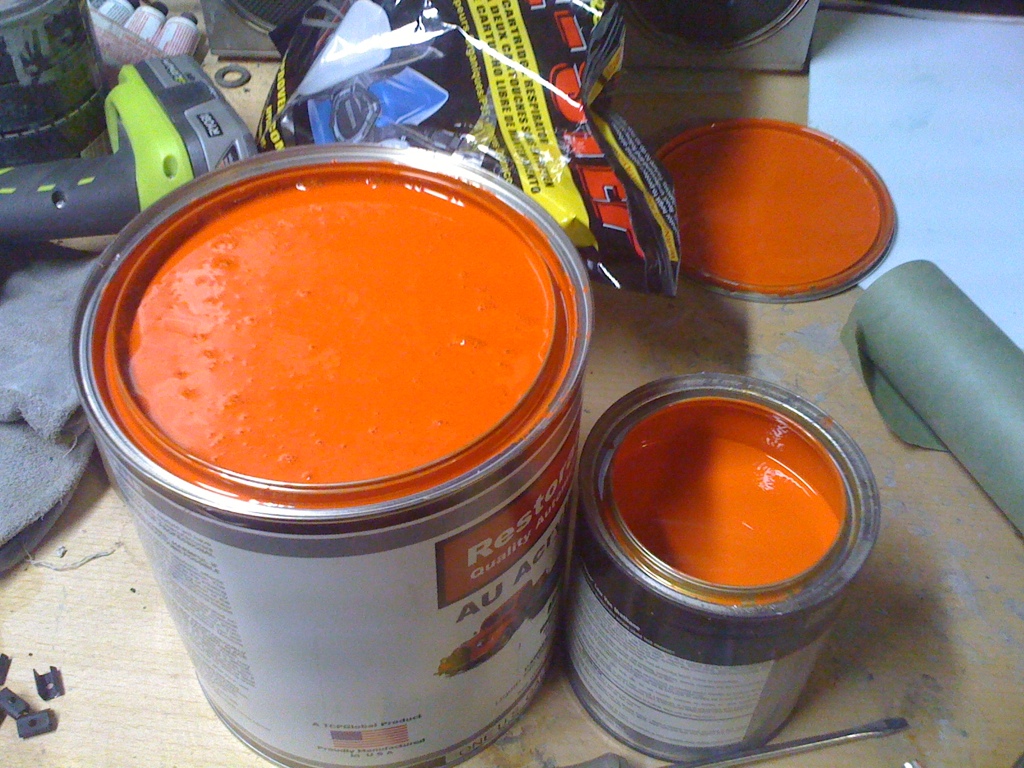
I opened up my paint that I bought and compared it to the factory phoenix red. Almost an exact match, I stared at it for quite a while before I realized that the Hugger Orange was just a TAD more red. Which I am really happy with as I wanted it to be a tad more red!!! I also realized that I have a LOT of paint to spray this tiny car... The crown vic that I sprayed last weekend took 1/3 a gallon on 3 heavy coats. I am probably going to spray 7-10 coats on this car and still only use 1/3 of a gallon!! And this car should be a breeze compared to the big crown vic.
Today I sanded the targa top in 180 and layed 3 layers of primer on it. I am going to sand it down to 400 and practice spraying vertically on it this weekend.
I sanded and sprayed the hood down, but its obvious to me it needs quite a bit of bodywork to be straight. This may take some time. Guide coat went on after.
I opened up my paint that I bought and compared it to the factory phoenix red. Almost an exact match, I stared at it for quite a while before I realized that the Hugger Orange was just a TAD more red. Which I am really happy with as I wanted it to be a tad more red!!! I also realized that I have a LOT of paint to spray this tiny car... The crown vic that I sprayed last weekend took 1/3 a gallon on 3 heavy coats. I am probably going to spray 7-10 coats on this car and still only use 1/3 of a gallon!! And this car should be a breeze compared to the big crown vic.
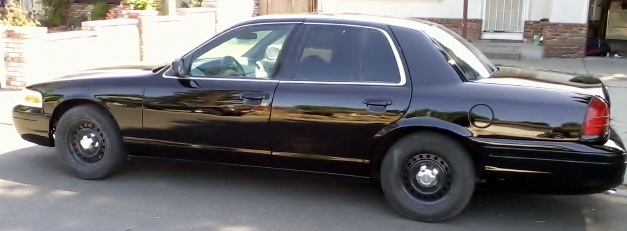 Here is a pic of the crown vic 3 days later.
Woo Hoo! Carpet kit came in! Cant wait to get it installed! Bought a cheap lightweight kit off ebay ($75 shipped after negotiation!). I'll be glueing it in after paint.
Hey look.
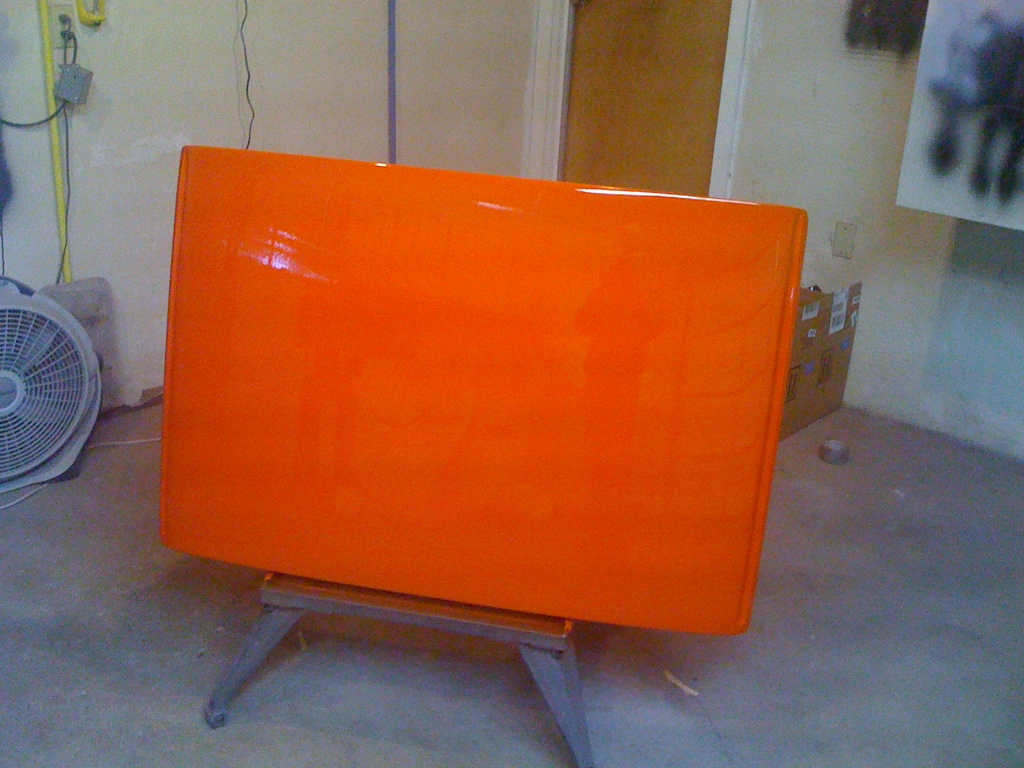
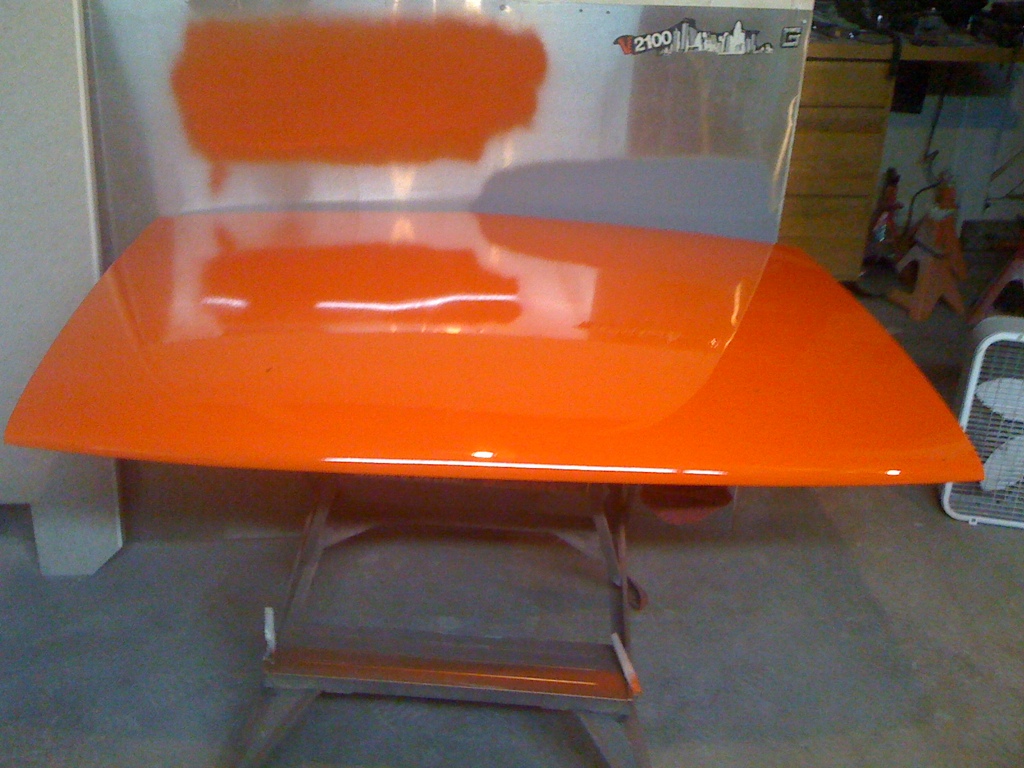
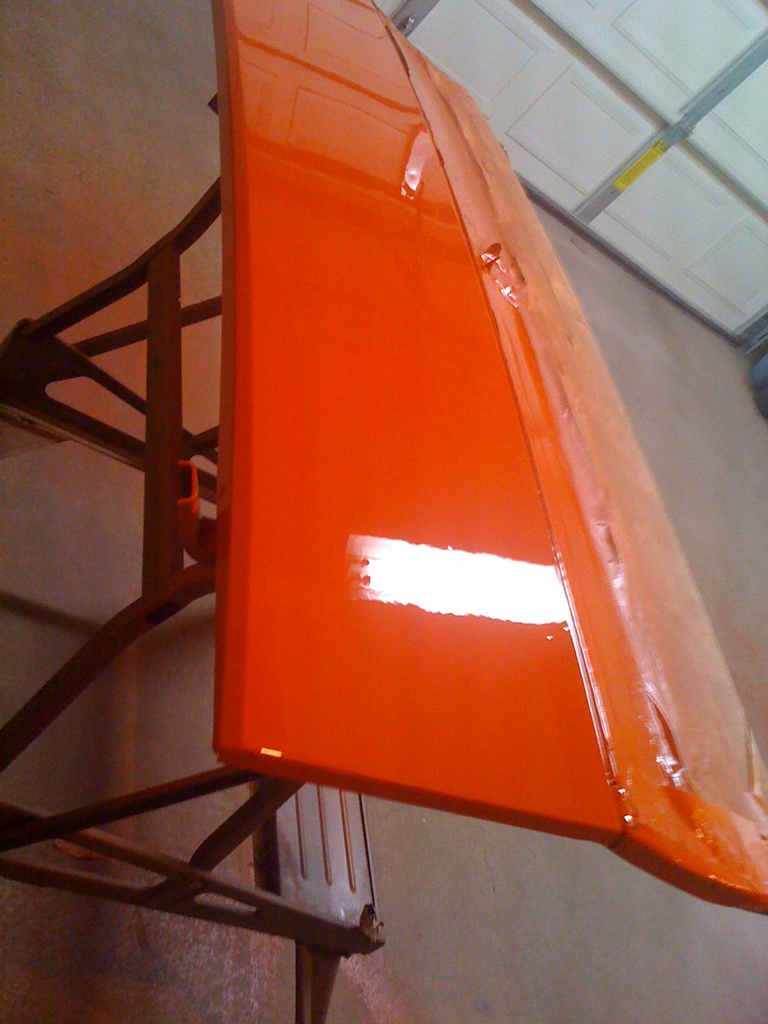
I sprayed some orange!
Just as a preface, this was a test run. I had a lot more runs when I sprayed the crown vic last weekend than I wanted. So I went and practiced on the targa top this evening.
I went and sanded the top down to 320 and went ahead and sprayed it after degreasing it.
I spoke with my paint shop next door to my work and he said that he reduces the single stage only 10% even if it calls for 25% on the sheet. I went ahead and reduced it to about 17.5 as I wanted to actually get some practice laying the coats a little thinner so I could improve my technique. I sprayed the top almost completely vertical. First coat went on with no problem and no runs. Second coat I couldnt see very well and obviously overlapped more than I should have and caused runs. I believe I went to slow in the spraying of the paint as well.
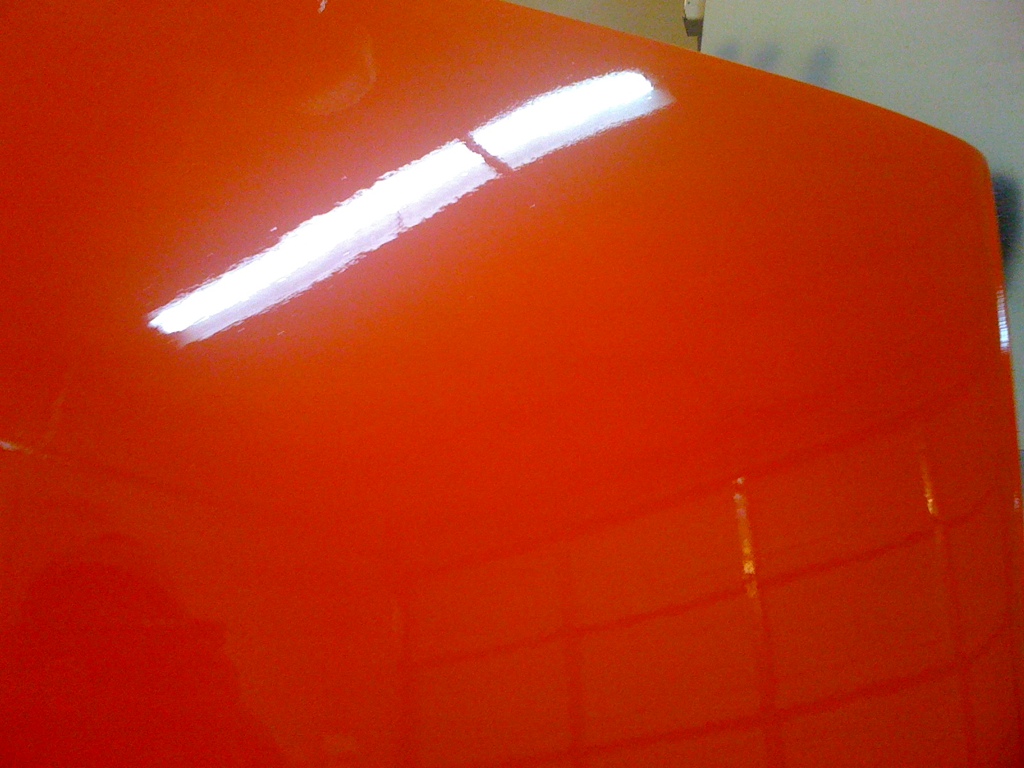
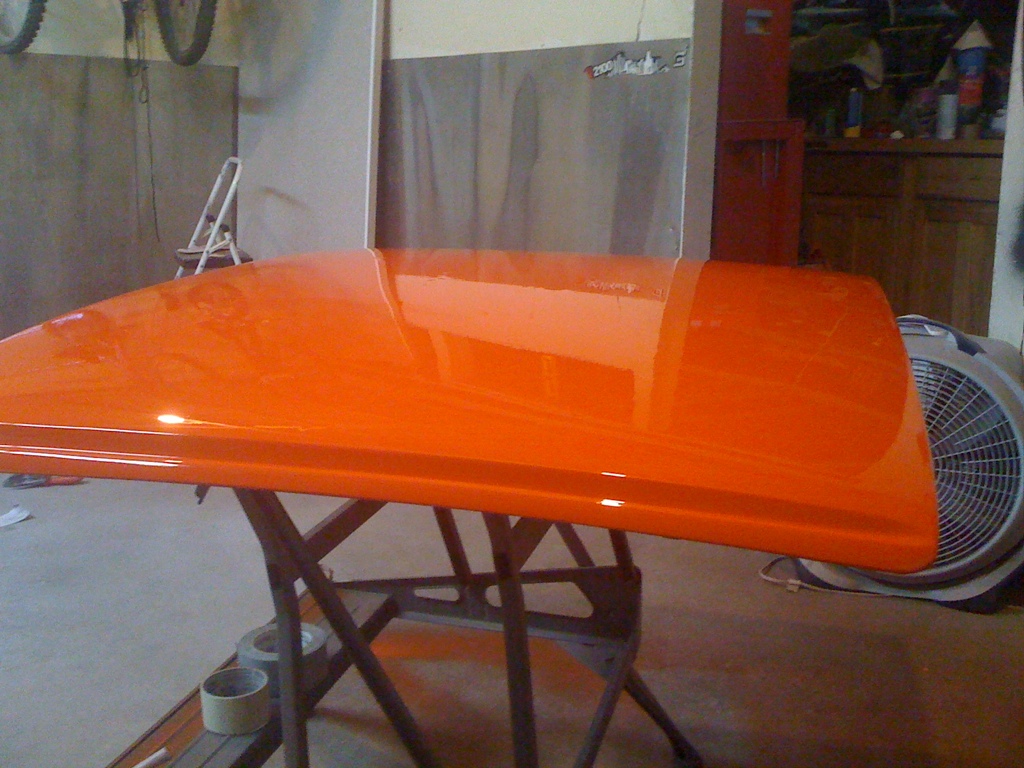
Anyways Here are some pics of this gorgeous color! I am really liking this paint from TCPGlobal. Its a bit thin, but it really has a nice shine for 110 bucks a gallon (with reducers and hardners).
One coat
Two coats
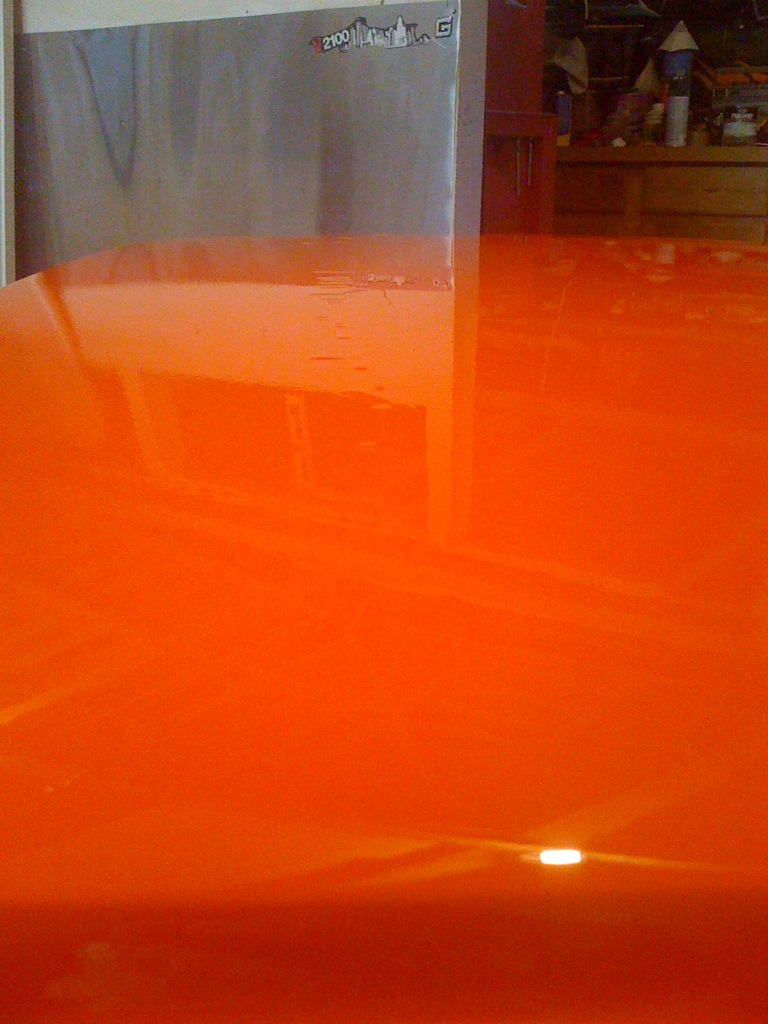
Shot of the runs
I will be sanding this down (I will practice wet sanding and buffing, then i'll sand it down to 400) and respraying it for more practice.
I did not prep the garage at all and so there is a bit of dust, but even worse there are a TON of bugs in the paint.... I did NOT have this issue with the Crown Vic. Granted it is night and I sprayed the crown vic around noon. The bugs came in about an hour after spraying, It didnt help that I let the paint dry horizontally...
I sprayed some orange!
Just as a preface, this was a test run. I had a lot more runs when I sprayed the crown vic last weekend than I wanted. So I went and practiced on the targa top this evening.
I went and sanded the top down to 320 and went ahead and sprayed it after degreasing it.
I spoke with my paint shop next door to my work and he said that he reduces the single stage only 10% even if it calls for 25% on the sheet. I went ahead and reduced it to about 17.5 as I wanted to actually get some practice laying the coats a little thinner so I could improve my technique. I sprayed the top almost completely vertical. First coat went on with no problem and no runs. Second coat I couldnt see very well and obviously overlapped more than I should have and caused runs. I believe I went to slow in the spraying of the paint as well.
Anyways Here are some pics of this gorgeous color! I am really liking this paint from TCPGlobal. Its a bit thin, but it really has a nice shine for 110 bucks a gallon (with reducers and hardners).
One coat
Two coats
Shot of the runs
I will be sanding this down (I will practice wet sanding and buffing, then i'll sand it down to 400) and respraying it for more practice.
I did not prep the garage at all and so there is a bit of dust, but even worse there are a TON of bugs in the paint.... I did NOT have this issue with the Crown Vic. Granted it is night and I sprayed the crown vic around noon. The bugs came in about an hour after spraying, It didnt help that I let the paint dry horizontally...
Andrew,
Great job in painting and preparation. It is nice that you are finally seeing the car completed as you dreamed when you started several years ago. I will definitely come by and see the car if available during June when we are on our way to Oregon. We are going to look at property, not the West Coast meet. We are going to go to the Parts Heaven Parts Swap on I believe the 5th. Getting rid of my extra parts left over from the car build.
Keep up the good work. Since you are painting your car, I think I will consider doing mine. Will be talking to you.
Again, Great Job.
Steve Hurt
Steve,
I will not be going to the parts heaven swap meet, unfortunately I have way to much going on this month and next in preparation for my GF's graduation and for a local car show (where I will be "unveiling" the car)
I've got a lot of thoughts on the DIY'er paint job.
I will not be going to the parts heaven swap meet, unfortunately I have way to much going on this month and next in preparation for my GF's graduation and for a local car show (where I will be "unveiling" the car)
I've got a lot of thoughts on the DIY'er paint job.
So.. I liked it so much on Wed that I decided to do it again!
I tried to do the setup that was told to me by my paint guy.
I sanded down to 220. I then primered it with primer sealer (This was epoxy primer/hardner.. And I reduced it with urethane reducer.. Again I bought the wrong primer...) On a fast reducer. Then 10 mins later I hit it with the first coat. I also only reduced the paint down 10% with medium reducer. I hated it, It was so thick and unworkable. Spray pattern was a lot worse this way as well. I think it layed out very dry. So on the next coats I added more reducer and the last coat I added even more reducer.
Here is another thing I noticed. With the light grey primer, I had full coverage in 2 coats. With the grey epoxy primer underneath, I didnt even get full coverage after 4 coats.
One thing I did notice is that most of the scratches were hidden. I think I thinned the epoxy primer to much so I didnt have the hide that I really could have had, but regardless. It was certainly a learning curve.
Less bugs this time as well, I shut the back door this time
Awesome job on painting! I wish i had the patience for painting. :\ Also the shaved targa sail looks very nice, i've been debating on doing that for our car as well to eliminate a bit of chrome from our car. Keep up the good work!
Great progress. Keep it up! 
3rd day in a row? Whats wrong with me?
Practiced thinner applications of the paint. Also used 25% reducer.
I did NOT go with the epoxy primer base. I noticed some tiny 'cuping' or little dents in the paint which i would think would be some chemical reaction, say vapors not releasing or so on the trunk. I will NOT be spraying the epoxy down as a base on the body. I am going to go over the primer I have for the chemical reaction reason and because it lays down VERY nice over the base. Great coverage.
Engine lid came out nice. I did very little work on this and it shows, couple of dents that I didnt notice it till final sanding (at which I had already told myself I was painting tonight).
Great job Andrew! Nice to see some color going on. In the past I've painted both ways over primer and over a sealer. It seamed that when I went over primer I had less issues because I was doing it in the garage too with all the bugs and dust. My biggest help was laying down some water on the concrete floor to keep the dust down and painting before the evening. Even with lights at night its nice to be able to see by natural light as your painting.
Can't wait to see it. Dave
Can't wait to see it. Dave
That is a great looking color.
You are getting a lot of good practice in, which seems like the only way to learn
to paint.
Can't wait to see the car reassembled.
John
Love the color. My first new car was a 1974 Dodge (Mitsubishi) Colt and I painted it orange and about the same shade as yours.
Andrew,
Are you painting today?
Are you painting today?
Dad came over and helped me quite a bit yesterday.
We were able to make the majority of the changes to the rear bumper. Cut slots in the top in order to curve the bumper more properly, cut relief slots in the license plate area as well. Spent about 2 hrs trimming the side to match the body somewhat, Still need to add some material (maybe...). I also need to mess with the piece below the flare to match the lines. I think i'll do that some today.
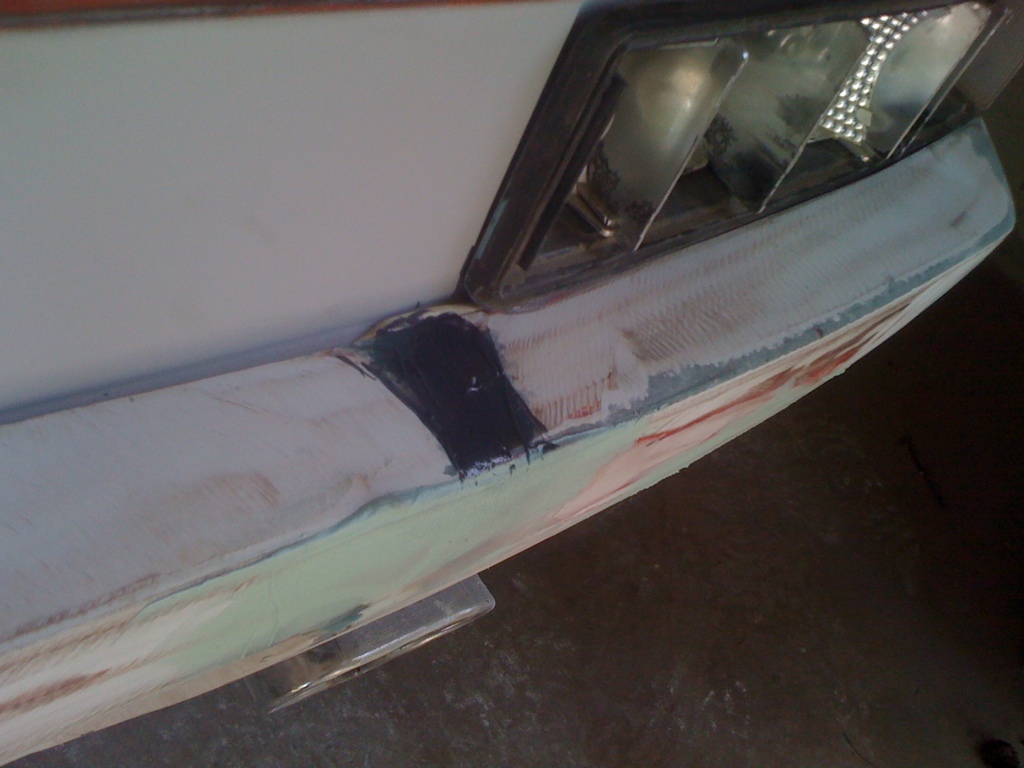
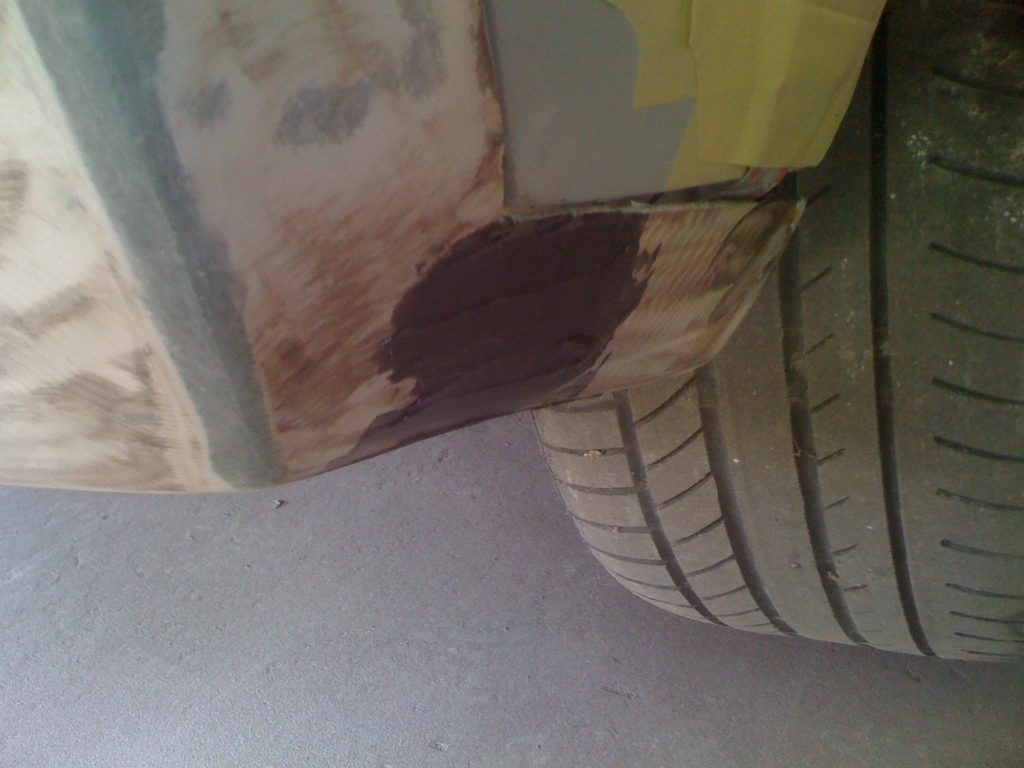
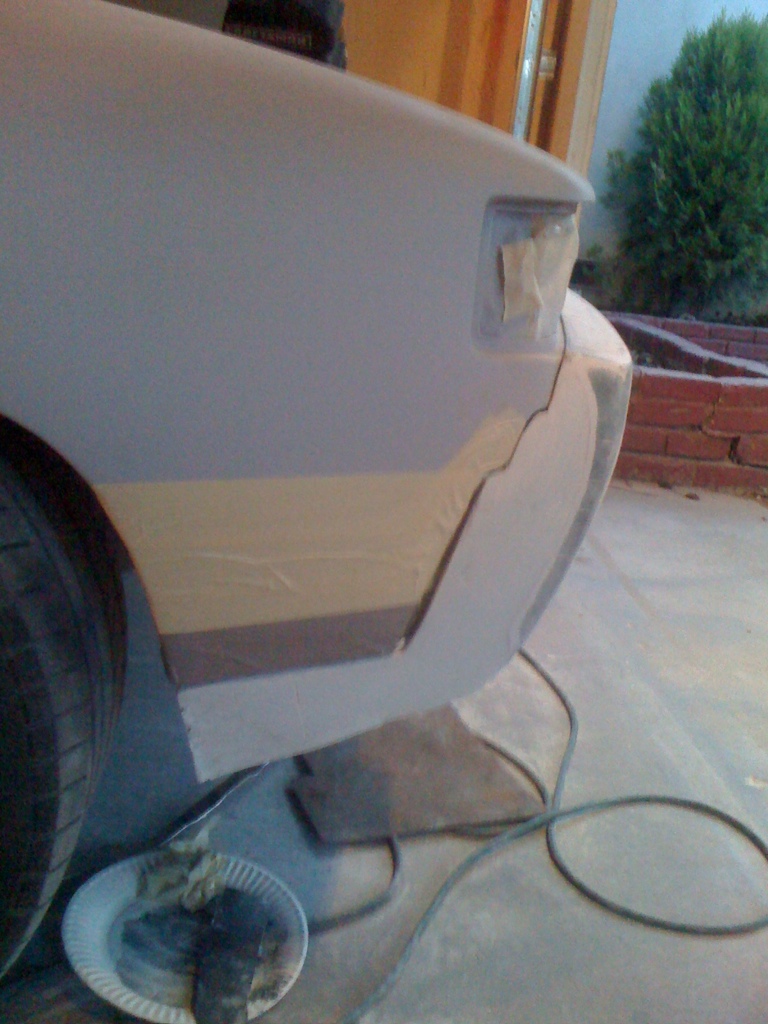
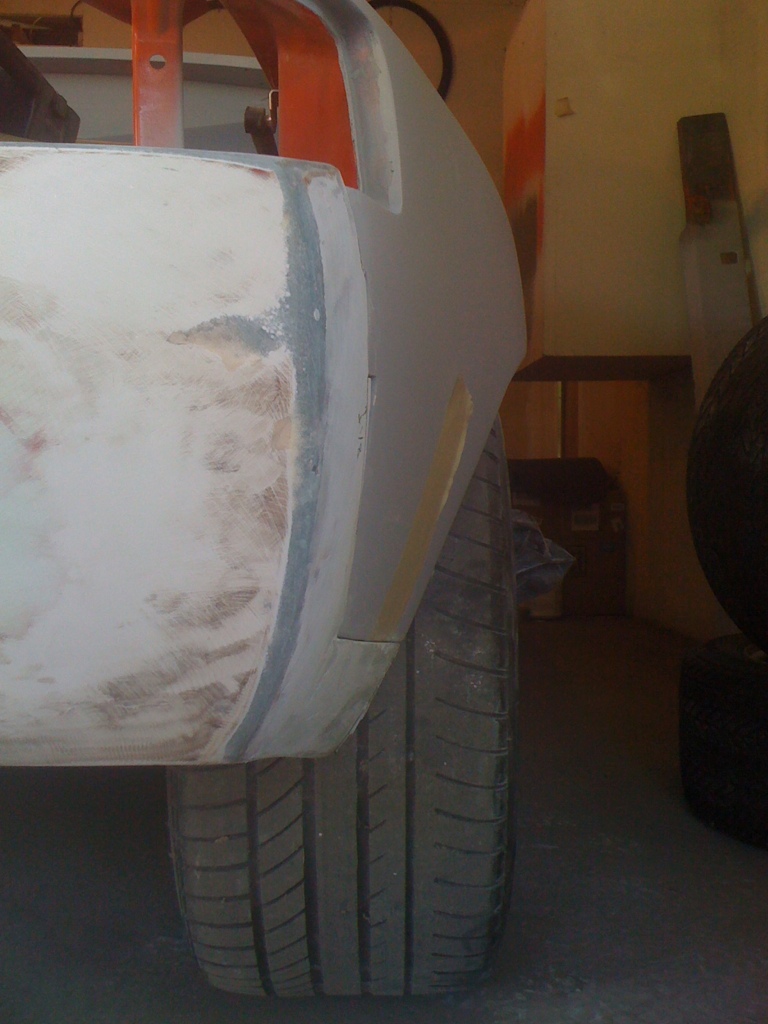
Sanded down the front bumper past 2 layers of paint and started getting it ready for filler.
Sanded the front trunk down and noticed that the area where the crest is was dented pretty bad. Hammered it up, and layed 1/4" of bondo and sanded it down, probably max 1/8" now. Layed some of the epoxy primer down. You can see now why I had such a hard time going over the epoxy with paint, it is SO much darker than the polyester primer.
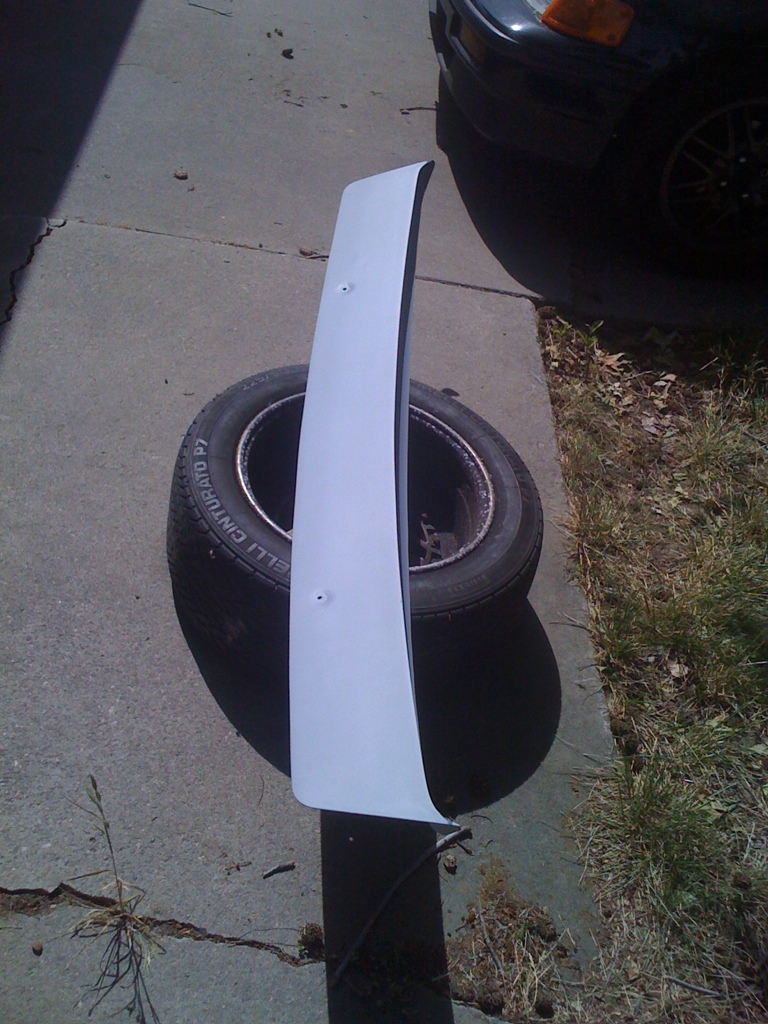
Also primered the front of the rear spoiler.
The front trunk and spoiler will be guide sanded down then primed over with grey primer, then sanded and painted.
I have set a DD for paint on the body for NEXT SUNDAY.
I have a lot to do in that time, but If its not then, its next month.. And I cant wait that long.
We were able to make the majority of the changes to the rear bumper. Cut slots in the top in order to curve the bumper more properly, cut relief slots in the license plate area as well. Spent about 2 hrs trimming the side to match the body somewhat, Still need to add some material (maybe...). I also need to mess with the piece below the flare to match the lines. I think i'll do that some today.
Sanded down the front bumper past 2 layers of paint and started getting it ready for filler.
Sanded the front trunk down and noticed that the area where the crest is was dented pretty bad. Hammered it up, and layed 1/4" of bondo and sanded it down, probably max 1/8" now. Layed some of the epoxy primer down. You can see now why I had such a hard time going over the epoxy with paint, it is SO much darker than the polyester primer.
Also primered the front of the rear spoiler.
The front trunk and spoiler will be guide sanded down then primed over with grey primer, then sanded and painted.
I have set a DD for paint on the body for NEXT SUNDAY.
I have a lot to do in that time, but If its not then, its next month.. And I cant wait that long.
QUOTE(arkitect @ May 8 2011, 07:53 AM)
Andrew,
Are you painting today?
No, I dont think im going to paint any today. Pretty sure im just going to work on the bumpers and hopefully get those done. Besides its mothers day so i'll be limited on time.
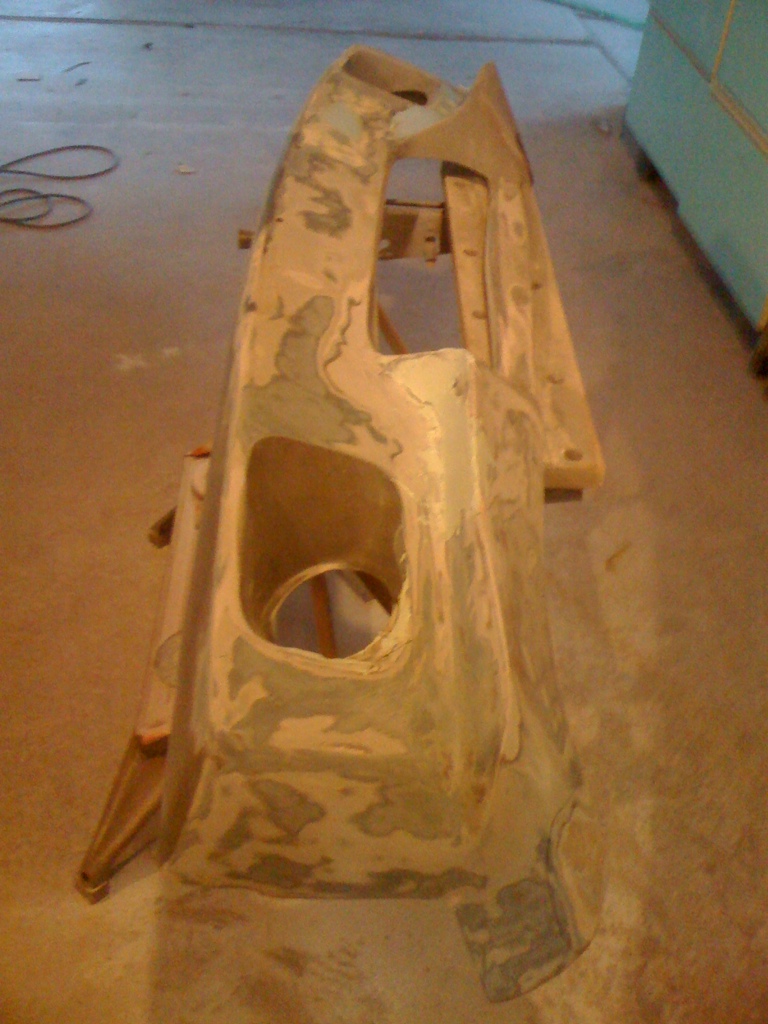
10 hrs on the bumper today.. Still not done. but it looks goooooooood
Pictures tell the story.

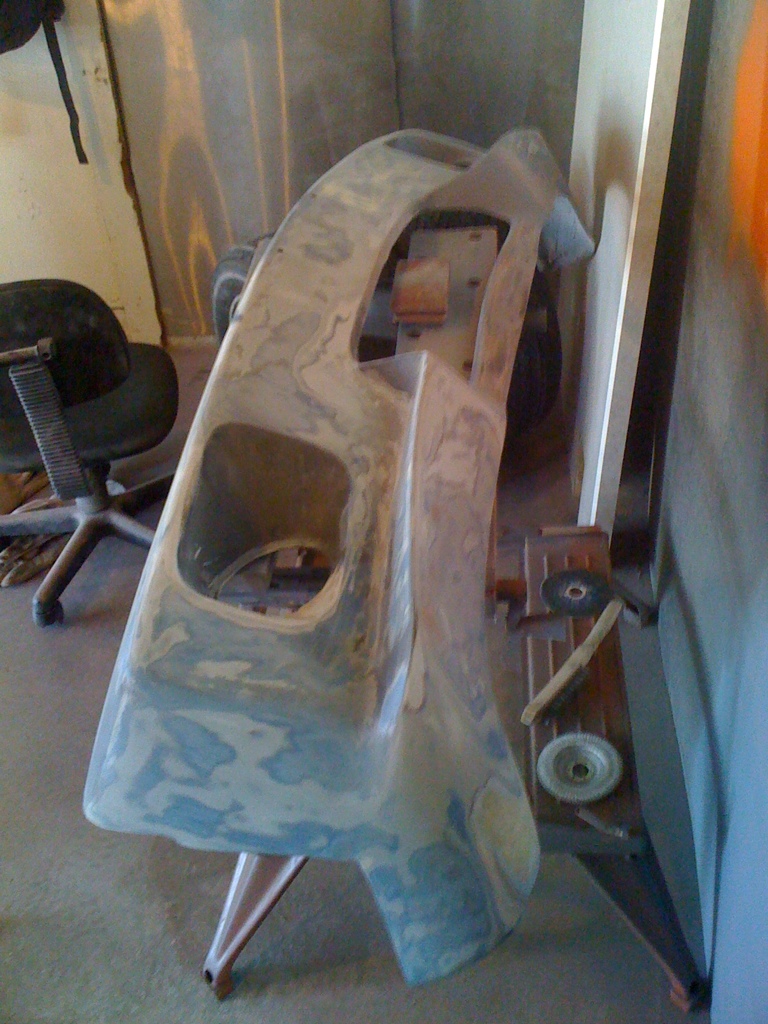
Used cardboard taped to te bumper to make my outline for what I need to add to the bumper. Used kitty hair on top of raw fiberglass
Let it dry, sand, multiple layers, ect.

Result from that. Then added multiple layers of bondo to get it just shaped right, used a hacksaw blade to determine where I needed to sand down to get it lined with the body. This is what took all thetime.

As you can see a lot of the sanding was in te raw fiberglass (Still not done.. ) to try and get the lines better a bit.
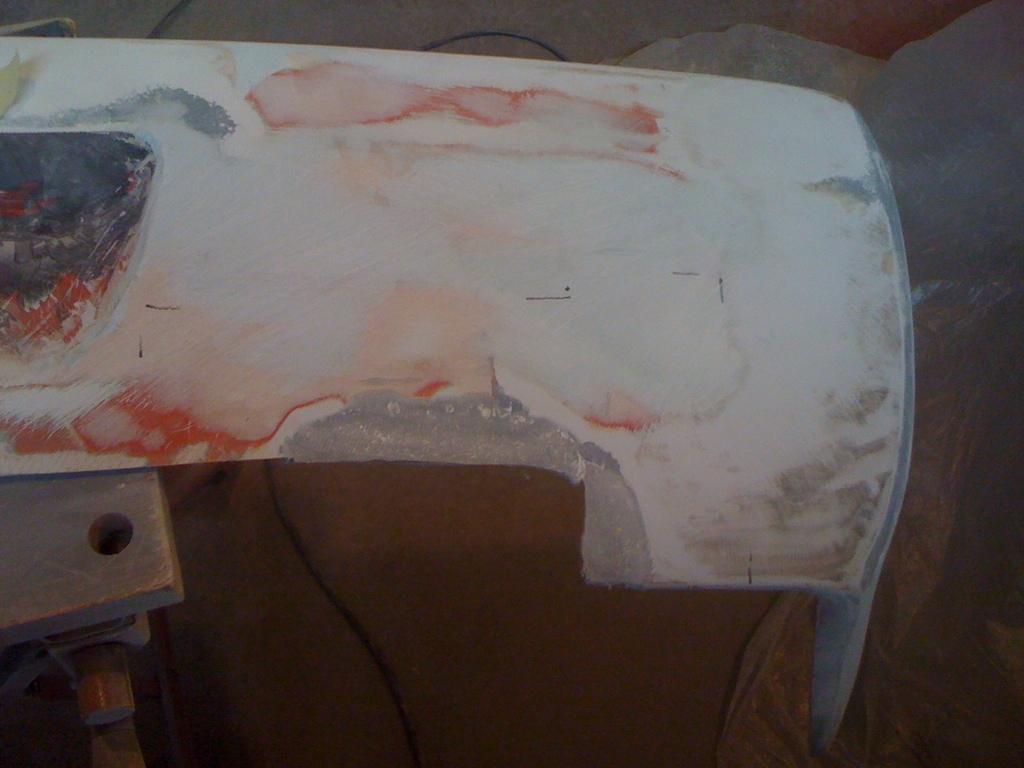
Trimmed this to fit, looks good up top.
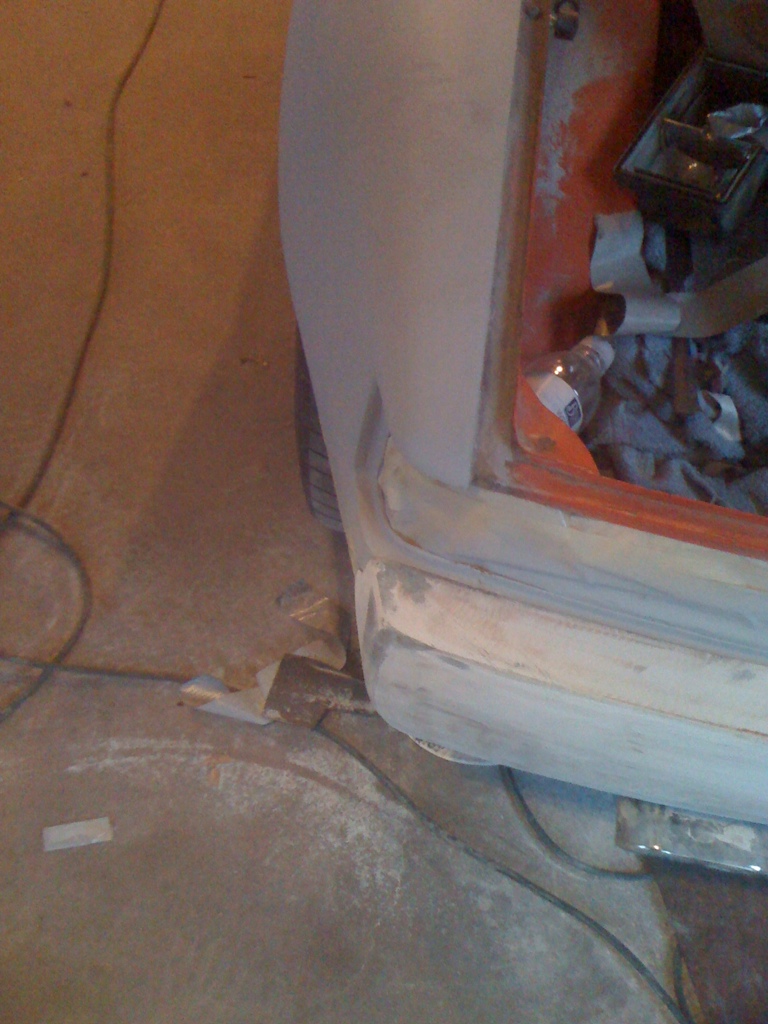
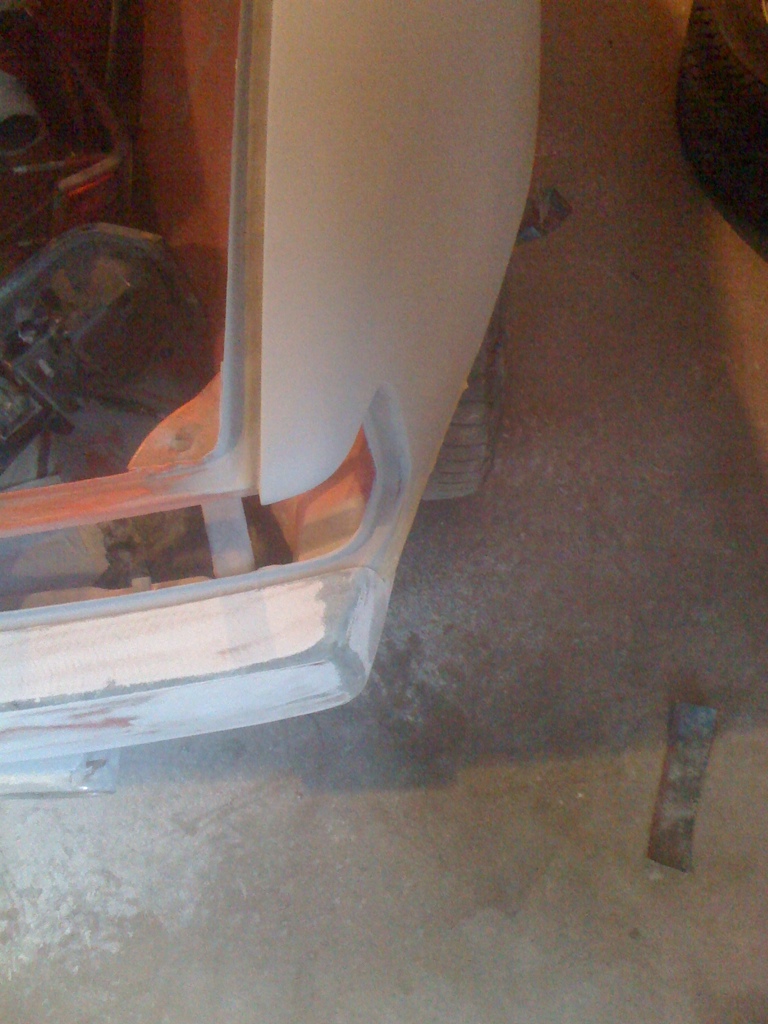
Where it sits now. Looks so damn good.
Got some work done on the front bumper as well.
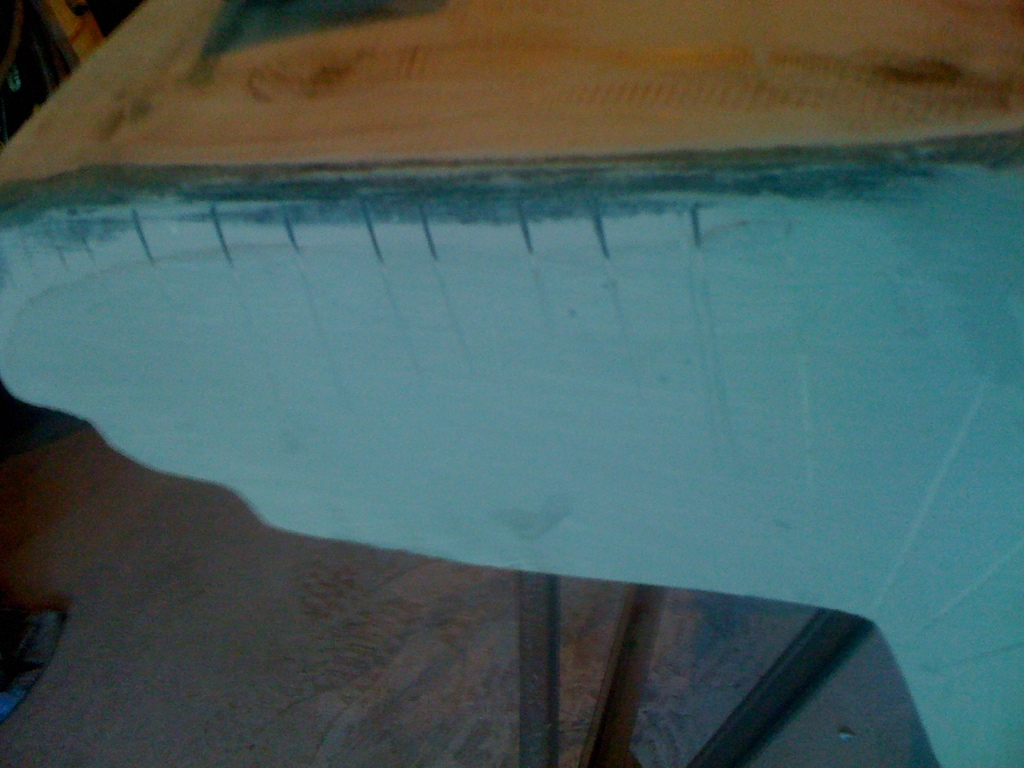
Not pictured. Sanded down the front trunk and primed it in 2 layers of light grey primer. Its nice and straight and ready for final sanding and paint.
I have a lot to do to prep for Sunday.. And I dont even have friday or saturday to work...
Pictures tell the story.
Used cardboard taped to te bumper to make my outline for what I need to add to the bumper. Used kitty hair on top of raw fiberglass
Let it dry, sand, multiple layers, ect.
Result from that. Then added multiple layers of bondo to get it just shaped right, used a hacksaw blade to determine where I needed to sand down to get it lined with the body. This is what took all thetime.
As you can see a lot of the sanding was in te raw fiberglass (Still not done.. ) to try and get the lines better a bit.
Trimmed this to fit, looks good up top.
Where it sits now. Looks so damn good.
Got some work done on the front bumper as well.
Not pictured. Sanded down the front trunk and primed it in 2 layers of light grey primer. Its nice and straight and ready for final sanding and paint.
I have a lot to do to prep for Sunday.. And I dont even have friday or saturday to work...
Andrew, your car is really shaping up. I can't believe the amount of hours you have poured into your car in the recent months...it's really starting to show. Hopefully this cooler spell lasts a bit longer...perfect for painting. We all know, we're one day away from the valley going to "hot as...." 
Planning to shoot this sunday.. Weather shows rain and 70 deg. I have mixed feelings about it.
And I got 3 hours in tonight.
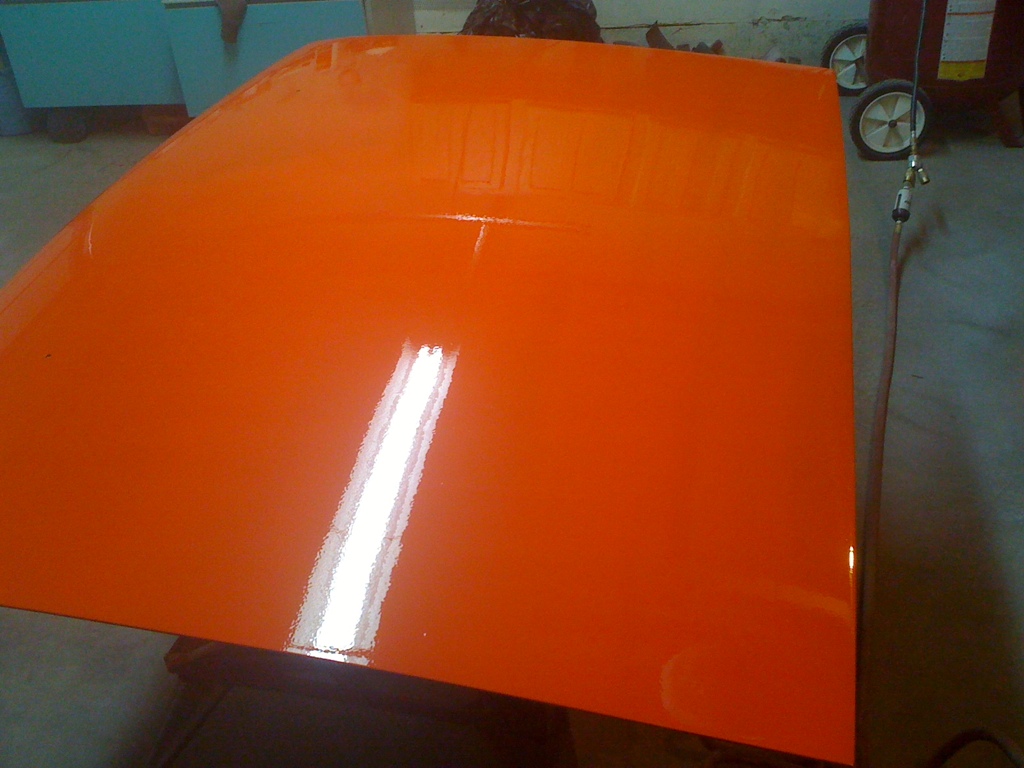
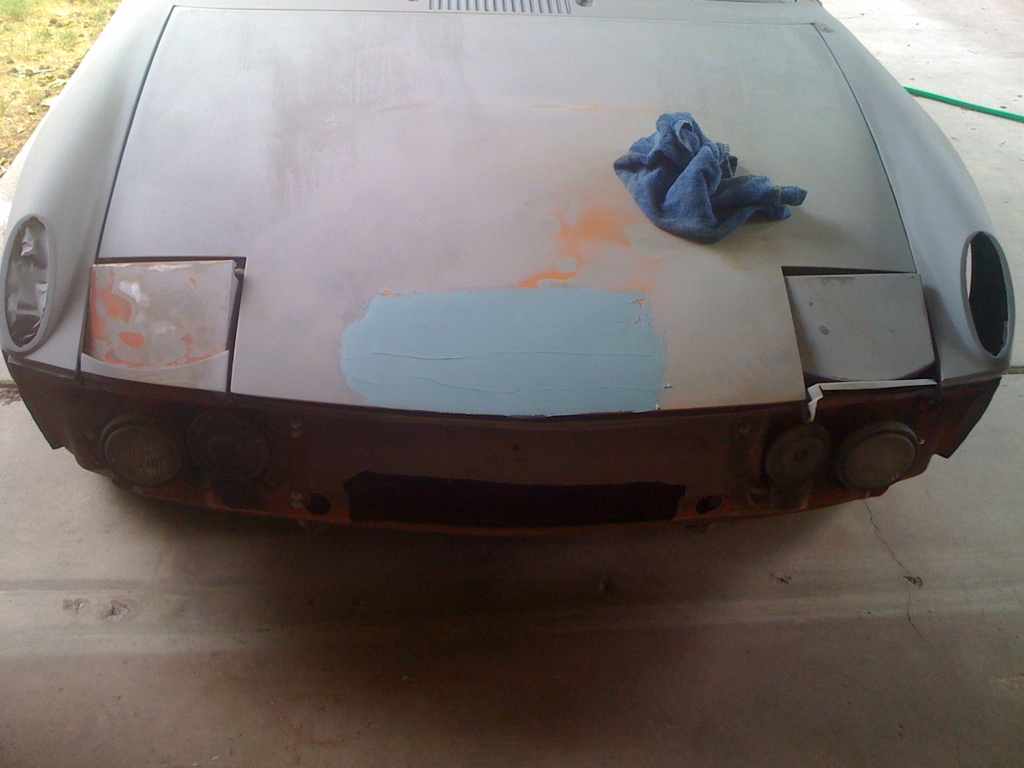
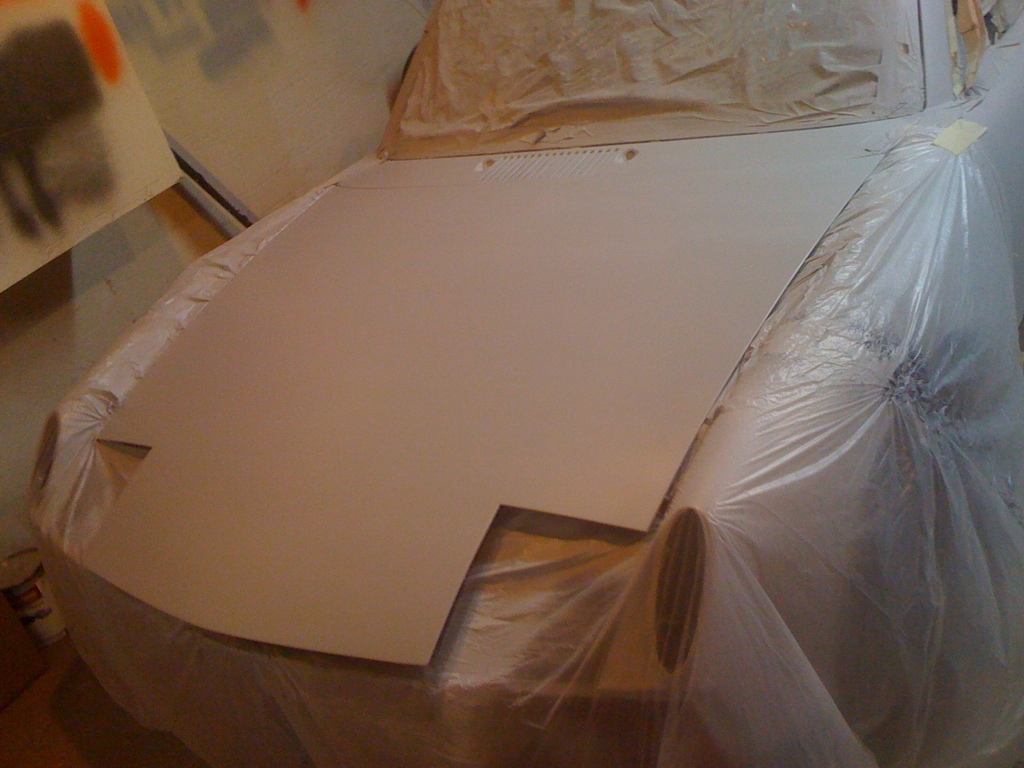
Heres a pic from last night. Hood.
Focused on the bumper.
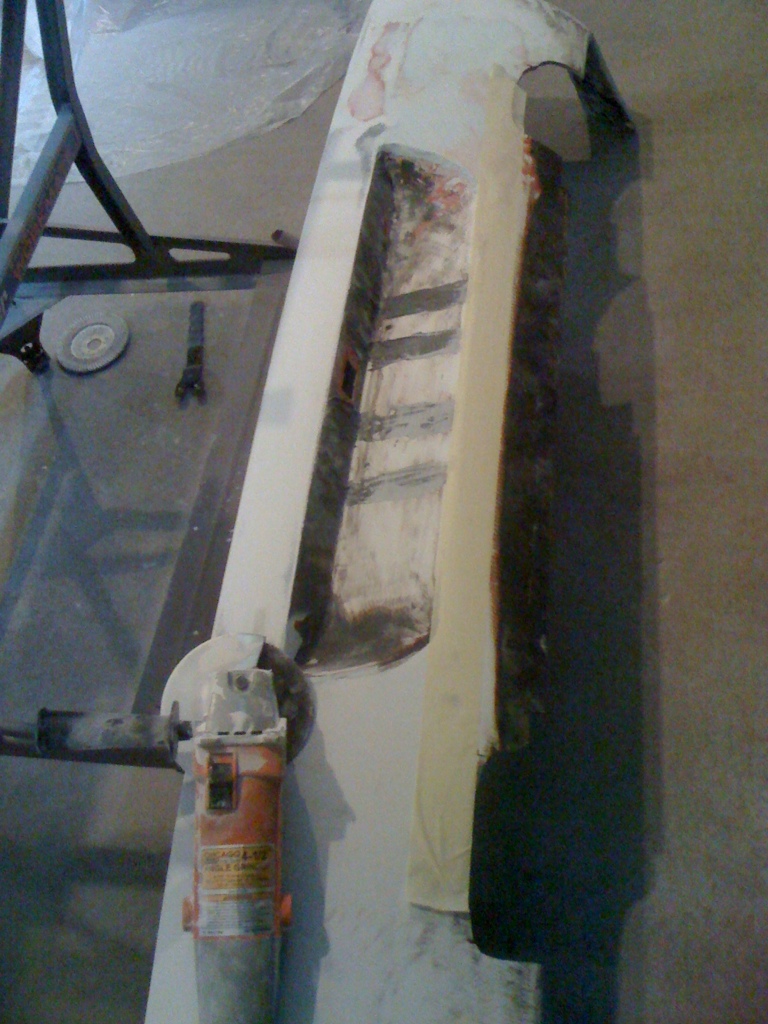
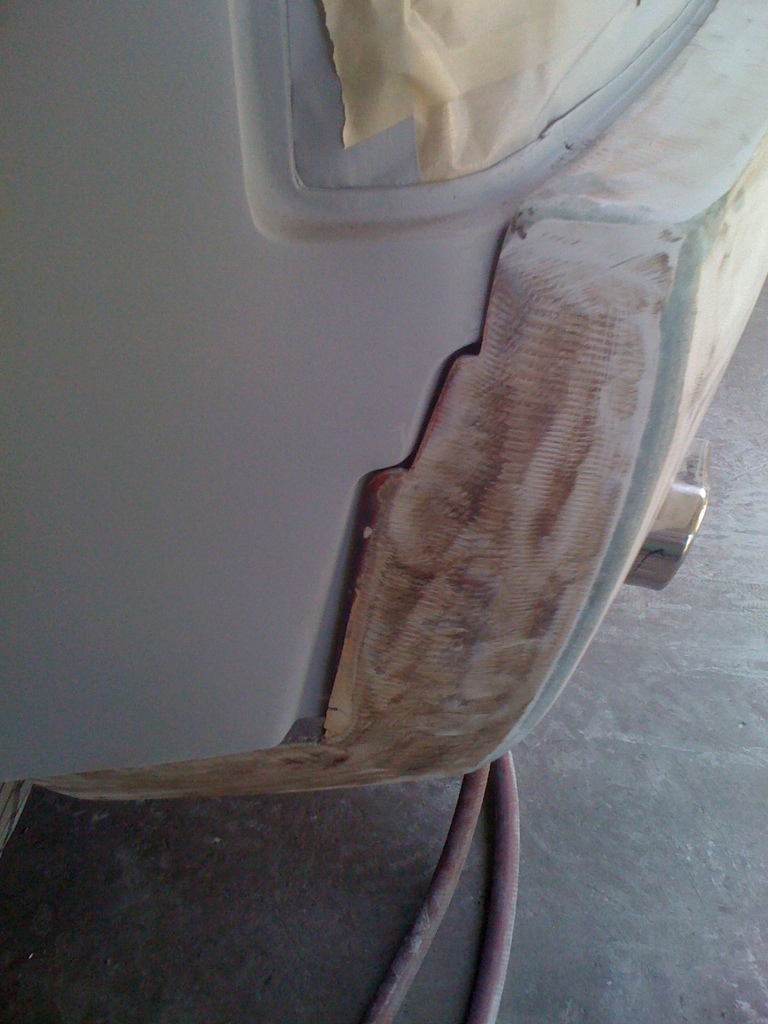
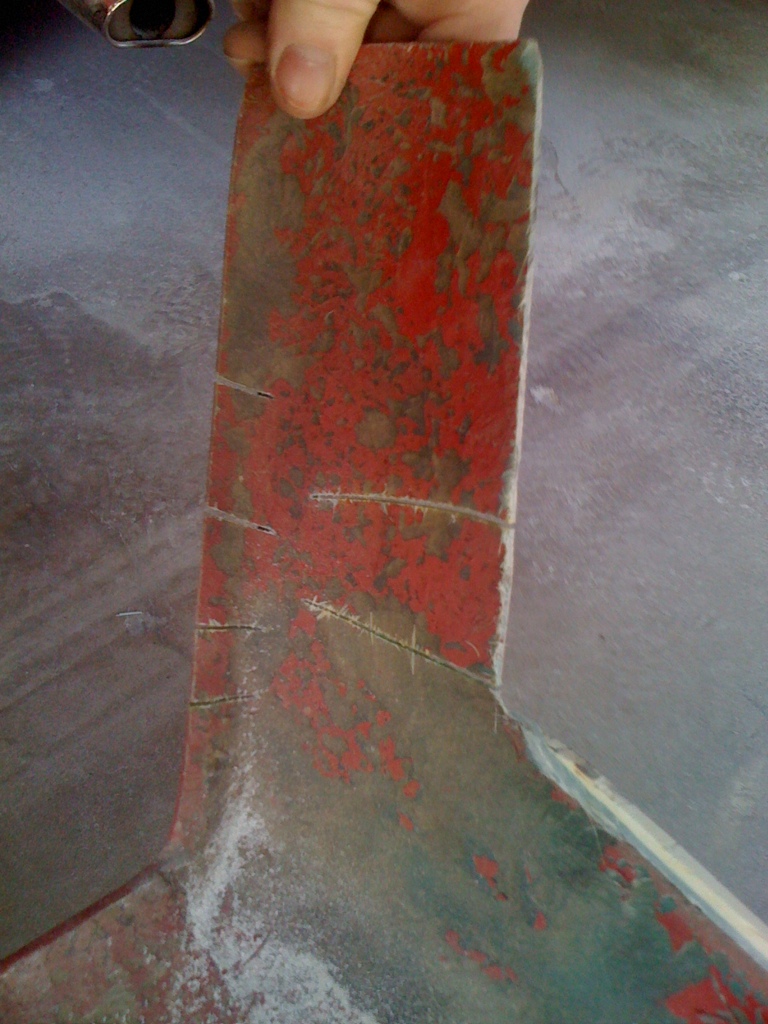
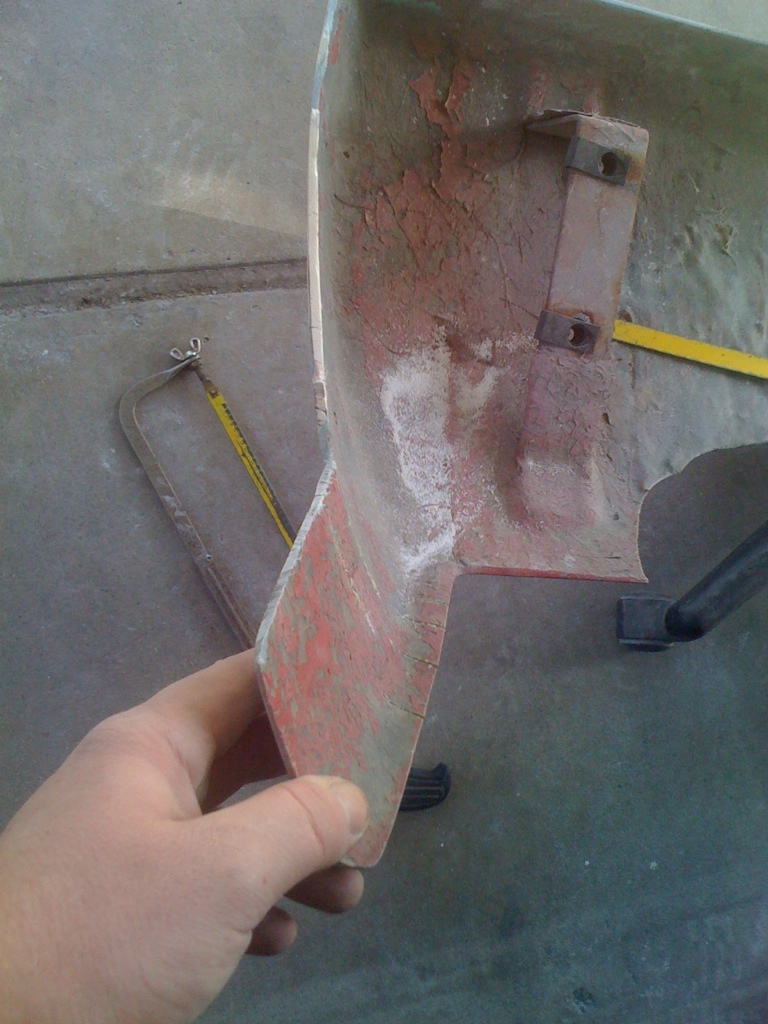
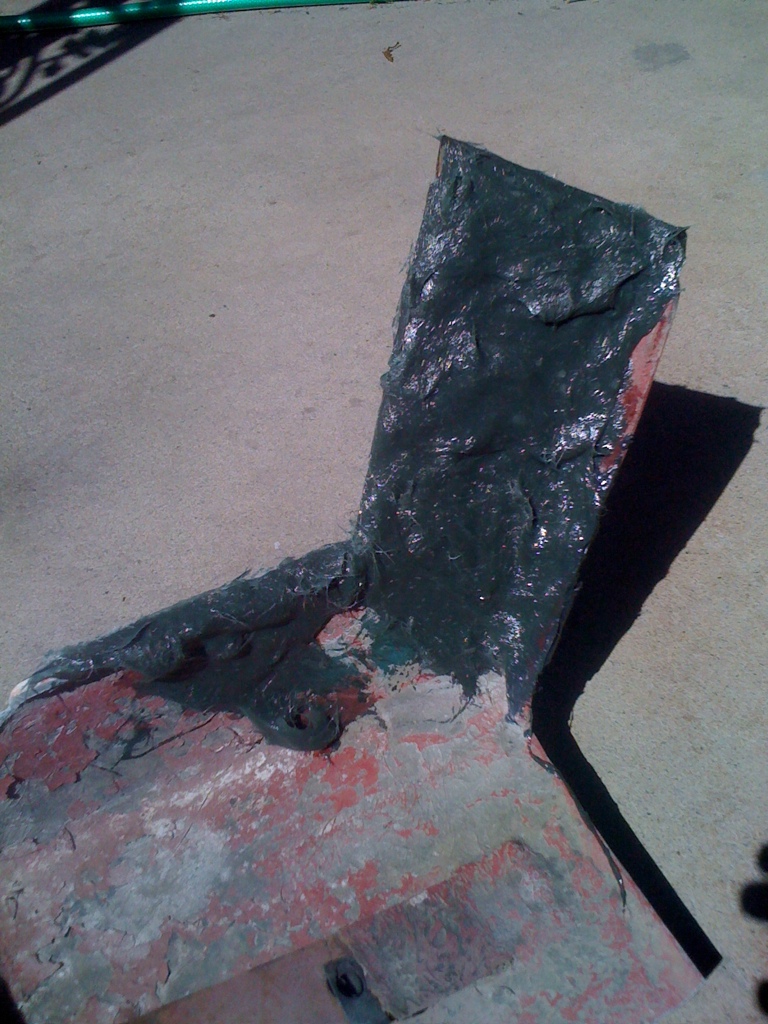
You can barely see the black area that im cutting off. Cutting this off for 1: design and 2. airflow. Thats a serious amount of lift on the rear end at over 100mph... I have plans for an underbody tray, I might do it someday..
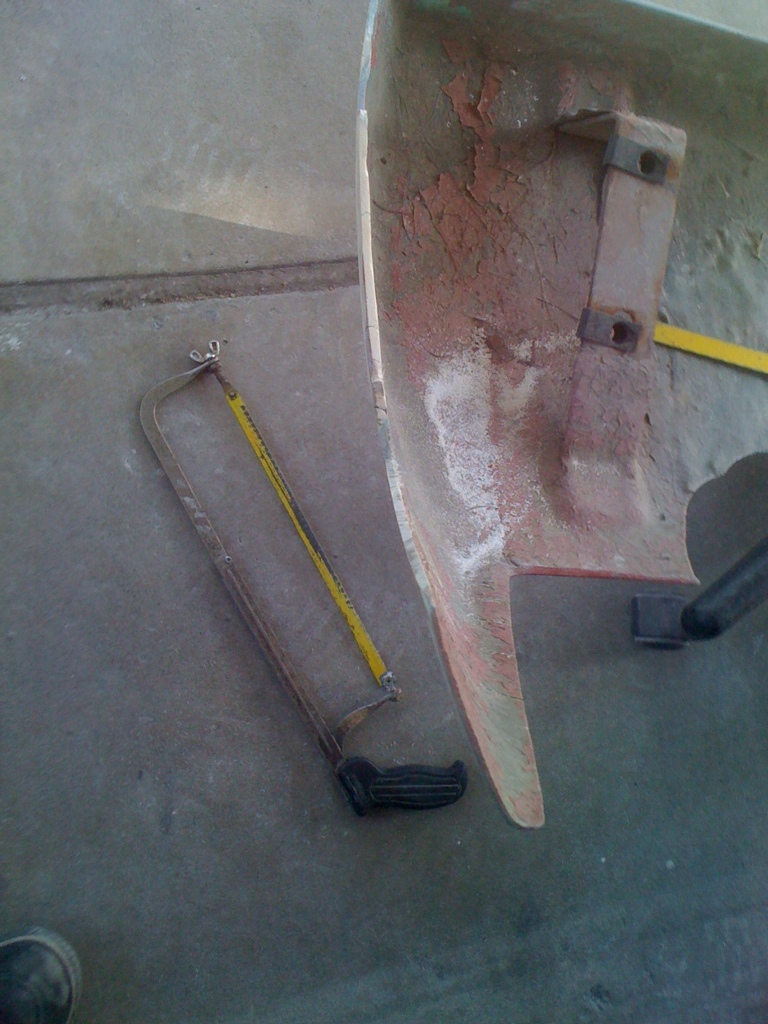
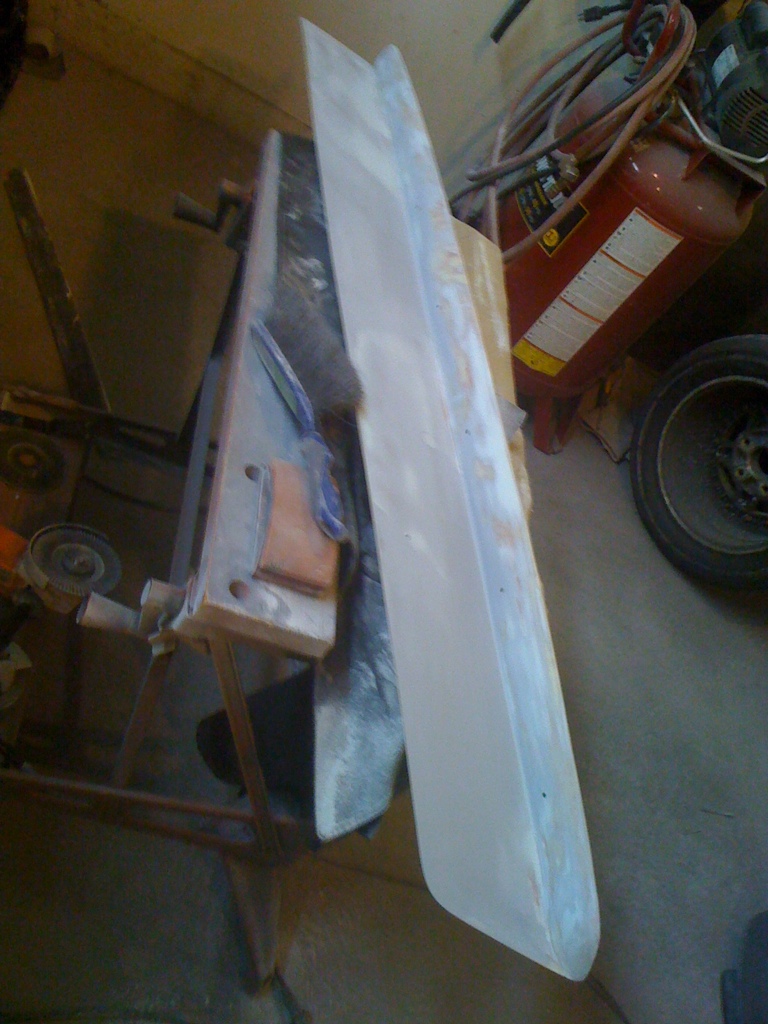
The piece cut off.
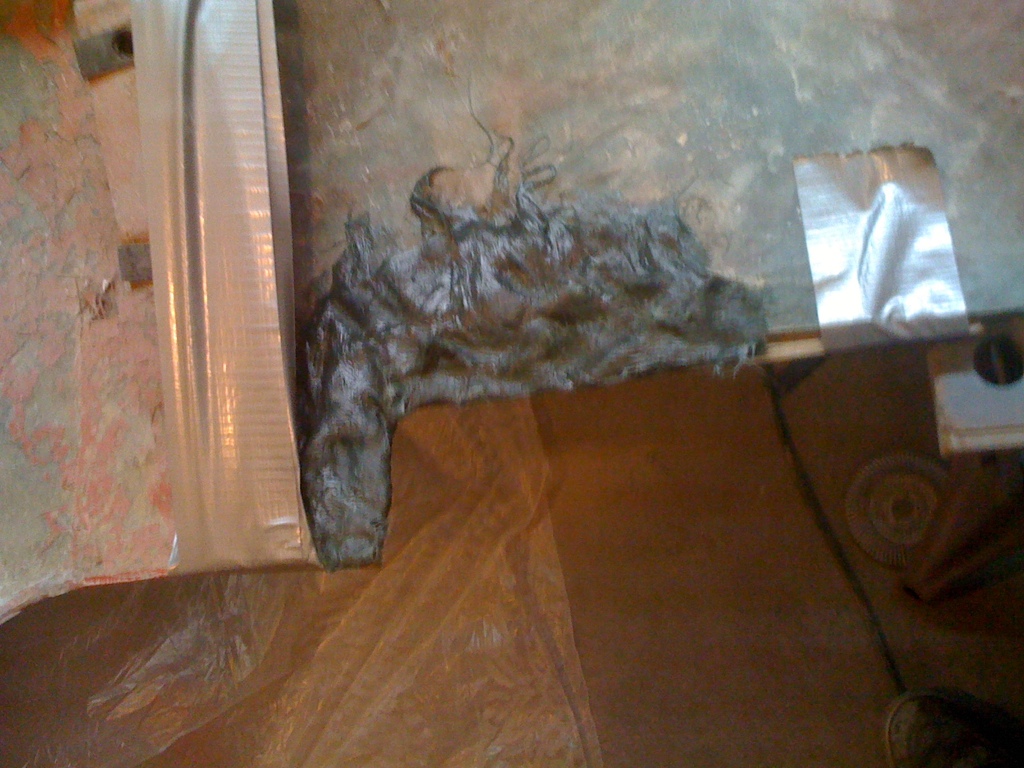
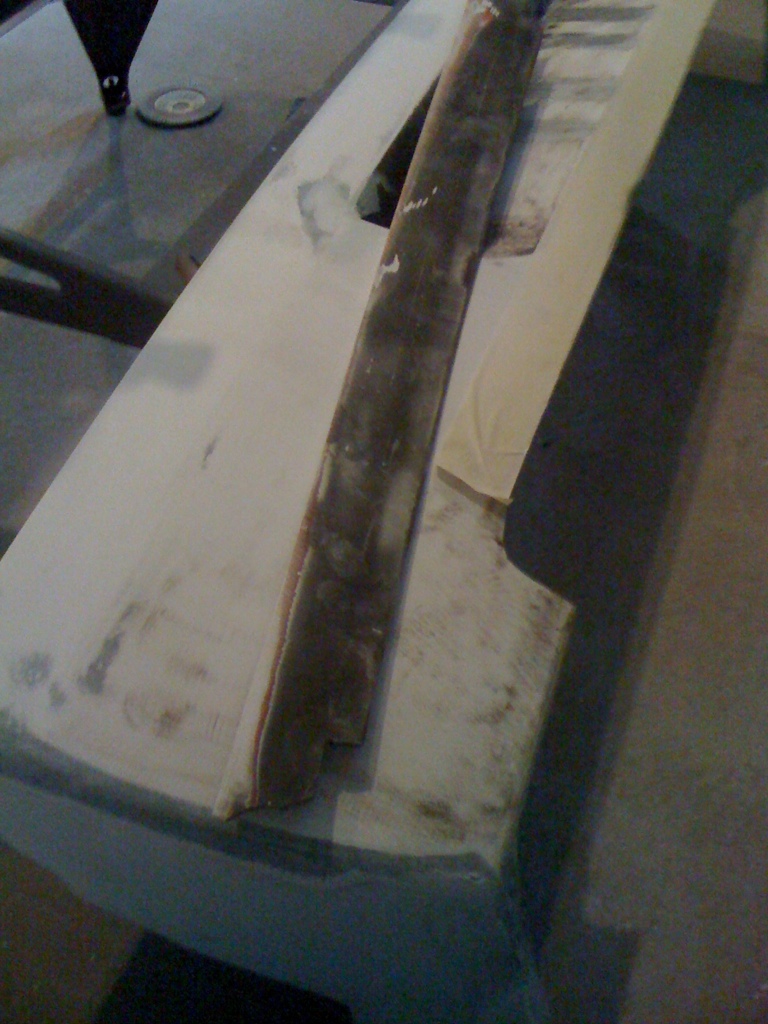
Good old kitty hair. Works really well for these kind of things (I HATE working with fiberglass and resin...). Ground flat with bumper with grinder..

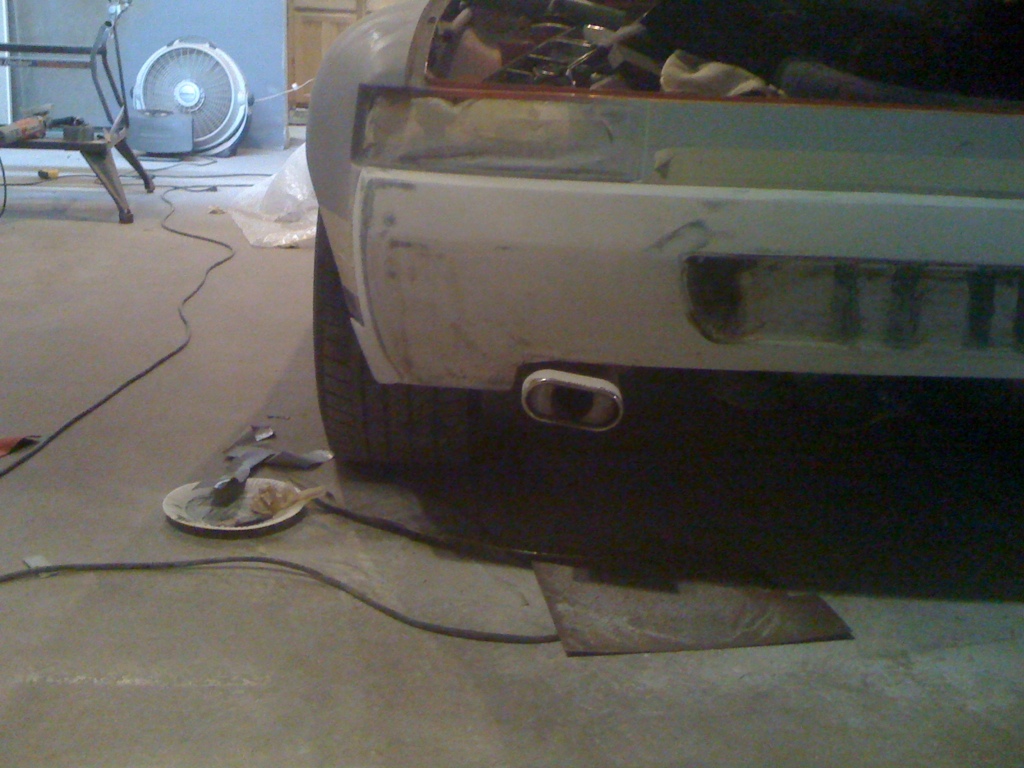
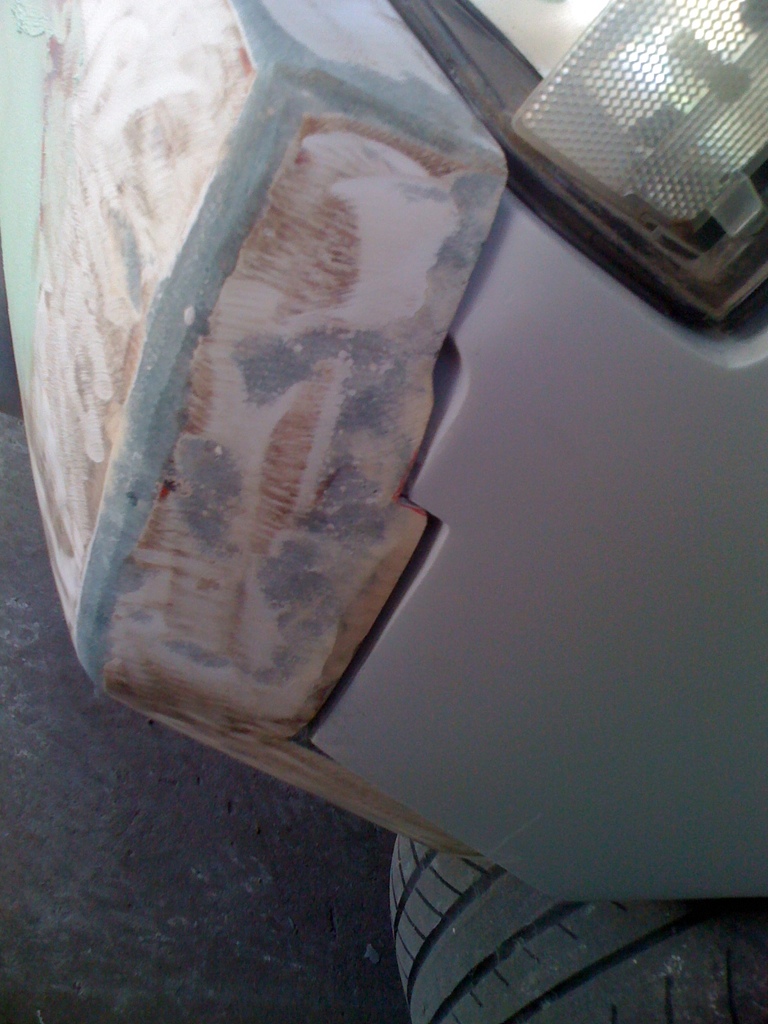
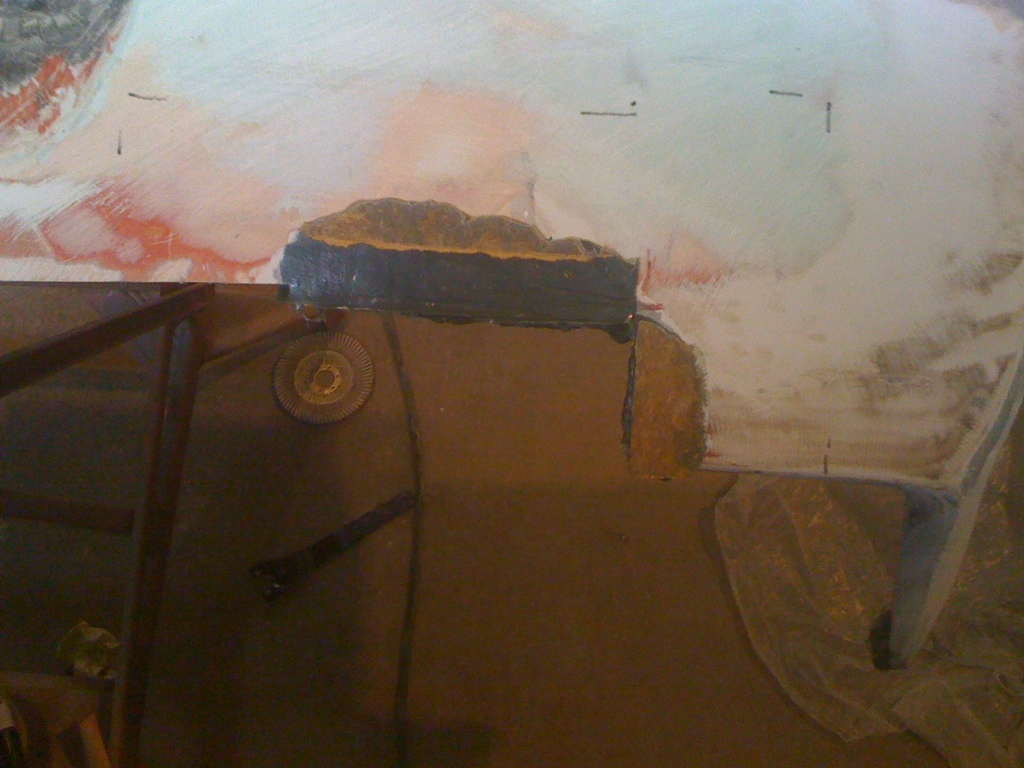
A bit of trimming done. Still a little more to do. Ignore the exhaust tips, they will get straightened later.
Filled pinholes and a couple of chips in the fiberglass. Sanded down (arg, I hate sanding..)
Thats all for tonight.. This stuff just takes to much time. Bumpers will not be sprayed with the body but I am OK with that. I can spray them any time.
Looking for 3 hours tomorrow... Tomorrow im going to start on sanding the body down to the 400 grit I need to paint over. Same on Wed. Thursday I start cleaning the garage for painting on Sunday as I dont have any time to work on anything on Friday and Saturday.
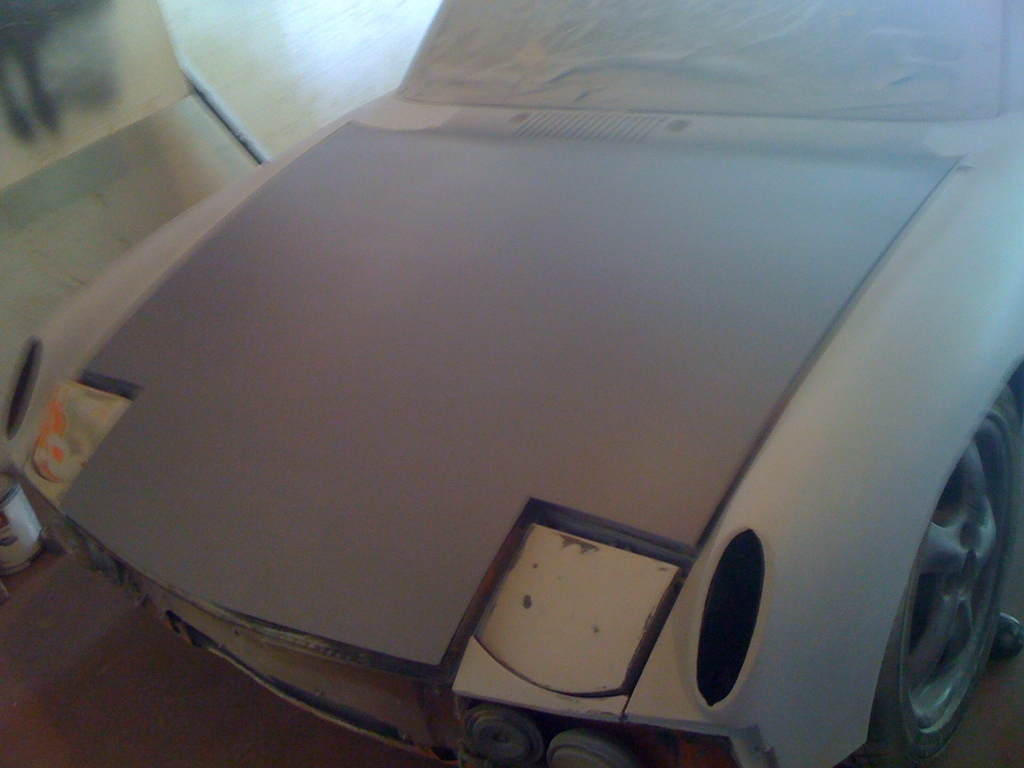
Heres a pic from last night. Hood.
Focused on the bumper.
You can barely see the black area that im cutting off. Cutting this off for 1: design and 2. airflow. Thats a serious amount of lift on the rear end at over 100mph... I have plans for an underbody tray, I might do it someday..
The piece cut off.
Good old kitty hair. Works really well for these kind of things (I HATE working with fiberglass and resin...). Ground flat with bumper with grinder..
A bit of trimming done. Still a little more to do. Ignore the exhaust tips, they will get straightened later.
Filled pinholes and a couple of chips in the fiberglass. Sanded down (arg, I hate sanding..)
Thats all for tonight.. This stuff just takes to much time. Bumpers will not be sprayed with the body but I am OK with that. I can spray them any time.
Looking for 3 hours tomorrow... Tomorrow im going to start on sanding the body down to the 400 grit I need to paint over. Same on Wed. Thursday I start cleaning the garage for painting on Sunday as I dont have any time to work on anything on Friday and Saturday.
Bumper is looking great Andrew, gonna be beautiful.
This is a "lo-fi" version of our main content. To view the full version with more information, formatting and images, please click here.