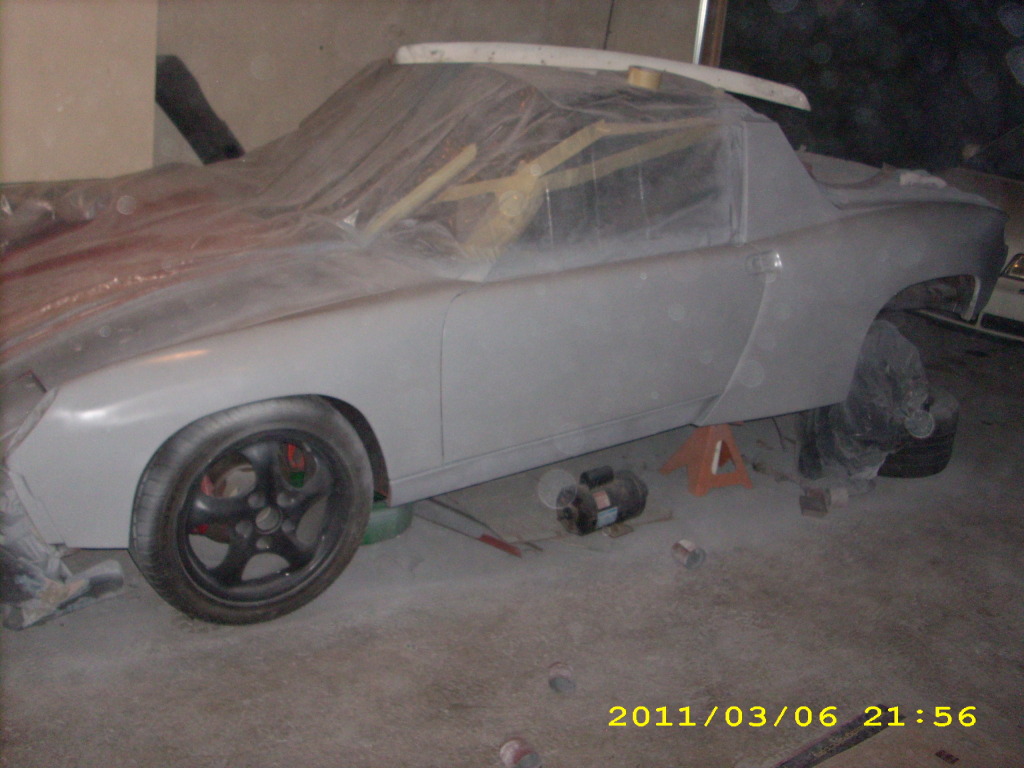
Well the biggest problem is this car can actually USE the spoiler.. Without a spoiler the rear end gets REALLY unstable at speeds much over 100mph. I've been at 145 with just the small ducktail spoiler and that was just a bit scary.. This spoiler is a larger spoiler and should have better downforce at lower speeds. I was also considering the "vortex generators" on one of my spare tops, which should help get wind to the spoiler.
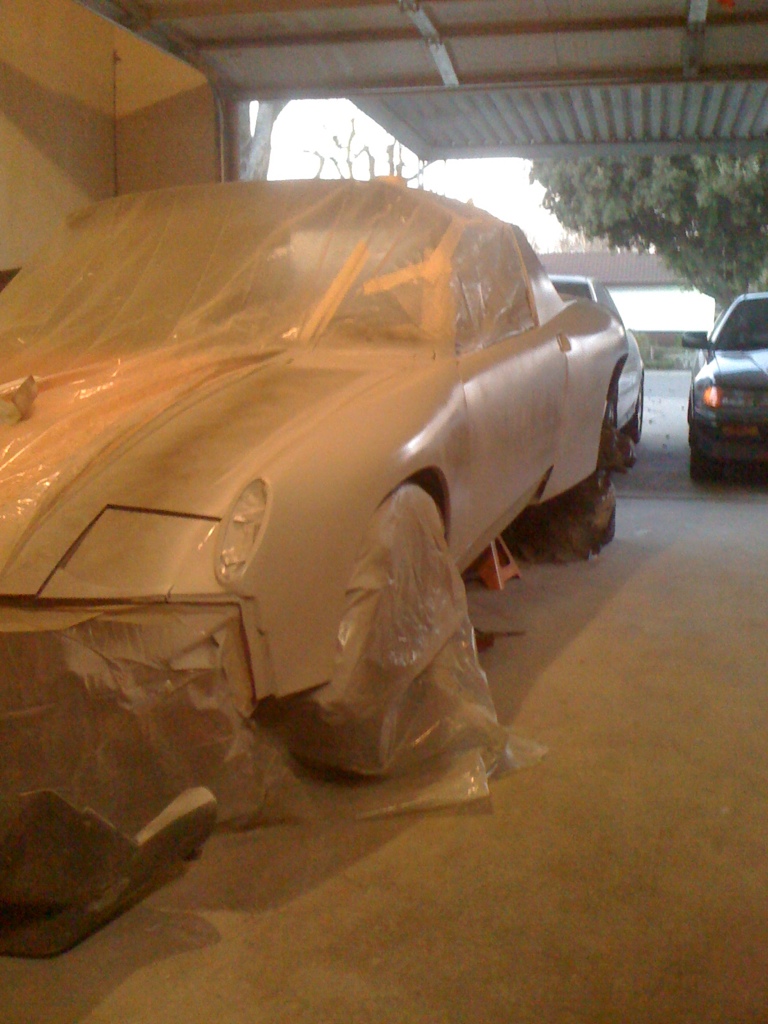
I think i'll just get another trunk as a spare and have it flush... For now i'll paint this hood with the spoiler.
Full Version: Andyrews Progress Thread
It's good to see the progress you're making. I personally enjoy the body work more than the mechanical work. I'm looking forward to starting my next project. You are inspiring me.
Keep it up, it's looking great.
Keep it up, it's looking great.
Andrew,
If you ever want to tow your car down here I'll be glad to give up a Sat or Sunday and help you. I have a 60 gallon compressor, DA, simple air tools, air block & hammer body tools...nothing special but works. I only have a cheapo HF wire fed...not worth the trouble.
Looking great...you are definitely motivated.
Not many lunatics have the urge to modify the targa bar.....but I'm one. 
Here is an old thread with my run at it mixed in.....there are a few items covered in it. I don't think it made the car any faster.......
http://forums.pelicanparts.com/porsche-aut...-we-got-em.html
Here is an old thread with my run at it mixed in.....there are a few items covered in it. I don't think it made the car any faster.......
http://forums.pelicanparts.com/porsche-aut...-we-got-em.html
Spoiler?.....yeah, that's the ticket.
If a little is good, max per rules is better.
If a little is good, max per rules is better.
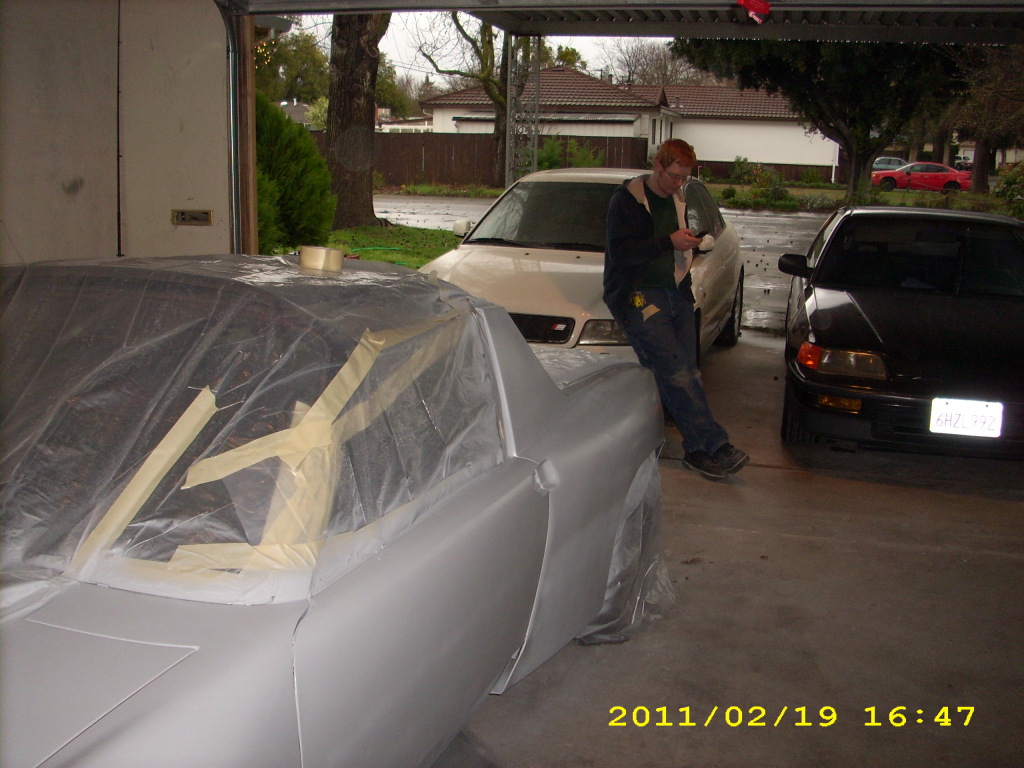
I'll update this thread tomorrow. Not much to post but the pics will be uploaded to the Photobucket account if you want a sneak peak.
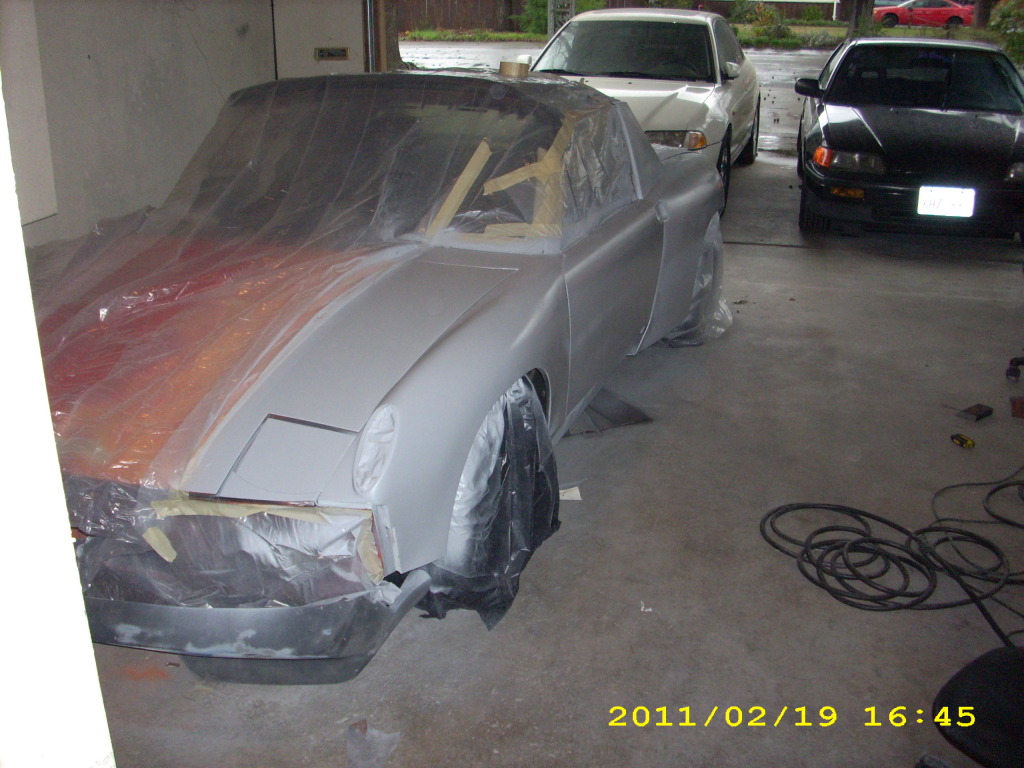
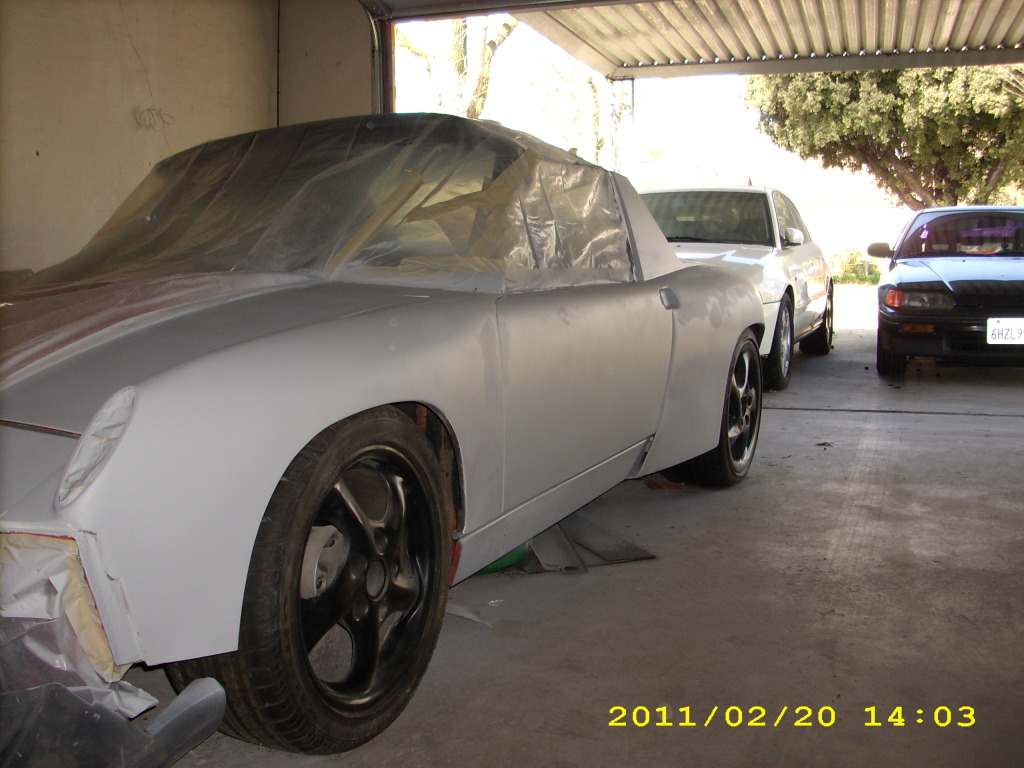
Vday weekend I didnt do much like I said.
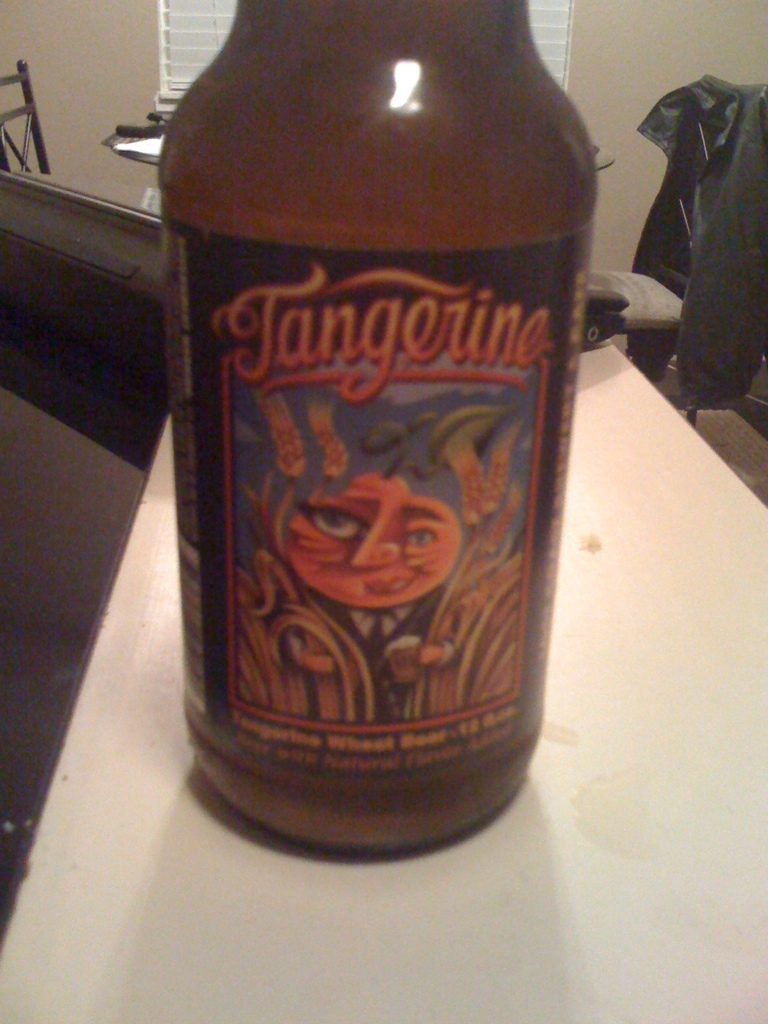
Started off with my new favorite beer.
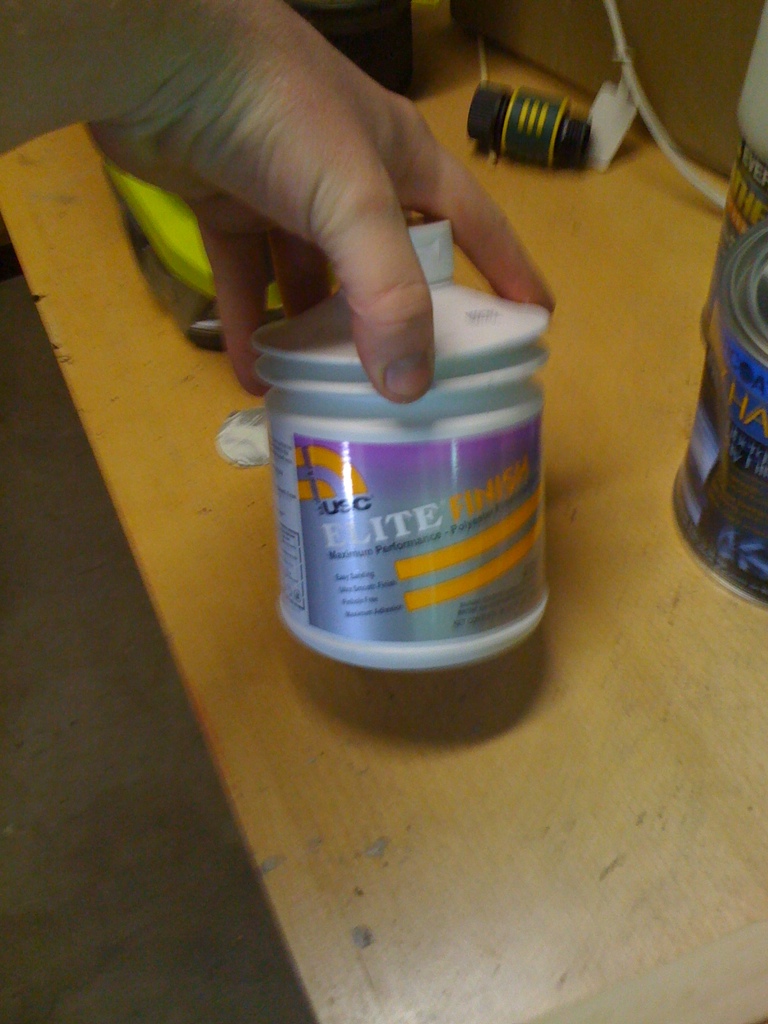
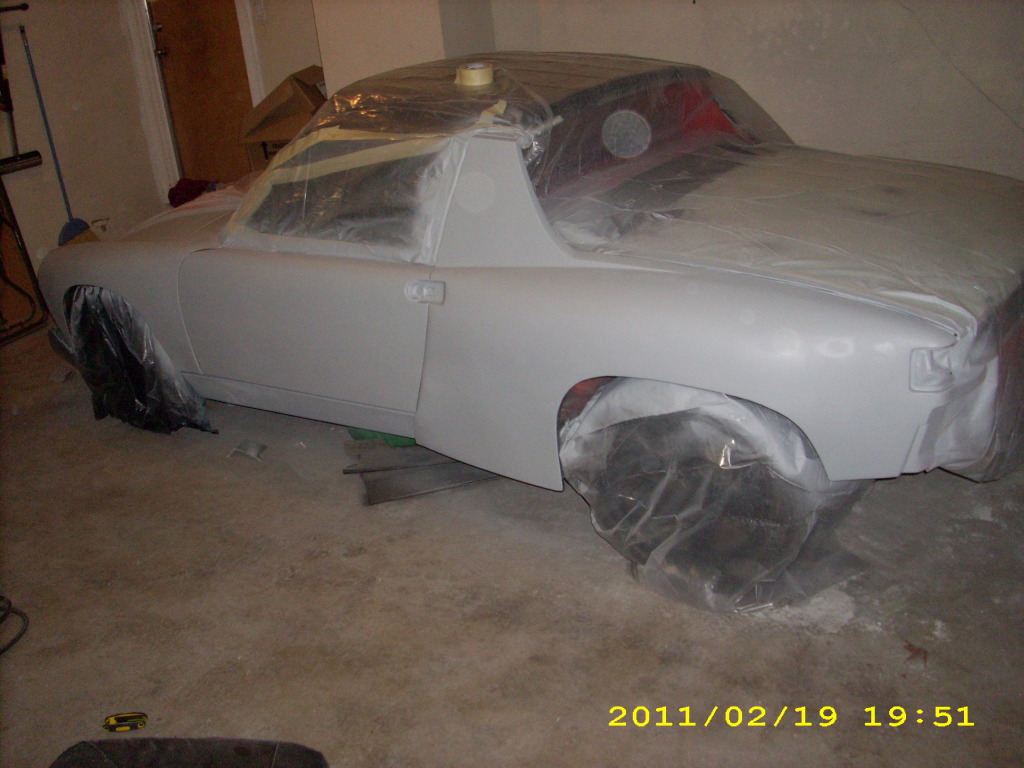
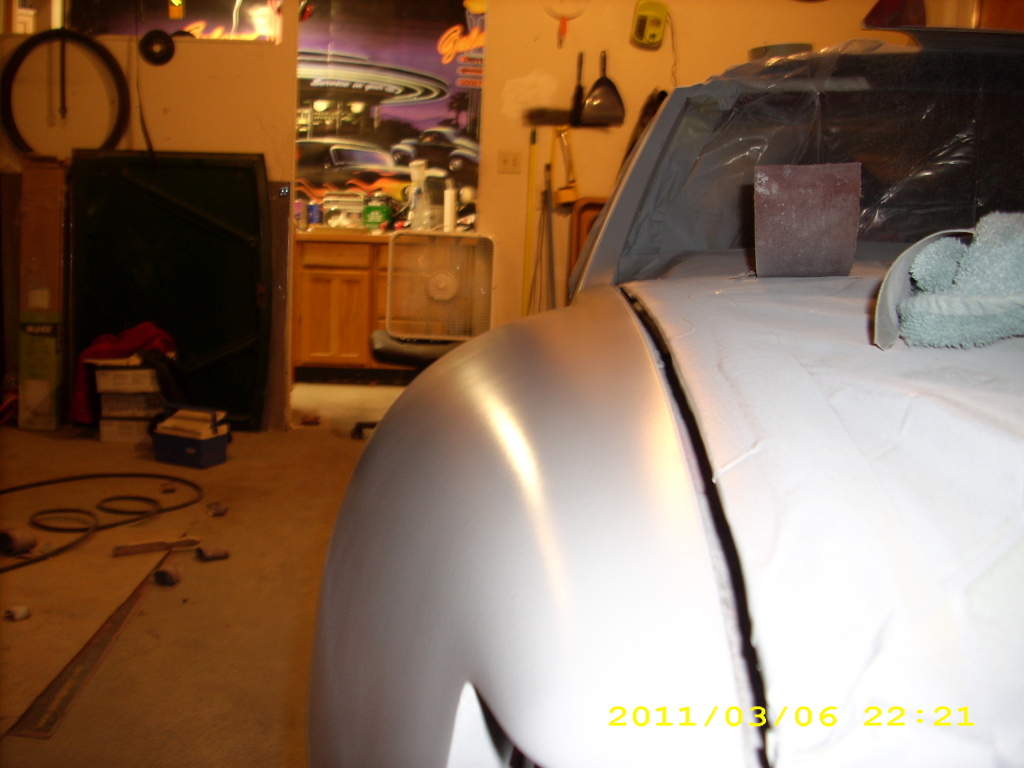
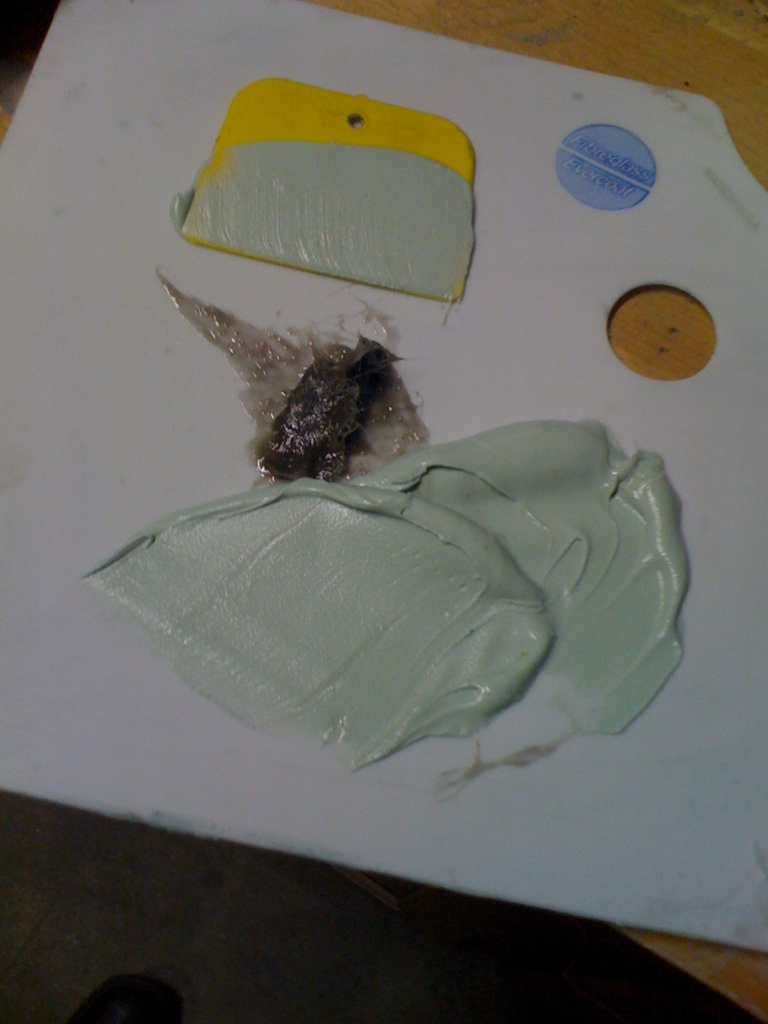
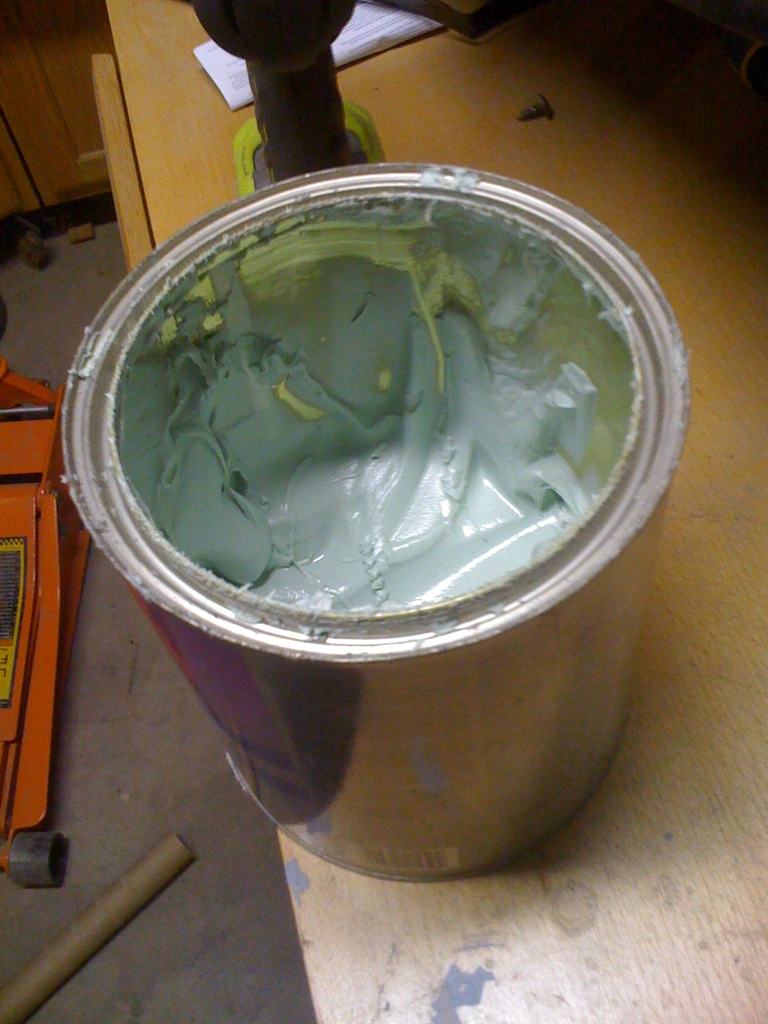
Friday I picked up some glazing puddy and some grey primer filler(not pictured)
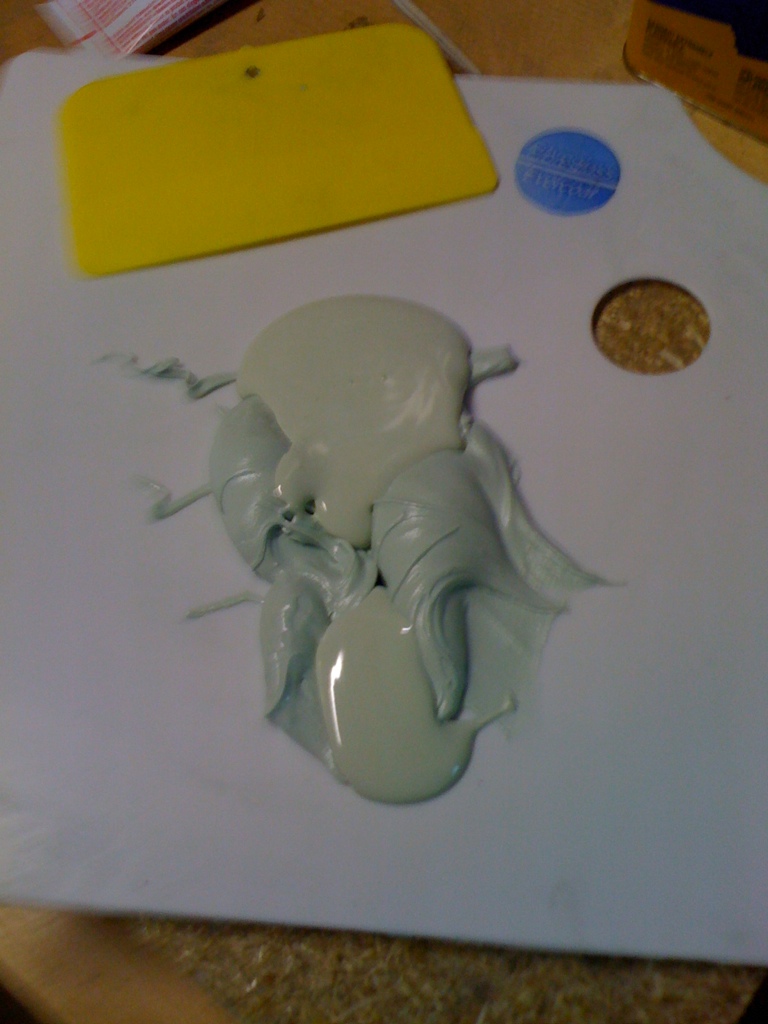
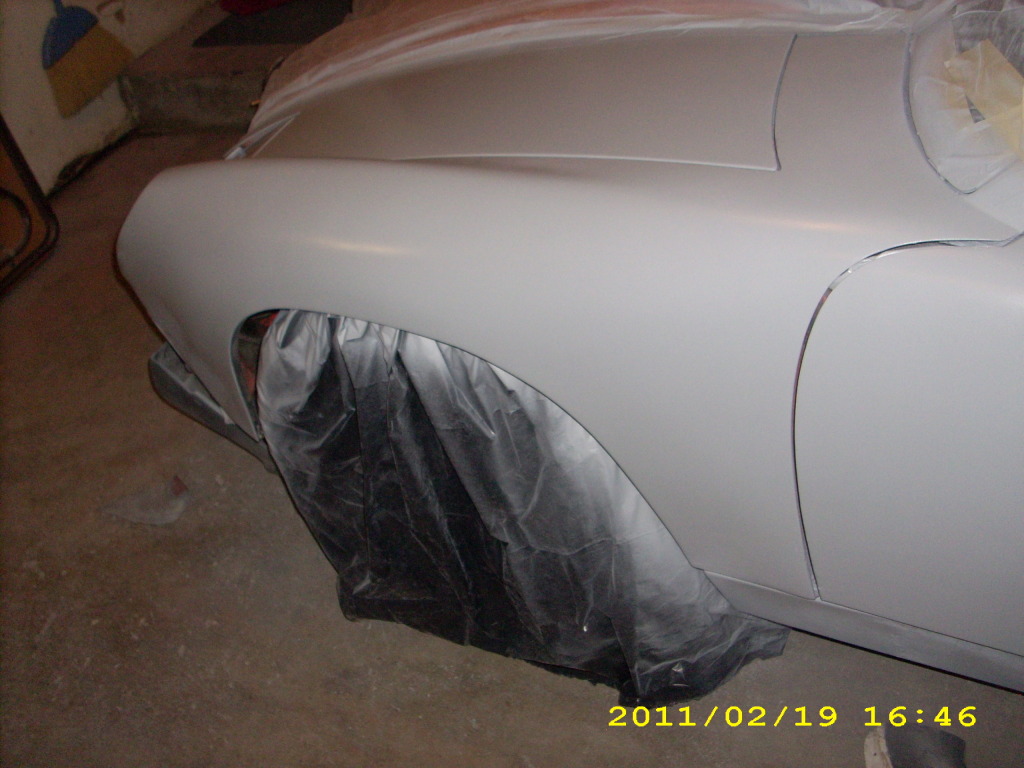
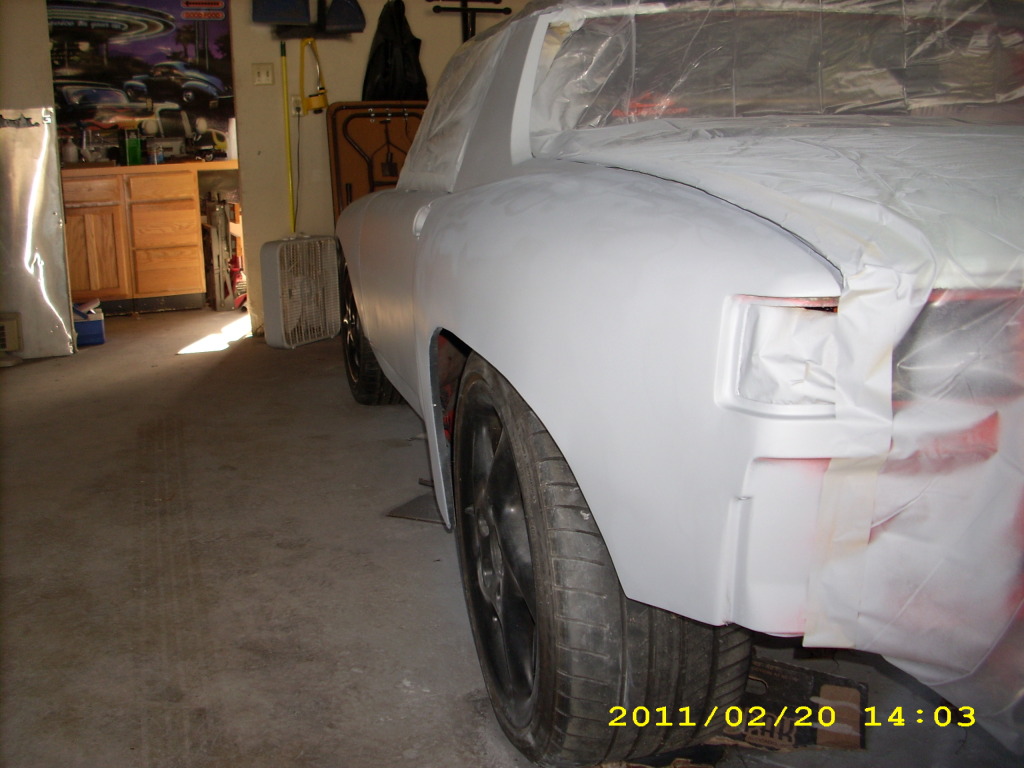
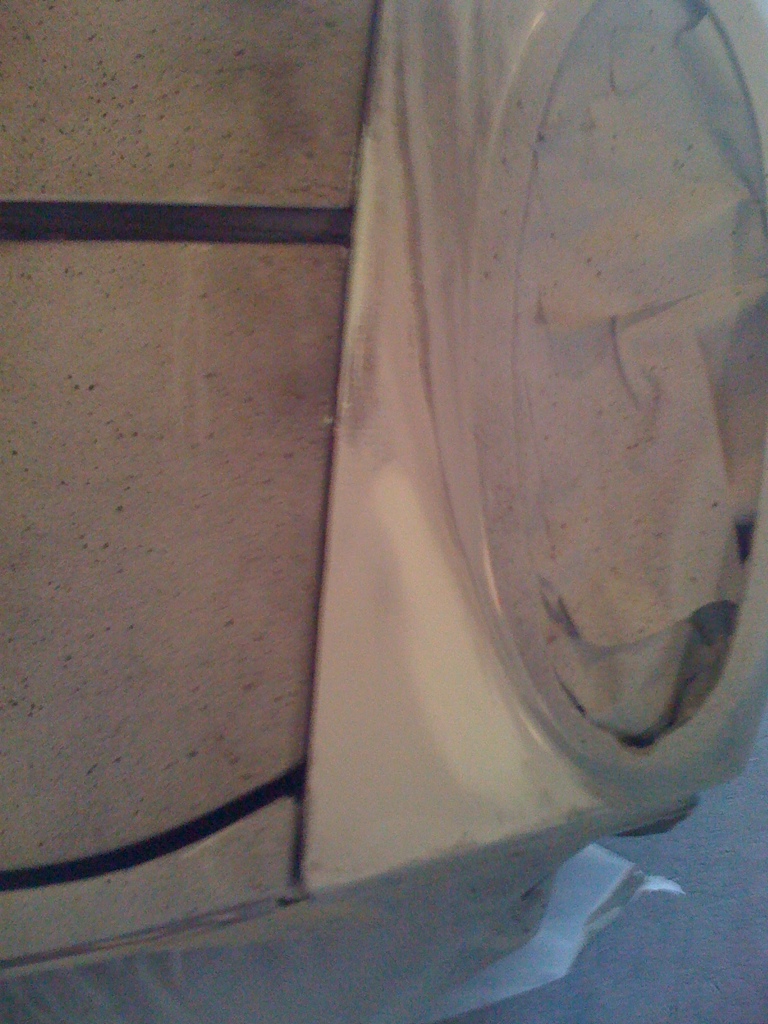
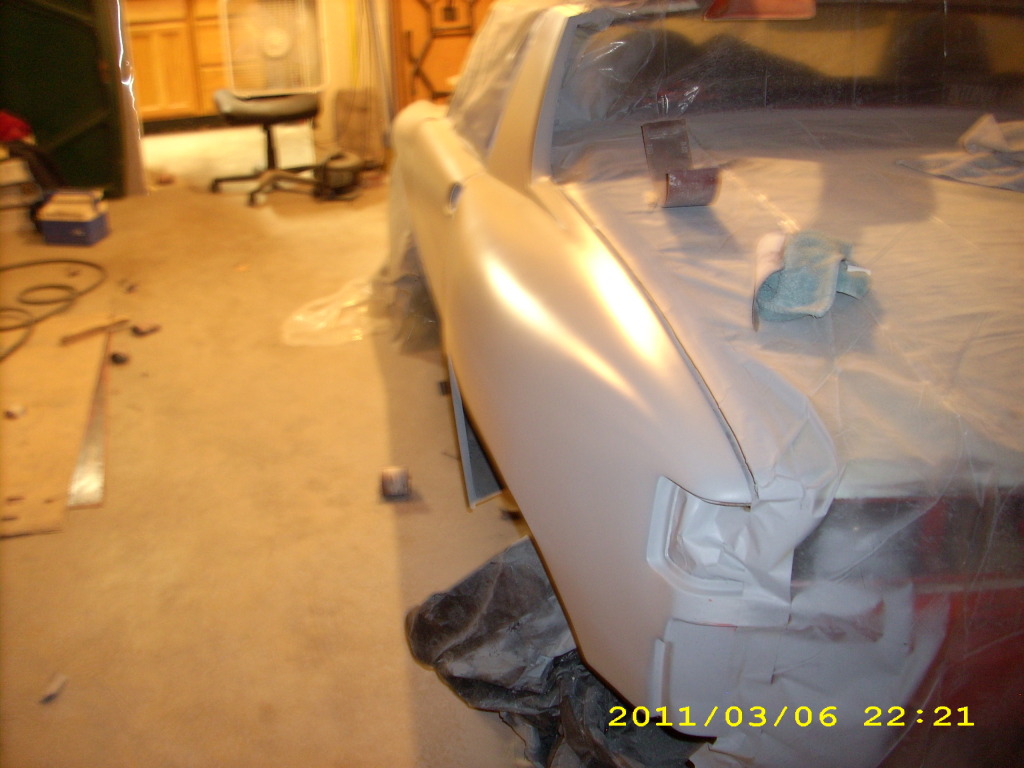
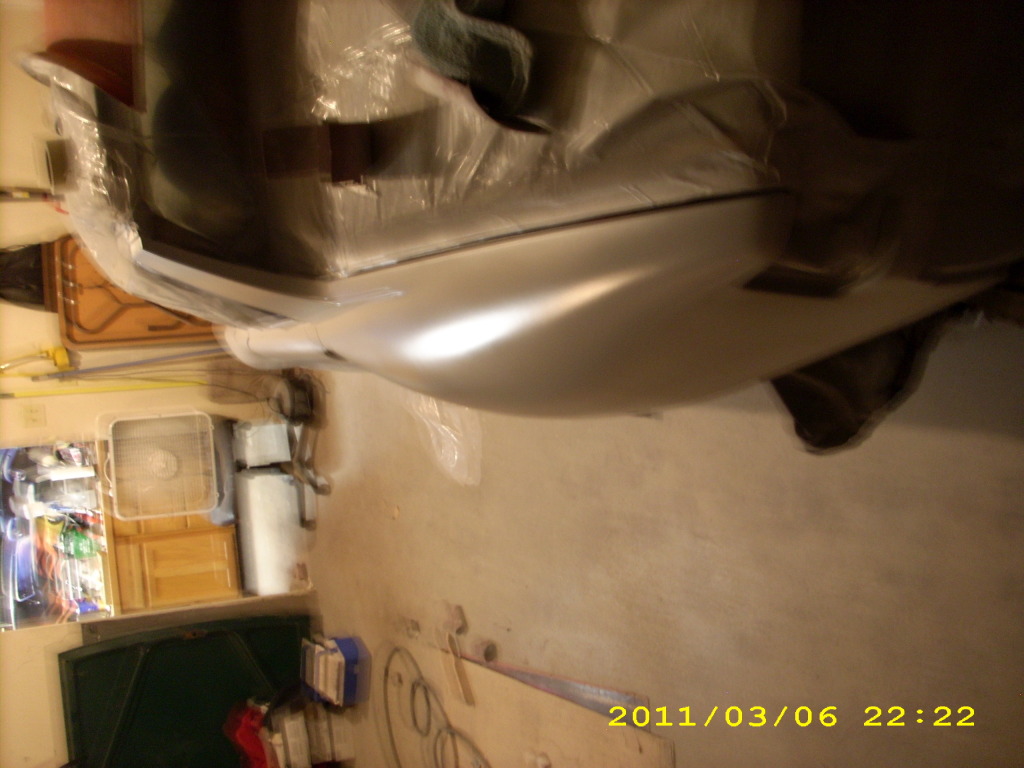
I basically laid down a bunch of filler/ glazing puddy mix over the trunk as I decided it would be easier just to sand it smooth.
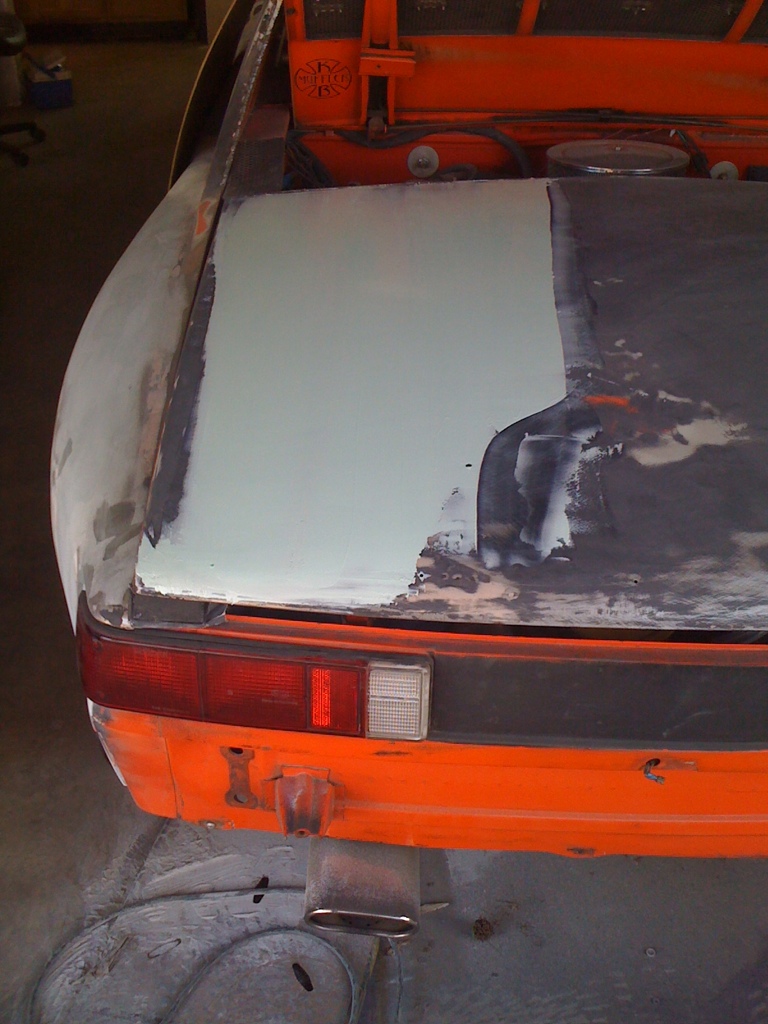
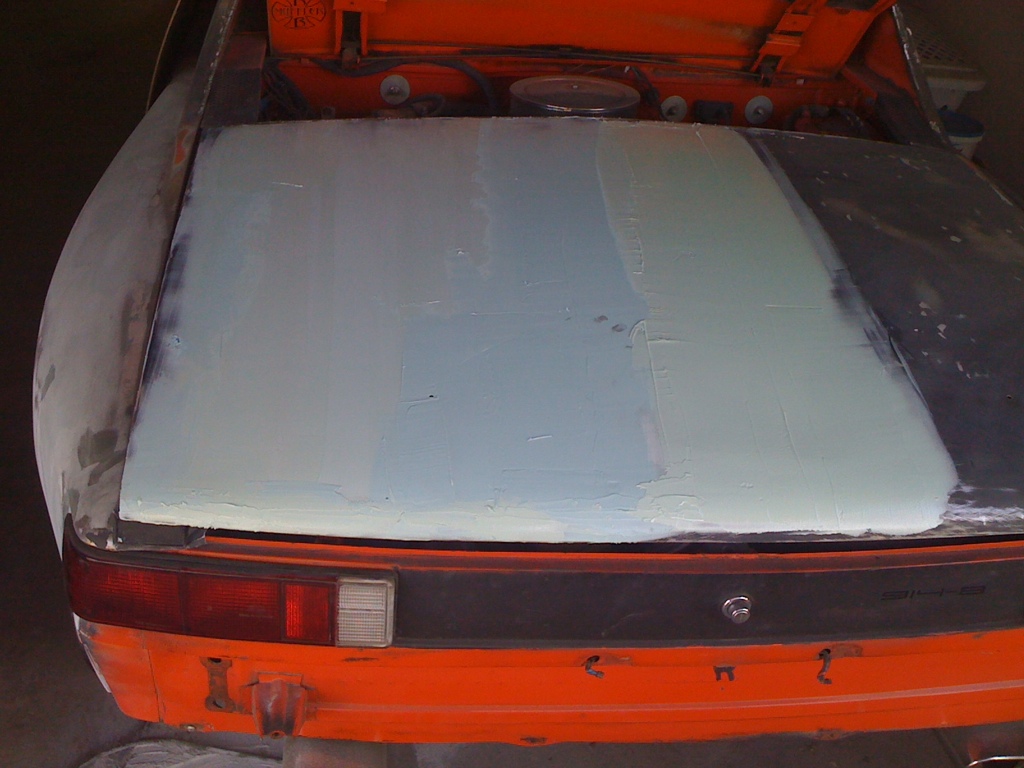
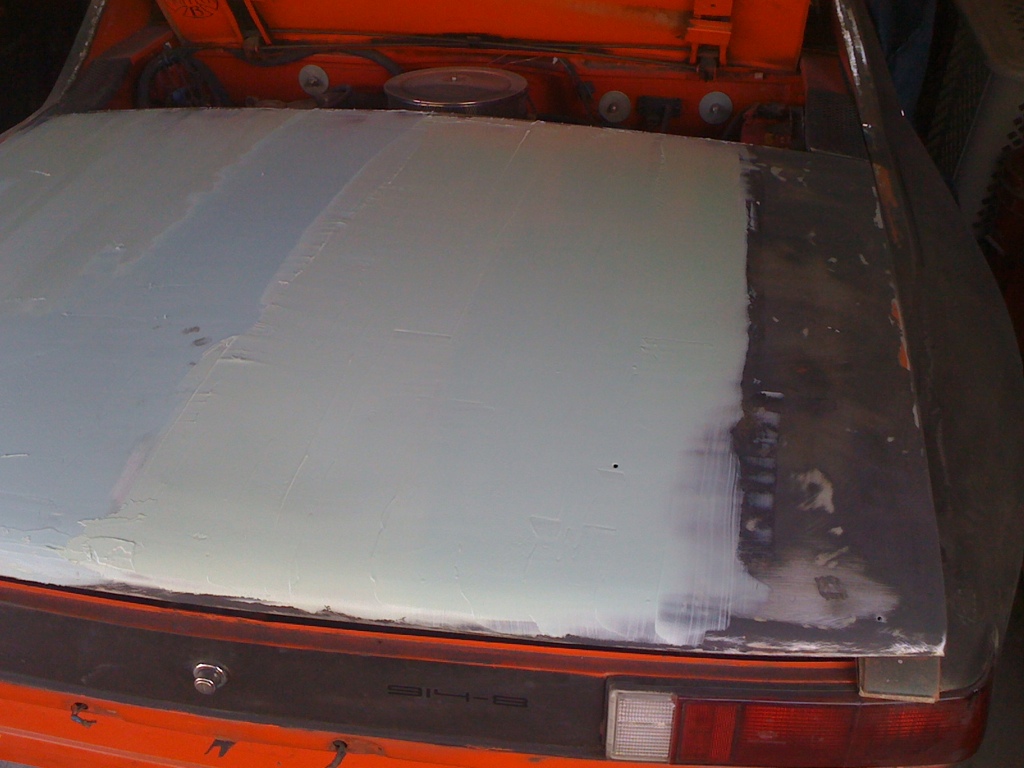
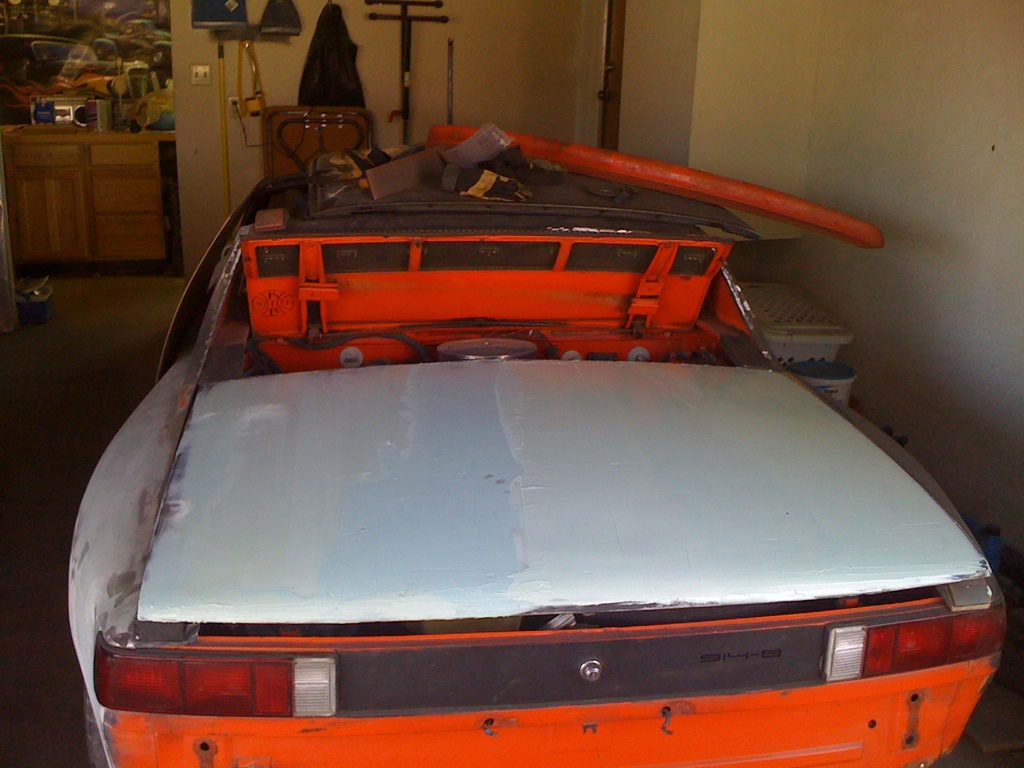
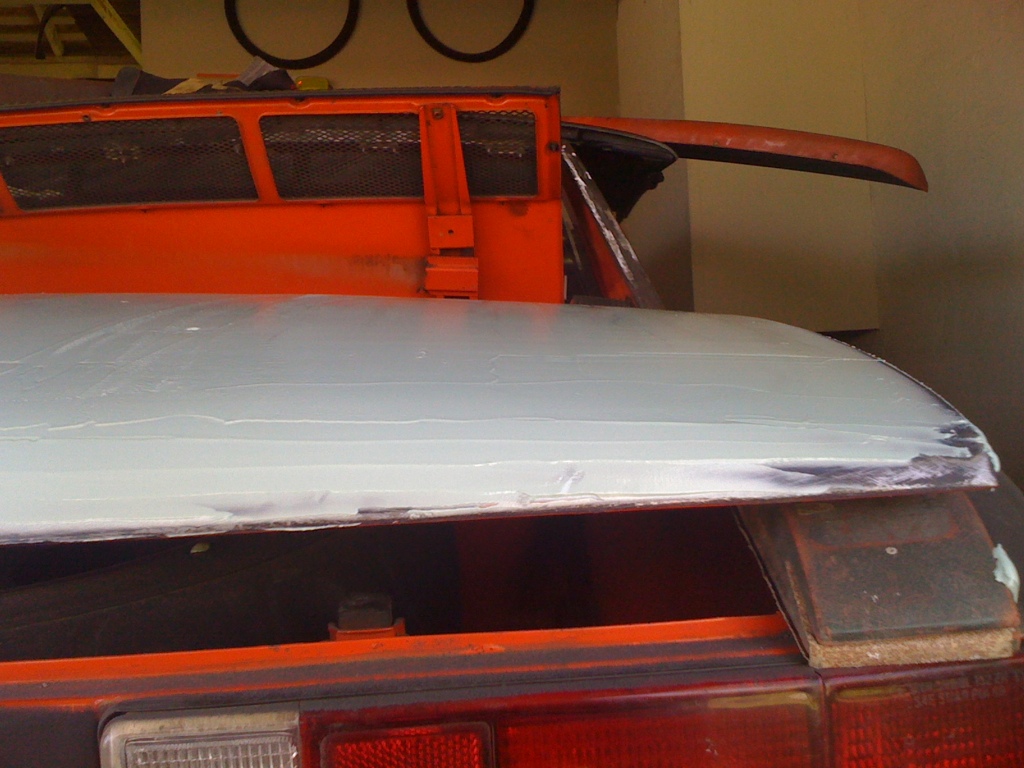
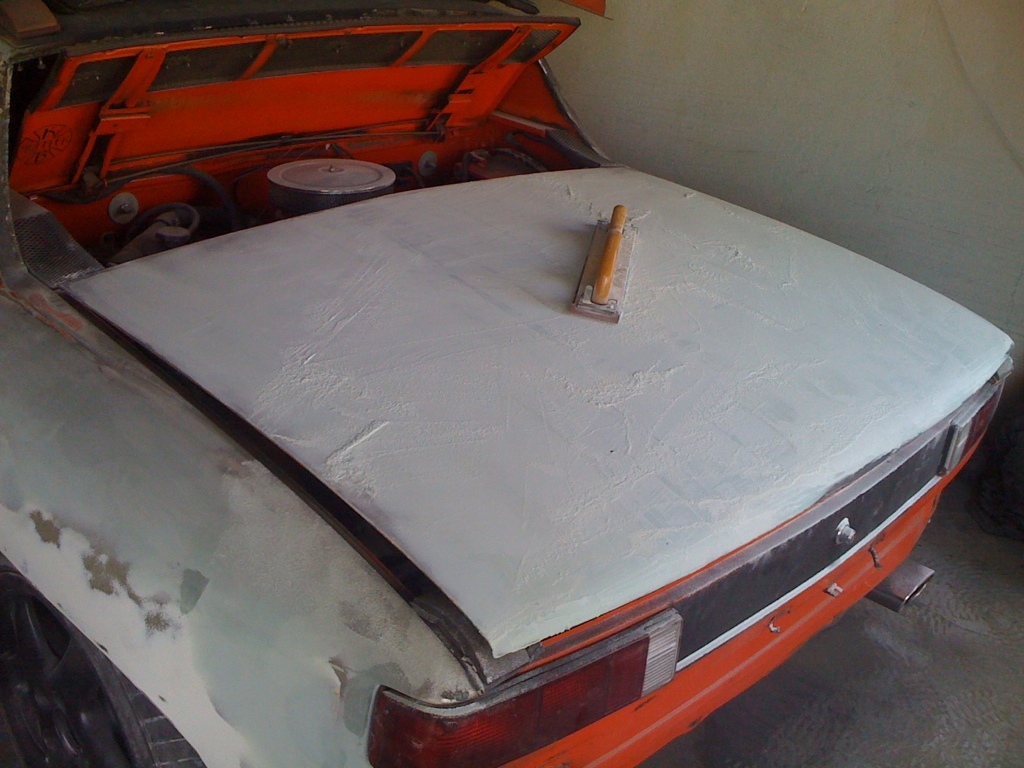
Laid it about 1/8" over the whole trunk. Lots of filler...
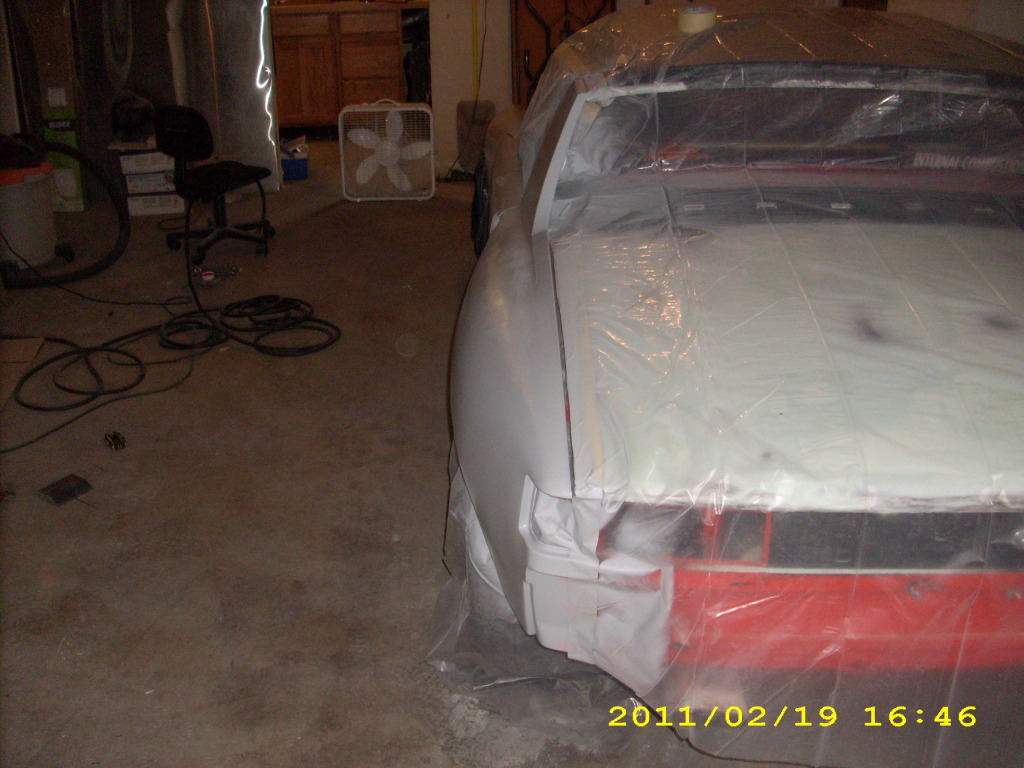
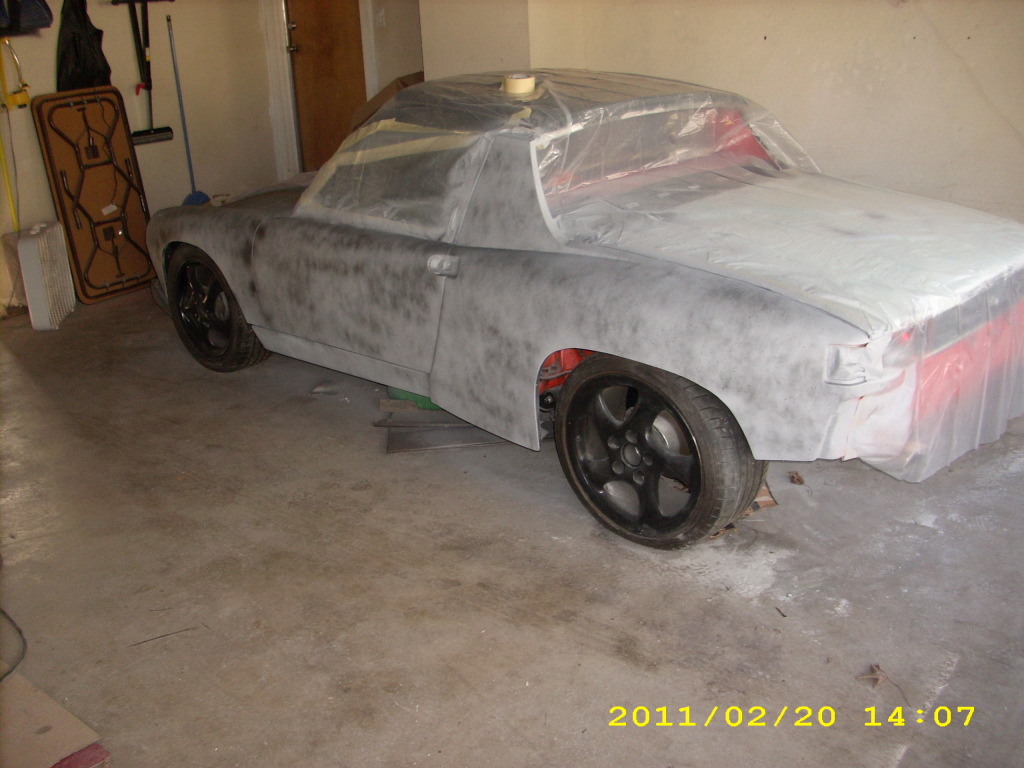
Fast forward to tonight.
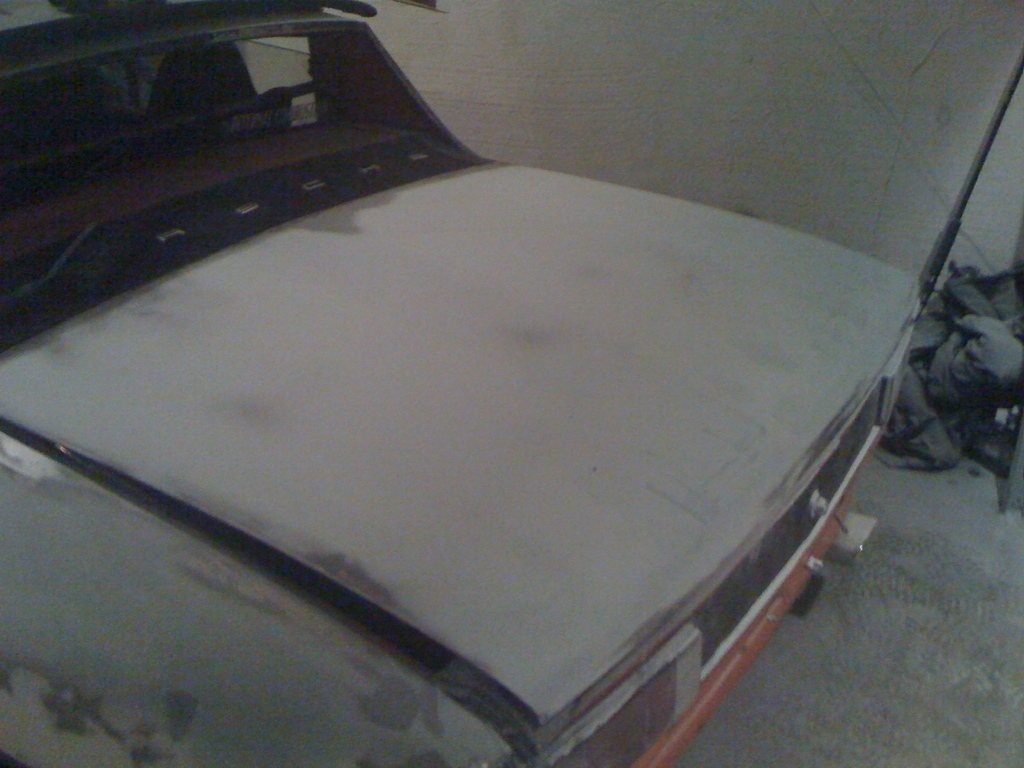

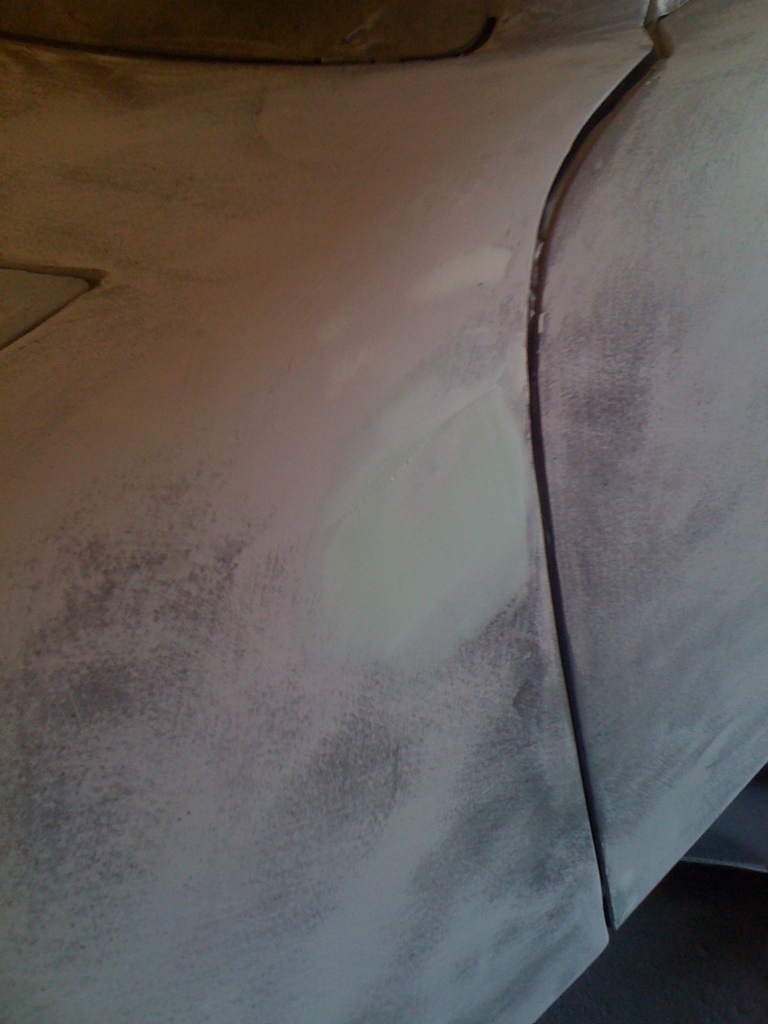
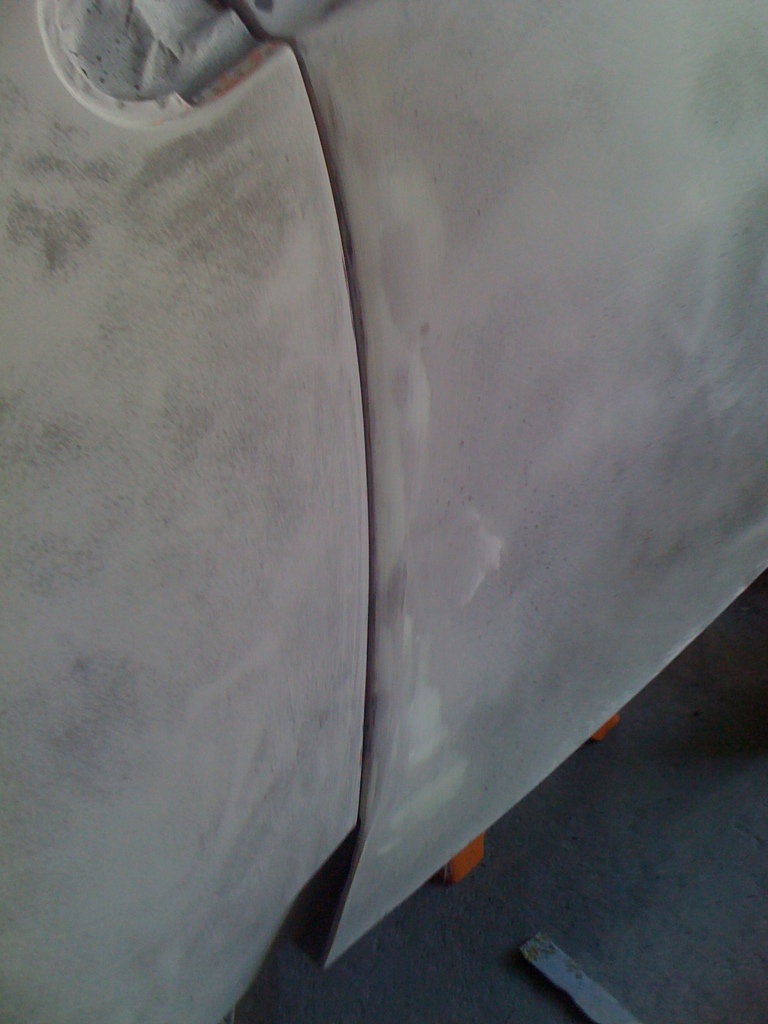
Lots and LOTS of sanding over the trunk. It got really boring so I went down to 60 grit from 80 grit (I dont have that much 60 grit... so i save it, I have about 100 feet of 80 grit..)
Laid down a layer of glaze, then sanded, and laid another layer of glaze down. I still have maybe one or two more layers of glaze to get all the low spots/ pinholes, but the bondo/glaze combo worked really well and was very easy to spread.. I just wish i had more practice in technique. Oh well.

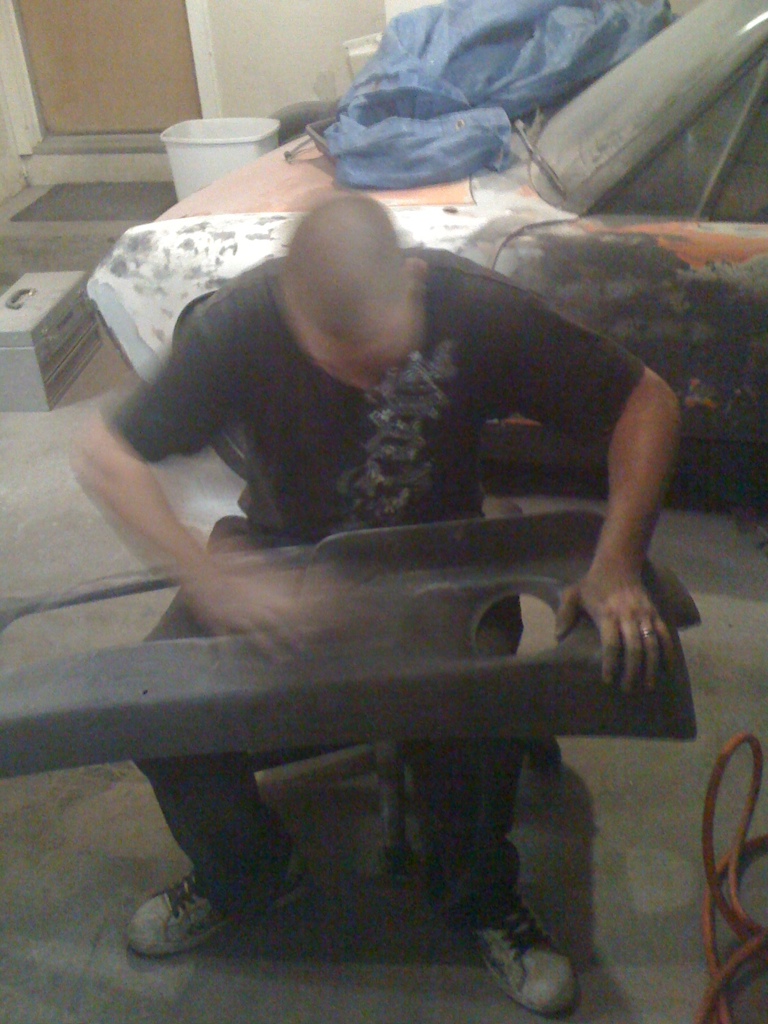
I enlisted some help of Orange914's son, a good friend of mine.

He was very happy for some reason... I told him I would "make him a star"
If I could get more help like this from more local friends, this would possibly go by faster..
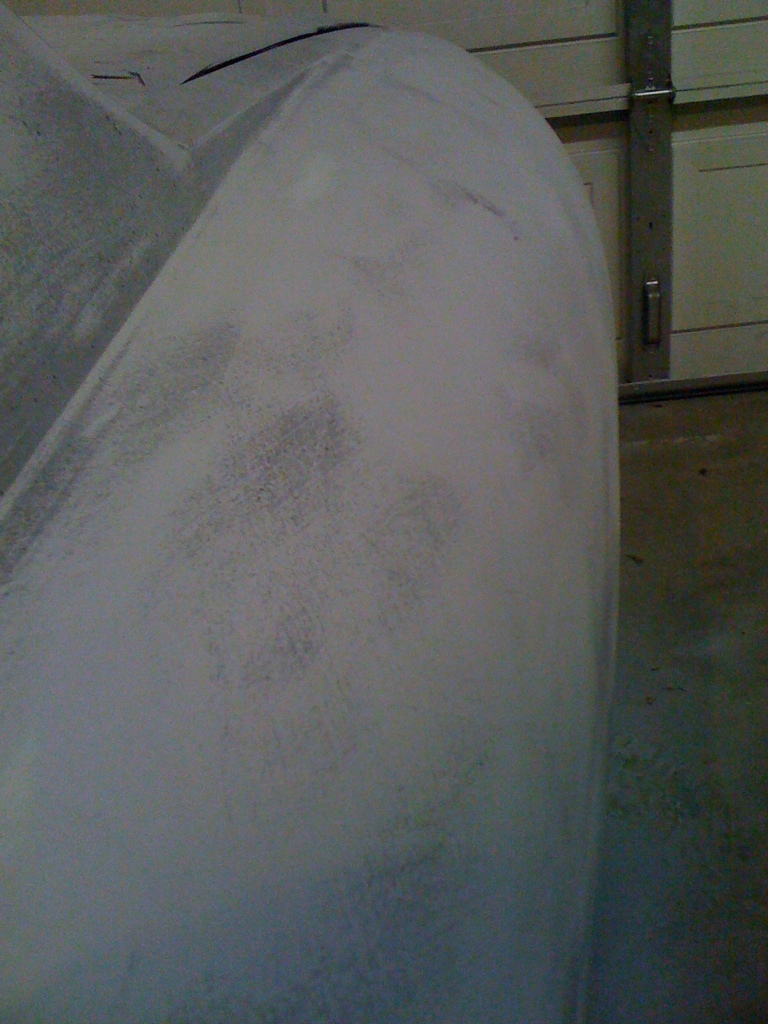
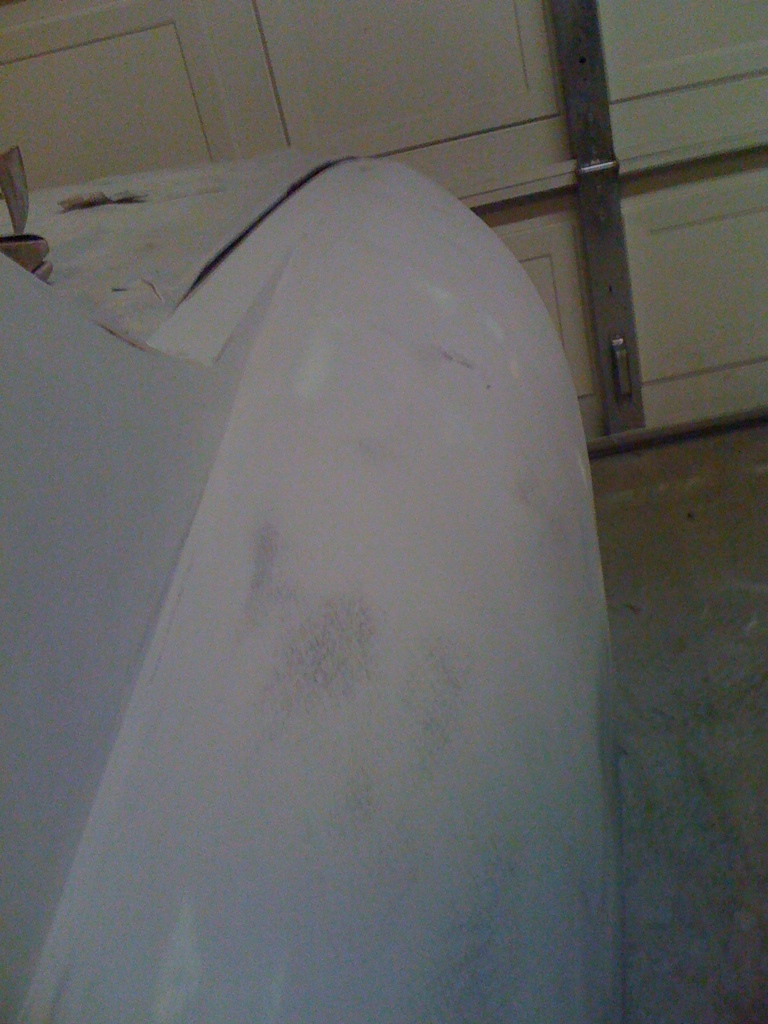
Sanded the spoiler most way with a course block.
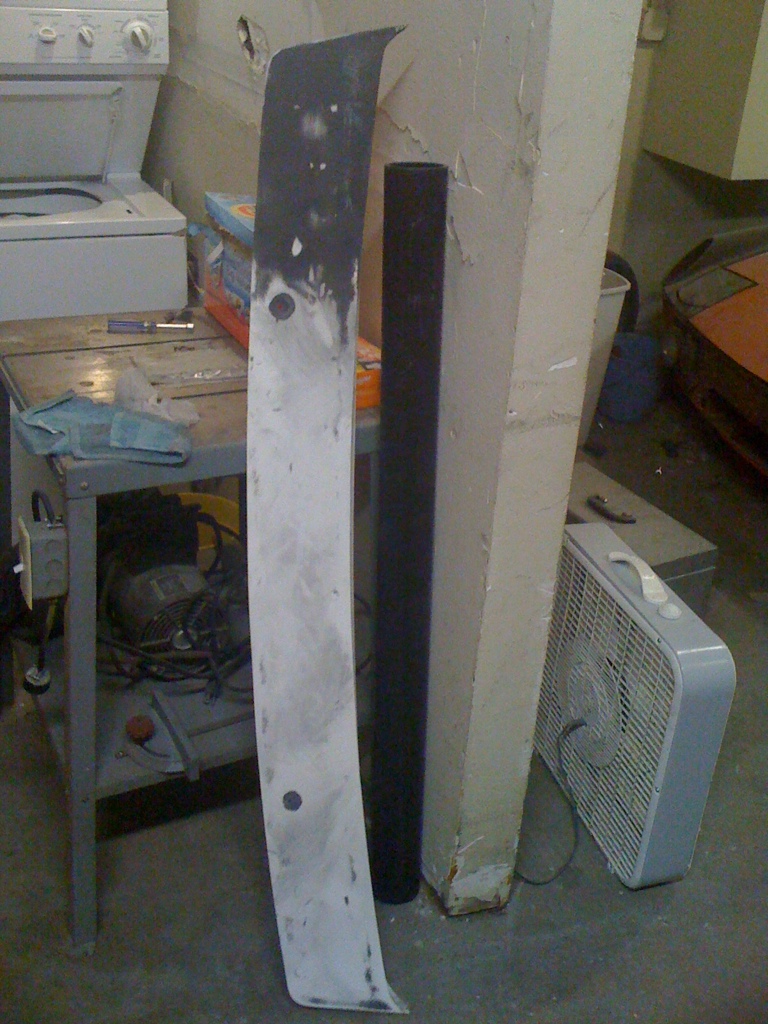
Some primer filler and a bit more sanding and this spoiler will be ready for paint!
My friends accomplishments. Took off a couple layers of primer and commented on the poor overall shape of the bumper. He is very much adiment that I shouldnt change the bumper in design... maybe he's right... We'll see what I end up doing.
Thats all for tonight! BIG weekend ahead, should be BIG progress! I got my hands on a compressor so let the priming commence!!!!
Started off with my new favorite beer.
Friday I picked up some glazing puddy and some grey primer filler(not pictured)
I basically laid down a bunch of filler/ glazing puddy mix over the trunk as I decided it would be easier just to sand it smooth.
Laid it about 1/8" over the whole trunk. Lots of filler...
Fast forward to tonight.
Lots and LOTS of sanding over the trunk. It got really boring so I went down to 60 grit from 80 grit (I dont have that much 60 grit... so i save it, I have about 100 feet of 80 grit..)
Laid down a layer of glaze, then sanded, and laid another layer of glaze down. I still have maybe one or two more layers of glaze to get all the low spots/ pinholes, but the bondo/glaze combo worked really well and was very easy to spread.. I just wish i had more practice in technique. Oh well.
I enlisted some help of Orange914's son, a good friend of mine.
He was very happy for some reason... I told him I would "make him a star"
If I could get more help like this from more local friends, this would possibly go by faster..
Sanded the spoiler most way with a course block.
Some primer filler and a bit more sanding and this spoiler will be ready for paint!
My friends accomplishments. Took off a couple layers of primer and commented on the poor overall shape of the bumper. He is very much adiment that I shouldnt change the bumper in design... maybe he's right... We'll see what I end up doing.
Thats all for tonight! BIG weekend ahead, should be BIG progress! I got my hands on a compressor so let the priming commence!!!!

Lets start with Friday.
I didnt get near as much done as I wanted, Particularly because it was raining and I was dealing with a multitude of other issues.. Arg.
I did get my garden started
I picked up a longboard air sander... Oh I wish I did this prior to doing the rear trunk.. Arg.
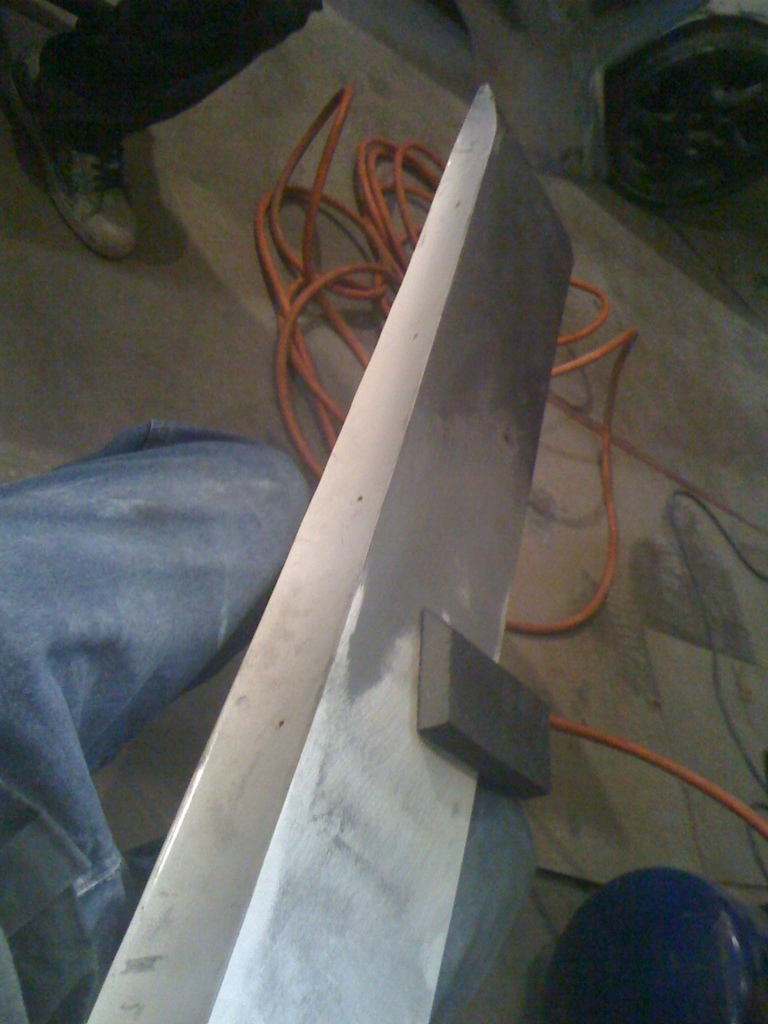
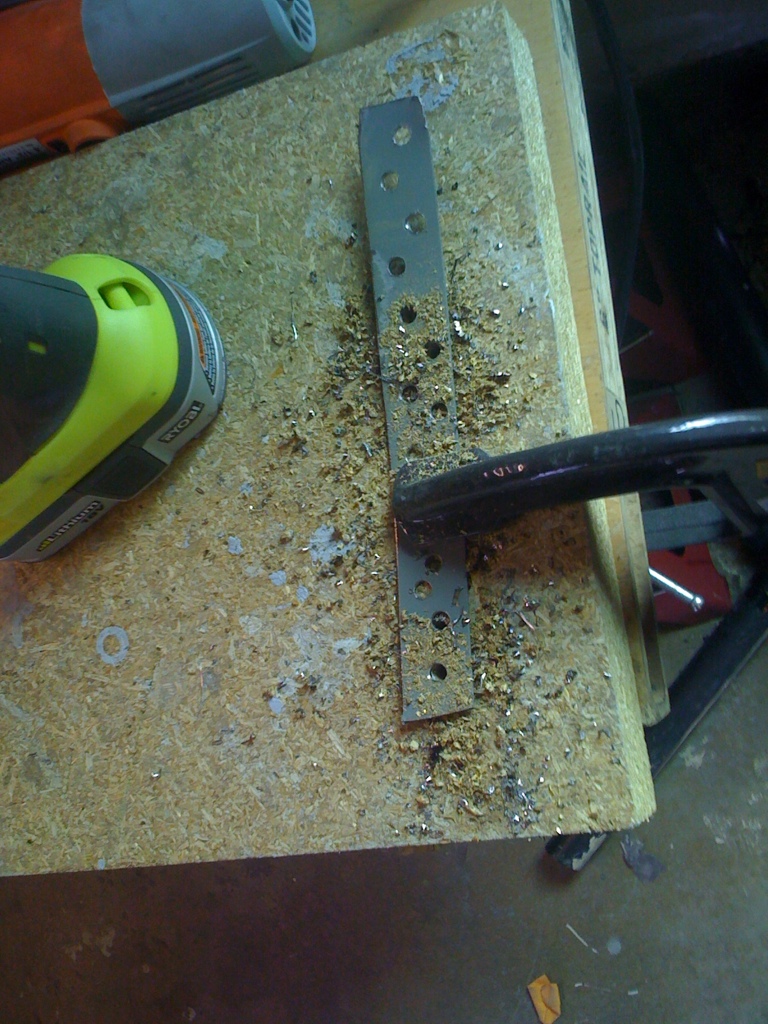
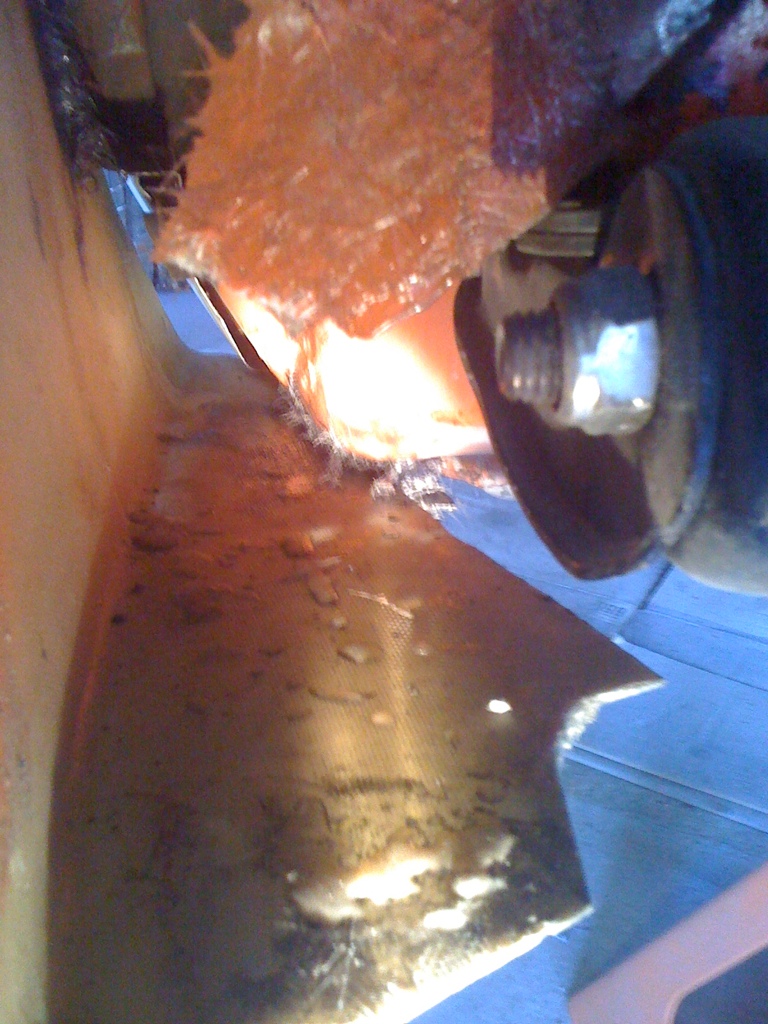
More progress on the damn targa bar. This is a project and a half... Finally figured out that a cutoff blade attached to my grinder works pretty damn good. Grinding blades just make heat, cutoff blades just slice through the welds.
Found my window crank! yay! No vice grip!
Took the plundge and cutoff the excess from the flare.
Then I took a step back and said "Wait a minute, I actually like this! A built in brake cooker (or similar) scoop! I can shape my rocker pannel if I want to later, but for now this allows me to progress.
I didnt get near as much done as I wanted, Particularly because it was raining and I was dealing with a multitude of other issues.. Arg.
I did get my garden started
I picked up a longboard air sander... Oh I wish I did this prior to doing the rear trunk.. Arg.
More progress on the damn targa bar. This is a project and a half... Finally figured out that a cutoff blade attached to my grinder works pretty damn good. Grinding blades just make heat, cutoff blades just slice through the welds.
Found my window crank! yay! No vice grip!
Took the plundge and cutoff the excess from the flare.
Then I took a step back and said "Wait a minute, I actually like this! A built in brake cooker (or similar) scoop! I can shape my rocker pannel if I want to later, but for now this allows me to progress.
PRIMER DAY!!!
I should have done some more bodywork, but in reality I needed to see where I was. Lots of little pinholes from the bondo and a couple of areas that are a tad low or the bondo wasnt sanded. Overall I am REALLY happy with the progress so far, It looks REALLY GOOD!
The sprayer needs to be adjusted properly.. This was simply a bit of a test to see how it all went down. I could have laid it more evenly, but so far I didnt notice any issues.
I'll have to get my black primer stirred and mixed if they can do it as its pretty hard, we'll see what the paint shop says, but ya. Im curious now if my old Phoenix Red paint will still be good.
Put the air board sander to use. Worked great! Need a bigger compressor..
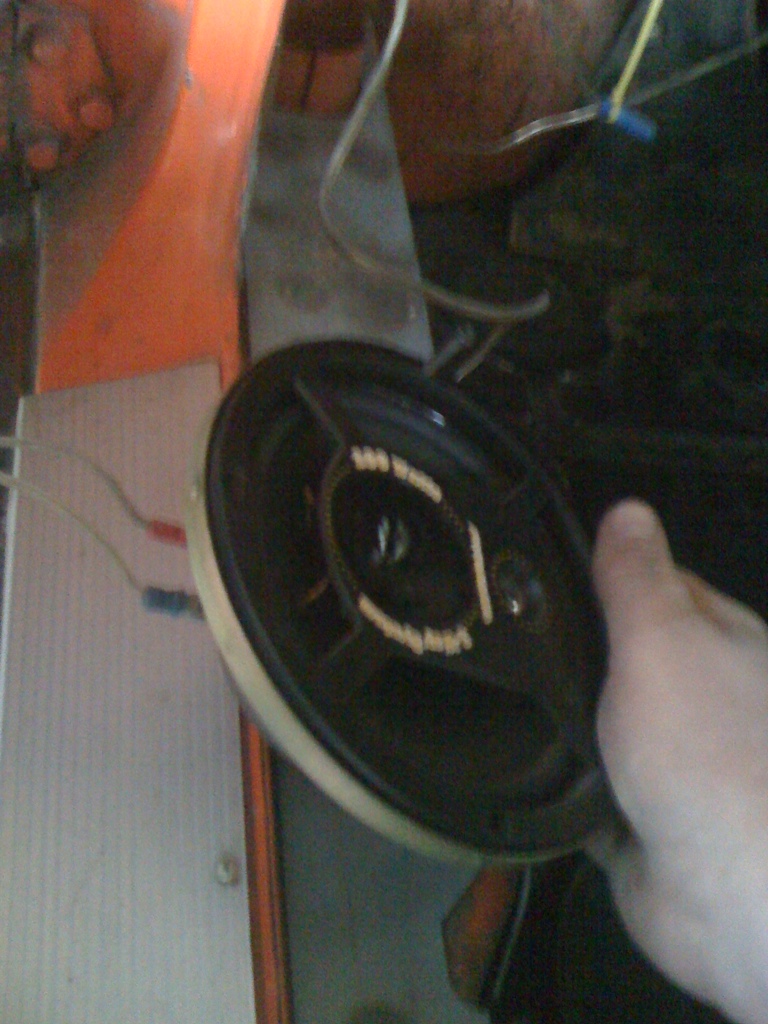
Removed door panel so I could remove the outer door handle. Pic is for my reference for speakers. This is Dr. side speaker.
Forgot to take pics of bondo and sanding of the targa bar... Oh well.
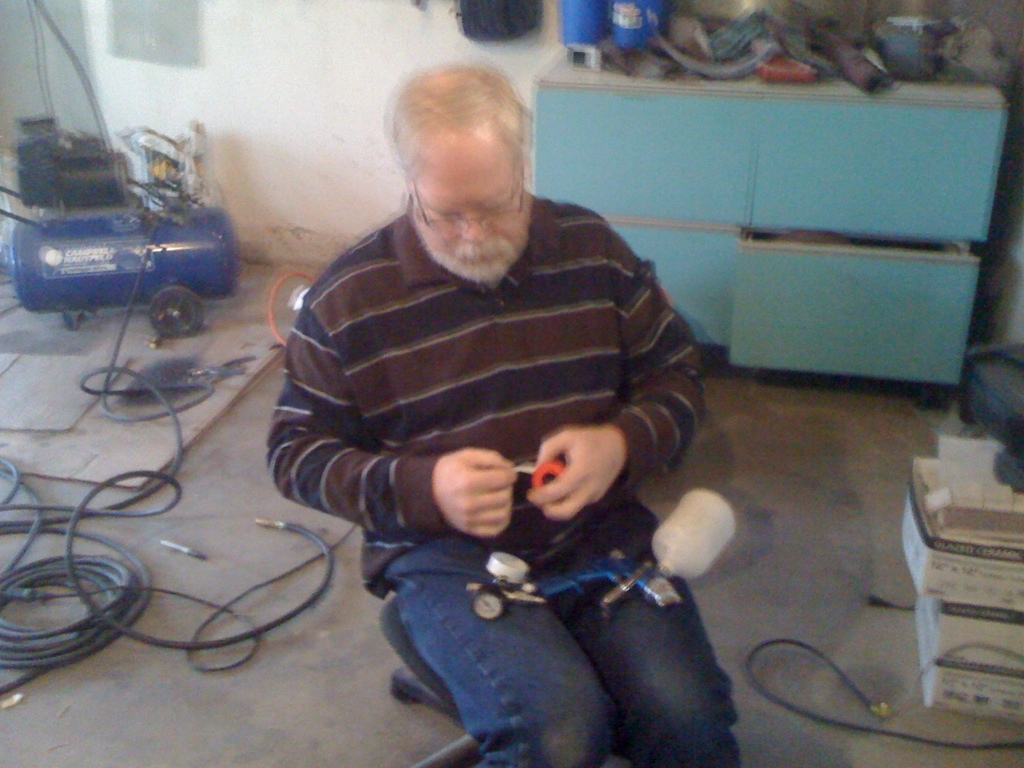
Heres dad putting a regulator on the gun.

Taping job.
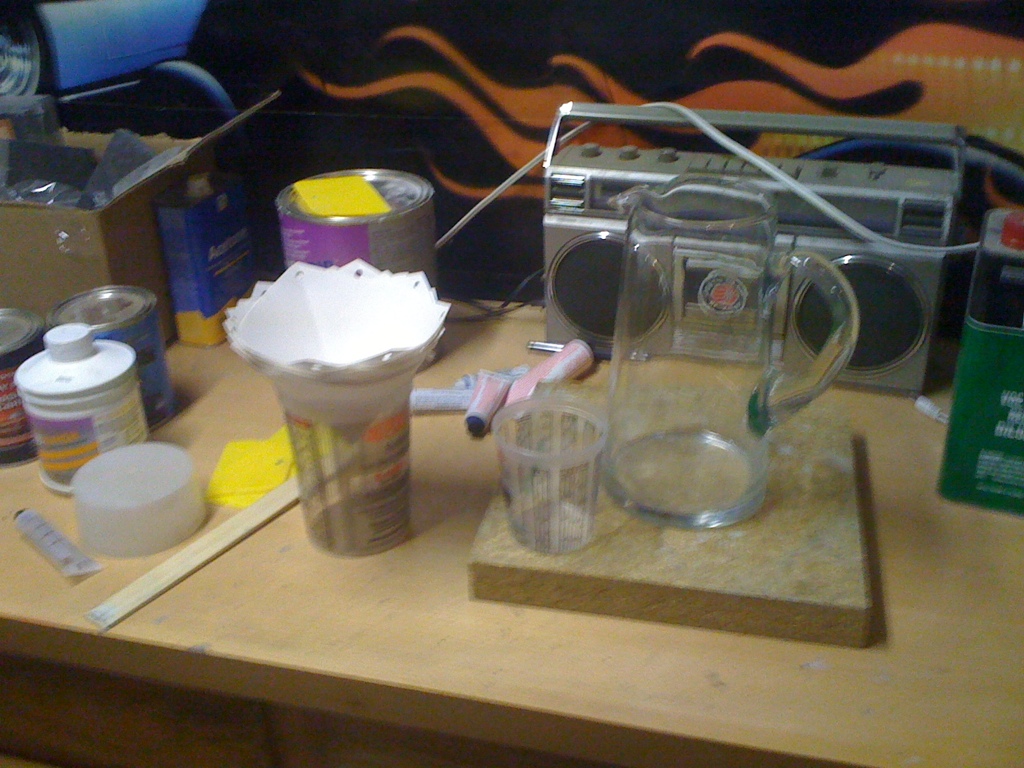
Work station.. The glass jar is to hold the spray gun, I dont have a vice yet so this had to work.
THE PRIMER!!

Still wet
Hours later, All dry!
A Happy Me!
Tomorrow is guide coat and we go down in grit, 120? 220? Not sure, We'll see!
I should have done some more bodywork, but in reality I needed to see where I was. Lots of little pinholes from the bondo and a couple of areas that are a tad low or the bondo wasnt sanded. Overall I am REALLY happy with the progress so far, It looks REALLY GOOD!
The sprayer needs to be adjusted properly.. This was simply a bit of a test to see how it all went down. I could have laid it more evenly, but so far I didnt notice any issues.
I'll have to get my black primer stirred and mixed if they can do it as its pretty hard, we'll see what the paint shop says, but ya. Im curious now if my old Phoenix Red paint will still be good.
Put the air board sander to use. Worked great! Need a bigger compressor..
Removed door panel so I could remove the outer door handle. Pic is for my reference for speakers. This is Dr. side speaker.
Forgot to take pics of bondo and sanding of the targa bar... Oh well.
Heres dad putting a regulator on the gun.
Taping job.
Work station.. The glass jar is to hold the spray gun, I dont have a vice yet so this had to work.
THE PRIMER!!
Still wet
Hours later, All dry!
A Happy Me!
Tomorrow is guide coat and we go down in grit, 120? 220? Not sure, We'll see!
Andrew, the car is looking great! I think that is so neat to have a dad that you can share your passion of cars with. 
I bet you are starting to get excited about your teener again.
Mark
I bet you are starting to get excited about your teener again.
Mark
It has been amazing having my dad be with me through this whole thing (I mean cars in general). He is a wealth of knowledge and has taught me almost everything I know. He and I both share almost every single passion (He likes golf a little more, and I like games a little more, but thats it ).
We are both REALLY looking forward to seeing my car in paint. I dont even think my mom knows im painting my car, however she loves my car (Her second car was a 914).
). We are both REALLY looking forward to seeing my car in paint. I dont even think my mom knows im painting my car, however she loves my car (Her second car was a 914).
QUOTE(Andyrew @ Feb 20 2011, 12:11 PM) 
It has been amazing having my dad be with me through this whole thing (I mean cars in general). He is a wealth of knowledge and has taught me almost everything I know. He and I both share almost every single passion (He likes golf a little more, and I like games a little more, but thats it
). We are both REALLY looking forward to seeing my car in paint. I dont even think my mom knows im painting my car, however she loves my car (Her second car was a 914).
I see lots of kids out there with nothing to work towards, nothing to hope for, they are the ones that are in trouble. Andrews had this vision for this car for almost 9 years. It's changed many times along the way and faded at times. I've had the dream of this car sinced the 70s when Hot Rod magazine did a article on a Red V8 914. I've actually had very little input in the decisions for this car. I wanted him to do it his way. God has blessed me with a great Son.
As far a Mom knowing, well now she does. I had to show her the post. She says "There won't be anyone more excited then me when that car is finished." I doubt it, but she said it.
It's not about the destination, it's about the journey...
One of my all time favorite pictures of my car Thanks for reposting that Dad!
This is the photo that I want to recreate when its all said and finished.
I went and took some pics with the wheel covers off. Looking better all the time!
Threw some guide coat on. I MIGHT work on it a little bit tonight, but I have some other things to do.. This might be it for this weekend. More progress to come on Tuesday night.
Thanks for reposting that Dad!This is the photo that I want to recreate when its all said and finished.
I went and took some pics with the wheel covers off. Looking better all the time!
Threw some guide coat on. I MIGHT work on it a little bit tonight, but I have some other things to do.. This might be it for this weekend. More progress to come on Tuesday night
.
Looking great Andrew! Love custom flares. You are doing amazing work on those flares. Can't wait to see the pics after paint 
Love the progress!
BTW, paint those wheel spacers black...
BTW, paint those wheel spacers black...
Andrew,
Great job...making a ton of progress. Are you changing the engine out, what did you decide?
Dave
Great job...making a ton of progress. Are you changing the engine out, what did you decide?
Dave
Mike,
Ya I probably should paint those.
Dave,
As of right now the engine is staying the same. I think I'll keep the engine in till I either blow up the trani or find a parts Audi/Passat. There is a subaru v6 engine/trani in the classifieds for 1500, but im not local nor do I have the spare cash to blow on it right now. Either way probably another year or so with the current setup.
I am up in the air with the future engine. We will see how I feel when time progresses. I may just want to put in an Audi trani instead.
That's pretty cool. Good prgress Andrew, keep at it.
Met a local forum member and really great guy today! Talked about 914's for quite a while. He let me borrow a couple of specialty sanders!
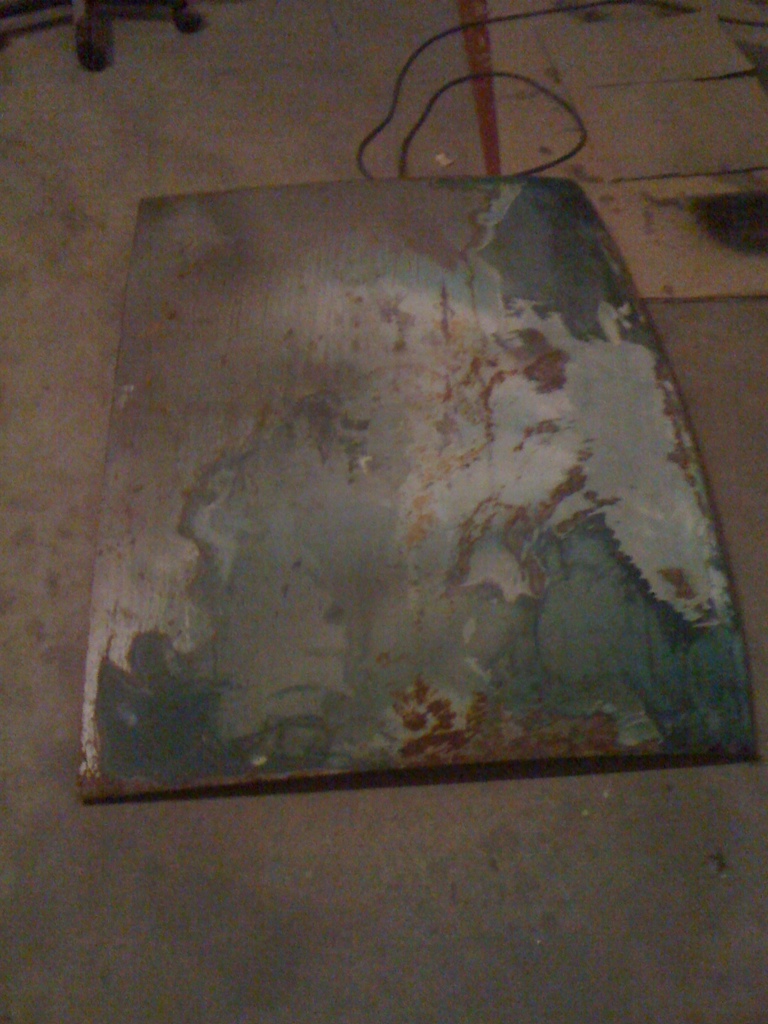
He even gave me a couple of parts! I now have that spare trunk lid I wanted! I'll grind this to bare metal this weekend and fill any holes and glaze over it like the other trunk.
Got to work on the 914 a little though. Sanded the guide coat down to see where I was. Not bad, but definitely need another layer of primer filler.
Took it down with 120, Really starting to feel and look nice. I focused on getting the rear 1/4 down. Its ready for some glaze to fill in some pinholes then its primer filler again. Not a lot of work left to do on this fender before final sand.

I just realized yesterday that I did all this work so far in a month. Im really happy with that. I still have LOTS to do, but the fact that things are getting done is very good!
He even gave me a couple of parts! I now have that spare trunk lid I wanted! I'll grind this to bare metal this weekend and fill any holes and glaze over it like the other trunk.
Got to work on the 914 a little though. Sanded the guide coat down to see where I was. Not bad, but definitely need another layer of primer filler.
Took it down with 120, Really starting to feel and look nice. I focused on getting the rear 1/4 down. Its ready for some glaze to fill in some pinholes then its primer filler again. Not a lot of work left to do on this fender before final sand.
I just realized yesterday that I did all this work so far in a month. Im really happy with that. I still have LOTS to do, but the fact that things are getting done is very good!
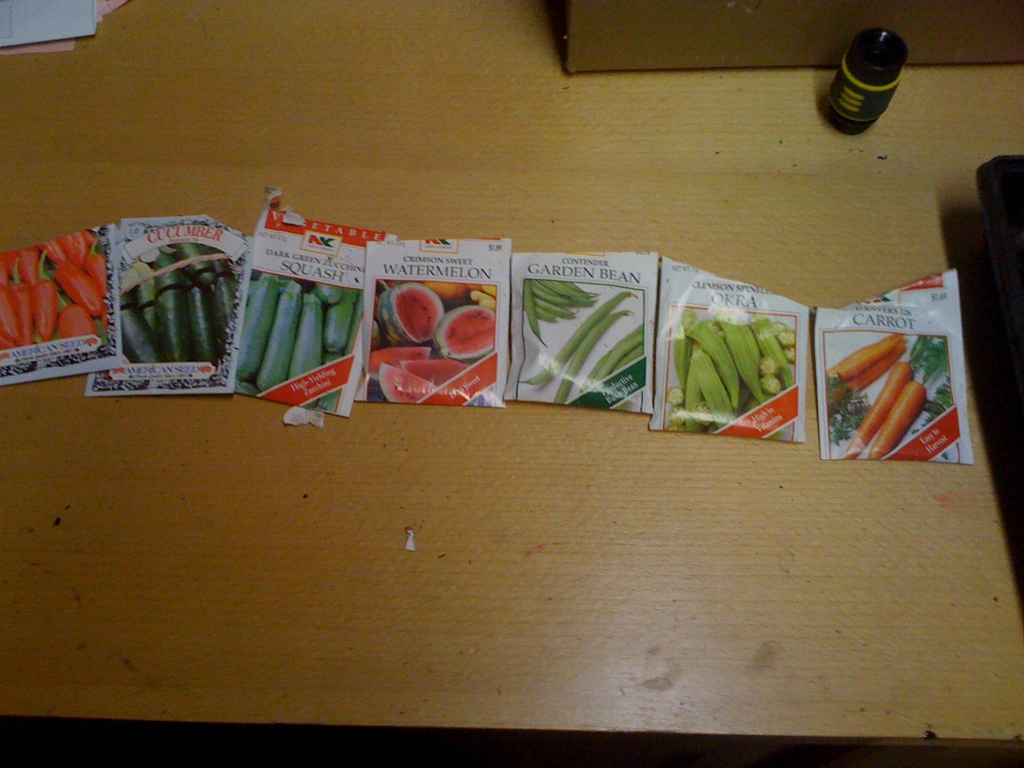
Went to my parents durring lunch and picked up a couple of things. FINALLY found the fiberglass I had bought many moons ago... But I cant find the resin. its probably not good anymore anyways.
I'll be hitting the store probably tomorrow durring lunch to pick up some resin and hardner. If your wondering why I havent sanded the bottom portion of the rear flares, its because the bottom portion is not properly reinforced. I need to weld some tabs and reinforce it with fiberglass. I think thats what i'll do on saturday. That and the rocker pannels.
Ugh, I hate fiberglass work...
But welding
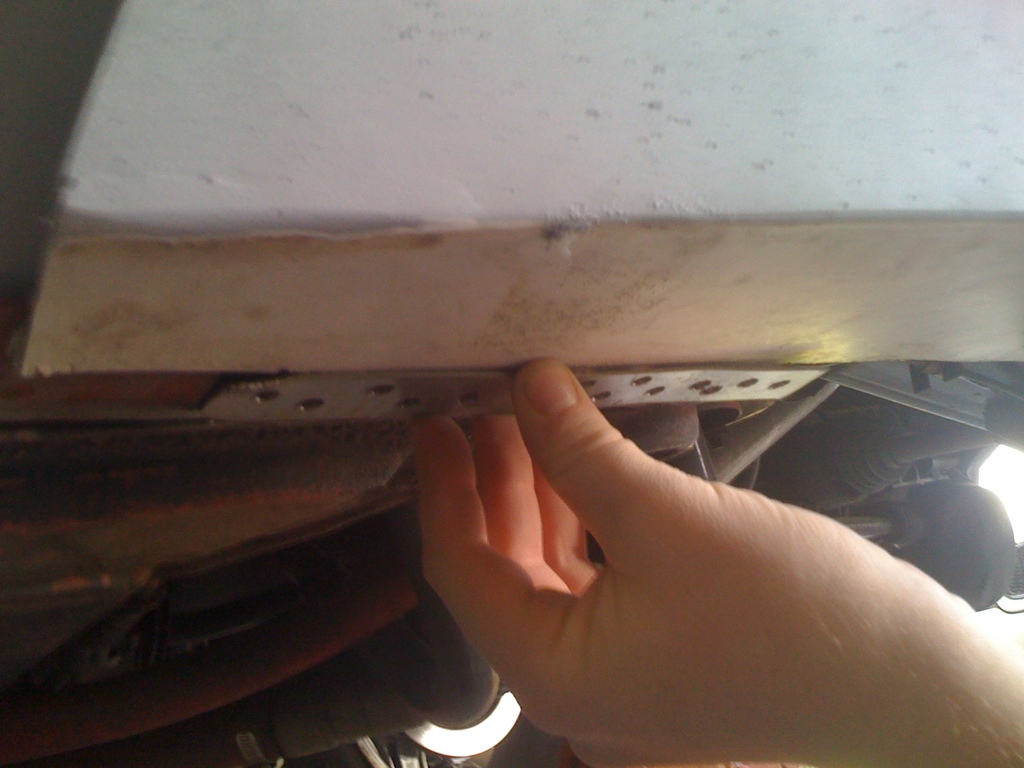
Cut and drilled the extension I need to reinforce the fenders.
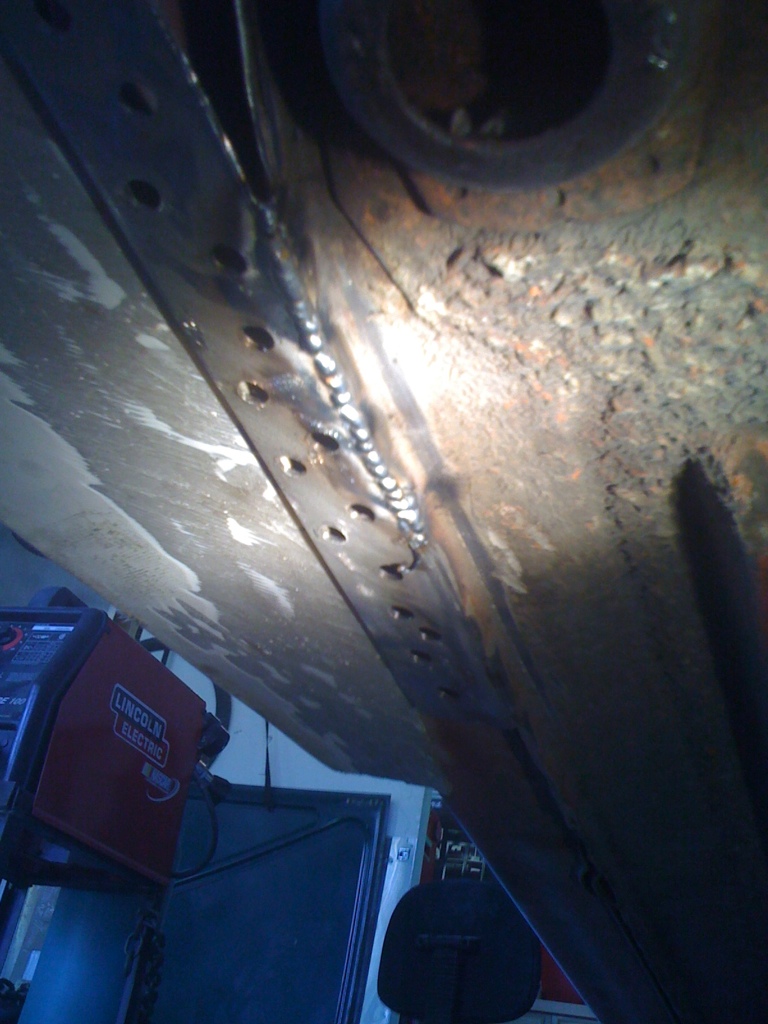
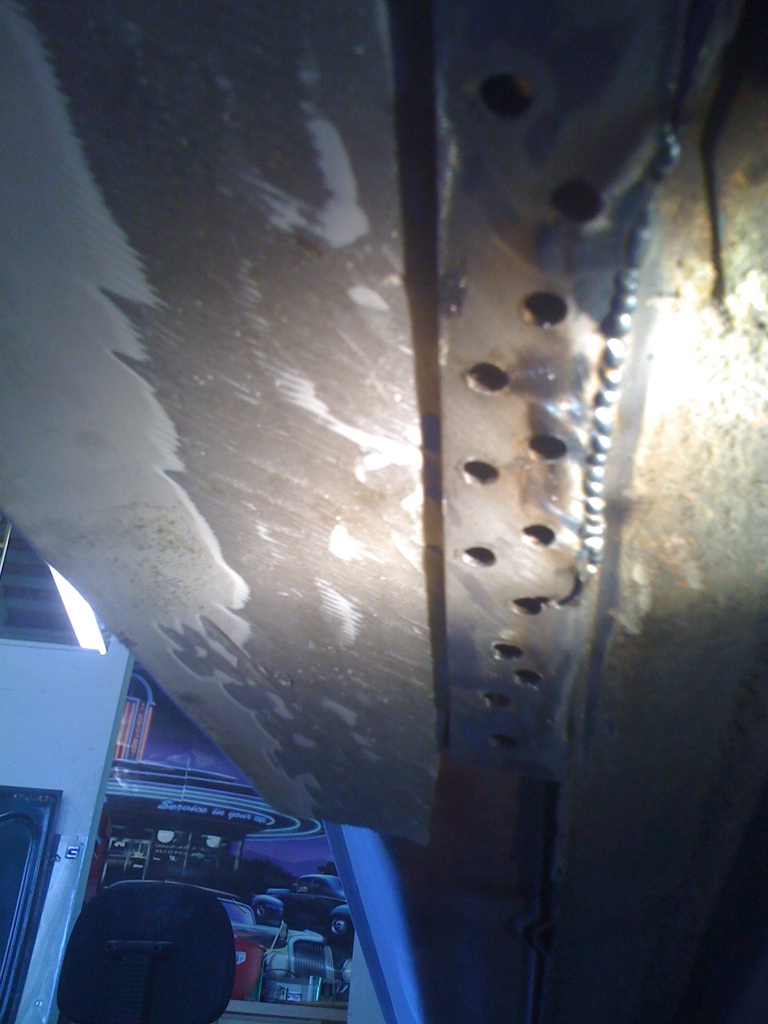
Extension welded and primed.
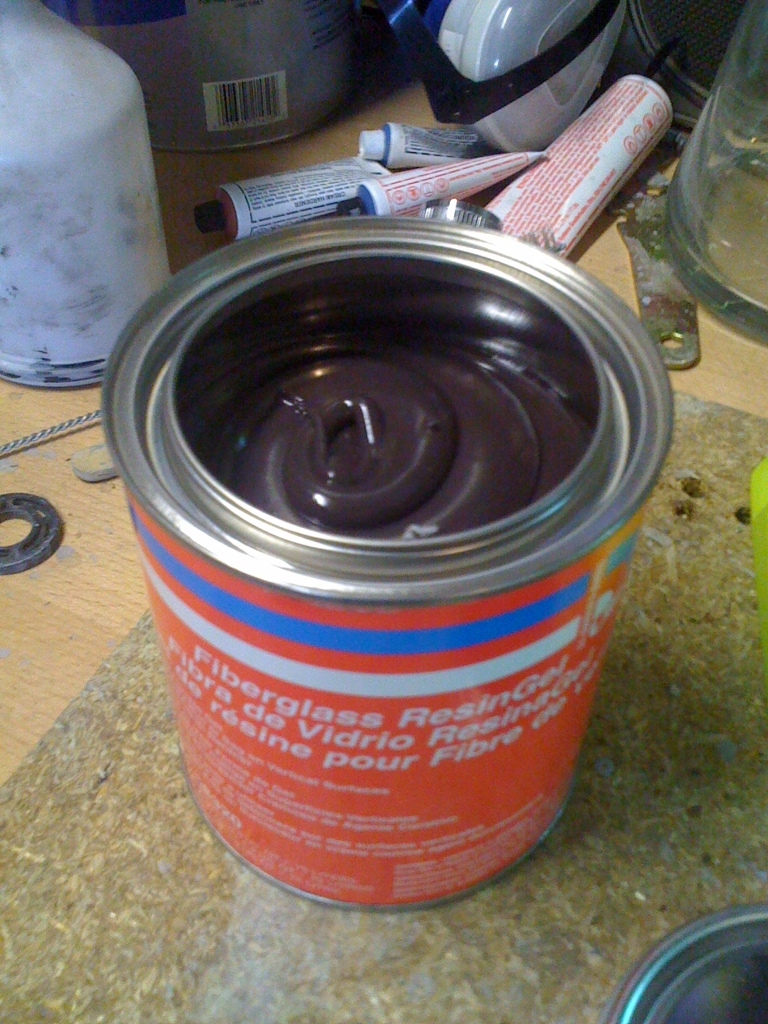
Instead of resin, I saw this stuff at the body shop and figured i'd give it a try. Supposed to be good for vertical stuff. Well it was impossible to "dip" the fiberglass in, so I literally had to add the fiberglass to the mix and stir it in and add it to the panel like kitty hair (or bondo with fiberglass). It also uses cream hardner. I wouldnt do it again, but it worked.
Reinforced some of the area's that I didnt do so well the first go around. The fender is VERY solid now.
Just a couple of pictures, but there was a lot of pinholes that I filled.
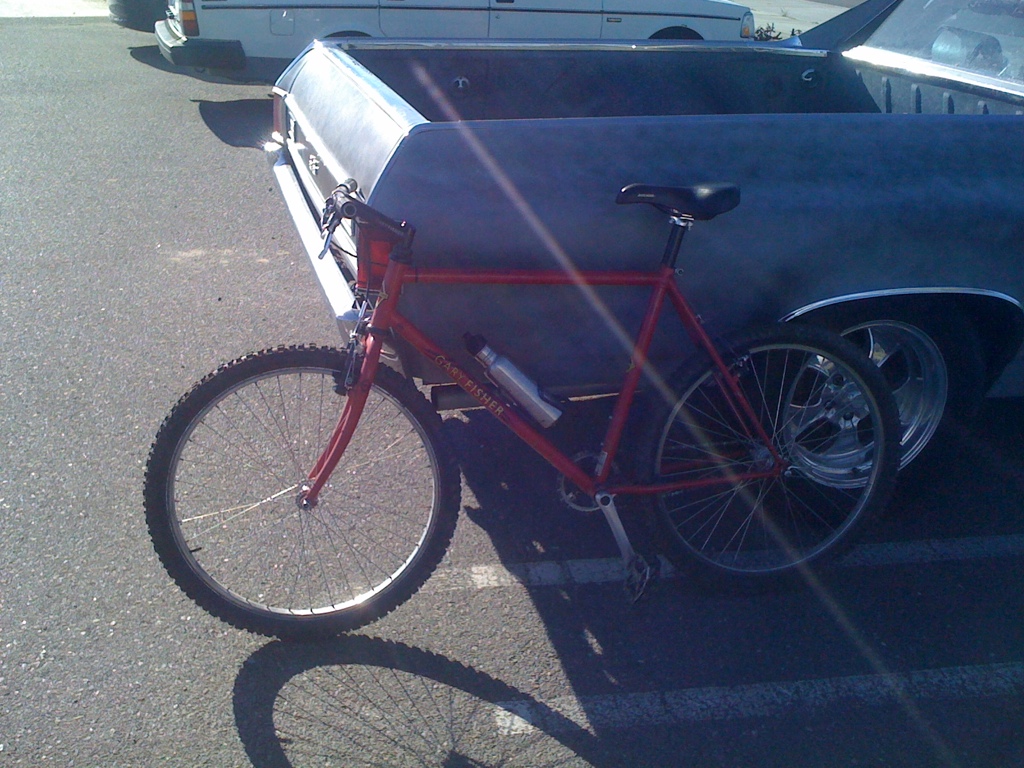
Went for a bike ride since the weather was awesome! My Gary Fisher single speed is on the top, my friends Specialized is on the bottom. However my friend completely demolished his rear wheel showing off doing a stoppie... You cant tell but it is completely bent beond repair.
Guess what? More primer!! It looks SO good!
The primer doesnt come out of the gun very nicely, but this is my last bit of primer filler. My next layer of primer will be primer sealer and i'll reduce it a bit.
So I dont have many pictures of the sanding to 220 grit or some of the glazing puddy work, It was a stressful weekend to say the least so i just concentrated on working.
The Fuel of the weekend was whiskey and coke with a twist. I put 1/3 a glass of ice, took a slice out of a lemon and dropped it in the glass, squeezed the rest of the lemon into the glass, poured an appropriate amount of whiskey, and 1/2 a can of coke (Actually diet Shasta..). Twas delicious! (My lemon tree is full of lemons so I needed to use some of them..)
Anyways onto the progress.
Sanded to 220, Feels so very smooth.
Now onto primer! This is my last bit of primer on this side. From here im going to finish the targa bar and finish the hoods, then rotate the car around for the passenger side!
I know I have a bunch of them, I'll try and only post the good ones, but its hard to tell.

Ah, yes, I forgot to put the tire cover back on... Yay, now I have hours of cleaning that tire...
i remembered to put it on for the second coat of primer though..
Overall impression is that it looked REALLY nice when wet. When it dried I noticed that I didnt do so hot on coverage in the lower portions of the rear fender. But this was probably my second coat so it probably has a good coat on it still.
Overall the gun shot WAY better with the primer reduced. I didnt measure but it was between 10-20% reduction.
I am REALLY happy the way this turned out. I need to work on shooting as I have a feeling that my pacing was off, and if this was base coat some of my spots would have ran a little, however I didnt get any runs this time.
The Fuel of the weekend was whiskey and coke with a twist. I put 1/3 a glass of ice, took a slice out of a lemon and dropped it in the glass, squeezed the rest of the lemon into the glass, poured an appropriate amount of whiskey, and 1/2 a can of coke (Actually diet Shasta..). Twas delicious! (My lemon tree is full of lemons so I needed to use some of them..)
Anyways onto the progress.
Sanded to 220, Feels so very smooth.
Now onto primer! This is my last bit of primer on this side. From here im going to finish the targa bar and finish the hoods, then rotate the car around for the passenger side!
I know I have a bunch of them, I'll try and only post the good ones, but its hard to tell.
Ah, yes, I forgot to put the tire cover back on... Yay, now I have hours of cleaning that tire...
i remembered to put it on for the second coat of primer though..
Overall impression is that it looked REALLY nice when wet. When it dried I noticed that I didnt do so hot on coverage in the lower portions of the rear fender. But this was probably my second coat so it probably has a good coat on it still.
Overall the gun shot WAY better with the primer reduced. I didnt measure but it was between 10-20% reduction.
I am REALLY happy the way this turned out. I need to work on shooting as I have a feeling that my pacing was off, and if this was base coat some of my spots would have ran a little, however I didnt get any runs this time.
Looking great Andrew. WCR this year?
Lennie, Not in the cards this year $$$ wise. There are a couple of local car shows (American graffiti being the biggest) that I'm shooting for. But its going to have to wait till next year for a WCR
Threw some filler on the rocker pannel in some low spots. Sanded this down with 36 grit then 80 grit (I laid it a bit thick...). I should mix some glaze to put on this tonight.. Hmm, maybe i'll do that for lunch tomorrow.
There was a pinhole that I missed and a low spot in the door. Filled it with glaze then sanded down the area with 150 and 220 grit with a block.
Aaand 2 layers of primer reduced ~20%
Progress started on the trunk again! I laid some glaze in some trouble areas and sanded down with 150 grit then hit it with 240 grit for just a little.
Here it is with 2 coats primer (painted same time as door). I need to work on my spraying a little, my pattern wasnt very good. However the primer settled really nice. There was one spot where a glob of primer came out, Not sure what happened there but oh well, i'll fix it later. I then sprayed some guide coat on and started sanding but the guide or the primer wasnt dry 100% (was about 2 hours after priming @ 65 deg) because it just immediately gummed up the sandpaper multiple times. I called it a night at this and worked on the CRX.
Not sure if I'll work on it next weekend or not.. GF has the weekend off.
No pics today.. I only got a couple hours to work on the 914... Spent about an hour sanding the rear trunk from the last primer filler application down with 150 then 220. A couple of low spots on that but nothing this or next primer filler application shouldnt fix.
I also sanded the rocker pannel down with 80 then 150.
The trunk saw almost 2 layers of primer, but I ran out and didnt want to open the other quart (Not to mention the compressor was low on air and it was 10:45 and I didnt want to turn it on...). I also had a hell of a time adjusting the gun and shot more than 70% of it with the gun not adjusted correctly.
More learning curve I guess. Arg.
I dont think i'll get any work done this weekend as the GF is off and its saint patty's so I think she wants to go to the local drinking stuff. Buuut i might be able to get a couple hours on the car in the wee morning. I would really like to get the rear trunk DONE soon so I can test out painting it. I need some practice painting with the gun prior to actually painting the whole car at one time. I think I will be painting my friends crown vic prior to me painting my car, but we'll see. If thats the case, then i'll get some good practice. (Im pretty sure he wants to paint it black too.. ARG... Im going to try and convince him white...)
QUOTE(Andyrew @ Mar 15 2011, 10:52 PM)
(Im pretty sure he wants to paint it black too.. ARG... Im going to try and convince him white...)
paint it white
we need some pictures of andy's mad max camo geo
Got some mixed progress done tonight.
Finished grinding the targa bar down, but I still have to weld about 1/3 of it back up and I FINALLY have my welder back.. Arg. (My friend used up 3/4 of a 2lb spool of wire.. bought me a new spool though)
Click to view attachment
My friends Geo... (Orange914's son)
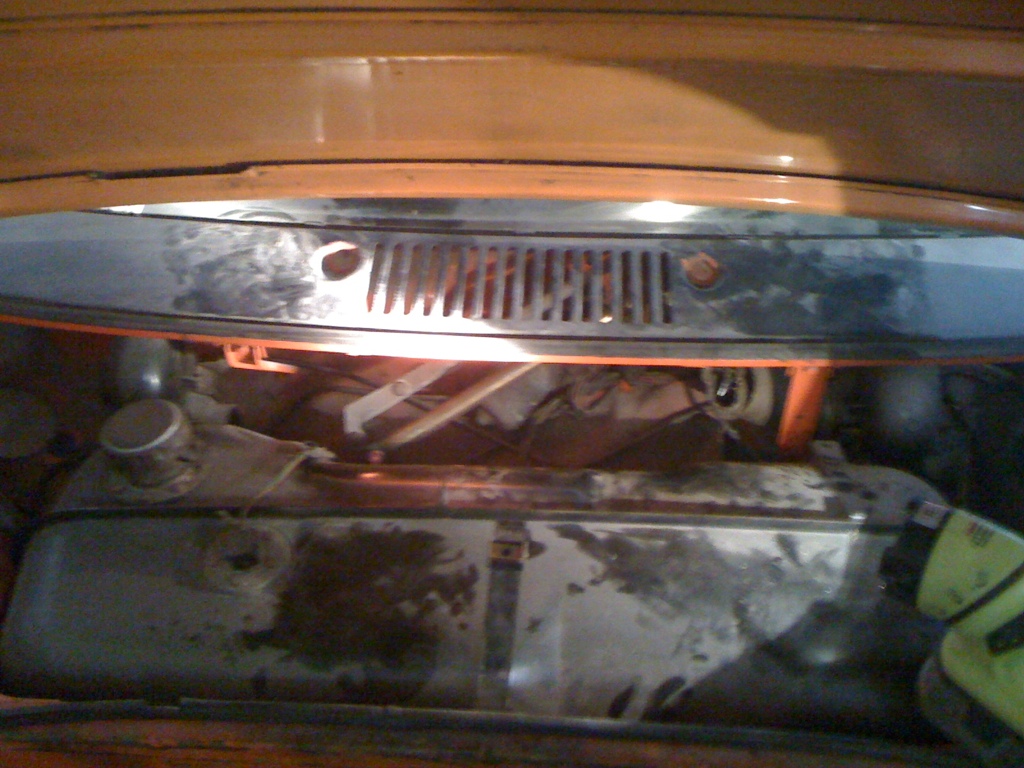
Pulled the windshield wiper setup out. Figured out the trick to this which no one mentioned on any of the posts I found. Obviously there is the 3 bolts (two up top on the cowl, one behind the speedo to the right), but you have to remove the rubber grommets on the top as well with a knife. THEN you basically force the passenger side upper bolt out and pulling it down removes the back bolt and then the right side bolt can come undone. Once I figured this out it was a 1 minute job (however it had me scratching my head and looking up posts for an hour).

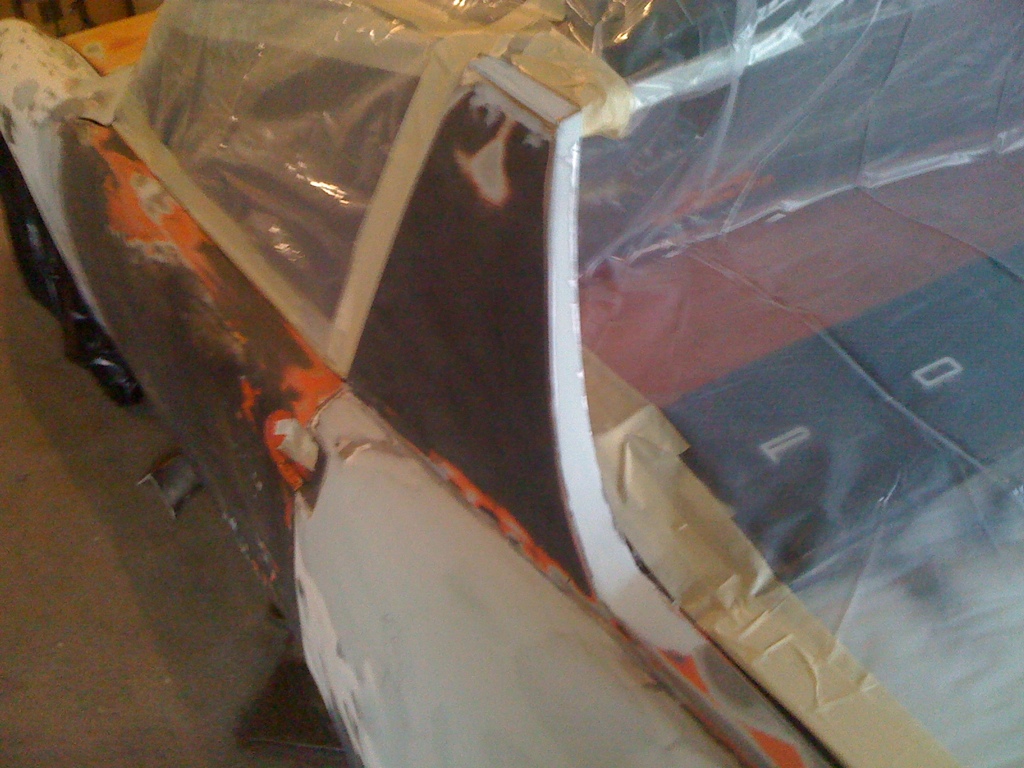
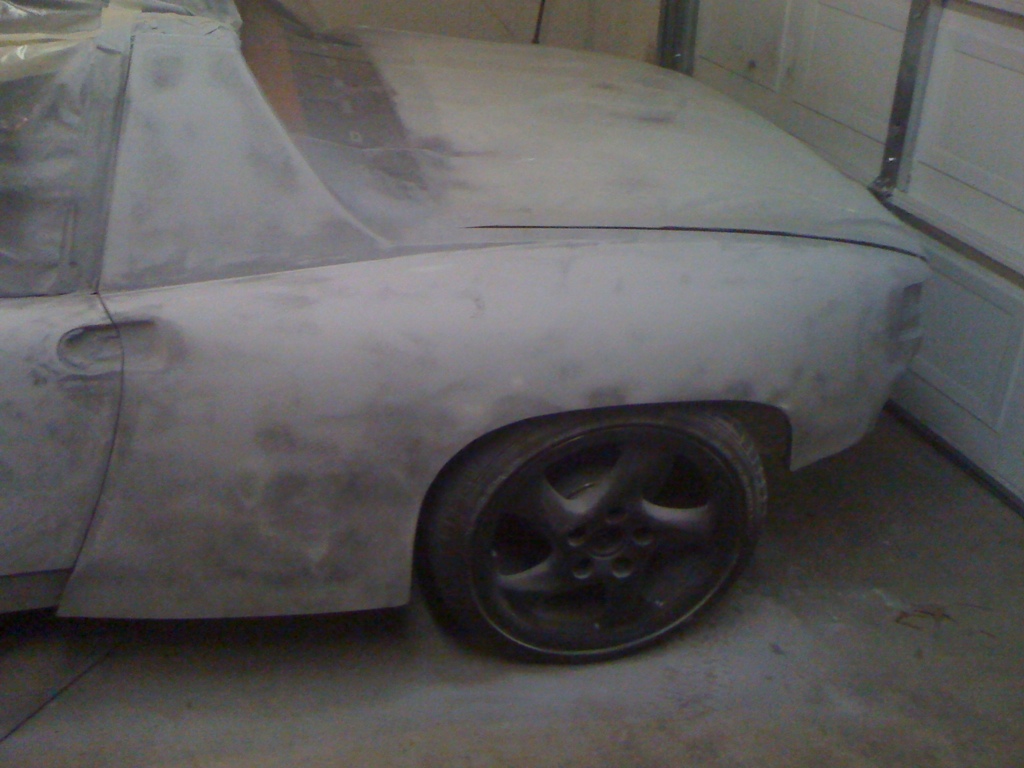
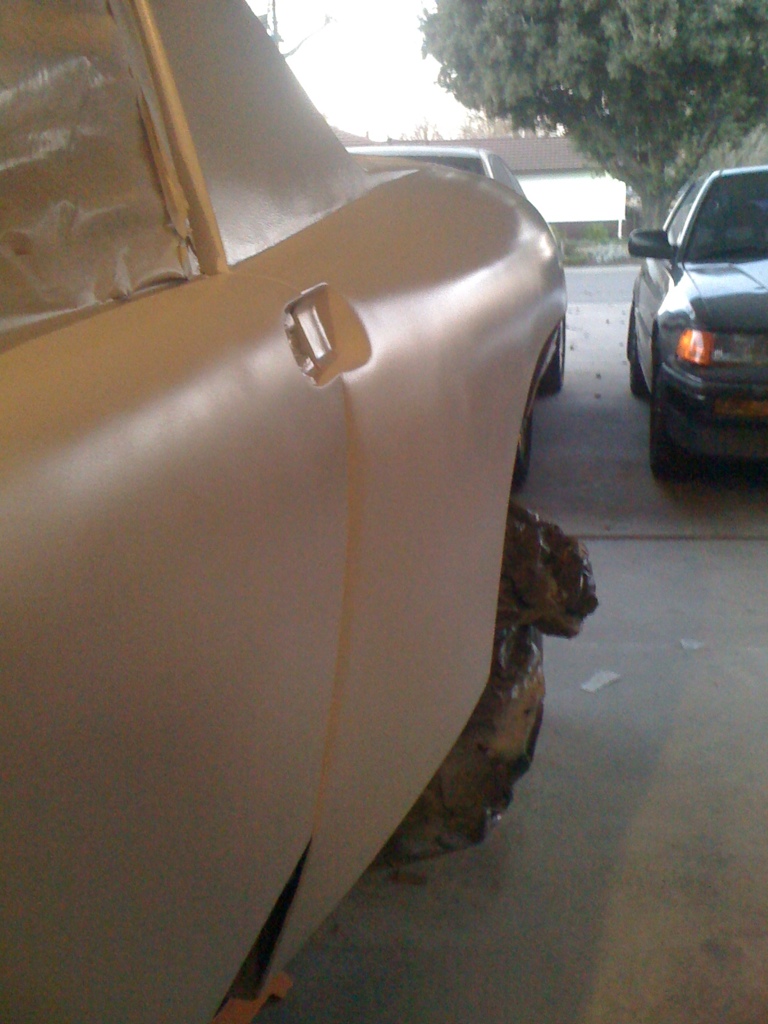
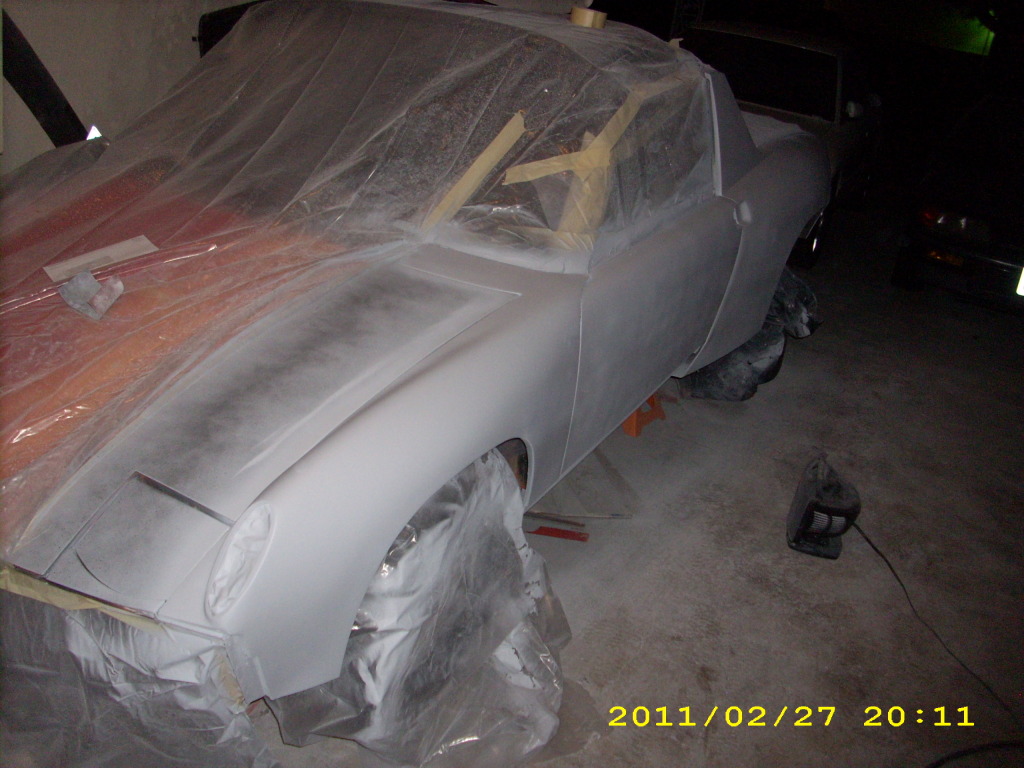
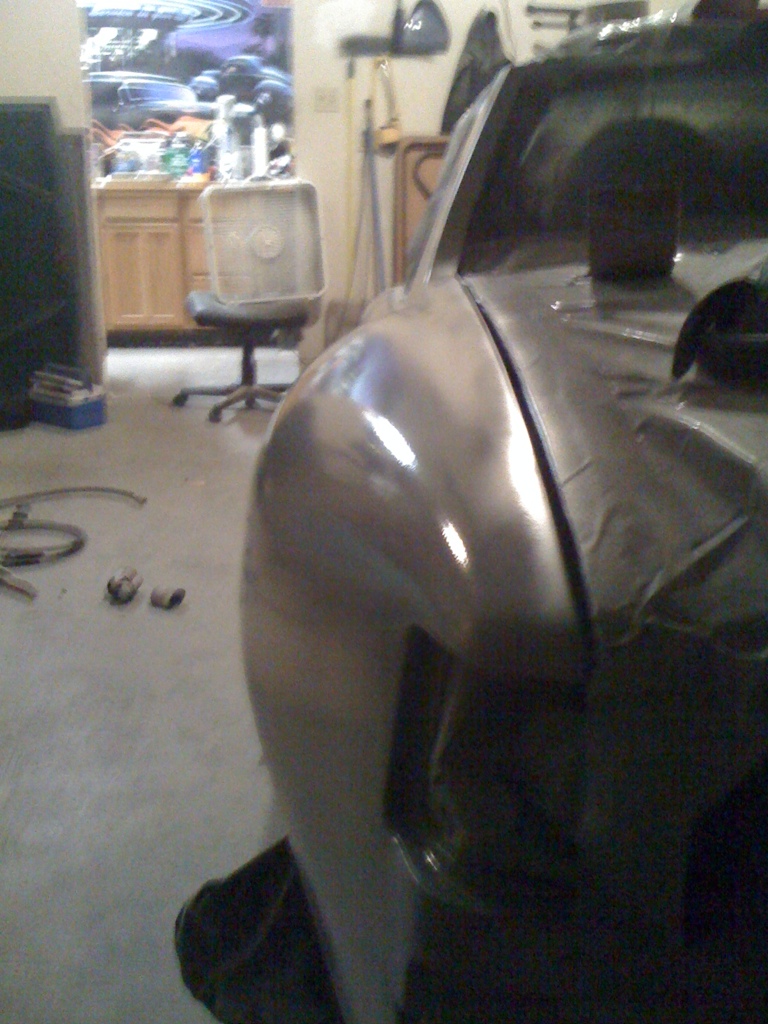
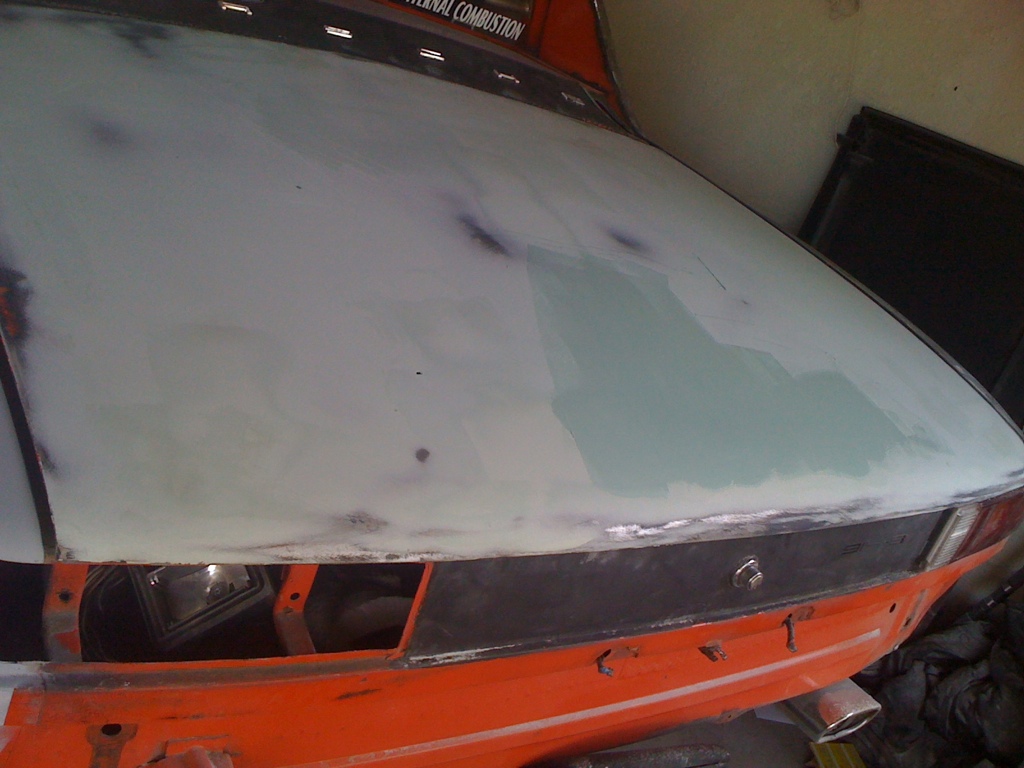
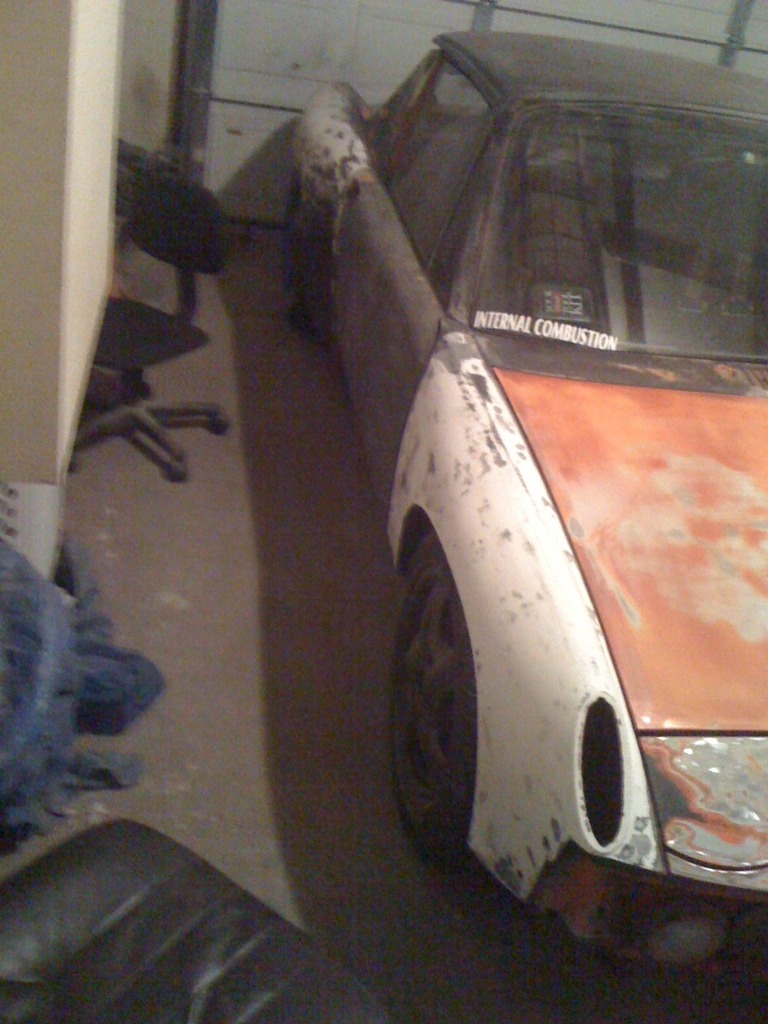
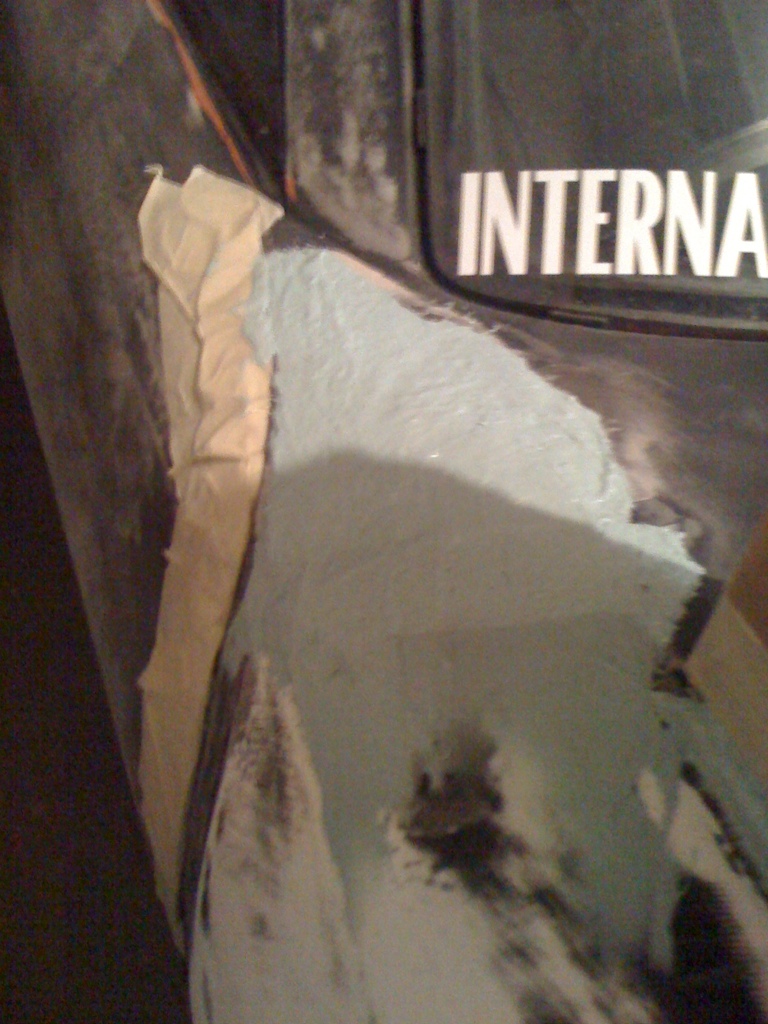
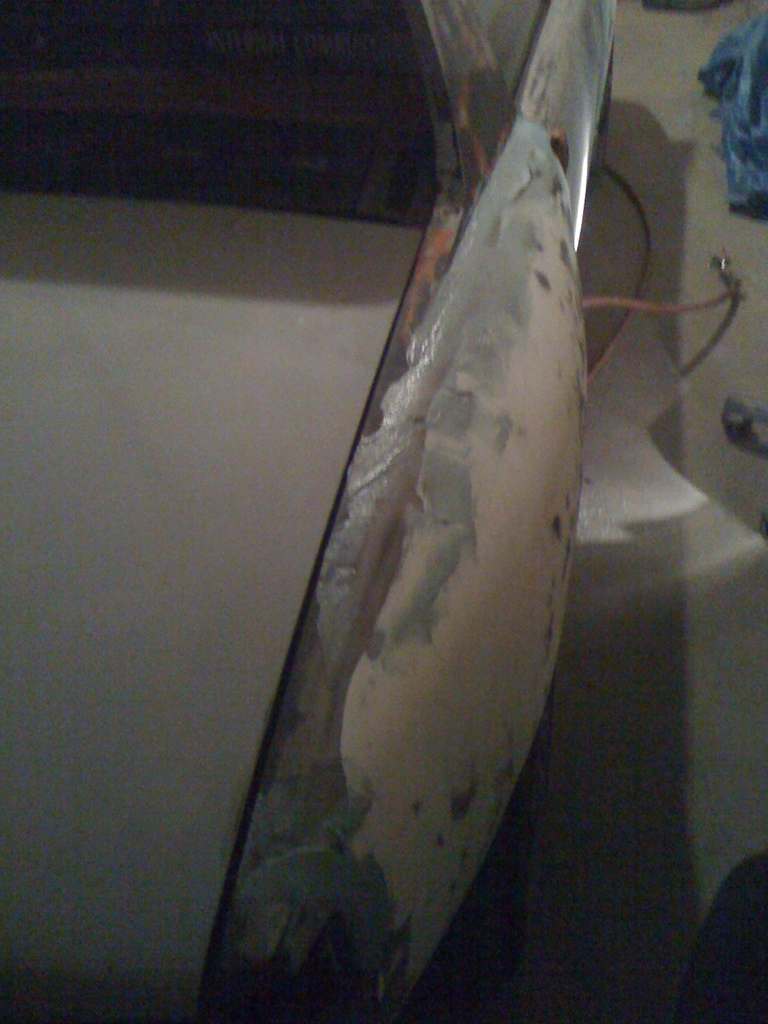
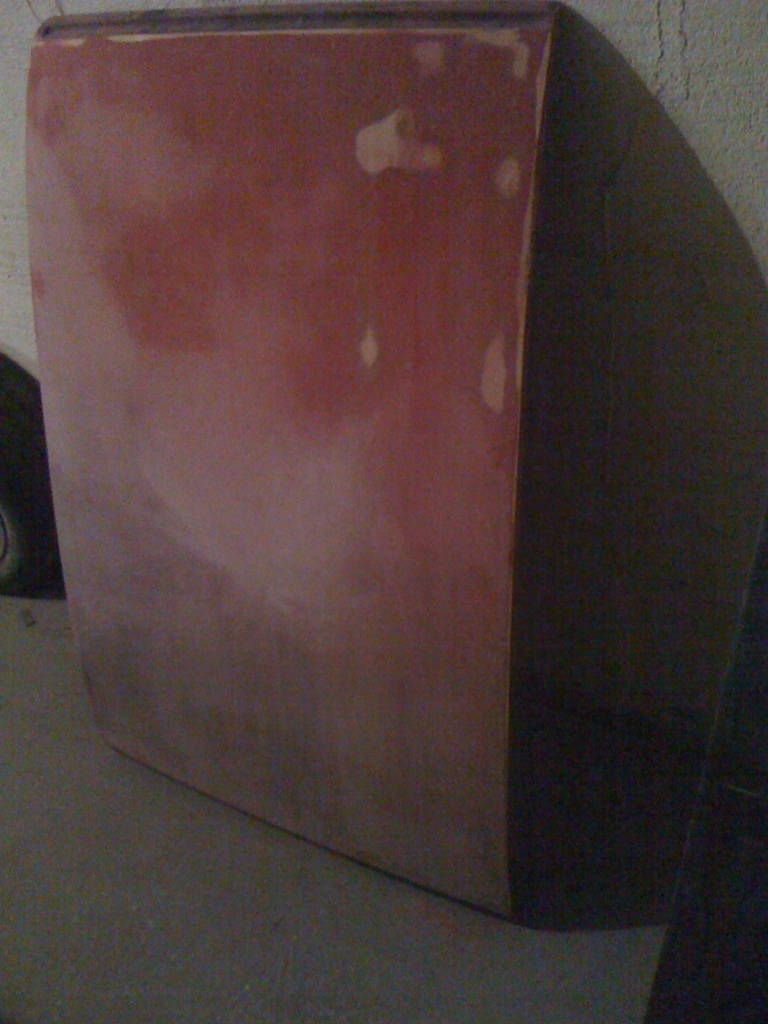
Paint on the headlight cover. Yup, thats a lot of layers... Most of the car goes down to bare metal this go around so its not that big of a deal.. Just a lot of paint to take off...
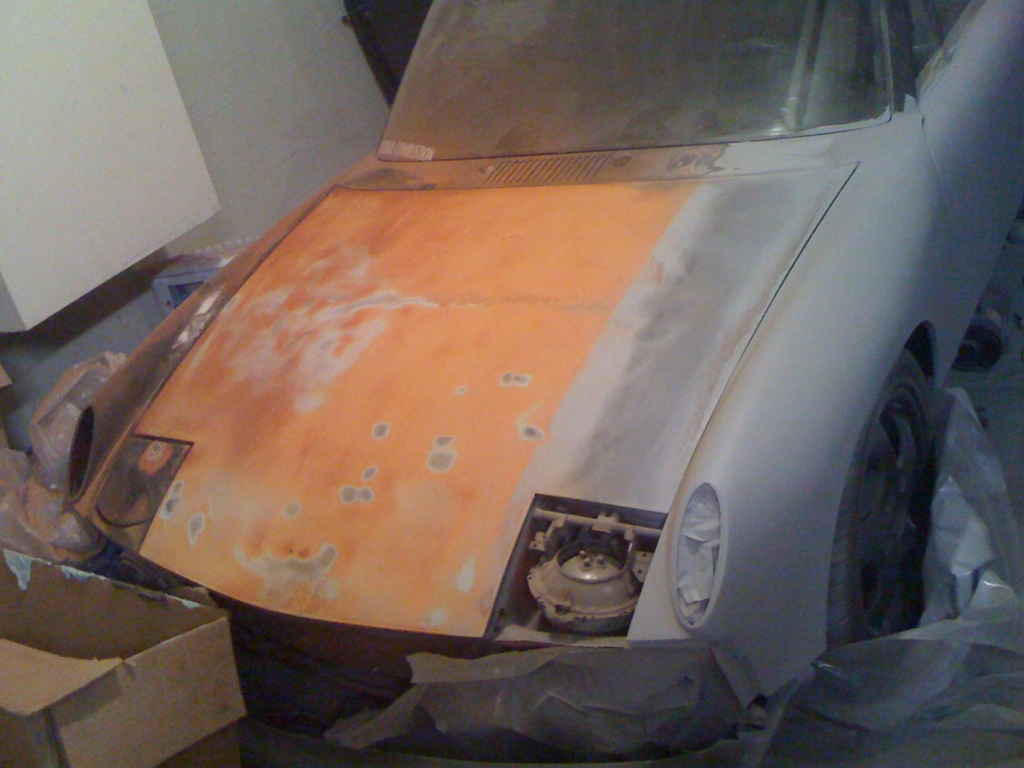
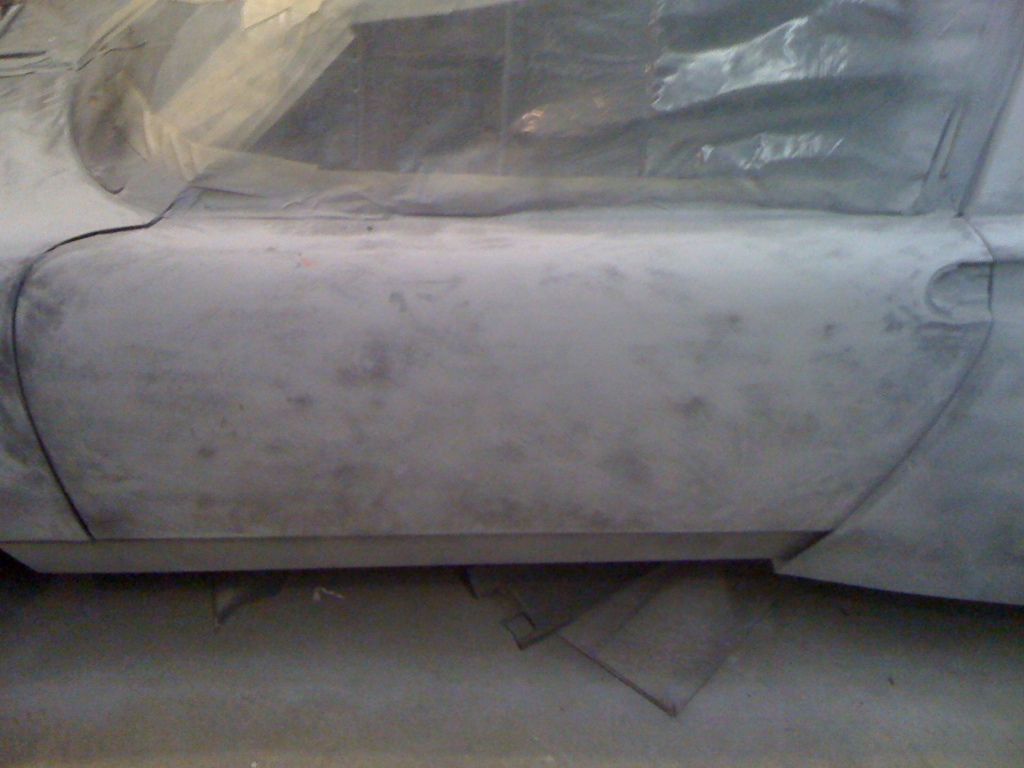
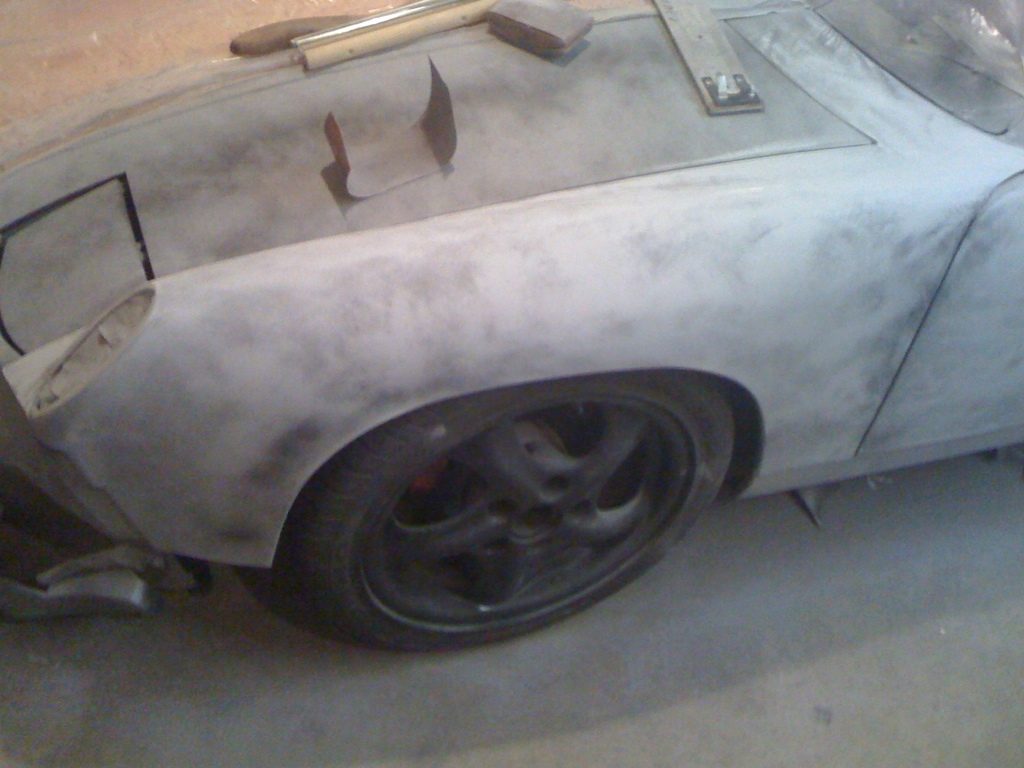
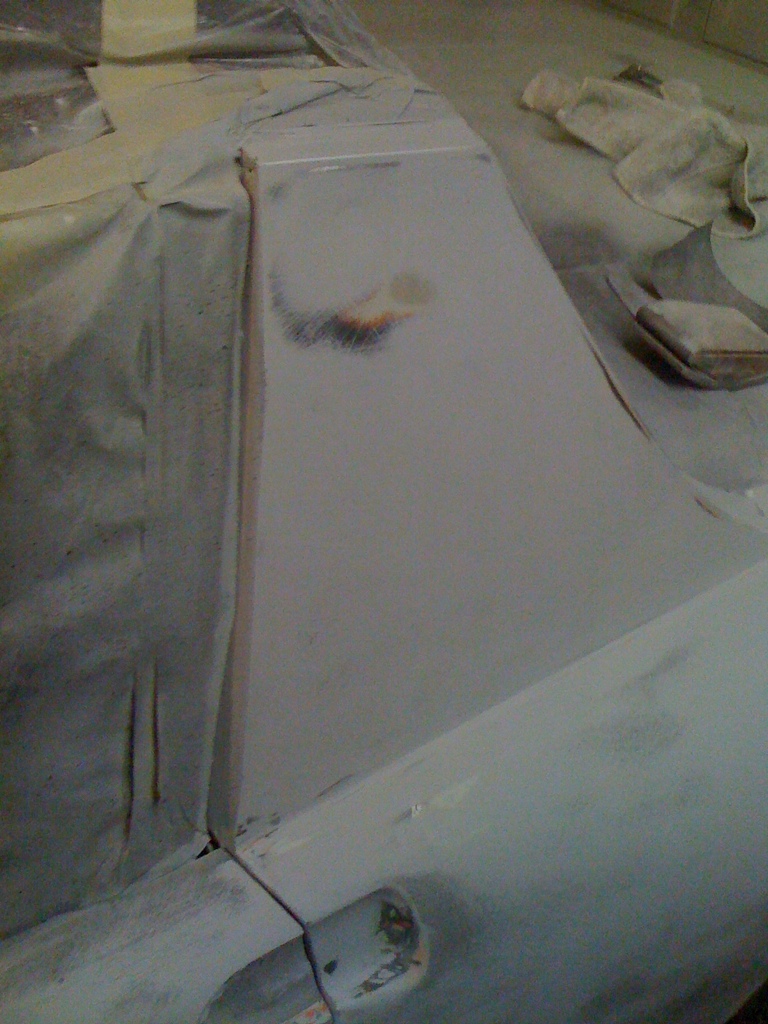
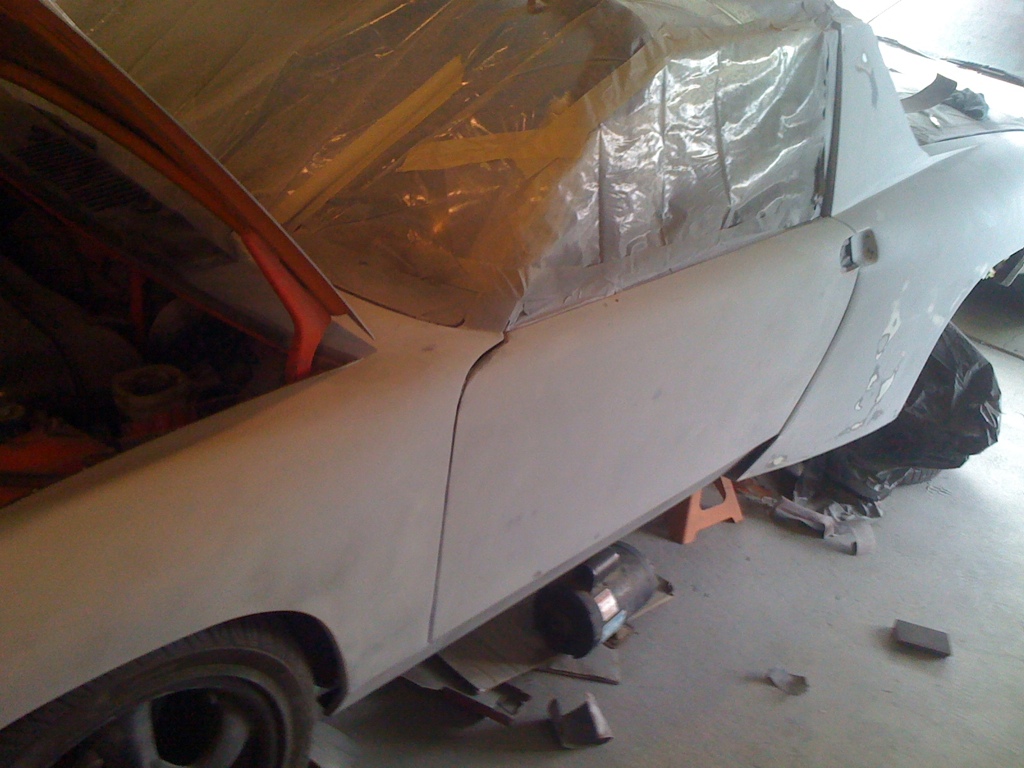
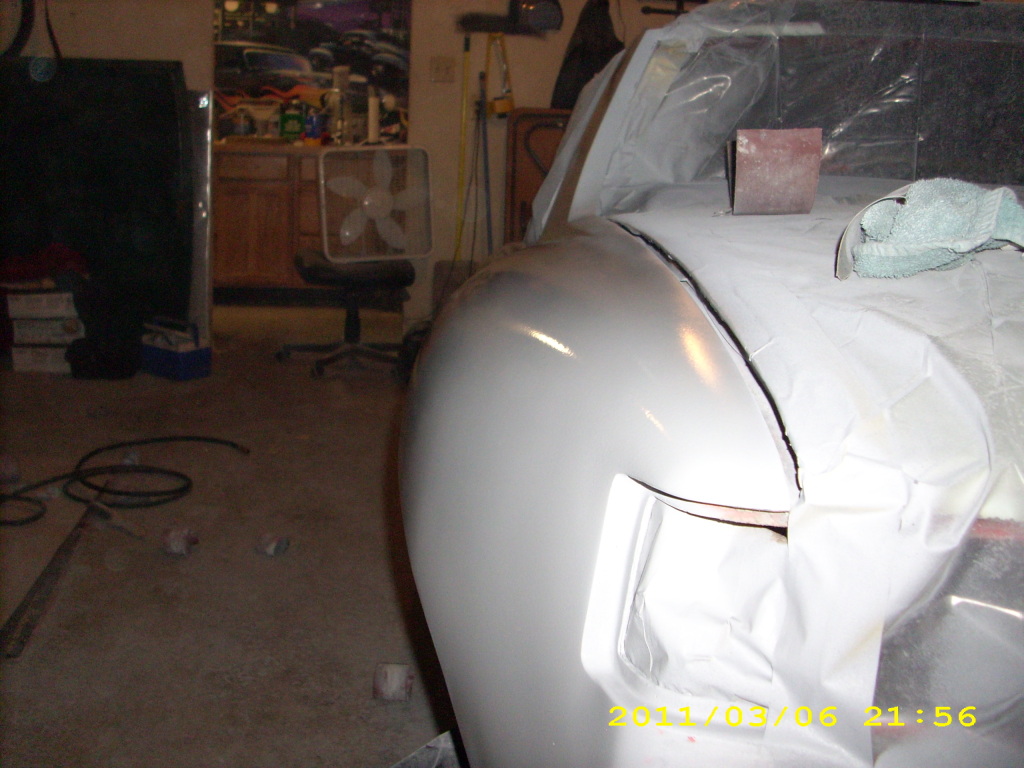
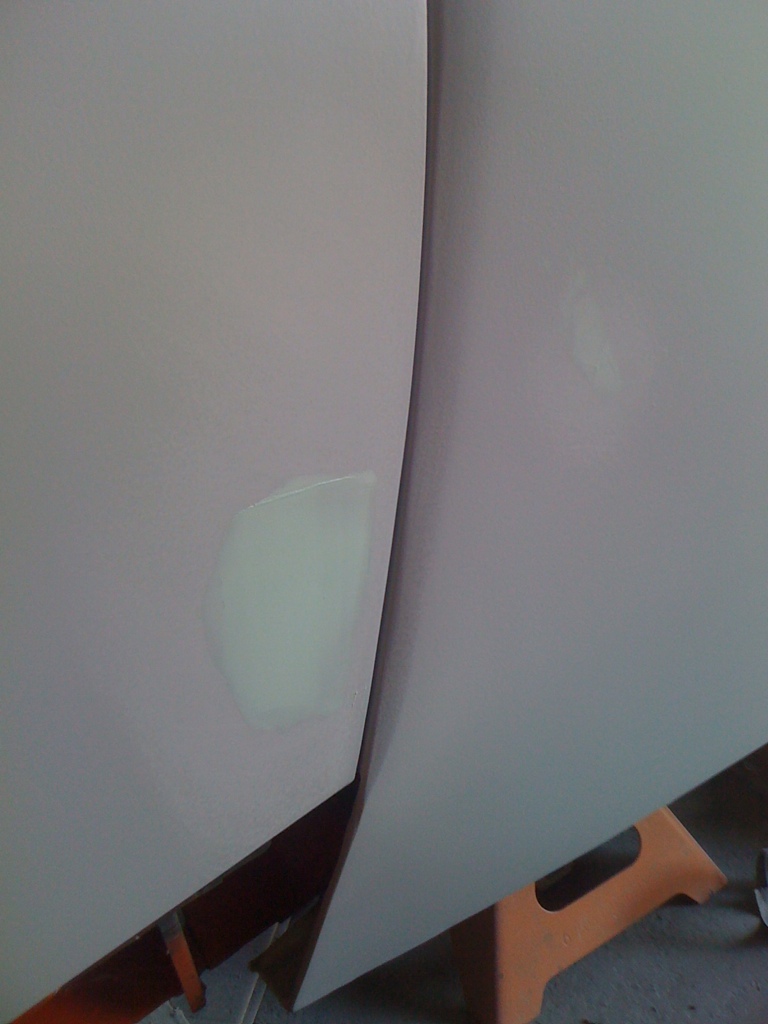
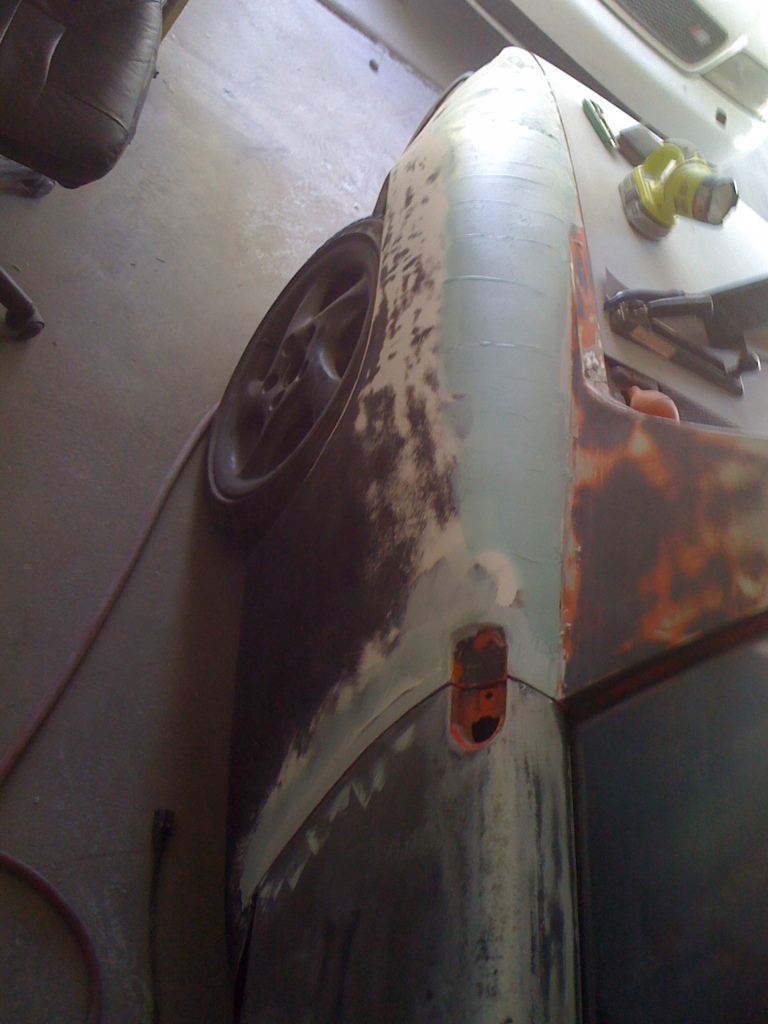
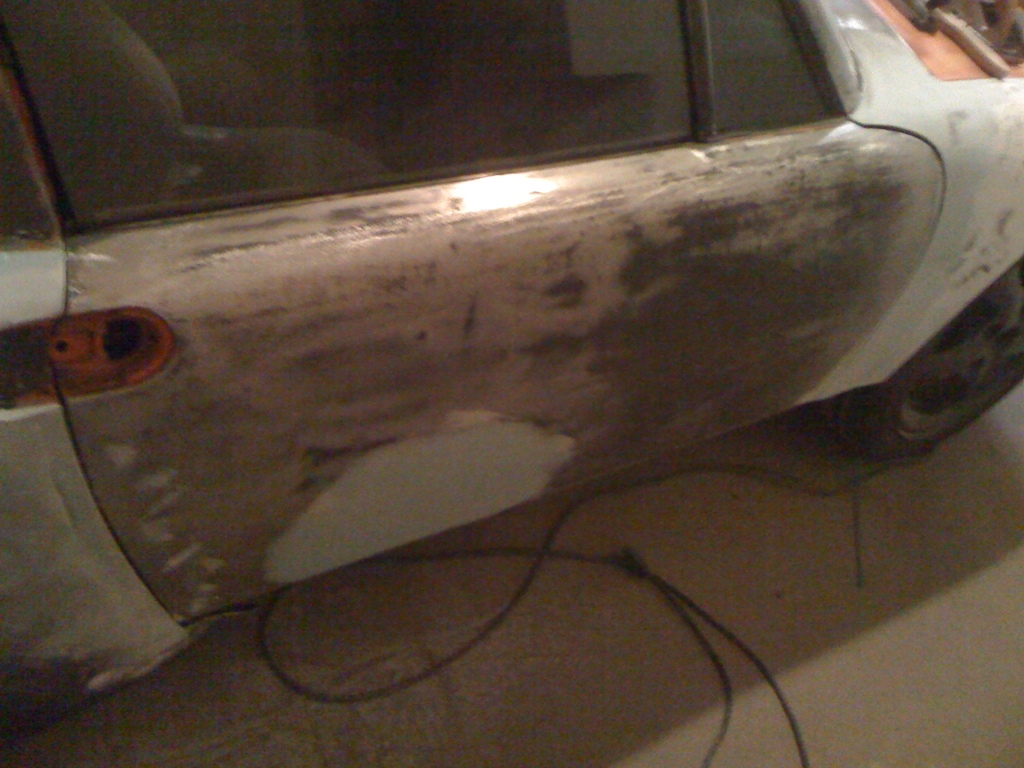
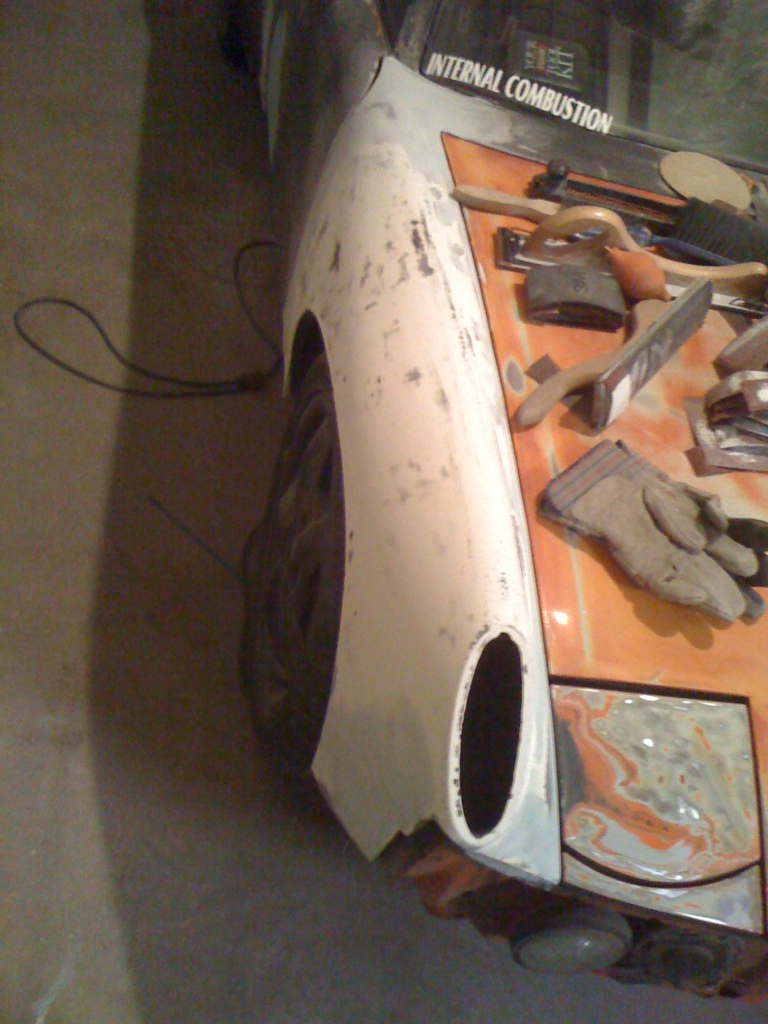
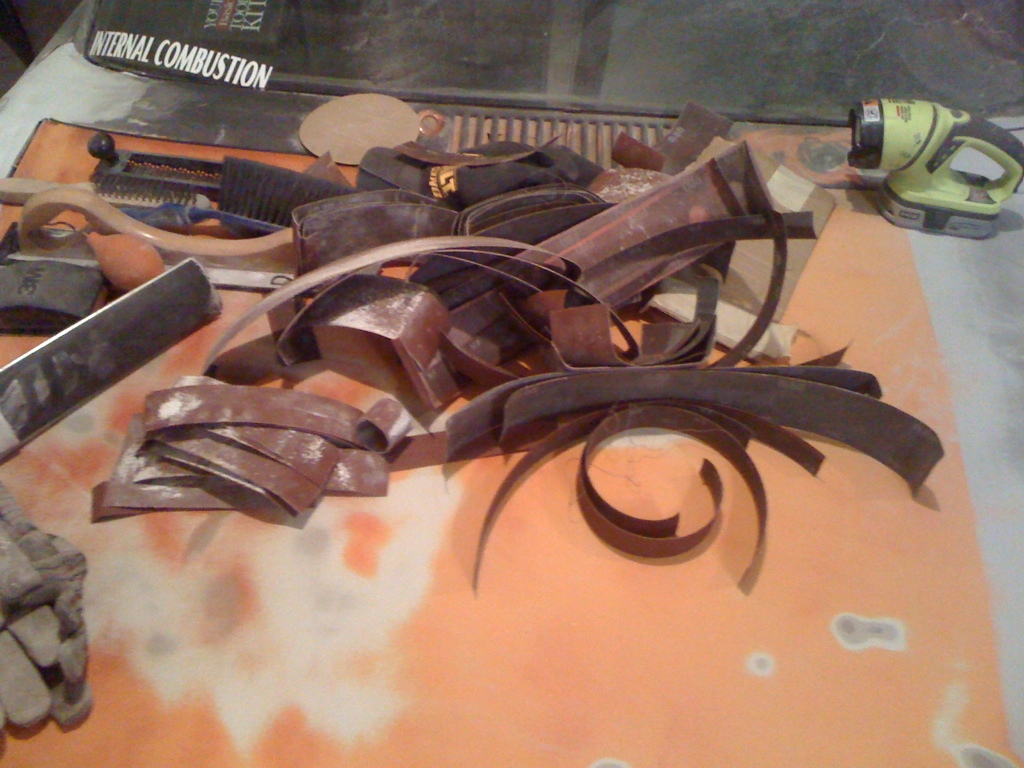
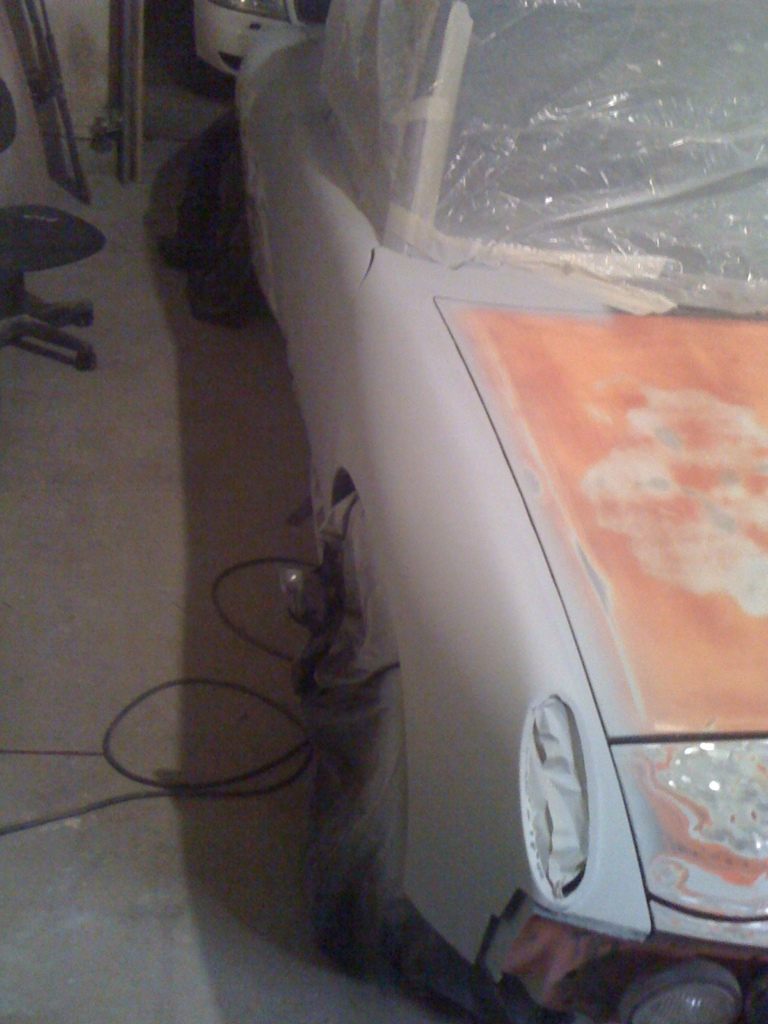
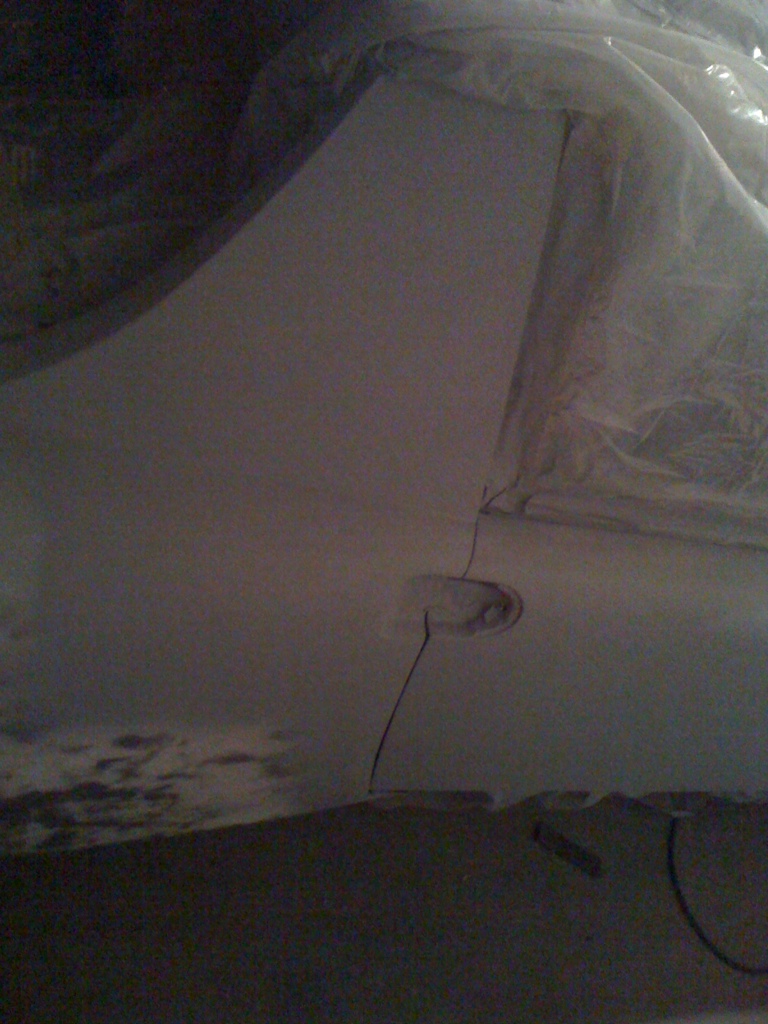
Front hood, Focused on taking area's with paint chips to bare metal. The whole trunk is smooth, but i'd like to get it down to the original primer at least (2 layers). My DA isnt working well, and the paint is pretty darn hard.. My air longboard with 80 grit cuts it, but its really taking a long time.
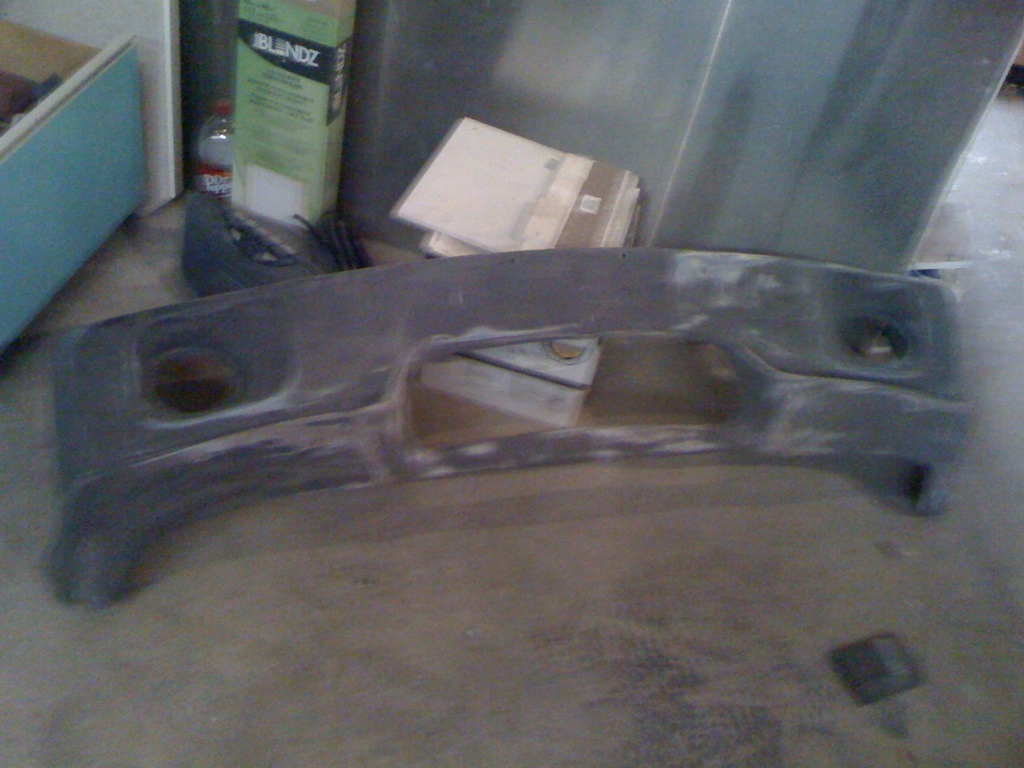
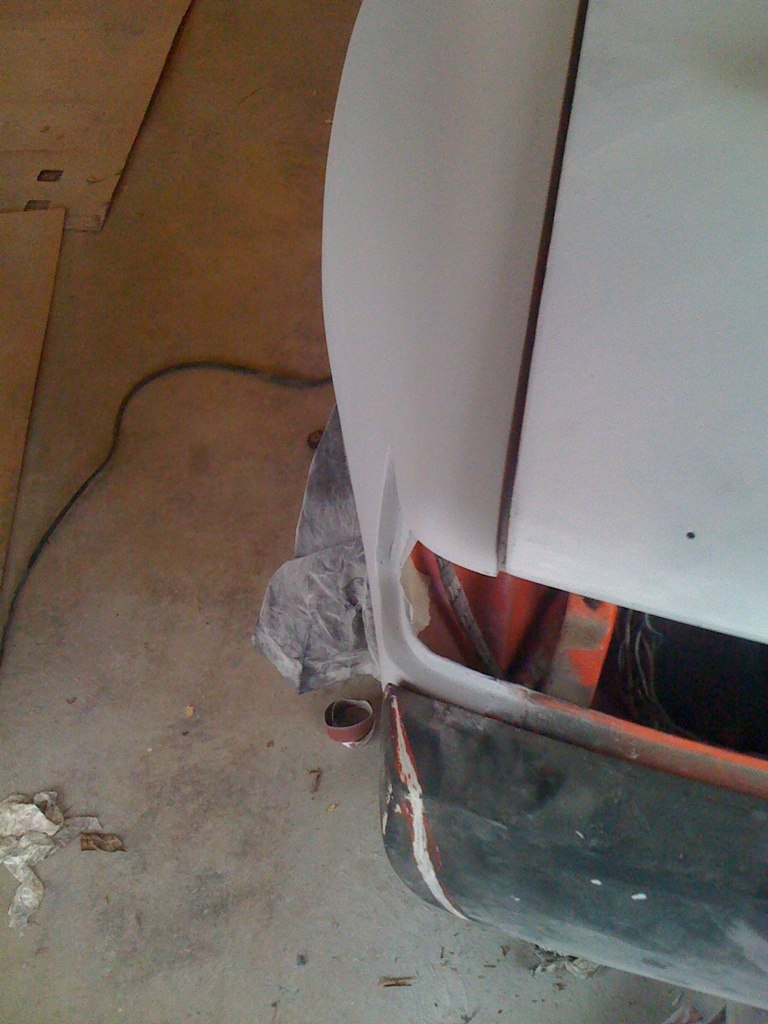
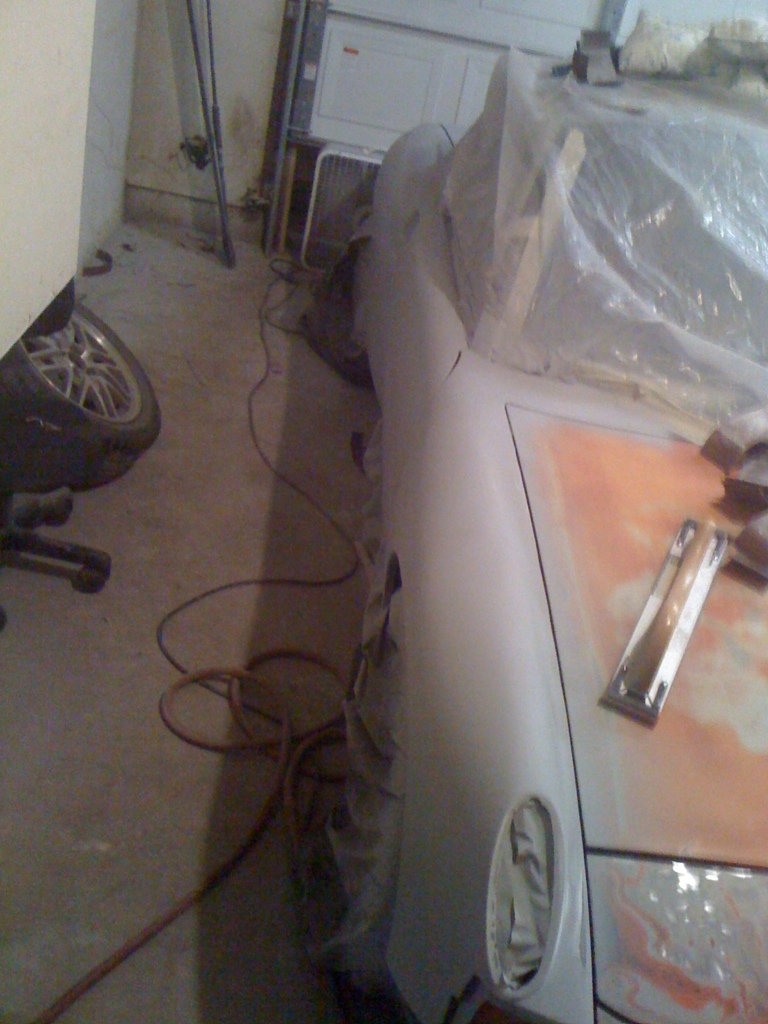
Spent some time on the rear bumper, sanded down a BUNCH of bondo that is on it. this bumper is a mess... Oh well, its just a bumper, maybe i'll get creative with it.
Thoughts on me sectioning out the white area to get the bumper to match the new flare lines more?
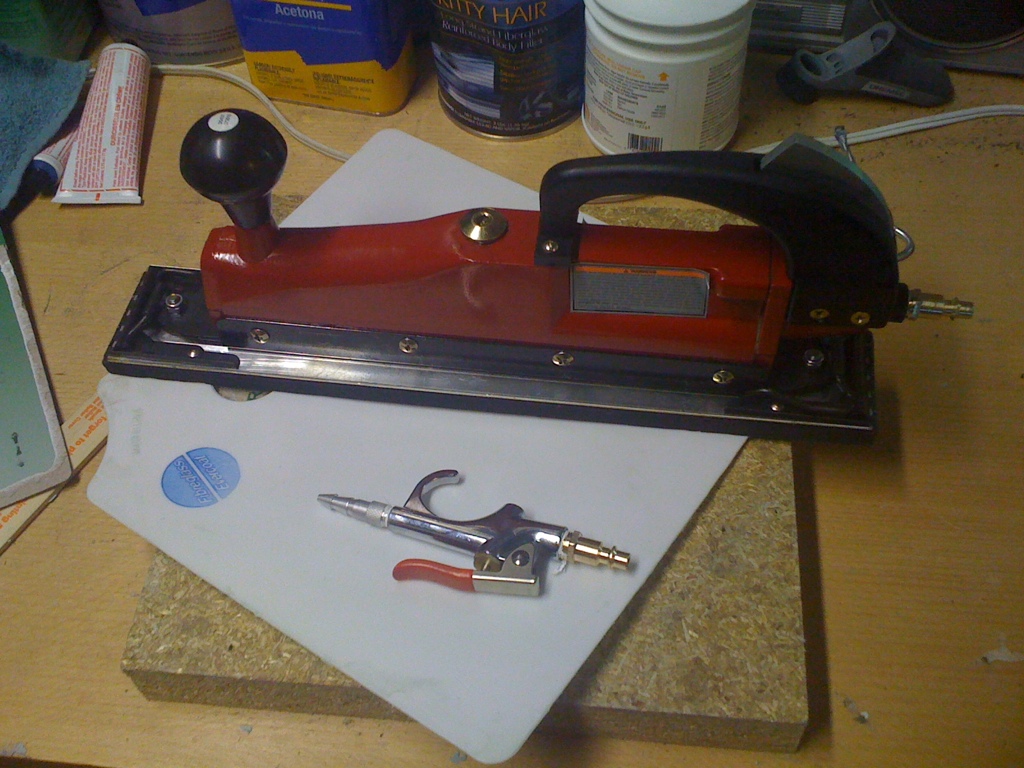
Spent 25 bucks and got a REAL primer gun.. 1.8 tip. Gun was on sale for 15, regulator and dryer was 10. HF special.
I have a long weekend to myself coming up. I'll be flipping the car around and starting on the passenger side!!
Finished grinding the targa bar down, but I still have to weld about 1/3 of it back up and I FINALLY have my welder back.. Arg. (My friend used up 3/4 of a 2lb spool of wire.. bought me a new spool though)
Click to view attachment
My friends Geo... (Orange914's son)
Pulled the windshield wiper setup out. Figured out the trick to this which no one mentioned on any of the posts I found. Obviously there is the 3 bolts (two up top on the cowl, one behind the speedo to the right), but you have to remove the rubber grommets on the top as well with a knife. THEN you basically force the passenger side upper bolt out and pulling it down removes the back bolt and then the right side bolt can come undone. Once I figured this out it was a 1 minute job (however it had me scratching my head and looking up posts for an hour).
Paint on the headlight cover. Yup, thats a lot of layers... Most of the car goes down to bare metal this go around so its not that big of a deal.. Just a lot of paint to take off...
Front hood, Focused on taking area's with paint chips to bare metal. The whole trunk is smooth, but i'd like to get it down to the original primer at least (2 layers). My DA isnt working well, and the paint is pretty darn hard.. My air longboard with 80 grit cuts it, but its really taking a long time.
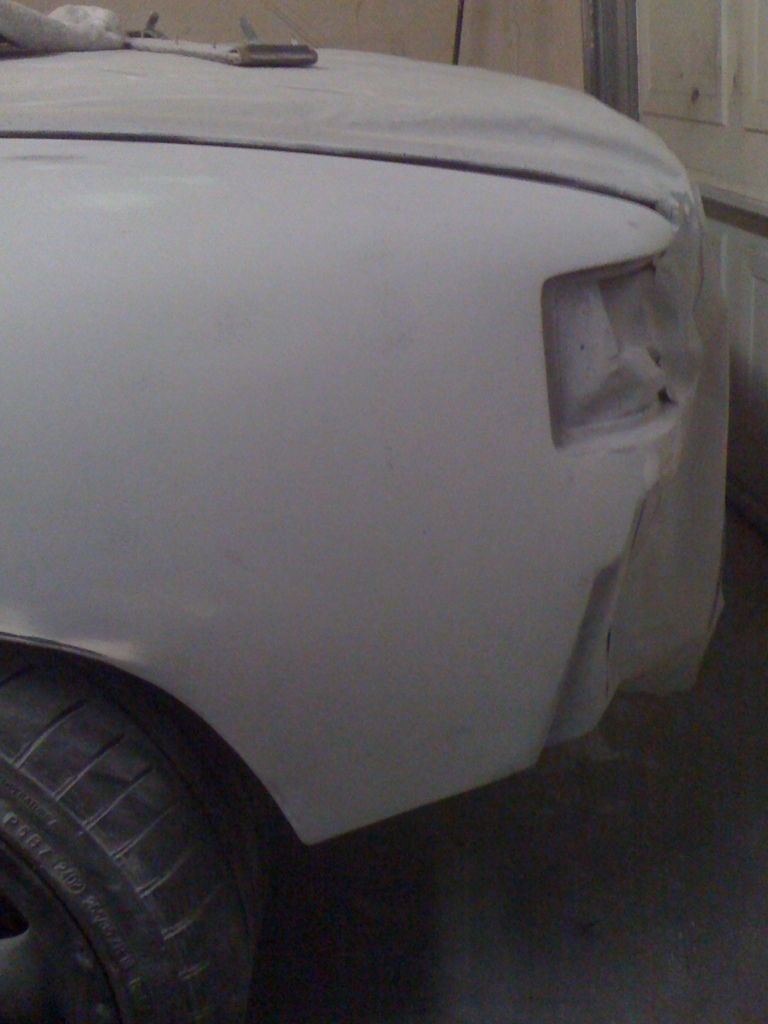
Spent some time on the rear bumper, sanded down a BUNCH of bondo that is on it. this bumper is a mess... Oh well, its just a bumper, maybe i'll get creative with it.
Thoughts on me sectioning out the white area to get the bumper to match the new flare lines more?
Spent 25 bucks and got a REAL primer gun.. 1.8 tip. Gun was on sale for 15, regulator and dryer was 10. HF special.
I have a long weekend to myself coming up. I'll be flipping the car around and starting on the passenger side!!
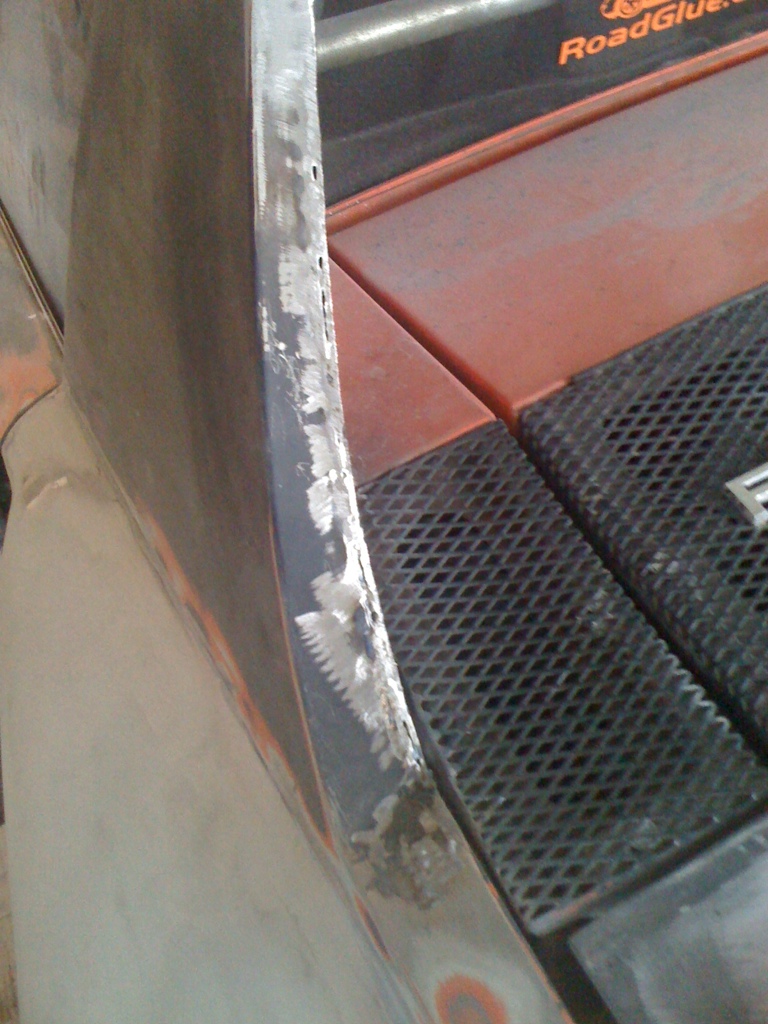
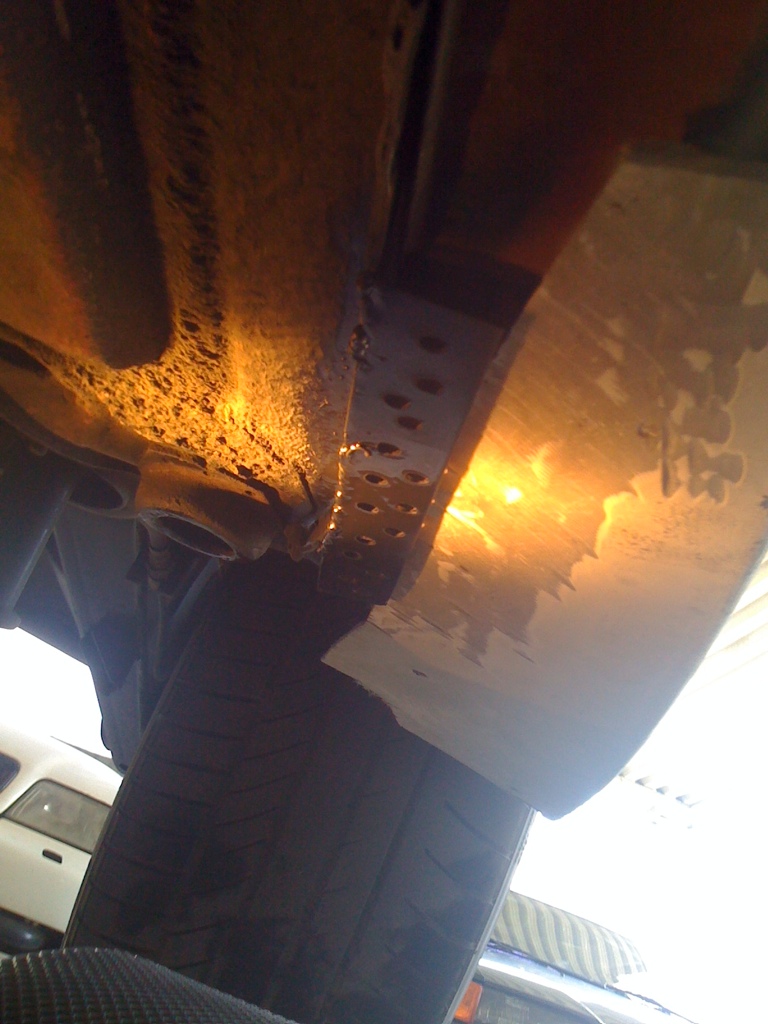
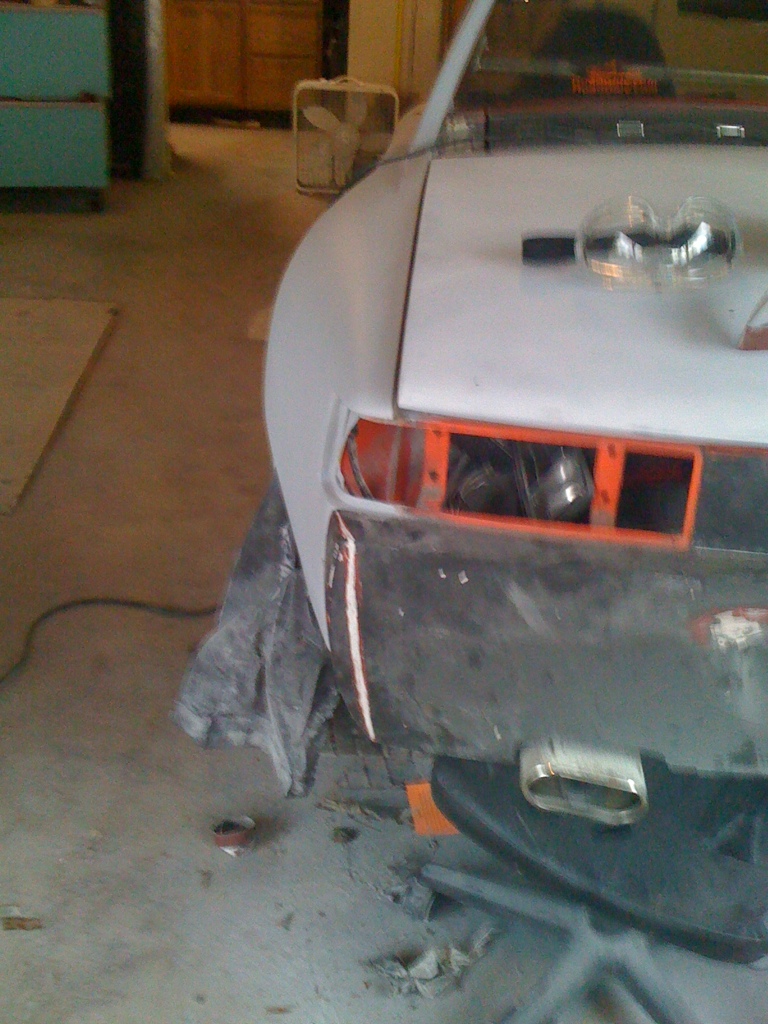
My friends geo with what took so much welding. Full size truck brush guard, sectioned and cut down. Welded to the sides and to the 1/8" skidplate on the bottom of the car.
Yes, this car DOES see mud.
Click to view attachment
Yes, this car DOES see mud.
Click to view attachment
This weekend wasnt completely a wash.. I got to work on the car on sunday.
Started the morning with some cleaning and prepping, moved the car over so I could get to the pass side and still fit the honda in the garage. I started and ran the engine for ~ 5 minutes today, it died on me and I think its because it ran out of gas or the filter was clogged. This has been added to the to do list (replace fuel filter..)
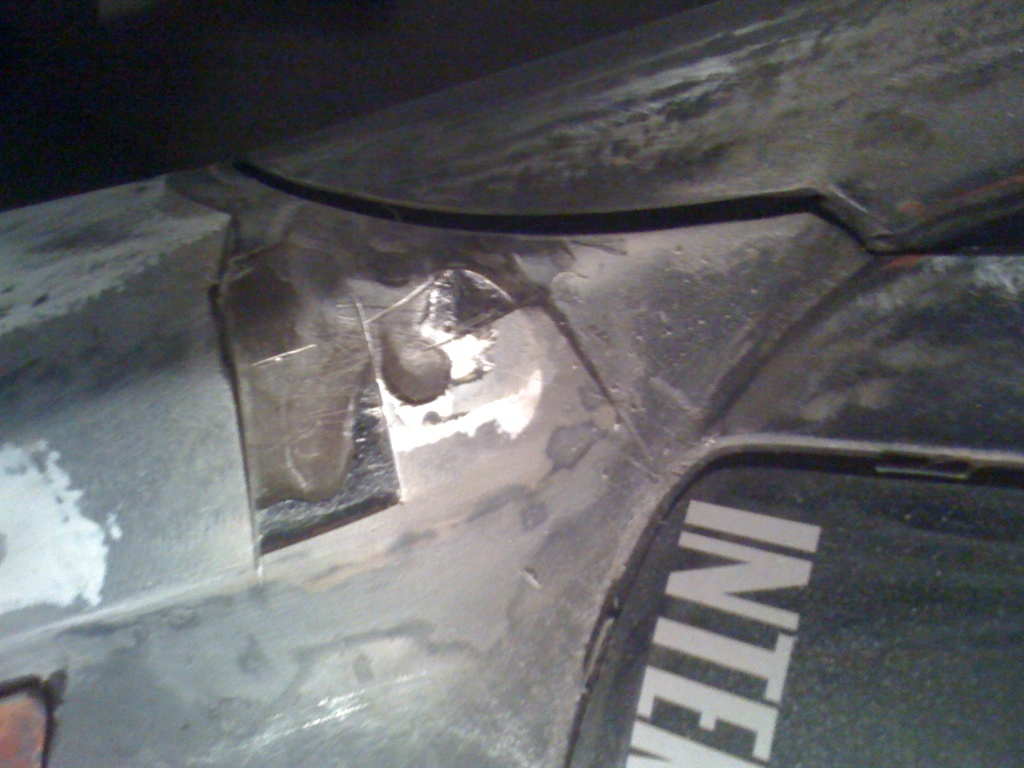
I finished welding and grinding the targa bar, its ready for glaze puddy and primer.
Then the rest of the day was devoted to helping friends with random stuff. But I returned at night with my uncle! (He had a heart attack and was under for 13+ minutes, He has slowly regained memory but is still not 100%. He used to own his own shop and painted several cars up until his heart attack almost 2 years ago, he's now at the point where Im pushing him to learn those things he loved to do. He still has muscle memory, but he forgets what the next step is and needs to be coached).
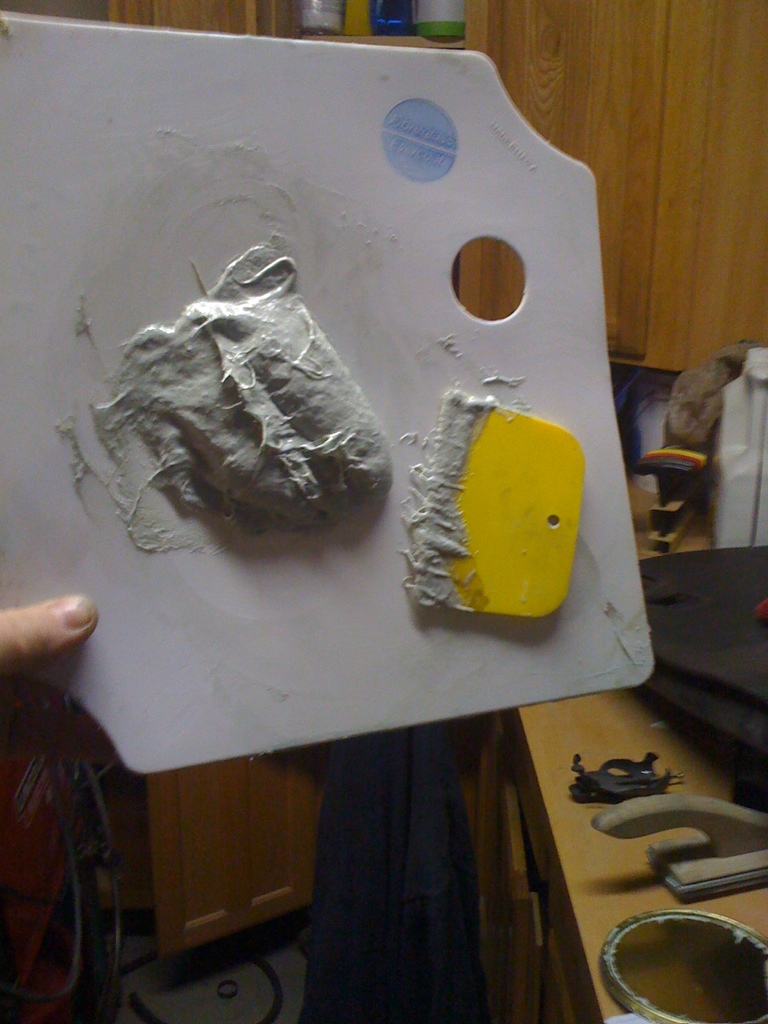
Here is my uncle laying down bondo/glaze mix on the rear spoiler. Decided to fill in the "texture" that was on the spoiler.
All sanded down, now to bondo the bottom portion.
Sanded down the whole pass side with 80 grit, ground down the rivets from the fender flares, welded some supports for the fenders, and welded the pass mirror holes up. Its almost ready for some bondo/kitty hair mix to finish off the flare attachements like the other side. I also need to reinforce behind the flares, I'll use the purple stuff as it seemed really good for that on the rear flare.
Started the morning with some cleaning and prepping, moved the car over so I could get to the pass side and still fit the honda in the garage. I started and ran the engine for ~ 5 minutes today, it died on me and I think its because it ran out of gas or the filter was clogged. This has been added to the to do list (replace fuel filter..)
I finished welding and grinding the targa bar, its ready for glaze puddy and primer.
Then the rest of the day was devoted to helping friends with random stuff. But I returned at night with my uncle! (He had a heart attack and was under for 13+ minutes, He has slowly regained memory but is still not 100%. He used to own his own shop and painted several cars up until his heart attack almost 2 years ago, he's now at the point where Im pushing him to learn those things he loved to do. He still has muscle memory, but he forgets what the next step is and needs to be coached).
Here is my uncle laying down bondo/glaze mix on the rear spoiler. Decided to fill in the "texture" that was on the spoiler.
All sanded down, now to bondo the bottom portion.
Sanded down the whole pass side with 80 grit, ground down the rivets from the fender flares, welded some supports for the fenders, and welded the pass mirror holes up. Its almost ready for some bondo/kitty hair mix to finish off the flare attachements like the other side. I also need to reinforce behind the flares, I'll use the purple stuff as it seemed really good for that on the rear flare.
Great progress! keep going 
I need to get my car in the garage...
I need to get my car in the garage...
You could build one of these...
http://www.carportstation.com/IVG2/N/ProductID-40901.htm
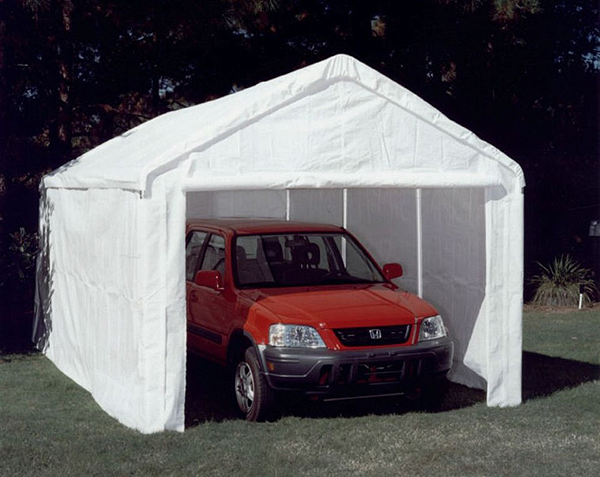
With one of these and 3 tarps
http://www.harborfreight.com/12-1-2-half-f...nopy-92928.html
Im contemplating it for my back car area.
http://www.carportstation.com/IVG2/N/ProductID-40901.htm
With one of these and 3 tarps
http://www.harborfreight.com/12-1-2-half-f...nopy-92928.html
Im contemplating it for my back car area.
QUOTE(Andyrew @ Mar 28 2011, 09:59 AM)
You could build one of these...
Im contemplating it for my back car area.
I wish!. Not allowed in San Ramon unless behind a fence. Not allowed in driveway.

Progress from yesterday

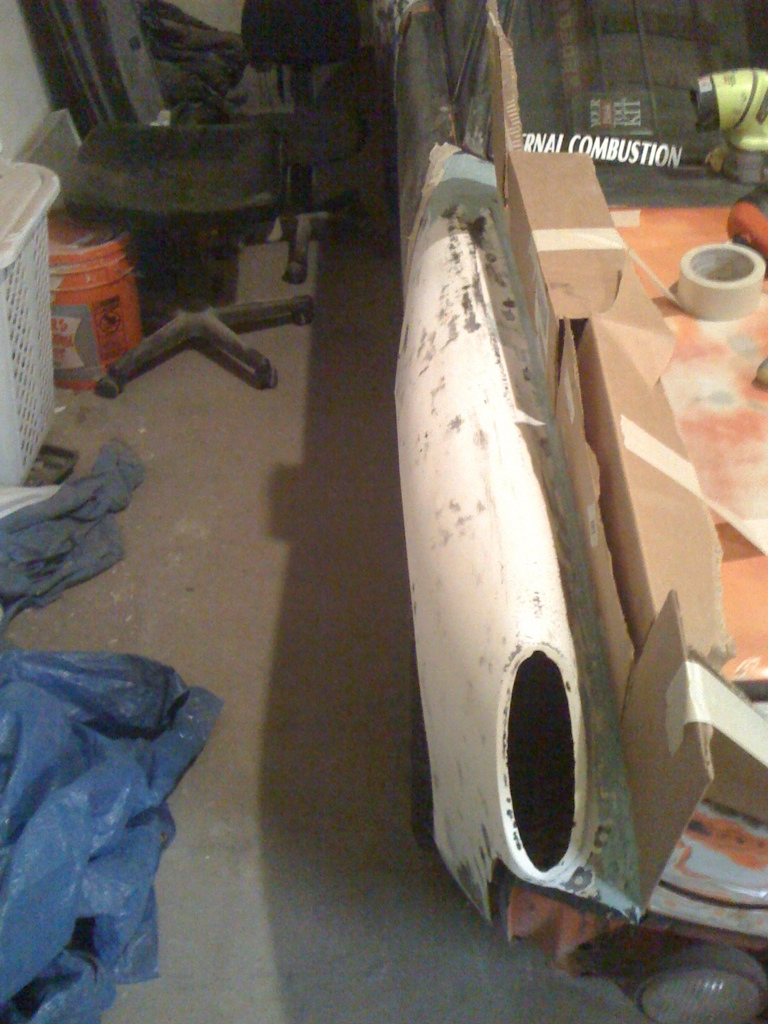
Cut this part of the front fender off because it was weak and it was high/wont blend nicely.
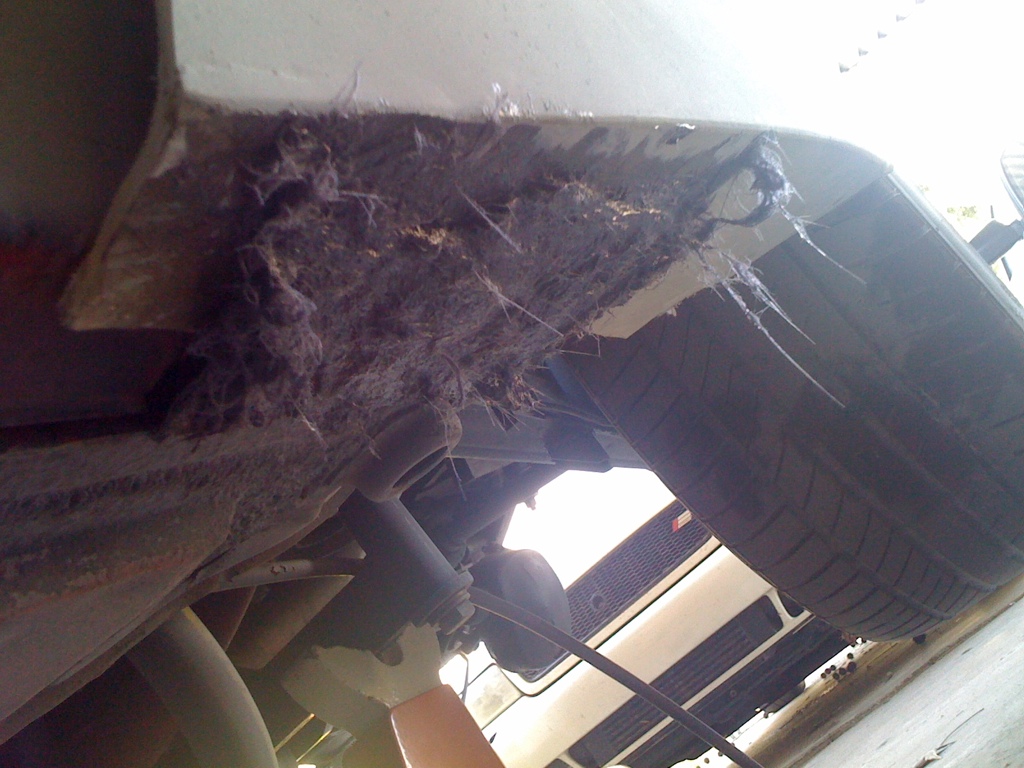
Mixed up a kitty hair/bondo mix. You can see it standing free vertically after me holding it for 10 seconds. Provides a little more strength and vertical stability.
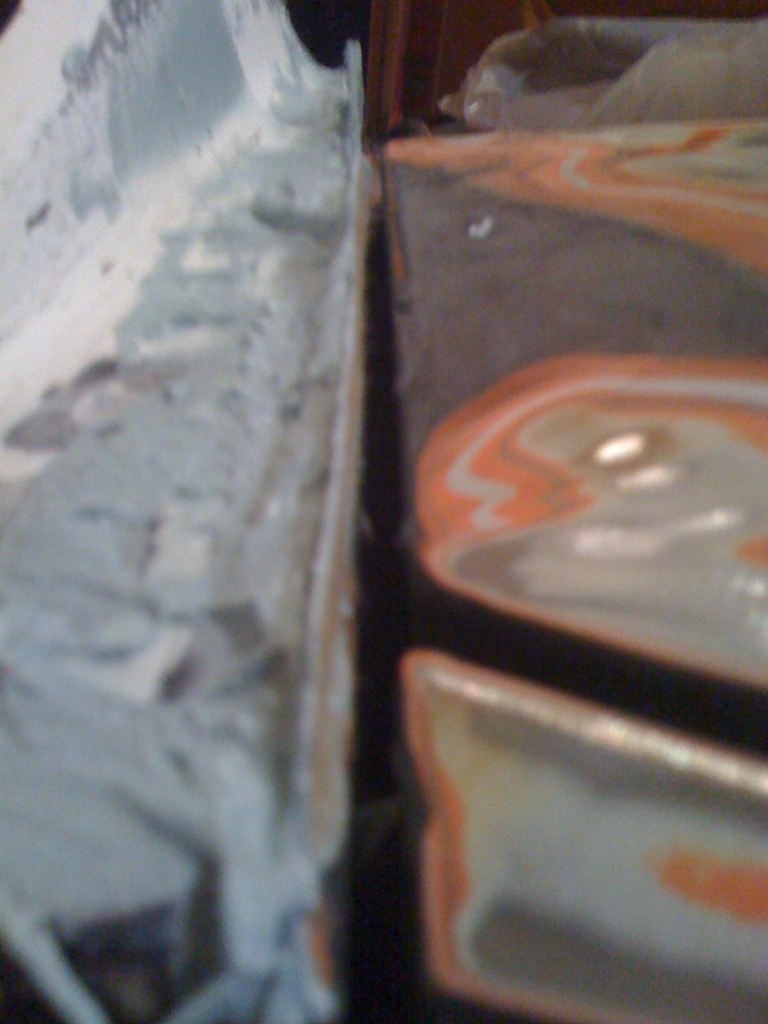
Stuffed the mix under the separation in the fender for strength and laid it out.

Fenders had a step between the fiberglass and the factory fender, this is to eliminate the step. I'll be blending it in with the hood later like the other side.
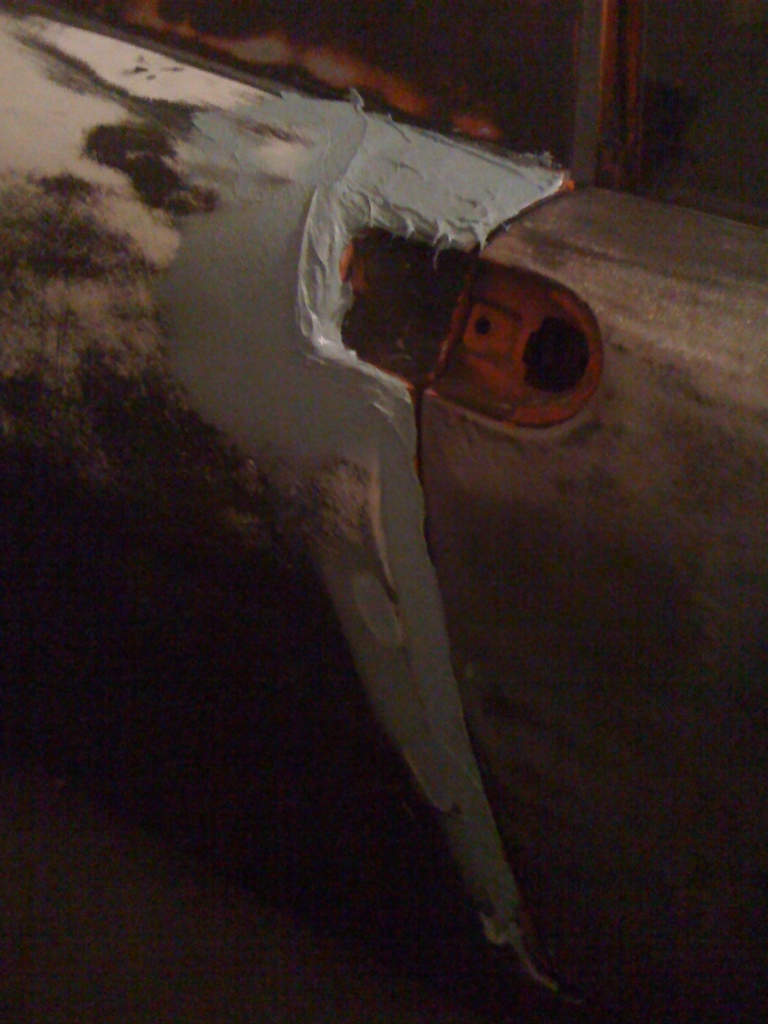
More mix, built up for blending.
Dried nice, looks like this will work well. I'll get to sanding it this weekend.
Cut this part of the front fender off because it was weak and it was high/wont blend nicely.
Mixed up a kitty hair/bondo mix. You can see it standing free vertically after me holding it for 10 seconds. Provides a little more strength and vertical stability.
Stuffed the mix under the separation in the fender for strength and laid it out.
Fenders had a step between the fiberglass and the factory fender, this is to eliminate the step. I'll be blending it in with the hood later like the other side.
More mix, built up for blending.
Dried nice, looks like this will work well. I'll get to sanding it this weekend.
Worked Saturday night and 1/2 the day on Sunday.

Inlisted the help of my uncle again. He worked on finishing the spoiler and sanding down the targa top while I bondo'ed and sanded the fenders.
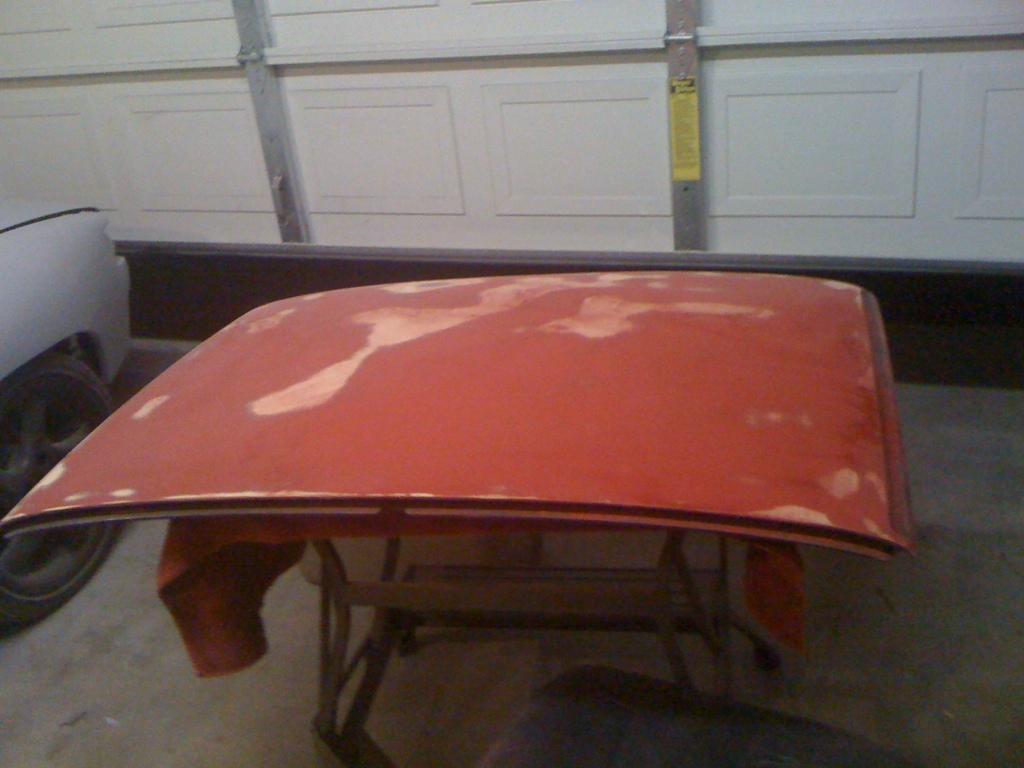
Used about 1/3 of a gallon of bondo. Most of it went to the rear fender for shaping like the pass side. You can see how much sandpaper was used today.. The targa top used to be primer black, it still needs to be taken down past the clearcoat into the red and maybe the primer down underneath. The spoiler is done and ready for primer. I really wanted to prime last night however it got to late. I am hoping to be able to prime on Tuesday. This is great progress on this side and I feel this side went much quicker than the drivers side.
I forgot to mention I bondo'ed and sanded the targa bar where I did all the grinding/welding, so its ready for primer.
Inlisted the help of my uncle again. He worked on finishing the spoiler and sanding down the targa top while I bondo'ed and sanded the fenders.
Used about 1/3 of a gallon of bondo. Most of it went to the rear fender for shaping like the pass side. You can see how much sandpaper was used today.. The targa top used to be primer black, it still needs to be taken down past the clearcoat into the red and maybe the primer down underneath. The spoiler is done and ready for primer. I really wanted to prime last night however it got to late. I am hoping to be able to prime on Tuesday. This is great progress on this side and I feel this side went much quicker than the drivers side.
I forgot to mention I bondo'ed and sanded the targa bar where I did all the grinding/welding, so its ready for primer.
Laid 1/3 a quart of primer with the new primer gun. Oh what did I do with my life before a primer gun? This thing is SWEEET! I cant believe how smooth it laid the primer down and with never a thought of hickups!! Best $25 ive ever spent on this project. Truth be told I was itching to use the primer gun for 2 weeks already so I just said "f'it" and decided to lay some primer.
2 coats of primer on the rear trunk and one coat on the targa bar, door, and fender. I didnt do the rear fender because it actually wasnt ready (I did say I was itching to use that gun right?), It needs some more bondo/glaze before its smooth enough to primer over.
Any rate im happy! progress is going by quick on this side!
Looking good!
Progress from today. Laid a bunch of filler/glaze mix. Got the rear shaped pretty darn good. Spent about 8 hrs on this. My uncle came and continued work on sanding the targa top. He works at his own pace, but he finally made it through the clearcoat that was on this top (I swear it was 3-4 layers of the stuff, and it was pretty darn hard). I am pretty sure i'll sand it down to the primer underneath myself and get it in primer.
At this point 3/4 of the car is in primer! I expect to be able to paint by the end of next month.
Not pictured but I will be reinforcing the fender on Tuesday. I have already made the reinforcements that will be welded in and at that point I will fiberglass the underside of the flares as well.
One thing to point out, I put 2 really thick layers of primer down. I am getting low on primer so I think i'll get a gallon of the grey primer. I still have to do the front trunk, the spare rear trunk, the targa top, and probably 2 more coats of primer on the Pass side. I expect to use about 1/2 a gallon of primer, the rest of primer can be used for my dads El Camino or my honda.
I am deciding on what to to with the bumpers now...
Nice progress. I'm impressed!
Today was spent chasing down light bulbs... Arg... 8' fluorescents are not fun... Found some but they were the wrong style... back they went..
Lots of light in the garage now. Should be plenty of light to spray the car in if I put a spotlight on the side while spraying.
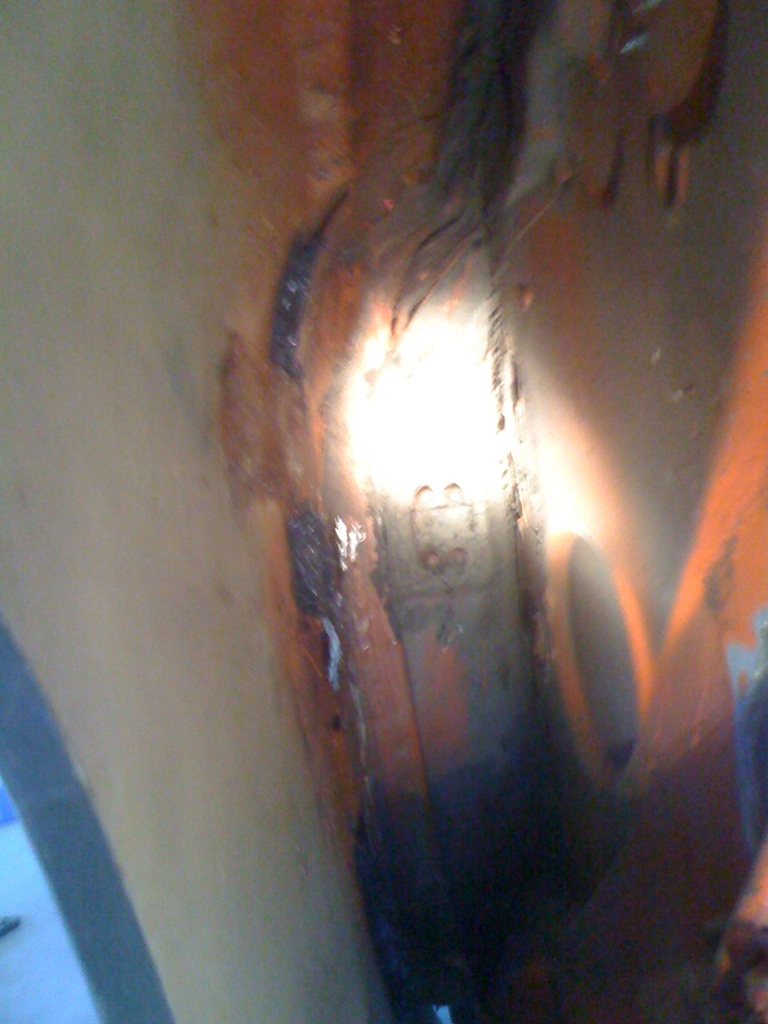
Next order of buisness was reinforcing the rear fender. Welded in the piece like last time. Though I would use kitty hair but it sucked balls VS the fiberglass putty stuff, it was just way to thin. In the end It worked out but If I would have gone with the putty stuff I would have had less headache.
Afterwards I mixed some of the putty stuff with some fiberglass and reinforced the backside of the fender. Strong as can be now.
Tomorrow Im going to try to convince the GF to help me do some sanding (She did say that she would help me sometime...)
Lots of light in the garage now. Should be plenty of light to spray the car in if I put a spotlight on the side while spraying.
Next order of buisness was reinforcing the rear fender. Welded in the piece like last time. Though I would use kitty hair but it sucked balls VS the fiberglass putty stuff, it was just way to thin. In the end It worked out but If I would have gone with the putty stuff I would have had less headache.
Afterwards I mixed some of the putty stuff with some fiberglass and reinforced the backside of the fender. Strong as can be now.
Tomorrow Im going to try to convince the GF to help me do some sanding (She did say that she would help me sometime...)
QUOTE(Andyrew @ Apr 12 2011, 11:12 PM)
Tomorrow Im going to try to convince the GF to help me do some sanding (She did say that she would help me sometime...)
Andrew, your car is really starting to come together! Great progress. OK, let me know how the GF thing goes...are you sure you want to test that relationship with sanding...
![popcorn[1].gif](http://www.914world.com/bbs2/style_emoticons/default/popcorn[1].gif)
QUOTE(Andyrew @ Apr 13 2011, 02:12 AM)
Today was spent chasing down light bulbs... Arg... 8' fluorescents are not fun... Found some but they were the wrong style... back they went..
Lots of light in the garage now. Should be plenty of light to spray the car in if I put a spotlight on the side while spraying.
Next order of buisness was reinforcing the rear fender. Welded in the piece like last time. Though I would use kitty hair but it sucked balls VS the fiberglass putty stuff, it was just way to thin. In the end It worked out but If I would have gone with the putty stuff I would have had less headache.
Afterwards I mixed some of the putty stuff with some fiberglass and reinforced the backside of the fender. Strong as can be now.
Tomorrow Im going to try to convince the GF to help me do some sanding (She did say that she would help me sometime...)Use a mask.
I had her weld about 4 years ago.. Turned out she was afraid of sparks...
That was the last time she helped me on the 914, since then she's handed me wrenches once or twice.
Also she's afraid of power tools.
So im going to hand her some 80 grit, wear some gloves, and have her sand on the bumpers a little in the hard to reach areas with a fan on her work.
Kickin' ass!
Car is lookin' good. Love the garage paint booth. Done it several times.
Nice progress I hope be painting about a week or two after you. Can't wait to see yours finished. The body lines with those flares looks fantastic.
I hope be painting about a week or two after you. Can't wait to see yours finished. The body lines with those flares looks fantastic.
Thanks guys! I was able to get some done this morning. Sanded down the primer with the guide coat. Wasnt very far off, I laid bondo on some trouble area's but they were mainly pin holes and the like. Im currently waiting for the bondo to dry and entertaining some guests, but afterwards i'll be sanding it down and primering again tonight.
I bought a gallon of primer for this and a couple of other projects so i'll be laying a bunch of primer tonight for where the low sports were.
I'll take some pics tonight, but by the end of the weekend I should be done with the passengers side!
I need to spend a bunch of time on the bumpers, but Im really not sure if I WANT to... I'll give it some work in between paint so we'll see how far I get this weekend on the bumpers. I may just get them smooth and spray them black and put my time in stock fiberglass bumpers because thats the style I like the most.
Lookin good man...
Sprayed about 4 layers of primer on... Stupid be mixed to much primer. I sprayed it about 5% reduction for a heavy build, and laid it on thick the first coat. To thick actually as I got a couple of bubbles.
I'll show some pics tomorrow. But I sanded it down really quick with 220 to cut most of the 80 grit scratches out prior to priming. I should be able to get most of those scratches out tomorrow and primer seal it by the end of the day! However I need to get some 180 grit.. Im almost out of 220 grit, and completely out of 150 grit, and primer should cover 180 grit scratches.
I'll show some pics tomorrow. But I sanded it down really quick with 220 to cut most of the 80 grit scratches out prior to priming. I should be able to get most of those scratches out tomorrow and primer seal it by the end of the day! However I need to get some 180 grit.. Im almost out of 220 grit, and completely out of 150 grit, and primer should cover 180 grit scratches.
This is a "lo-fi" version of our main content. To view the full version with more information, formatting and images, please click here.