Help - Search - Members - Calendar
Full Version: Andyrews Progress Thread
914World.com > The 914 Forums > 914World Garage
Pages: 1, 2, 3, 4, 5, 6, 7, 8, 9, 10, 11, 12, 13, 14, 15, 16, 17, 18
Andyrew
Welcome to my Audi Turbo 914 build thread! This first post has been highly edited for your(and my) ease of navigation.
`
IPB Image
`
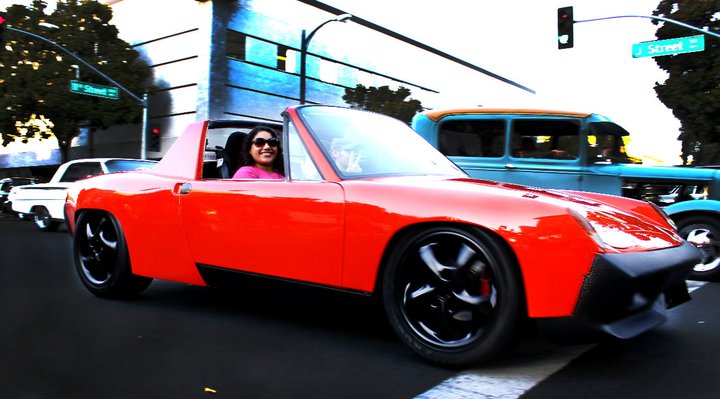
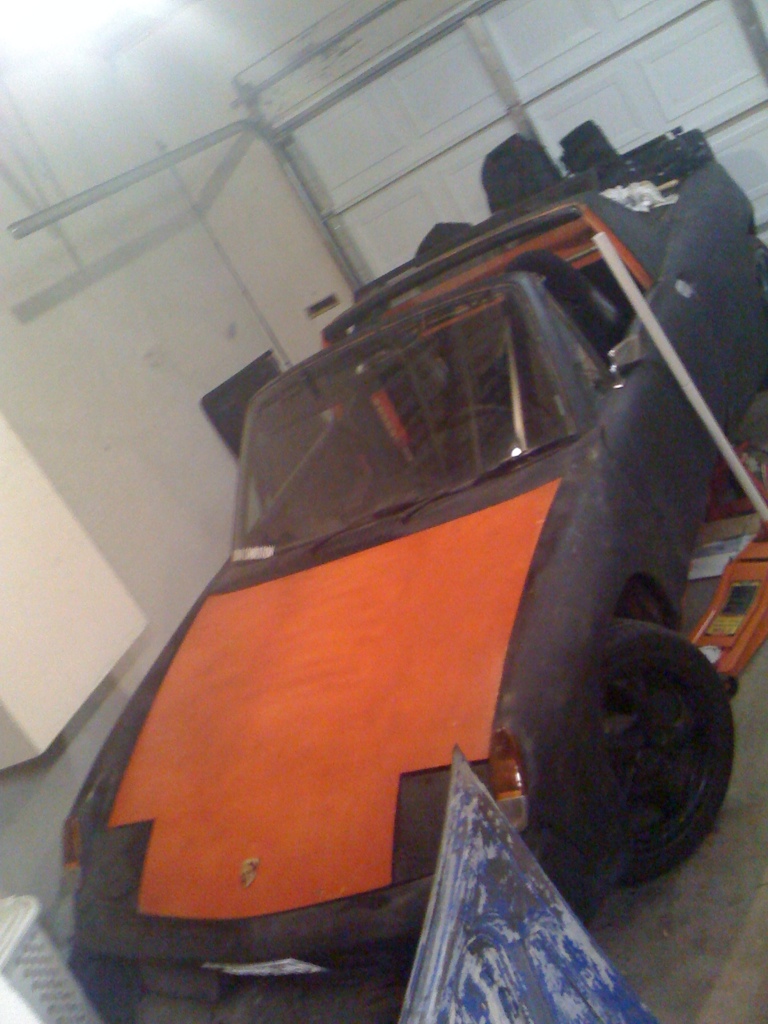
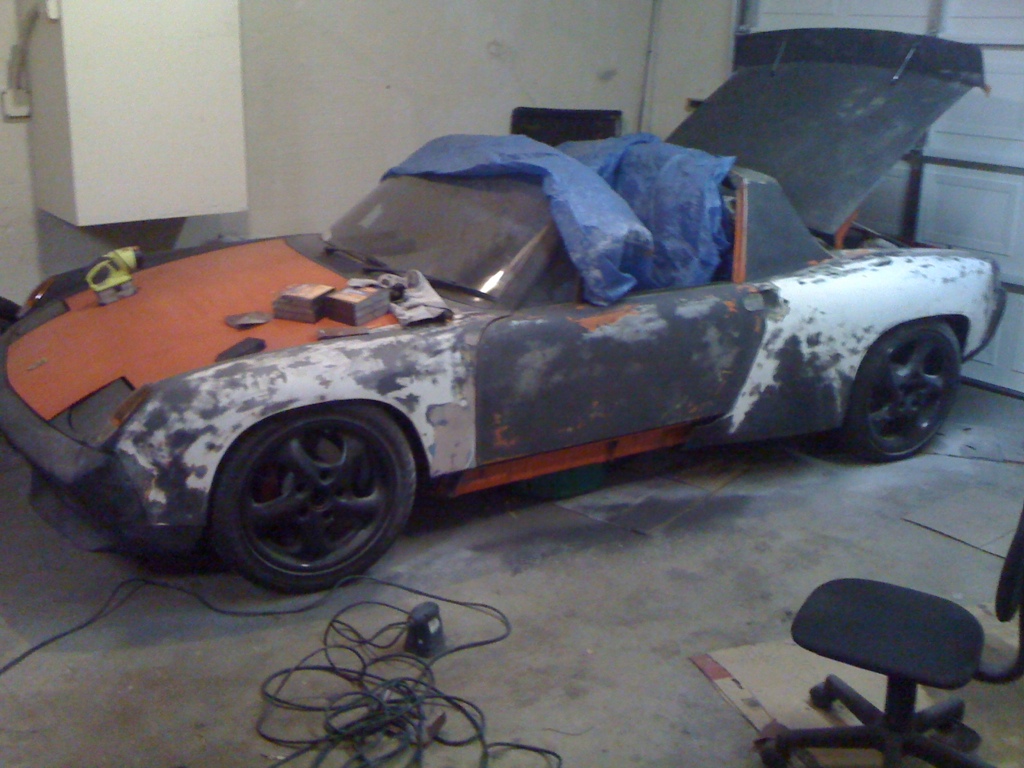
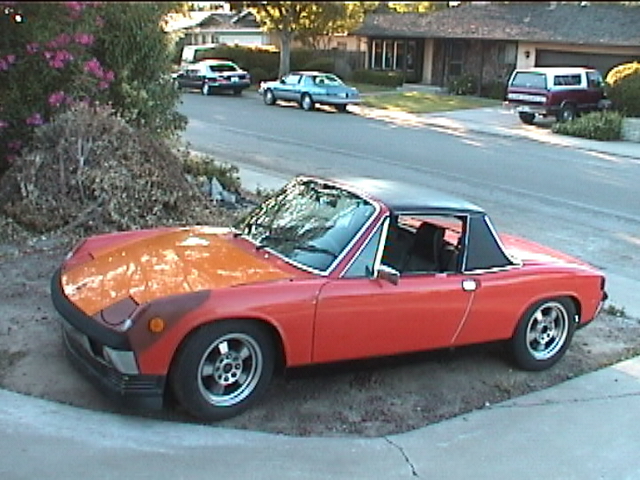
The car 1973 Porsche 914 1.7 w/ appearance group package
IPB Image
`
The Story:
I purchased this car when I was 14years old and had bought 2 other 914s with it for a measly $1100, The other 2 914’s were basket cases and one had been in a roll over. The previous owner put the 2.0 from the roll over car in this car. I parted out the other two cars and DID A V8 CONVERSION on mine after I couldn’t figure out how to adjust the valves (It seemed easier..). I do a 5 lug conversion as well as put some fiberglass flares on the car and many other things before I decide to paint the car. That is the start of this thread.
IPB Image
`
Next I decide that I don’t like how the v8 drives and how I could never keep it cool so I decide to embark on a journey with an engine I was already more familiar with. The Audi 1.8T.
To start at the 1.8T engine conversion click below.
http://www.914world.com/bbs2/index.php?sho...4780&st=309

Details on the car:
Engine: Audi AEB 1.8t Engine, Fully rebuilt, balanced rotating assembly and blueprinted, balanced and clearanced Intermediate shaft.
Crankshaft: Stock/polished
Rods: Scat Forged I beam rods
Pistons: Stock
Cams: Stock
Valves: Stock intake, Stainless nitrite coated Supertech exhaust AEVN-1103
Valve springs: Supertech high rpm valves SPRK-AUDI18
Piston rings: Goetze 08-502900-00 (Factory stock)
Head gasket: Elring Stock head gasket
Rod bearings: 034 Dry film coated bearings 034-202-1008
Crank bearings: 034 Dry film coated bearings 034-202-1000
Intake Manifold: Stock
Throttle Body: Stock AWM
Exhaust Manifold: APR Iconel Stage 3 manifold
Exhaust: 3" turbo back stainless steel w/ 2 stainless resonators
Intercooler: 700hp air to water core.
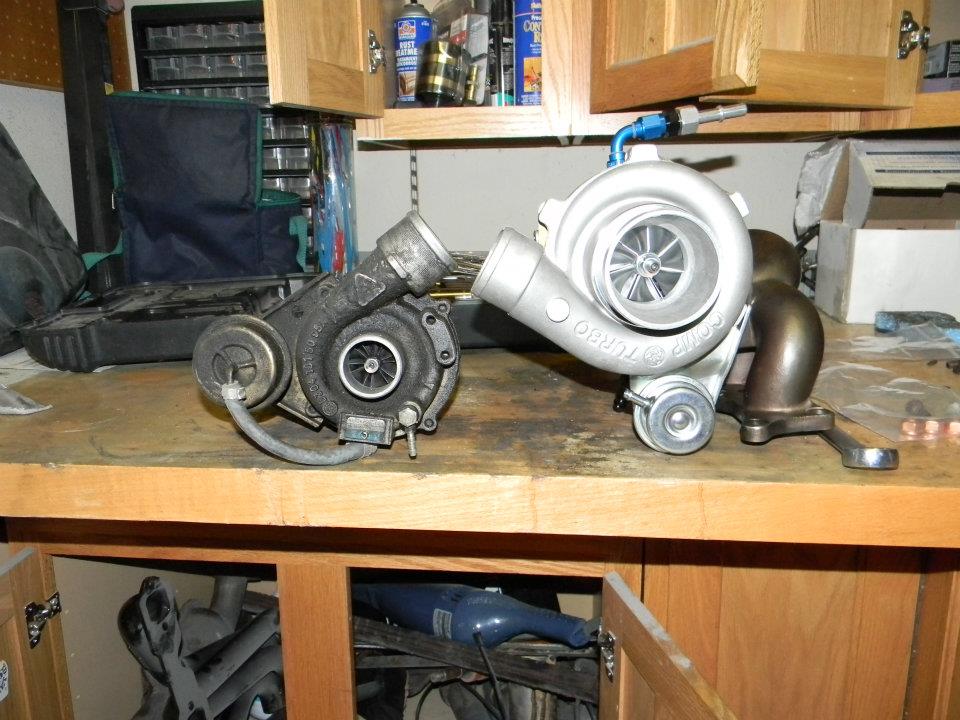
Turbo: Comp Turbo triple ball bearing CTB5356
Injectors: Bosch 550CC injectors ported and flow matched to 1300CC
Fuel Pump: Bosch 044 inside 034 Surge tank
Fuel rail: Stock fed with AN10 line
Water pump: Davies Craig EWP150 w/ LCD controller
MAF: PMAS HPX MAF in 3" housing
Boost controller: Cortex EBC

Transmission: Audi A4 1.8 5 speed code EHV FWD unit
100mm stub axles from boxster transmission
eBay sprung type LSD


Wiring: Strip all Porsche wiring, Replace with Audi wiring 100%
Engine Management: Modified OEM Audi Ecu
Power brakes: Not yet
ABS integration: Not yet
Traction control integration: Not yet
Launch control: Not yet
Cruise control: Yes
Climate control/AC: Yes
OBD2 full control: Yes
Check engine light: No smile.gif
Front trunk and rear trunk: YES!


8psi: 240whp (Canyon and autox setting)
14psi: 280whp (Street)
17PSI: 300whp (Track and Street driving) (Estimated power goal)
30psi(E85): 400whp (Full tilt mode)


Suspension:
Raised 911 spindals up front with Koni yellows
Mueller Roller Needle Bearings front and rear in leu of all bushings
Turbo tie rods
22mm Torsion bars
Nascar front sway bar
Koni yellows rear
911 rear hubs with 100mm studs
Ground control coil over kit in rear
225lb springs

Brakes:
911 A calipers front
Stock 914 rear calipers
Vented rotors front and rear
Porterfield semi race pads
19mm M/C
Proportioning valve replaced with T

Wheels:
Boxter rear 17 x 8.5 twists up front with 245 40 17
911 turbo 18 x 10 turbo twists in back with 285 35 18
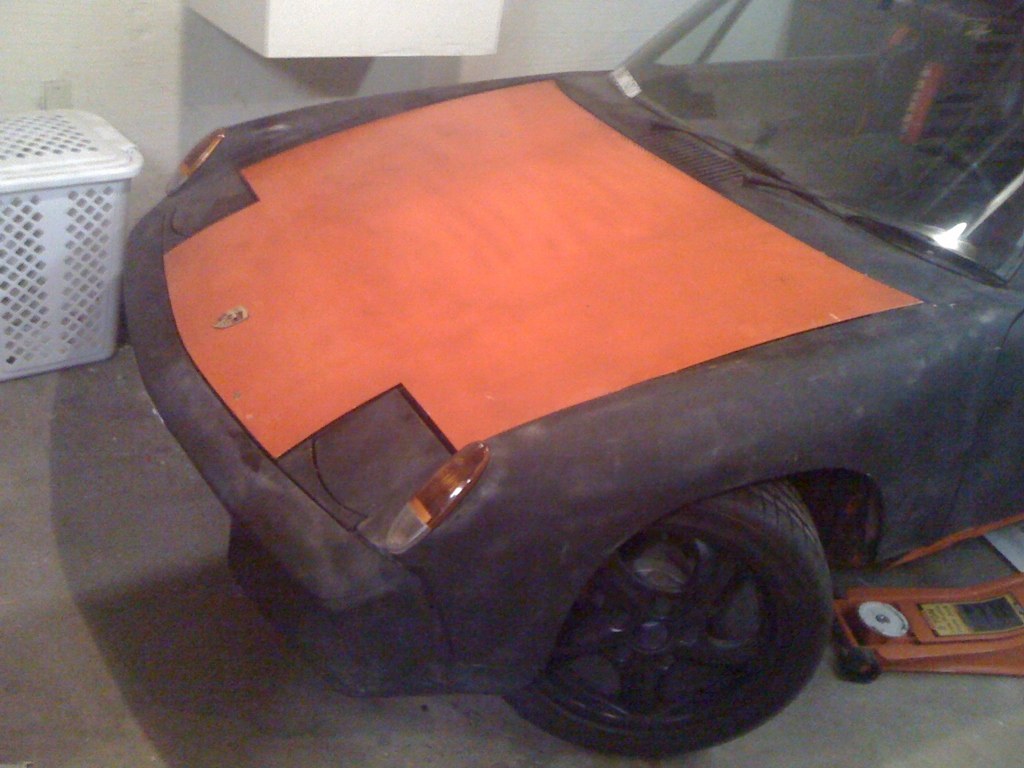
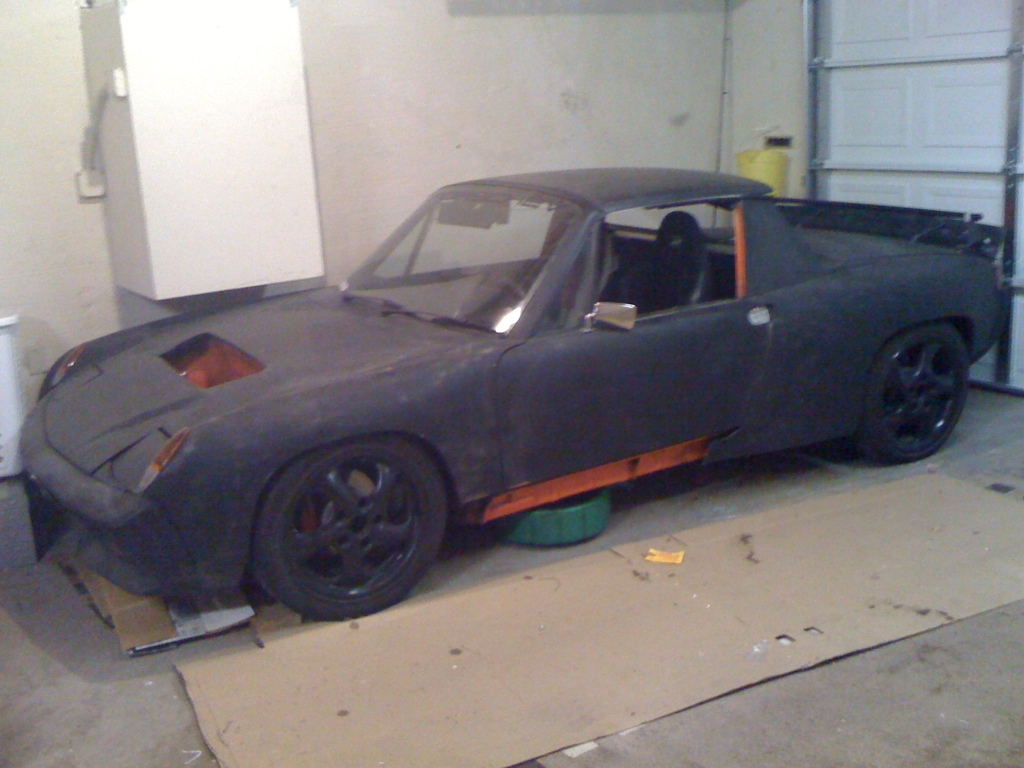
Body:
Rich Bontempi HPH Flares Front and Rear, Molded
916 front and rear bumpers (front bumper to be reworked completely)
6" ducktail spoiler with supports
Engman long stiffening kit
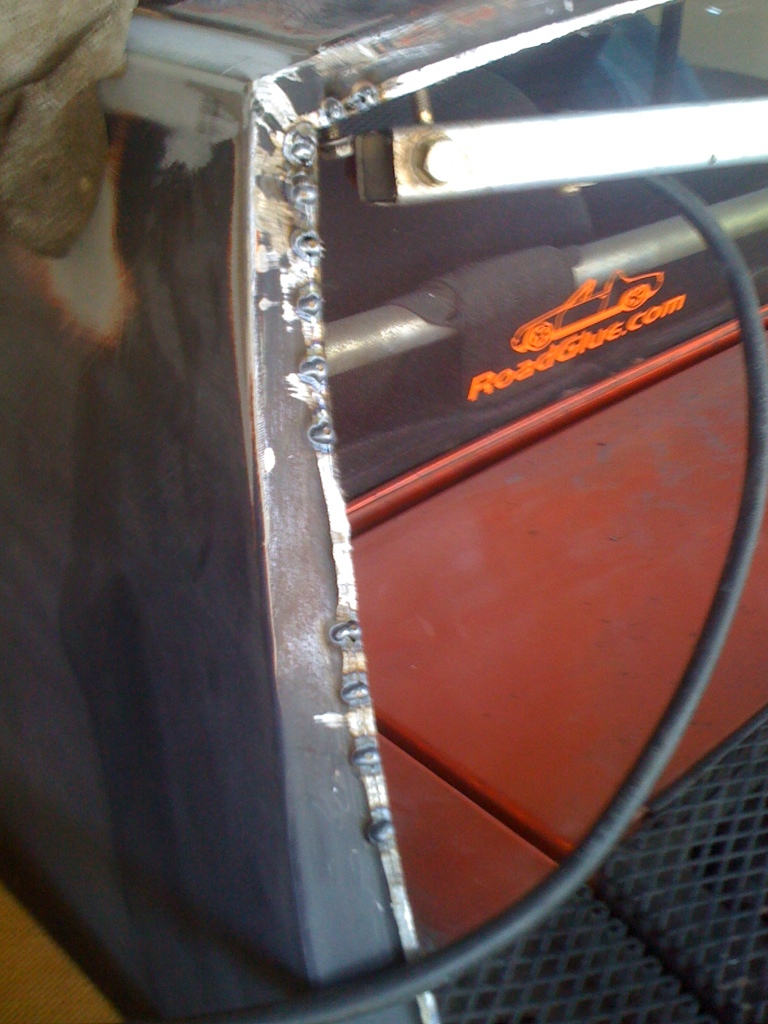
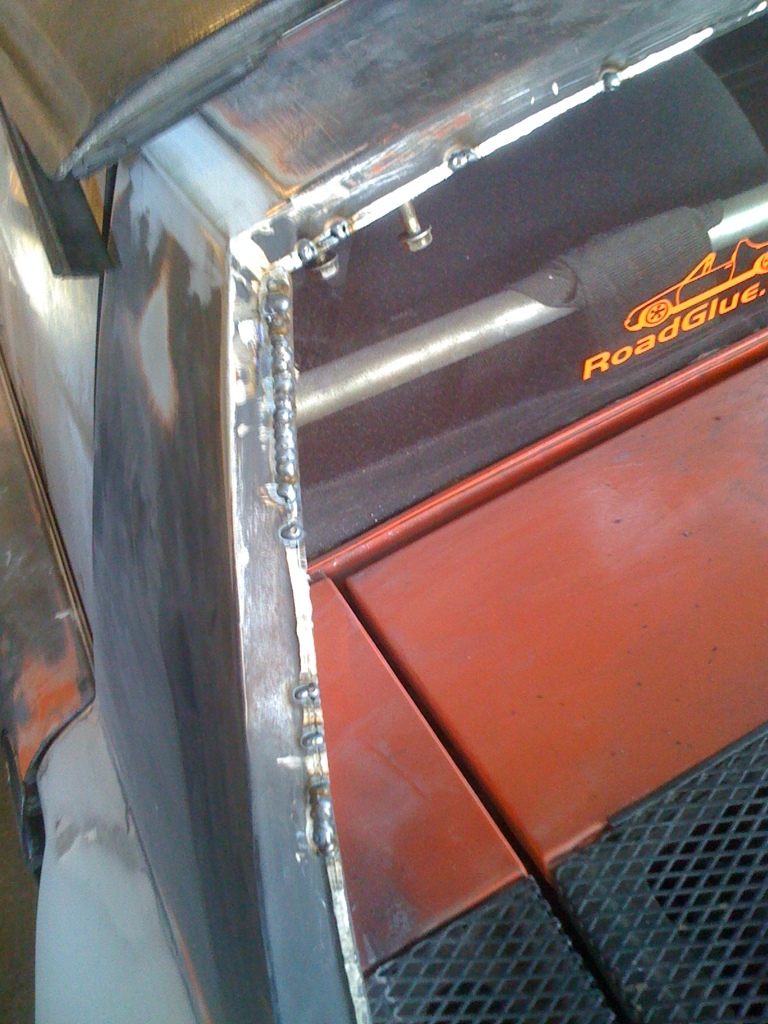
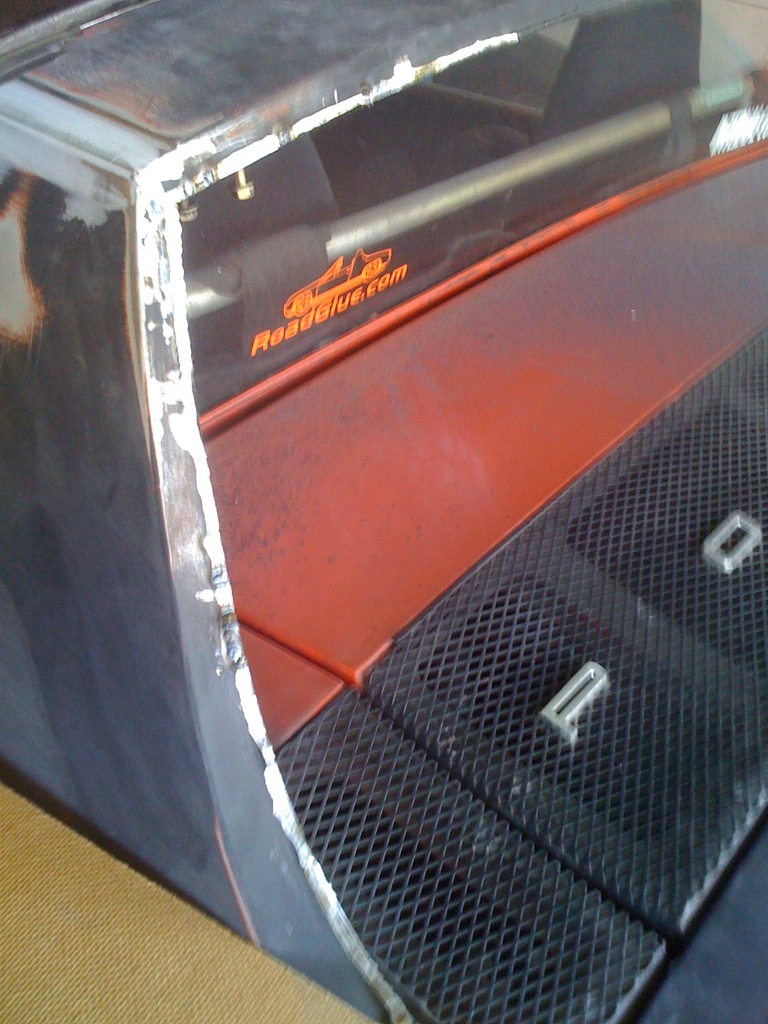
Seam welded rear
Camp 914 hood shocks rear
Camp 914 Euro front turn signals
Bike rack biggrin.gif

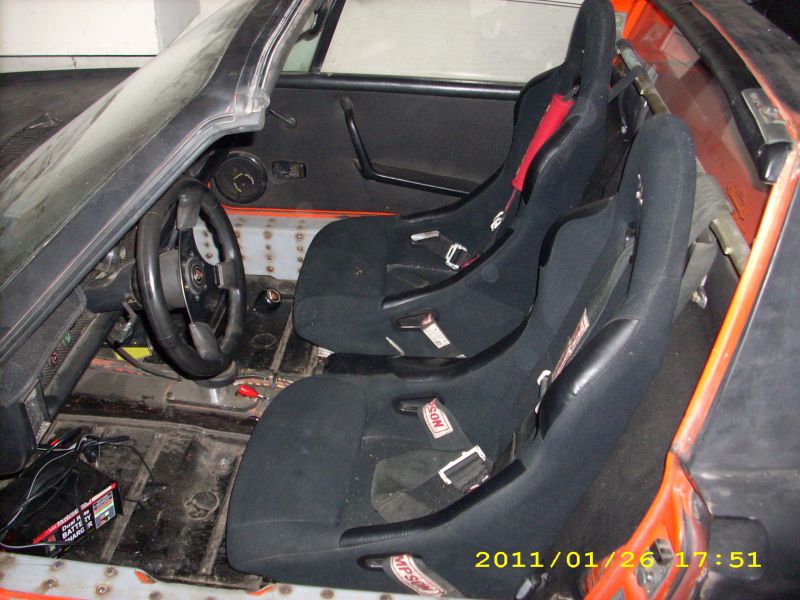
Interior(In Progress):

Fully custom interior (Still in design phase)
Harness Bar
5 point Cam lock harnesses
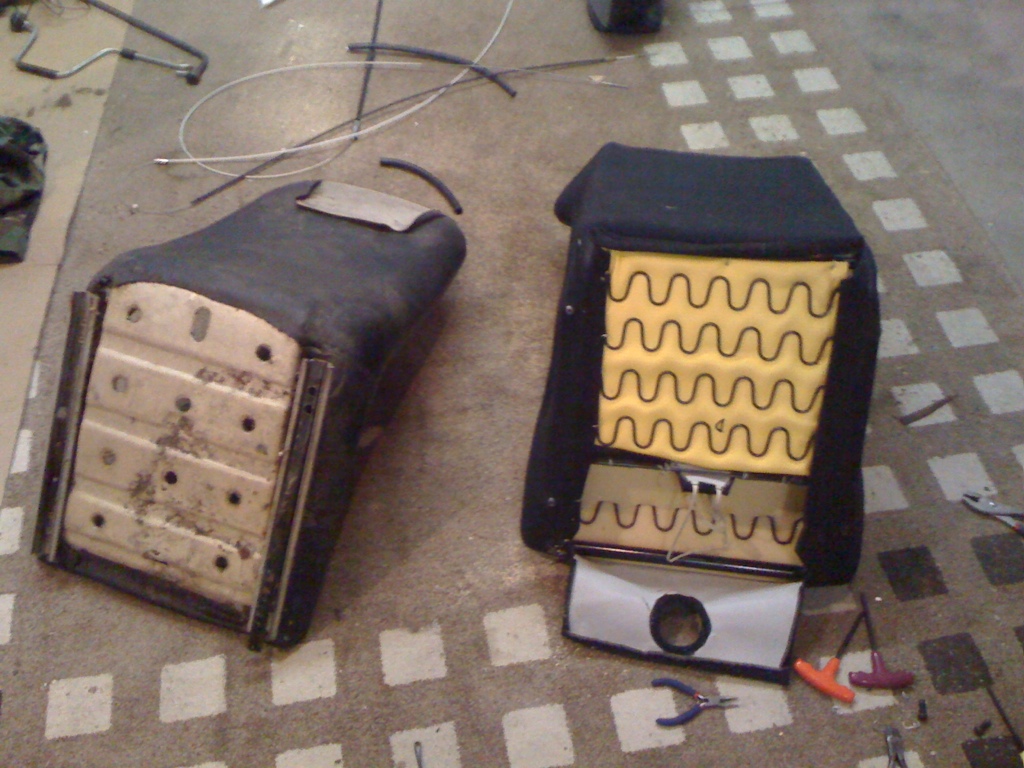
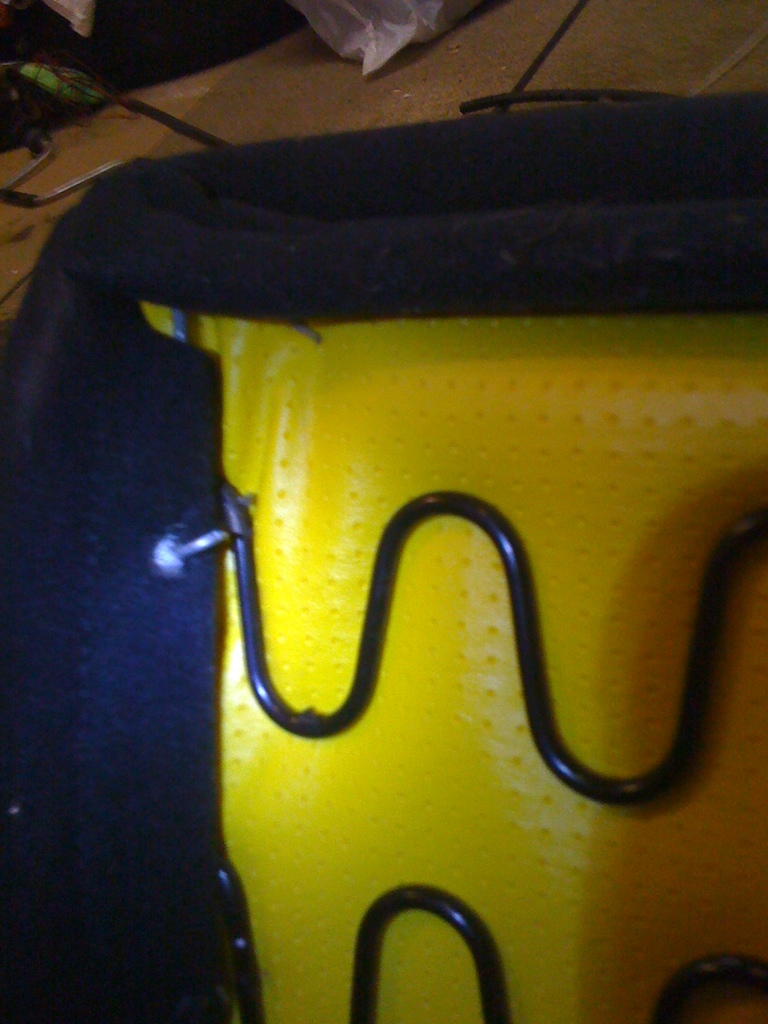
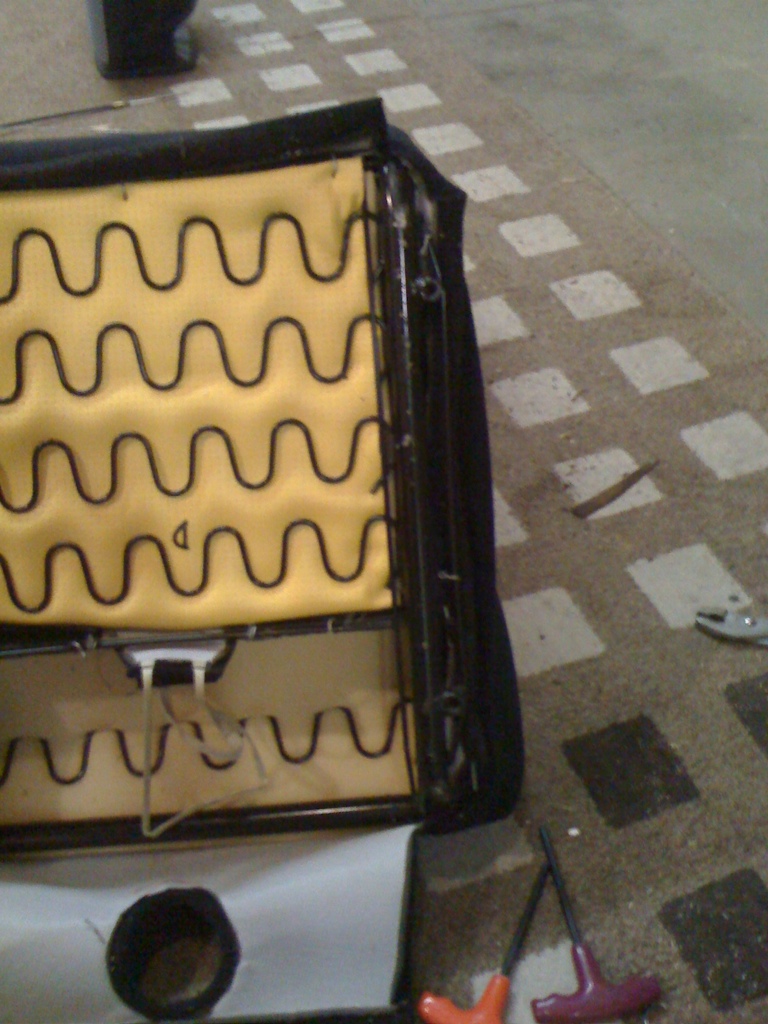
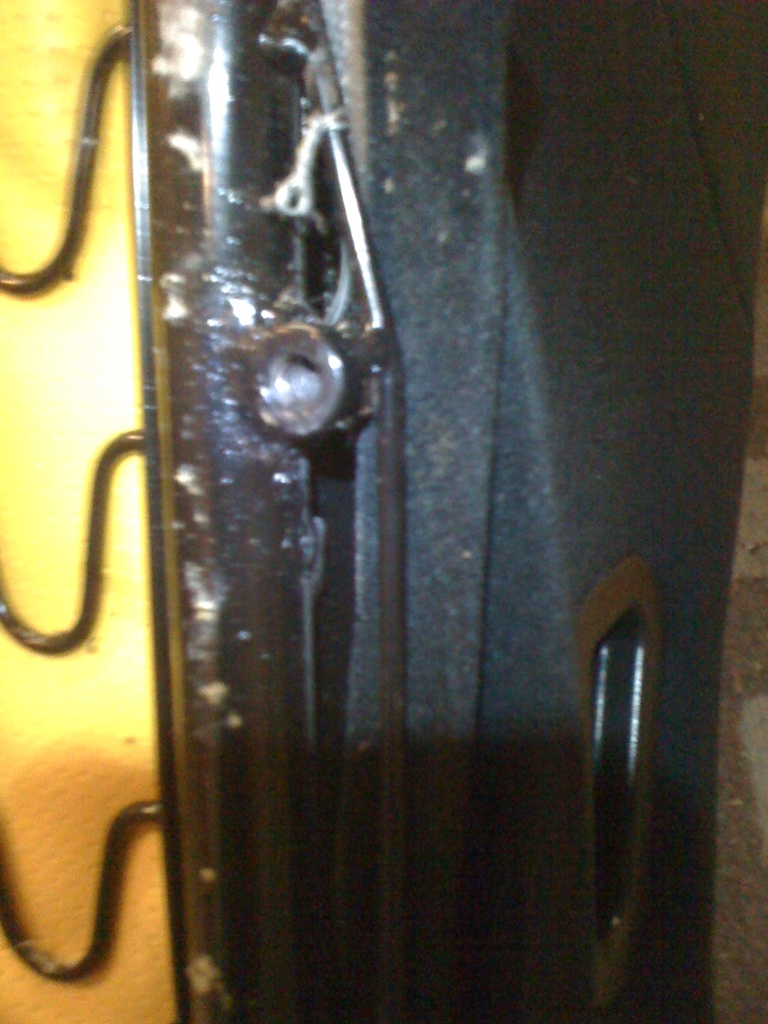
Pepboys Corbeau style seats


~~~~~~~~~~~~~~~~~~~~~~~~~~~~~~~~~~~~~~~~~~~~~

Now that the intro is done, here is my checklist of things that I want to get done with it.

Register *5-15-11*
Fix ignition **5-30-11**
Tune (again) ecu ** Converted back to Carbs after ECU died 5-30-11**
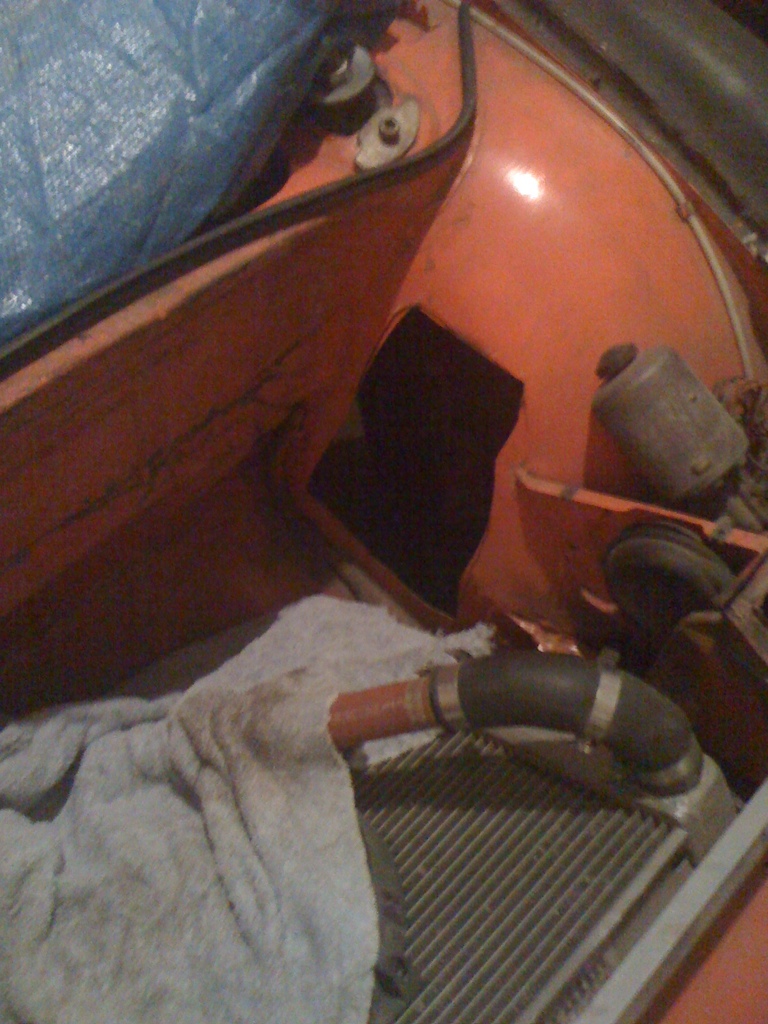
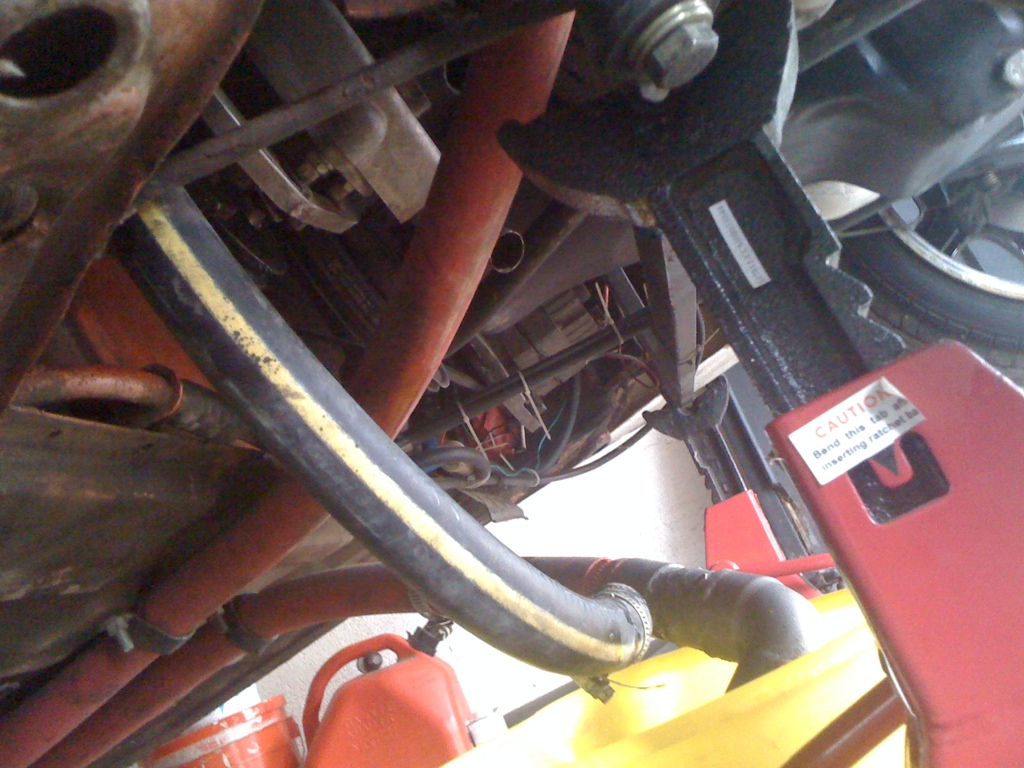
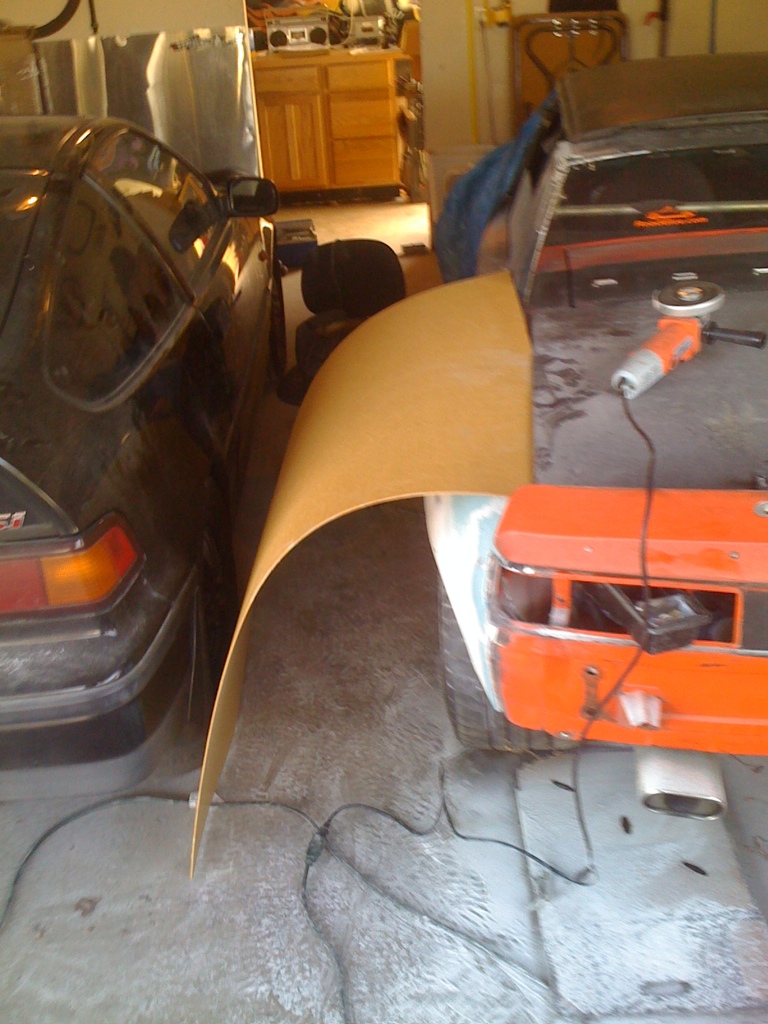
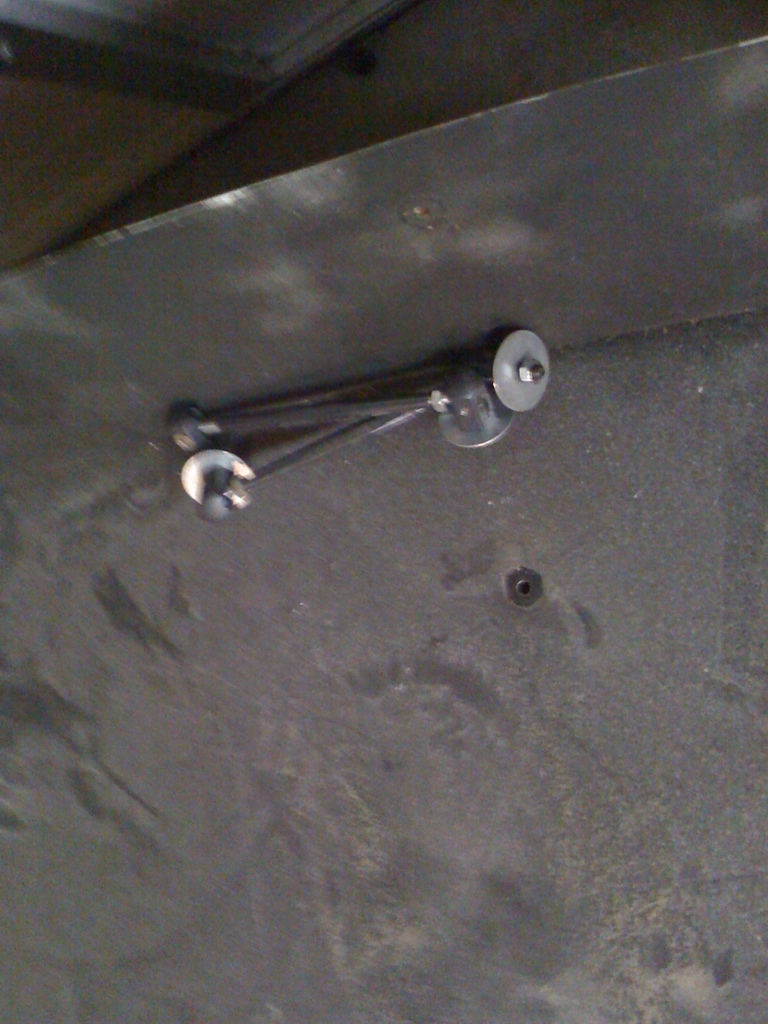
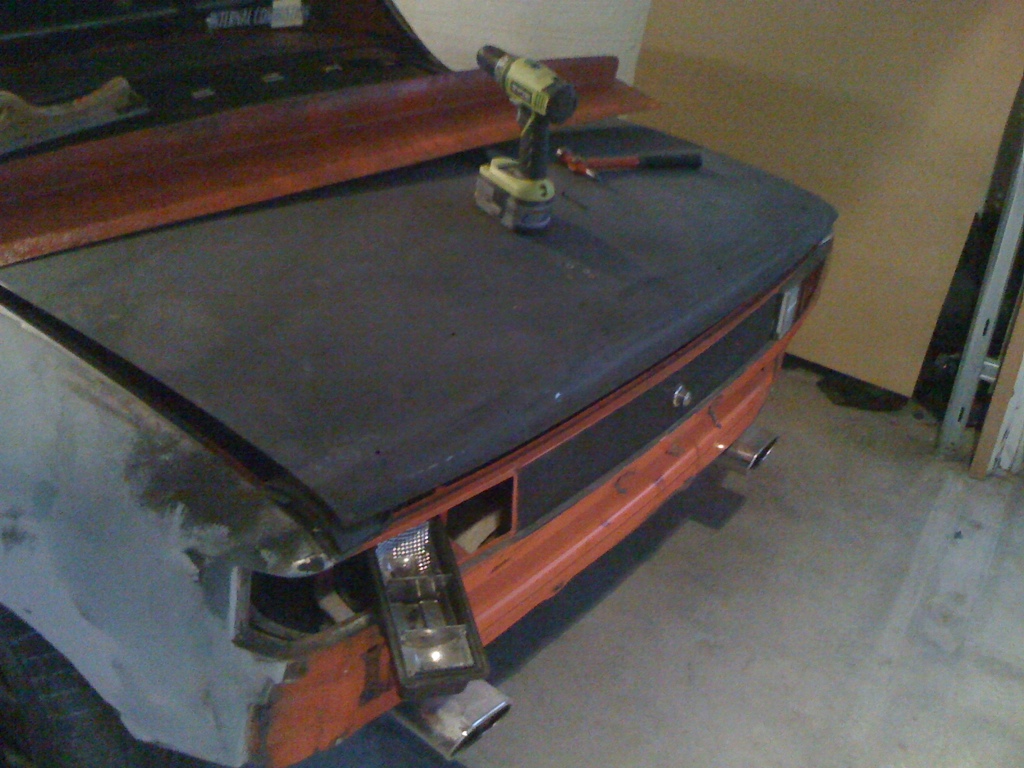
Clean goo in trunk (pic)
Install Dr window crank *5-30-11*
Change oil ****Finished 1-29-11****
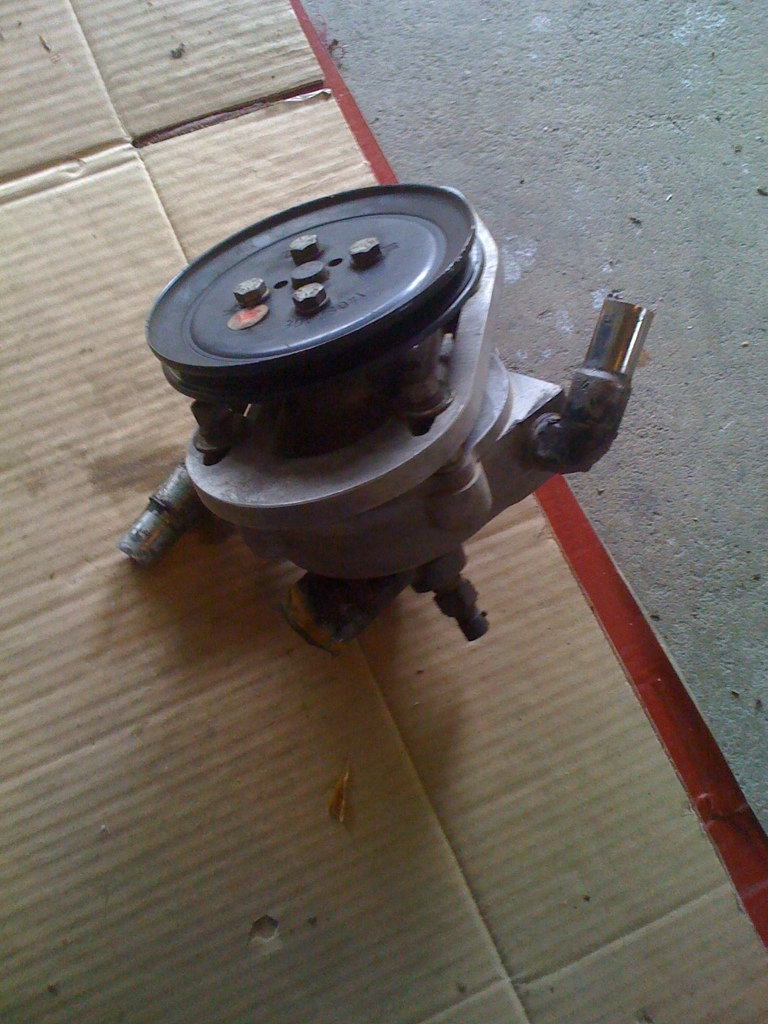
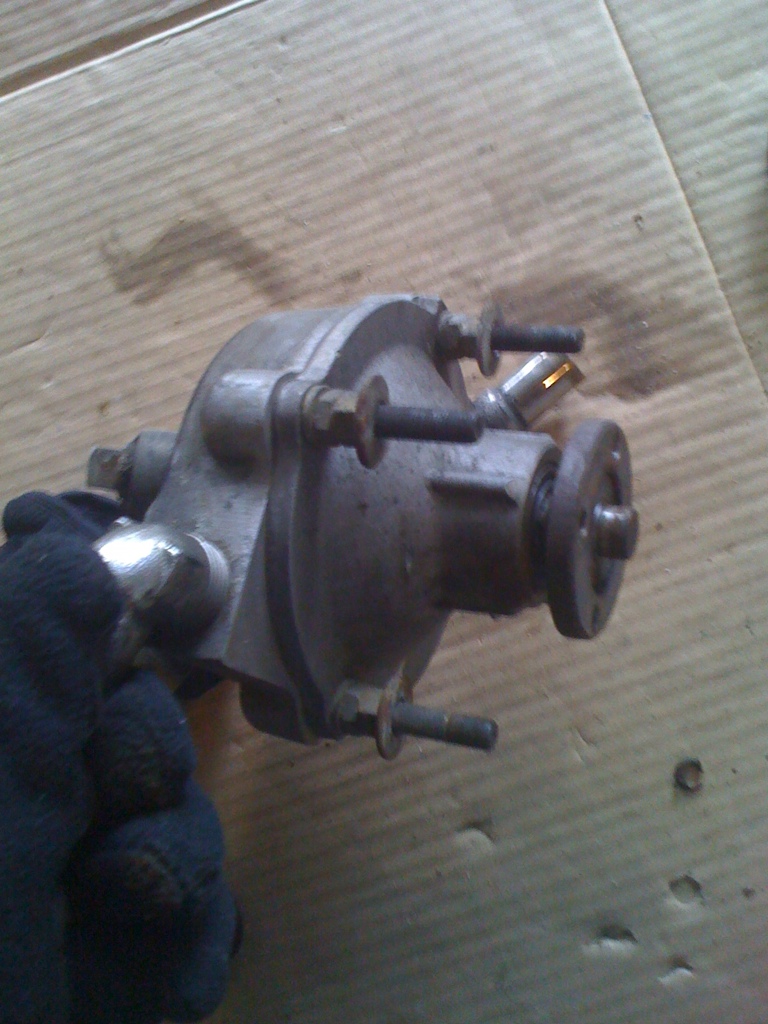
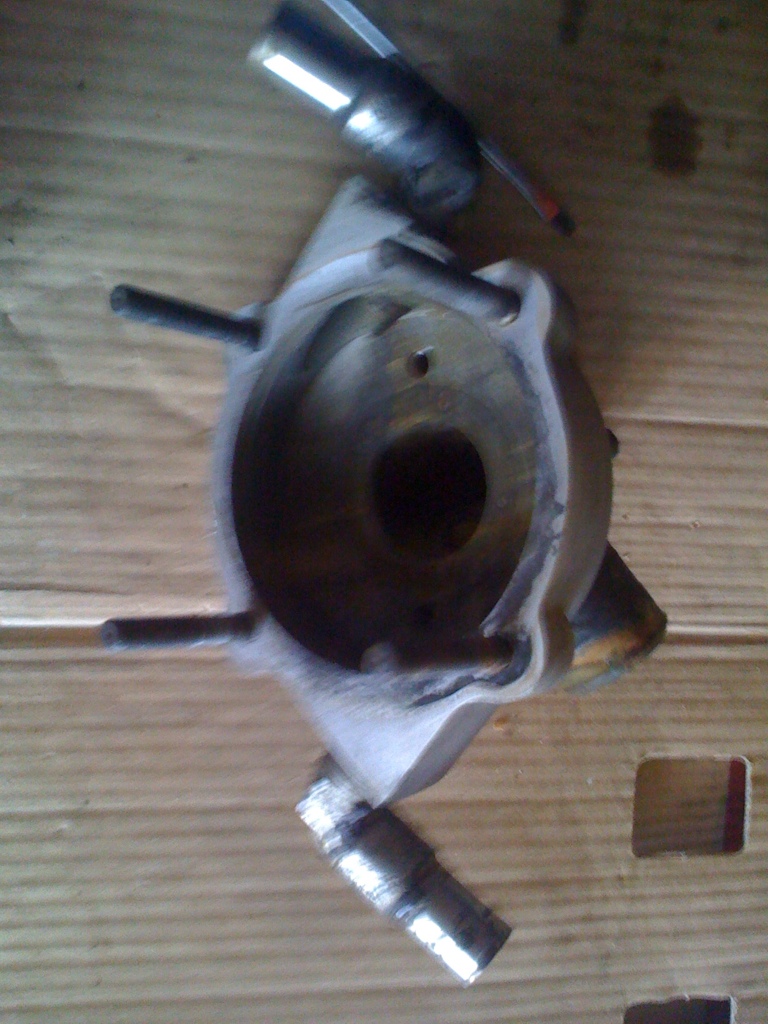
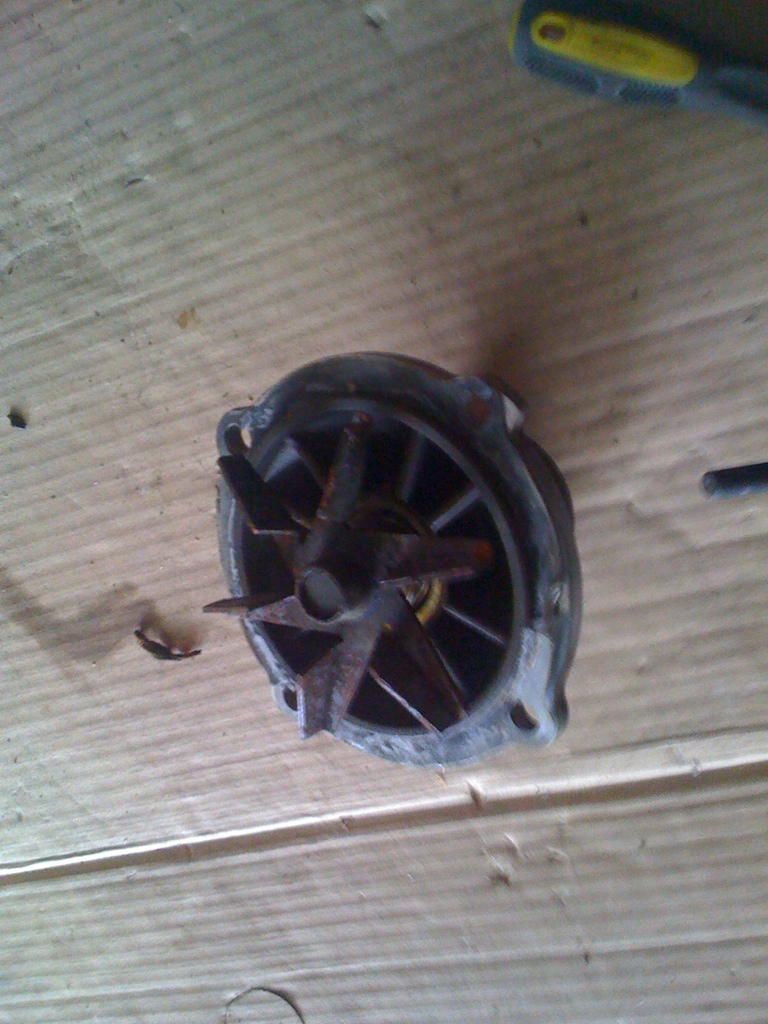
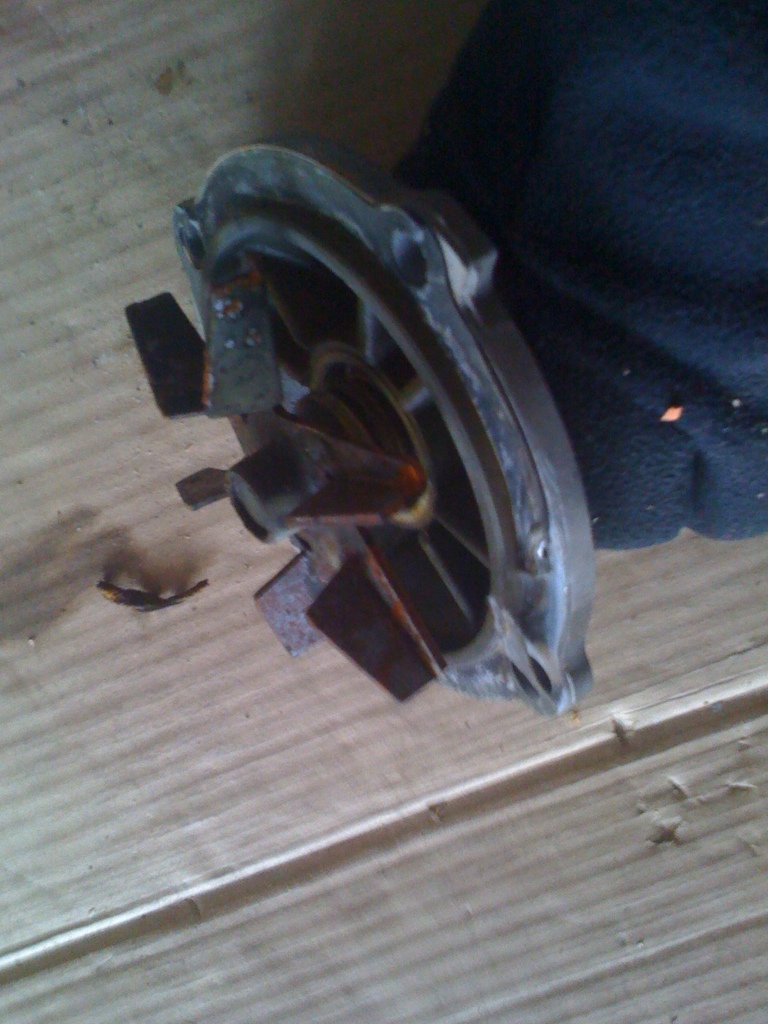
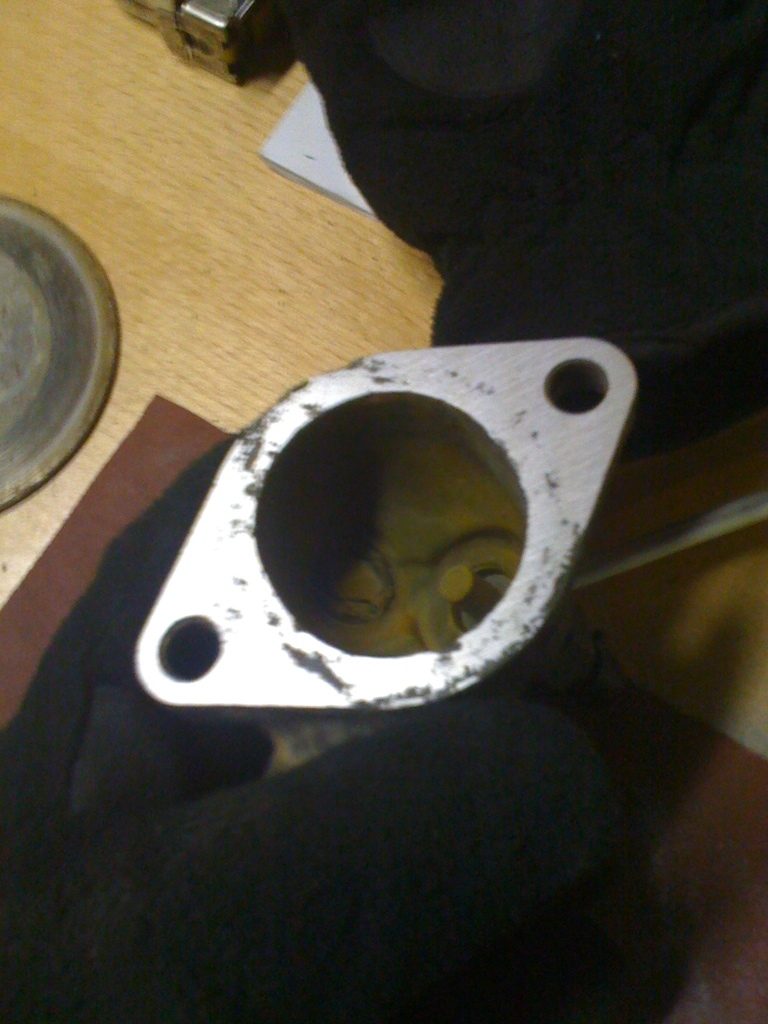
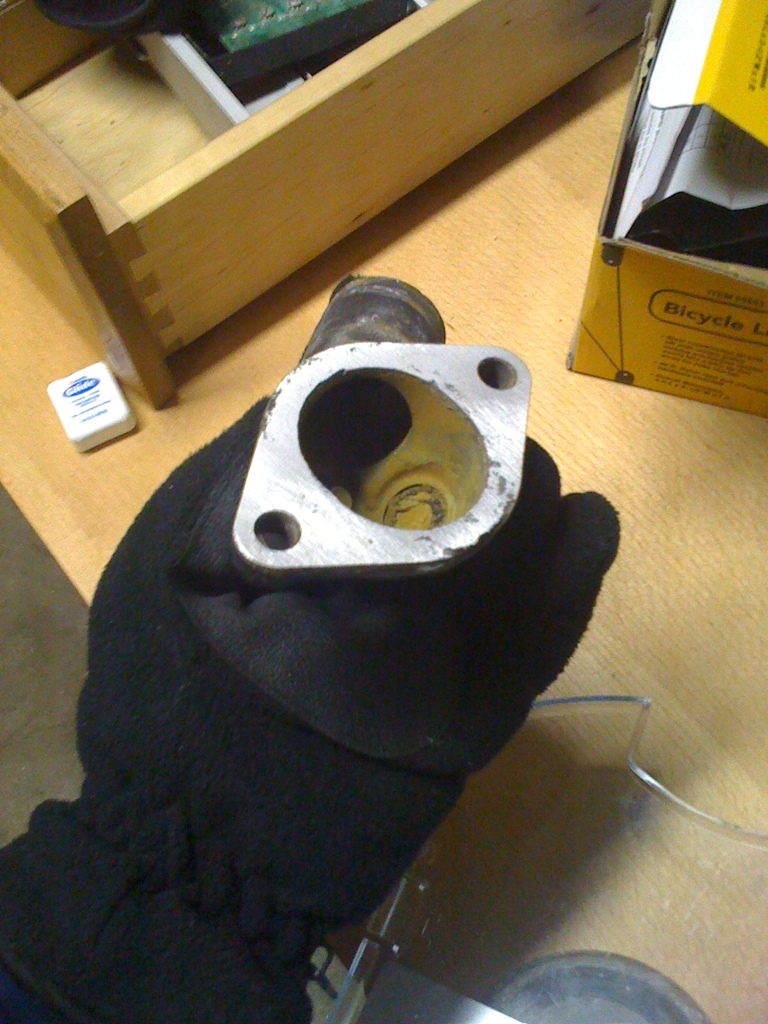
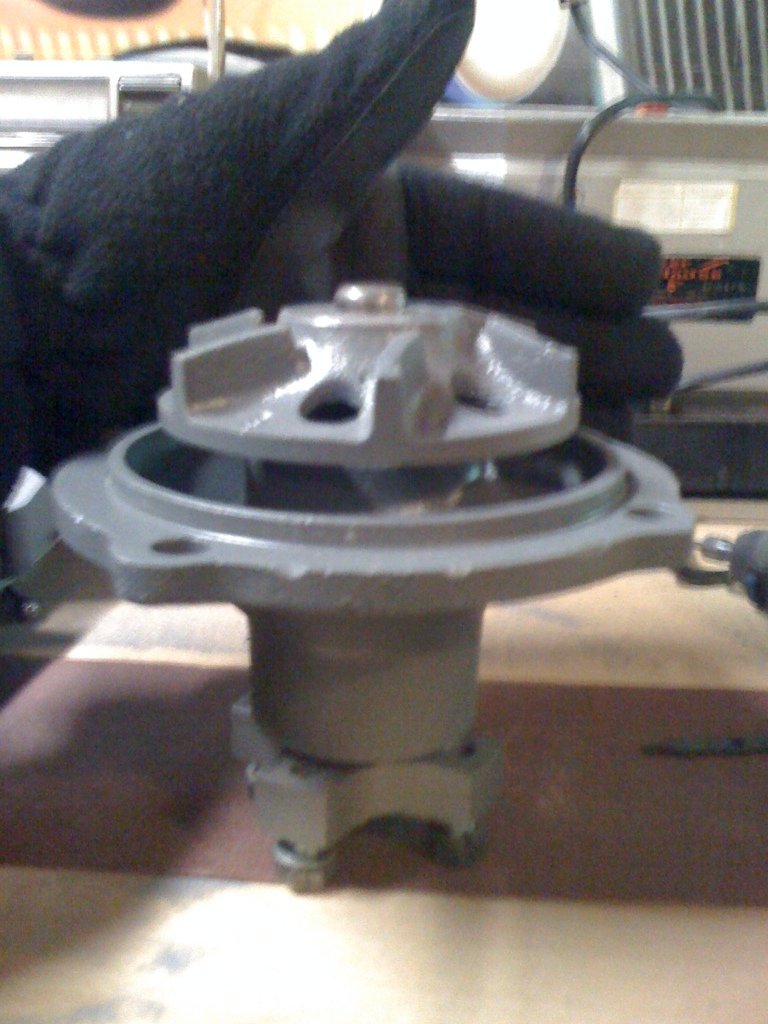
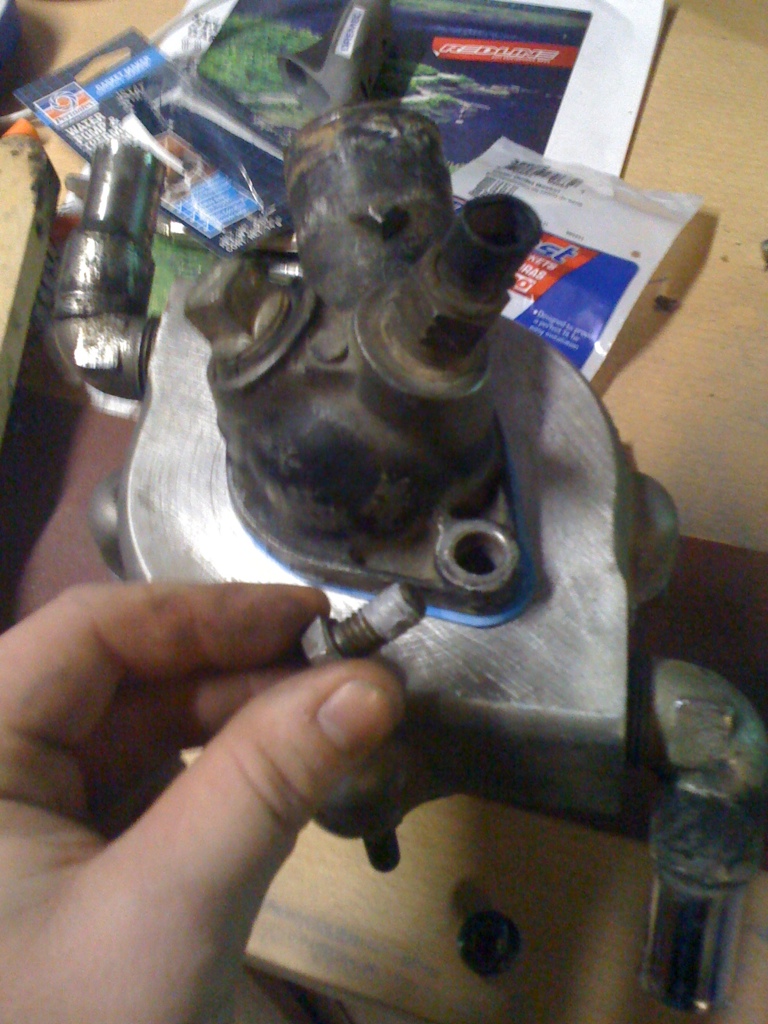
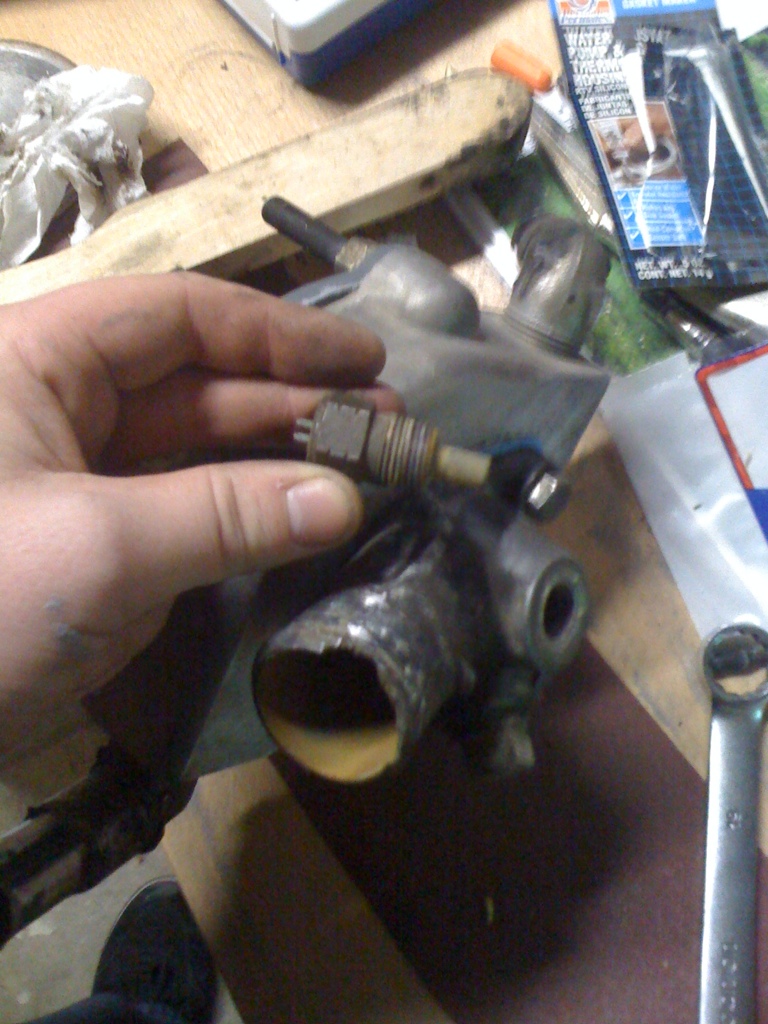
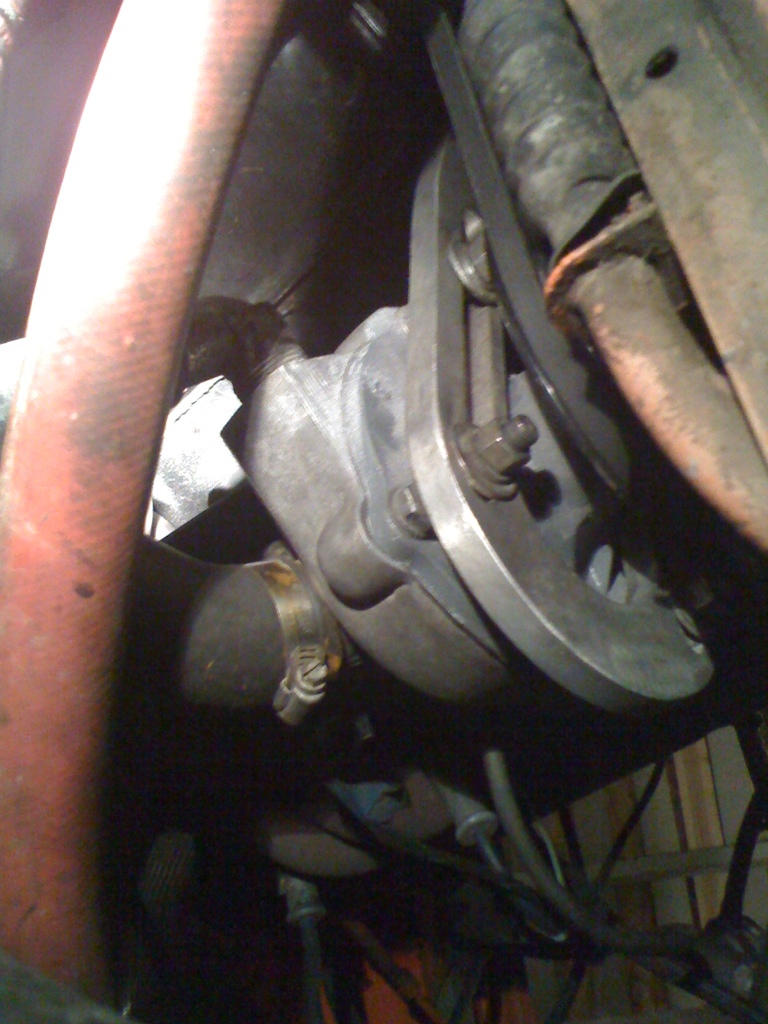
Change water pump *Received Remanufactured pump from Slits 1-26-11****Finished Install w/ hangups 1-29-11****
Flush coolant
Finish targa bar S *Started progress on the bar*
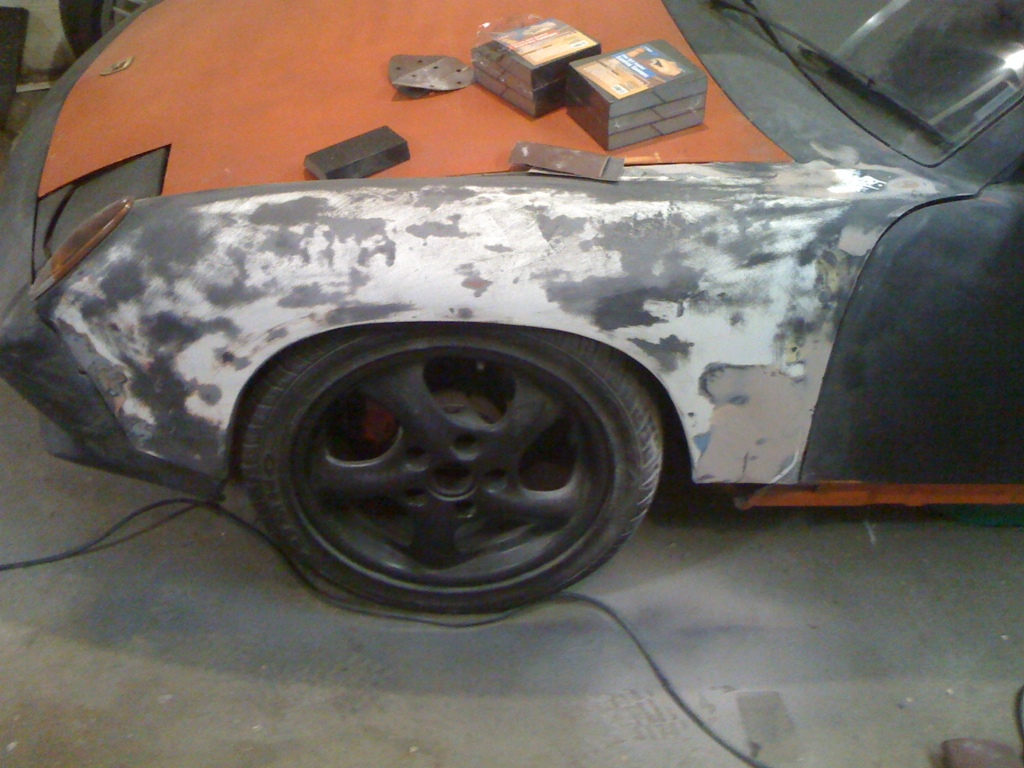
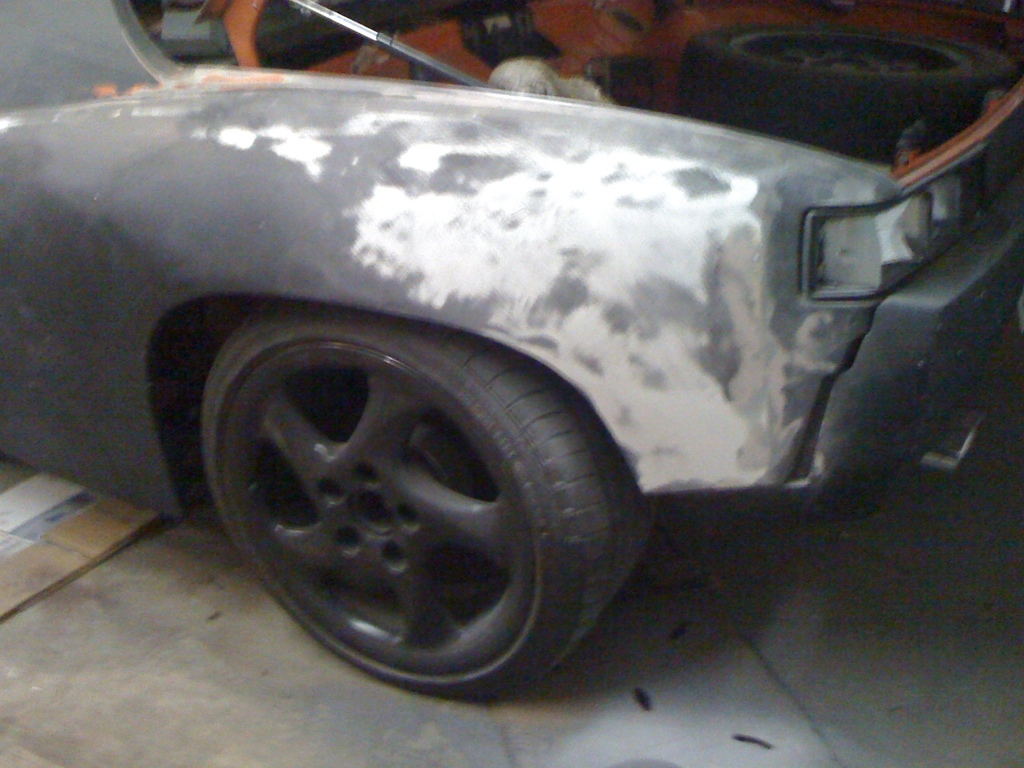
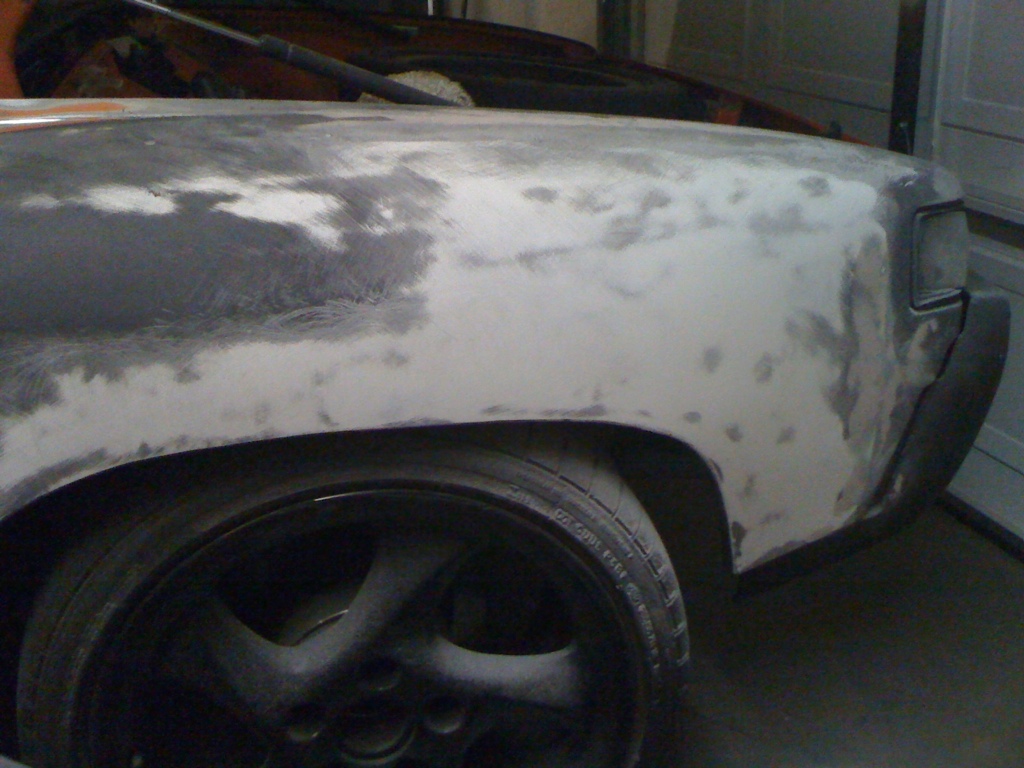
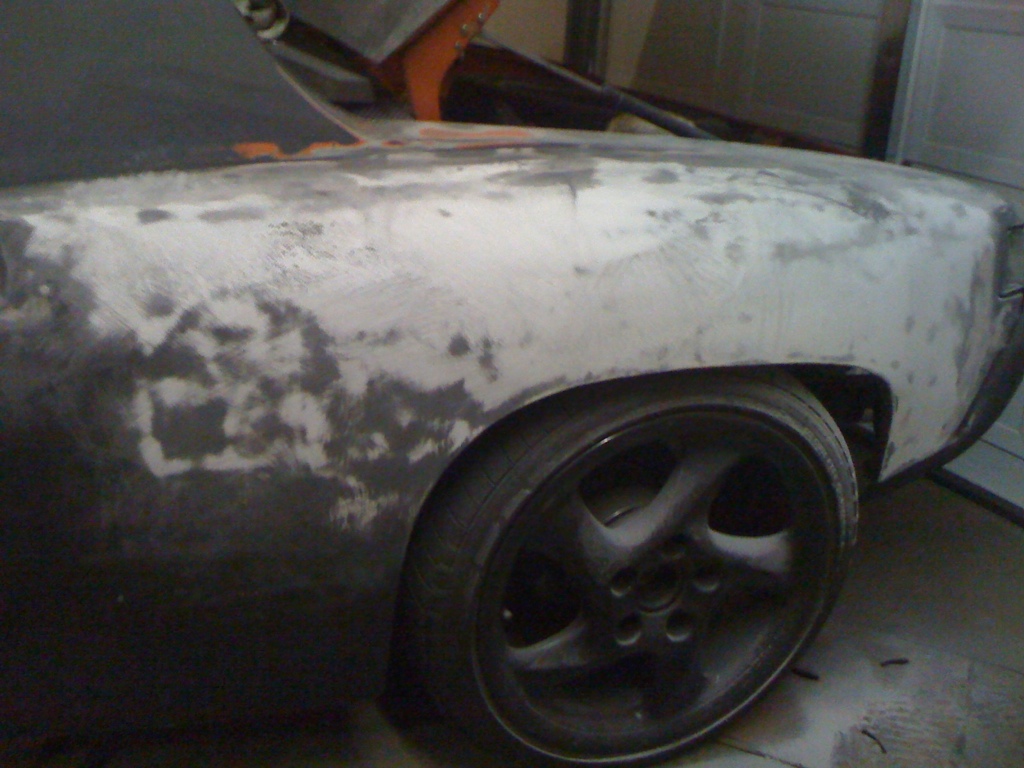
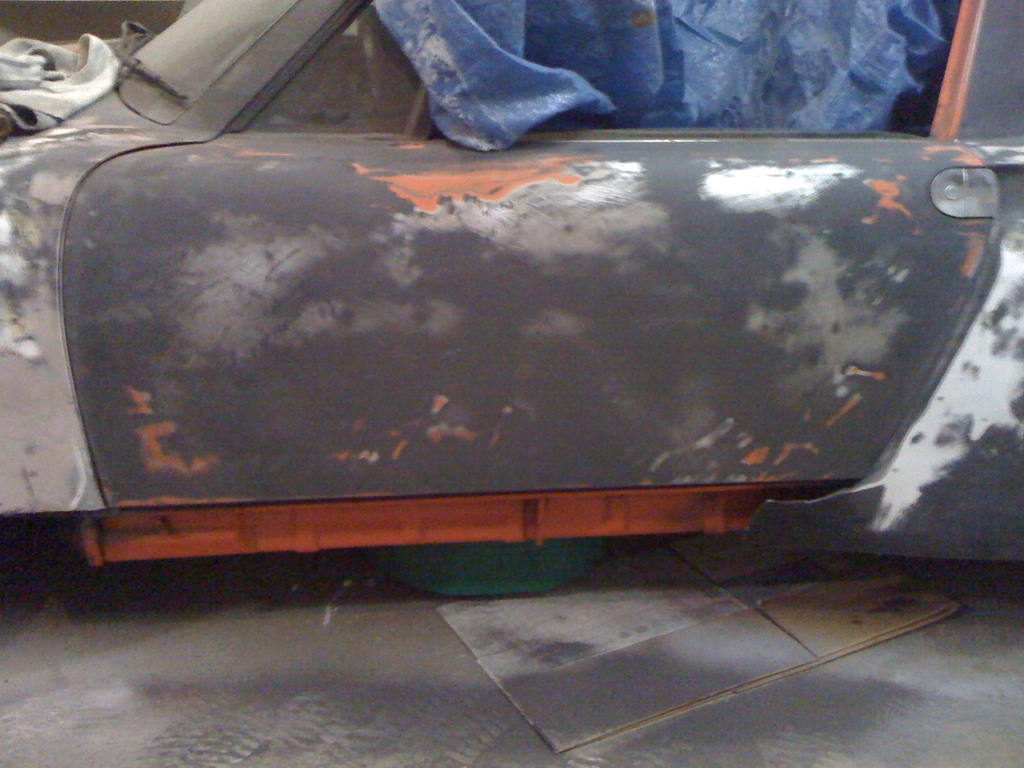
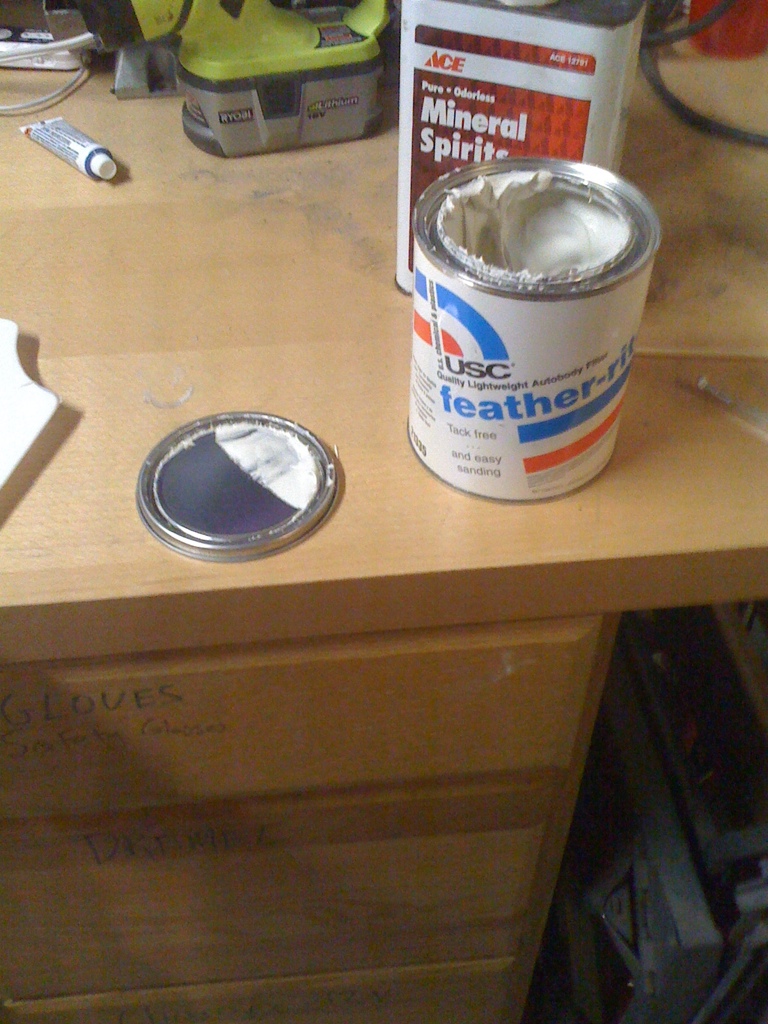
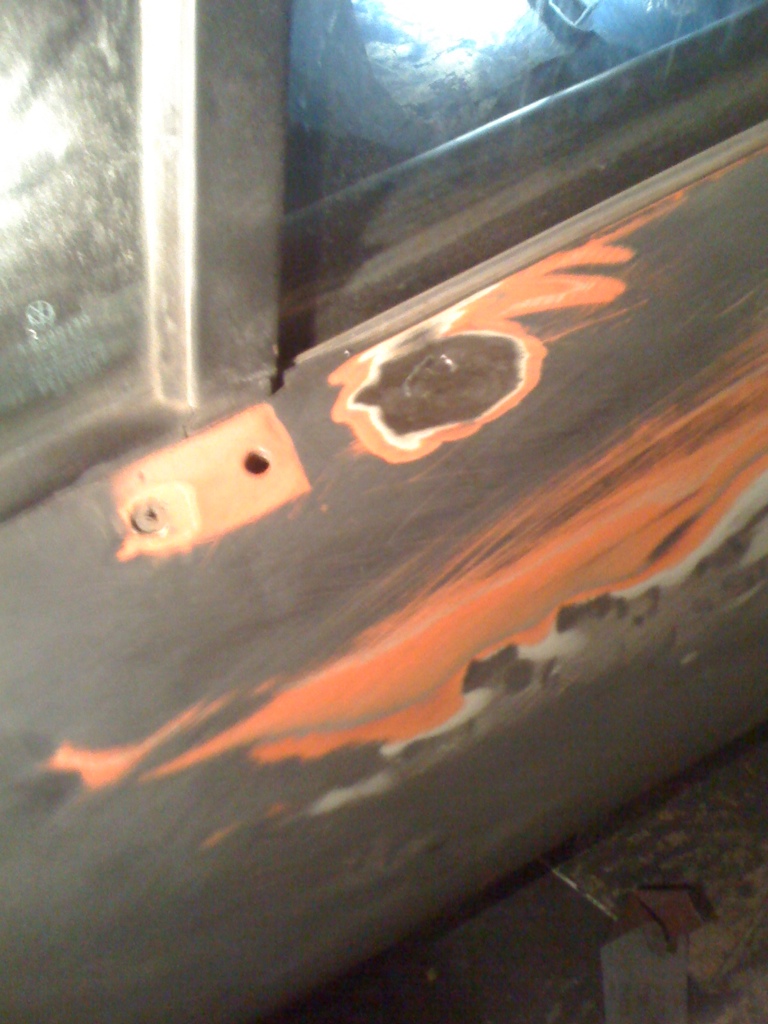
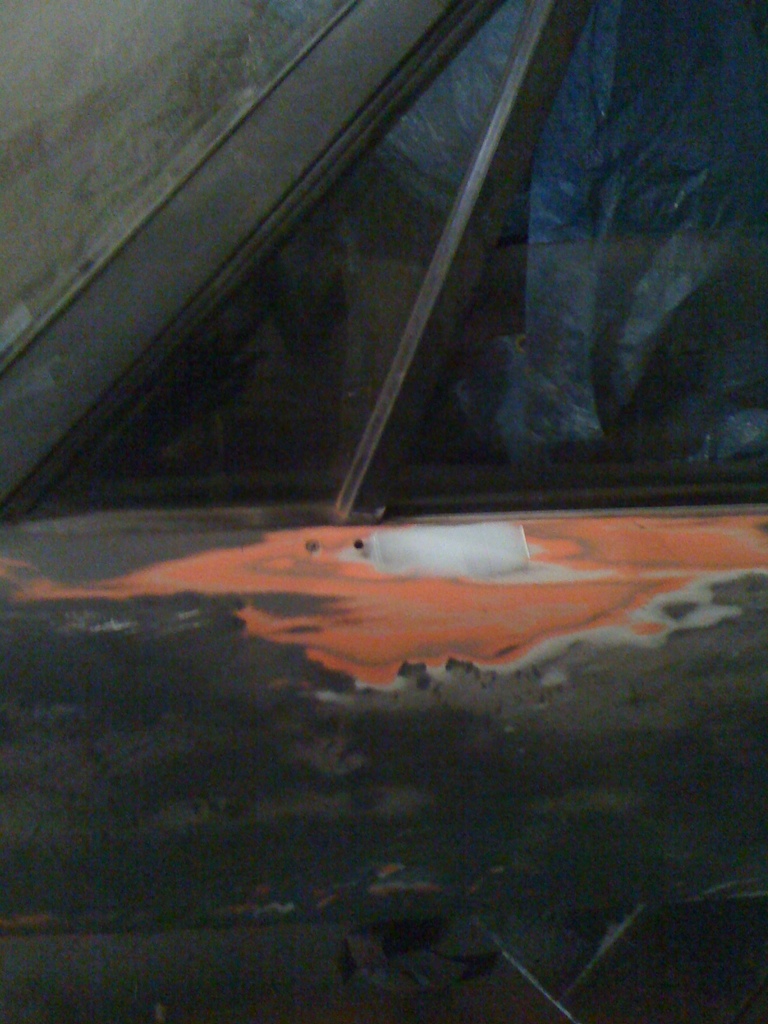
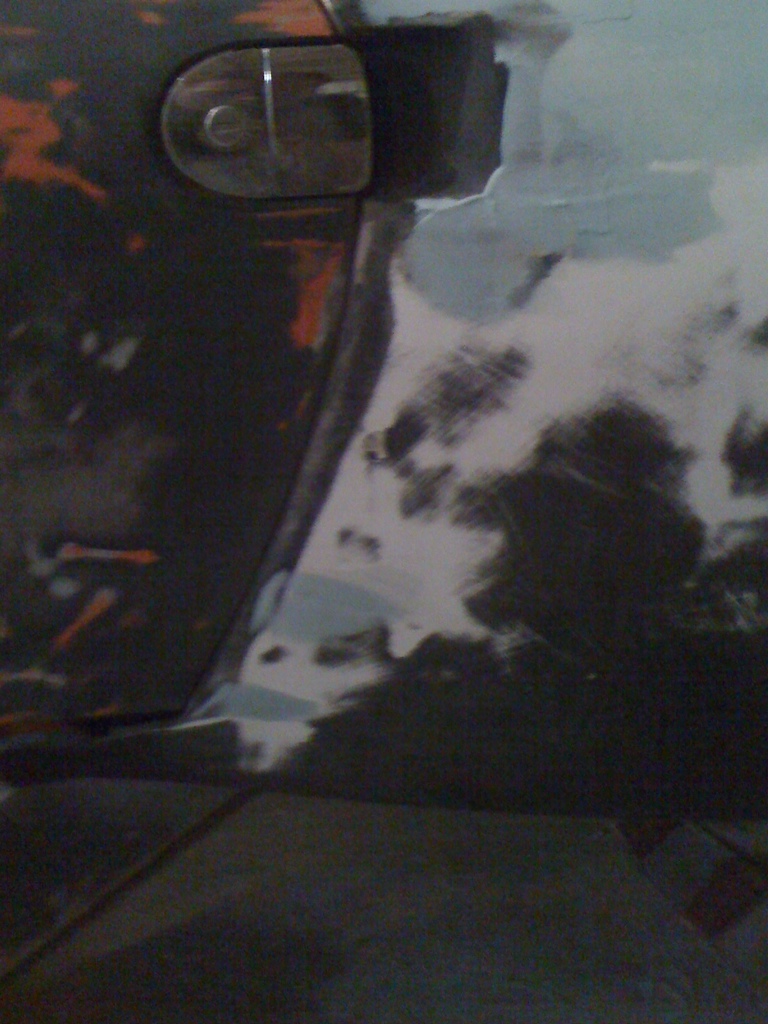
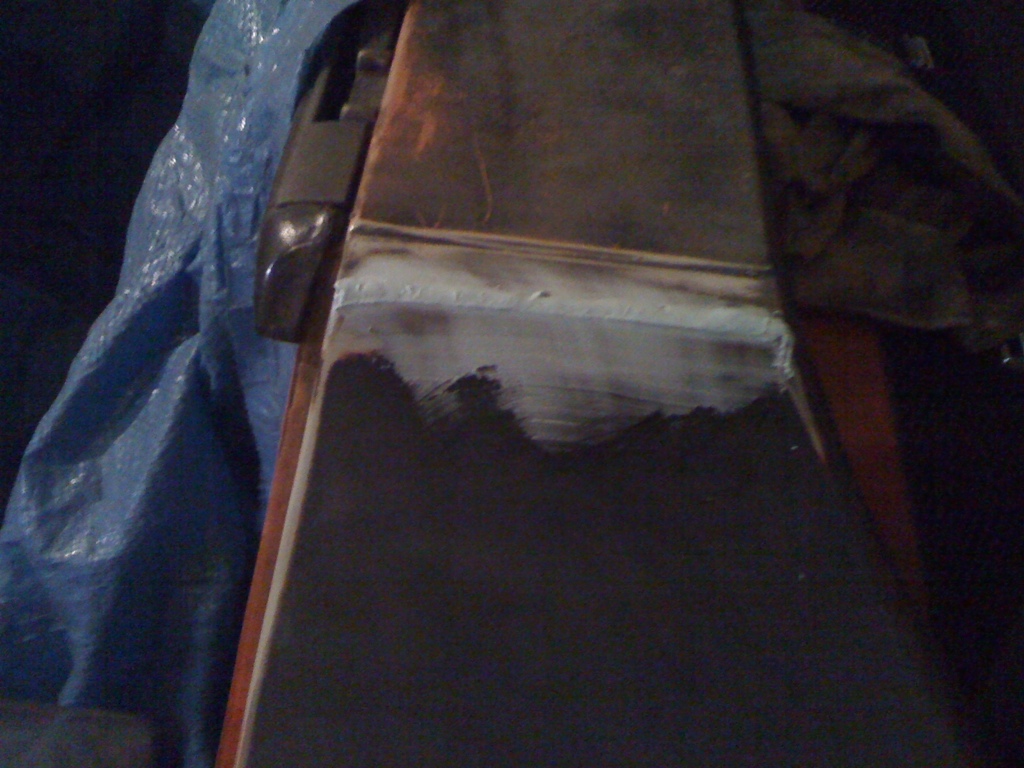
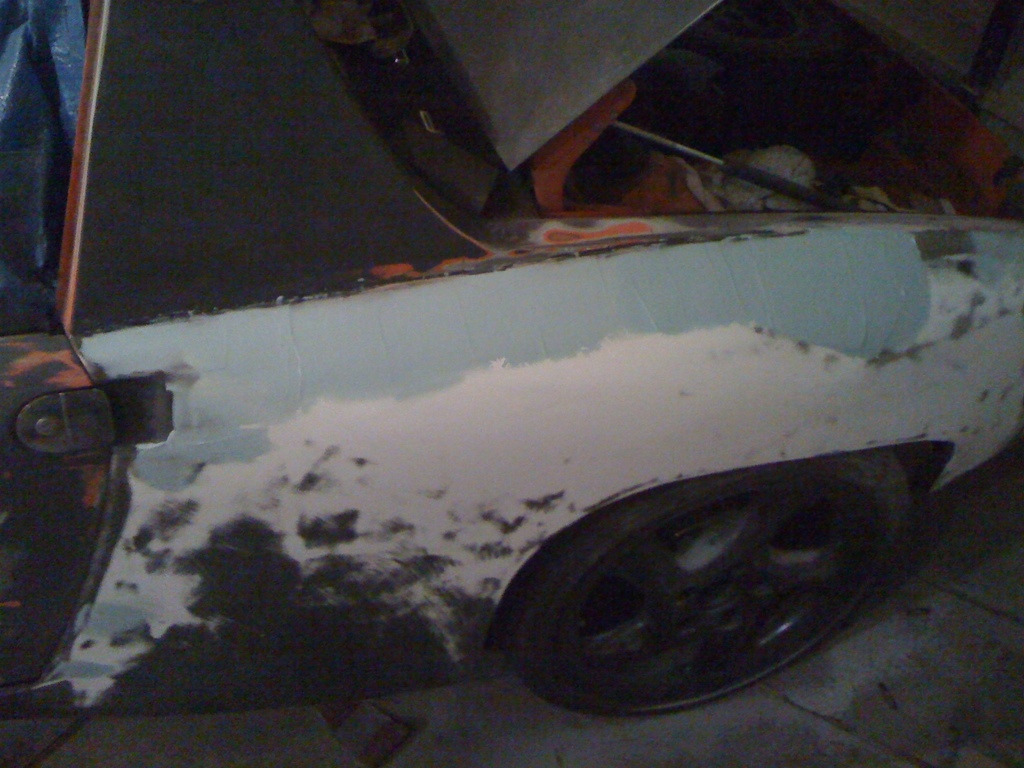
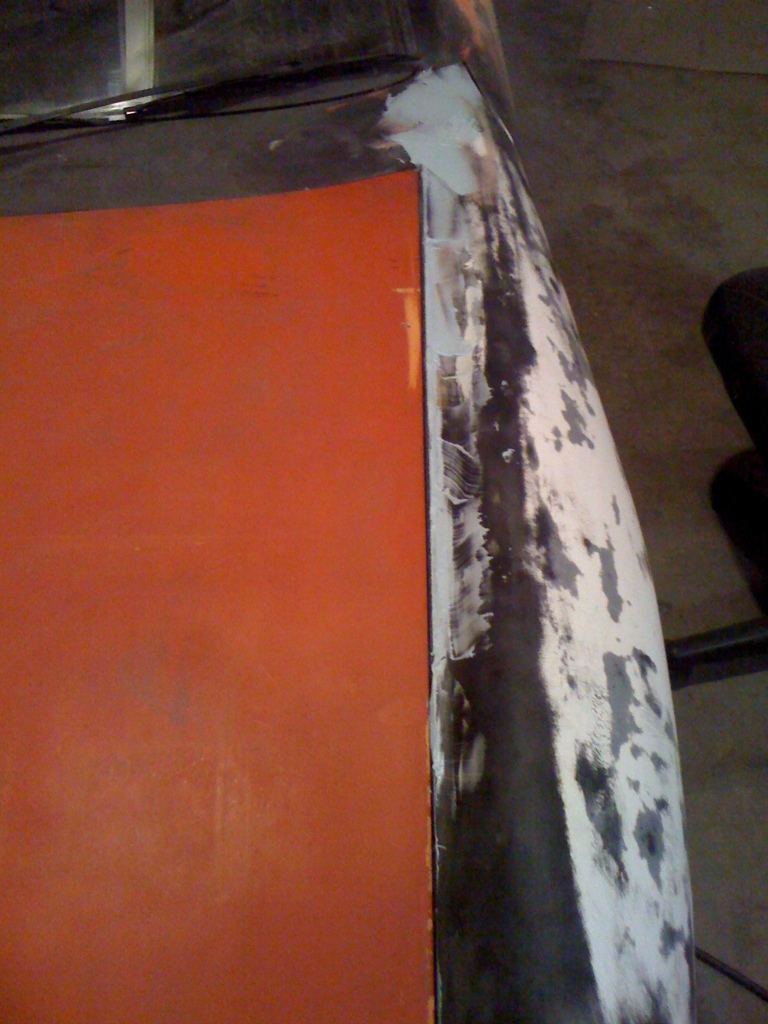
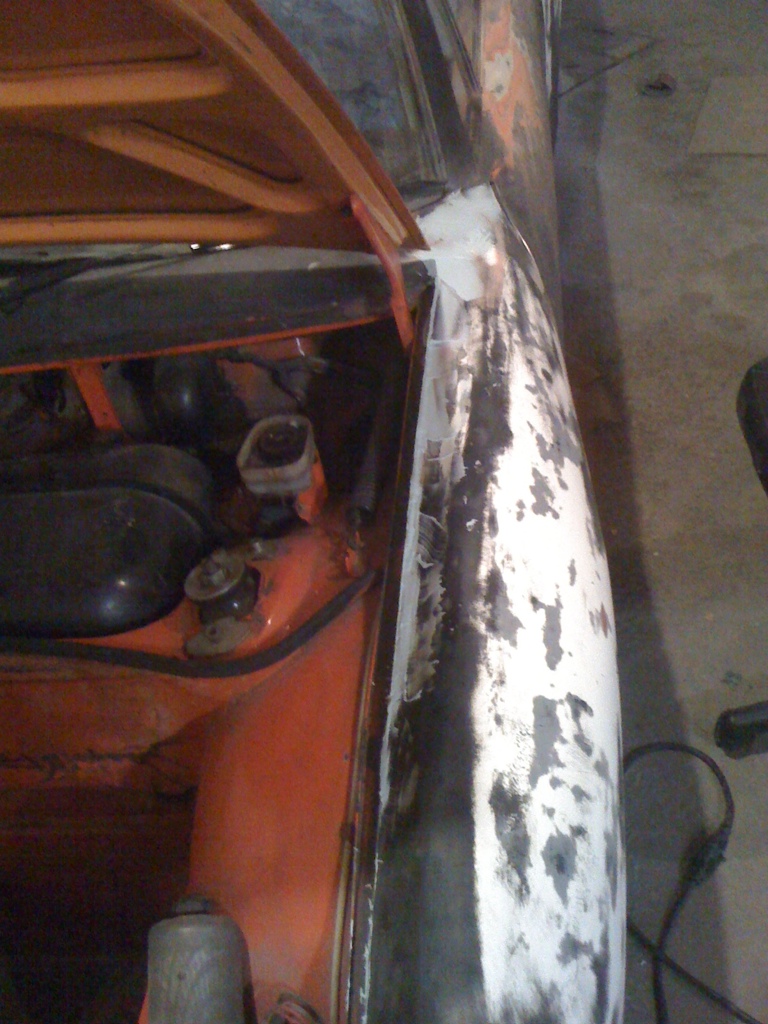
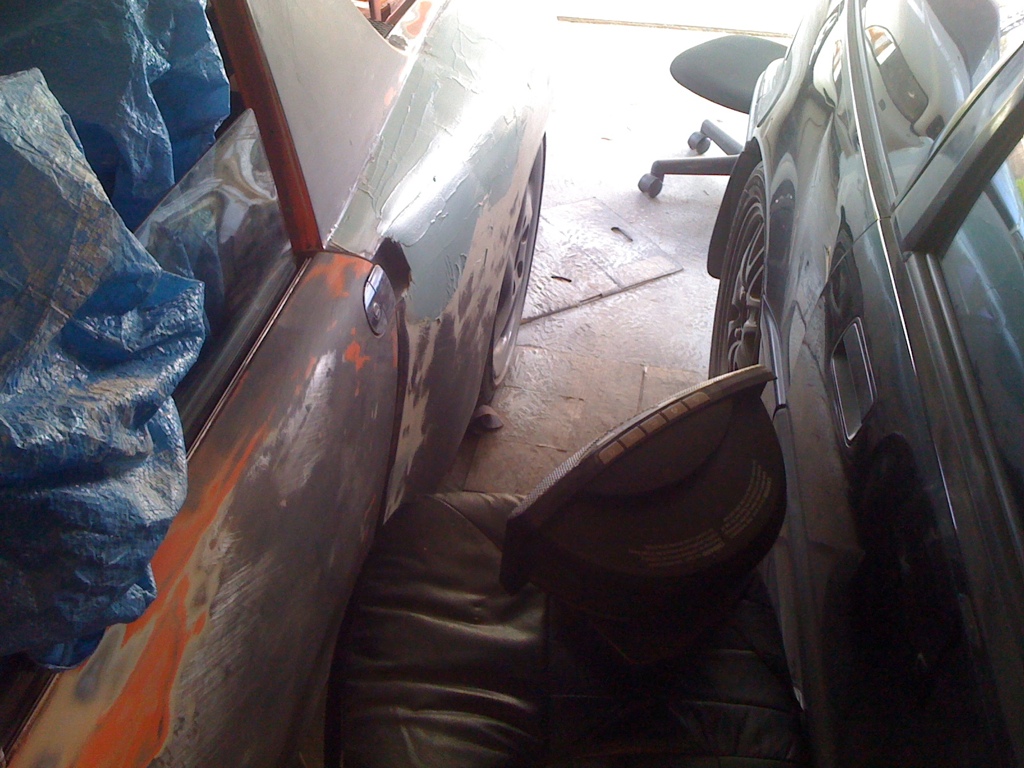
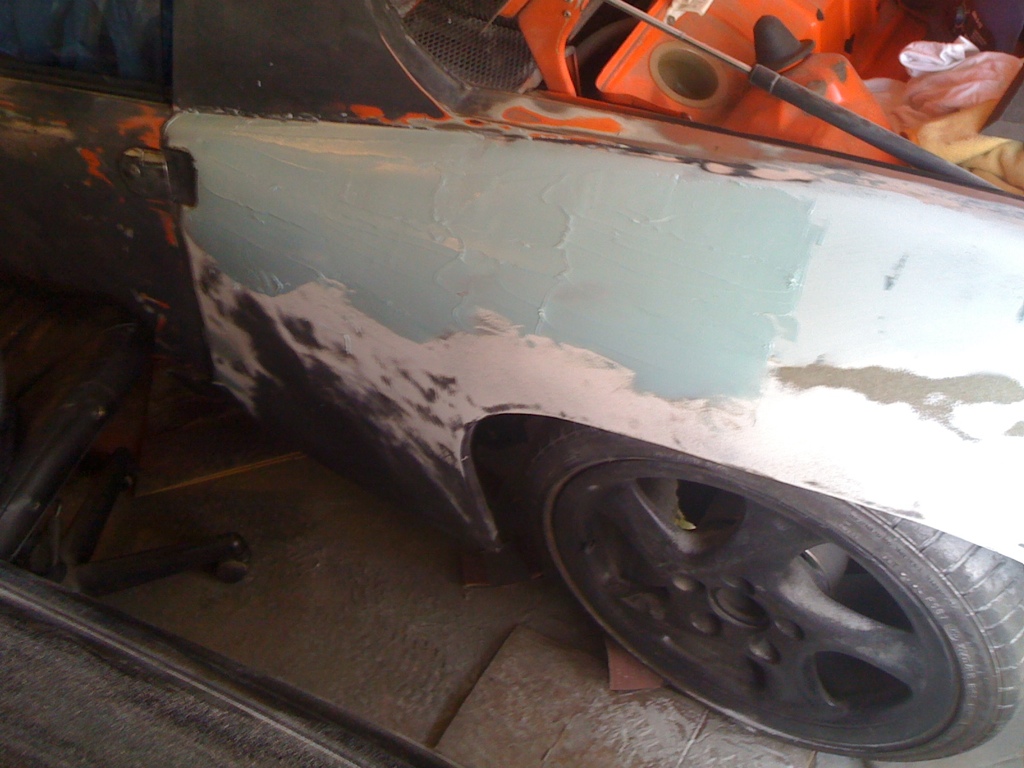
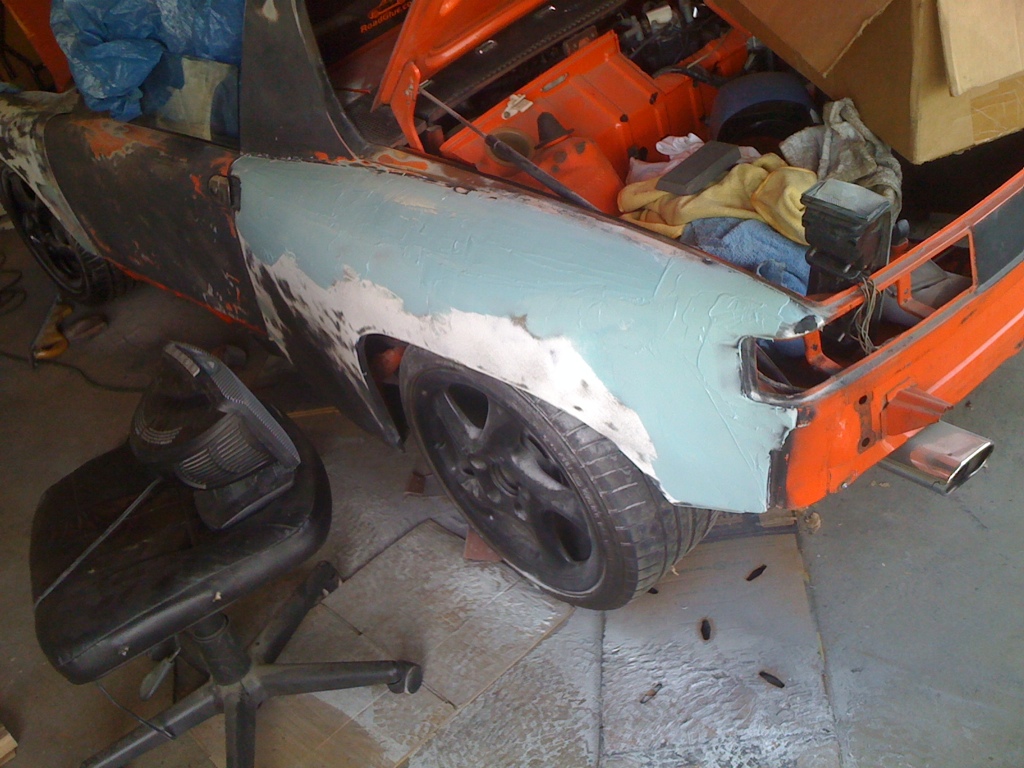
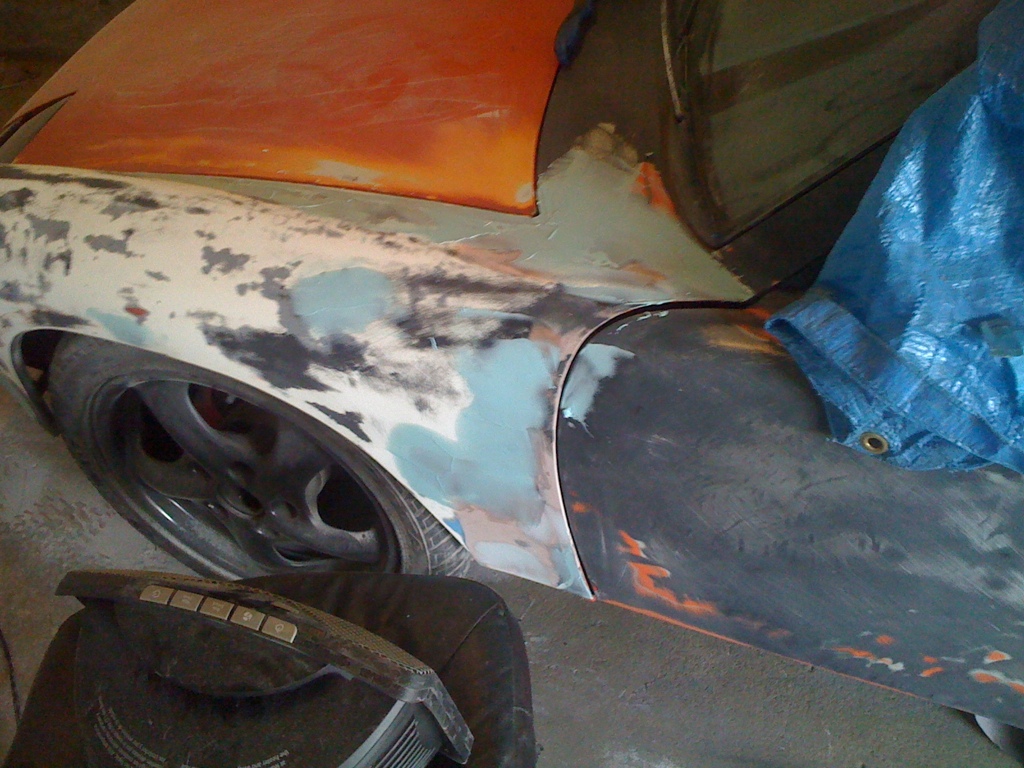
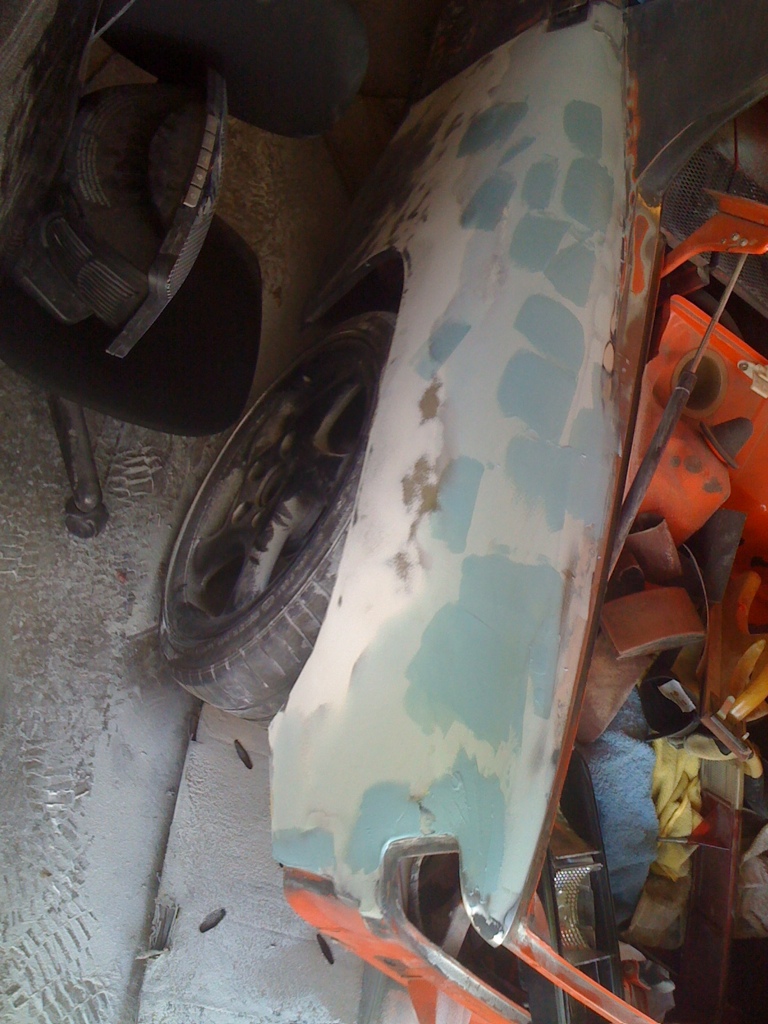
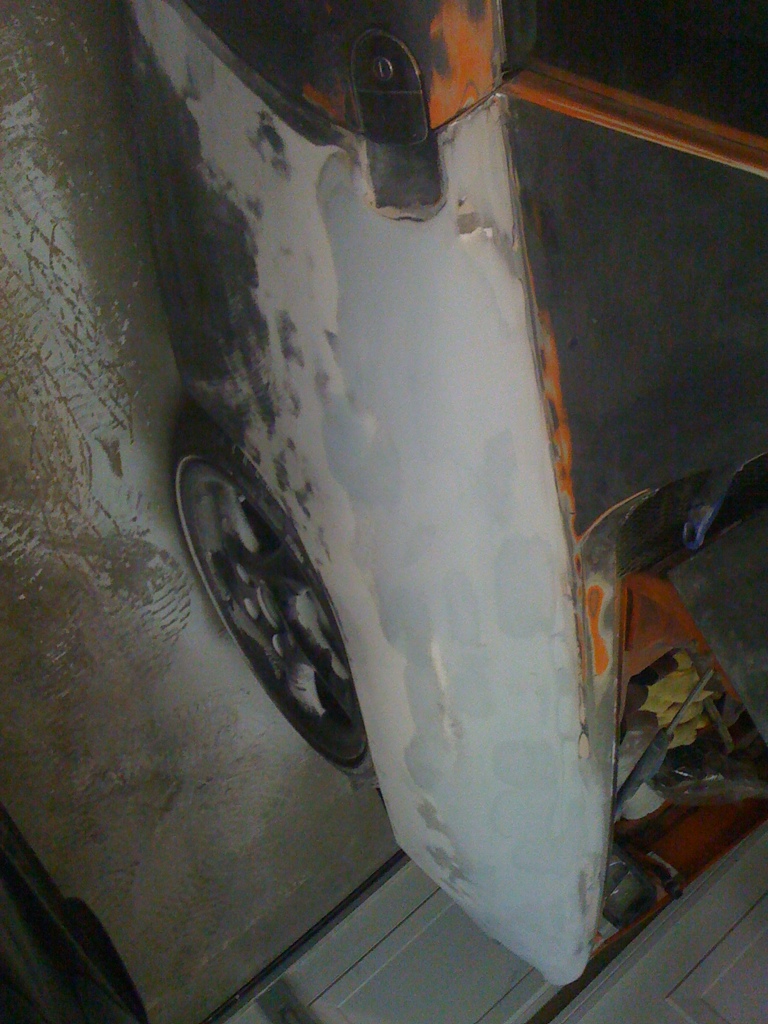
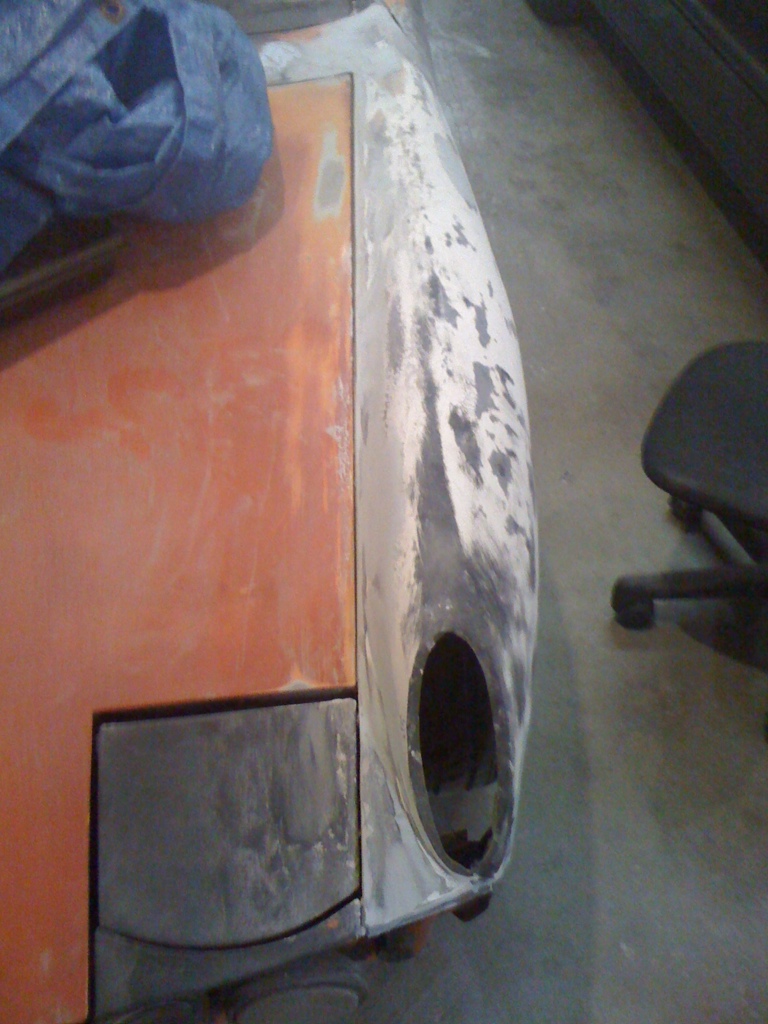
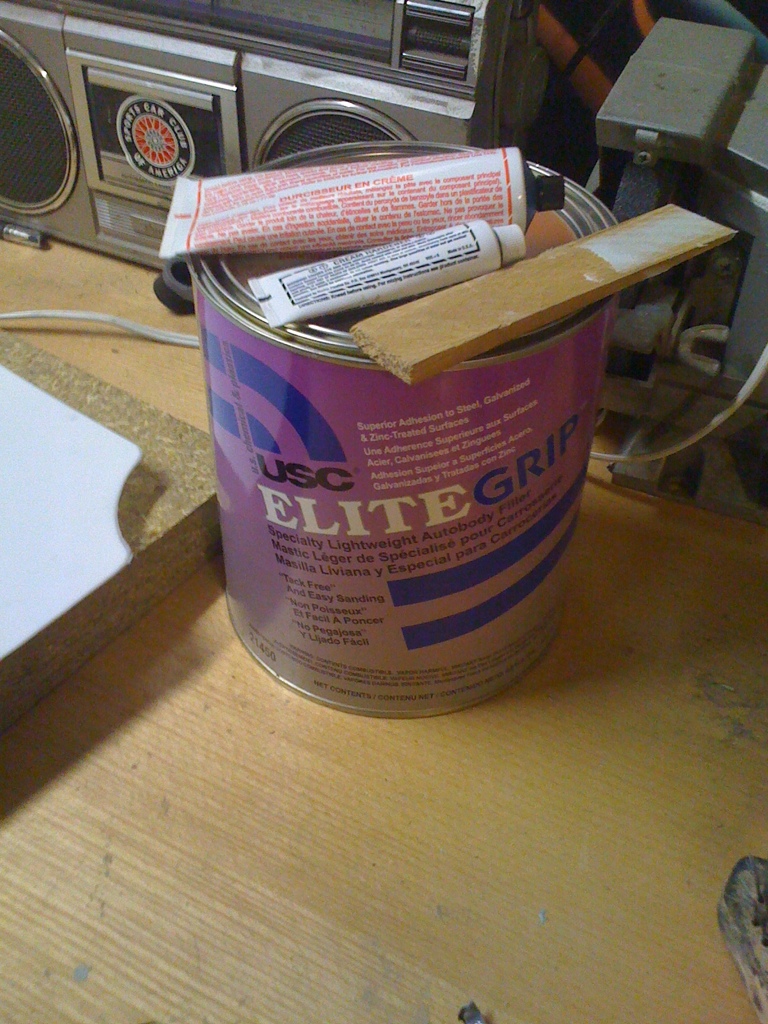
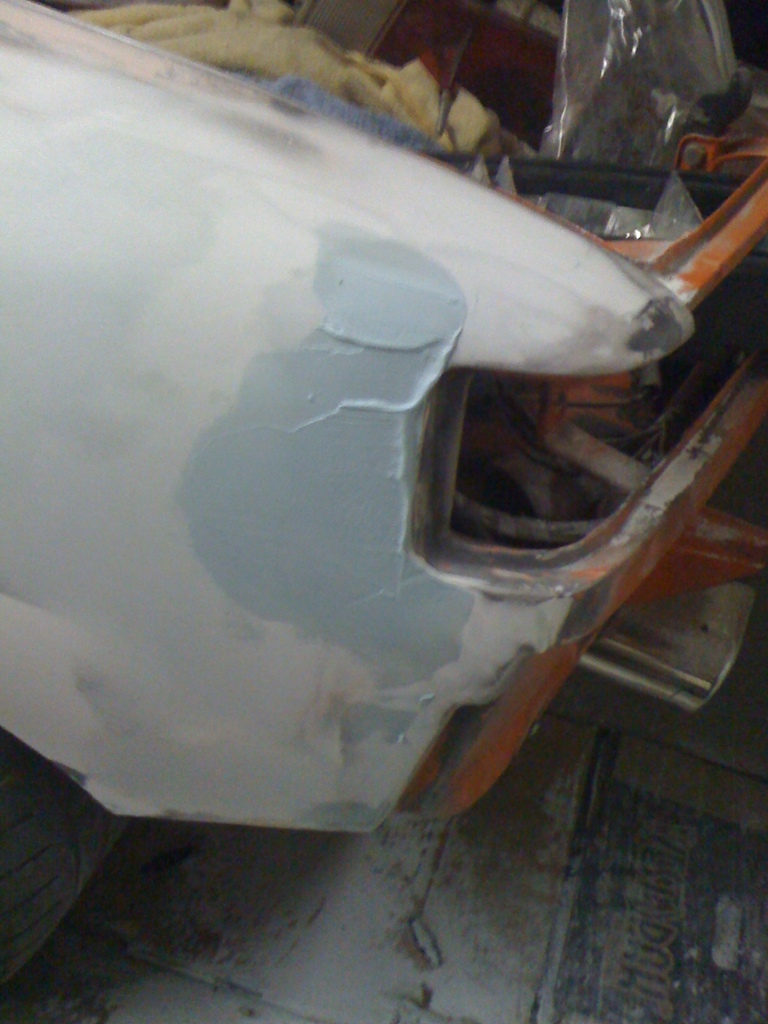
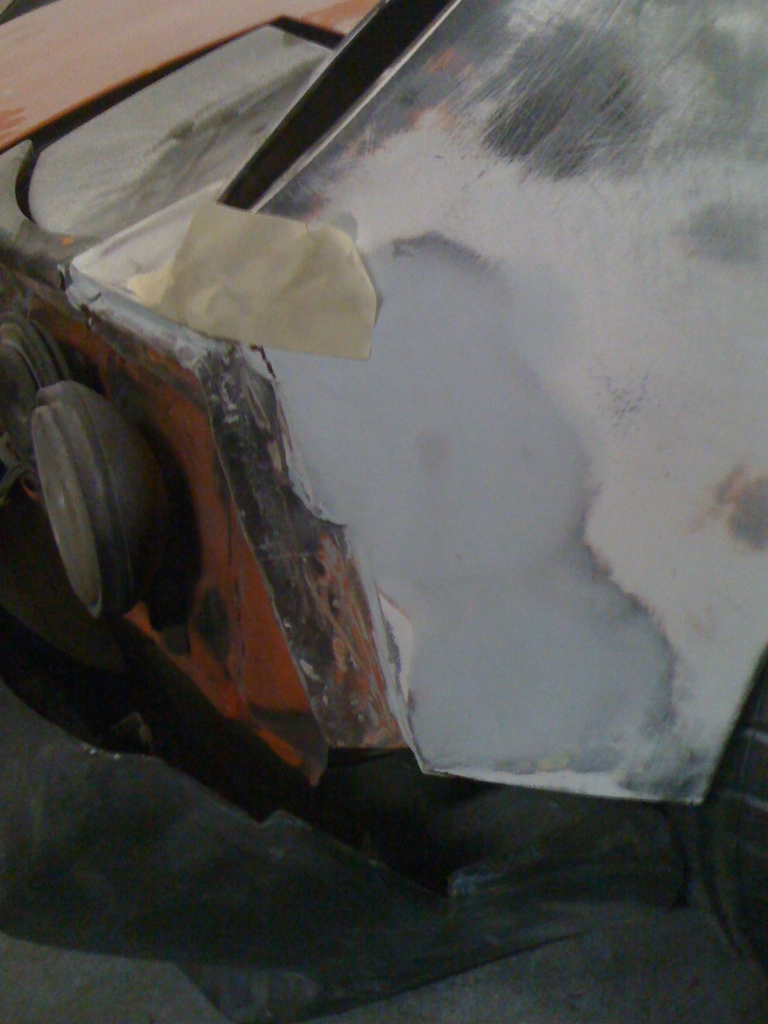
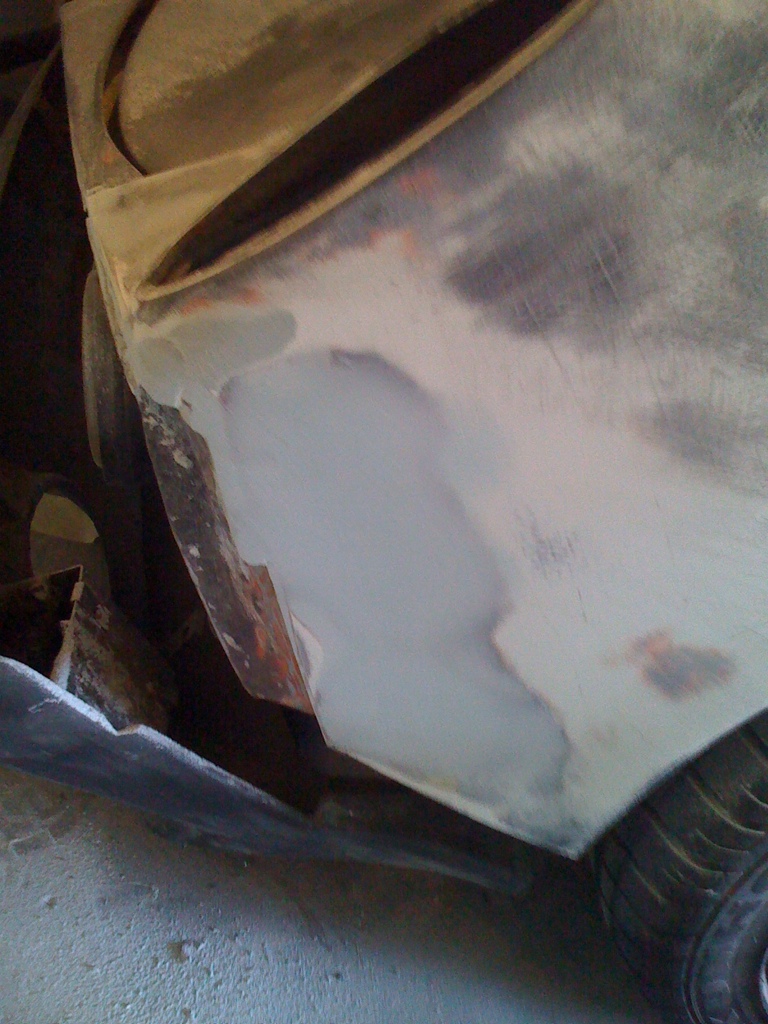
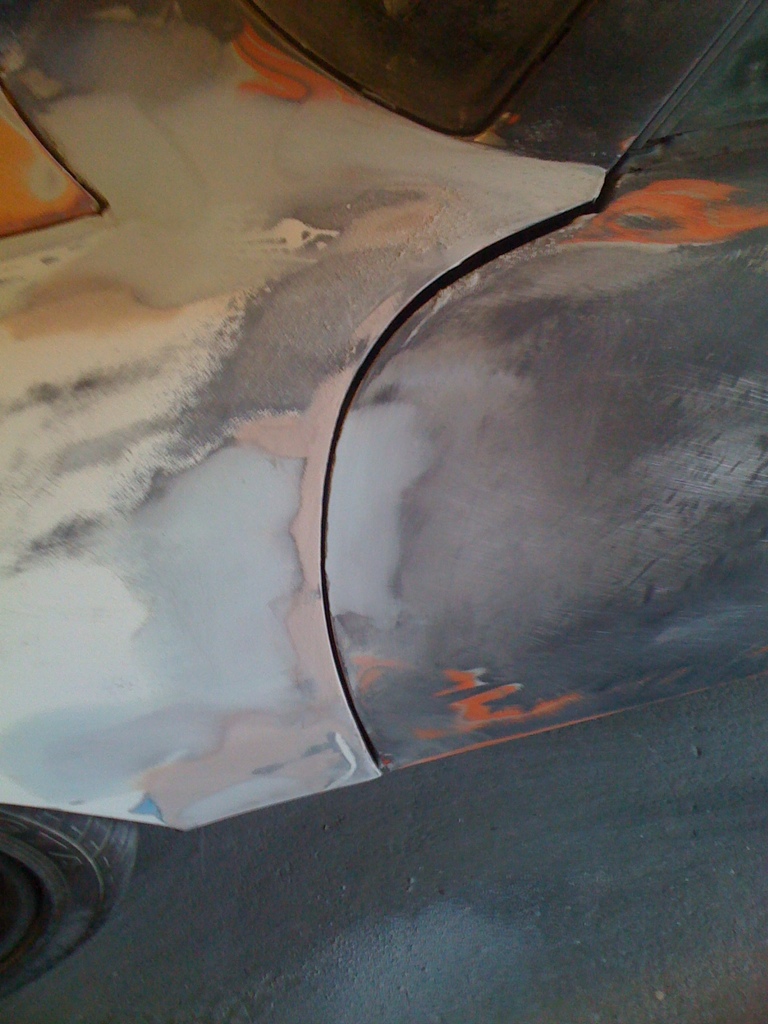
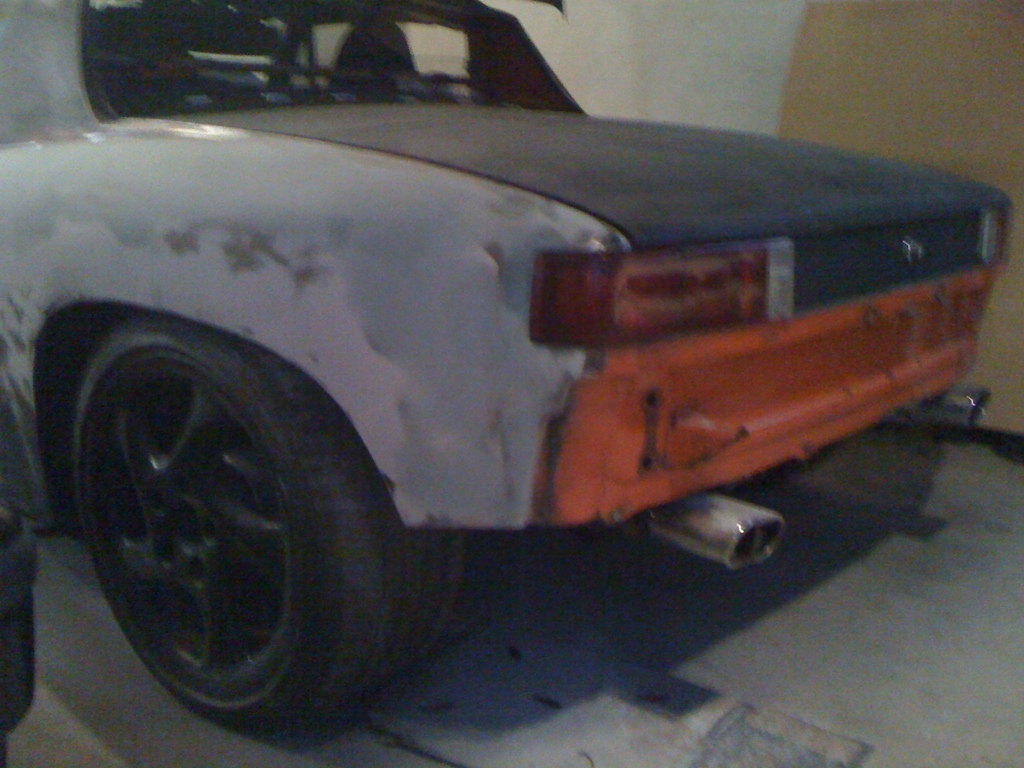
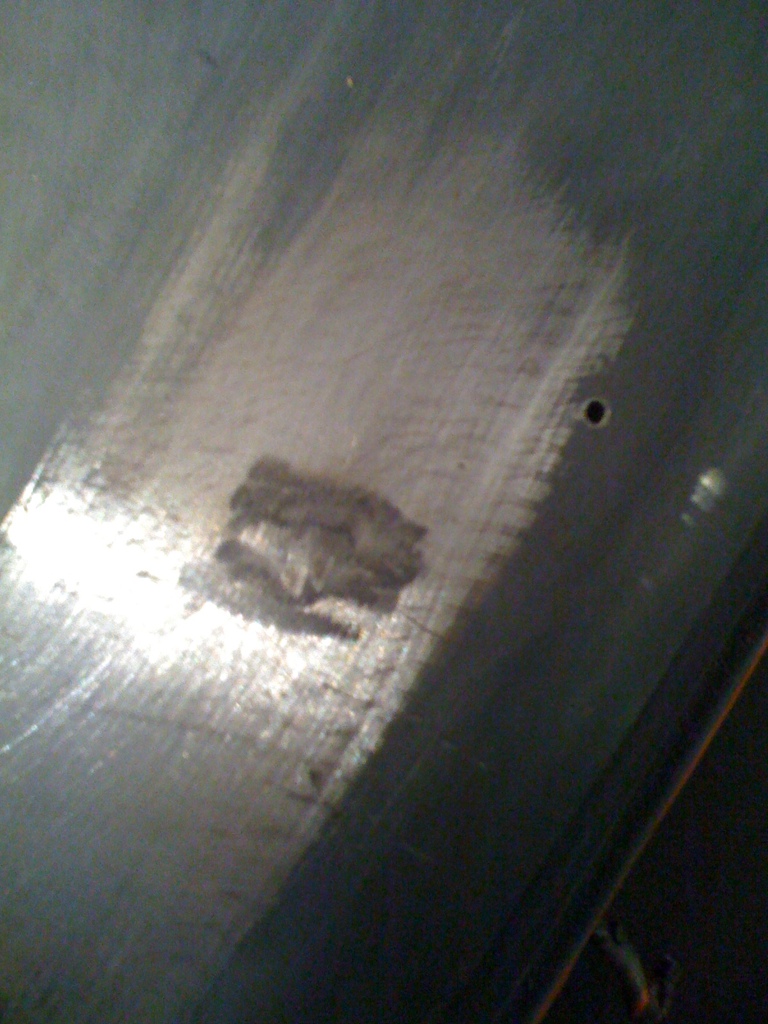
Dr front 1/4 *Sand day 1 1-29-11* *Bondo Day 2-1-11**Primer Day 2-19-11*
Dr door *Sand day 1 1-29-11**Bondo Day 2-1-11*[/url]*Primer Day 2-19-11*
Rocker pannels *5-7-11*
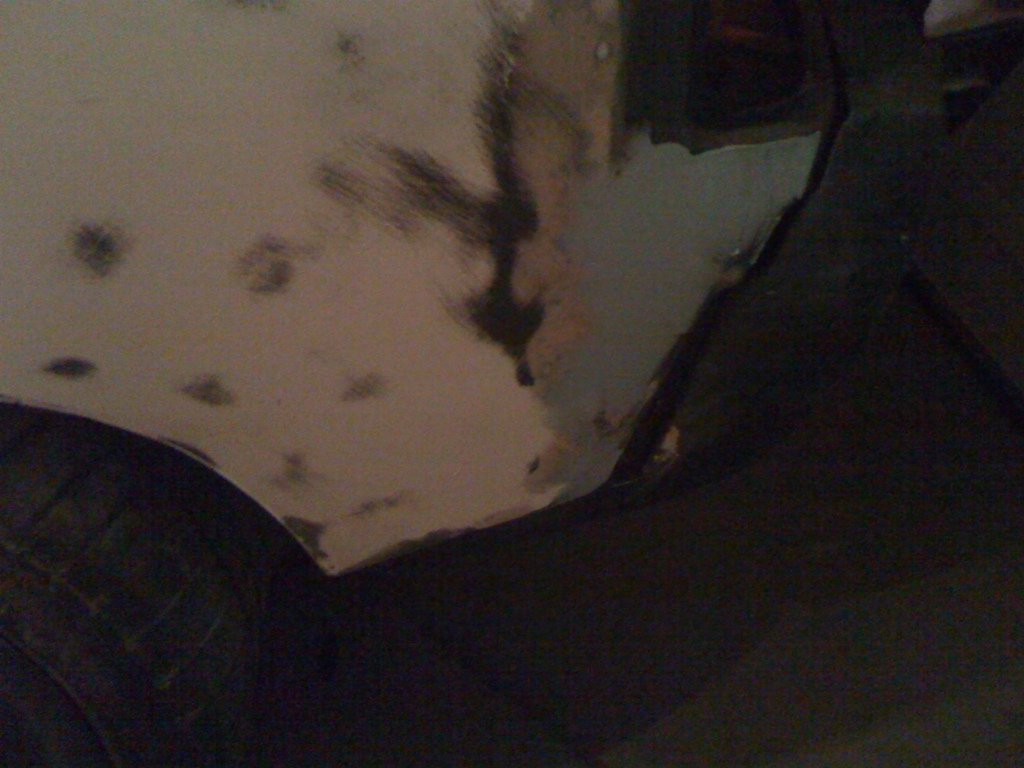
Dr rear 1/4 *Sand day 1 1-29-11**Bondo Day 2-1-11*[/url]*Primer Day 2-19-11*
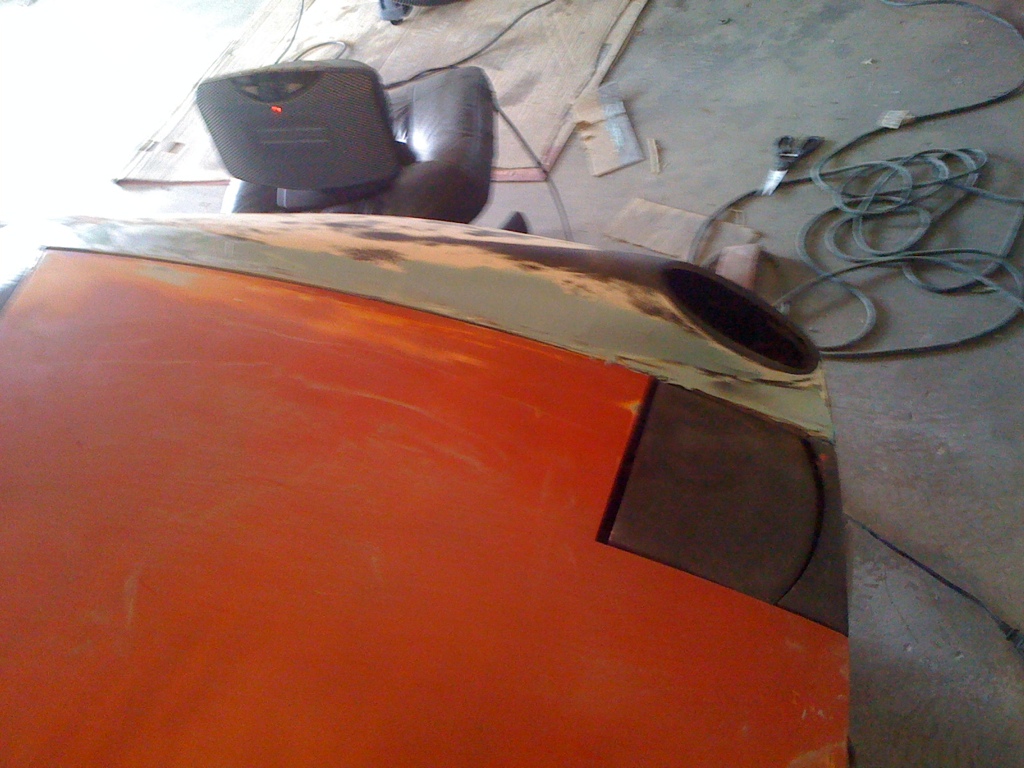
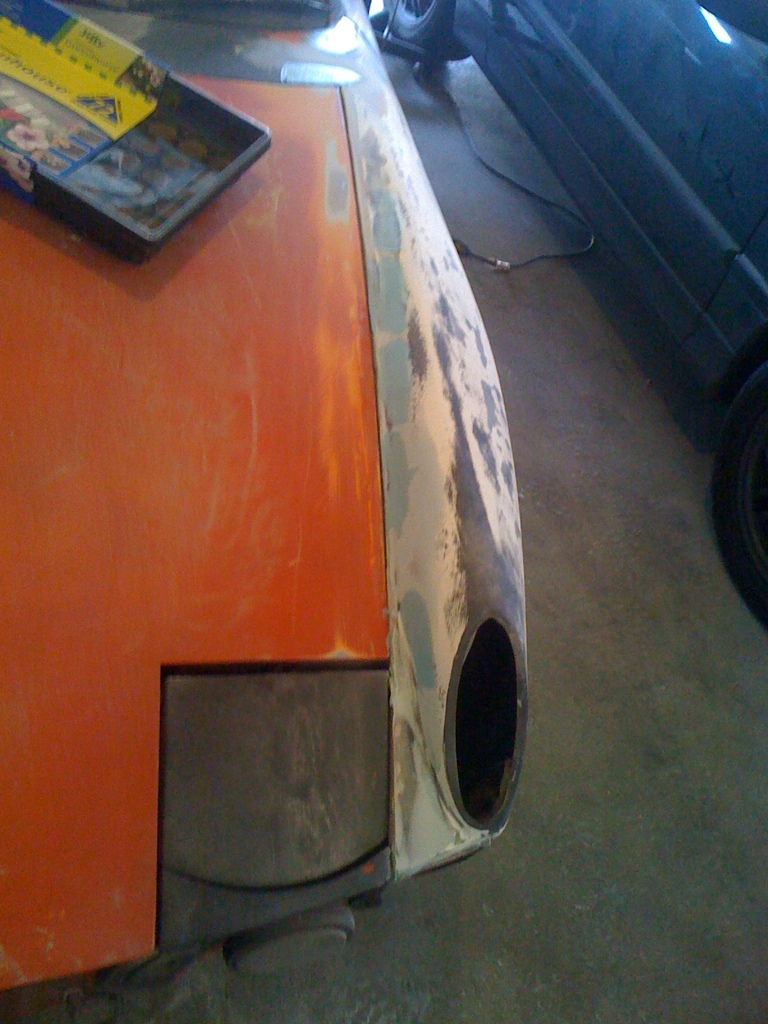
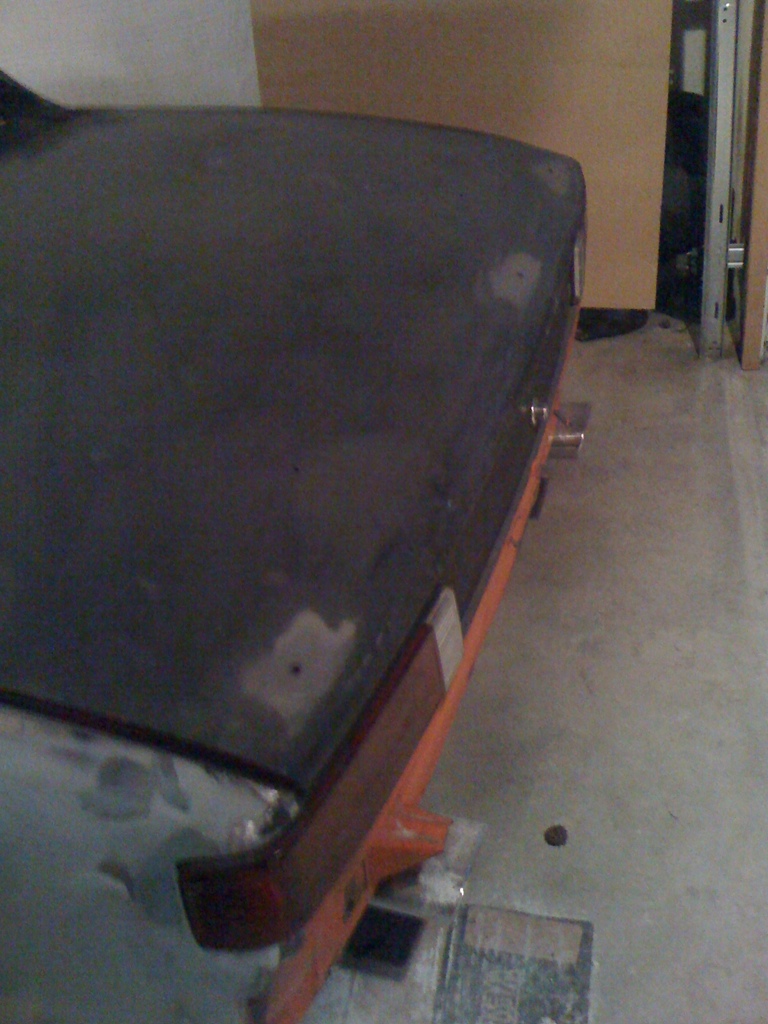
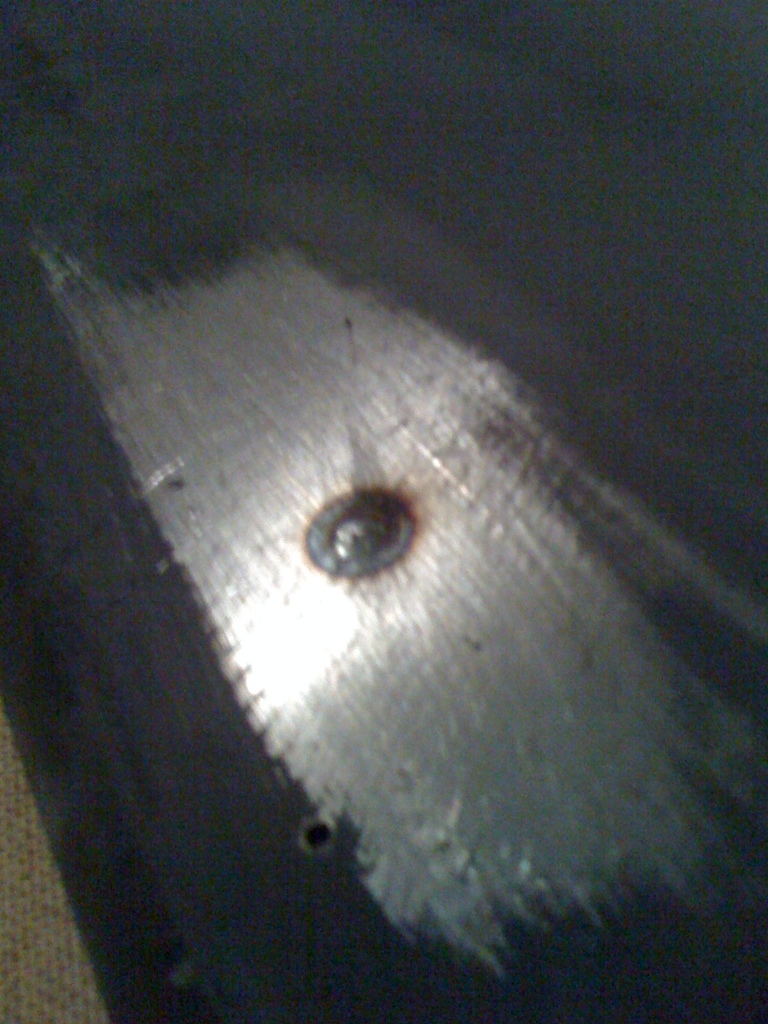
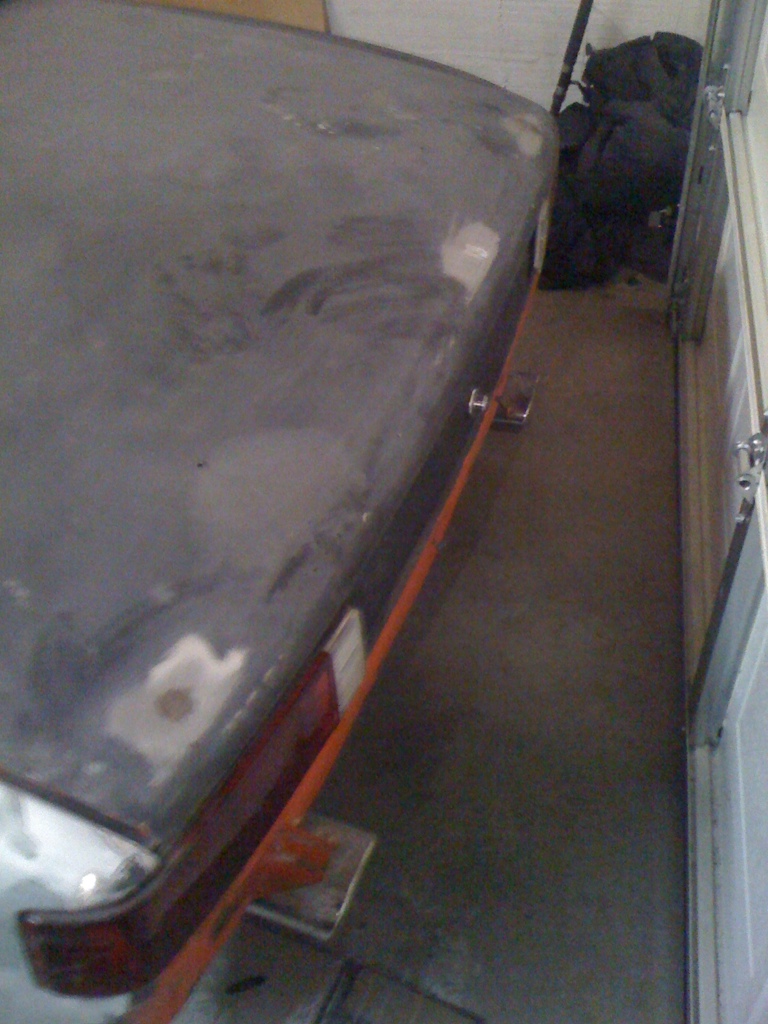
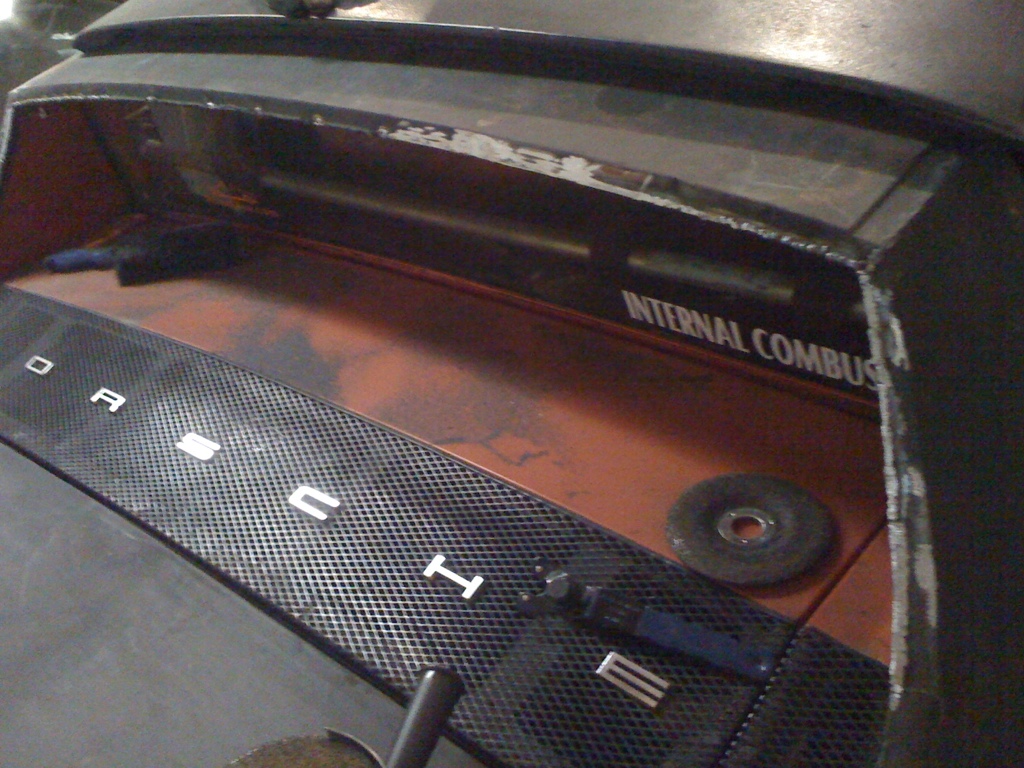
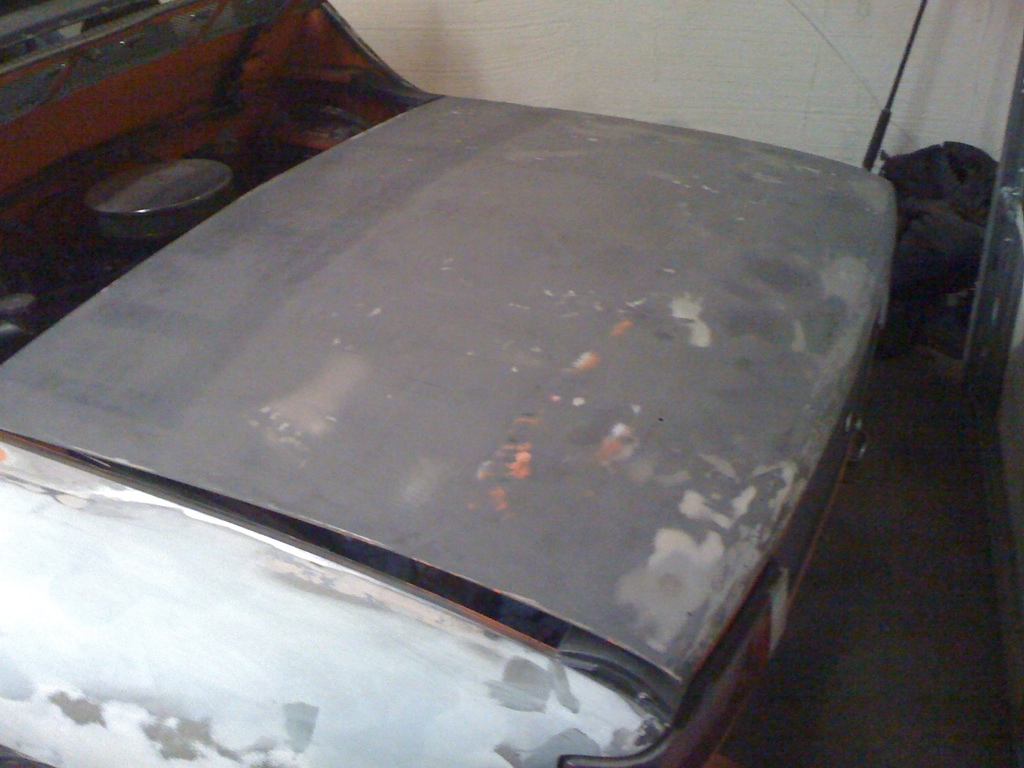
Trunk *Removed spoiler, Plugged old spoiler holes, Long board sanded trunk*
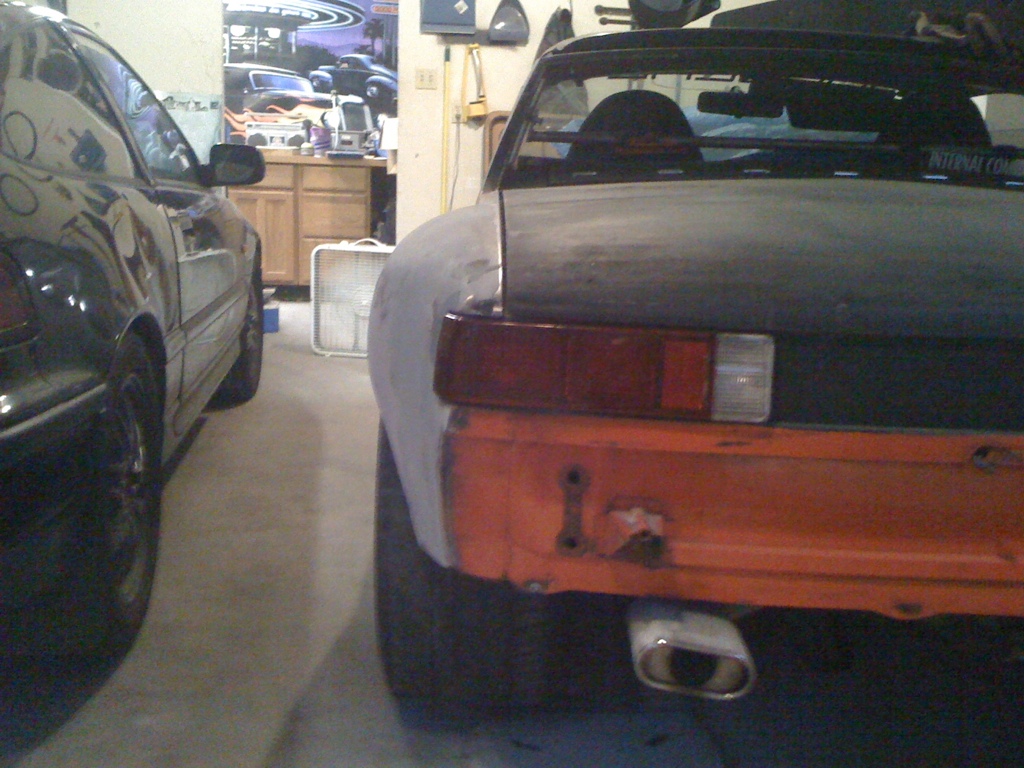
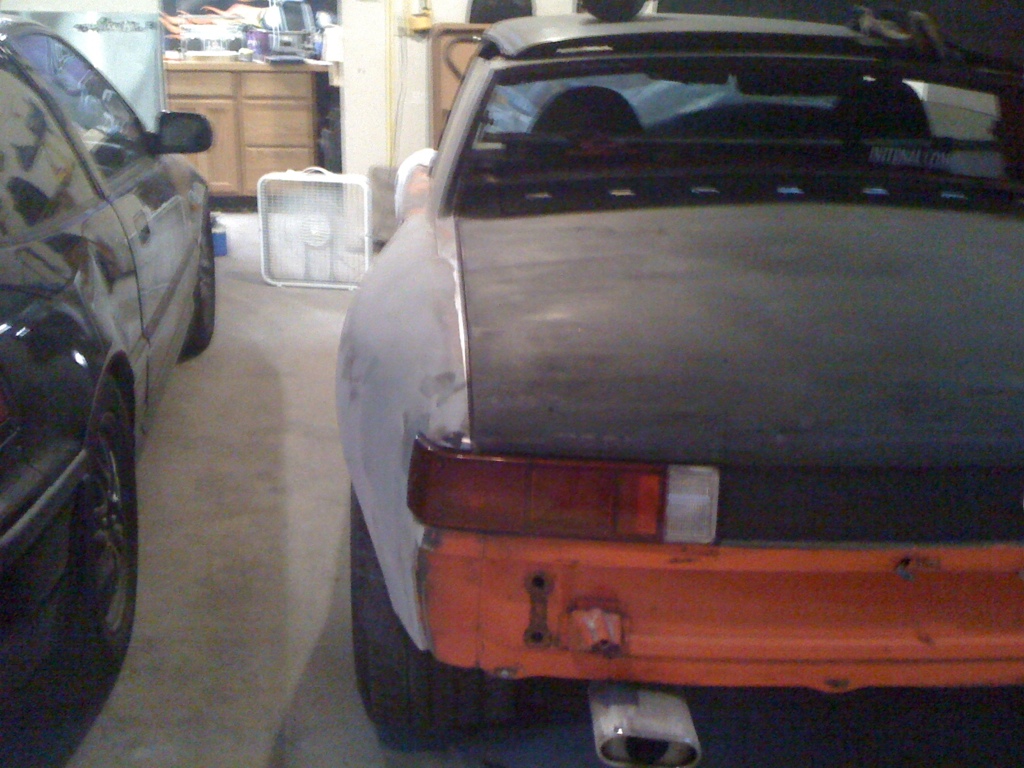
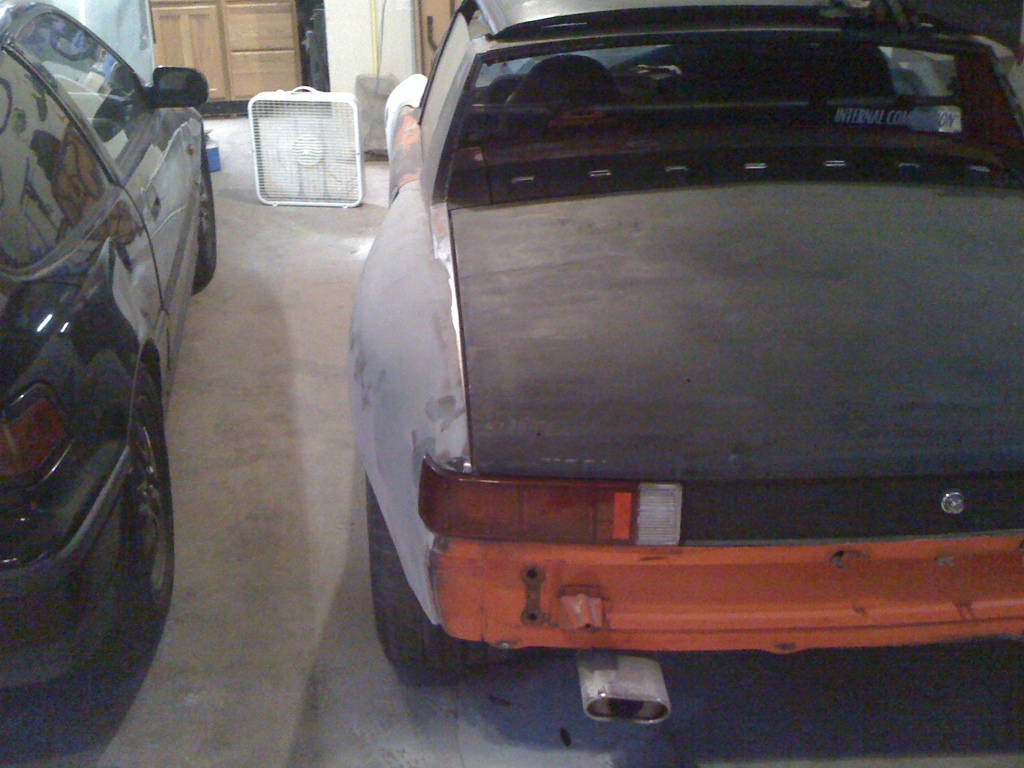
Rear bumper *Page 8*
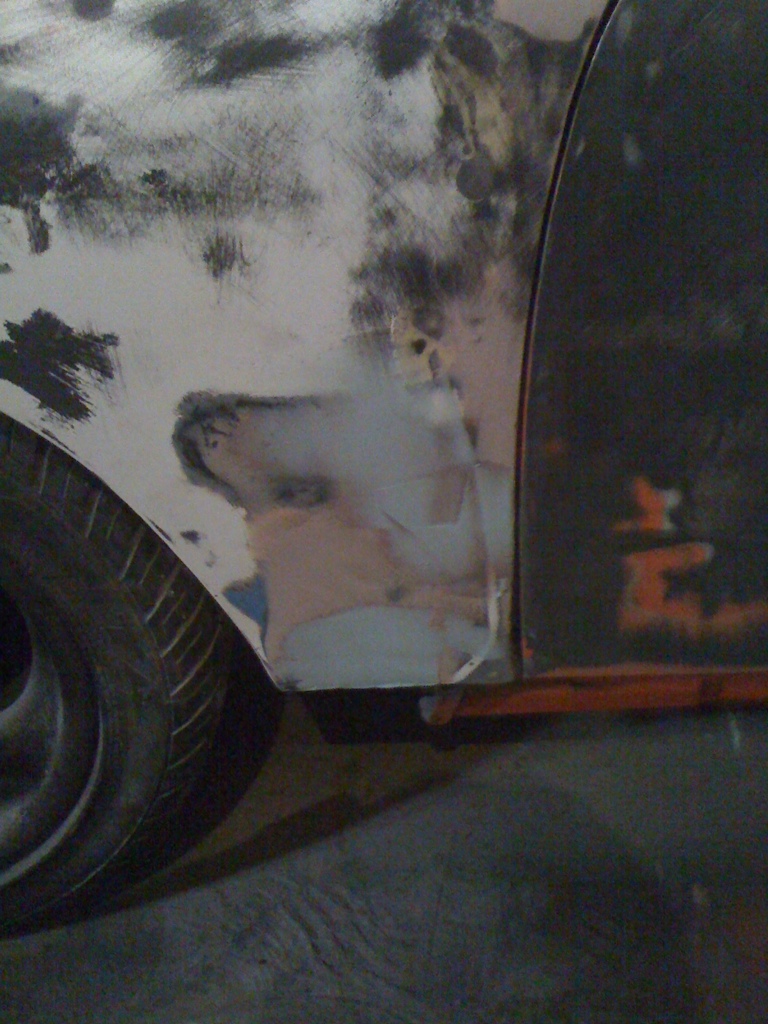
Pass rear 1/4 *4-17-11*
Pass door *4-17-11*
Pass front 1/4 *4-17-11*
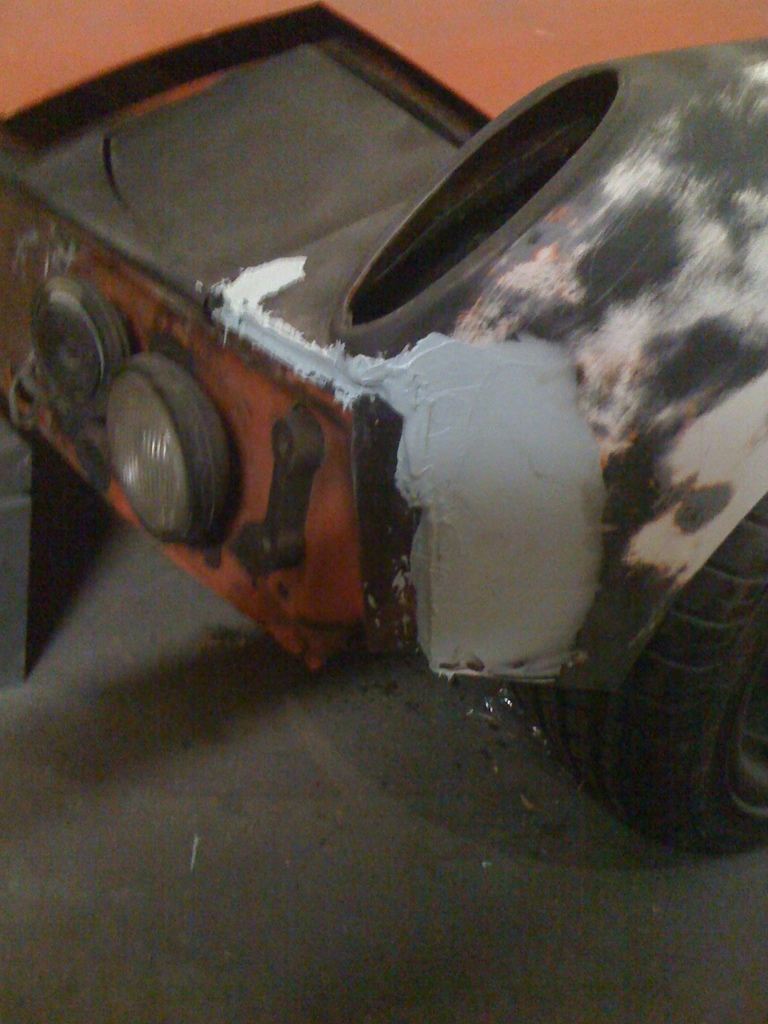
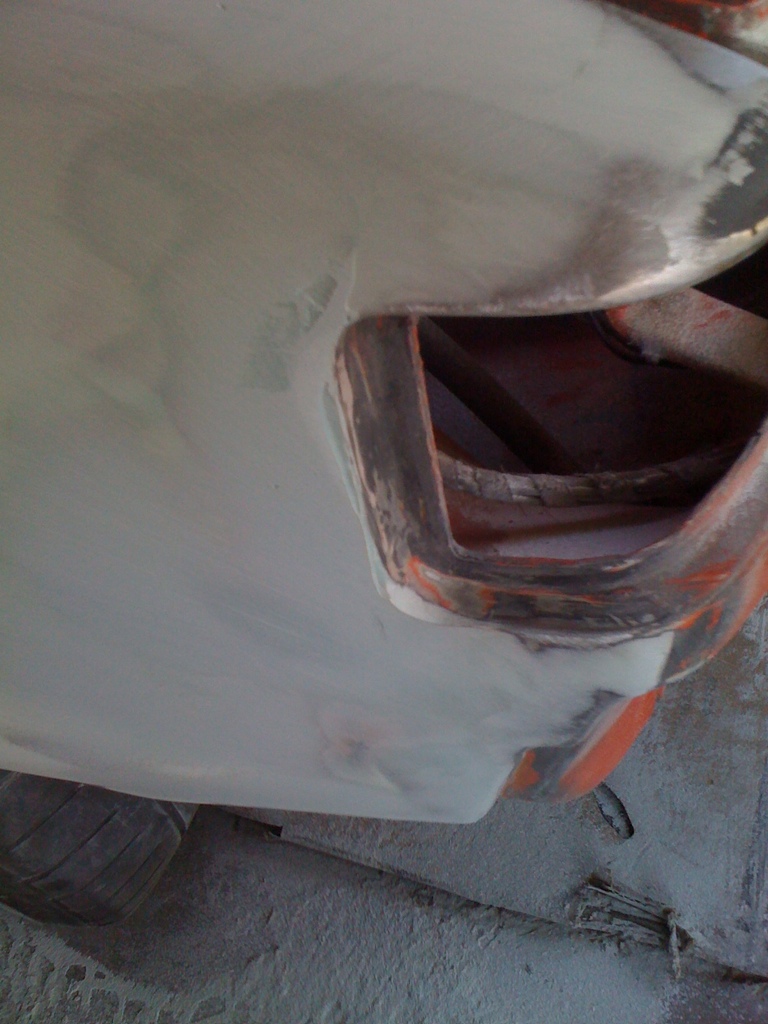
Front bumper *5-5-11*
Hood *Primer 5-2-11* *Paint 5-15-11*
Top *5-4-11[url=http://www.914world.com/bbs2/index.php?showtopic=114780&st=120#]
Primer sealer *5-15-11*
Paint *5-15-11*
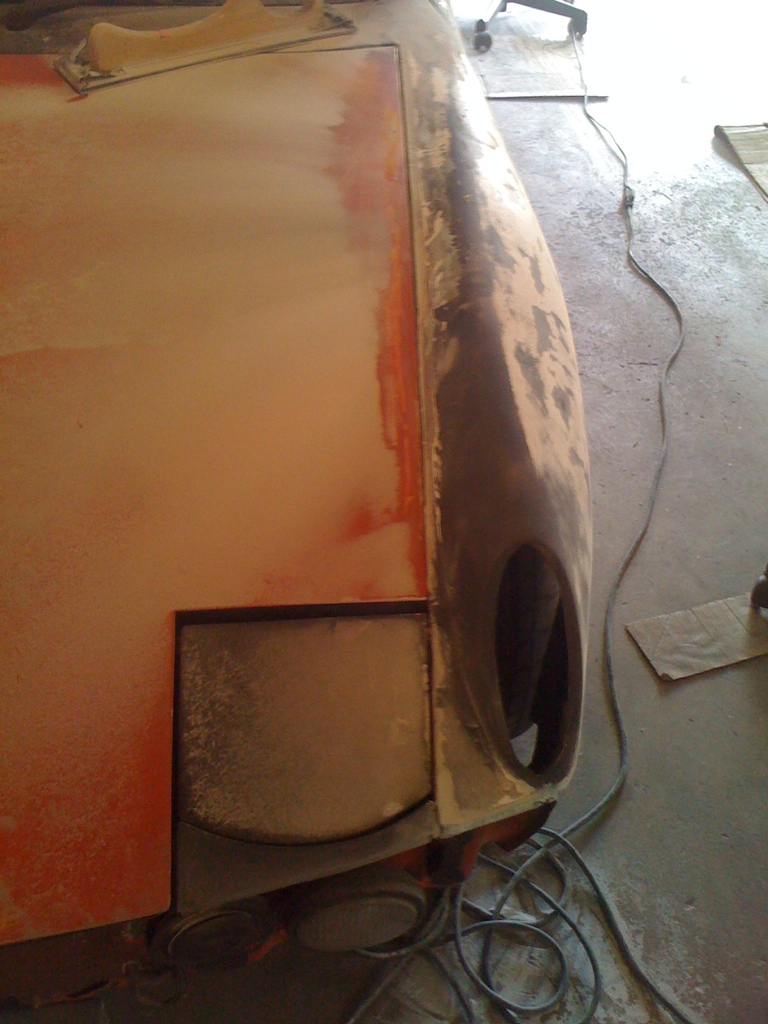
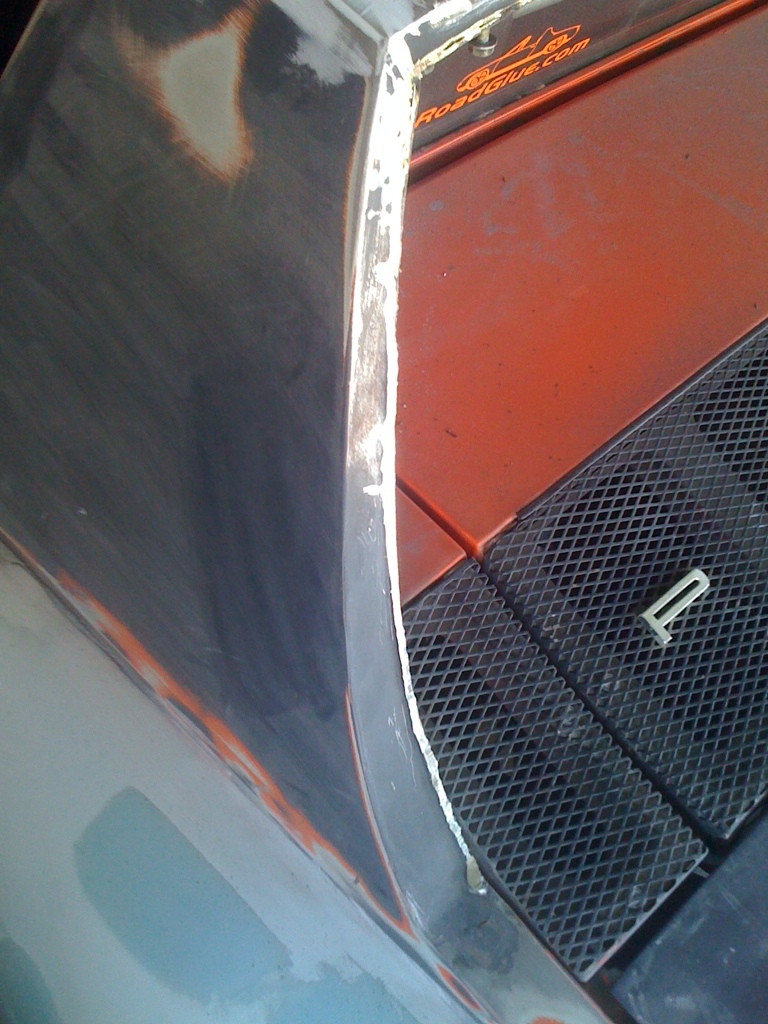
Radiator cutouts in wheel well (And replace hood with stock) ***Completed 1-26-11***
Fix headlights *6-8-11*
Fix horn
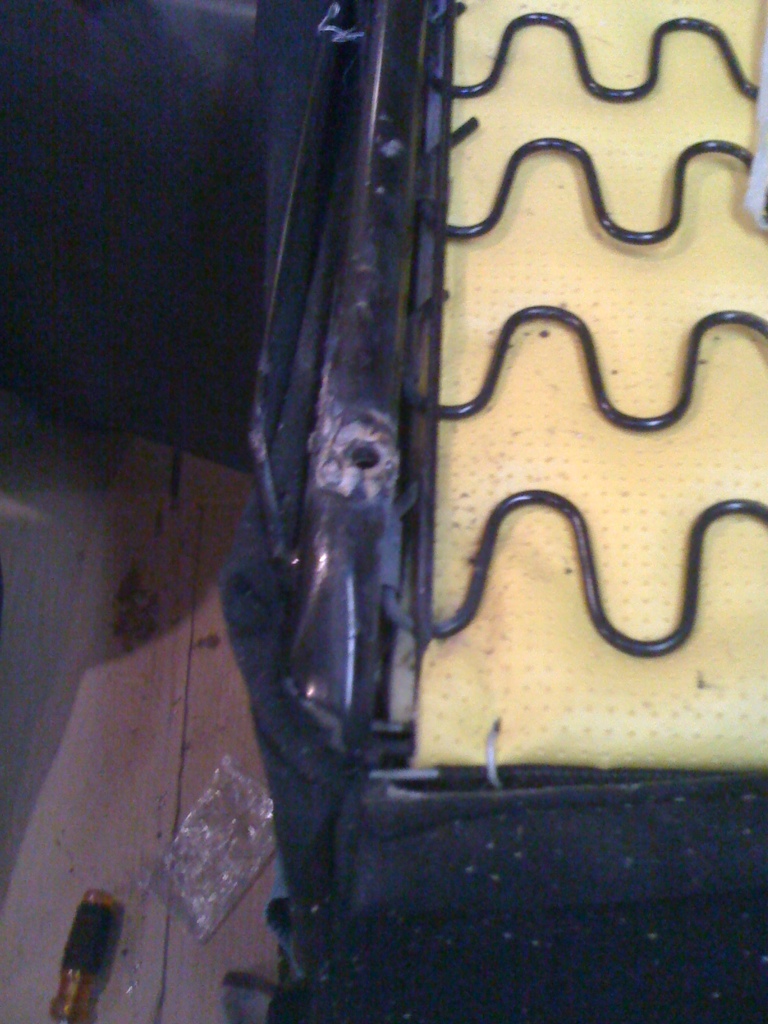
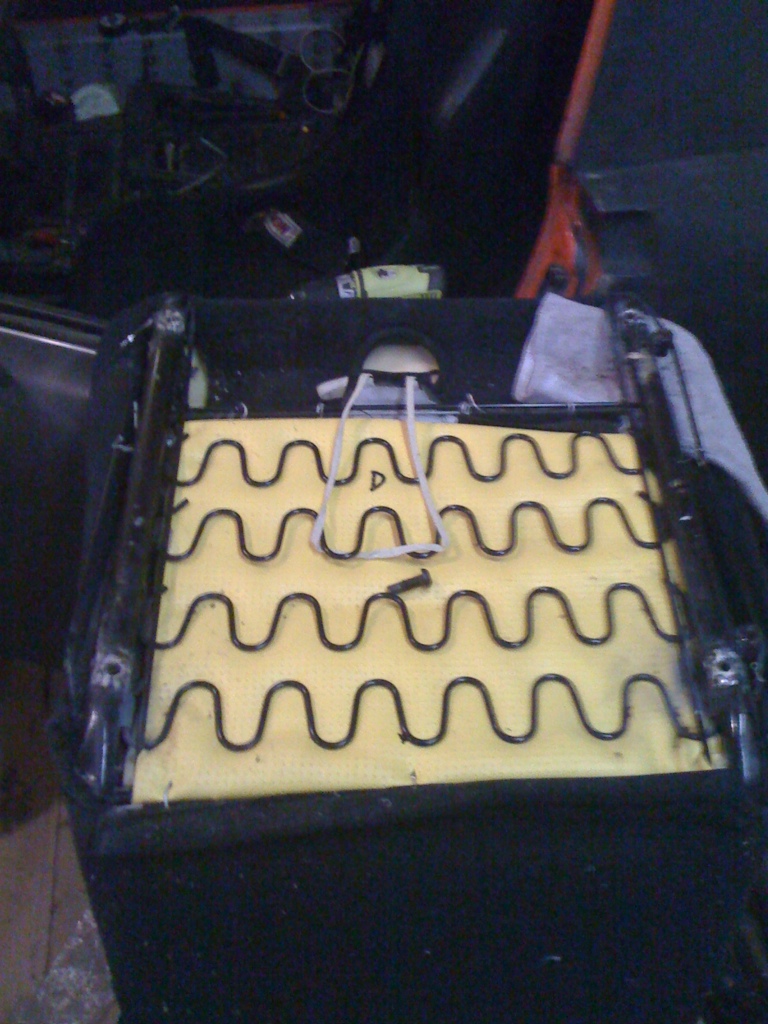
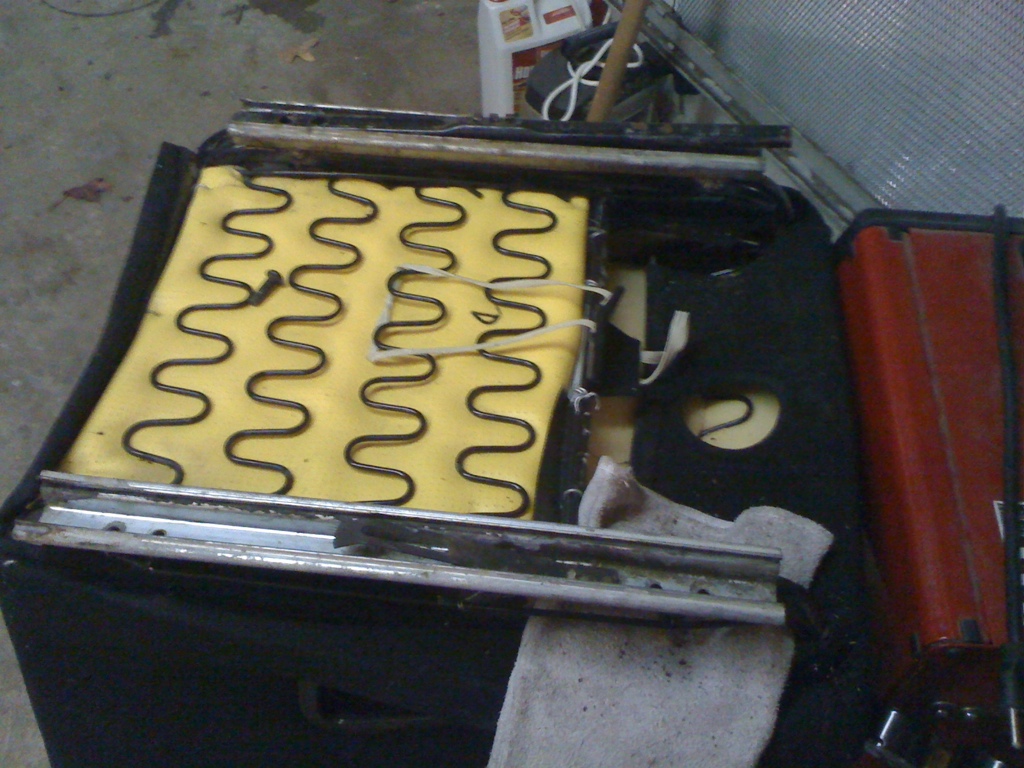
Finish seat install ****Progress 1-19-11**** ***Finished 1-26-11***
Finish carpet *6-8-11*
Finish front sway bar
Fix Dr Door handle
Andyrew
After
IPB Image
IPB Image
IPB Image
IPB Image


https://www.youtube.com/watch?v=jk5V1cL0pbk
Mike Bellis
AWESOME! piratenanner.gif

I want you to drive and enjoy. You going to buy a wrecked Audi or Passat?

I do hope I get mine running first!
Andyrew
At this point its either... Im even entertaining alternate engine swaps...

But I really want a trani swap.

Its all about what I stumble upon... Heck my friend has a slew of Honda B18's.. I've been thinking to myself "Just for the heck of it, could I put a honda engine in with the radiator in the fender and have both trunks? "
However I still think the best setup is the 2.8 v6 with trani swap...

Alas, that is another thread for another day...
underthetire
Going to be one hell of a ride biggrin.gif
I'm thinking GM ecotech for an engine swap myself.
pt_700
will be following this with great interest as i plan on doing a similar swap myself someday. have a bunch of the rod simpson hybrid kit pieces but, got stupid and married and bought house before i finished. upgraded brakes / suspension are my future acquisitions.

how do you like the f.i. setup you're running? what kind of gas mileage you getting? what engine swap kit did you use?

paul
Andyrew
F.I setup: Its actually a pretty great unit, HOWEVER it doesnt do programing on the fly (while running). So basically any tuning changes you make to the map have to be made while the engine is off (IE turn it off for 15 seconds then restart). This may not seem like much, but when your used to changing a cell until it is performing the way you want and move to the next cell, its a PITA and causes for much longer tuning times. That being said my dad uses this fuel injection setup on his BB 72 El Camino SS.
He gets 15mpg on a good day. I think I tracked 17-19mpg highway. The issue was RPM's. When your cruising at 3.5-4k rpm's you just cant get good gas milage. If I was at 1700rpms at 65mph I could probably get 25+

What I will say that the fuel injection gave me was a WHOLE LOT more power. Realistically ~75-100tq at low RPM and ~ 50hp. I previously had the car dyno tuned at 245whp and 275wtq on a 600 carb. The difference in power was night and day. When I hit the gas in second gear now I just light up the tires.

Alas this is one of the reasons why I want to go with a different engine. In order for me to enjoy this engine It would have to make 10 more MPG and have ~ 100lbs of tq less. Right now it feels to powerful for me to take comfortably through the mountains and rip it up. Sure I could control it with my right foot but whats the fun in driving flat out when flat out is 25% throttle? Anything more than that and the back end wants to come around.
shoguneagle
WHAT???? YOU HAVE NOT BEEN WORKING OR DRIVING "MY CAR" FOR THE LAST FIVE YEARS???? I LEFT IN YOUR CARE WITH THE UNDERSTANDING YOU WOULD WORK ON IT AND DRIVE IT!!!!

I am leaving today with the trailer to pick it up and take it Home!!!!

icon_bump.gif icon_bump.gif icon_bump.gif chair.gif chair.gif chair.gif chair.gif smash.gif smash.gif smash.gif evilgrin.gif evilgrin.gif evilgrin.gif

Just kidding. I will be in California sometime this summer and will stop by to visit you. I am going to follow your thread with great interest for any changes, working on it, and driving it.

It seems other priorities take place and push our car projects down the line.

Take care and great to see you still have the 914.

Steve Hurt
Shoguneagle
SGB
Sounds like a rocket.

You should look at Tangerine Racing's trailing arm stiffening too, I think...
arkitect
Andrew,
Go with a Audi engine like you want, don't settle for something else. A deal will bound to come your way, just need to keep looking.

Dave
Andyrew
Got some progress done on the Pass side seat.
The drivers side seat I mounted with the provided sliders and removed the 914 bracket alltogether. The passenger seat where height isnt as big of an issue, I customized the seat mount and rewelded the mounting holes to use the 914 seat. Similar to rdauenhauer's in my "Pep Boys Seat" thread (link in first post).

Almost finished the seat, but I couldnt find my step bit for enlarging the holes on the 914 slider, I tried ovaling them out but ran out of time. Tomorrow maybe?

Here is a pic of the results and a link to the pictures.

IPB Image
IPB Image
IPB Image
IPB Image
IPB Image
IPB Image
IPB Image
IPB Image

http://s1210.photobucket.com/albums/cc411/...14/914/1-19-11/
ernestj911@gmail.com
This is a great 914 one the inspirations for me to get into these conversions. If you want more manageable power, then the easiest thing to do would be to put in a all Aluminum LS 5.3 GM engine. Your talkin 300hp. less 80-100bls. and fuel injected. Then when you are itching for more power, these things love mods, heck you can go 500 with this engine. Best of all you can find them for $500 bucks. You could have this thing running over a weekend. Then when you are board, bolt up that Audi transmission.
Gint
Is it done yet? happy11.gif
Andyrew
biggrin.gif

Nope, Very little going to be done today... I got roped into helping my GF setup for her best friends baby shower, AND I have to help during the shower tomorrow...

Yesterday we went to the snow.. So pretty much this weekend is a wash, but I was expecting that. Monday i'll hit on it again and finish up the seat, then possibly work on something else.
Andyrew
No progress tonight on the 914, however I did spend way to much time installing a front motor mount on the CRX.

The car has traction bars (PO) and the traction bars didnt give any provisions for a front motor mount.

Been driving the car for months without a front motor mount and changed all the other motor mounts, but still the motor clunked around.

I got a front motor mount and have been meaning to install/weld in provisions for it but never got around to it. After installing my garage door a couple weeks ago I just happened to stumble upon some 1" x 3/16 extra bar that I could use. So scouring the bolts and modifying the incorrect front motor mount so it fit, I spent about 3 hours and got it all welded up. (ran out of welding wire as well...)

IPB Image

TOMORROW, I will get some work done on the 914...

The CRX is now ready for an autox if I so feel it.. Yay!

Gratuitious pic..
Andyrew
Finished the seat install!! I actually did most of the remaining fitting and reworking during lunch and got to the point of bolting it on before I had to leave lunch. I bolted it on when I got home and took a gratuitous pic for yall! Interior is starting to come together slightly! Just need to order (or make...) a carpet kit now.

IPB Image

Next on the list was the water pump came in! So I jacked up the rear and put it on stands. Unfortunately I havent put in a drain petcock in the lowest point of the water system yet.... So I tried to pull one of the hoses off, but I could only get it open just a little bit with a screwdriver and let it drain.. In the meantime Dad brought over my stock hood and we decided to get to cutting the wheel well out. Couldnt find a template or anything to go off of, so I just started cutting sawzall-smiley.gif

IPB Image

Passenger side is smaller and both sides need finish touch up, but i'll get that finished when i do the bodywork on the hood. We installed the original hood and relined it up the best we could.

IPB Image
IPB Image

So ends today. I'll let the water keep dripping overnight and maybe get some work done tomorrow.
Lennies914
Looking good Andrew. Is that an orange band badge on the hood?
Mike Bellis
piratenanner.gif piratenanner.gif piratenanner.gif piratenanner.gif piratenanner.gif piratenanner.gif
aktion035.gif sawzall-smiley.gif smash.gif welder.gif blowtorch.gif
Andyrew
QUOTE(Lennies914 @ Jan 26 2011, 09:22 PM) *

Looking good Andrew. Is that an orange band badge on the hood?


No, its actually a newer style badge. IIRC, I actually have a new orange band badge in a box somewhere. I ordered it a while ago and they sent me the wrong one, told them and they gave me the new one free. IIRC (This was like my first purchase... 7 years ago?)

Justinp71
Lookin Good!
Andyrew
Thanks!

Progress from lunch today.

All radiator lines attached to the pump were removed. Pump was loosened and the belt was removed.

I have determined that I need to remove the entire bracket and pump to be able to remove the pump. This is next on the list of things to do.

IPB Image
Andyrew
Progress from today!

Finished removing the water pump. Looks like the old one was still pretty good! Oh well, I prefer this other design anyways.

Hopefully i can remember how the housing sits, I cant remember right now... The lines should help me figure it out though.
IPB Image
IPB Image
IPB Image
IPB Image
IPB Image

matthepcat
Right on. Just get her driving again, and you will be motivated.

Love your rear fenders and wheel combo.

You should consider swapping to VW bus axles. Should stop your constant replacement. They seem to be holding up well on my 350 conversion.
Mike Bellis
It looks like nothings wrong with that pump. Most Mopar pump use thinner stamped steel blades. What's the plan with the pump?
Andyrew
Replace it anyways. Its the pump that came with my kit and i was unsure of its condition. Ill just replace it with the cast unit and keep the old unit as a spare.

Matt, funny, i had some bus axles but couldnt find anyone who had the adapters for sale. Thanks for te compliment on the wheels!
Andyrew
Progress so far today. Been working since 9am, unfortunately things would have gone a lot easier if the water pump wasnt giving me problems the whole time... I shall explain..

IPB Image
First off I took off every piece so that I could clean everything for reinstall, This piece above was pitted really bad so I took some sand paper on the flat work bench and sanded it down, but as you can see this is about 1/2 way through.

IPB Image
Here is where I said F~ it, its good enough.

IPB Image
Then I started on the housing, and got it so it flowed a little better..

IPB Image
I then went and said OK and put sealant and gaskets and buttoned everything up. However I never checked to see if it spun... This would cause me 2 hours searching for another gasket later... Then when I put the pully on I noticed it didnt spin. Shit. Took it apart and noticed that there was a step in the housing and it caused for the impeller to touch the
housing.. So about an hour or more of grinding on the housing and a little of the impeller it finally fit.

IPB Image
I decided to put a couple of lips on the pipes to prevent slipage. I also took the dremel and ruffed it up as well(not in photo).

IPB Image
Threw on some silicone on the treads as the bolts go directly into the housing.

IPB Image
This had silicone on them that had hardened completely (probably 15 years old or more) and needed the impact gun to break loose. Replaced thermostat (ECU thermostat).


So after finding a gasket (2 hours... no one likes MOPARs) I set to get everything back together. Took a couple of tries to get the water pump braket oriented correctly but finally I got it in and installed.

IPB Image
IPB Image
Completed unit


IPB Image
Installed

IPB Image
Oil changed (Left out drain plug... lost about 3 quarts... yay)


What to do next? I have all night.....
Mike Bellis
I like Mopars. Here's a pic of my old car...

Click to view attachment

Keep it up Andrew! beerchug.gif
Andyrew
Thats a bad ass mopar mike!
Andyrew
Bit the bullet.

Started ~ 8 finished ~ 11.

IPB Image

Needs some more bondo, really just needs a skim of glaze puddy.

IPB Image
Start
IPB Image
Fiberglass low area's poking through, time for primer filler then another run with the sanding block.

IPB Image
Getting better..

IPB Image
Need to reinforce the fender before I tackle more of this area, It should be pretty flat though.

IPB Image
Next was the door. Needs primer filler.

IPB Image
3 hrs work... Need to get me some supplies! Tuesday afternoon I am free so i'll be tackling it more then with supplies in hand.


Supply list:
Kitty hair (bondo for fiberglass)
Bondo (Ok, I will say Plastic Filler)
Glaze puddy
Primer Filler
Guide Spray
Andyrew
Havent got a working compressor at the house yet so I did some work with the filler.

Unfortunately what I thought was Kitty Hair was actually Metal Ready.... I have no clue how that mix up happened. Im going back tomorrow to see if I can exchange.

So I decided to just use plastic some quality filler I had picked up instead.
IPB Image

I first had to fill a hole probably from some aftermarket mirror.

IPB Image
IPB Image
IPB Image

So here are the results. I might sand some tonight, I have 2 heat lamps on the body right now.
IPB Image
IPB Image
IPB Image
IPB Image
IPB Image
IPB Image
IPB Image
IPB Image
IPB Image
IPB Image
All in all I used about 1/2 a quart. A lot more than I thought I would have. I laid it down thick at the rear fender, I didnt like how my sanding went so I wanted to give it another go.


Hopefully i get a compressor at before Saturday so I can lay down some primer filler. In the mean time its bondo and glaze putty and hours of sanding.
computers4kids
Dang Andrew...you really are serious about getting your car going again. Thanks for the updates!


Mike...loved your mopar machine. I had a built challenger in the day. Thought I was real smart and destroked a 440...what a disaster that was. Ran fine...gutless wonder. dry.gif
Spoke
Lookin' good. Do you have a long board sander for the flat panels? I made a flexible one out of very thin pieces of oak. They worked great for smoothing over the curves in the fender tops.
Andyrew
Mark,
Yup, To be perfectly honest, I forgot to register for night classes this semester and couldnt get in, I decided to focus the time on the 914 VS other hobbies. Its been long enough.

Spoke I have a solid 24" one, and then a flexible 12" one. So far i've been ruffing it in with a 6" block and 80 grit. Ill be hitting it with the 12" board over the fenders next and take it to 160 or so then its primer filler to do the real smoothing.

I really dont like the transition from the rear fender to the door, but there isnt much I can do about it.

Tomorrow i'll line up my tools and take a pic for refference. Im sure I need some more tools before this car is painted.
orange914
andrew, you planning on spraying it? sounds like you need a compresor? you can use mine as soon as it finds it's way home from coperopolis, i have a pnumatic flat board sander your welcome to use too.
Mike Bellis
Andrew,

What type of flares are those? How wide will the let you put under there?
McMark
Aren't those just 911SC flares? av-943.gif

[Mike will get my joke]

Oh, and Andyrew, you're making great progress. Love to see this thread bump up to the top on a regular basis.
Mike Bellis
QUOTE(McMark @ Feb 2 2011, 06:58 PM) *

Aren't those just 911SC flares? av-943.gif

[Mike will get my joke]


hijacked.gif av-943.gif av-943.gif av-943.gif av-943.gif
Andyrew
QUOTE(orange914 @ Feb 2 2011, 04:41 PM) *

andrew, you planning on spraying it? sounds like you need a compresor? you can use mine as soon as it finds it's way home from coperopolis, i have a pnumatic flat board sander your welcome to use too.

Mike,

Sounds great! I might not need the compressor but the flatboard sander would be AWESOME! I have 2 old compressors that im going to try and make work and my dads big compressor if I have to.

I'll call you tomorrow!

Mike,

HPH flares, same as the ones Mark just posted on the NEO thread. Im close to max. Probably a little bigger up front, I know guys that run 10.5 race slicks all 4 corners IIRC (or 10.5's rear 9.5's front) I might be able to fit 305's or something in the back and 275's in the front, but 255's and 285's are fine for me, good cheap availible sizes.

Mark,

Thanks! I try and sneak out to the garage as much as I can. The easy stuff is all done now, its about the long tedious stuff now (bodywork), so the more time I get to spend on it the quicker it will be done, but it IS going to take time. I am excited about the progress that I have made so far!

Andyrew
Got some more filler layed down

IPB Image
IPB Image
IPB Image
IPB Image
IPB Image
IPB Image
IPB Image
IPB Image
IPB Image

These were some problem areas that I was really concerned about. So far they are coming out really well.
Only spent about 2 hours on it unfortunately. A bunch of other things came into play today.


IPB Image
Finished off with some Margarita's and Fajita's!
computers4kids
QUOTE(Andyrew @ Feb 4 2011, 09:36 PM) *

Got some more filler layed down

IPB Image
Finished off with some Margarita's and Fajita's!


biggrin.gif Now we're talking "real progress."
Andyrew
They were Yummy!


Today I didnt get near as far as I had hoped... Did about 1.5 hours of sanding and then spent the rest of the day trying to fix the washing machine... New machine, Old house... Overflow issue. Still isnt resoved but it works..

Ill put about 2 hours in tomorrow and post of pictures then.
Andyrew
Got a little progress today before the game started.
IPB Image
IPB Image

Finished the filler for the rear fender. From here its final sanding prior to primer filler. Still have some more work to do to get the front fender ready for primer filler.

Ran out of filler so I decided to get working on the targa bar as I could make noise without worry. I still had to finish grinding and rewelding the lip on the targa bar to eliminate it and make the bar smooth (no chrome pieces on the bar)

IPB Image
IPB Image
Wanted to protect the bondo from the welding. 1/8" MDF board works pretty well.

IPB Image

Tack welded it up to test it out.

IPB Image

Stitchwelded it.
IPB Image
IPB Image
All welded up.

IPB Image
Highest points of the weld. The top portion is the lip all ground down and welded solid. I'll finish grind it later when I apply some filler.

IPB Image

Started work on the other side. I think I might finish it tonight depending on how late this football game goes.
Andyrew
Finished up sanding the LR fender tonight. I was afraid the area around the tail light would need some more filler and I was right... darn it I knew I should have laid it more evenly.. BUT the rest of the fender is DONE with filler. Needs primer filler and final sanding.

IPB Image

Front fender got some sanding as well, then I got tired of the dust kicking back at me (I typically have the fan on and door open, but it was night and cold..) so I called it a night.

IPB Image
Andyrew
Made some progress yesteday and today. Not enough yesterday to post... (Mixed and laid some small batches of filler)

But I bought some filler. Supposed to be better than the other stuff.
IPB Image
IPB Image

IPB Image
IPB Image
Put the front bumper on and made some tape and marks for myself. Still need to put it on again and redo it. both the bumper and the body are going to take quite a bit of work to look right together (yay fiberglass bumpers...) I think im going to get the body where I like it and just match the bumper.

IPB Image
Noticed a low spot on the door. Filled it in some. (This is the stuff i'll notice when I actually throw some primer filler and guide coat on...)

IPB Image

This is prior to 2 more applications of filler... Last application I said "fudge it" and laid it on thick.. Took 20 mins of my lunch to sand it today.. Arg..

IPB Image
I was done with working on the fenders (for now) so I decided I would pull the supports off the spoiler. took some finessing, but I got them loose.

IPB Image
And I then removed the rivets holding it on.

IPB Image
IPB Image
IPB Image
IPB Image

Threw the light in to get a look at what I was dealing with. I love the spoiler, but I love a clean rear end as well... Thoughts anyone?

IPB Image
IPB Image
IPB Image
IPB Image
IPB Image
Since the trunk was clear, I figured it was a good time to plug the holes from the previous ducktail spoiler. They were good sized holes, but nothing some welding cant fix (I actually couldnt get a block behind it because of the double layers, but it filled just fine) The spoiler actually hides all but 1/2 of these holes, but I figured I would clean it up anyways in-case water got in.

IPB Image
I then decided to work on the targa bar some. ground down and welded @6" intervals, then i'll grind all of it down and weld it. (6" intervals was to keep the targa bar from splitting.

I need to get me a bigger grinder... This is tedious... A big 9" with 36 grit pads would be wonderful... My 4.5" works, but the grinding stones are only good when they are really fresh... Meh, maybe i'll just buy a bunch of stones...

IPB Image
Finally I decided to longboard sand the trunk.... Whoooo eeee I got a lot of work to do.... Im debating a bunch of primer filler, or just skim it with glazing puddy and flat board it... Tough decisions... Maybe i'll hammer and dolly it (However most of the area's I WOULD do that in have the trunk reinforcing behind it... I do have my Map/Oxygen tanks... I could shrink them (and risk some oil canning..). Im looking for suggestions here as well..
orange914
QUOTE(Andyrew @ Feb 6 2011, 06:39 PM) *

Got a little progress
IPB Image
Wanted to protect the bondo from the welding. 1/8" MDF board works pretty well.


OH... thats not the new fender flair template!? biggrin.gif


Andyrew
Haha! Nah, that wouldnt be over the top now would it?
Beach914
Yup, You need to do a dually rear set up to get tires wide enough. Maybe from a chevy pick up.....just kidding. Looks really good.
Hontec
Man, that's a lot of work going into filling/sanding!! pray.gif
Andyrew
Yup, Bodywork is always extremely laborous... Especially something like this where I have to create my own body lines.. There is a lot of "That looks like shit, what if I do this", And certainly plenty of "Well, I could do this, but Eh Its good enough". Those kind of lines are what makes the difference in the final sanding.. Its rediculous how much more work I have to do, but its what you have to do for a decent paint job..

I have been pushing a lot of time lately towards my new washer/dryer... It works fine, but the drain for it @ the house can not keep up with the pump.. I've been doing some serious engineering to get this stupid thing to work and its costing a lot of money just to get it to work..


I just keep pushing for the day when I can finally lay down some Phoenix Red... Mmmm that color is sooo pretty.
pt_700
i prefer my 914's rather unadorned (in response to your question about rear spoilers). after reading the thread and link about the low pressure area behind the targa bar, it's likely there's not much airflow back there to push on a spoiler anyway. looks like you'd have to use a big wing to have much effect.

by the way, there's some really good stuff in that thread and link (http://www.914world.com/bbs2/index.php?showtopic=115467&hl=targa). surprised so little was studied about the aerodynamics of these cars.

thanks for the posts and pics! keep 'em coming!

paul

Click to view attachment
This is a "lo-fi" version of our main content. To view the full version with more information, formatting and images, please click here.
Invision Power Board © 2001-2024 Invision Power Services, Inc.