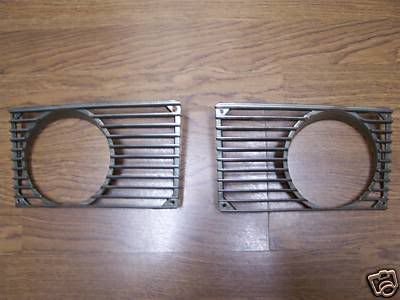
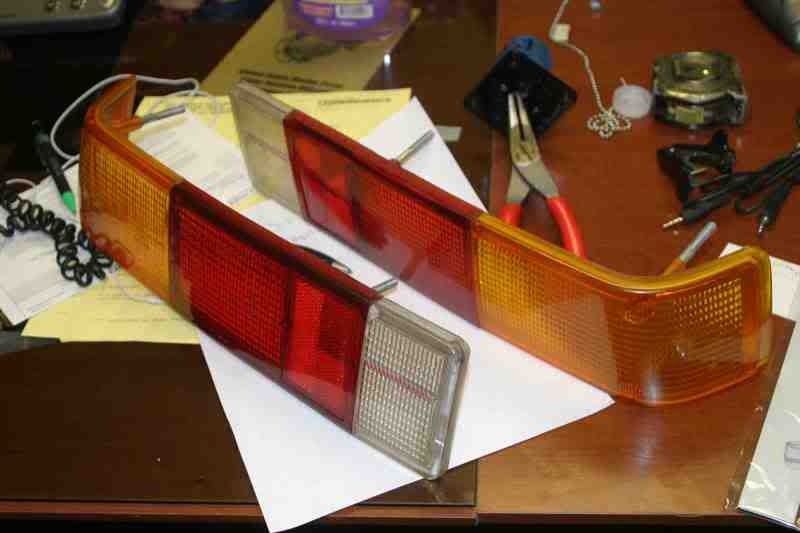
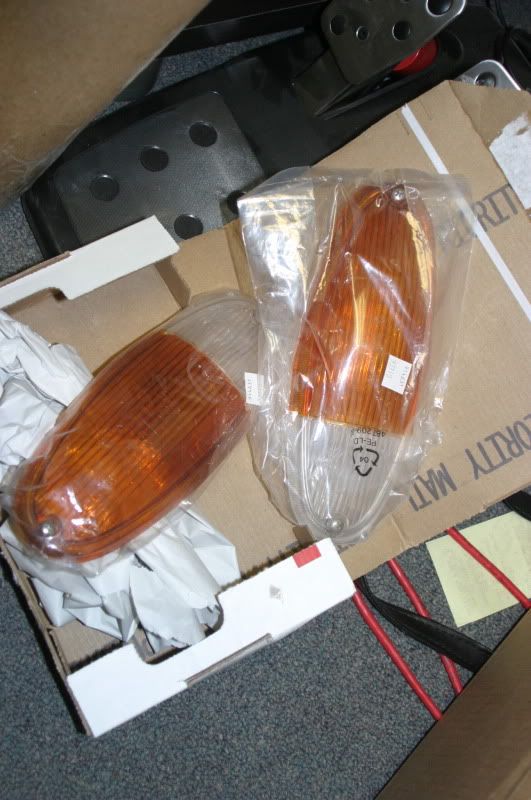
Also, here are the tail lights that arrived with the housings...


 Nice work Rique~ we are enjoying your great progress. Thanks for the freq updates to progress. -Jzn Nice work Rique~ we are enjoying your great progress. Thanks for the freq updates to progress. -Jzn
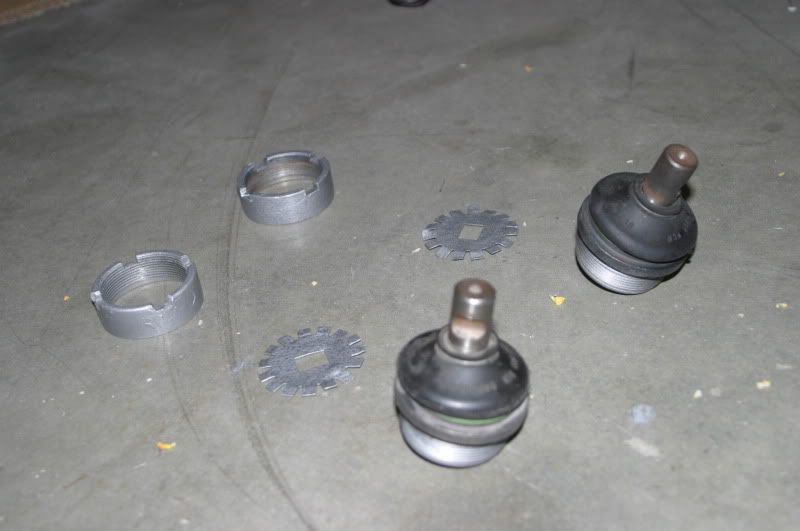


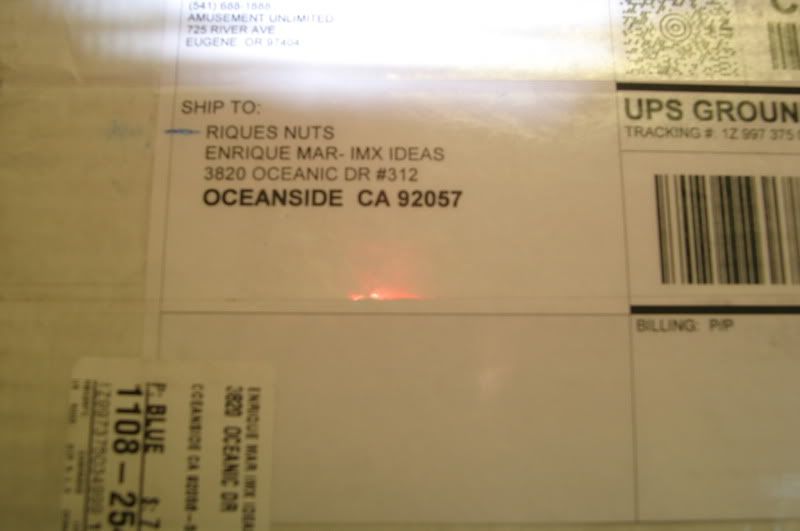
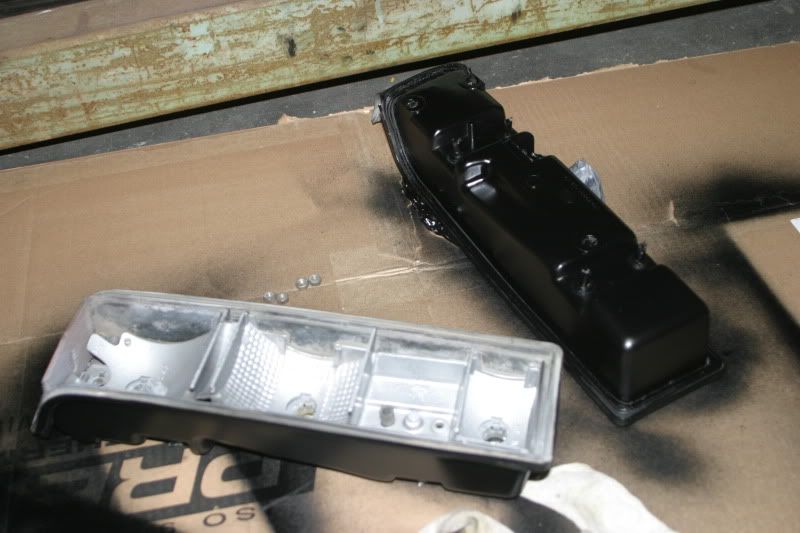
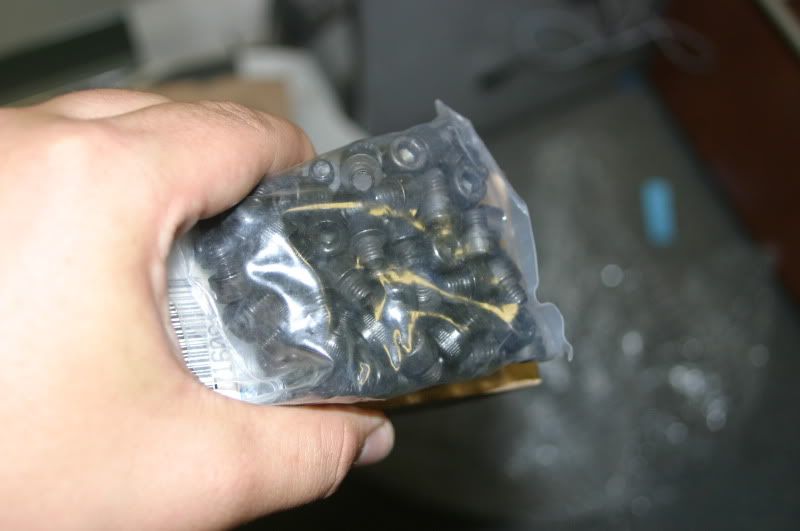
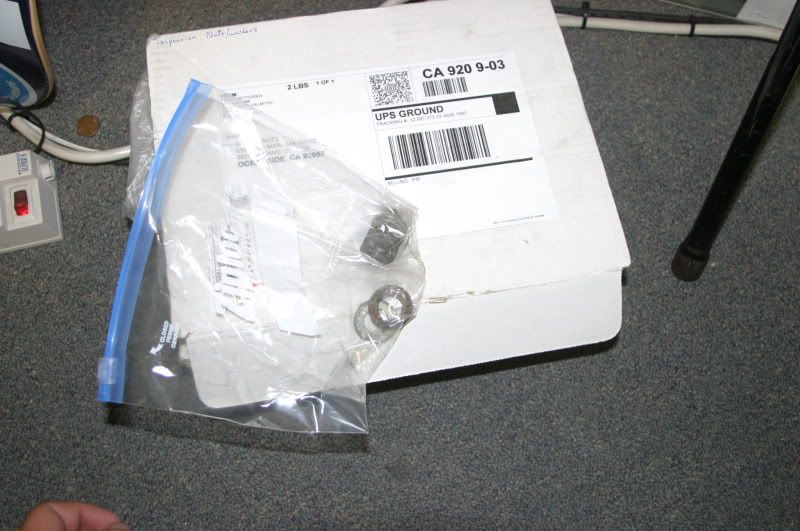 I forgot about it until he sent me a pic with a NICE . I laughed for a good 5 minutes driving down the road. Make good use of those nuts dude. NO vise grips okay
  I forgot about it until he sent me a pic with a NICE . I laughed for a good 5 minutes driving down the road. Make good use of those nuts dude. NO vise grips okay
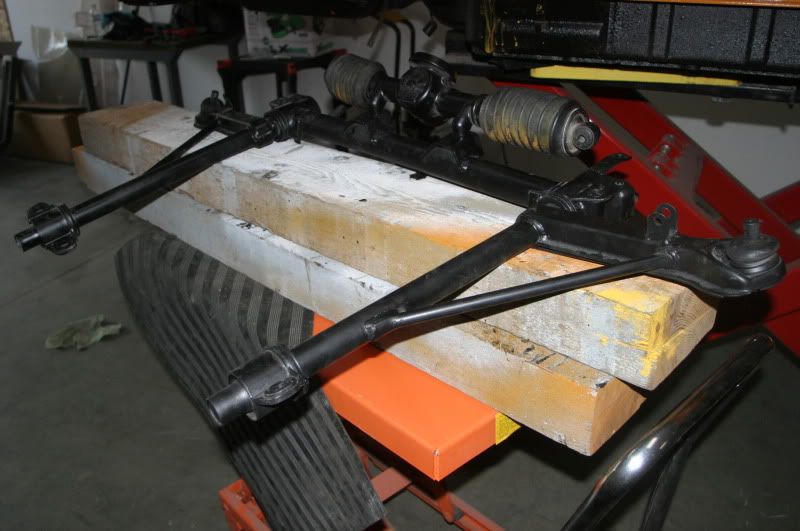


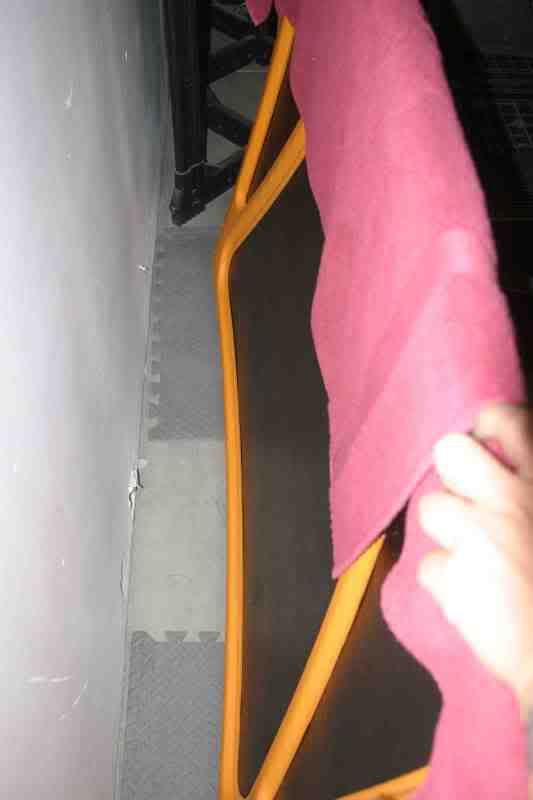
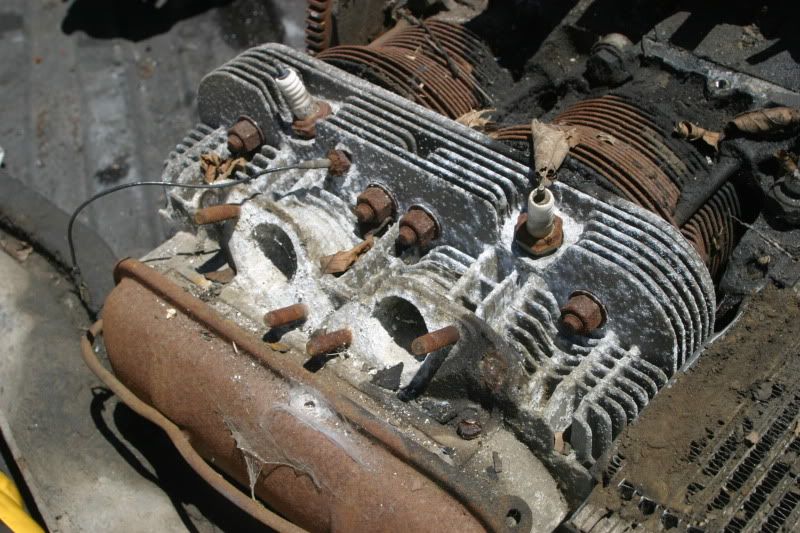
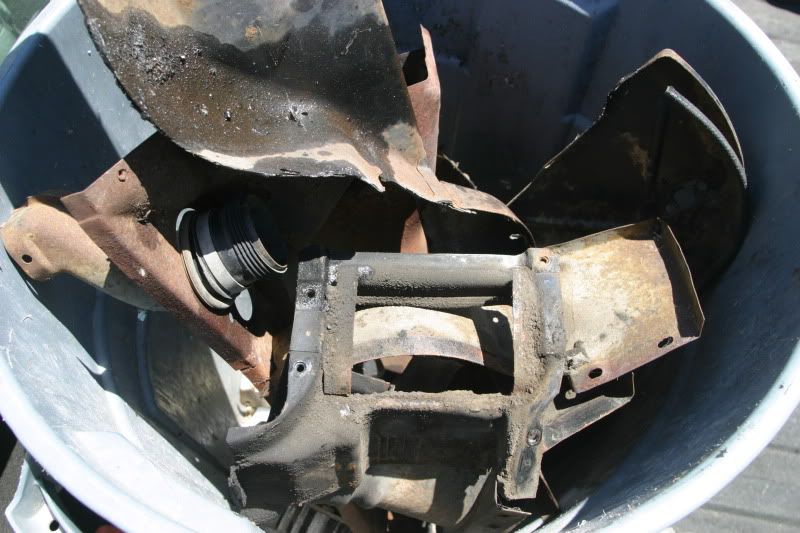
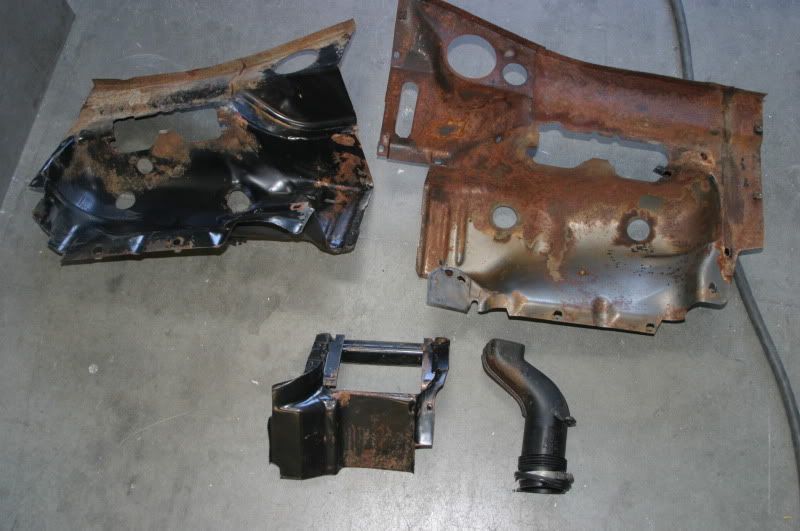
 This completely discouraged me.
 This completely discouraged me.
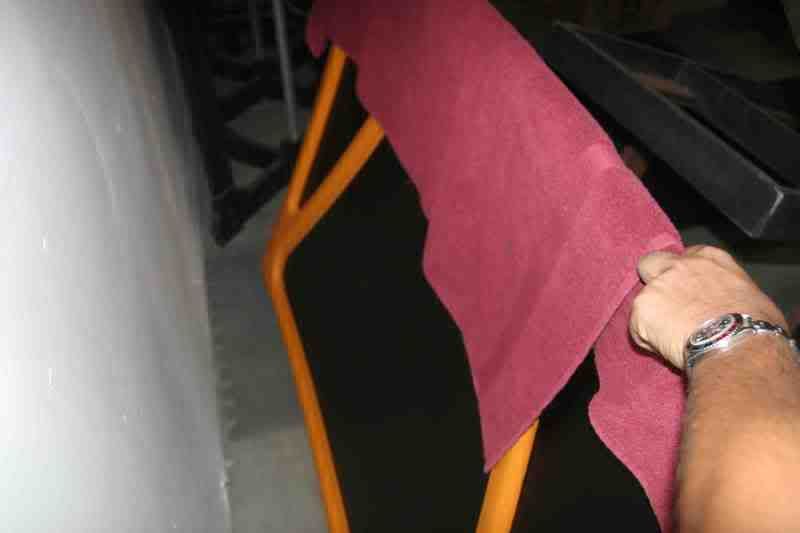