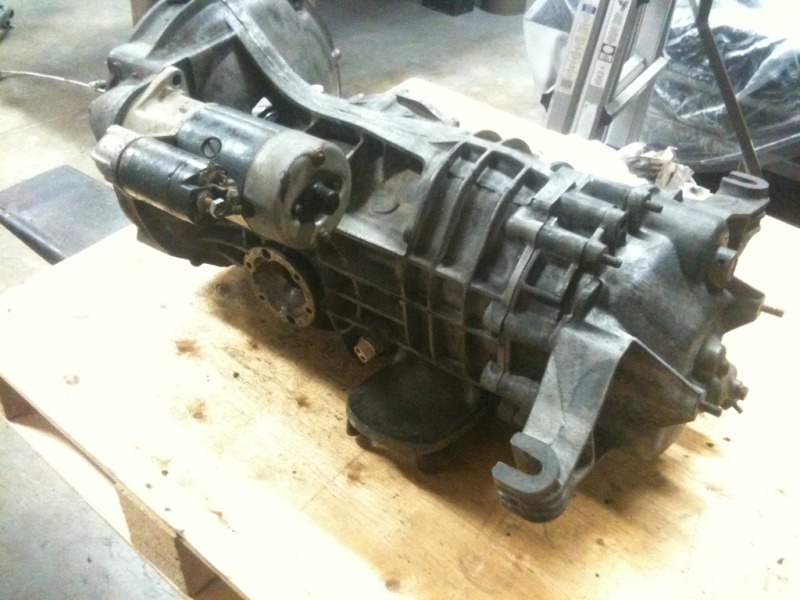
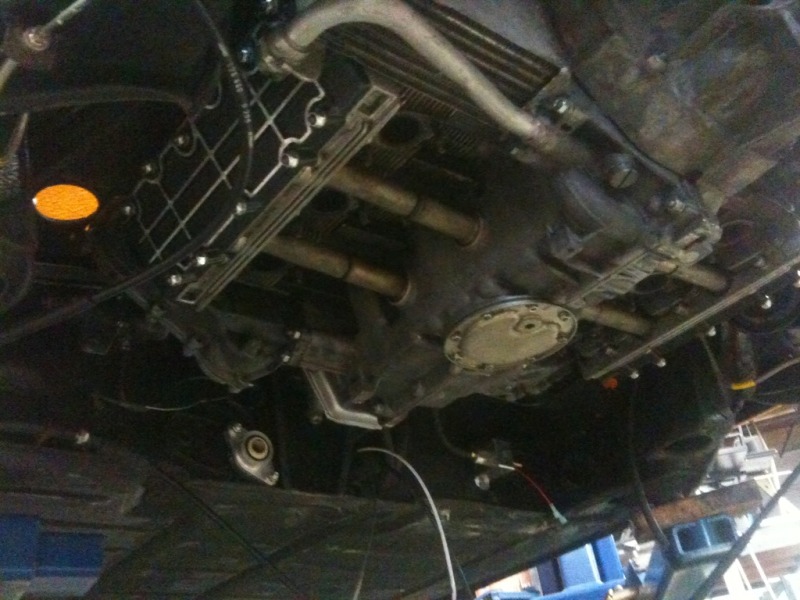
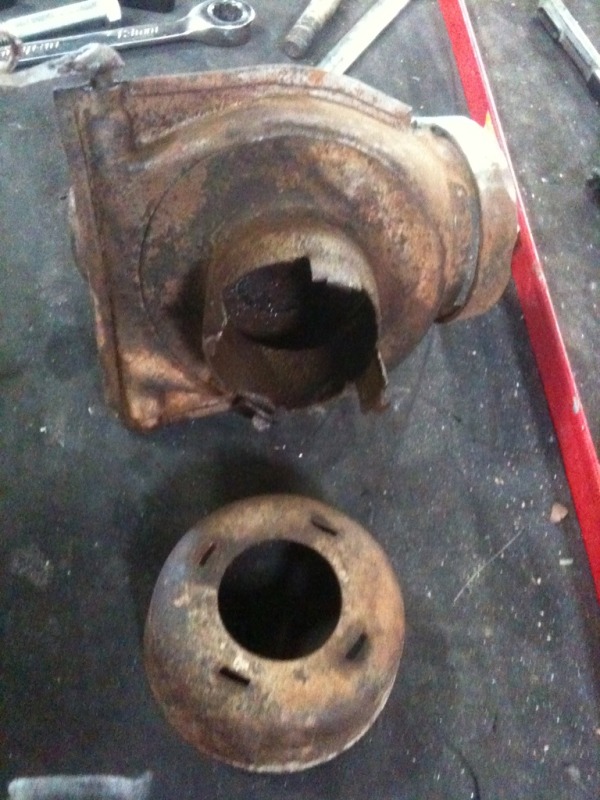
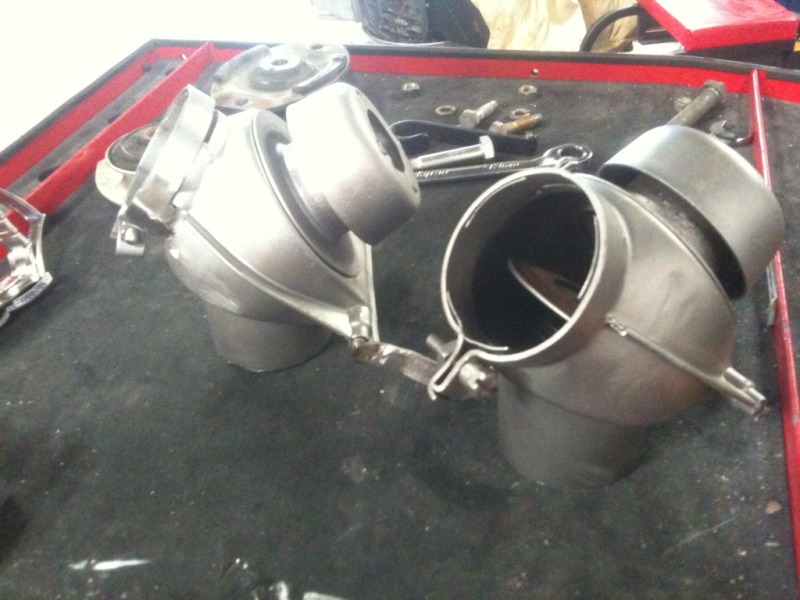
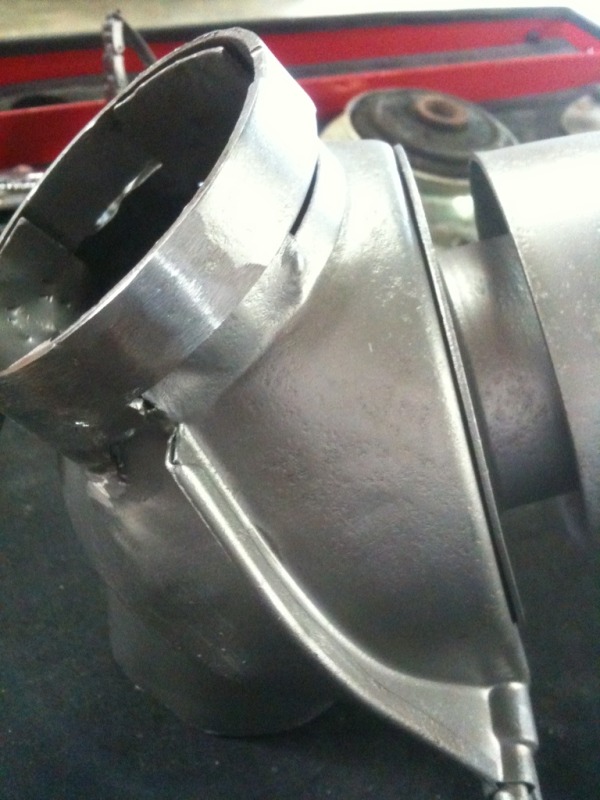
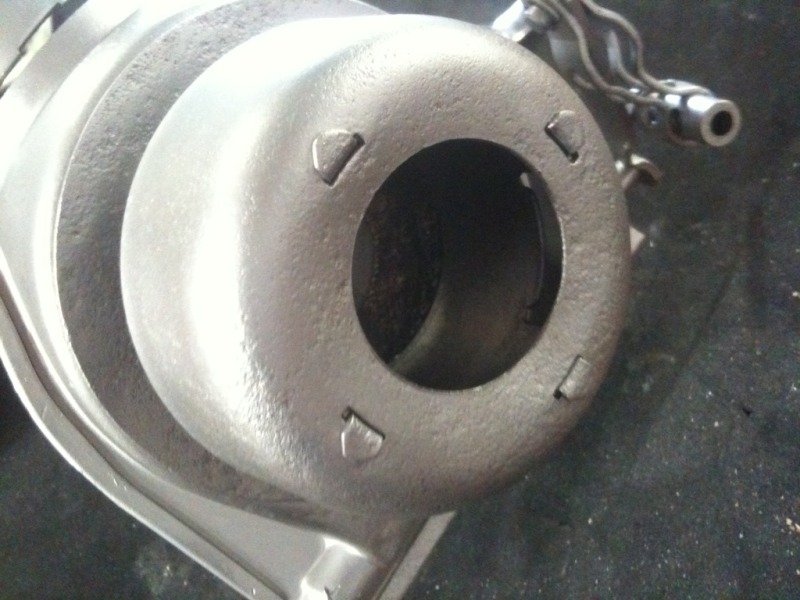
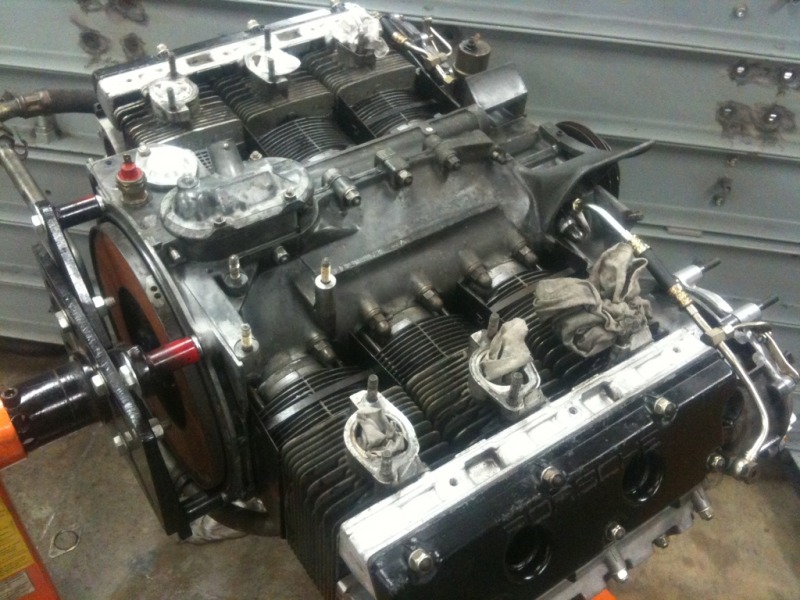
See as I wanted to get all the components ready, I made sure to first clean the transmission. This took about 2-3 hours of hardcore scrubbing with brushes, engine cleaner, and rags. Though it still has an aged look, all the 'gunk' is removed from the transmission. Brents (wertygrog) came over the same day I was doing this and look at me in shock with the amount of filth I was covered in.
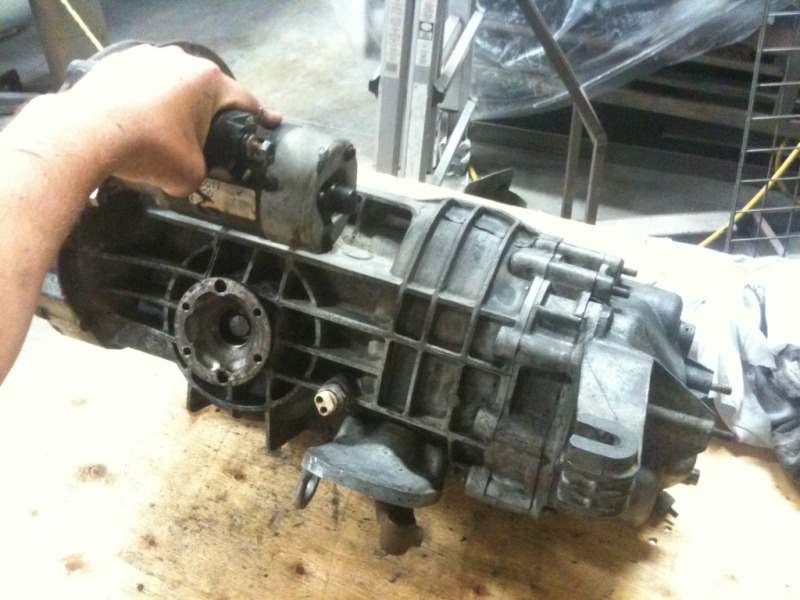
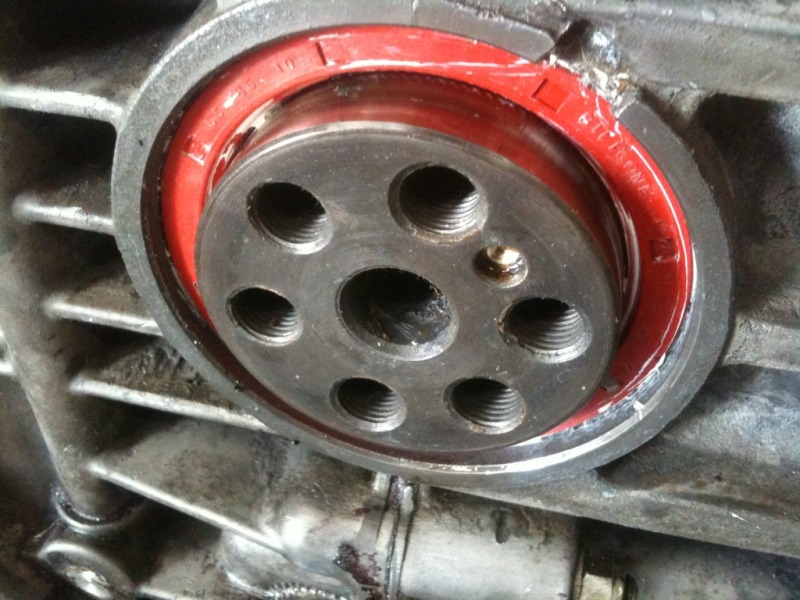
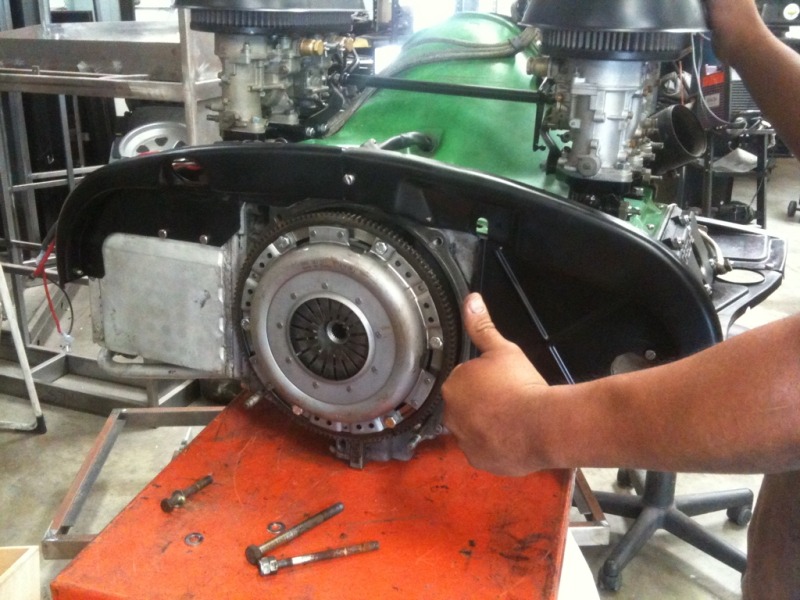
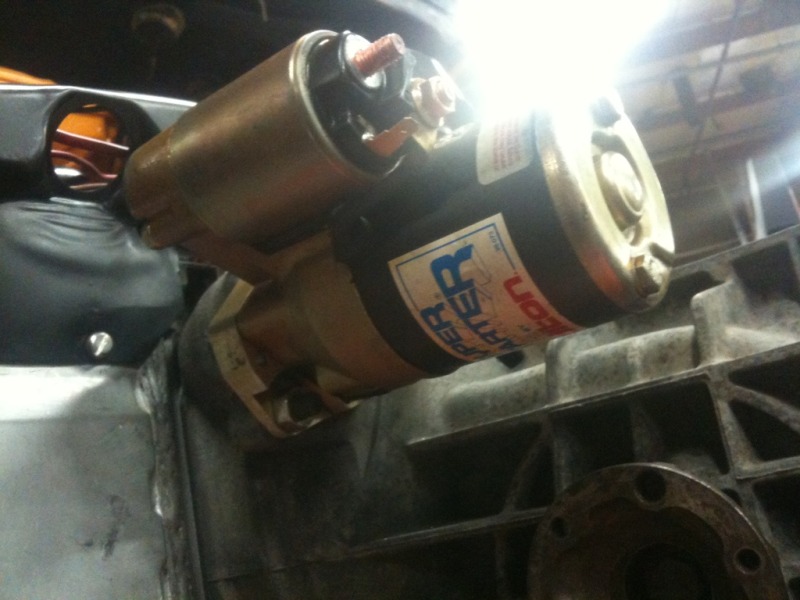
On Monday my Dad and I effectively took most of the the day off, and finally installed the clutch, pressure plate, and flywheel. Compliments to this as you may have read earlier in the thread, where a new pilot bearing, new rear main seal, and cleaning of the area behind the flywheel, and in a 'while we are here' move, we ended up installing a high torque starter... why not, right?
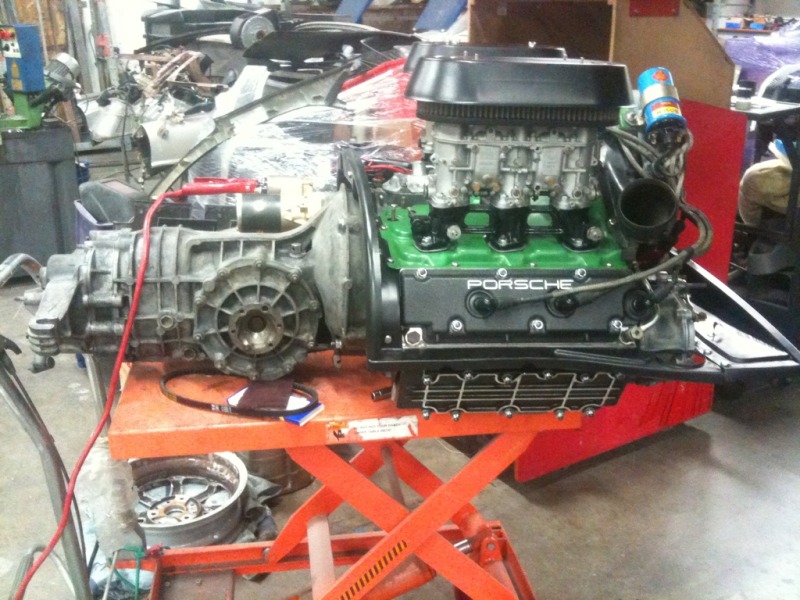
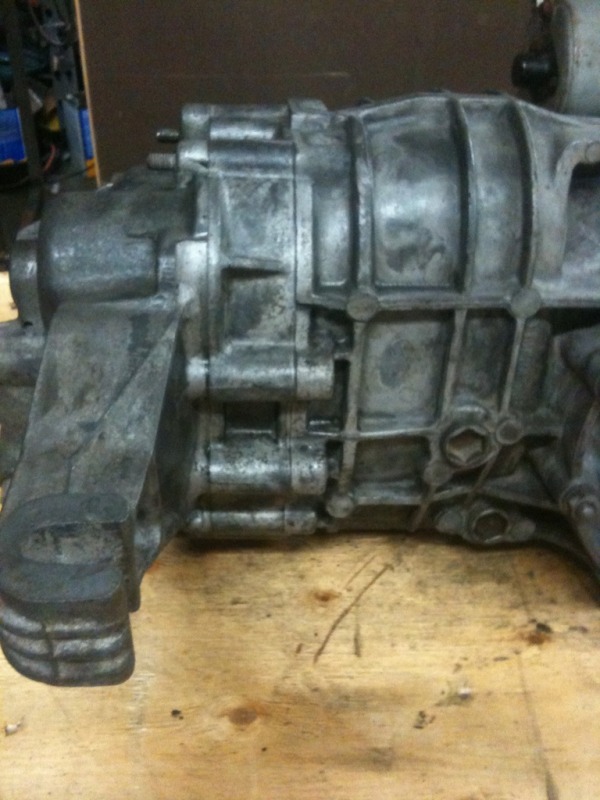
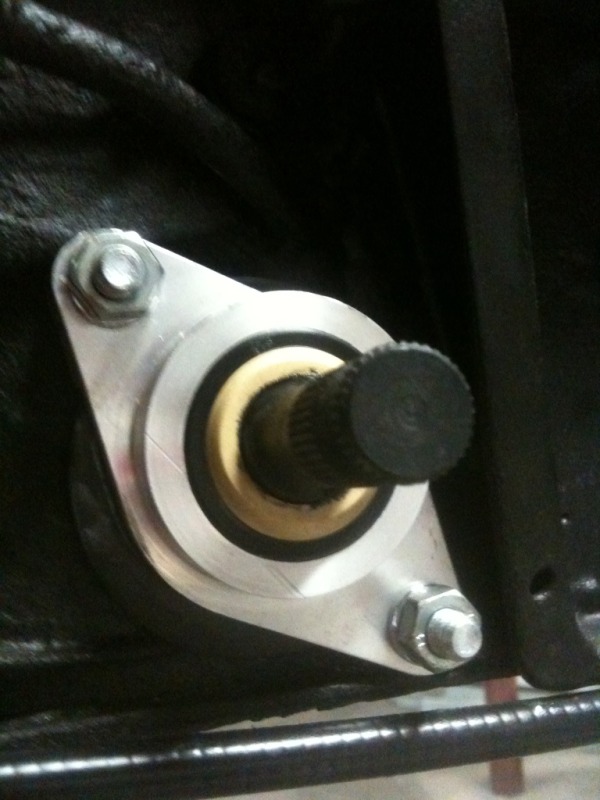
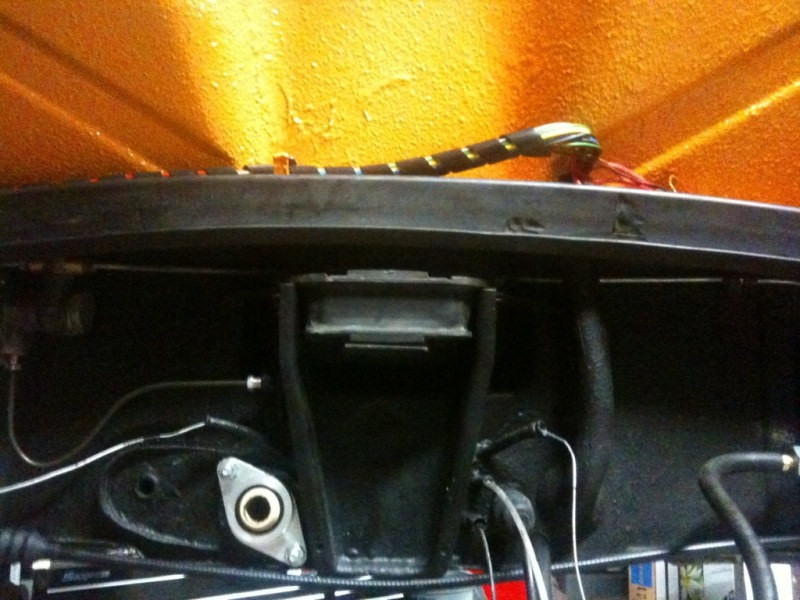
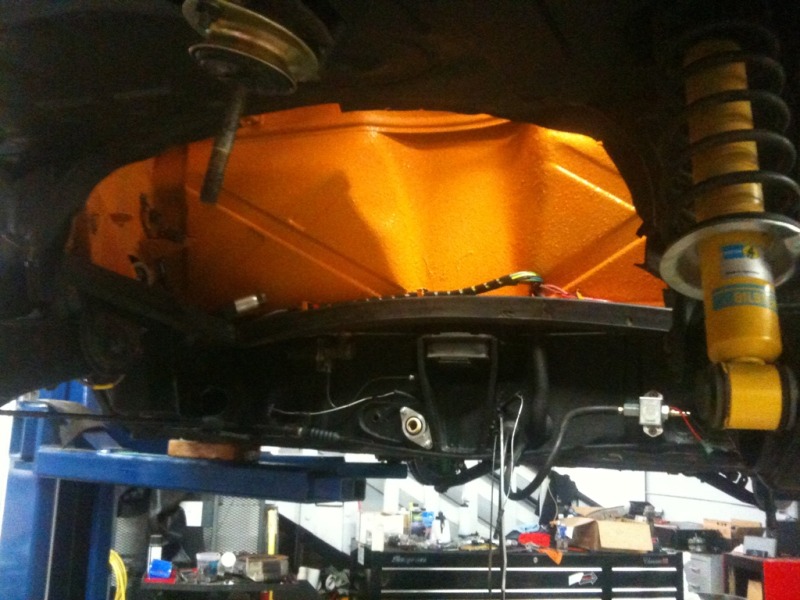
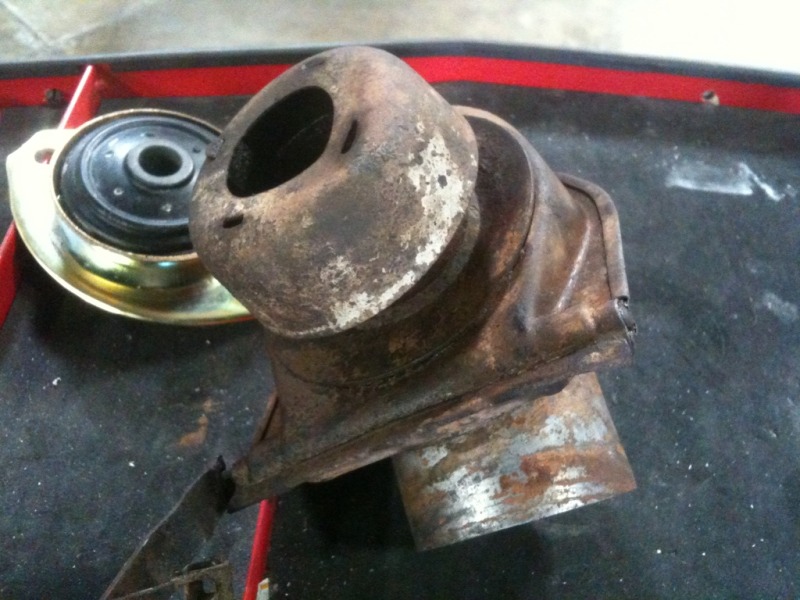
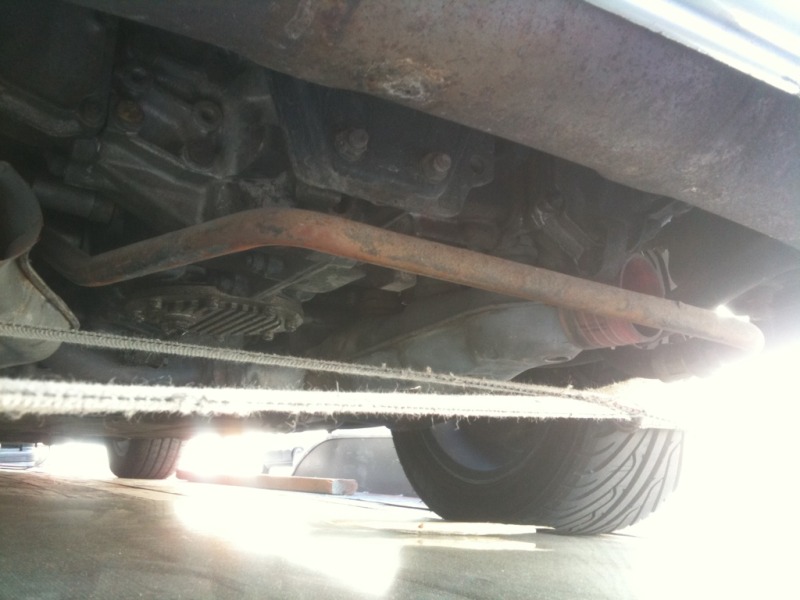
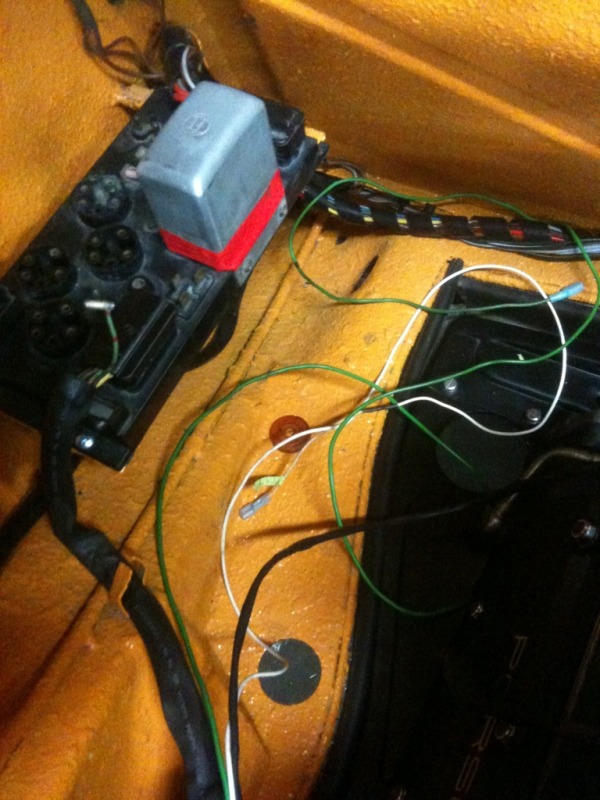
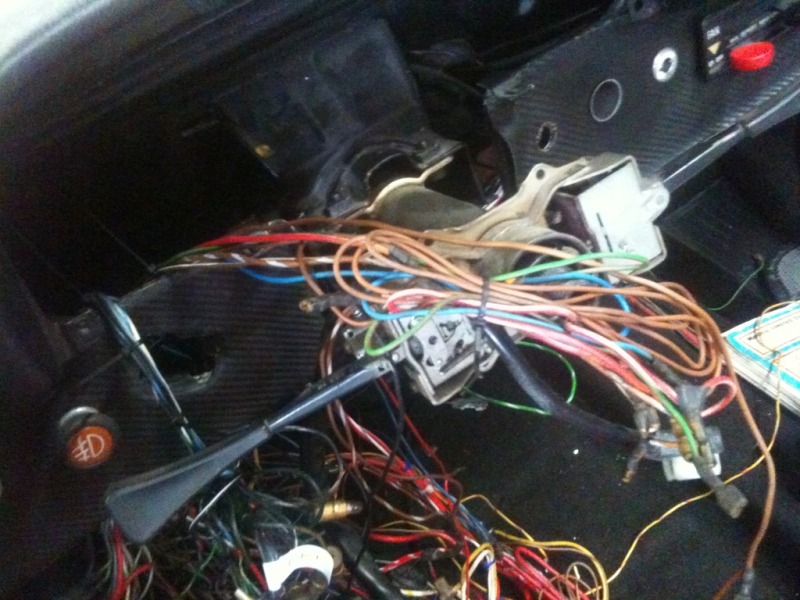
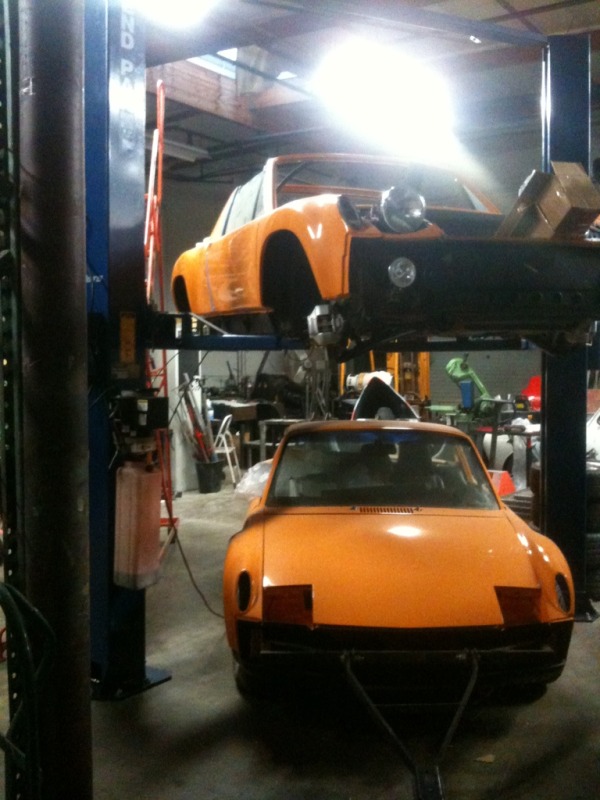
At this point, the engine was just about ready to go in, when we realized we had to install the Jwest shift linkage kit. Important note: If you have a stock /6 motor mount, this requires a bit of alignment and creativity.


![popcorn[1].gif](http://www.914world.com/bbs2/style_emoticons/default/popcorn[1].gif)
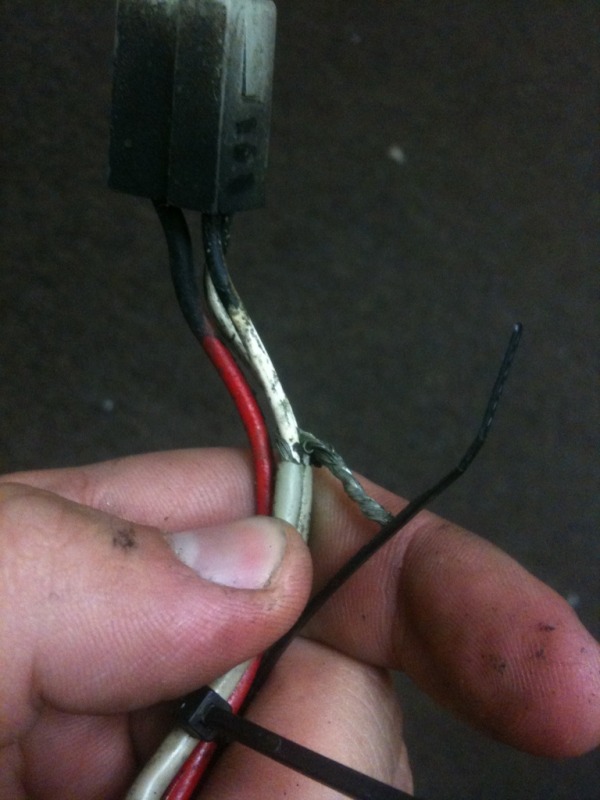
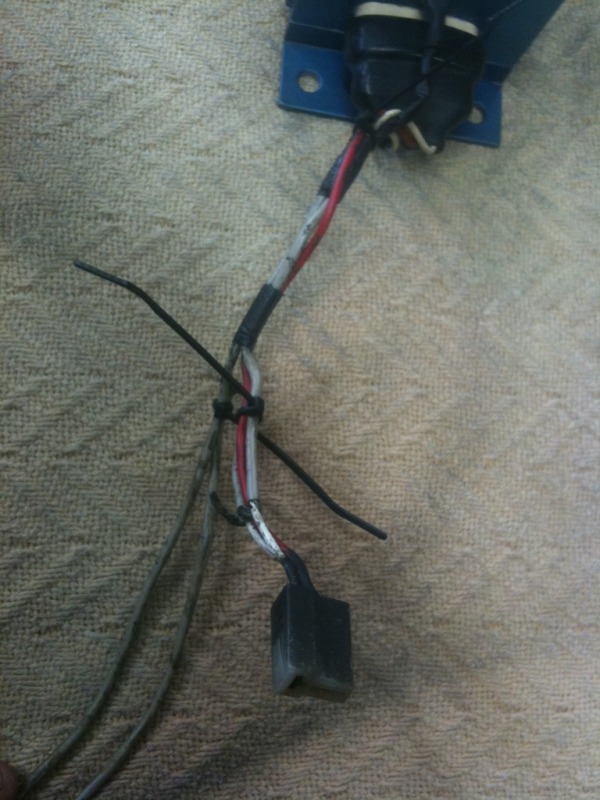


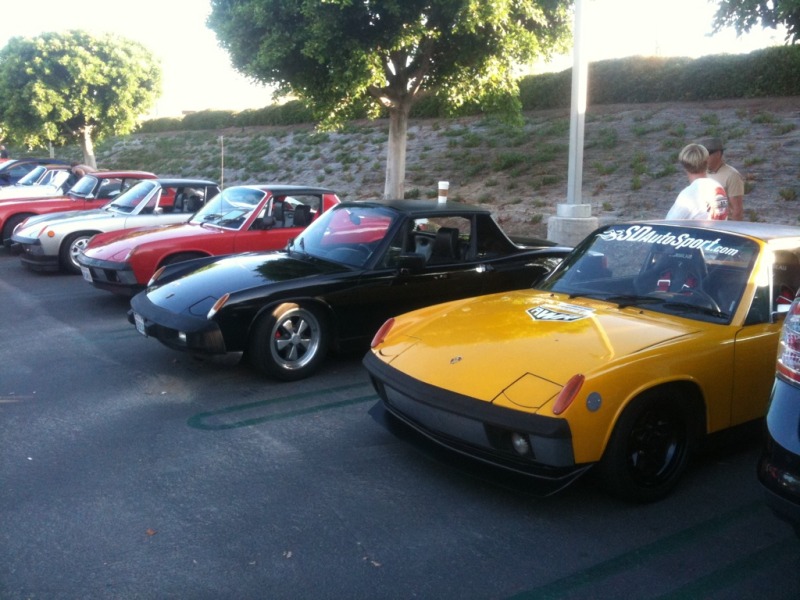
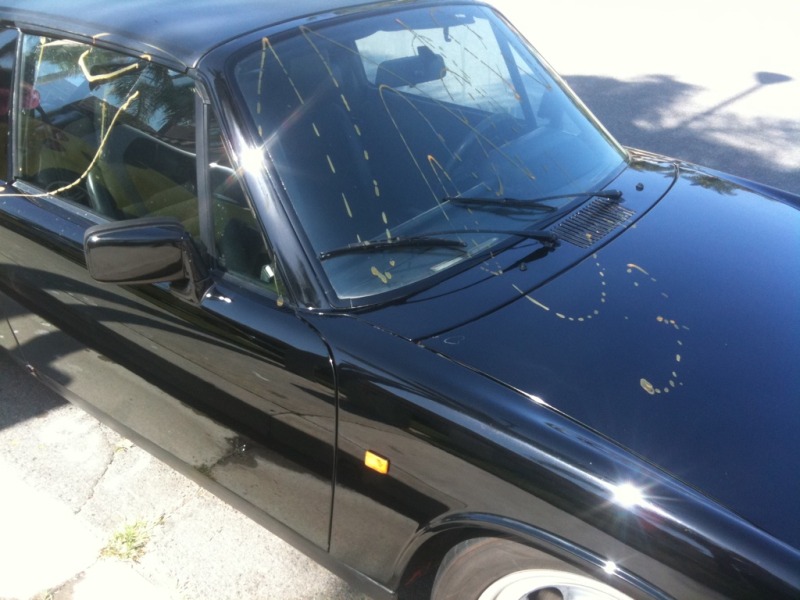
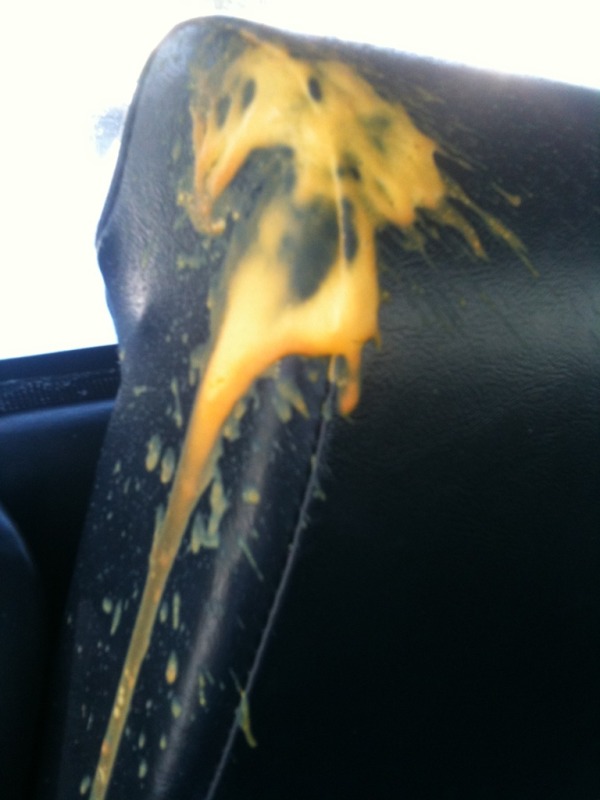
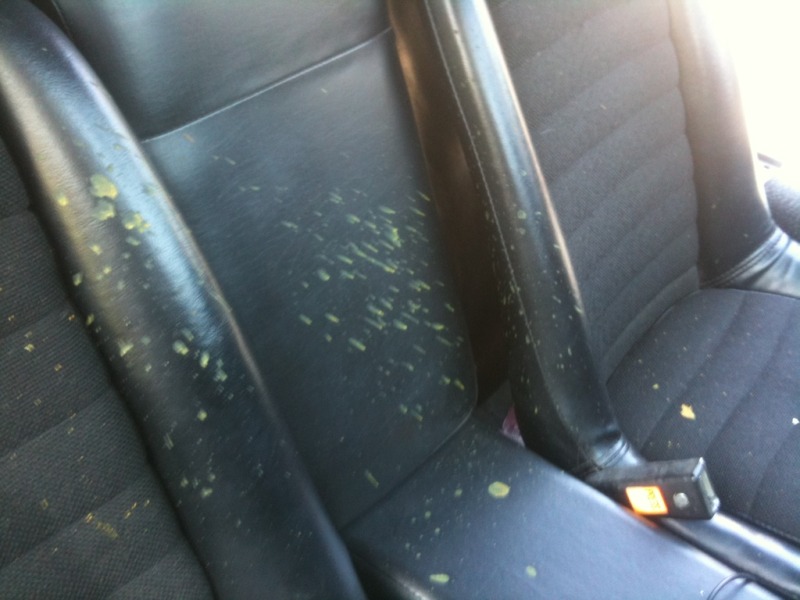
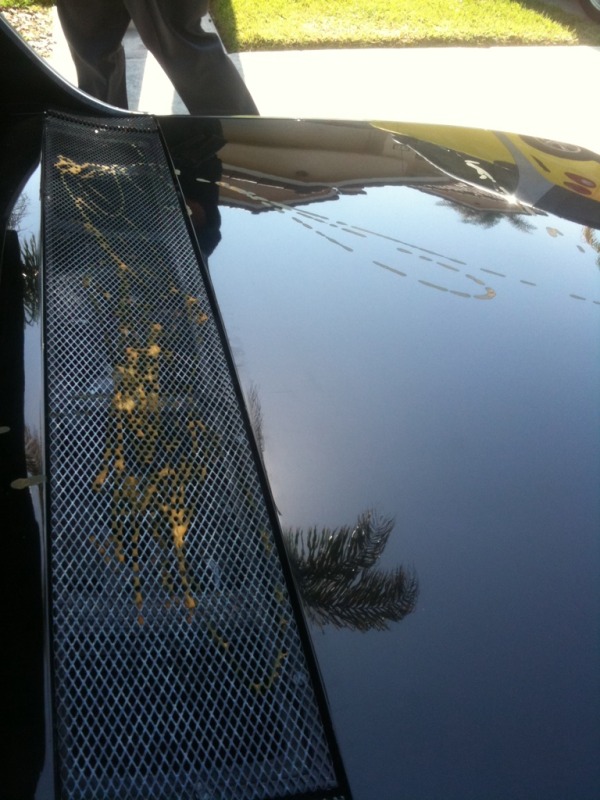
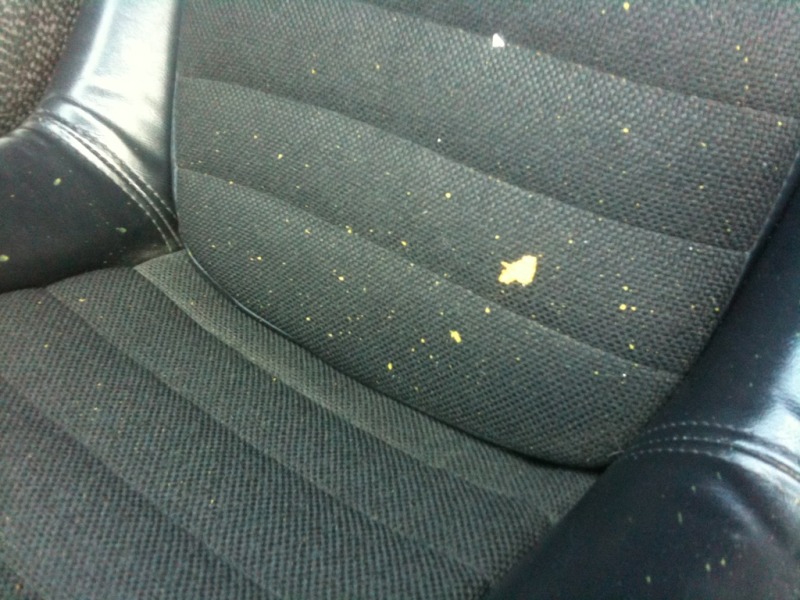
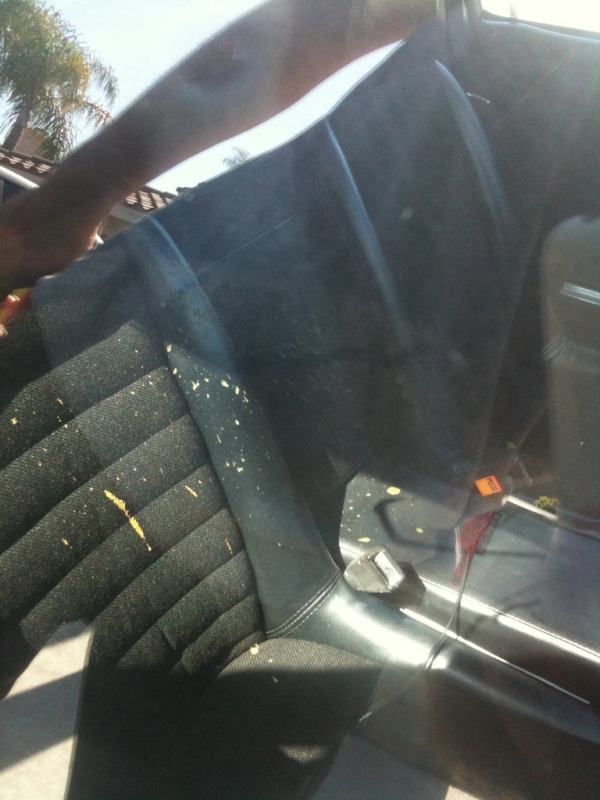
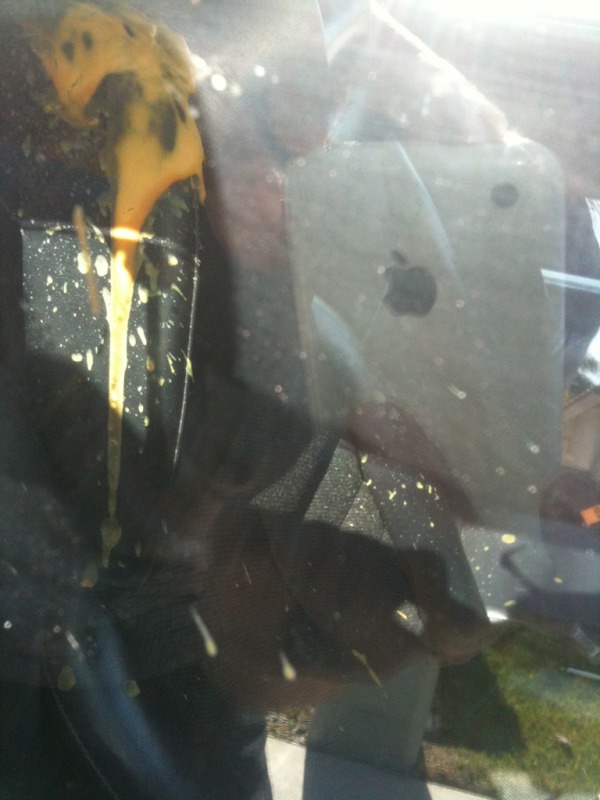


 Dumb punks doing dumb things.