Help - Search - Members - Calendar
Full Version: My Official Project thread
914World.com > The 914 Forums > 914World Garage
Pages: 1, 2, 3, 4, 5, 6, 7, 8, 9, 10, 11, 12, 13, 14, 15, 16, 17, 18, 19, 20, 21
RiqueMar
Ok, so I have a boring update, but an update non-the-less.

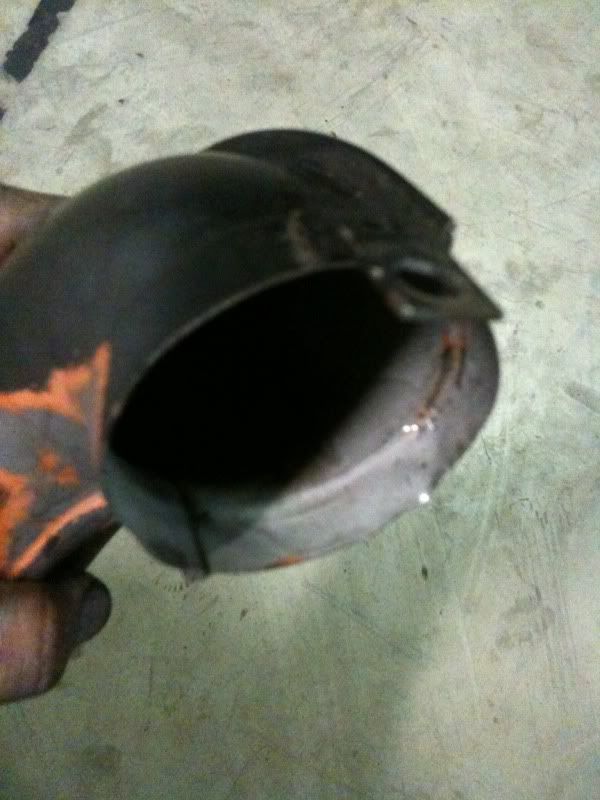
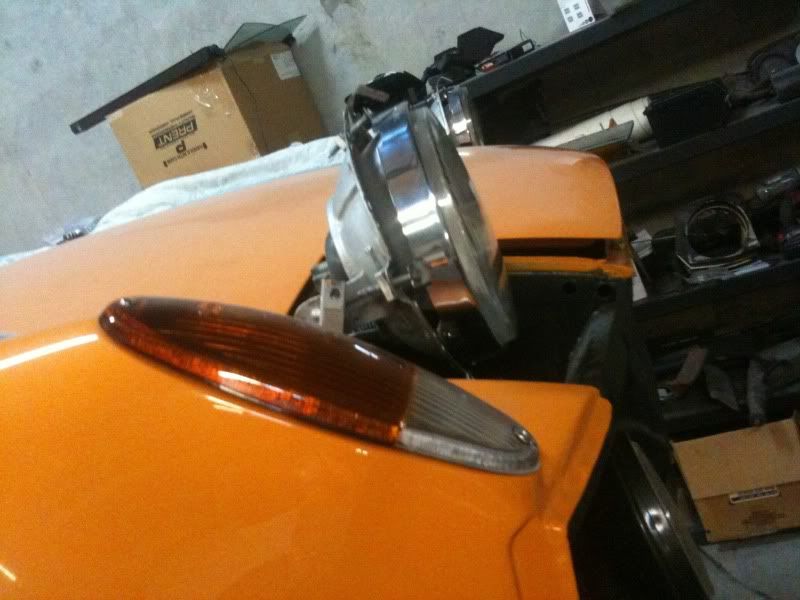
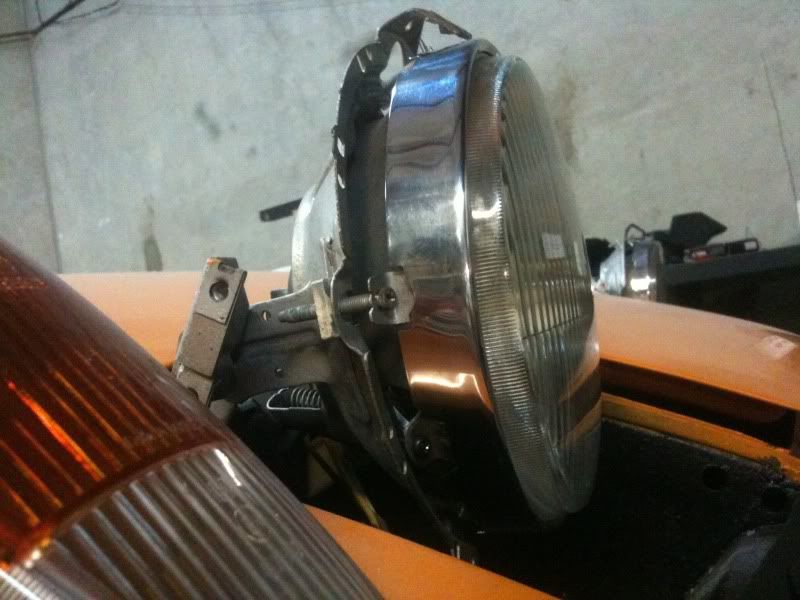
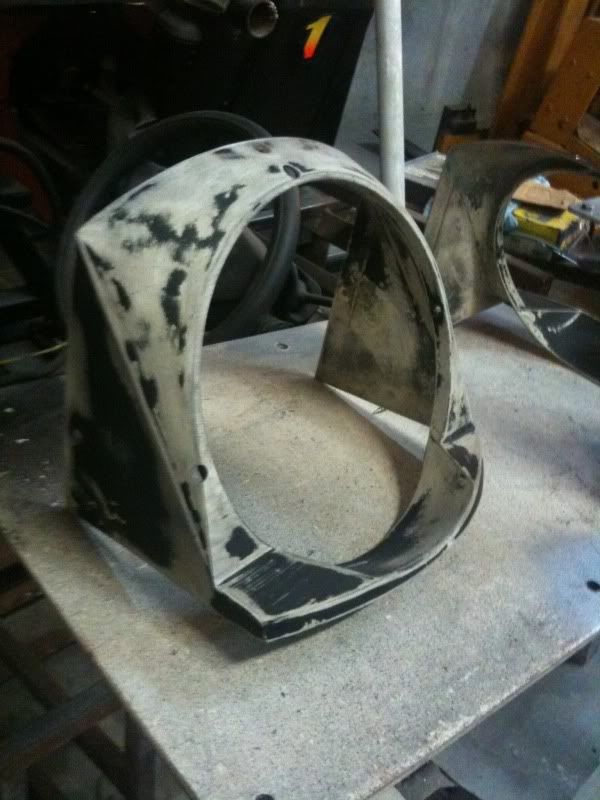
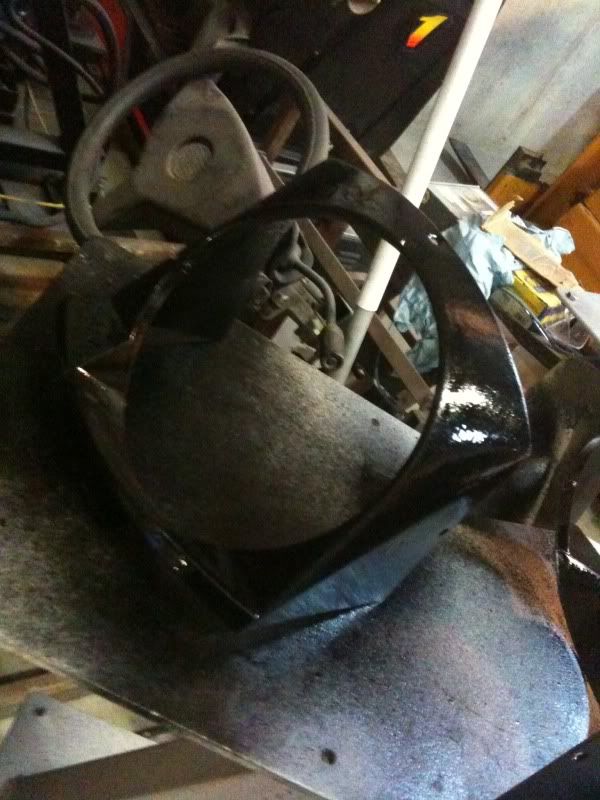
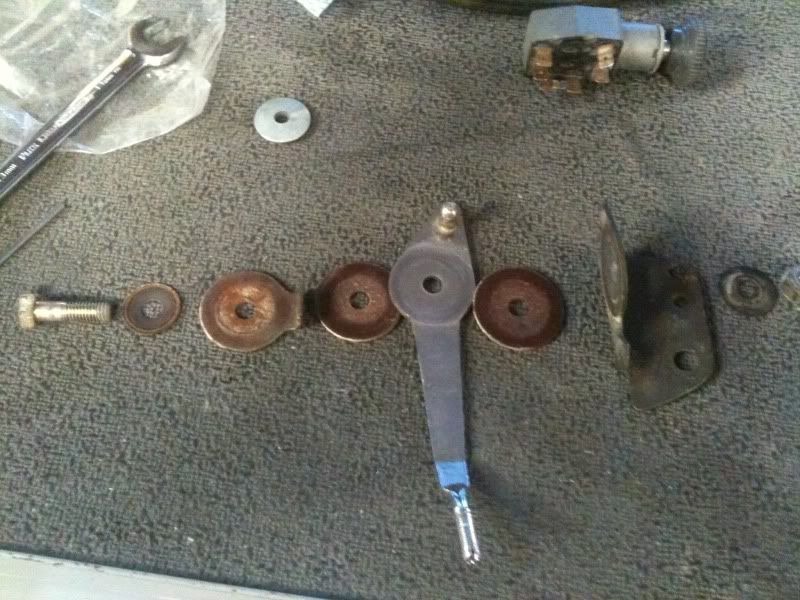
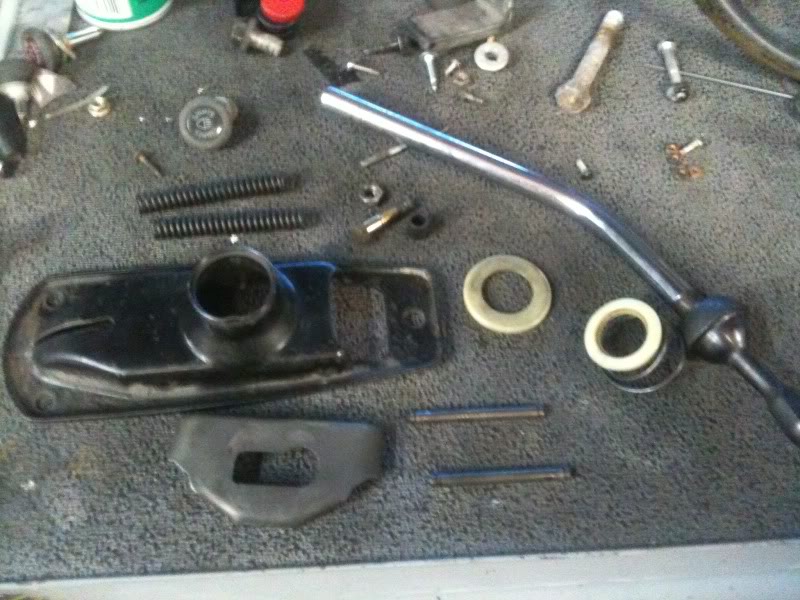
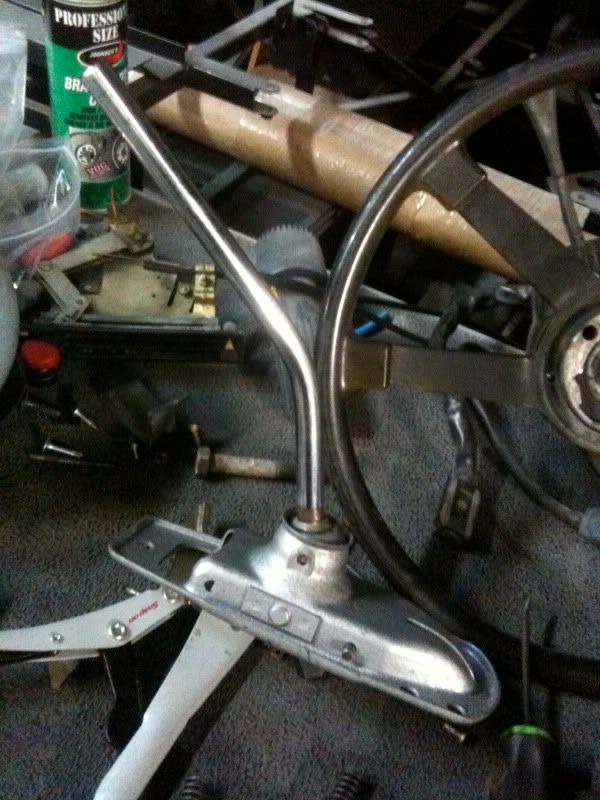
Whoever the PO was, he decided to Powder Coat the heating tube parts without removing the paint. screwy.gif

IPB Image


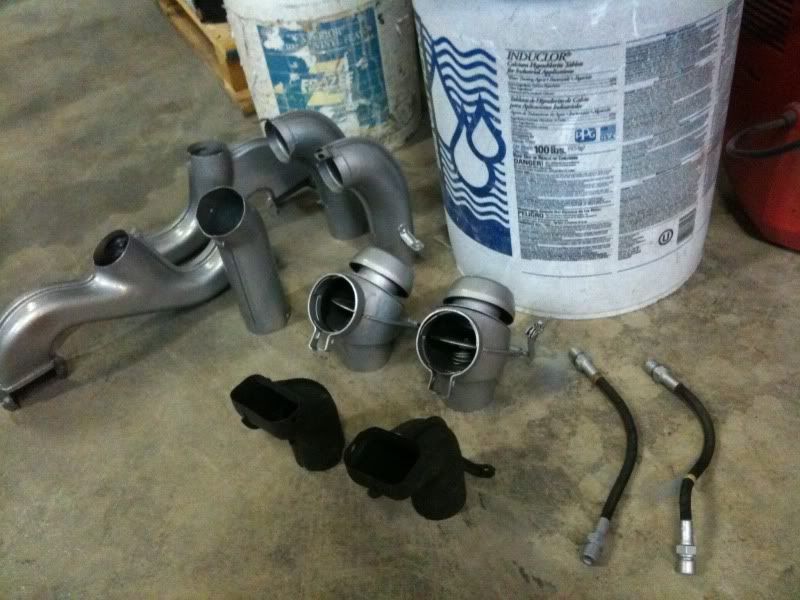
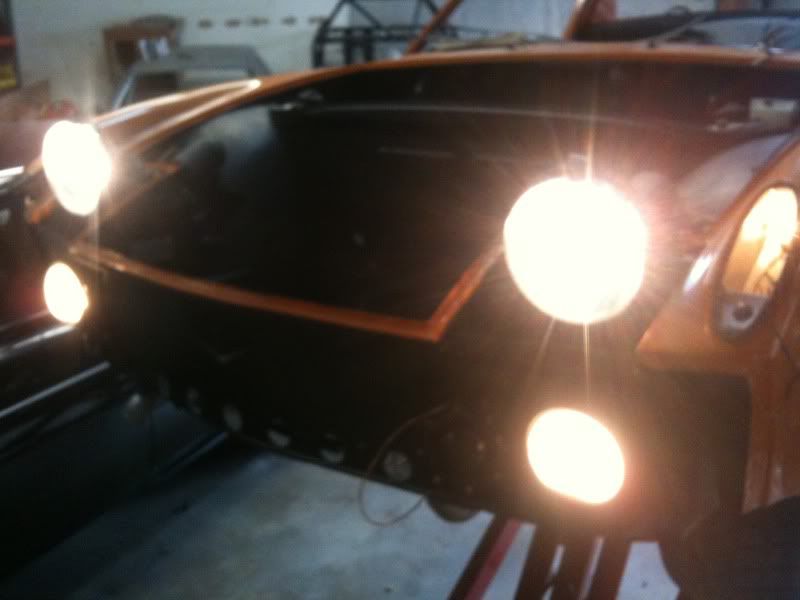
Worked on these for a bit and plan on putting them on the car either tonight or tomorrow.


IPB Image

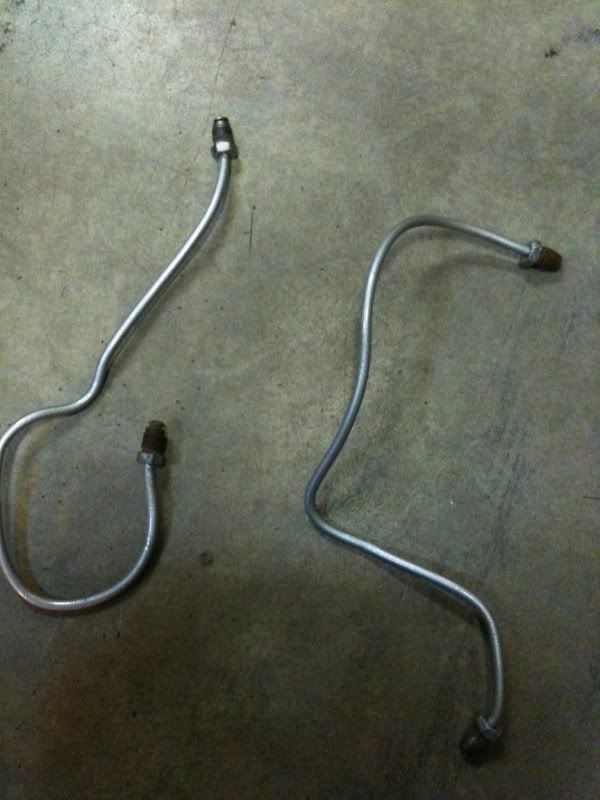
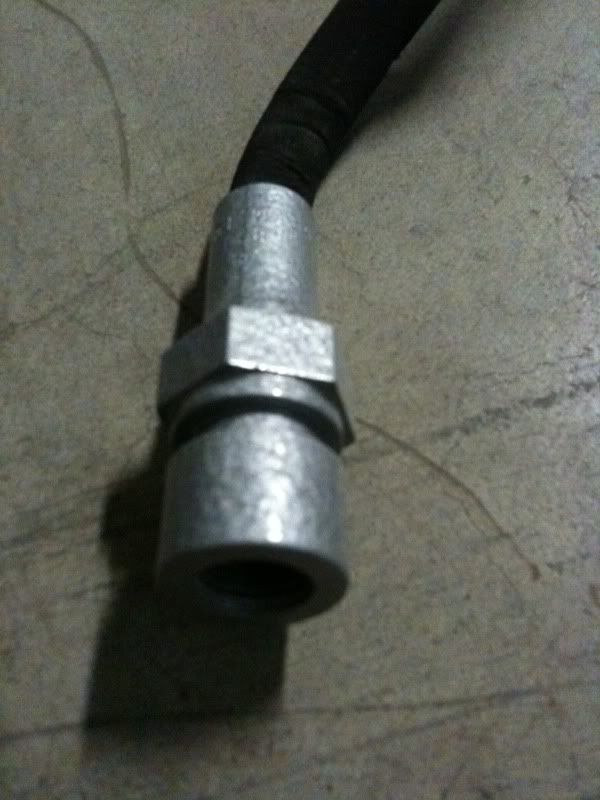
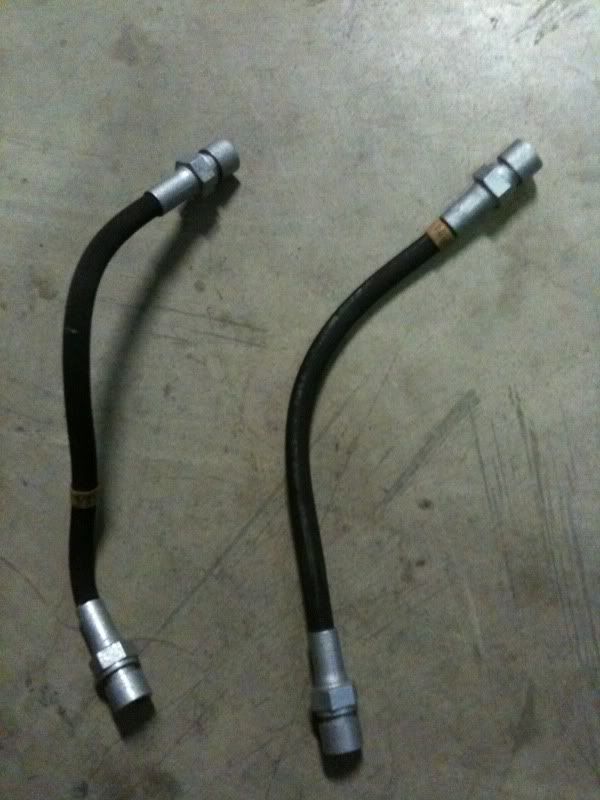
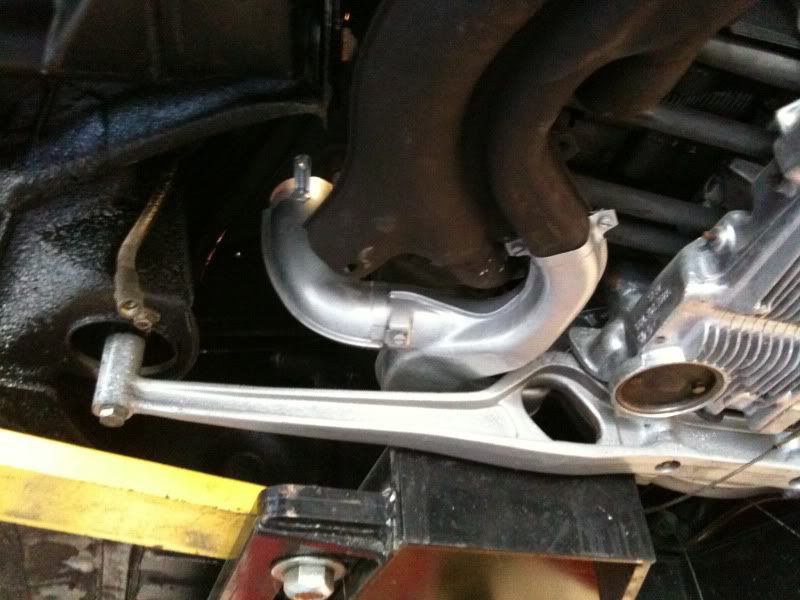
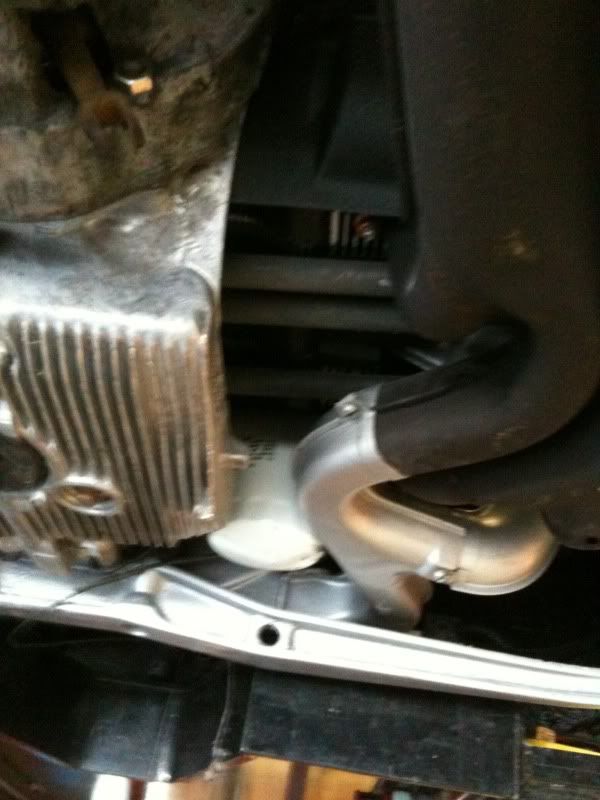
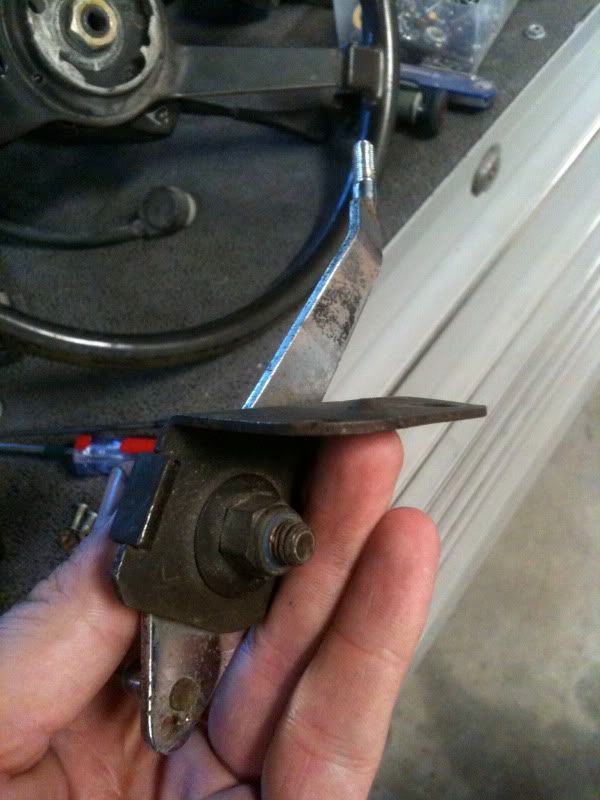
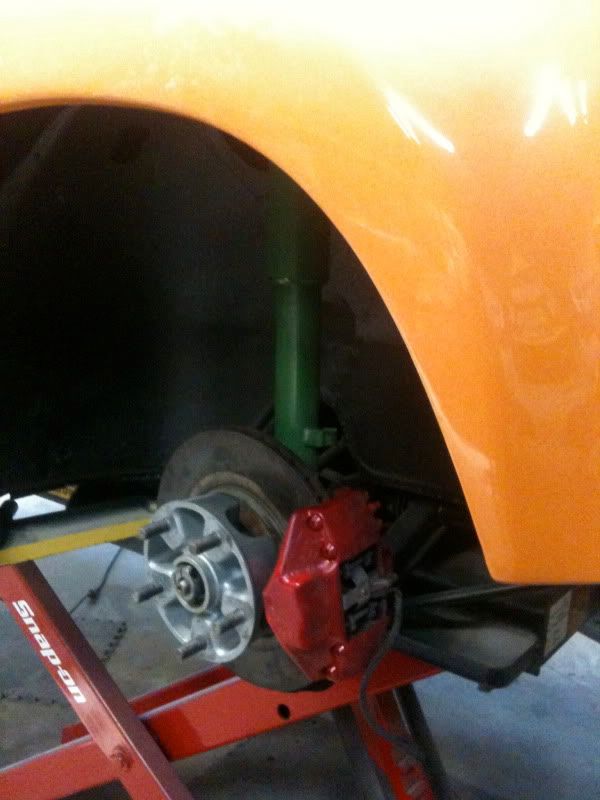
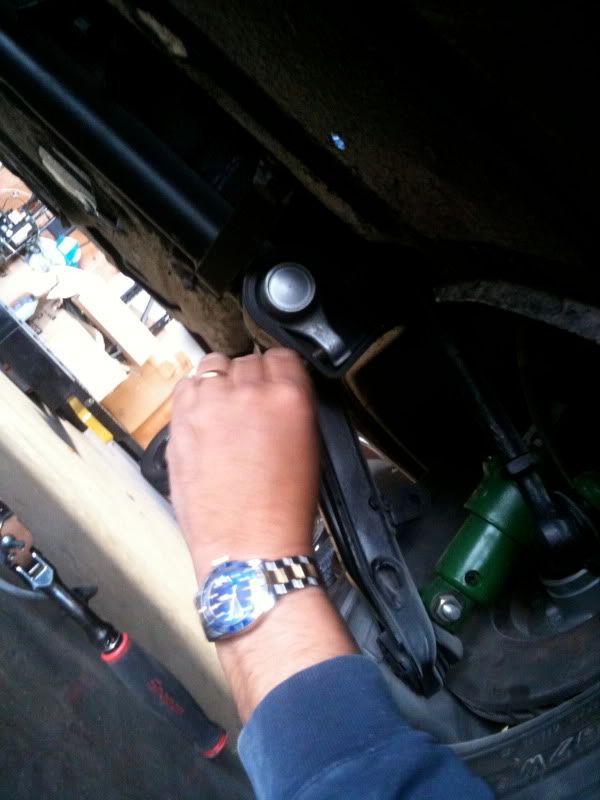
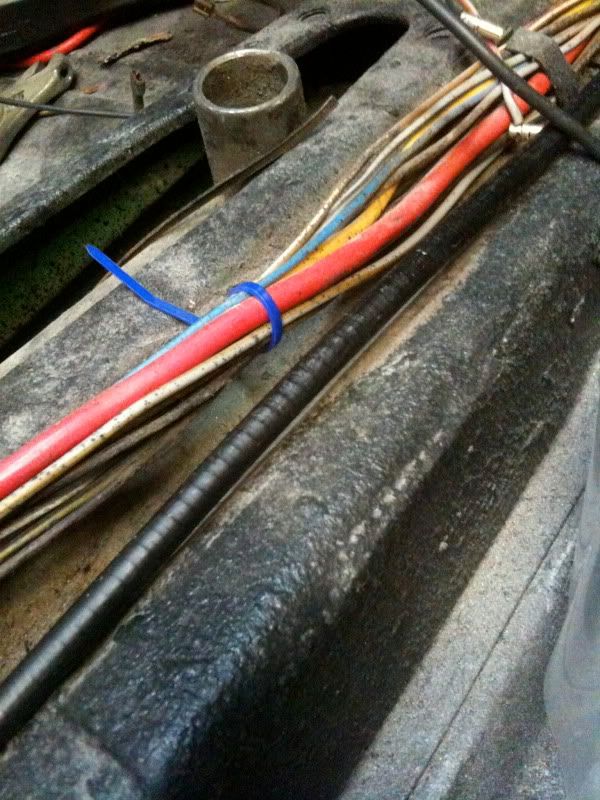
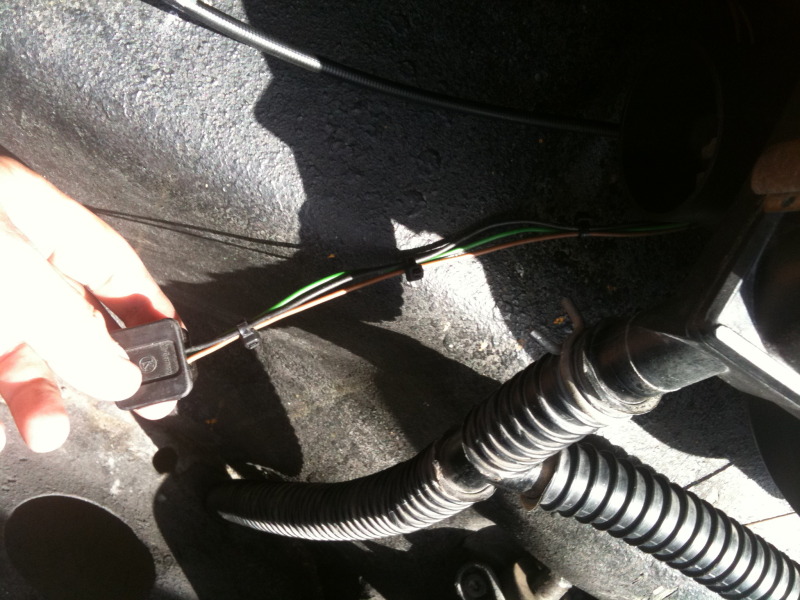
Also, spruced up the brake lines a bit. Unfortunatly, the ones on my car I over looked before painting, so now they are uncoated and Orange dry.gif Luckily, the 76 had some good ones.

I was originally going to go with braided, but after that thread last week, I decided to hold off.

IPB Image
IPB Image
IPB Image
RiqueMar
Headlights are in and mounted, chrome is polished. Really like the look of the H4's.

IPB Image
IPB Image


Sanded down the headlight shrouds, and put a base on them, might go a little more flat....

IPB Image
IPB Image
IPB Image
RiqueMar
My fault, double post.

:edit::
type47fan
Click to view attachment

Headlight surrounds:

Looks like you have the original 1970 white ones that had been painted black.

If you want, I have black ones off of my '76 that have <85,000 miles that you can have. I'm back dating with the early white ones on my car, as pictured above. You might want to attempt restoring the white surrounds, at a later time. They're rare and correct for your model year.

Let me know. I'm in Carlsbad.

Great progress thread!

Thanks,
PanelBilly
Your finishing your car so fast now. When your done I hope you're planning to come up to Seattle to help me finish mine...
SirAndy
You are missing the big cup washers on your transmission mounts ...

shades.gif Andy
RiqueMar
Billy, that would be really cool! I'm def gonna look into a drive up the coast.

Andy, thanks, I couldn't find the cups when we where putting it up, but it is on the list! Then again..... EVERYTHING is on the list.

smash.gif
RiqueMar
Finishing up the heating tubes and everything under the car, does this look right so far?

IPB Image
IPB Image
IPB Image
Gint
Do you have a washer on that engine bar mounting bolt? Doesn't look like it from here. Heater stuff looks fine.
RiqueMar
QUOTE(Gint @ Nov 24 2009, 06:39 AM) *

Do you have a washer on that engine bar mounting bolt? Doesn't look like it from here. Heater stuff looks fine.


Gint, thanks for the reply. I actually do have the washer on there, just checked.

Would anyone happen to have a picture of all the tubing, I ran a search, but I don't thmk it's a popular item to photograph.
Zaney
For the heater piping I was missing the gaskets (if there were ever any there) so, I carefully used the orange RTV high temp gasket maker to help seal up the pipes. It is a little cooler up here in the Seattle area than So-cal so, it is your call.

I used pics from cars on this site to help confirm the set-up of the heater system.

Looks awesome! beer.gif
RiqueMar
QUOTE(Zaney @ Nov 24 2009, 11:04 AM) *

For the heater piping I was missing the gaskets (if there were ever any there) so, I carefully used the orange RTV high temp gasket maker to help seal up the pipes. It is a little cooler up here in the Seattle area than So-cal so, it is your call.

I used pics from cars on this site to help confirm the set-up of the heater system.

Looks awesome! beer.gif


Are referung to the brass gaskets that go between the heat exchangers and the engine?

Thanks by the way!
Zaney
No, I was referring to the connections between the flappers and the J-pipes to the heat exchangers themselves. I used the high temp RTV because I was tired of Carbon monoxide and car fumes getting pumped into the cabin. (Older VW drivers will understand) My heat components were not as nice and straight as yours so, there was some room for 'making it fit'.

The copper nuts were used to secure the HE's to the studs at the bottom of the engine.

Looks Great! driving.gif
RiqueMar
Starting to update a little more. Trying to recuperate as I took my cousin to the Lady GaGa concert the other night, which was REALLY awesome.

Took apart the shifter/carb choke from my Dads six, as he is going with a different tranny system, and I like the idea of a choke.

Some before and after pics....


IPB Image
IPB Image
IPB Image
IPB Image


IPB Image


Sidenote: Checking out how the brakes look....


IPB Image
RiqueMar
So finally after about a month of no updates, here we are again.


We have a Dually that we use for work, and coming back from an event, it broke down. Not a big deal, just bought a similar one and changed over the body panels, it's just deal with the guy that does it, as he is a tornado in our shop.....

First off, completely took apart, cleaned, and repainted the air blower that goes under the cowl....

Click to view attachment Click to view attachment


And of course, upon putting it in, I tightened it too much and cracked it....... so I had to get a new cover, paint that, etc.


Click to view attachment

RiqueMar
Few more updates....

Pulled the tank out of storage, cleaned it, and welded up the return nozzle from the fuel injection. Also painted the sensor. There was a very small amount of gas-crap in the tank, but I'm not worried as it was only in the screen which is to be expected, and furthermore, I have already opened up and checked the tank....

Click to view attachment

Click to view attachment

Click to view attachment
RiqueMar
As I mentioned before, I'm going to carbs, so this is the return valve that I clamped and welded shut.

Can not WAIT to hear the sound of those carbs! aktion035.gif

IPB Image
IPB Image
RiqueMar
A small progress today, but it was in one of those areas that will let me get alot done. Almost completed putting in the heater controls and defrost vents, just have to attach the drivers side wire controls. Took the lower assemblies off a 76', as well as the controls.

I'm really happy with this progress. Although small, it's a big hump that will allow me to put in the air blower, gas tank, brake reservoir, and windshield washer bottle, all of which I can put in relatively quickly.

For the defrost vents, I went to Lowes and bought some foam door weather stripping that has an adhesive on one side, to act like tape. I think this will do well to black the cold air...


The 76' donor....
Click to view attachment


Cleaned and grabbed the best defrost vents I could find.....
Click to view attachment


Mounting them in my car
Click to view attachment
oz371
I can't wait to see this thing. Keep it up! aktion035.gif
RiqueMar
QUOTE(oz371 @ Feb 17 2010, 11:57 PM) *

I can't wait to see this thing. Keep it up! aktion035.gif


Thanks man!

Finally started to tackle the wiring. It's cool to see my headlights turning on, and the wiper motor going. Heater assembly is also in. Pictures to come tomorrow!

As for now, it's the Dad's 49th birthday, so I'll be needing a special smily for this.....


drunk.gif beer3.gif beerchug.gif birthday3.gif

rick 918-S
QUOTE(RiqueMar @ Feb 21 2010, 12:05 AM) *

QUOTE(oz371 @ Feb 17 2010, 11:57 PM) *

I can't wait to see this thing. Keep it up! aktion035.gif


Thanks man!

Finally started to tackle the wiring. It's cool to see my headlights turning on, and the wiper motor going. Heater assembly is also in. Pictures to come tomorrow!

As for now, it's the Dad's 49th birthday, so I'll be needing a special smily for this.....


drunk.gif beer3.gif beerchug.gif birthday3.gif


birthday3.gif To your Dad! The work is looking great! popcorn[1].gif
RiqueMar
QUOTE(rick 918-S @ Feb 21 2010, 06:27 AM) *


birthday3.gif To your Dad! The work is looking great! popcorn[1].gif


Thank you sir.

As for the project thread, we got ALOT done today....

Finished up the heater vent work by adding new tubing, love the way it looks. Also put in the brake resevoir....

Click to view attachment
RiqueMar
It's weird to see this back on the car again....

Click to view attachment


Windshield wiper assembly back in it's place, and it works! Had it running today, even though I need to do some alterations to make it fit to the /6 steering wheel we have....

Click to view attachment
RiqueMar
Grabbed a few things off an extra /6 harness we have laying around, ignition, relays, etc.....

Click to view attachment


Also, found a /6 relay board (top right)....
Click to view attachment
RiqueMar
Lights are working as well!

Click to view attachment


Also, broke out the CAMP 914 kit that my Dad got for the turn signals....
Click to view attachment
RiqueMar
Click to view attachment

Got these earlier. A USB charger to keep my iPhone charging even when the car is off, and a set of relays for the center console. Eventually, I'll be adding a 'cradle' for my iPhone to go in the center dash.

Starting off this new week, I'm checking into alarms and automatic door locks. I guess it all goes to the 'while I'm here' mentality.
RiqueMar
Didn't get a chance to really work on the car today, was a little busy putting vynil on our new truck....

Click to view attachment


The other day, in anticipation, pulled the new master cylinder out (21mm). This and the clutch/accelerator/brake cables will go in tomorrow, in addition to the brake wiring and pedal assembly....


Click to view attachment
veltror
Where did you get the USB charger, any details etc?
RiqueMar
QUOTE(veltror @ Feb 23 2010, 01:24 AM) *

Where did you get the USB charger, any details etc?


Hey veltror, it's DAQstuff.com, got the address for you here below....

http://www.daqstuff.com/automotive.htm

Hope that helps! bye1.gif
RiqueMar
Got an hour tonight, so I was able to do a few minor things....

First, got lucky and found the original relay board for my car, and it's in really good condition, even has the cover....

Click to view attachment Click to view attachment
RiqueMar
Took the dash material off the 76'. Even though it's not period correct, I like the later dash material better. Cleaned off the back, and gave it a rinse. Excellent condition, the pictures really don't do it justice, color is still perfect, no fading. This will go in the car next so I can put in my switches....

Click to view attachment Click to view attachment
RiqueMar
Click to view attachment Click to view attachment
RiqueMar
Also, put the door stops on. A while back I completely took these apart and cleaned them, just need to find some pins..... Donations welcome!


Click to view attachment Click to view attachment
veltror
Thanks Rique !! just what I was lookign for... now to try and find it in the UK
RiqueMar
QUOTE(veltror @ Feb 24 2010, 04:55 AM) *

Thanks Rique !! just what I was lookign for... now to try and find it in the UK


According to their site, they ship to Uk with no problems.

It was def a necessity for me, as my iPhone is my sidekick.
RiqueMar
Was able to drag my Dad to the shop for a day to help me out, it's amazing what happens and gets done when he's with me.....

A pic of the pedal cluster that I rebuilt (about a year ago dry.gif ). On the other side of that is my new 23mm Master Cylinder....

IPB Image


Did a little adjustment on the torsion bars, as well as added that foam insert that goes between the cap and the housing, I really dig how the car sits now, and even think I'll go for that 'rake' look, where it's lower in the front than the back....

IPB Image
IPB Image
RiqueMar
... putting in the new Speedo' Cable, as well as the new Accel./Brake/Clutch Cables.... My Dad hurt his knee a few weeks back, right before he turned 49... Happy Birthday to him....

IPB Image
IPB Image
IPB Image


A picture of the new 23mm MC....

IPB Image


RiqueMar
Finally putting in the switches and able to actually route them, this will def clean things up.....

IPB Image

Fog lights working, but I think I'm going to get the Pilot Lights from CAMP. As a side-note, we are wiring these to be 'on/off', as I like to be able to turn them on and not use my headlights....

IPB Image
IPB Image
RiqueMar
Finally! My car is getting some sunlight! It's crazy how much different the Signal Orange looks in the sun, I can't wait til it's sanded and buffed out to get all the dust off of it.....


IPB Image
RiqueMar
Ok, so something interesting things I've learned recently regarding /6 conversions....

Apparently, the /6 steering wheel has it's own connector to attach to the windshield wiper motor, which on /6's are different. This makes sense as the wiper controls on a /6 are different.


Luckily, I've found a /6 wiper motor, although dirty, that cleaned up nicely. You can see the connectors in the pictures and how they differ from the /4 connectors. Now it's just a matter of mapping this to my car....


IPB Image

IPB Image

IPB Image

IPB Image

RiqueMar
Been digging a few things out of storage this weekend...

Ordered a set of Pilot lights for both me and my Dad. Switch needs a small amount of work, but I'm not too worried about that....

Click to view attachment


Kudos to my Dad for finding a few brand new pieces of rubber...

Click to view attachment
RiqueMar
I *literally* stumbled on this....

Click to view attachment


Bumpers!

Click to view attachment


Speaker grilles!
Click to view attachment
RiqueMar
Pilot lights installed, just need to make a few small alterations to the harness to fit the switch to the new wiring.

Click to view attachment
RiqueMar
Moving some things around today so that the Gas company can put in a 'smart' mater this week. Next project....

Click to view attachment
RiqueMar
Did not really do anything on my car today, as we decided to move it to the house to do the finishing touches on it. Of course, had to clean a bit first...


Click to view attachment
RiqueMar
So, even though you really cant tell from the picture, I gave the car a thorough wash down today, what a difference in color! signal914.jpg 
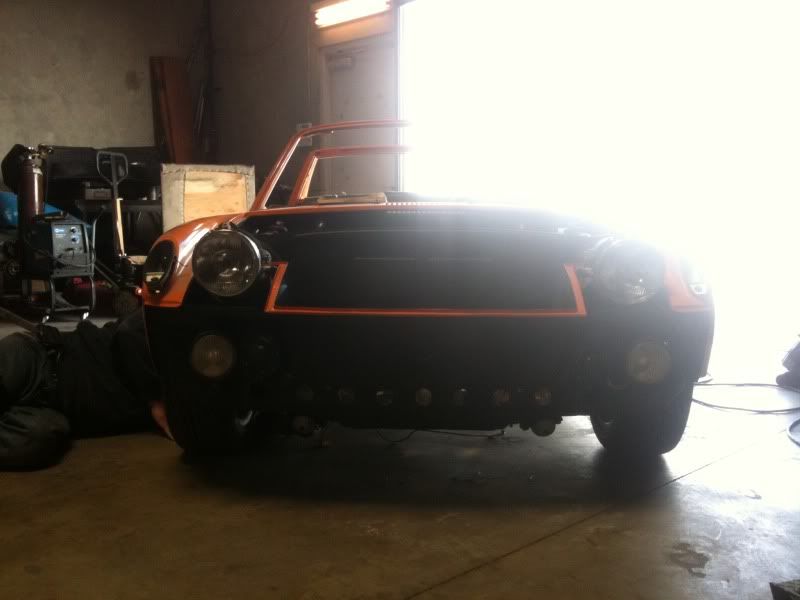
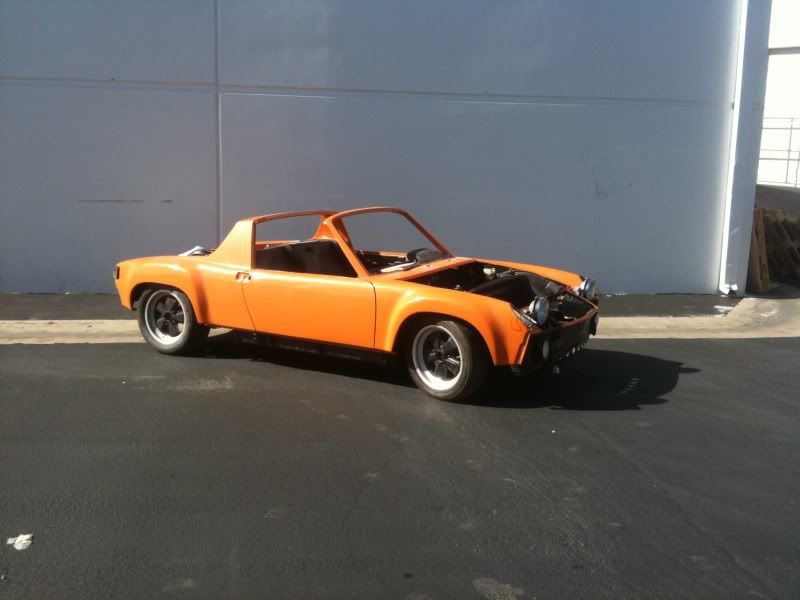
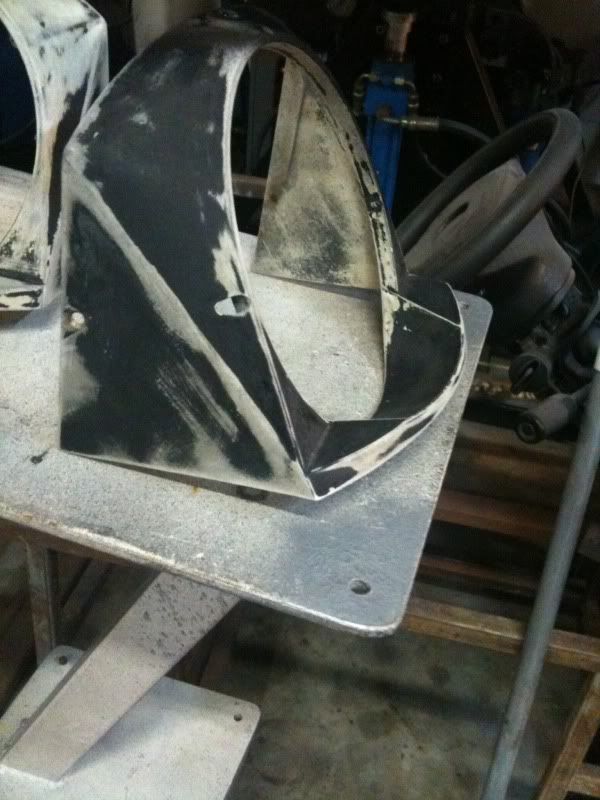
Now all the bondo and fiberglass dust from the shop is gone!

Also, as I said before, I moved the car to the house to finish up, love it. Even though it's a little less room, it's alot easier to work in, especially since daylight savings has come, and I can work later....


Click to view attachmentClick to view attachmentClick to view attachment
RiqueMar
Finally got out there and did some work on the car. Its at that point where it's SO close!

I want everything to be very clean, so I've been obsessive with my wire routing!

IPB Image
IPB Image
IPB Image
IPB Image
IPB Image
IPB Image
RiqueMar
I'm thinking this for the dash insert instead of the basket weave...


IPB Image
veltror
Exactly!! i have bought m,yself a Carbon Fibre sheet and will do the same, i always hated that passanger seat belt light thing, bloody Safety Wankers!!! now I will be able to get rid of it.
6freak
IMO that last pix of the brown ground is questionable ..with all that rino liner under the washer .....other then that very nice work ...happy wrenching smile.gif your coming right along
This is a "lo-fi" version of our main content. To view the full version with more information, formatting and images, please click here.
Invision Power Board © 2001-2024 Invision Power Services, Inc.